Its been almost a year since I wore the most time-intensive garment I’ve ever sewed! I thought it was time to share it.
Time: 9 months, not working on it every weekend, and mixing in smaller projects to keep my sanity. I did not keep track of hours.
Materials: Ivory silk charmeuse and ivory silk chiffon, bemberg lining and interlining, all from The Fabric Place in Mt. Lebanon, Pittsburgh. Also some boning from Joanns.
Hand-rolled double circle skirt hem length: 57 feet.


Photos by Julie Hagenbuch.
So… how did this come about? I knew I wanted to make my wedding dress, but I was not sure what I wanted. I decided to go to a local shop in Lawrenceville to try on a bunch of different styles to see what I liked. The person who helped me at the shop was very kind, but I was not a fan of being in the dressing room with someone else and having very tattered, worn by so many people sample dresses clamped on to me with clips to simulate the true fit. Out of the dozens of dresses I tried on, I really only liked one of them. It was $4,000:


I loved the materials used in this dress: silk chiffon over a silk charmeuse. The DOUBLE CIRCLE skirt was SO dreamy, I couldn’t stop lifting it and squealing as I swished all the fabric around me. I also loved the very dramatic back cowl.
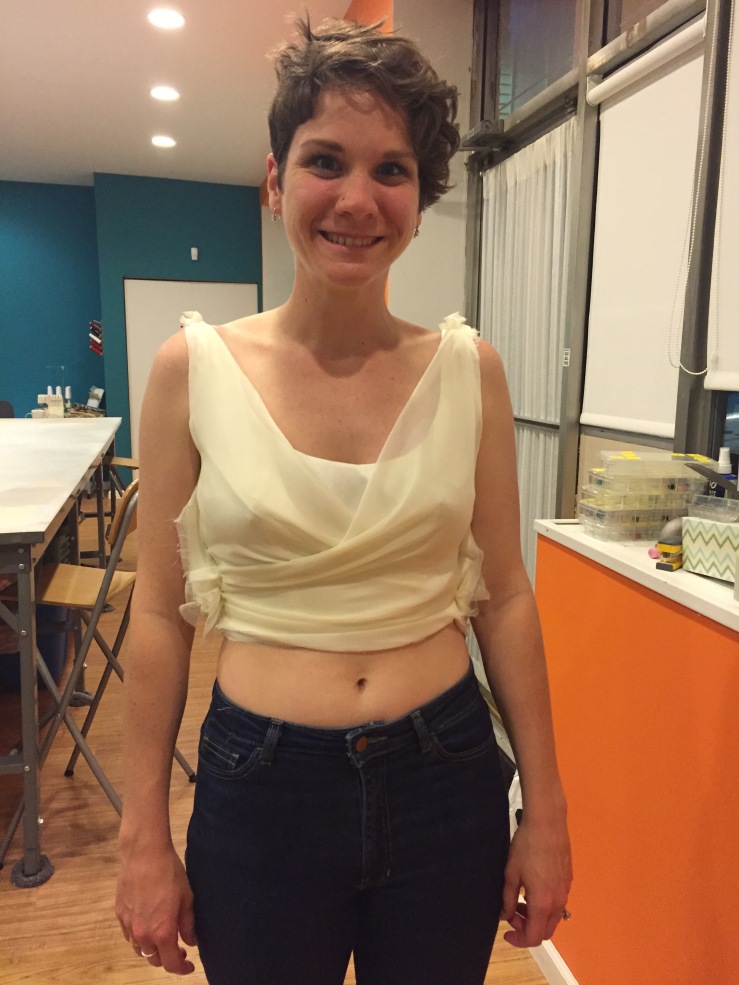
Determined that I could recreate this dress, I signed up for a Pattern and Fit class at Cut and Sew Studio. I found what I thought was a similar pattern and came to class with a muslin made. It was not nearly as close to the inspiration photo as I hoped, so with the help of Catherine Batcho, I drafted a new bodice pattern. 5 muslins later…. I had the fit just right.


I had 4 (I think?) follow-up sessions to help fit the bodice and hem the skirt. I have a bad habit of rushing through projects, and I tried my hardest to take my time and do the best job I could. I am so so happy with how the dress turned out, and I am so happy I can say I made my wedding dress. Thank you so much to Catherine Batcho, I could not have possibly completed this project so wonderfully without your help.
PHEW, who needs a drink?

Photo by Julie Hagenbuch.

[…] of buttons, and are happy to help you find the perfect match for your project. I bought my wedding dress fabric here, and they were extremely knowledgeable and helpful. This store is about a 25 minute […]
LikeLike
Wow, this came out amazing. Nice job.
LikeLike
Thank you!!! If I did it again there are some things I’d change, but I often find myself daydreaming about how wonderful I felt in it that day.
LikeLike