I made lined drawstring and zipper pouches for Christmas gifts this year. Since we moved and majorly downsized our living space, I have become much more aware of “stuff” and didn’t want to add more clutter to people’s lives. But… I saw bella_zilber‘s photo of some beautiful drawstring pouches she made, and I kept going back to it, thinking what nice gifts they would be. At the very least, someone can reuse these as gift wrap for their own giving! I made one test pouch to figure out exactly how to make them before cutting out several more, since all I had to go on was Bella’s photo. I wanted to share how I did it, in case you want to make one, too.
How to make this lined drawstring pouch: Notes: All seam allowances are 1/2″. Its very simple to adjust the height/width of your bag. Experiment to see what you like! This is a great scrap-user-upper. It takes very little fabric to make one. You will need: 4 bag pieces, 2 top strap pieces, and 2 drawstring pieces.
Create your pattern: Cut a sturdy piece of manilla (or cardboard, or pattern paper, whatever you’ve got) into a rectangle at your desired dimensions. I created an 8″ x 5.5″ rectangle, and curved the bottom corner. Cut out 2 lining and 2 fabric pieces on the fold.
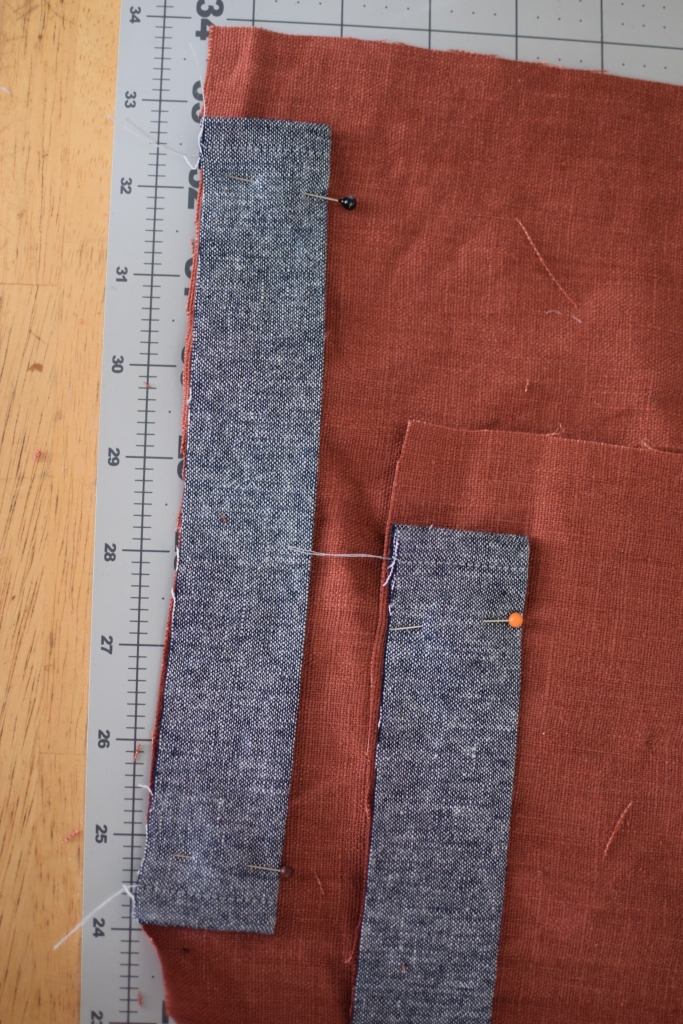
Next, cut 2 11″ x 3″ (size note: basically, cut the width as wide as your main pouch piece is wide. You want the straps to be a little bit skinnier than your pouch, and double turning the side seams will make this happen), turn the side seams of the top straps’ seam allowances and sew. TIP: Sew the folded side down and the right side up on your machine so the nicer looking stitches will show.
Fold the top straps in half, hot-dog style and lay on each outer pouch piece, right sides together, and raw edges aligned. Baste a little bit smaller than your seam allowance.
Position the lining, right sides together so the top strap is in the middle of the sandwich. I turned the sandwich so the outer pouch piece faces up so I can be sure to sew outside the original stitching line. Sew, then press the lining and outer pouch piece away from the top strap. Repeat for other outer pouch piece, top strap, and lining. Make sure your placement lines up between both of the pouch sides!
Open up the sewn pouch groups so the lining is away from each outer pouch piece, and the top strap is face up. Align the second pouch group right sides together on top, so right side lining 1 matches right side lining 2, and right side outer pouch piece faces right side outer pouch piece. You realllly want to make sure your seams line up here. See how mine are a teensy bit off? You want to make it more perfect than that.Sew around the outside of the pouch pieces, leaving a 2″ gap in the lining so you can turn the pouch right side out. I like to put two pins close together to remind myself to leave a gap.
Trim the seam allowances and clip the curves. Turn the pouch right side out. Press. Sew the lining hole shut, either by hand or by machine (if you want your bag to be reversible, its a good idea to hand-stitch).
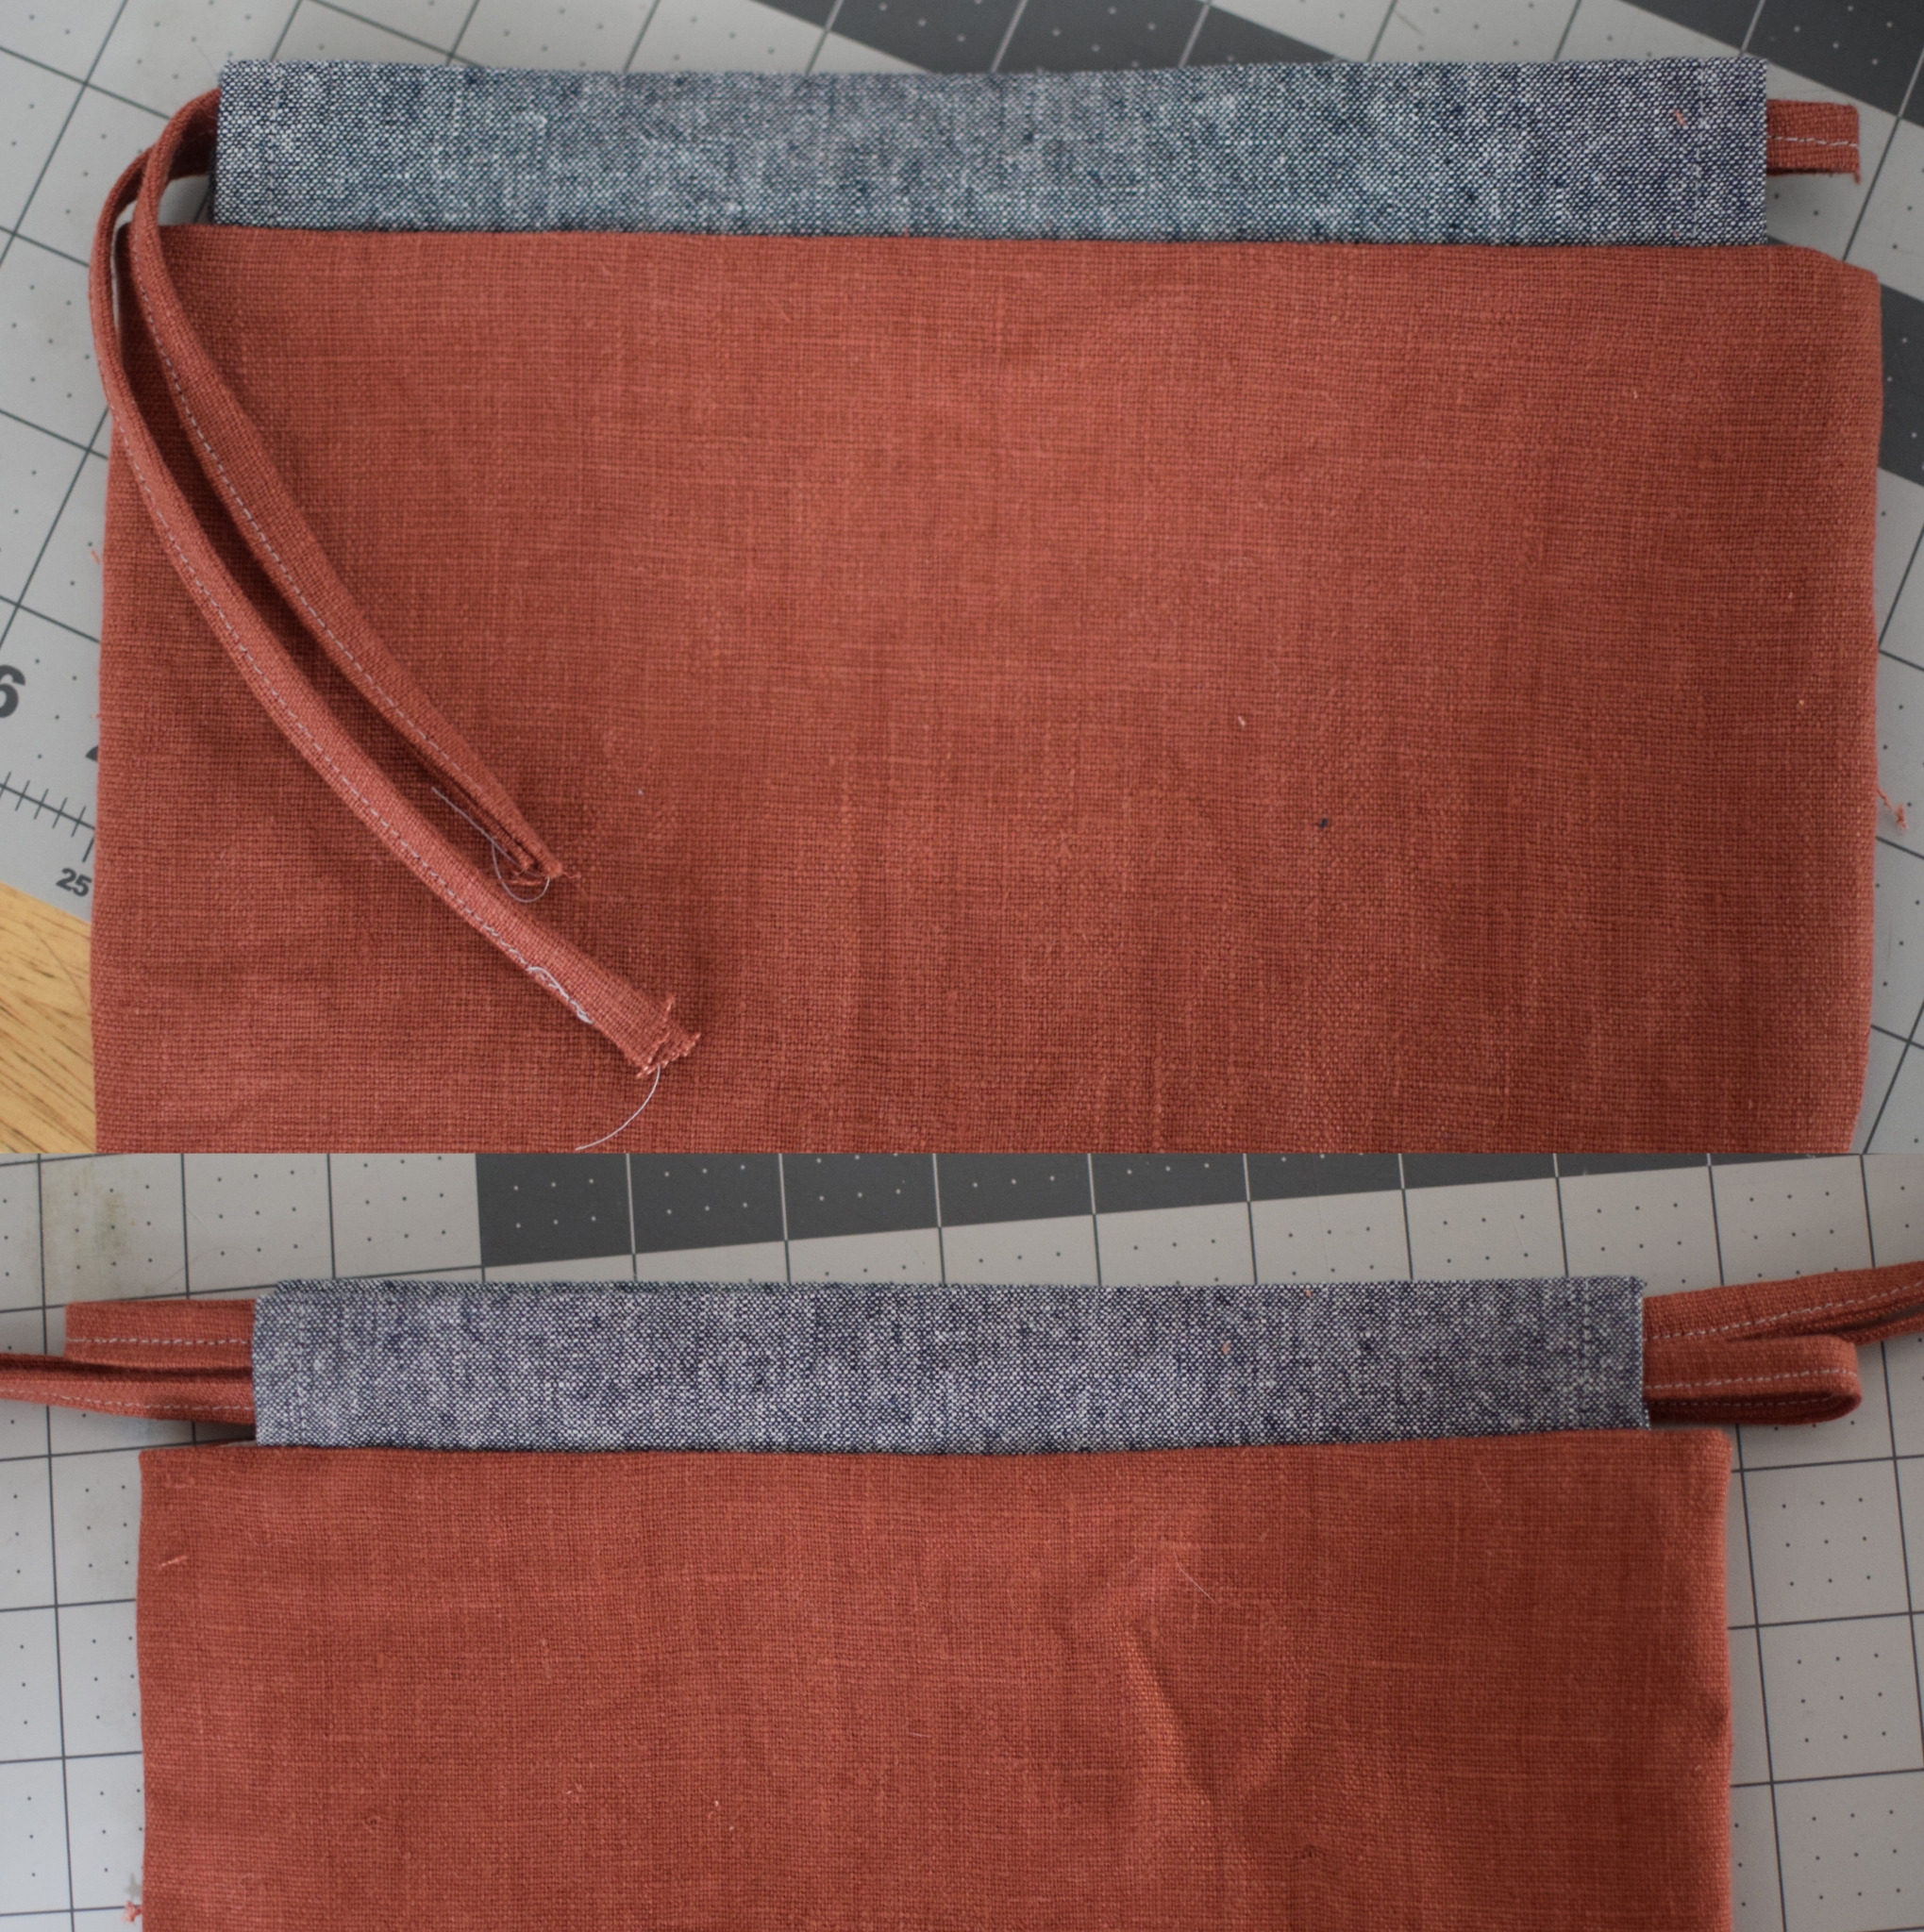
Create the drawstrings. Cut 2 1.25″ x 25″ strips (or ~2.5x as wide as your finished bag is to allow room for knotting the ends), and fold in half lengthwise and press. Open the fold, and press each edge into the center. Fold in half again and sew the fold shut. “Thread” each drawstring through the top straps, and knot each end. I had no trouble pushing these through by themselves since the linen is fairly stiff, but you may need to use a safety pin if your fabric is being fiddley. You could also use cording if you didn’t feel like making drawstrings.
Yay!!! All done! You can experiment with different widths and heights, and go for a curved bottom, or do a rectangular one, or maybe a pointy triangle bottom?? Or scallops?
These bags turned out so lovely, and were quick to make, especially once I got into a rhythm after making the first one. I also made two zipper pouches using Flossie Teacake’s tutorial. A great way to use up scraps!


This looks fantastic
LikeLike
Thanks!!!
LikeLike
You’re amazing Emily!
LikeLike
Thanks very much. Let me know if you end up making a pouch!
LikeLike