Baby Things

My friends have welcomed lots of little ones into our world over the past year! I’ve made a few gifts and have accumulated a stockpile of photos, so I think its time to post about these cute projects.

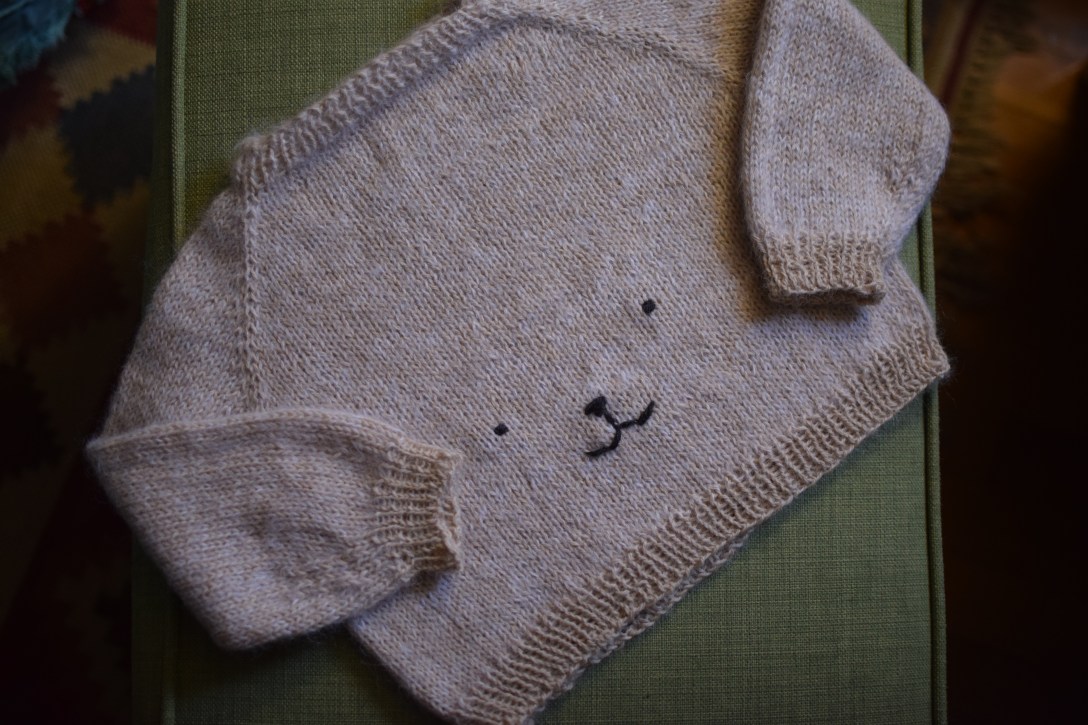
First, the Teddy Bear Sweater. I saw Lizzie knit this awhile ago and I just thought it was so cute that I had to make one, too. The pattern was pretty bare bones, but that little face really makes this feel so special. I sized it up to what I hope is a 3-6 month size, but its really hard to know how big to make things, its sort of just a wild guess.

Teddy Bear Sweater

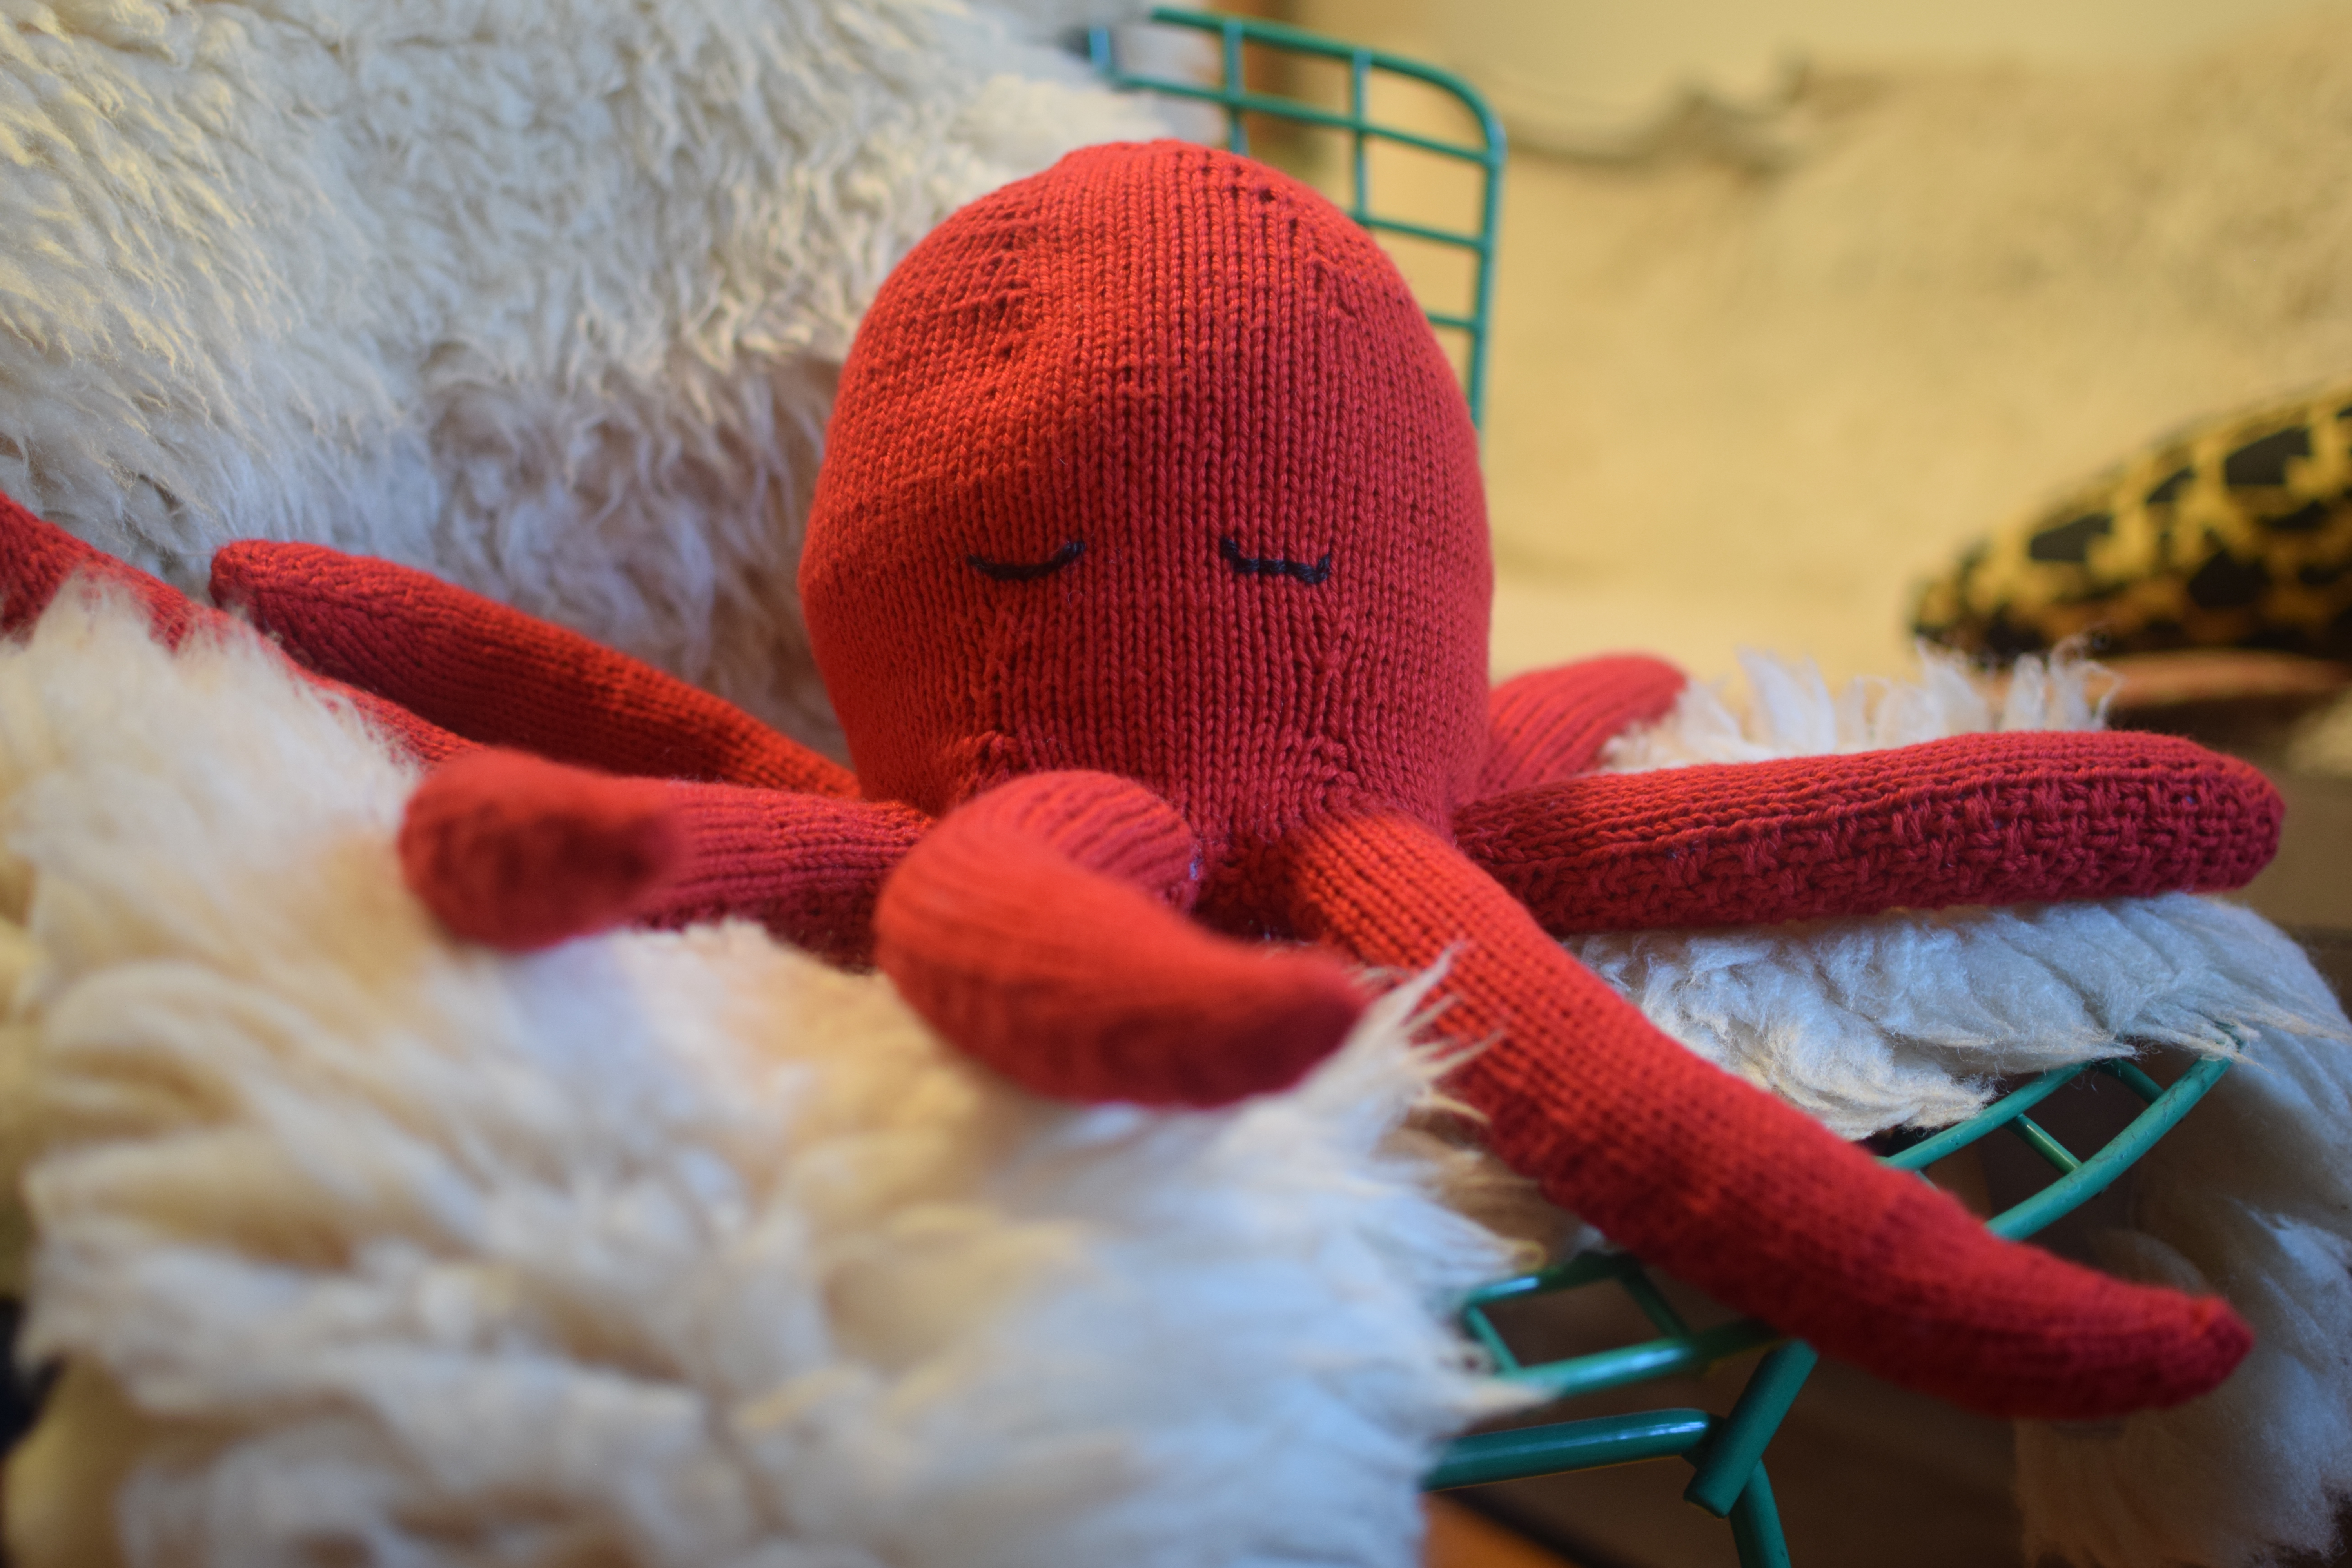
I also made this pretty big (and pretty cool!) octopus. I remember knitting the tentacles on the train and got some pretty weird looks from strangers. If you ever had “second sock syndrome,” try knitting 8 of these bad boys. Luckily the yarn weight makes them go quickly. I love him, though!!!

Octopus

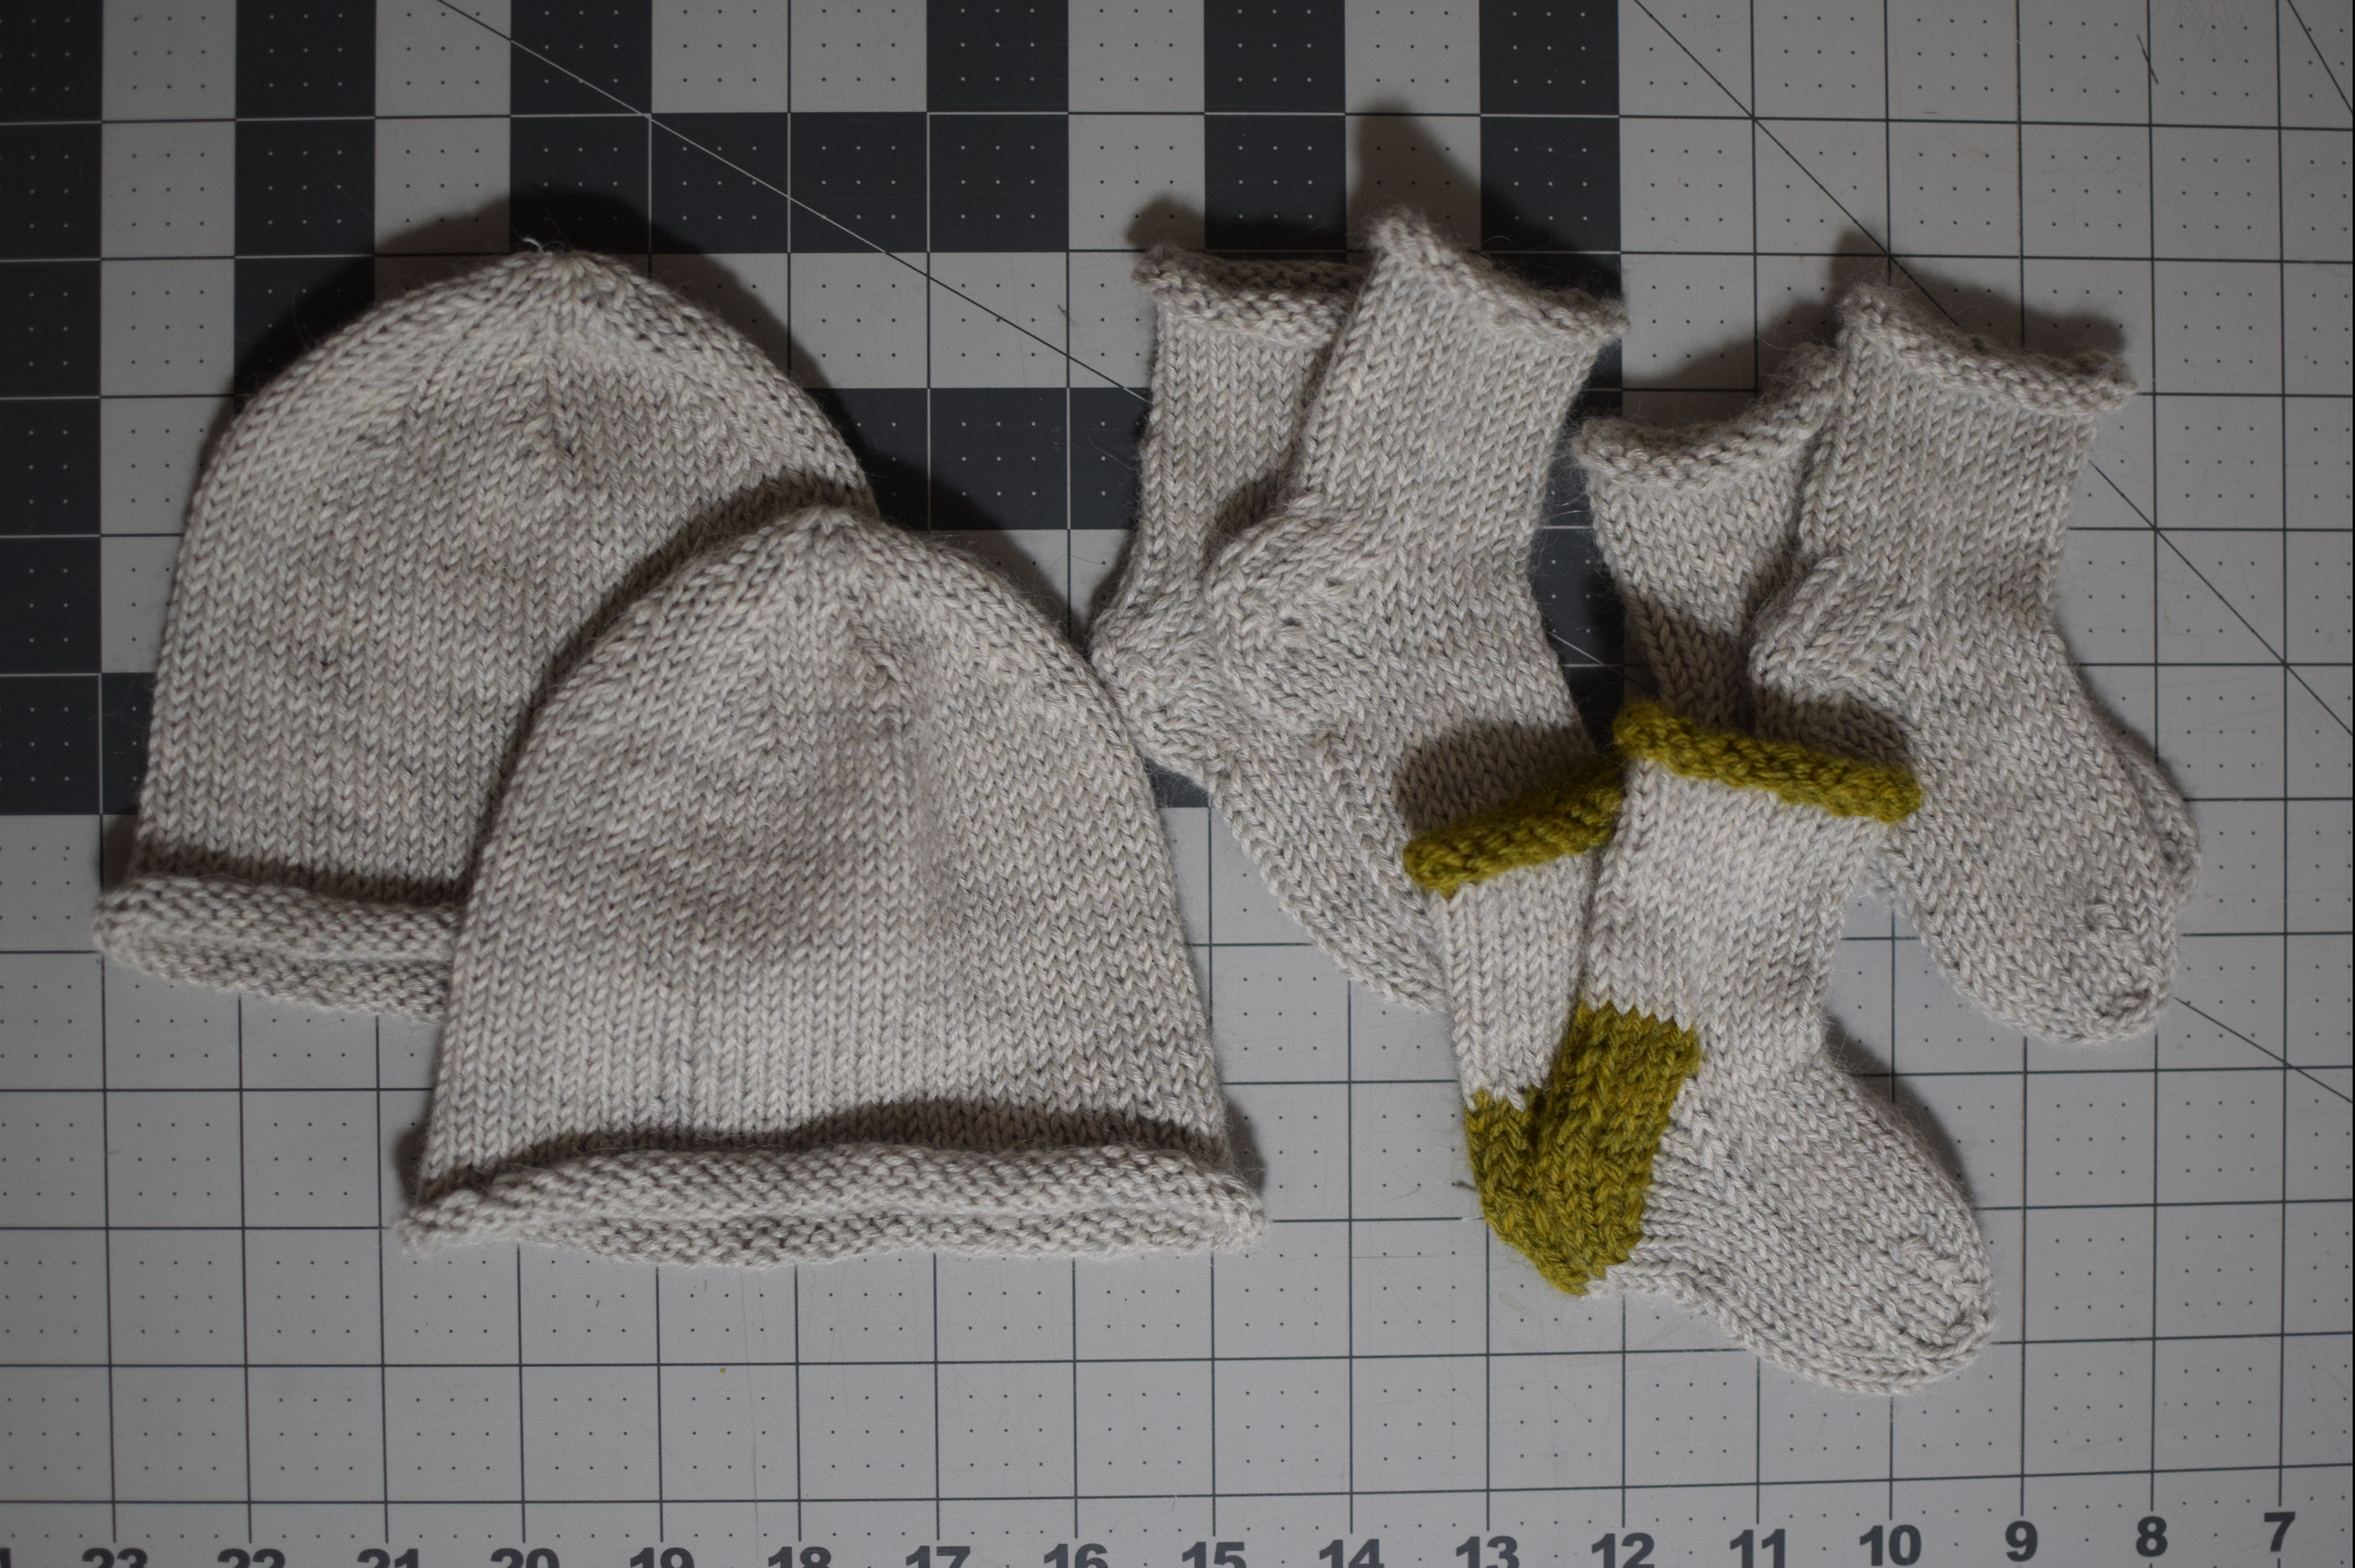
Here are some baby socks from Purl Soho, and hats with a pattern I made up. These ended up being sized perfectly for a newborn head!!! What are the odds!?

Rhys: born to be a knitwear model.
Baby hats and booties

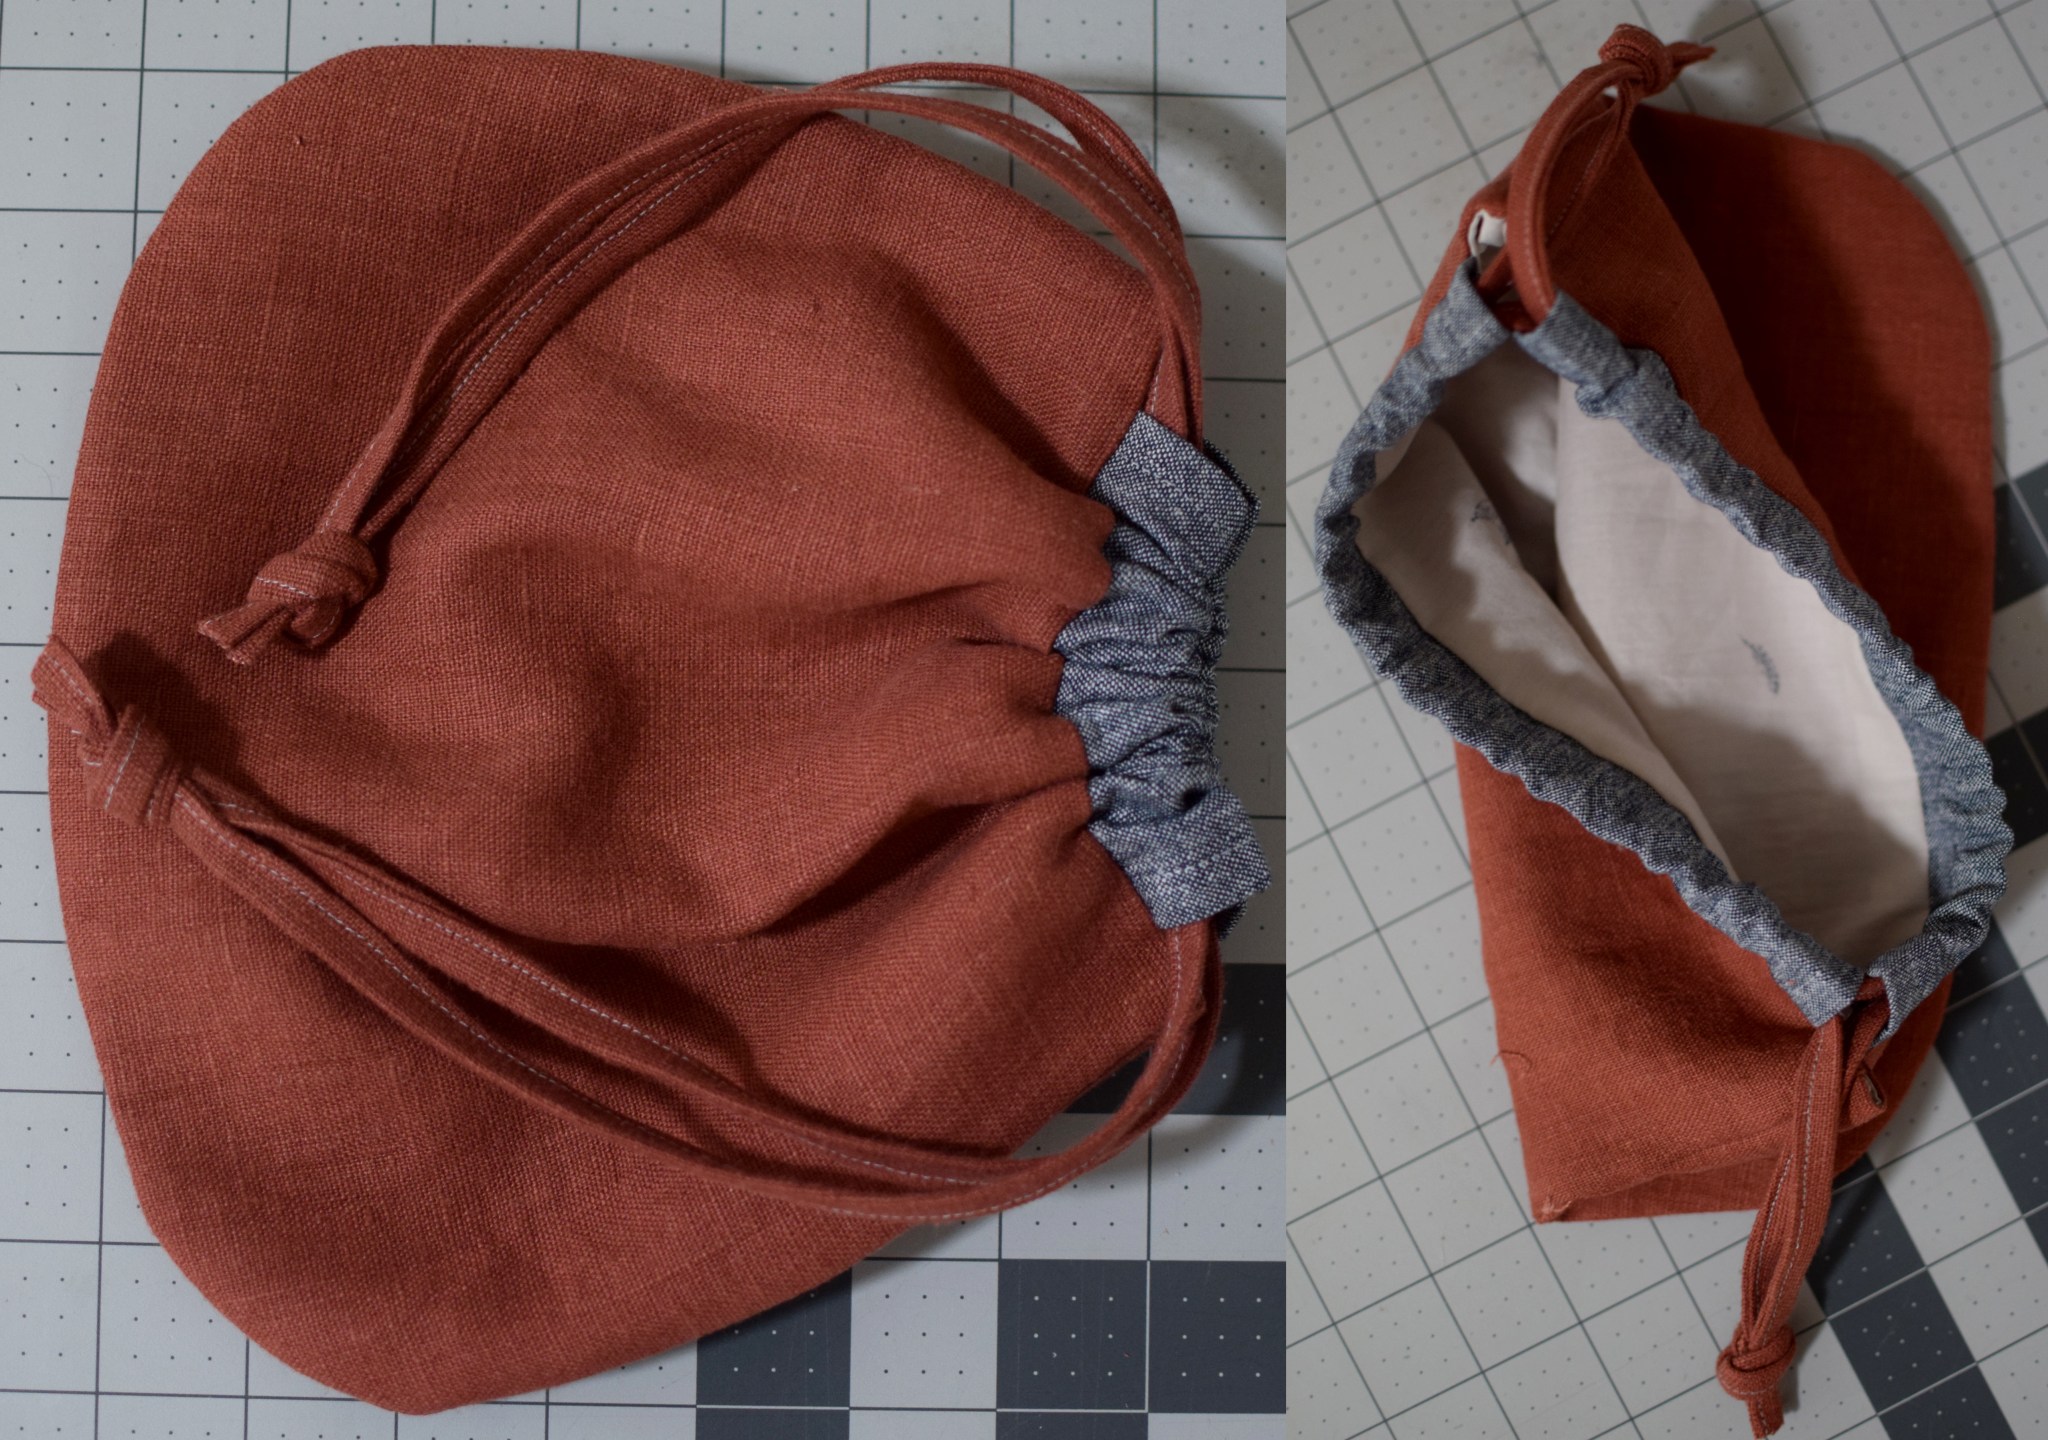
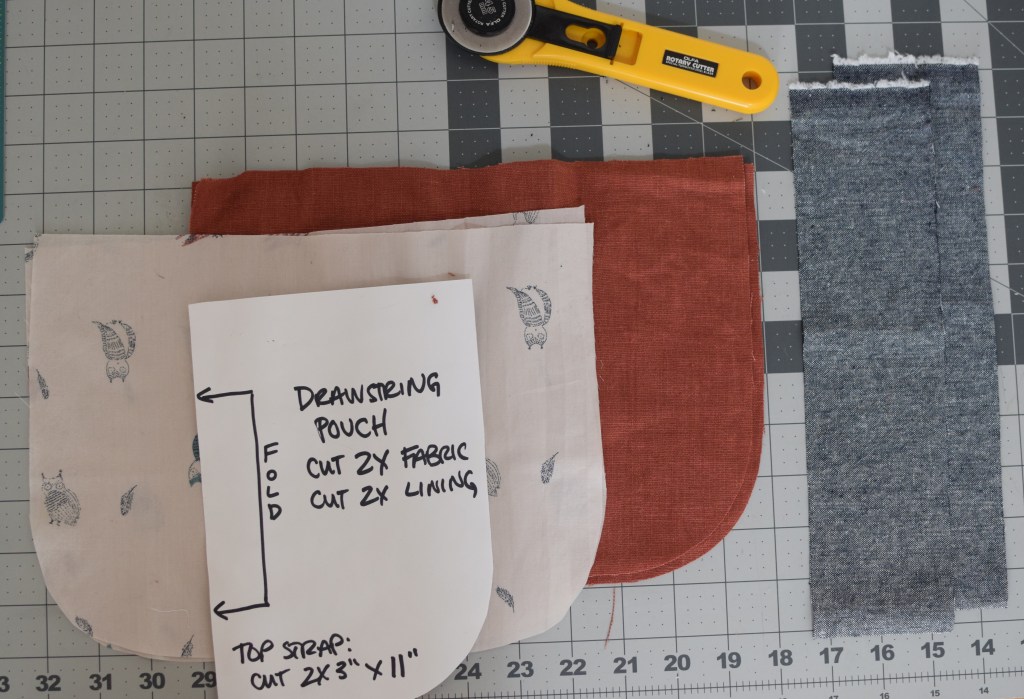
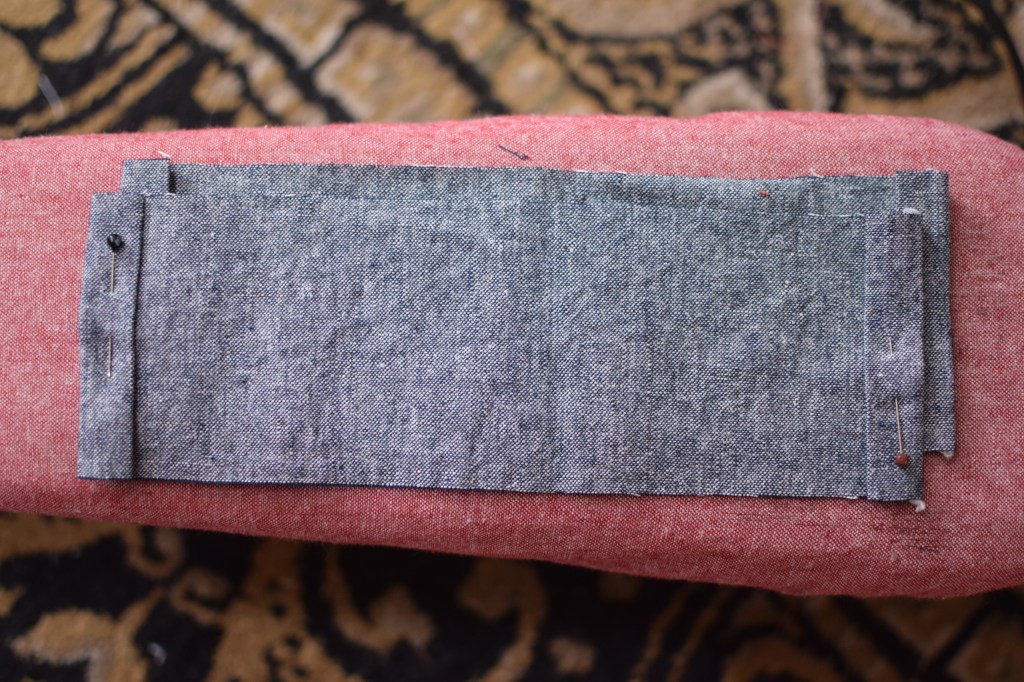
And last, but not least, I just sent this set away to California for a baby who hasn’t been born yet! I hope he likes them.

More baby hat and booties

Lined Drawstring Pouch Tutorial

xmas_pouches_3

I made lined drawstring and zipper pouches for Christmas gifts this year. Since we moved and majorly downsized our living space, I have become much more aware of “stuff” and didn’t want to add more clutter to people’s lives. But… I saw bella_zilber‘s photo of some beautiful drawstring pouches she made, and I kept going back to it, thinking what nice gifts they would be. At the very least, someone can reuse these as gift wrap for their own giving! I made one test pouch to figure out exactly how to make them before cutting out several more, since all I had to go on was Bella’s photo. I wanted to share how I did it, in case you want to make one, too.

finished_cinched

How to make this lined drawstring pouch:
Notes: All seam allowances are 1/2″. Its very simple to adjust the height/width of your bag. Experiment to see what you like! This is a great scrap-user-upper. It takes very little fabric to make one. You will need: 4 bag pieces, 2 top strap pieces, and 2 drawstring pieces.

elements
  1. Create your pattern: Cut a sturdy piece of manilla (or cardboard, or pattern paper, whatever you’ve got) into a rectangle at your desired dimensions. I created an 8″ x 5.5″ rectangle, and curved the bottom corner. Cut out 2 lining and 2 fabric pieces on the fold.
  2. Next, cut 2 11″ x 3″ (size note: basically, cut the width as wide as your main pouch piece is wide. You want the straps to be a little bit skinnier than your pouch, and double turning the side seams will make this happen), turn the side seams of the top straps’ seam allowances and sew. TIP: Sew the folded side down and the right side up on your machine so the nicer looking stitches will show.
    top straps
  3. Fold the top straps in half, hot-dog style and lay on each outer pouch piece, right sides together, and raw edges aligned. Baste a little bit smaller than your seam allowance.
    sew_top_straps
  4. Position the lining, right sides together so the top strap is in the middle of the sandwich. I turned the sandwich so the outer pouch piece faces up so I can be sure to sew outside the original stitching line. Sew, then press the lining and outer pouch piece away from the top strap. Repeat for other outer pouch piece, top strap, and lining. Make sure your placement lines up between both of the pouch sides!
    top_straps_3

    DSC_5389
  5. Open up the sewn pouch groups so the lining is away from each outer pouch piece, and the top strap is face up. Align the second pouch group right sides together on top, so right side lining 1 matches right side lining 2, and right side outer pouch piece faces right side outer pouch piece. You realllly want to make sure your seams line up here. See how mine are a teensy bit off? You want to make it more perfect than that.
    right_sides_together
    Sew around the outside of the pouch pieces, leaving a 2″ gap in the lining so you can turn the pouch right side out. I like to put two pins close together to remind myself to leave a gap.
    right_sides_together_2
  6. Trim the seam allowances and clip the curves. Turn the pouch right side out. Press. Sew the lining hole shut, either by hand or by machine (if you want your bag to be reversible, its a good idea to hand-stitch).
    DSC_5395
  7. Create the drawstrings. Cut 2 1.25″ x 25″ strips (or ~2.5x as wide as your finished bag is to allow room for knotting the ends), and fold in half lengthwise and press. Open the fold, and press each edge into the center. Fold in half again and sew the fold shut. “Thread” each drawstring through the top straps, and knot each end. I had no trouble pushing these through by themselves since the linen is fairly stiff, but you may need to use a safety pin if your fabric is being fiddley. You could also use cording if you didn’t feel like making drawstrings.
    drawstring_1

    insert_string

Yay!!! All done! You can experiment with different widths and heights, and go for a curved bottom, or do a rectangular one, or maybe a pointy triangle bottom?? Or scallops?

These bags turned out so lovely, and were quick to make, especially once I got into a rhythm after making the first one. I also made two zipper pouches using Flossie Teacake’s tutorial. A great way to use up scraps!

xmas_pouches_2
xmas_pouches_1
xmas_pouches_4

Rocquaine/Gifts

rocquaine_sweater_5

I made the Rocquaine sweater (rav link) from PomPom Quarterly’s Fall 2016 collection. I wanted to make something a little out of my comfort zone– it has a semi-cropped fit, and I had never made a gansey before. It seemed like a great learning project. This went very quickly, and I love how BT’s Arbor knits up, very spongy and light. I haven’t knit with BT yarns before, but it seems like this is a heavier yarn for them than the rest! I will have to give Shelter a try soon.

I messed up a little bit on the front gansey panel, I didn’t start the rig and furrow motif soon enough, so it starts a little late. Its very unnoticeable, though, so I am okay with it. I like the texture so much!

rocquaine_sweater_6rocquaine_sweater_4rocquaine_sweater_3Jacob is killin’ it with the photos!

On another note, I made my mom and sister some mitered-corner Essex linen napkins for Christmas. After making 16 napkins, I have discovered a trick to help make a more professional finish. At first, after sewing the miters and pressing, I had so much excess fabric in the middle of each side, and couldn’t figure out where I went wrong. After going back to double-check my measurements, I found that pressing from the middle of each side before pressing the corners made a huge difference and eliminated the excess ease. I think the miters can be deceiving when pressing them first, and they can throw a lot of slack to the long sides instead of sucking some up themselves. After adopting this method, sewing the hem became a breeze. Anyway, totally recommend these napkins, I love them and the fabric is perfect for an everyday napkin. I might make some more for me!

dsc_1699dsc_1704dsc_1714

Bonus: Jacob snapped a pic of the silver dollar patch after some rain. I love how moody this is.silver_dollar

The Scoop.

Here’s what I’ve been up to, now that I have a moment to reflect (and all projects/gifts for the holidays have been distributed).

A hat for my friend Hannah:

A shawl for Jacob’s mom:
Fingerless glovies for my sister:
Ear warmers (to pull over a bike helmet) for Jacob:
And a hat for Chrissy (the LUCKY recipient of a work White Elephant):

 Phew! Those are the gifts. now for the other stuff…

I wanted to make a fancy skirt for our annual Christmas party, so I went into my ever-growing fabric stash and used some (i think) silk from the Center for Creative Reuse. I used Gertie’s skirt tutorial, but made the waistband much wider, put the zipper in the center back of the skirt, lined it, added pockets, and added volume with a layer of tulle. Also, the blind hem is so lovely. Please excuse the awk selfies. The last pic is from my friend John (the one I’m kissing on the cheek!)

When I was at my parents this past weekend, I went to the PA Fabric Outlet. WOW. I will be going there again for sure. Leather hides, $2/yard table, buttons, zippers, tassles, ribbon… it just was a rando fabric heaven. I got a beautiful piece of buttery mauve leather, a bunch of zippers, some silk and some cotton knits. Here’s a pic:

and here’s some of what i bought:
So that’s about it! To put it simply, things have been really crafty around here!