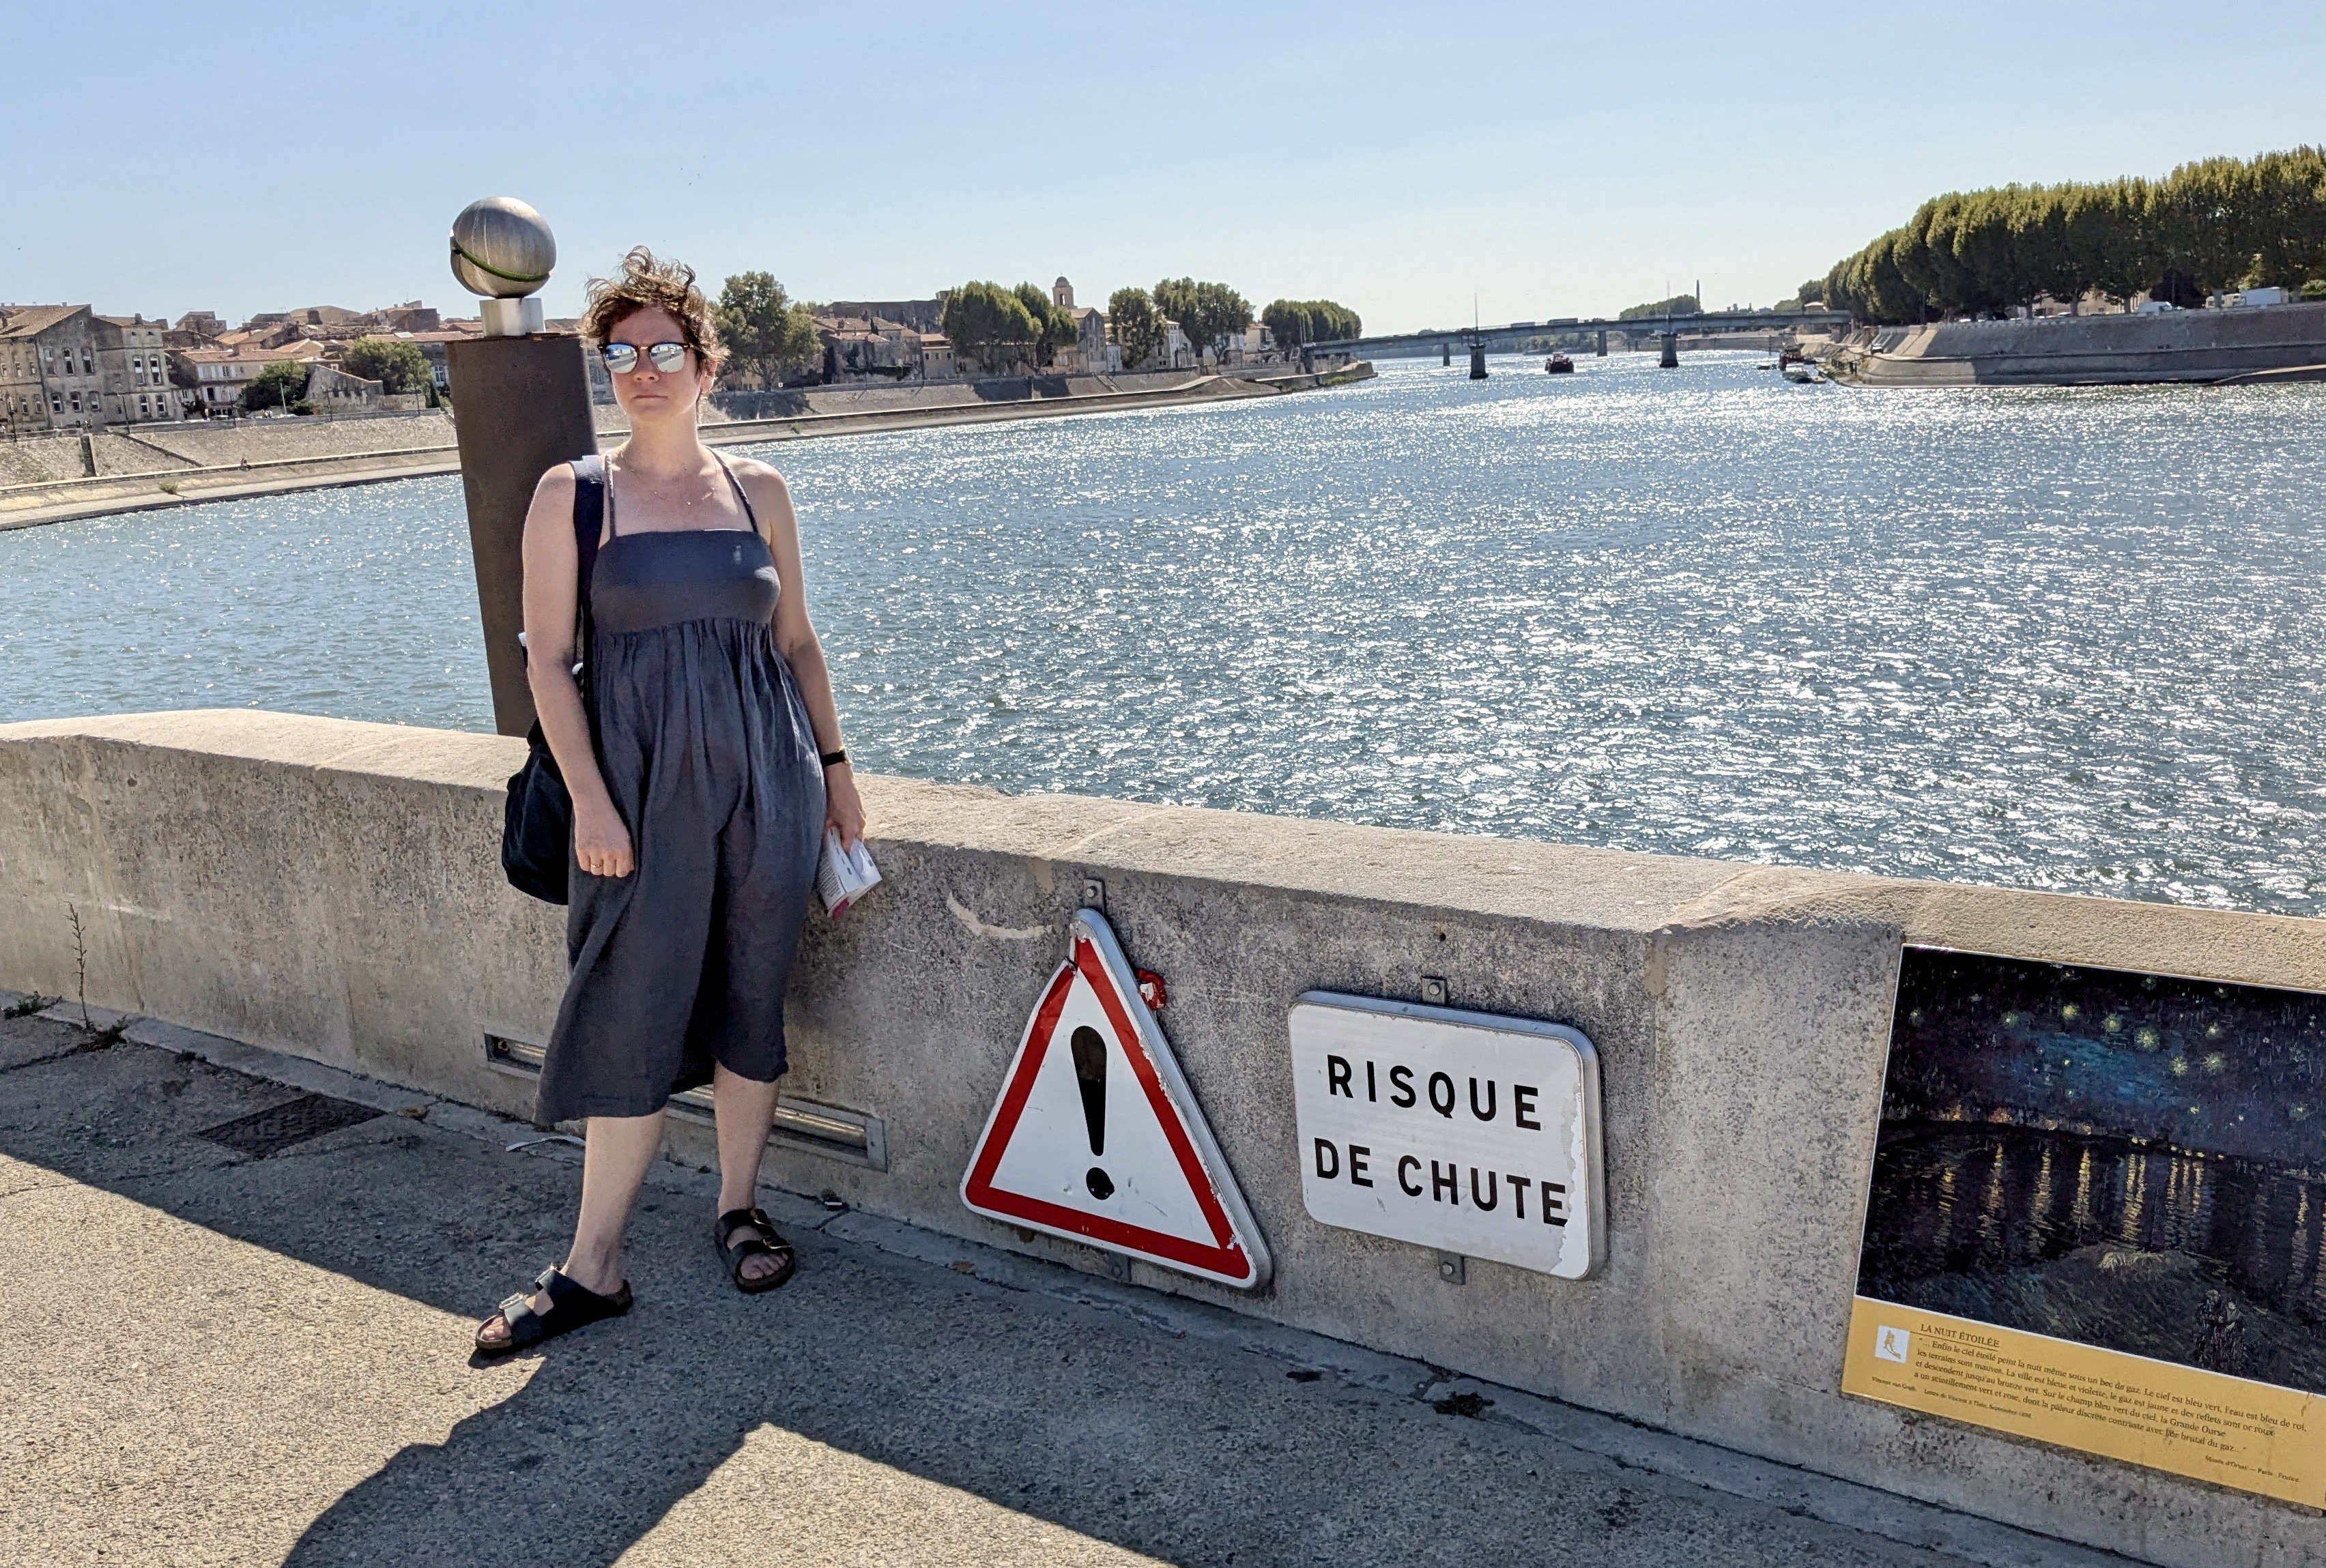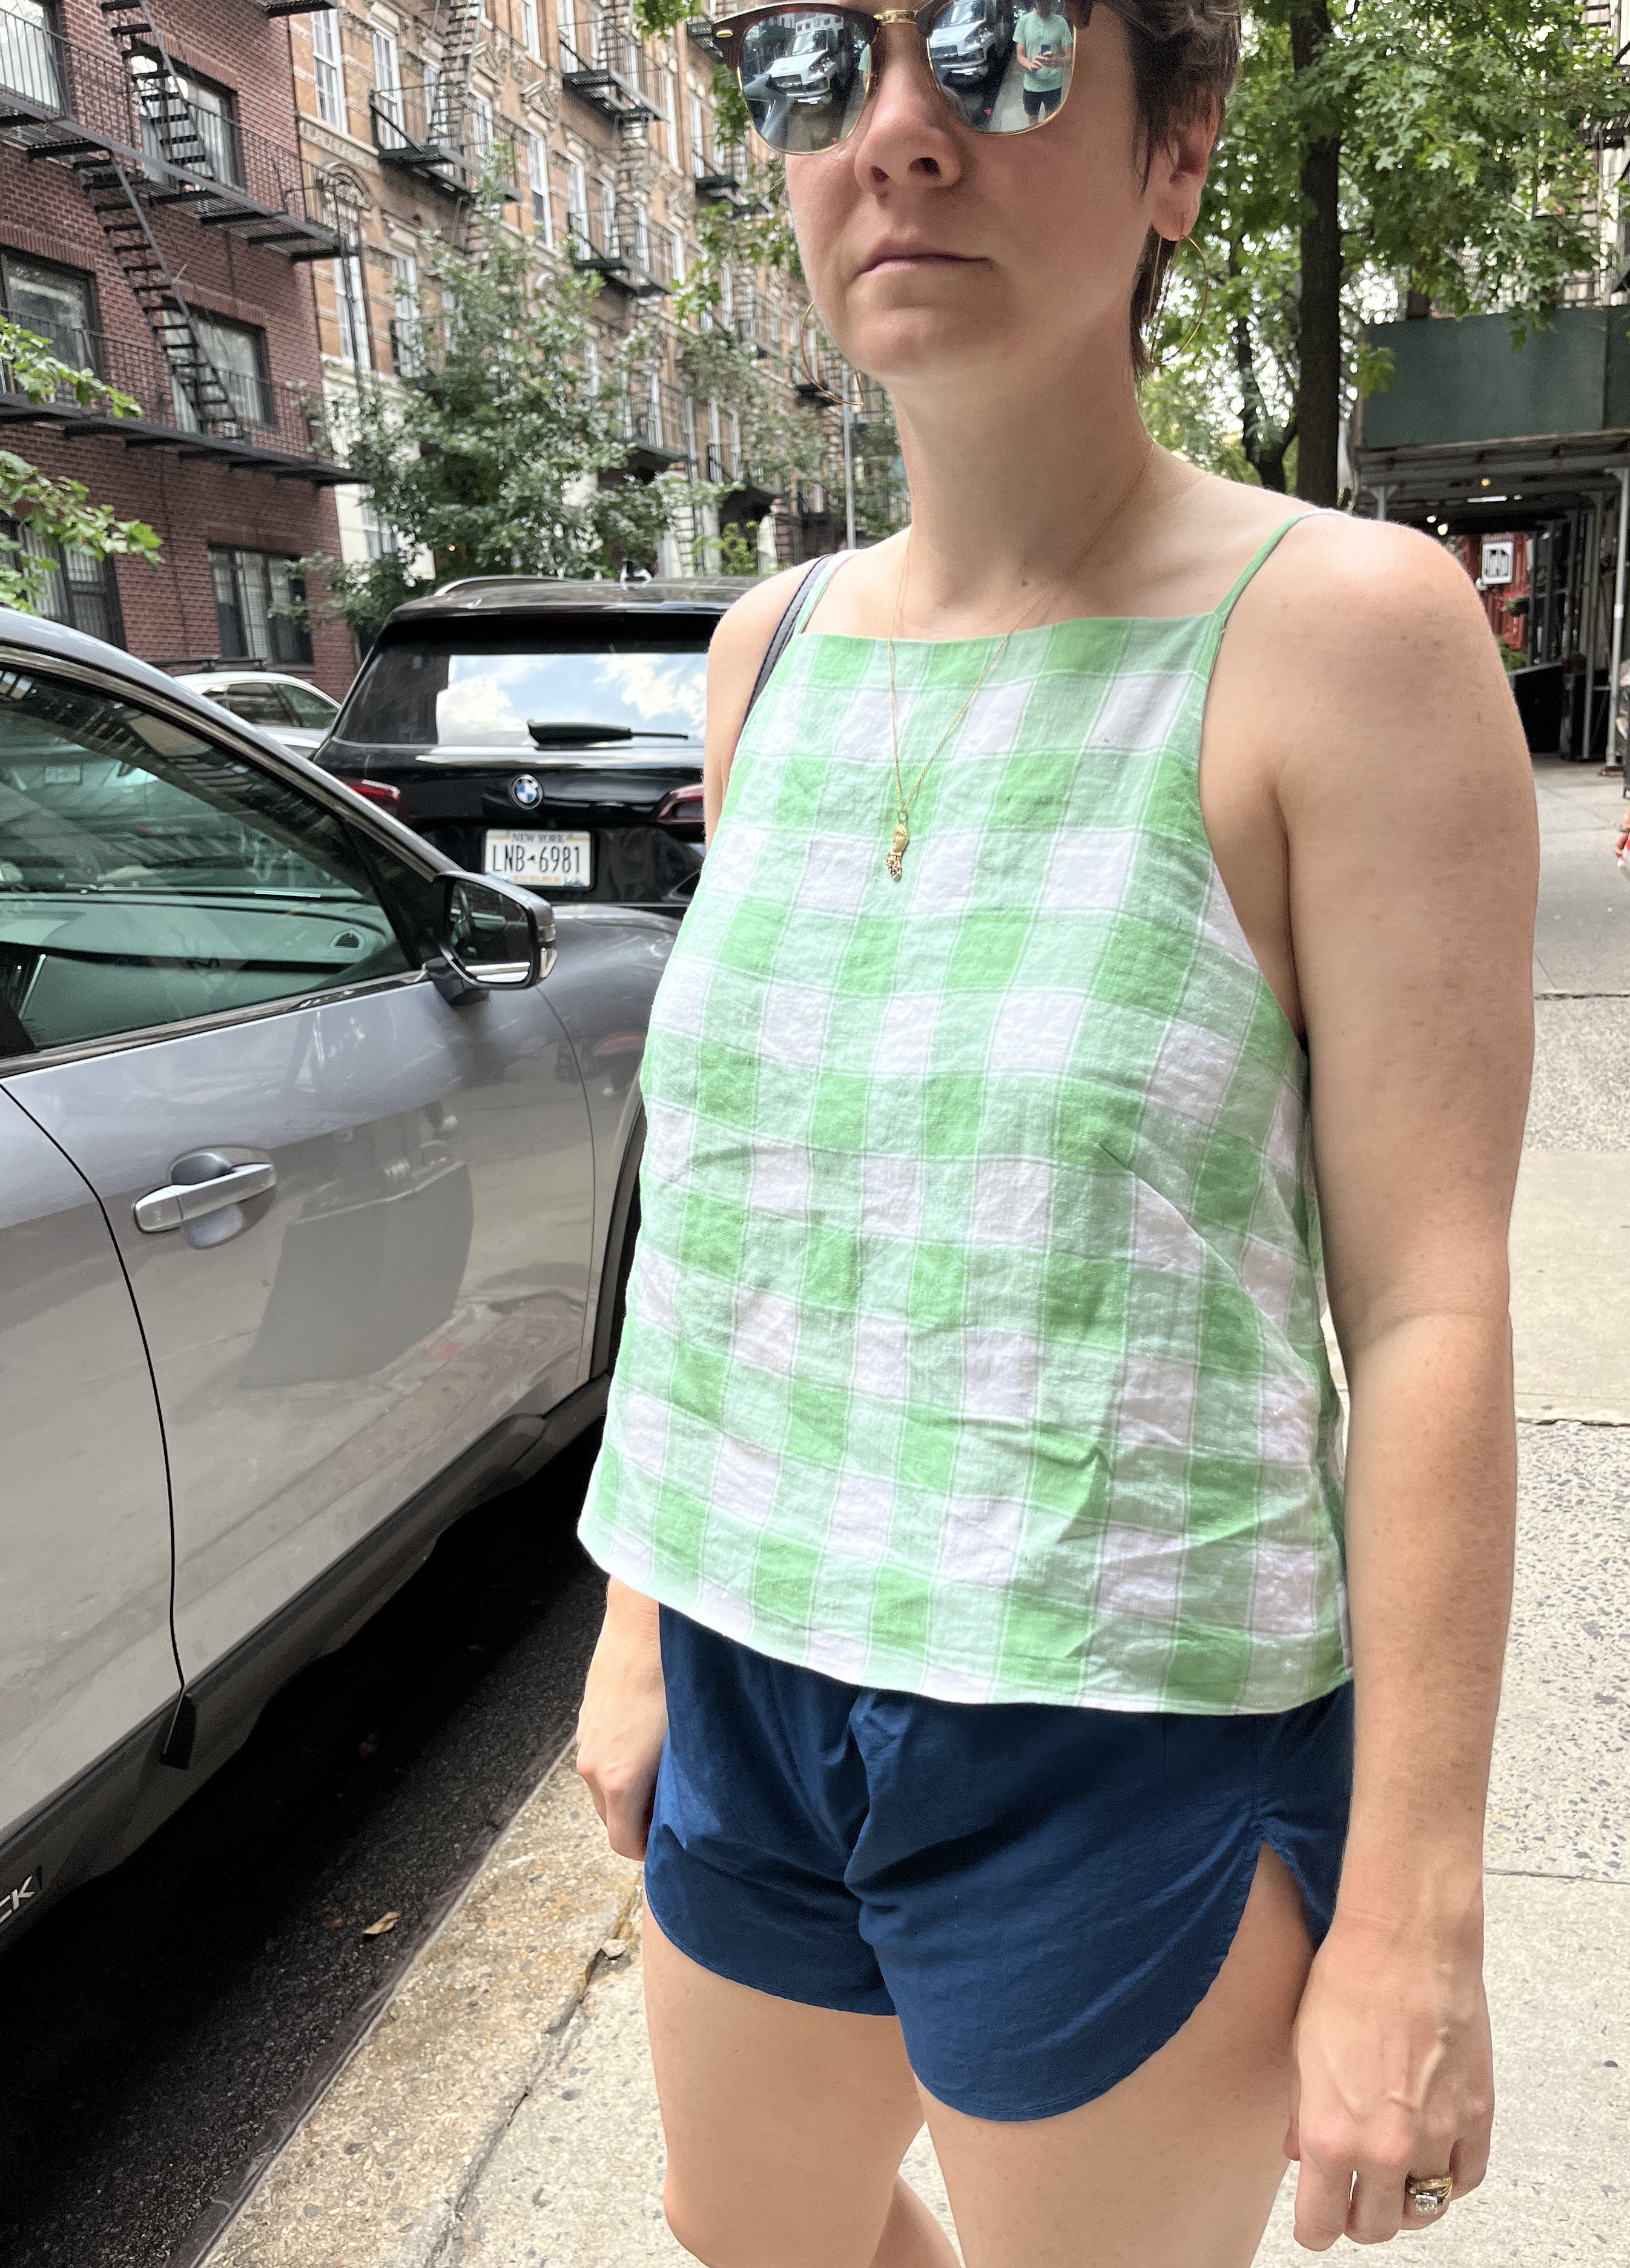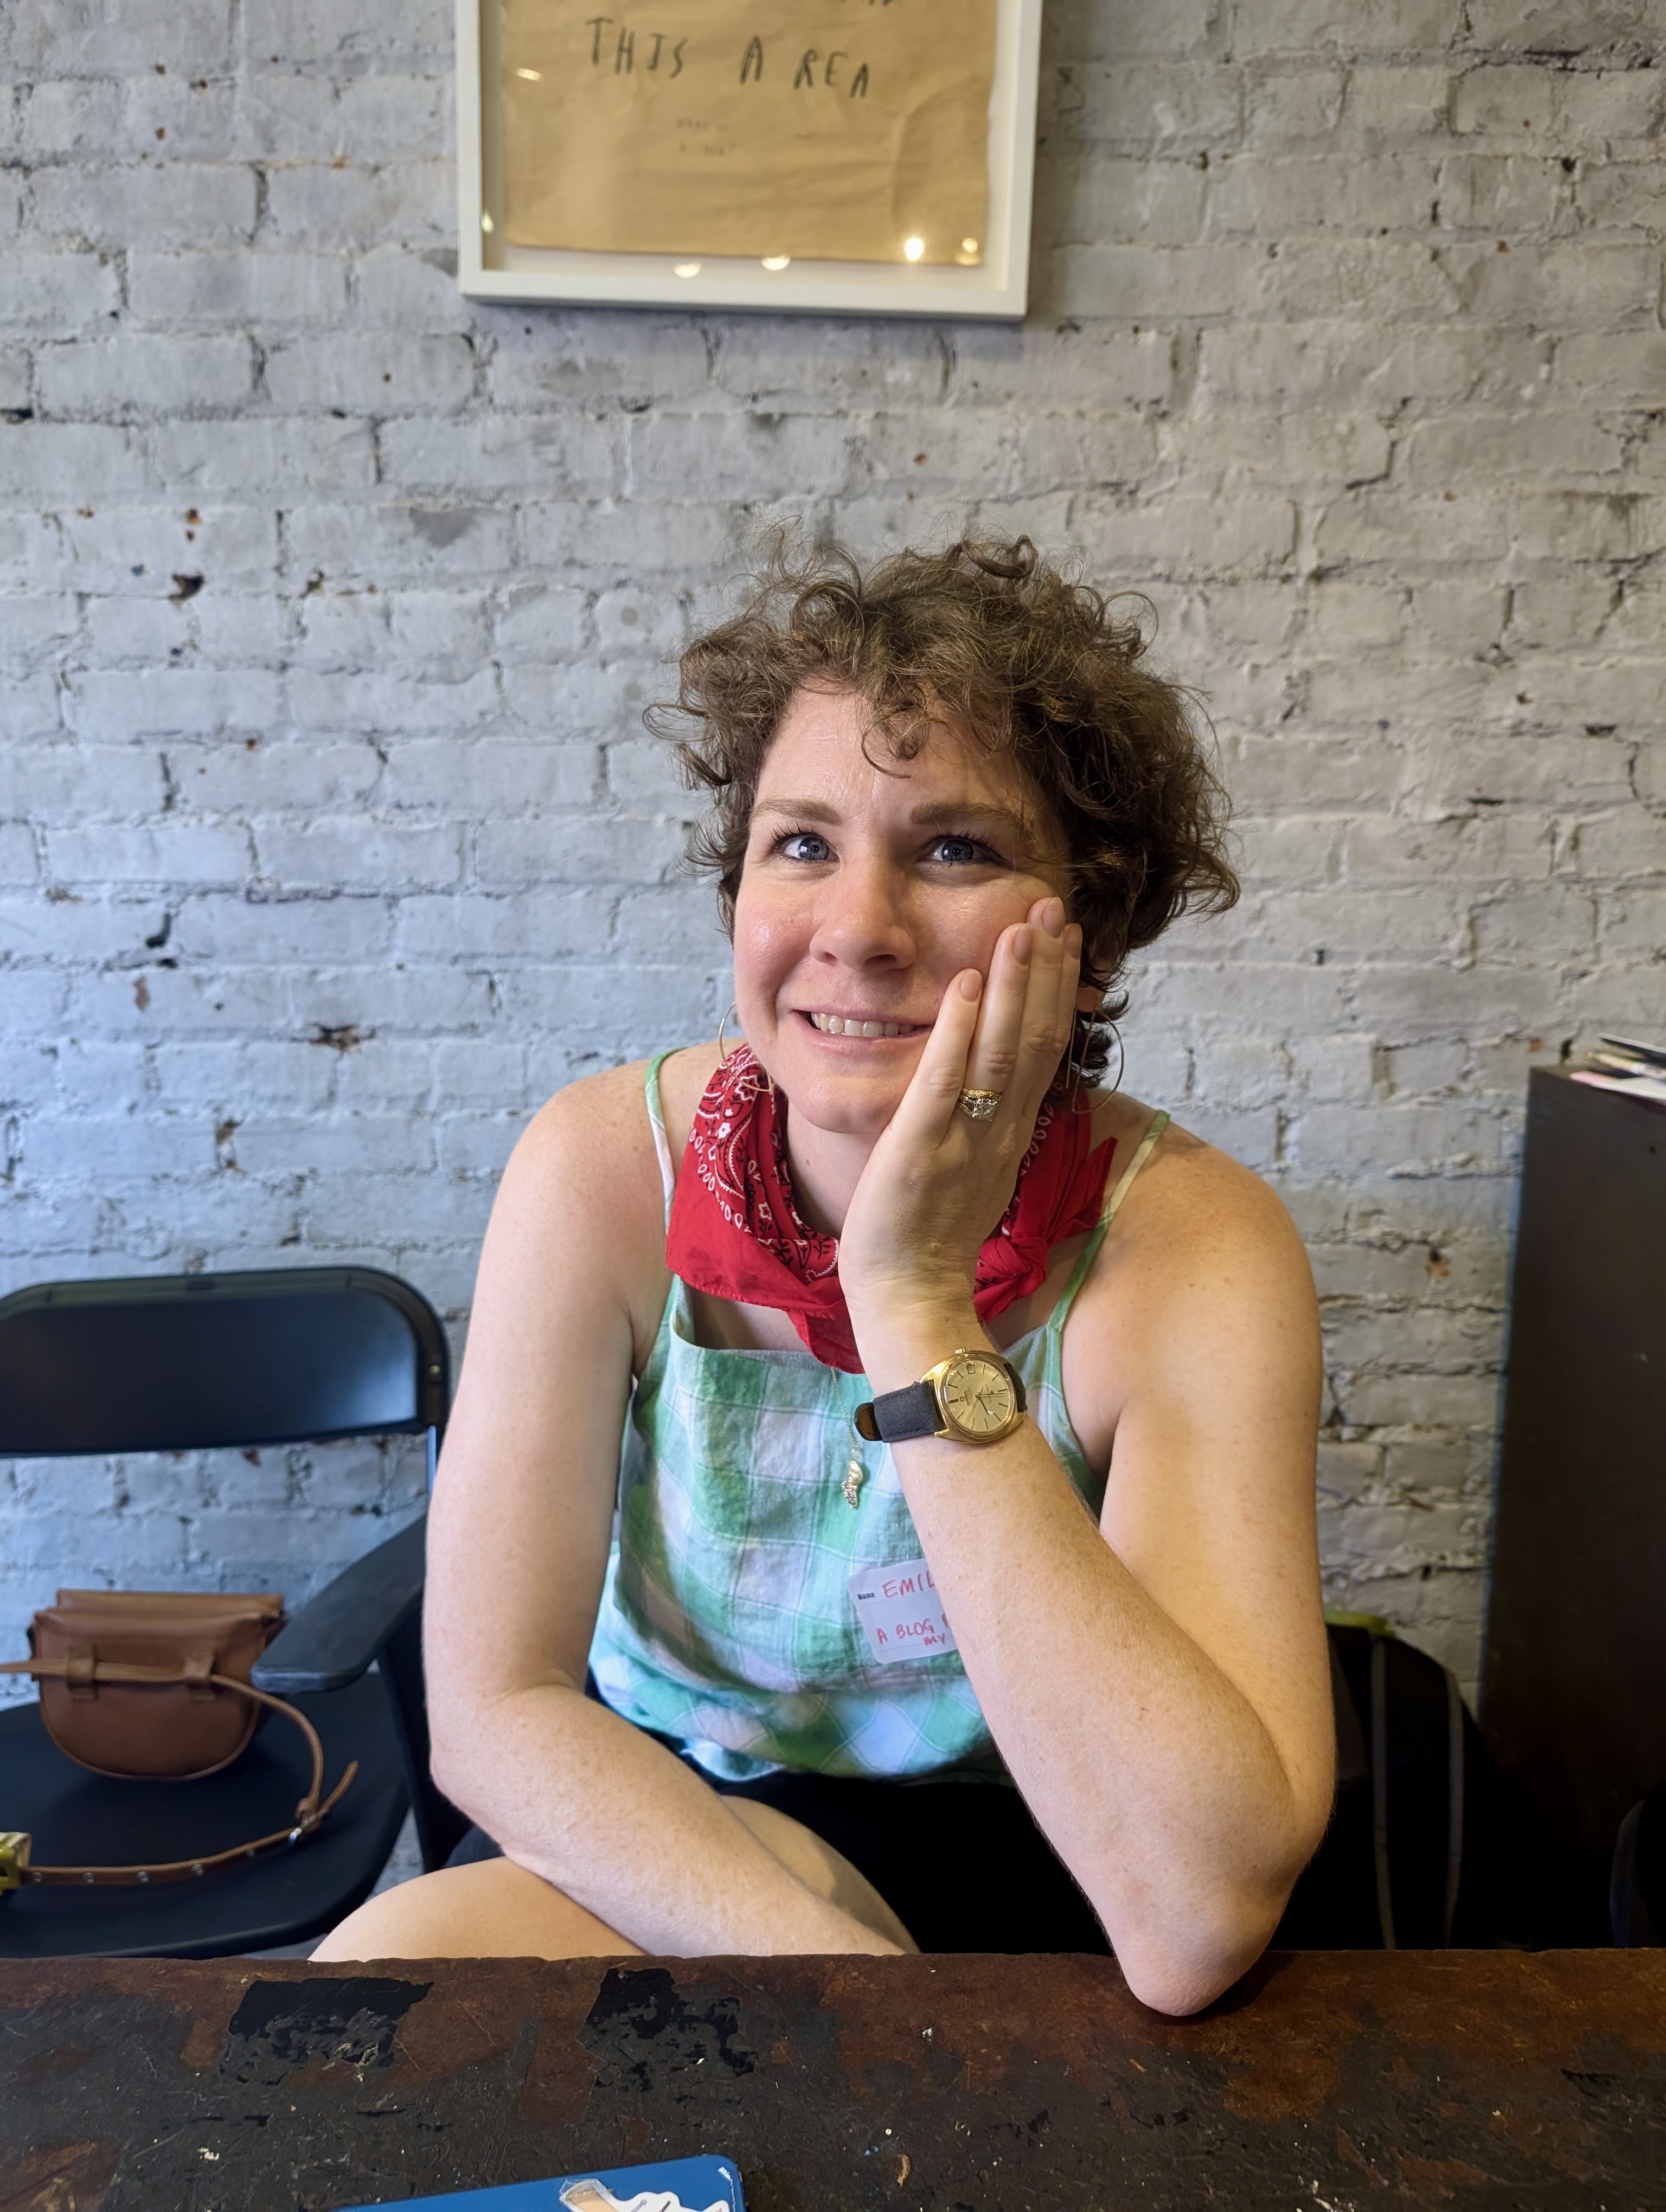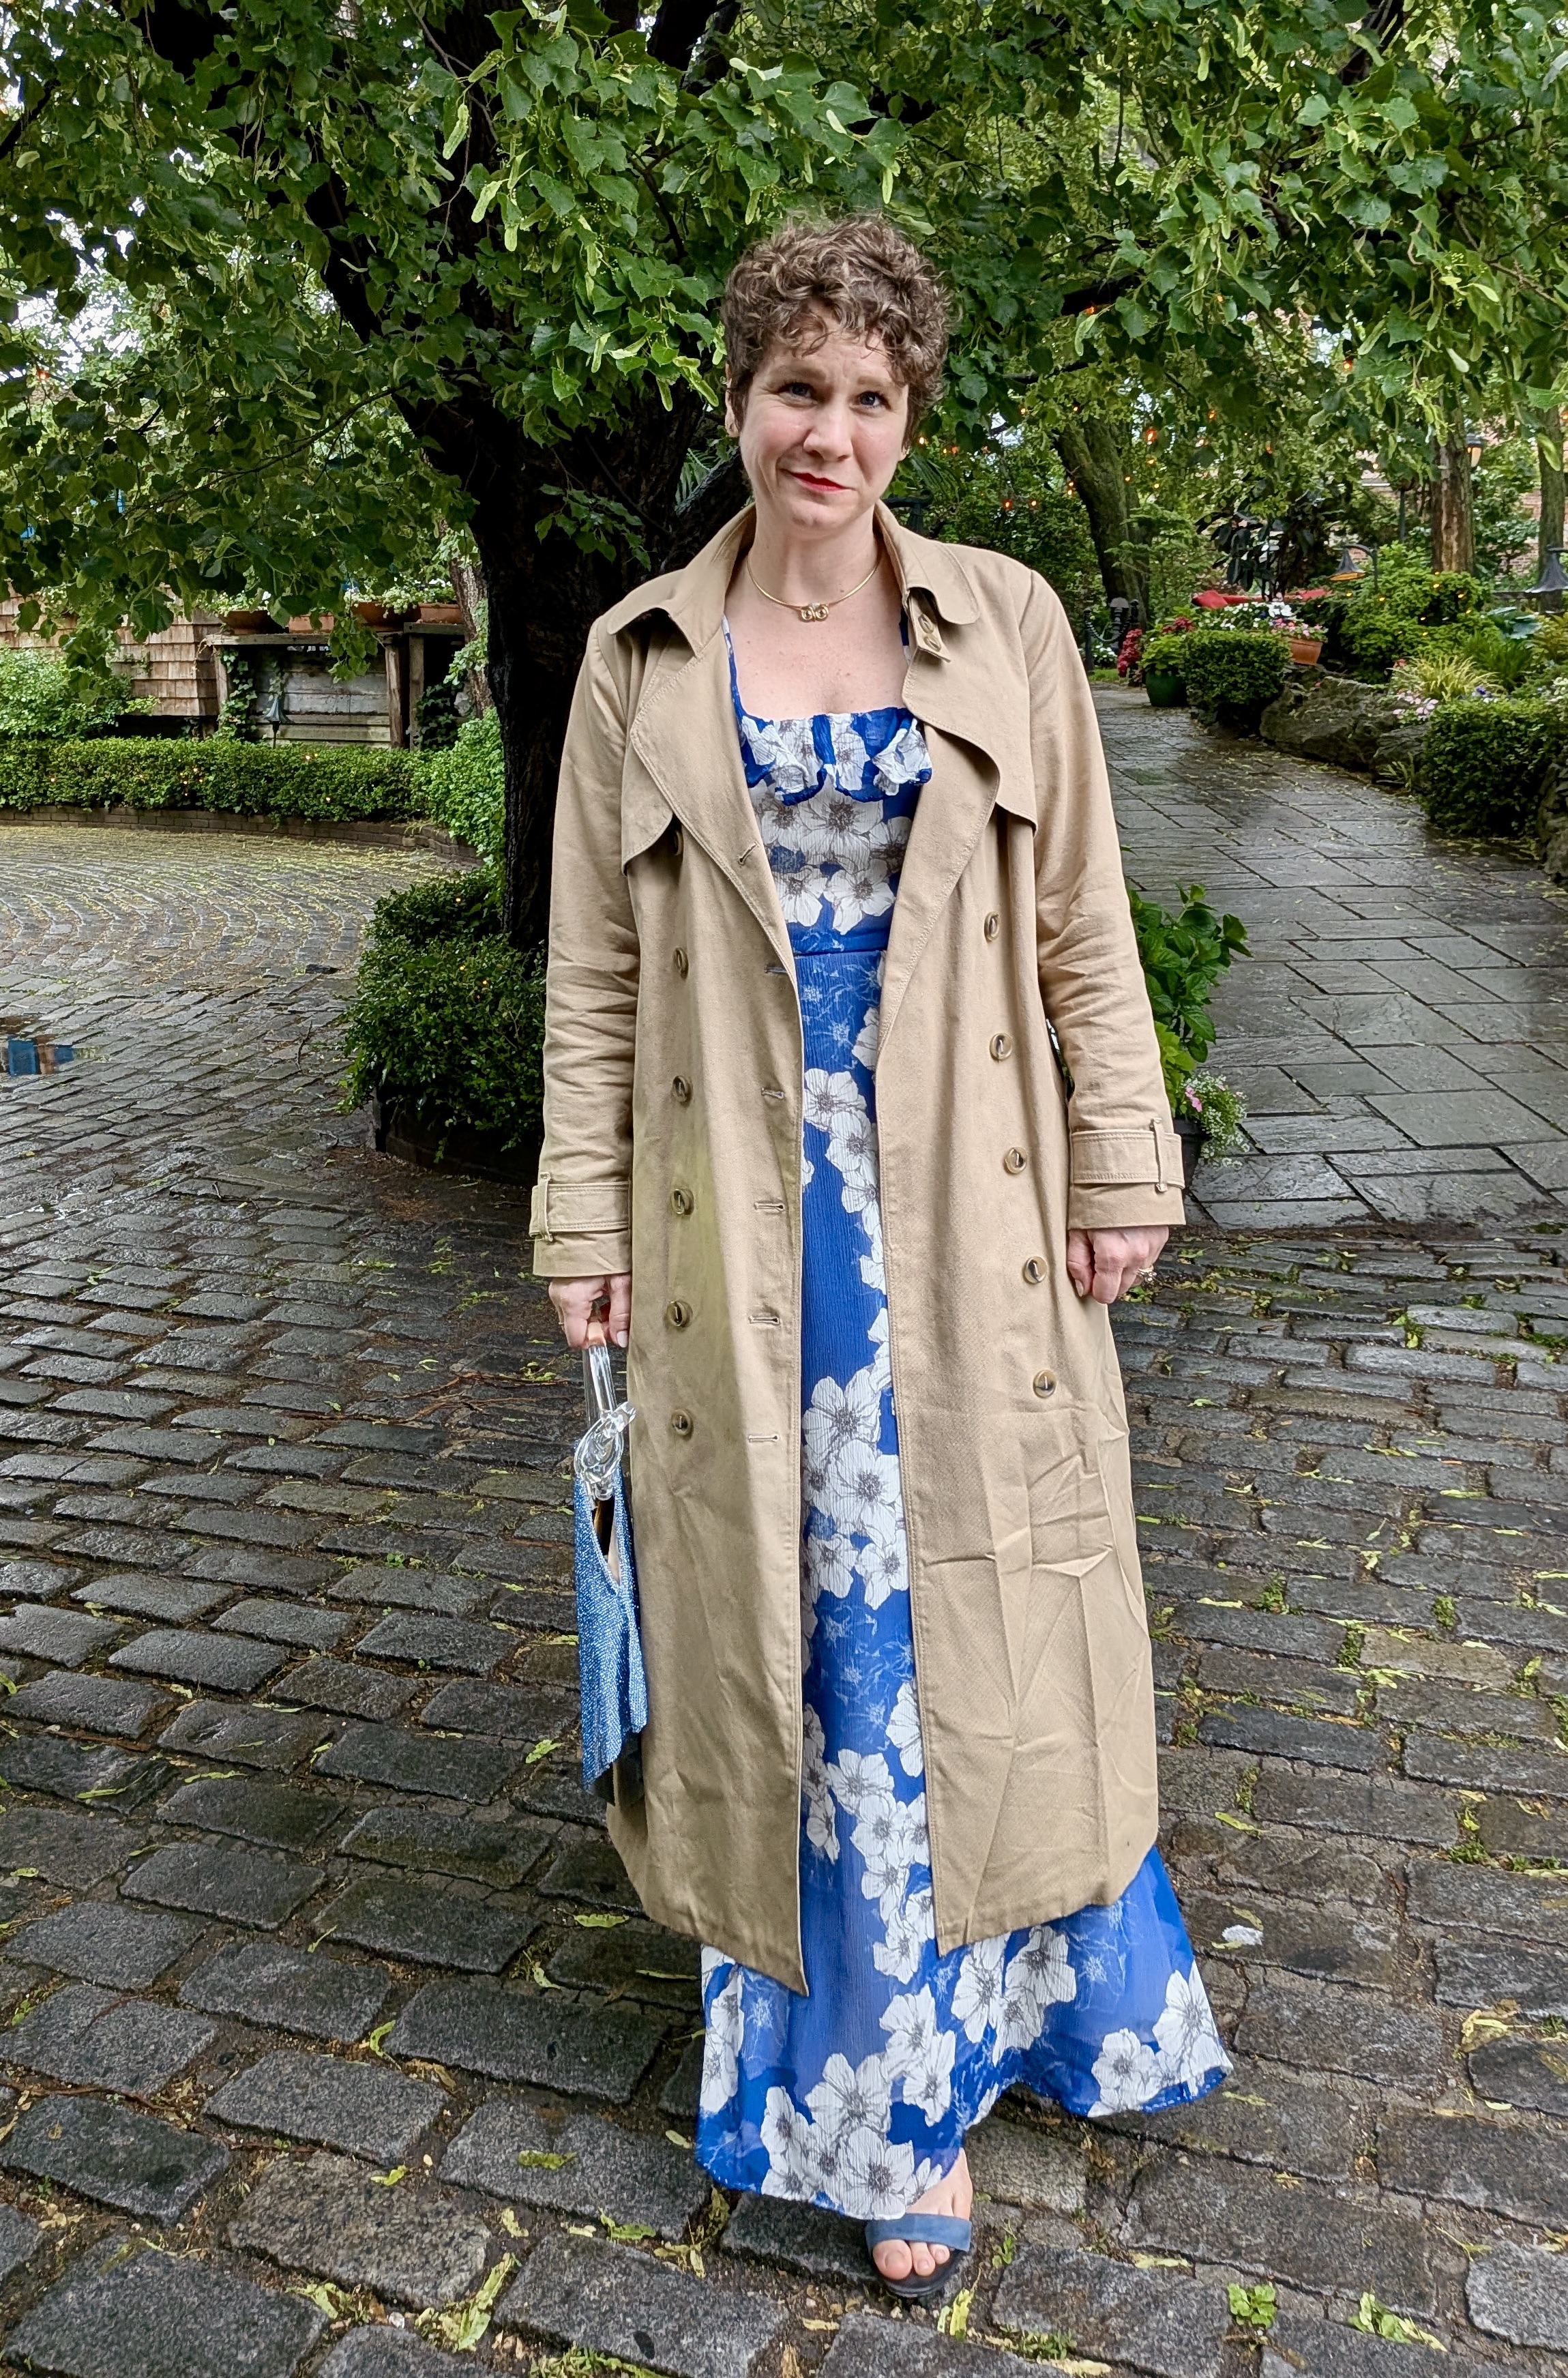
We recently attended our first black tie wedding (congrats, Amanda and Don!!!). I decided I wanted to make my dress and use this beautiful blue silk from my stash. The question was…. what pattern should I use? I ended up making the Coquelicot dress from Deer & Doe. I searched for awhile to find the right pattern for an occasion dress, and I kept coming back to this one. One of the reasons I love Deer & Doe is that their blocks fit me without a lot of adjustments, and after sewing up a bodice muslin, it fit perfectly and I was ready to start.
Fabric

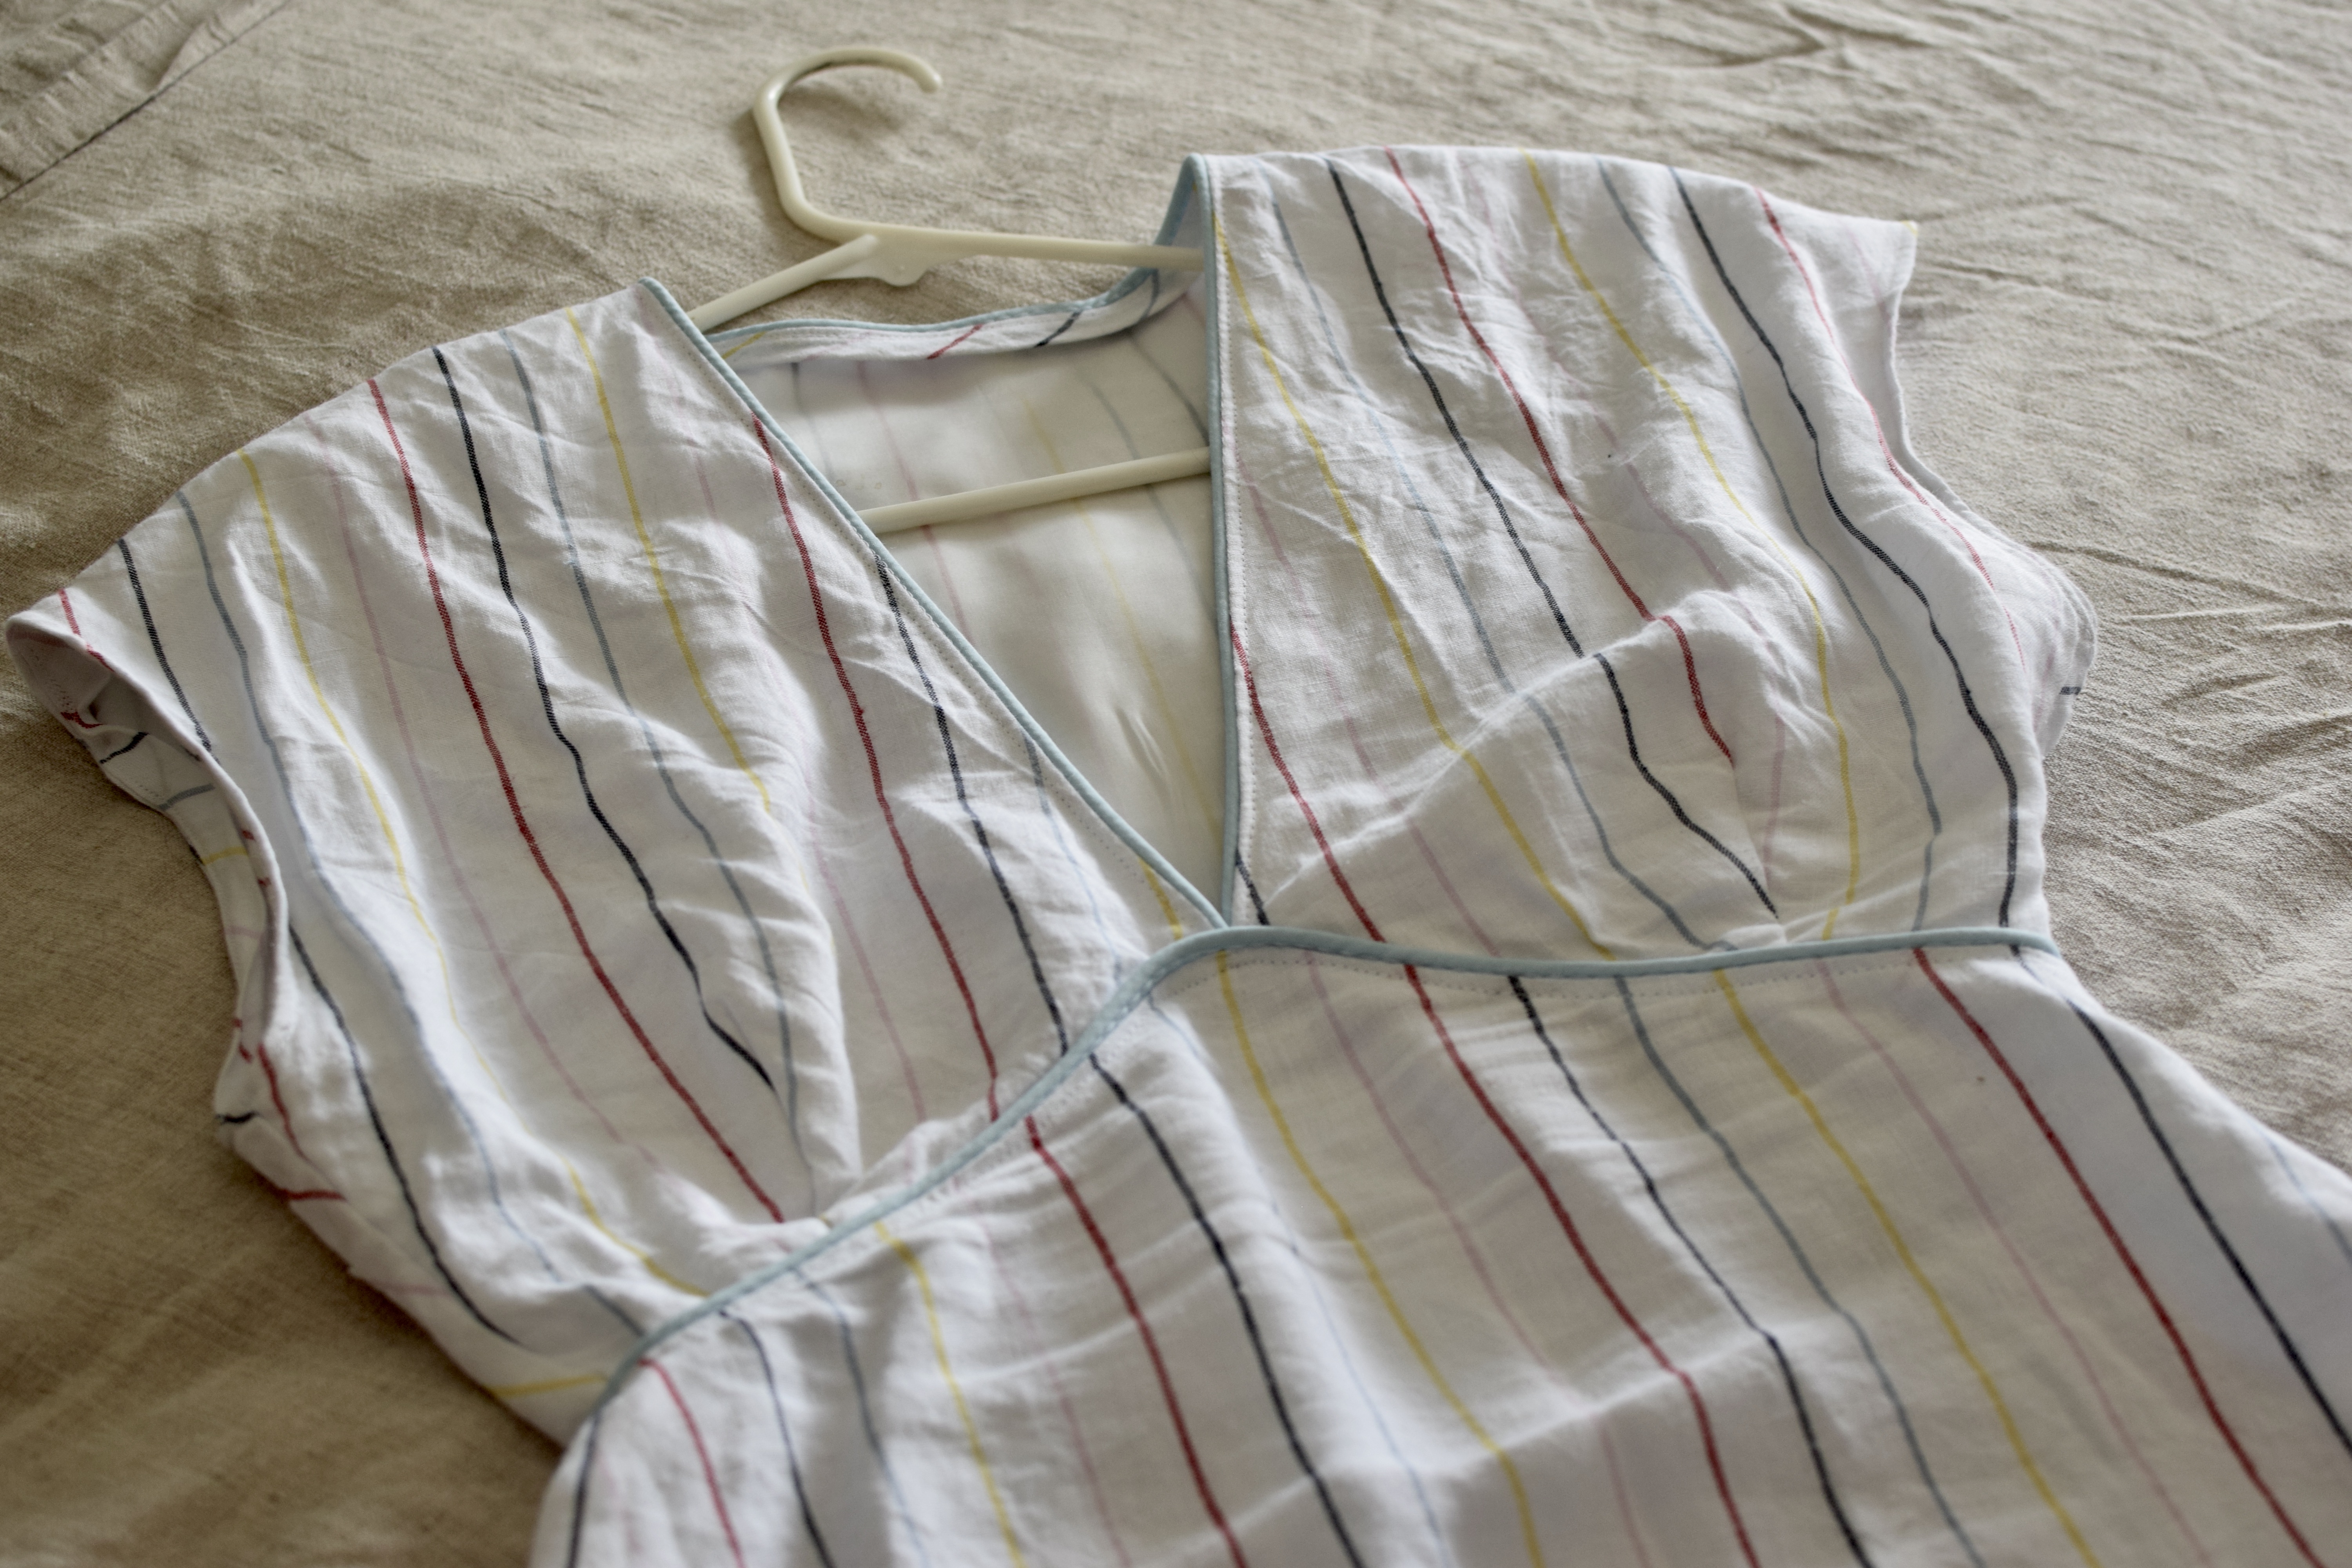
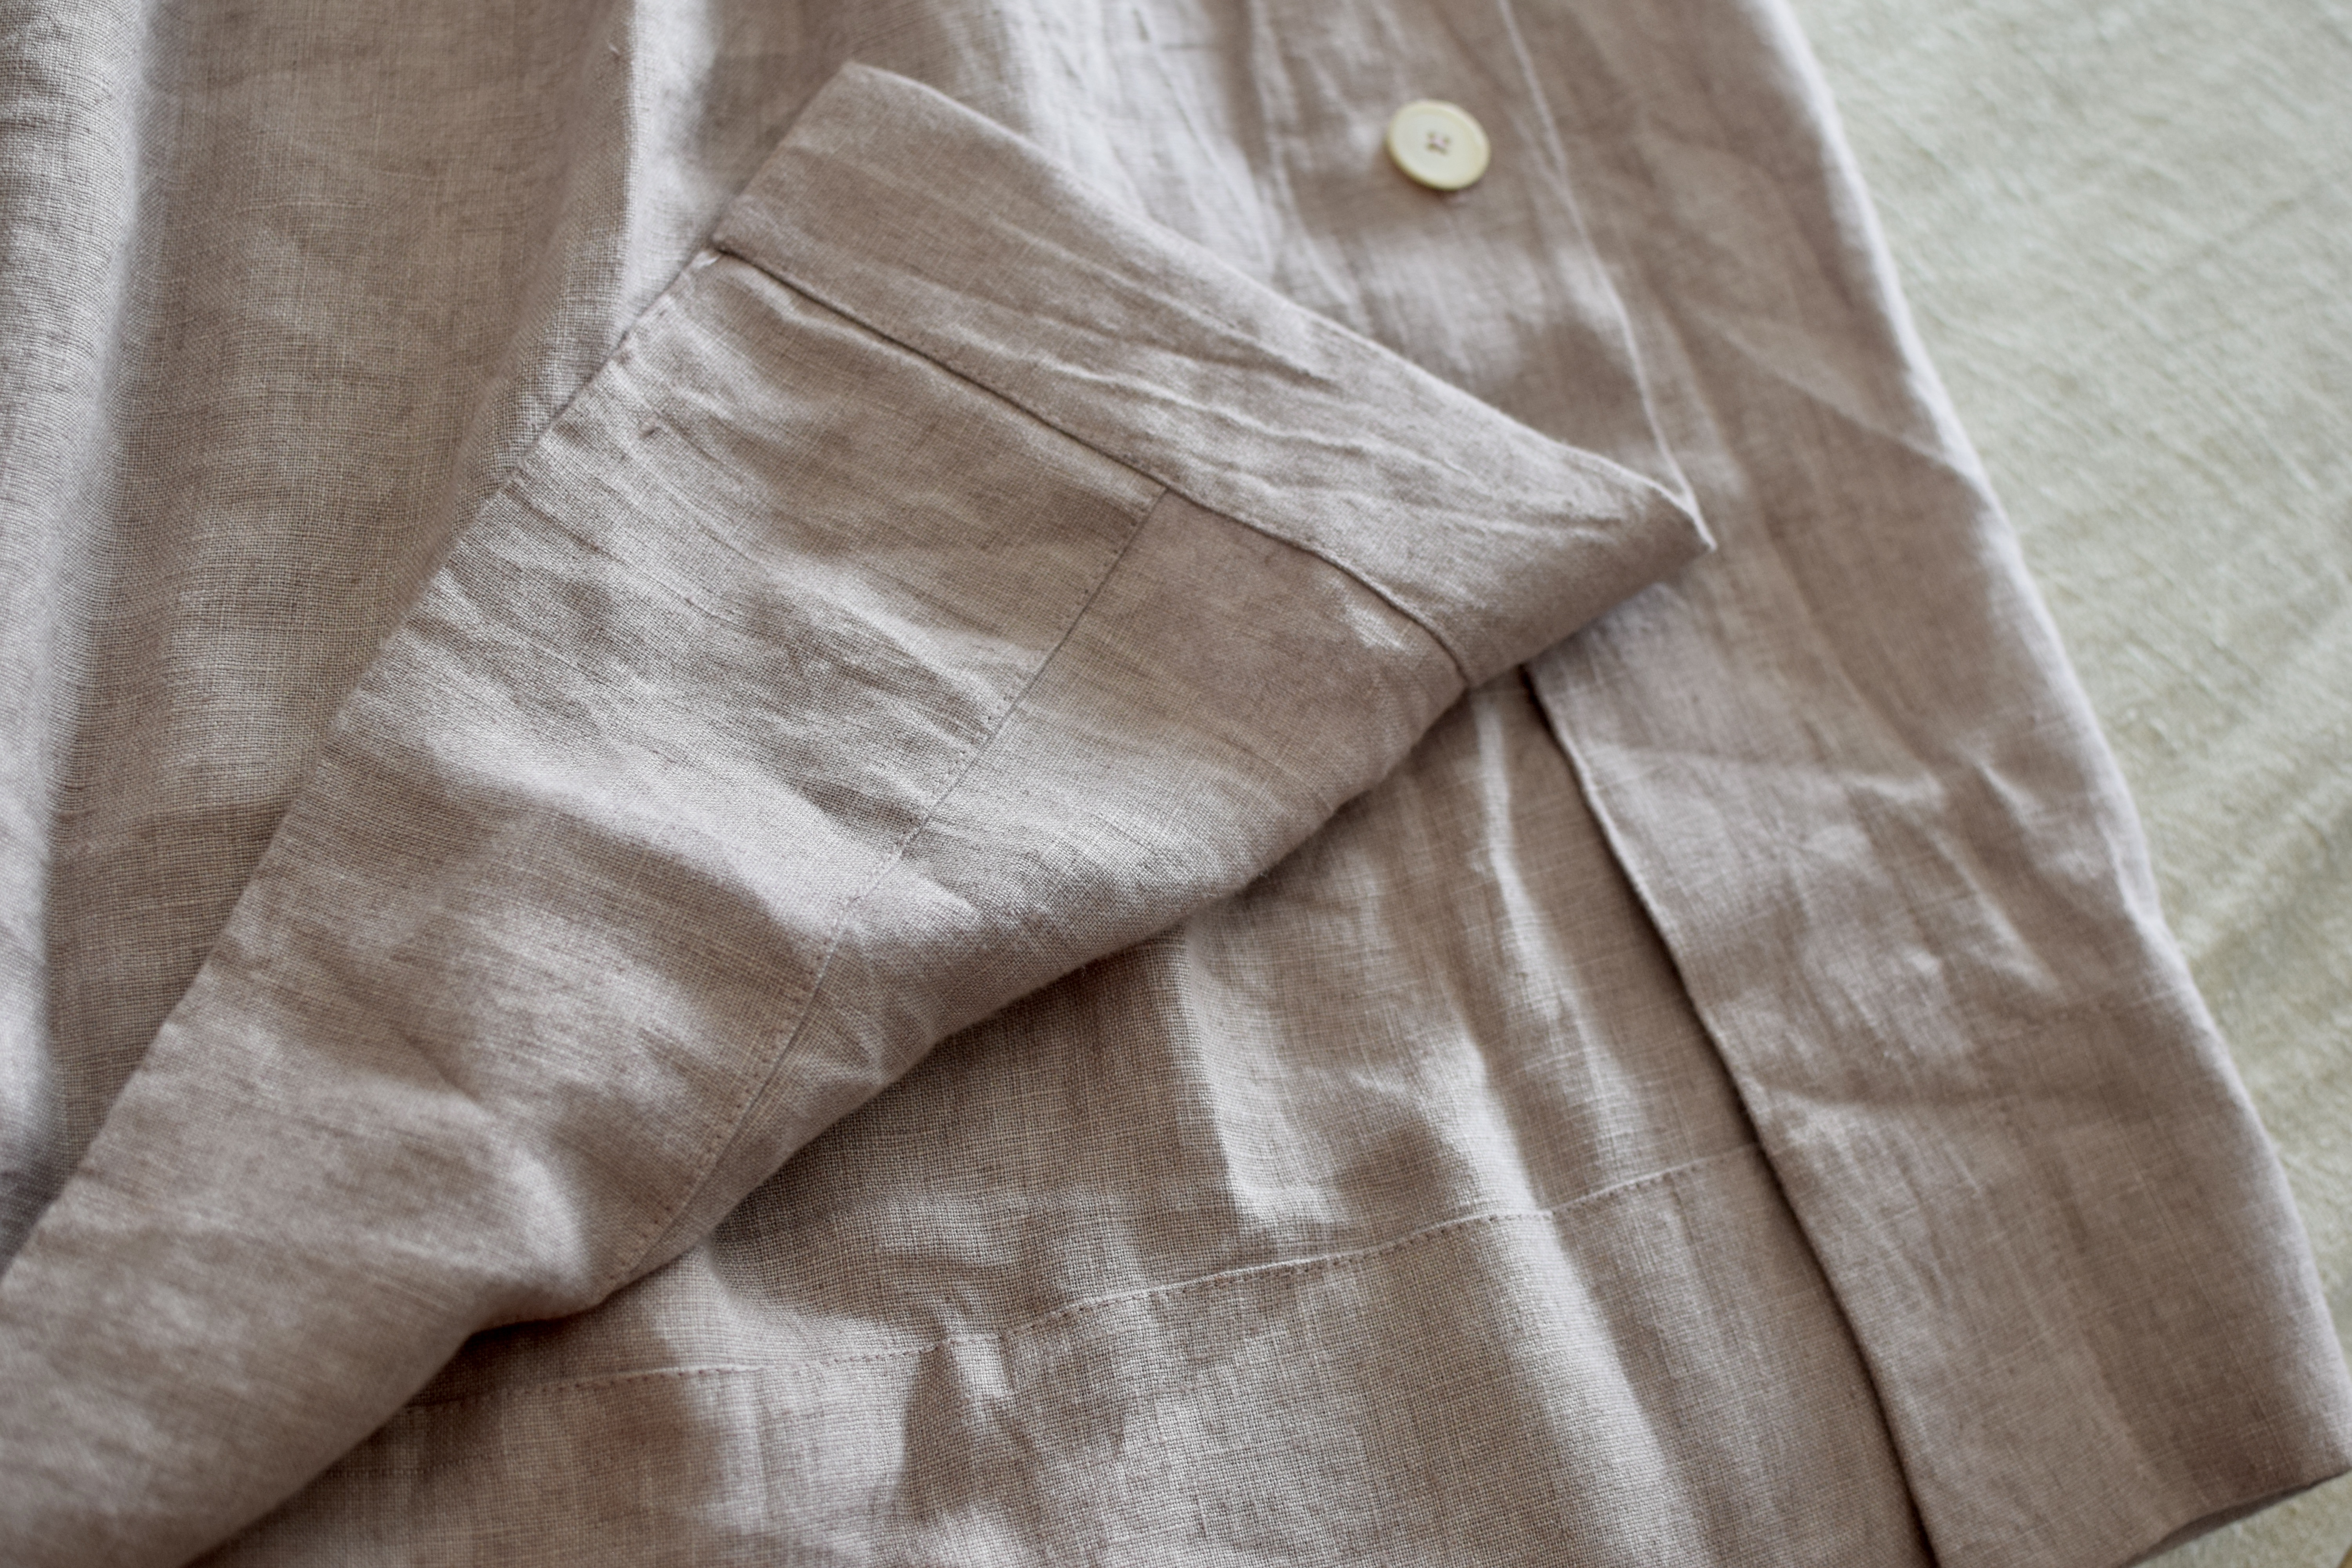
I’ve had this silk yoru in my stash for years. I bought it with some ecru yoru with the intention of someday making a lined dress, but it took some time for destiny to work its magic. I underlined the yoru with silk organza, used cream crepe de chine for the bodice lining, and lined the skirt with the matching yoru (that’s all I had enough for!). The result is an airy, dreamy dress that is so lightweight and comfortable.
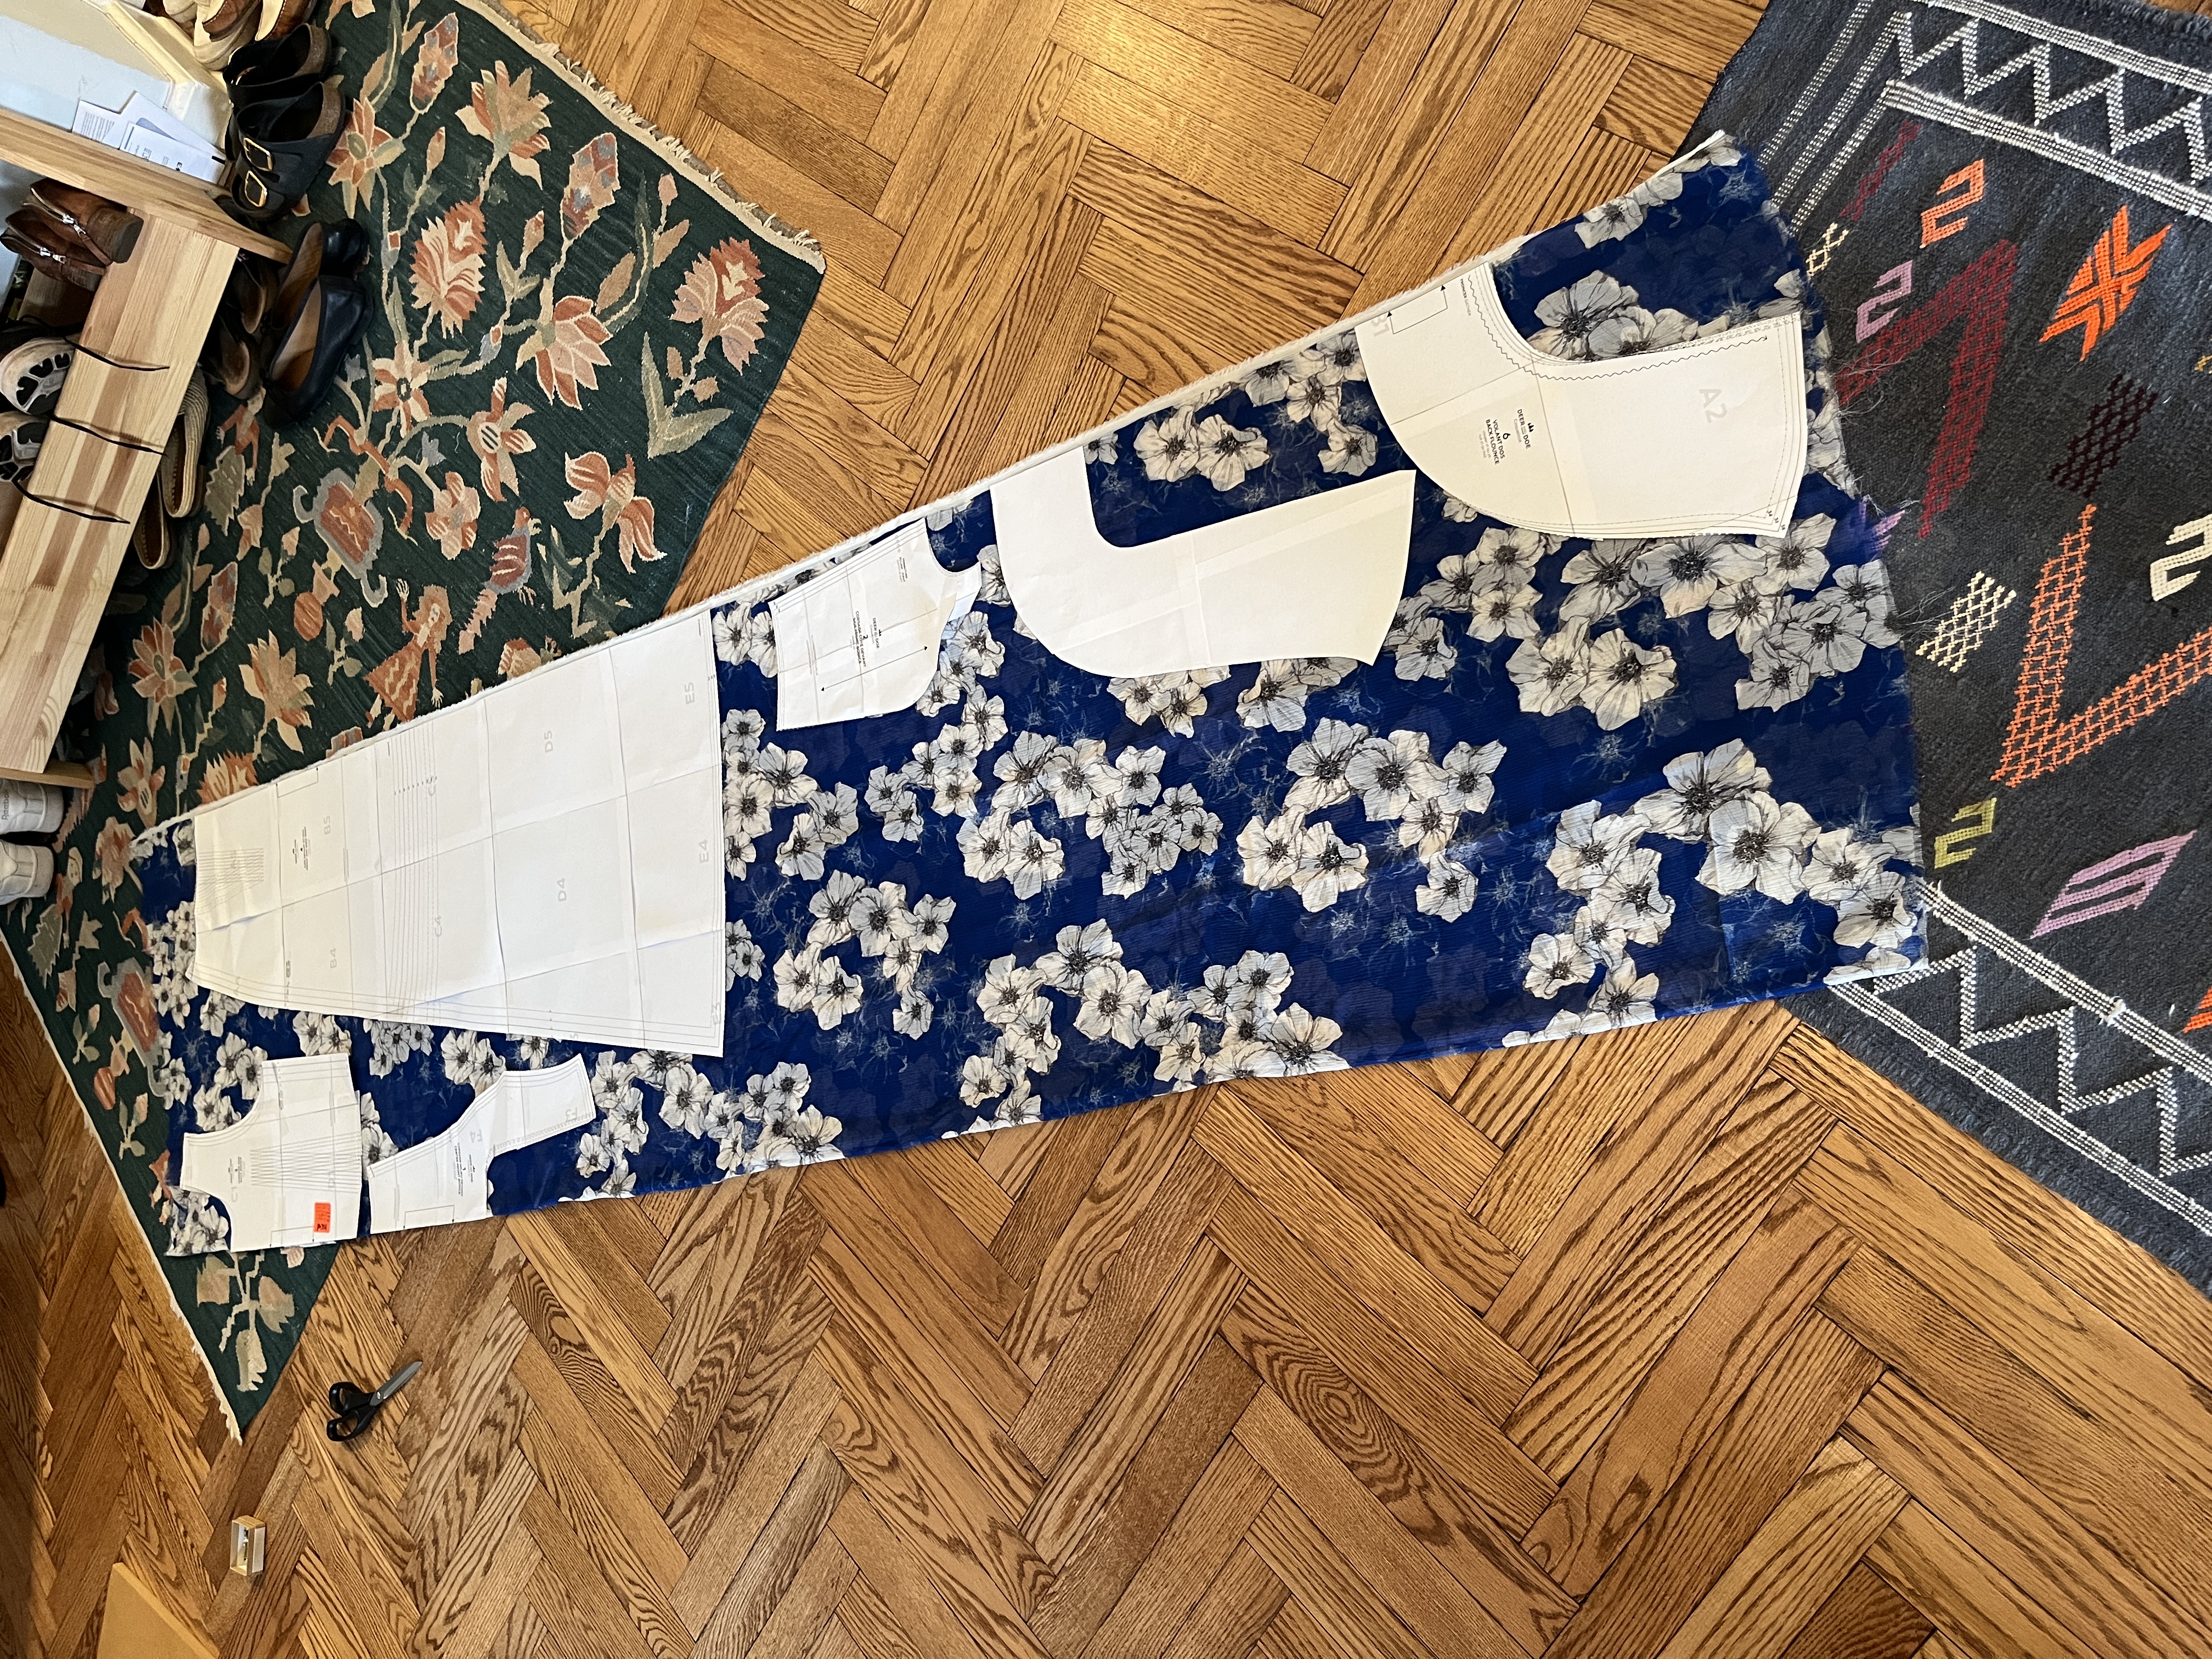
I had just barely enough fabric: I had to cut the front and back flounces in two pieces, and the skirt back had to be seamed as well. Not ideal but it was “make it work time.”
Construction
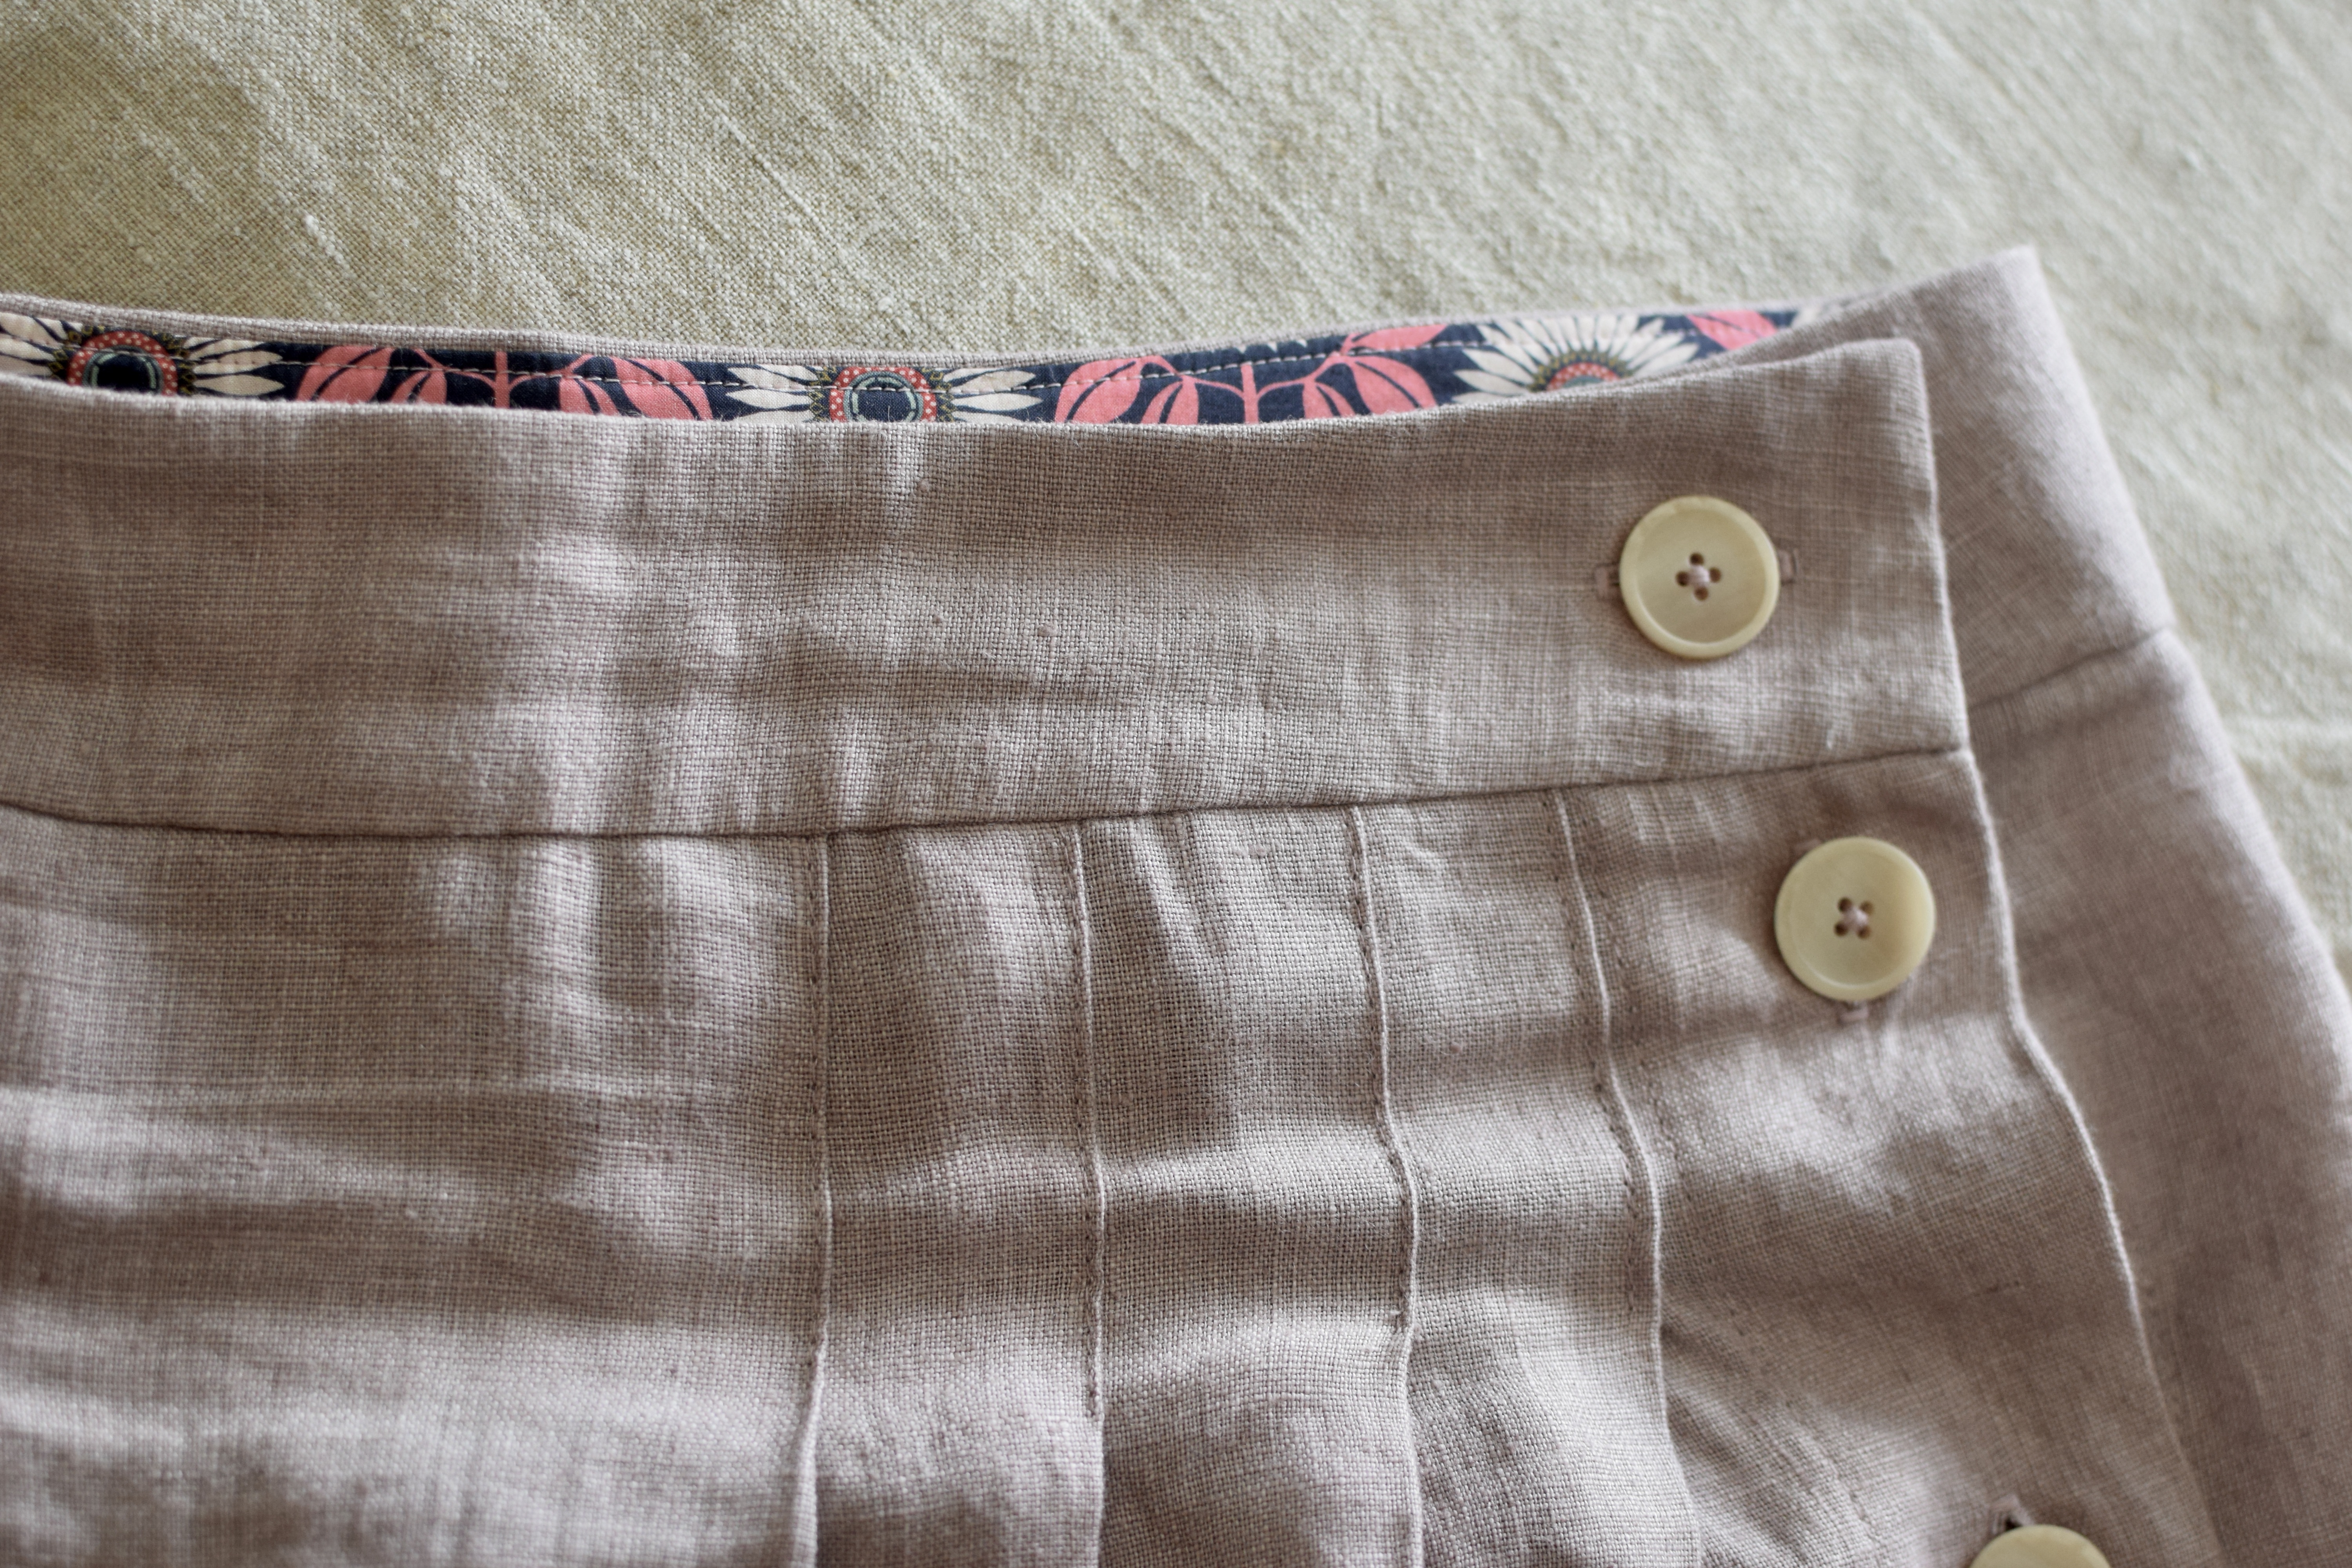
I was really surprised that this pattern doesn’t specify a lining. For such a special dress, a full lining felt necessary. For seams that I did on the machine, I slid a strip of tracing paper under the fabric before stitching to stabilize it, then tore it away afterward, which kept the seams from getting chewed up or distorted.
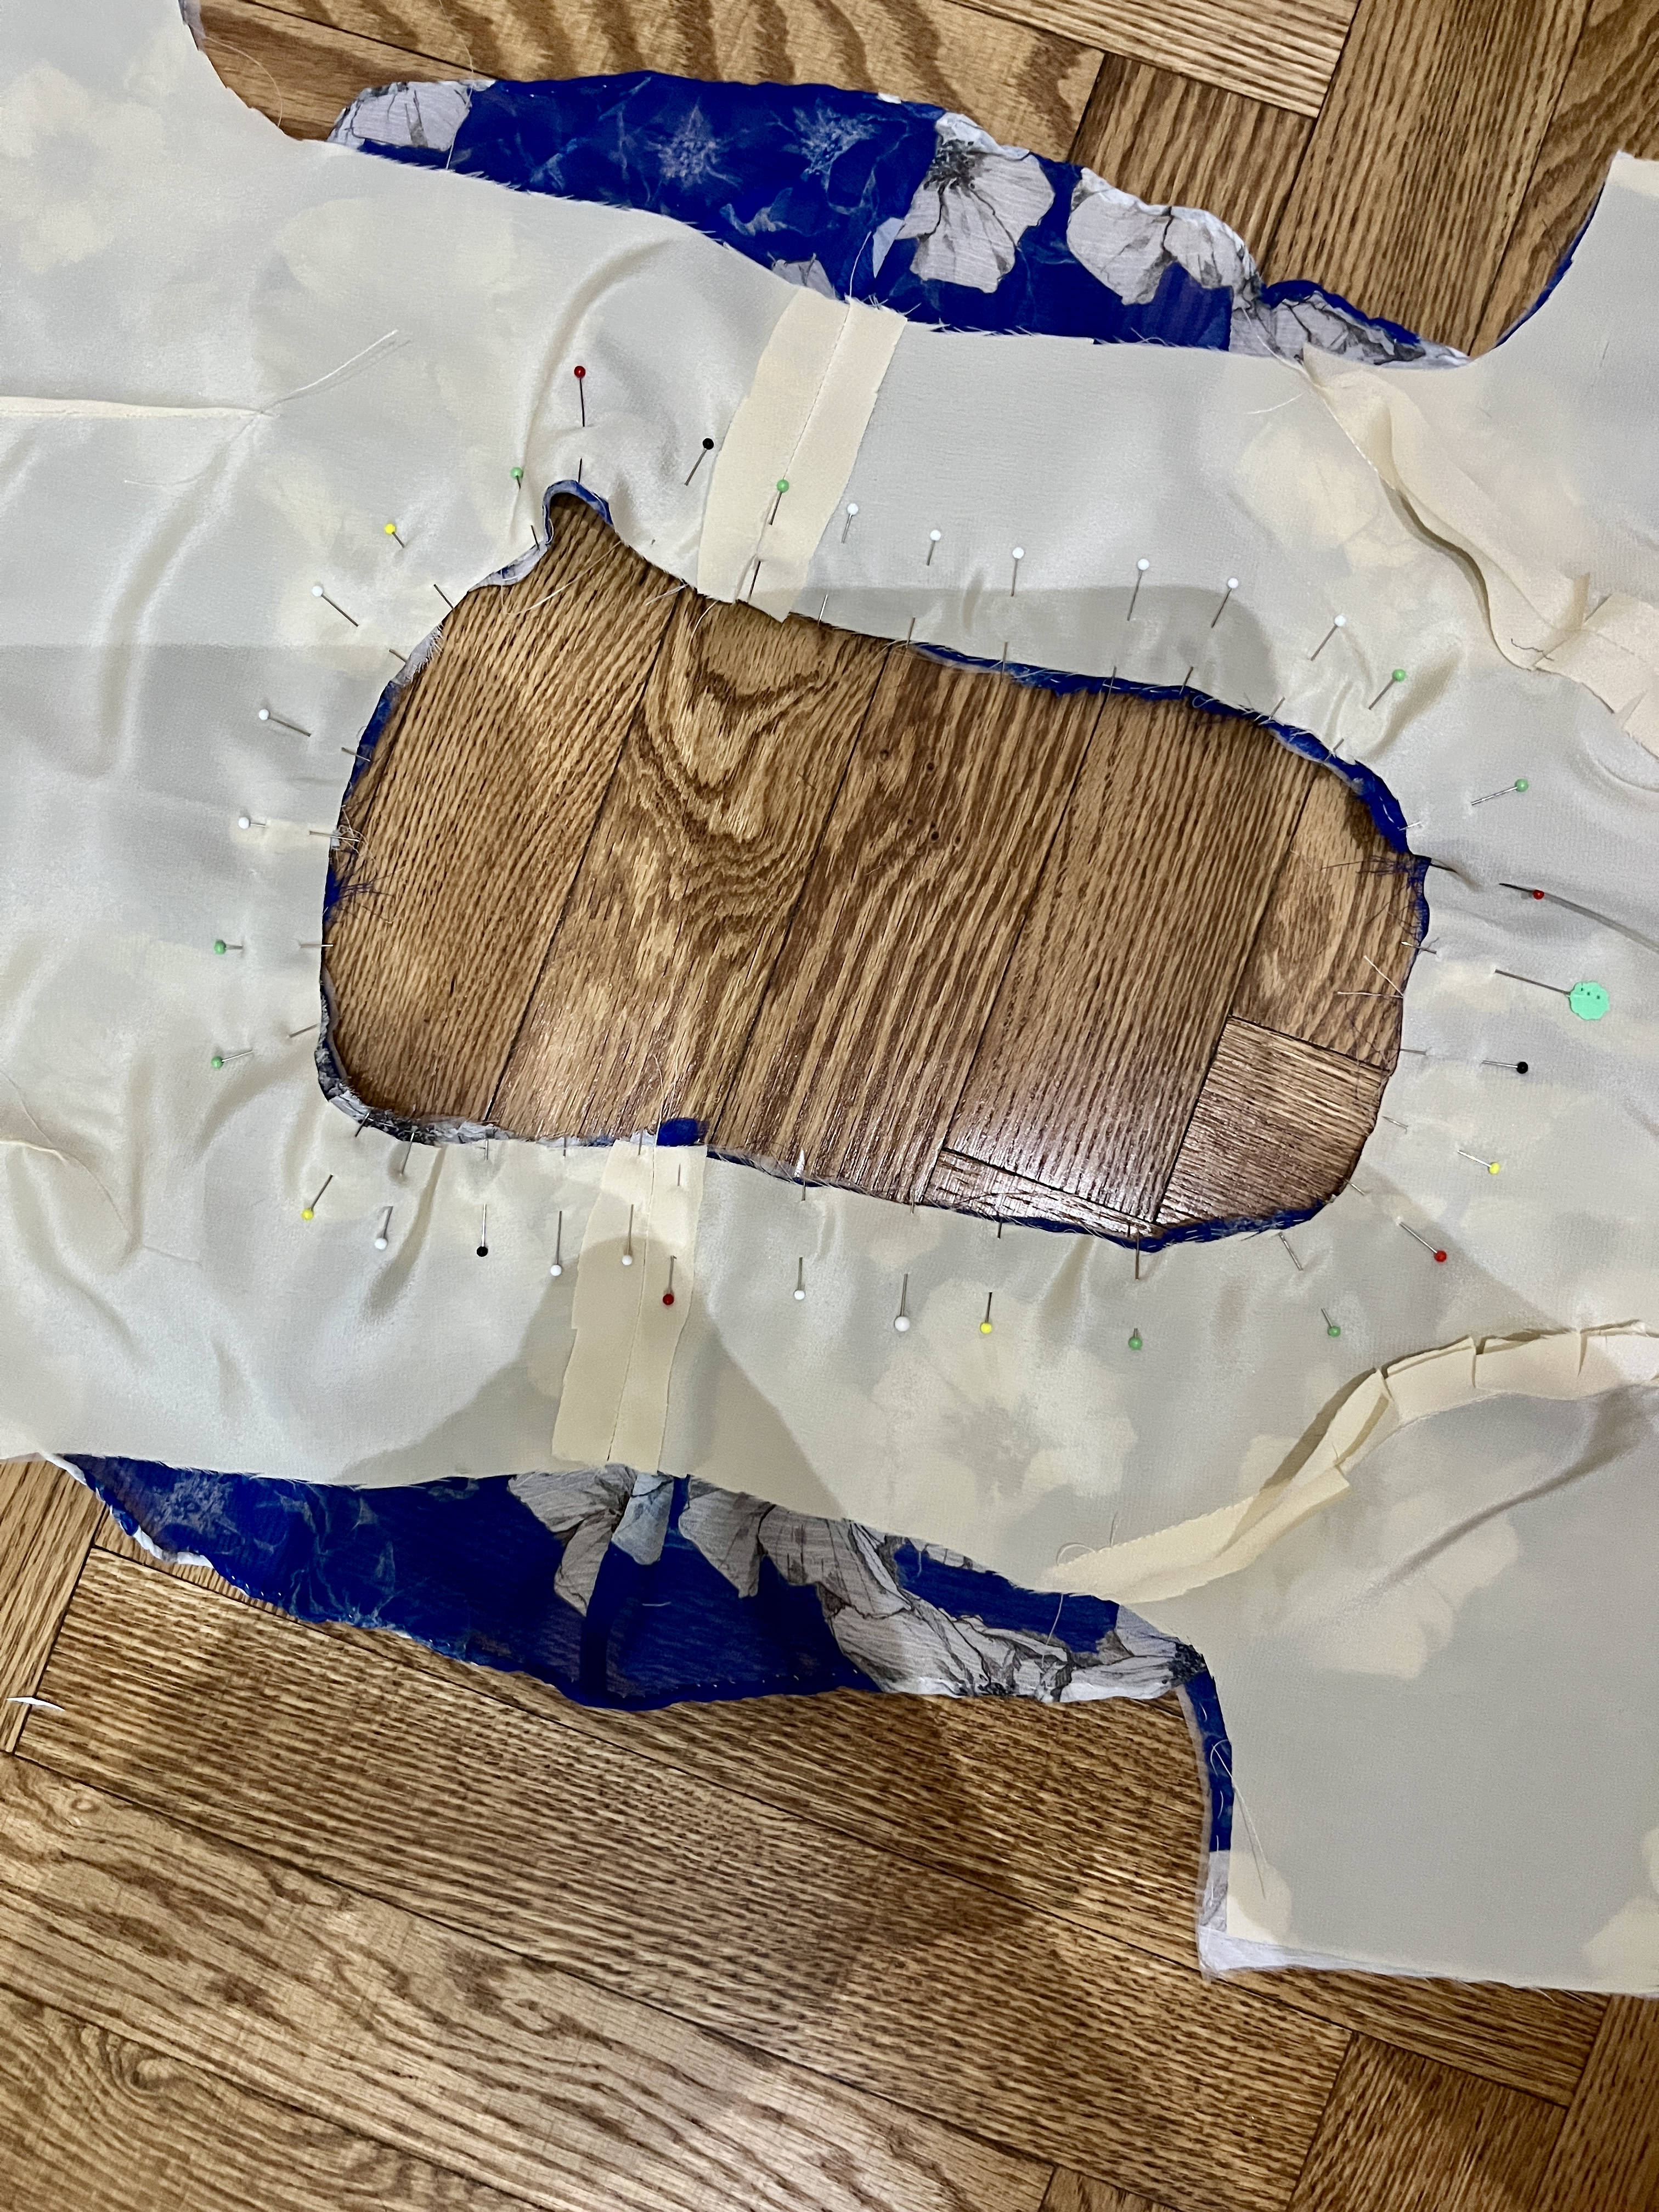
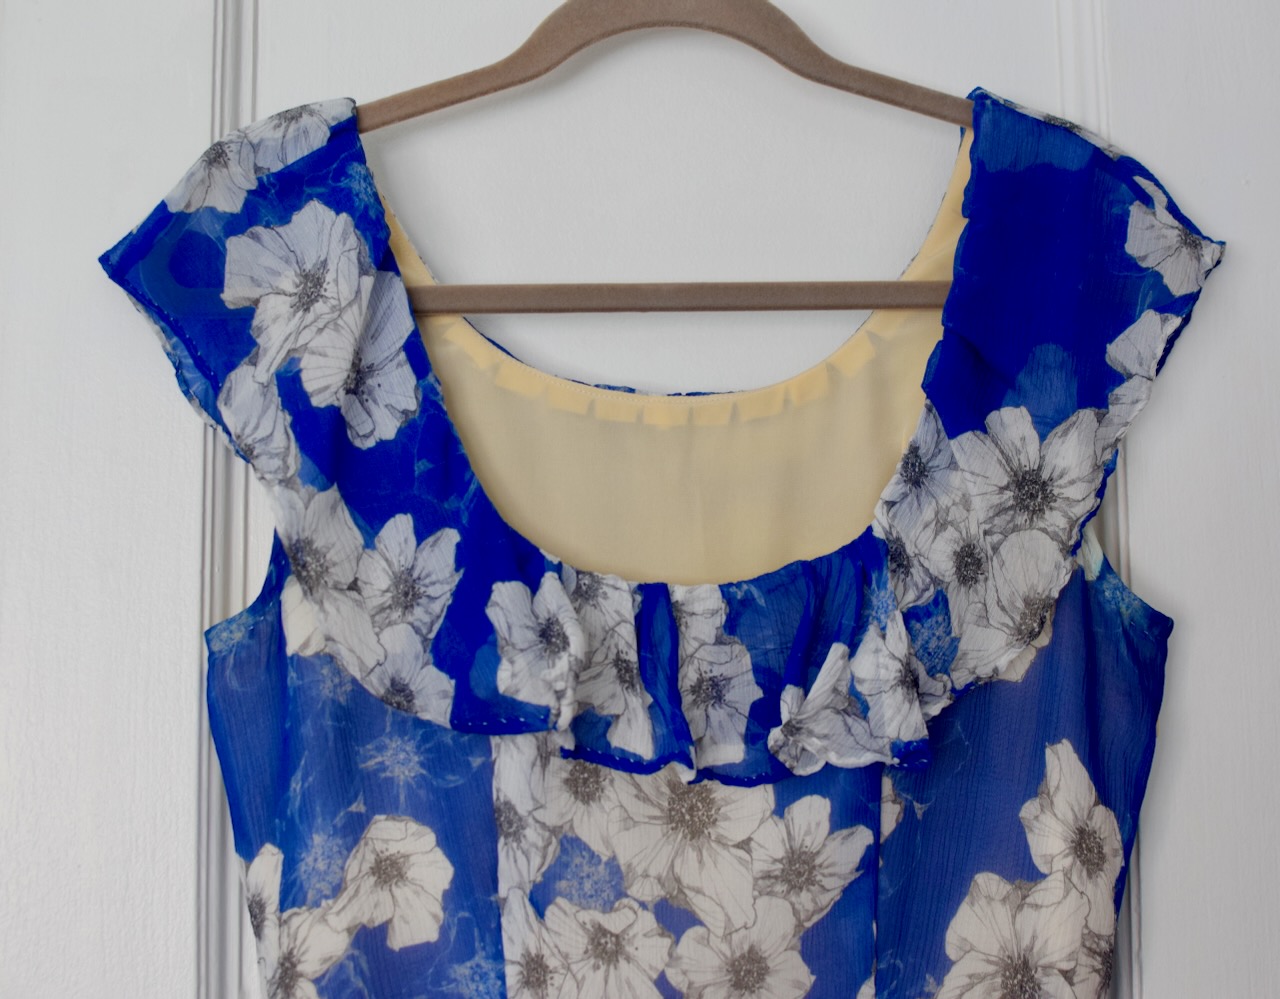
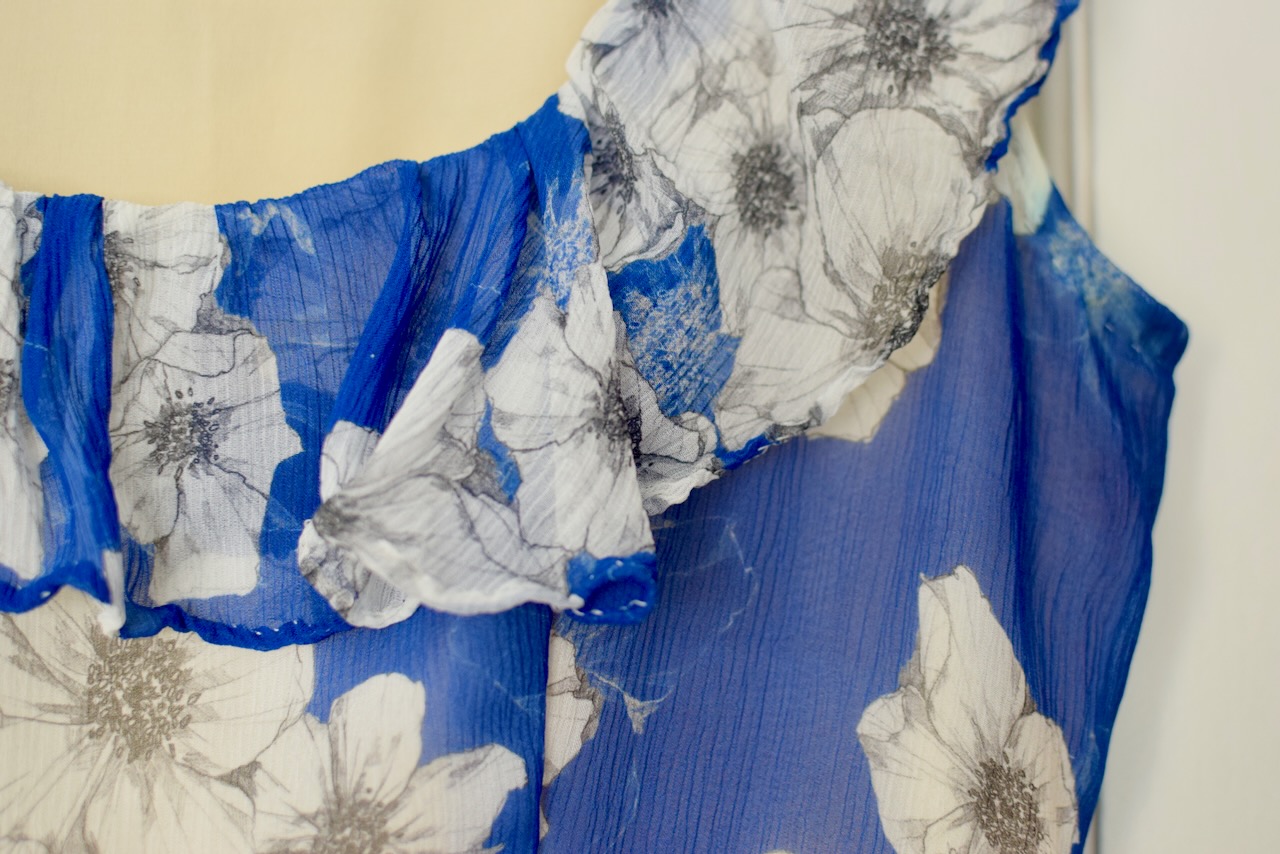
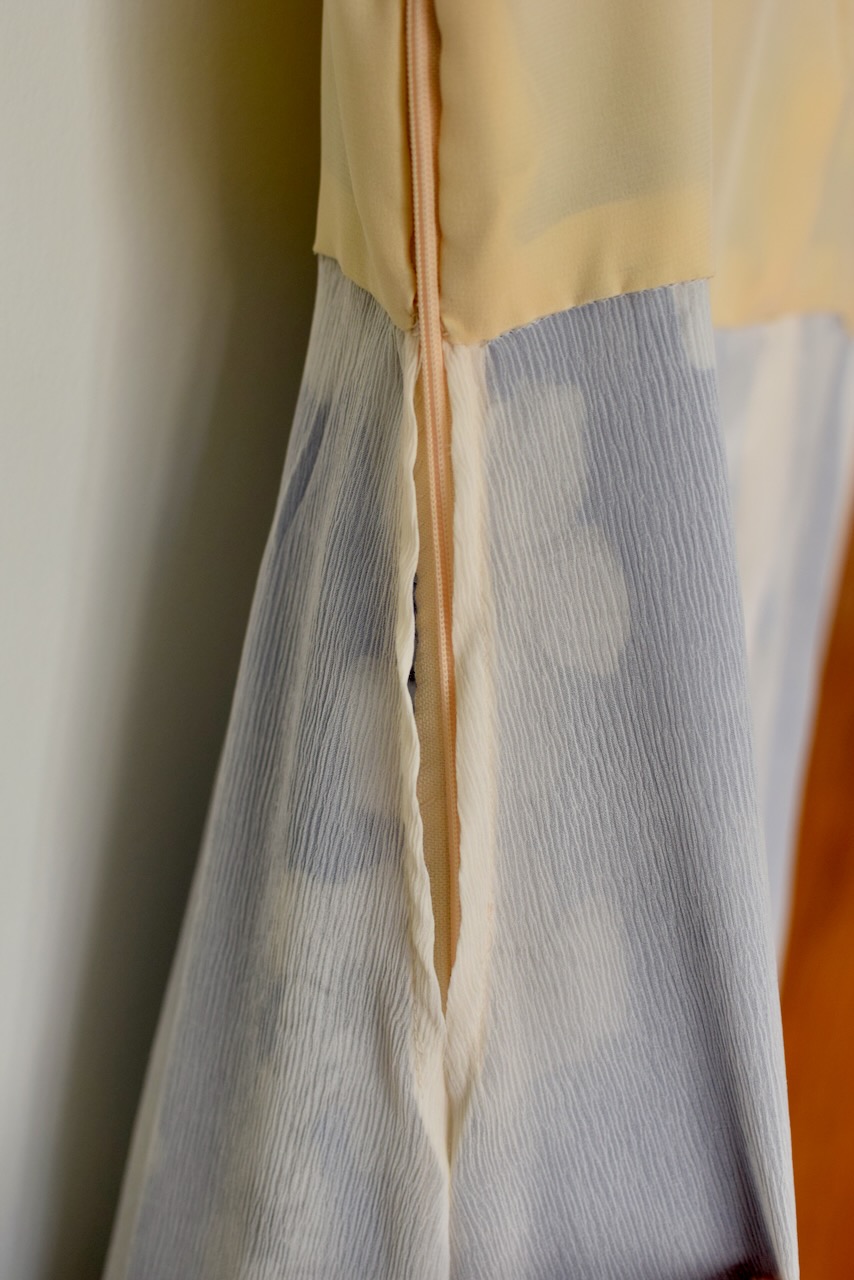
There was a lot of hand sewing in this project. I hand-tacked the underlining to the fashion fabric, and I hand sewed most of the bodice lining, especially around the zipper and waist seam. I ended up finishing the zipper side edge of the skirt using hand-overcast stitches, whereas I french seamed the other side seam. I finished the flounce and skirt with a hand‑rolled hem, and hand stitched the armhole bias binding. There’s just something about a rolled hem!!!

I’m really proud of this dress!