We have lived in our apartment for 2 years, and I was pining to put up wallpaper since moving in. After browsing wallpaper for months, I found the perfect print: colorful gold-ink-outlined wildflowers on a black ground. When it arrived, I was too scared to install it: I was afraid of how hard it would be to install, and I didn’t want to regret the placement. I talked to some friends who have wallpapered before and heard mixed recommendations about whether or not to put it up myself. Over a year later, I finally did it.


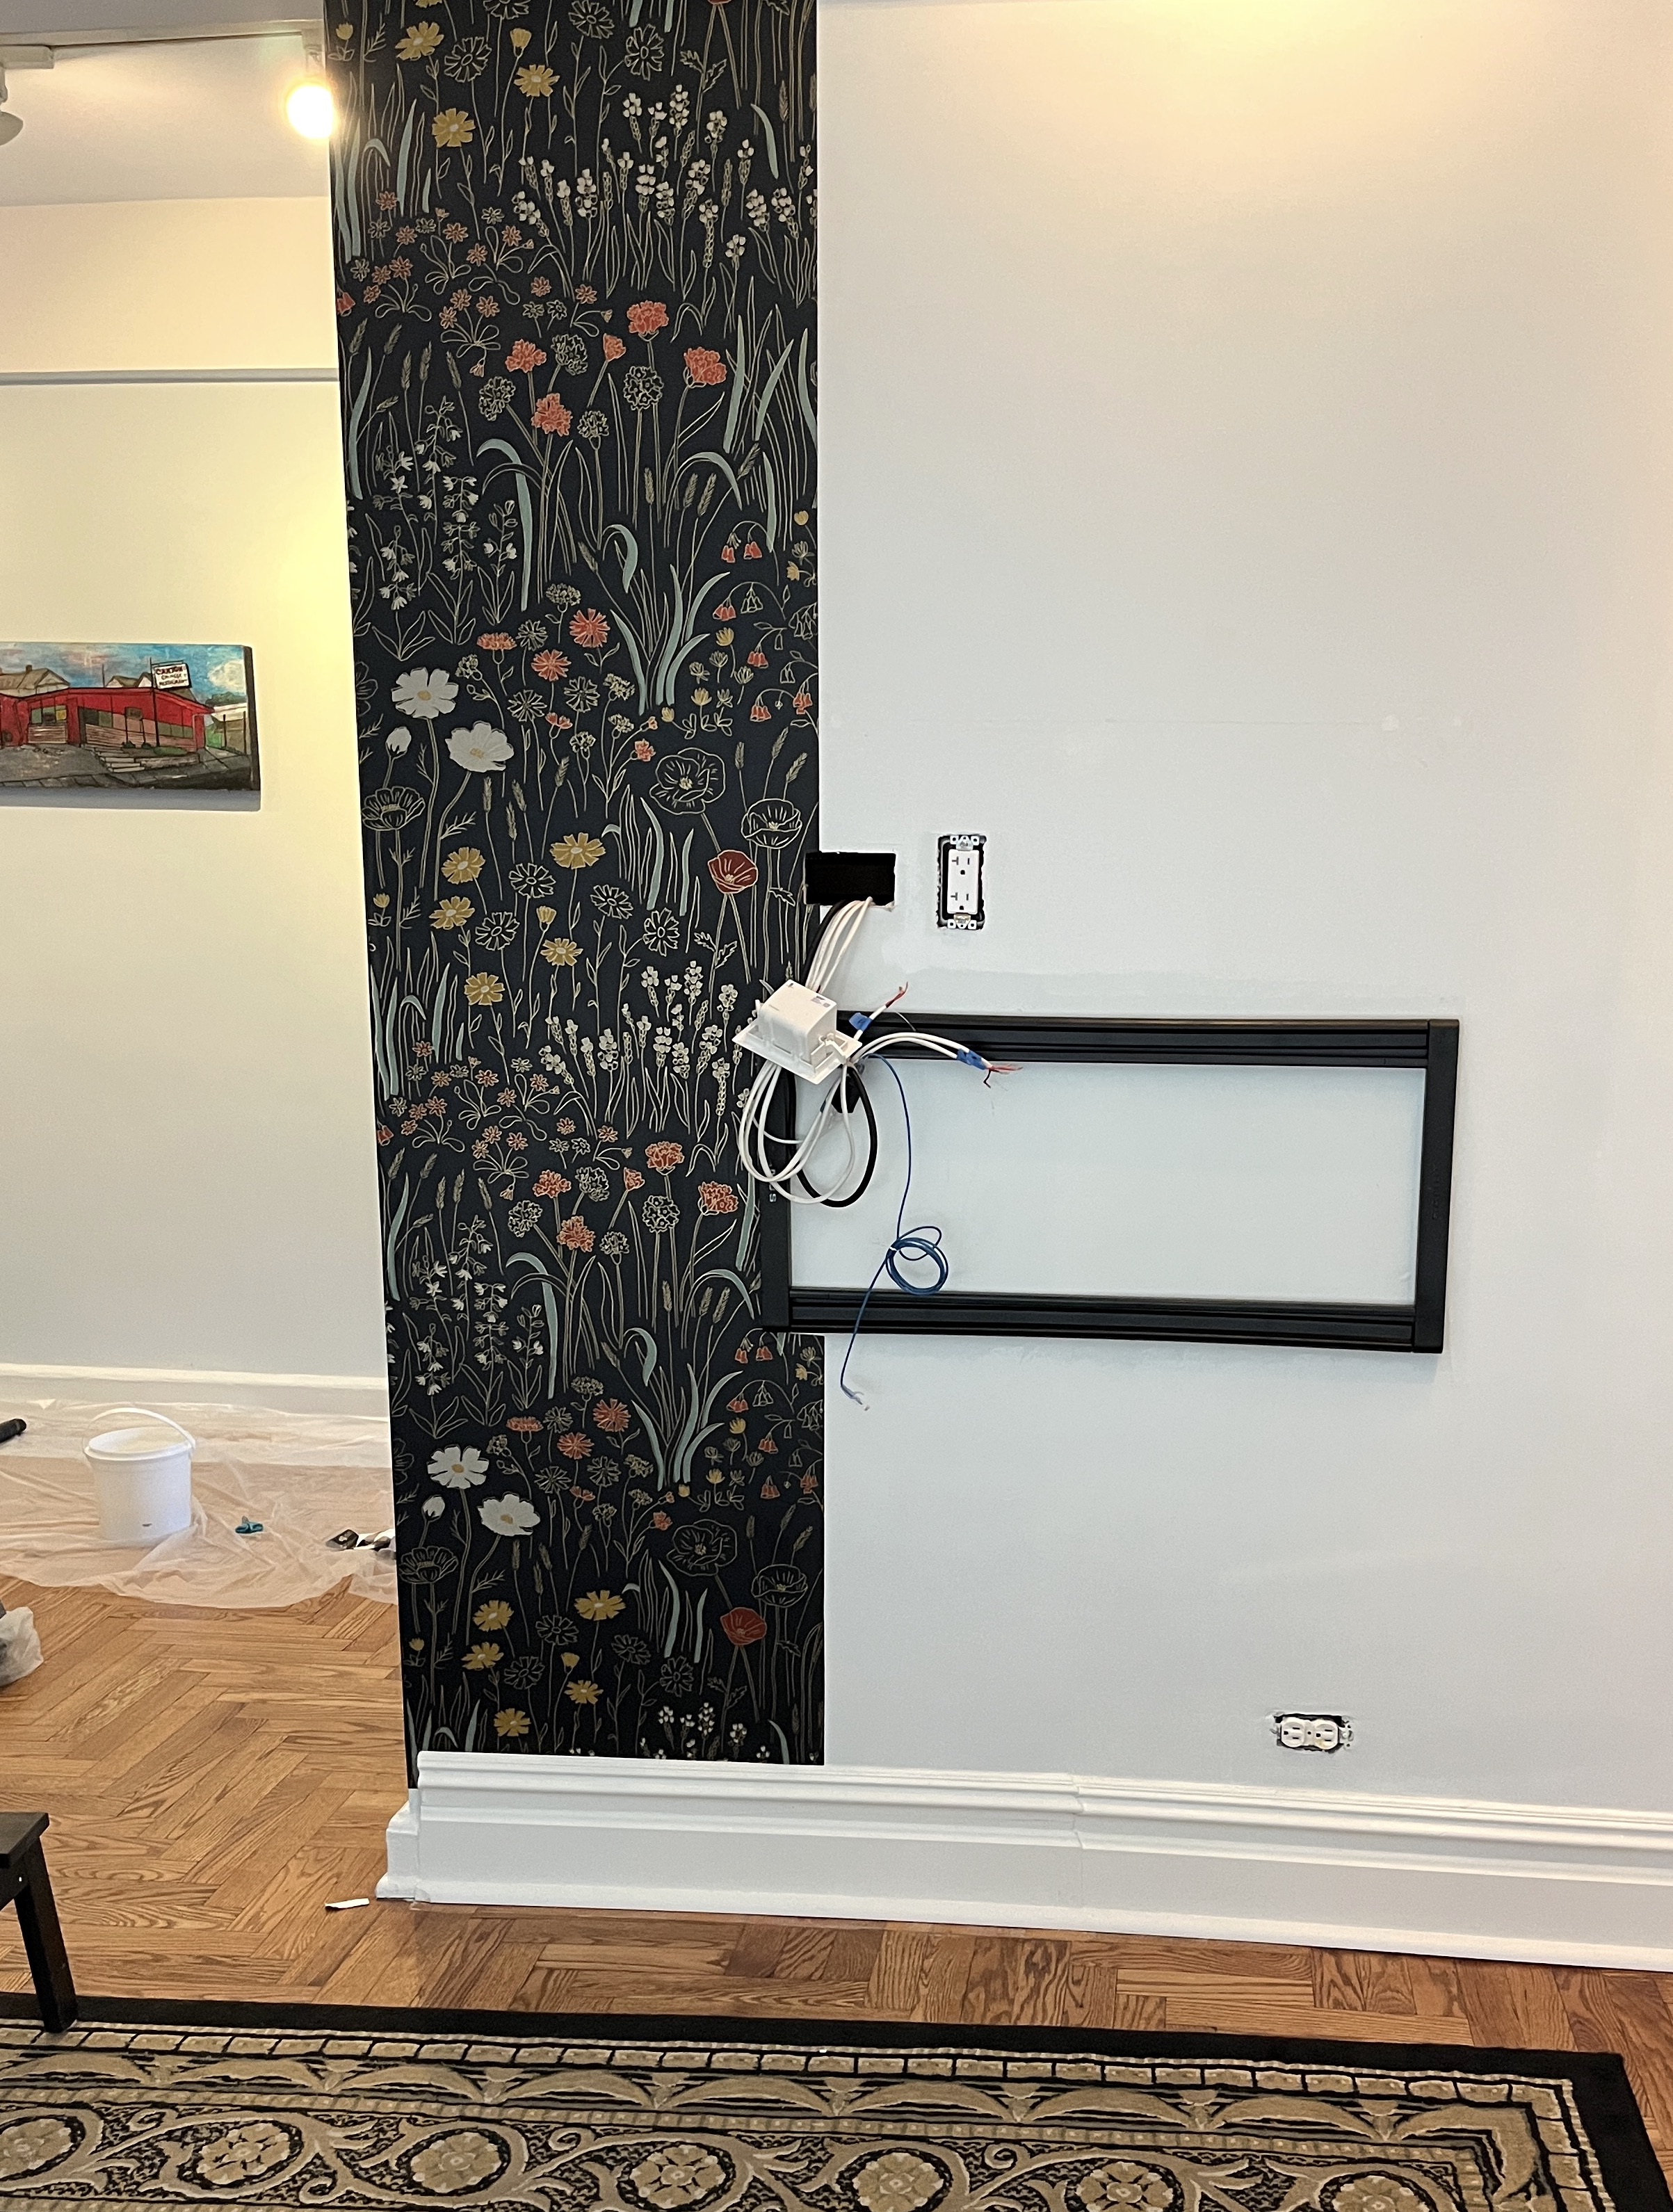
I contemplated hanging the paper in different parts of our apartment, and I finally settled on behind the tv, wrapping around to the hallway because it has so few “obstacles” to overcome and you can see it from multiple vantage points. I love it.
Supplies
I took the recommendations of Hygge and West to heart and got their recommended wallpaper paste and supplies. Even though I read over and over that you need to change the knife blade frequently I still didn’t change it enough and it ripped the paper. I went back in with some matte black tempra paint to cover up the rip marks.
How I put it up
The wallpaper I used is “half drop” which means the pattern repeat does not match at the same point, it matches halfway down the repeat. I cant imagine how challenging it is to design the patterns this way!!! I created a Figma mockup to get a sense of how much wallpaper I needed. Each rectangle is one repeat.

The thing I found most surprising about putting up wallpaper is how much you can “MANHANDLE” it. There is a 10 minute period while you’re putting it up that you can pull it back off the wall rather aggressively to reset it. I put this up in 3 2-hour sessions and I was covered in paste by the time I was finished with each session. The paste is a very off-putting consistency and it is extremely sticky (not surprising!).


Resources
In addition to following Hygge and West’s instructions, I watched many youtube videos before diving in to this project. Here are some videos I found particularly helpful to watch.
I found this man’s technique very helpful for wrapping the paper around the external corners. I did NOT use heat as he insists, but I emulated his smoothing tool technique and embraced his advice to use a narrow overlap to the new edge. I had one corner that had a large overlap and it was very challenging to complete the turn. I am not sure what you are supposed to do when you face these situations because you want as few seams as possible. So I just dealt with the scenarios as I came to them.
I had one visible outlet to deal with (there were more behind the TV but you can’t see them!), and I decided I wanted to pattern match it. This video was really helpful to watch. Instead of spray adhesive, I used paste.
Overall, a very successful and satisfying home project!

Great job! Its absolutely beautiful.
LikeLiked by 1 person
WOW this really change the room feel – great application that’s hard to do!!
LikeLike