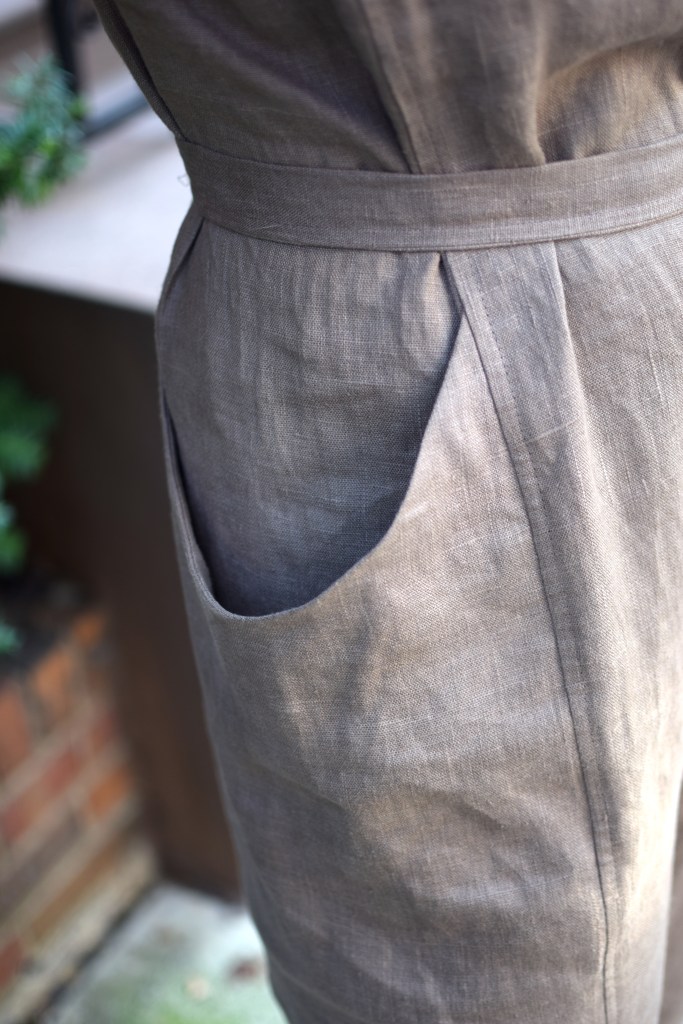
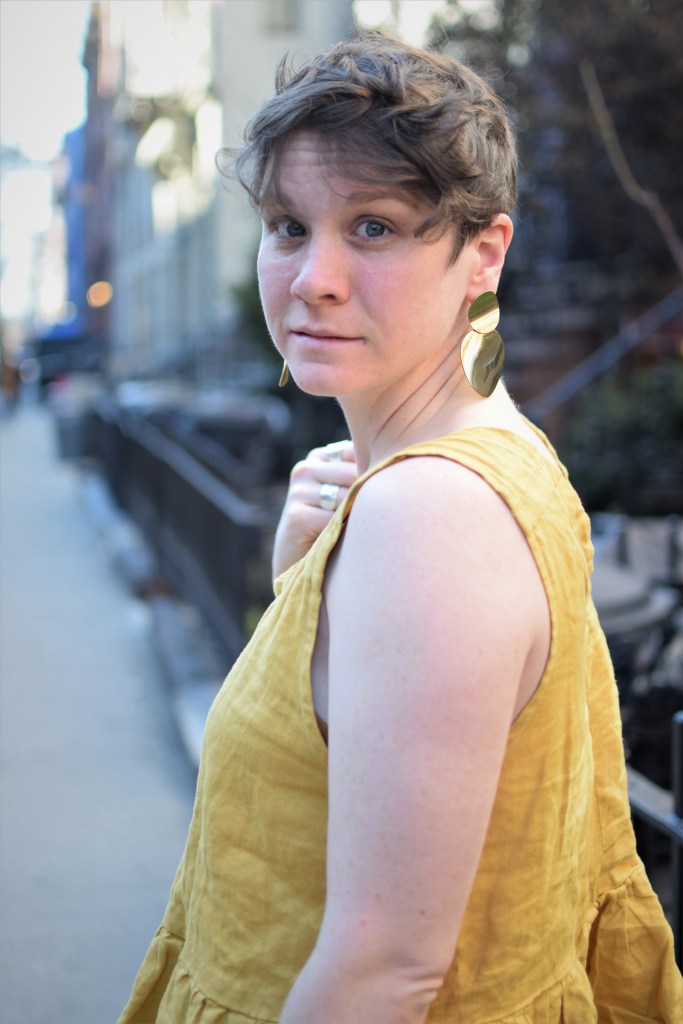
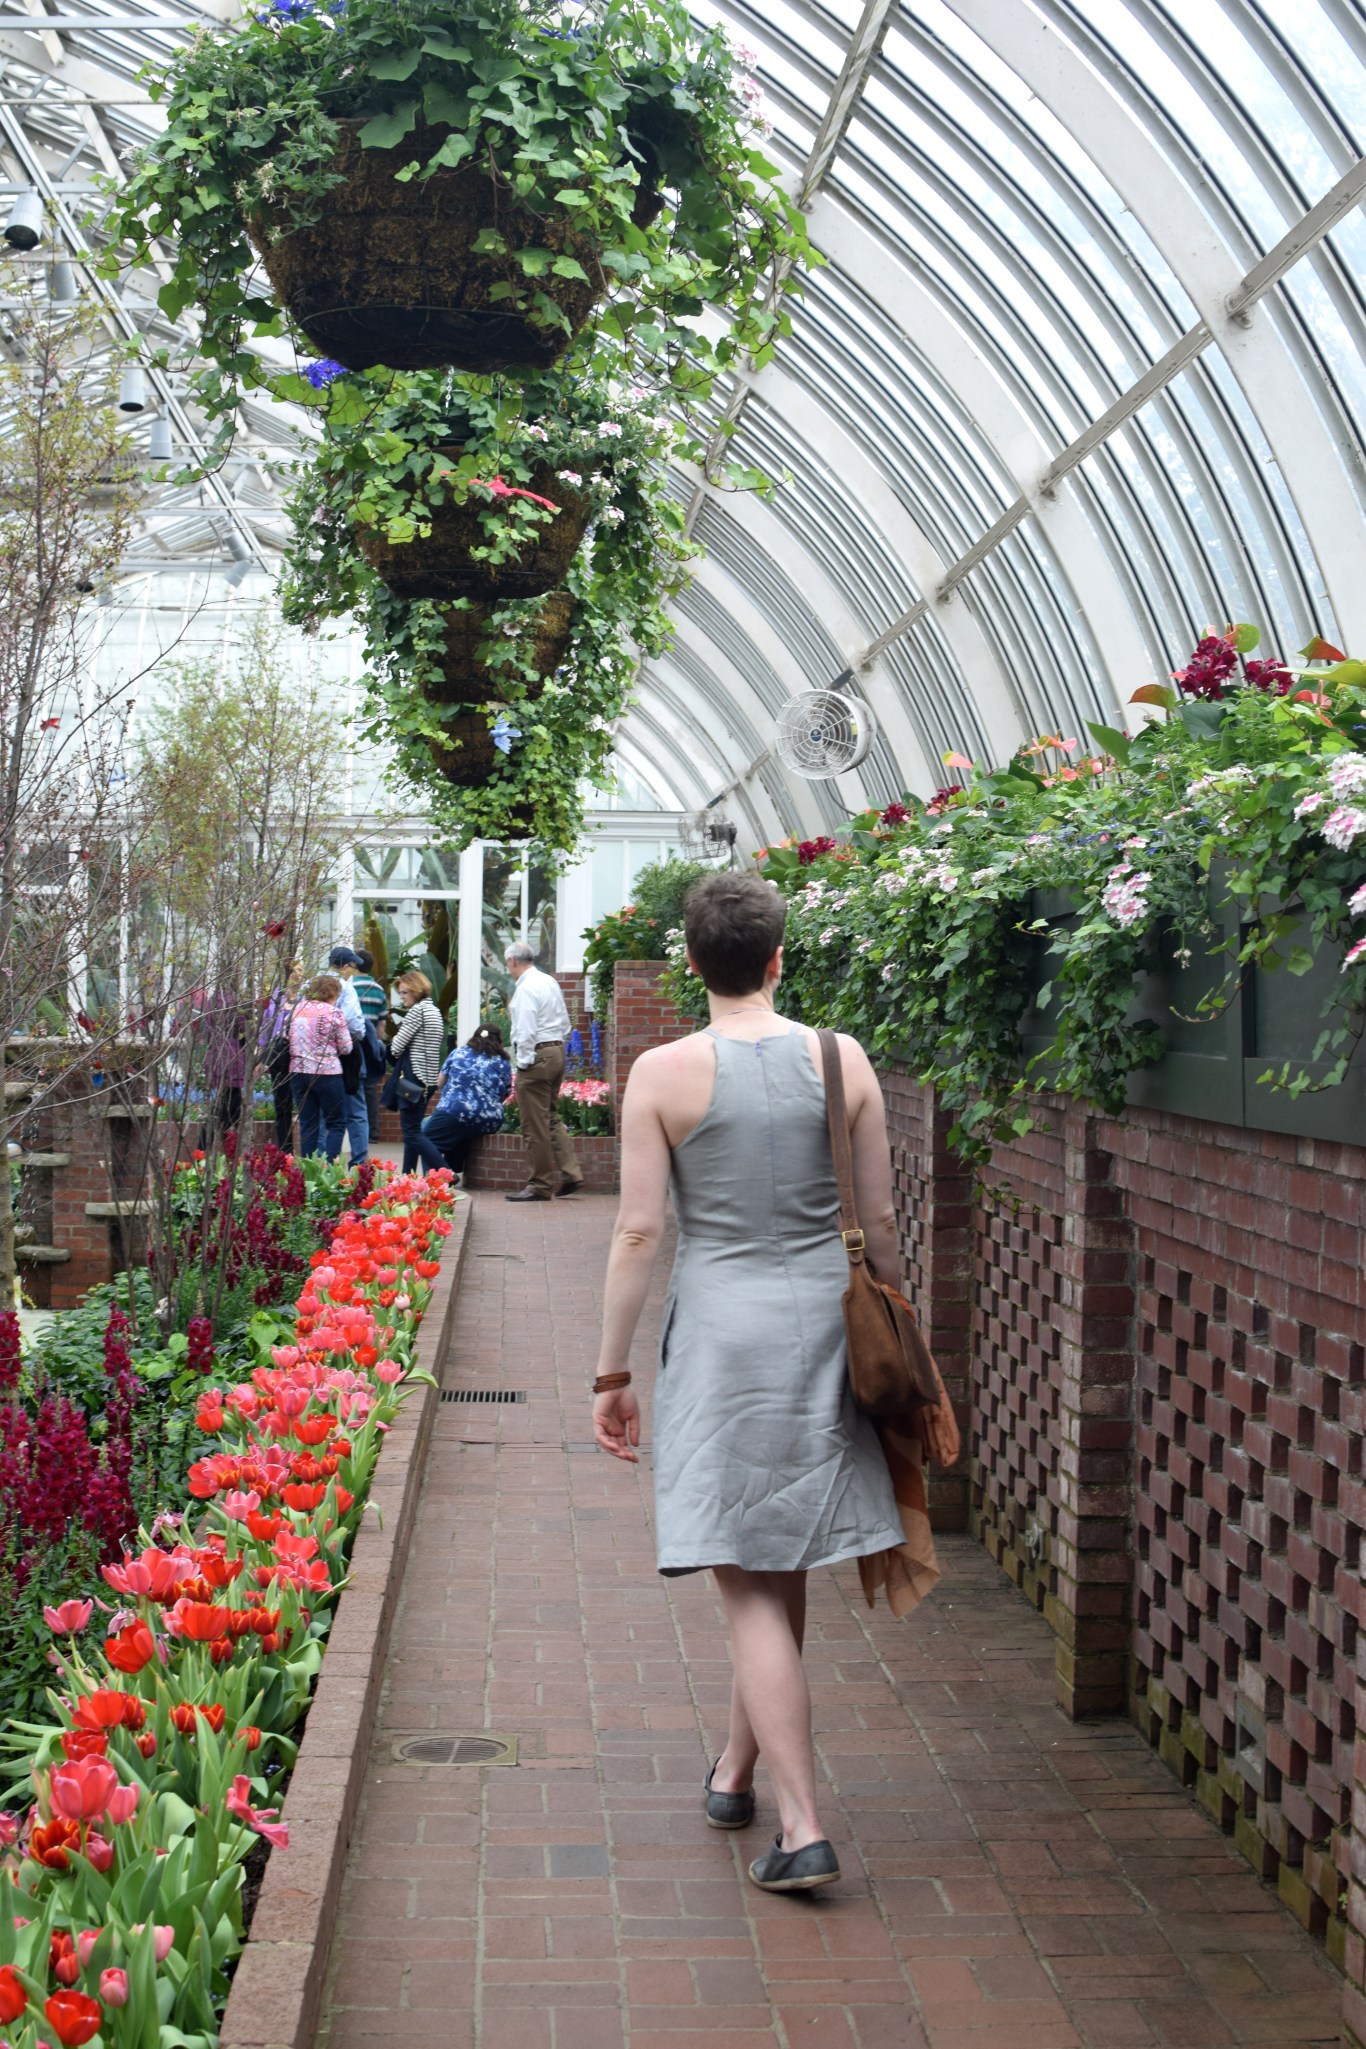
Last week I had a camp collar shirt curiosity that morphed into a frequency illusion. This type of shirt has been around for ages, but it has become quite trendy. While I was making this my husband commented that he saw an “article” about the sudden popularity of the Kramer shirt.
After this shirt style was on my mind for a couple of days, I started looking for a pattern to use to make my own. I found out this type of collar goes by many names: revere collar, cuban collar, camp collar among others. My go-to of “camp collar” is not the most universal, so I had trouble finding patterns. I finally thought to check Tessuti. Not sure if it was my subconsious or what but they released the Arkie Shirt this year, and it fit my vision perfectly!

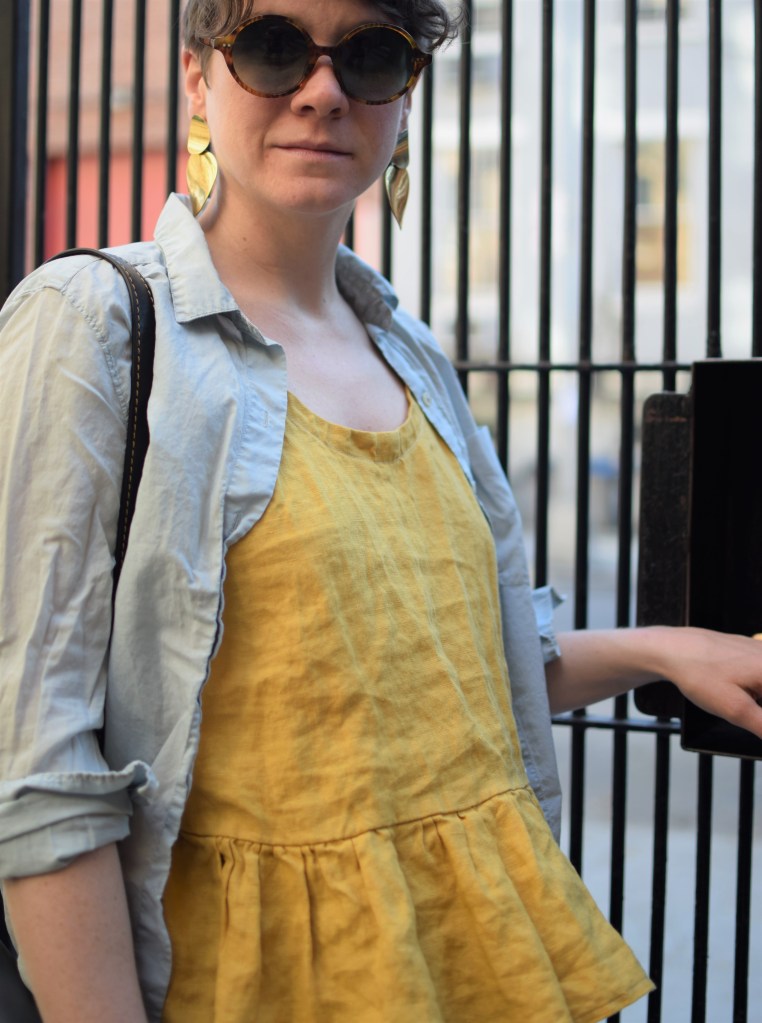
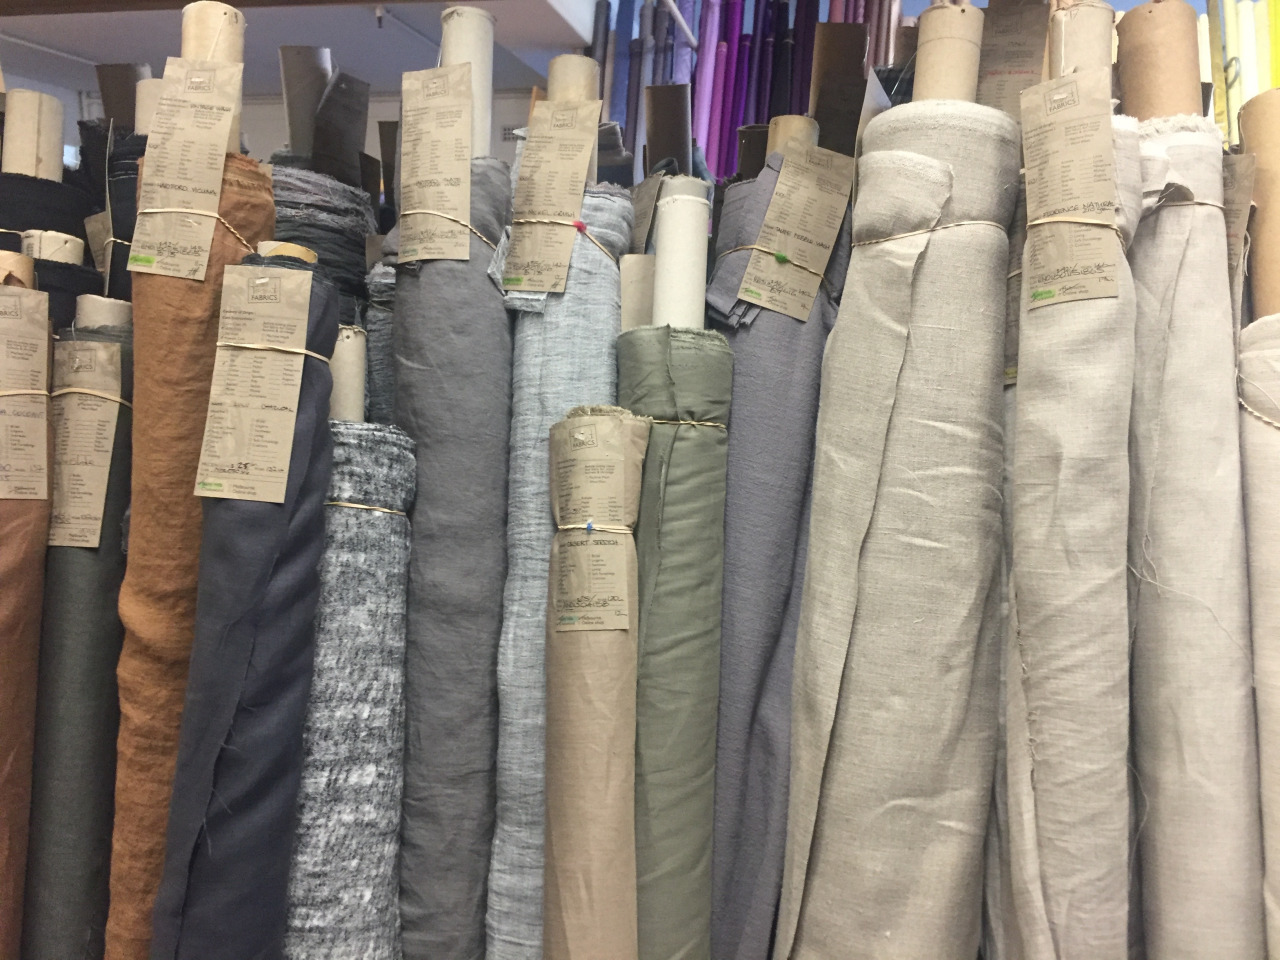
Fabric and buttons
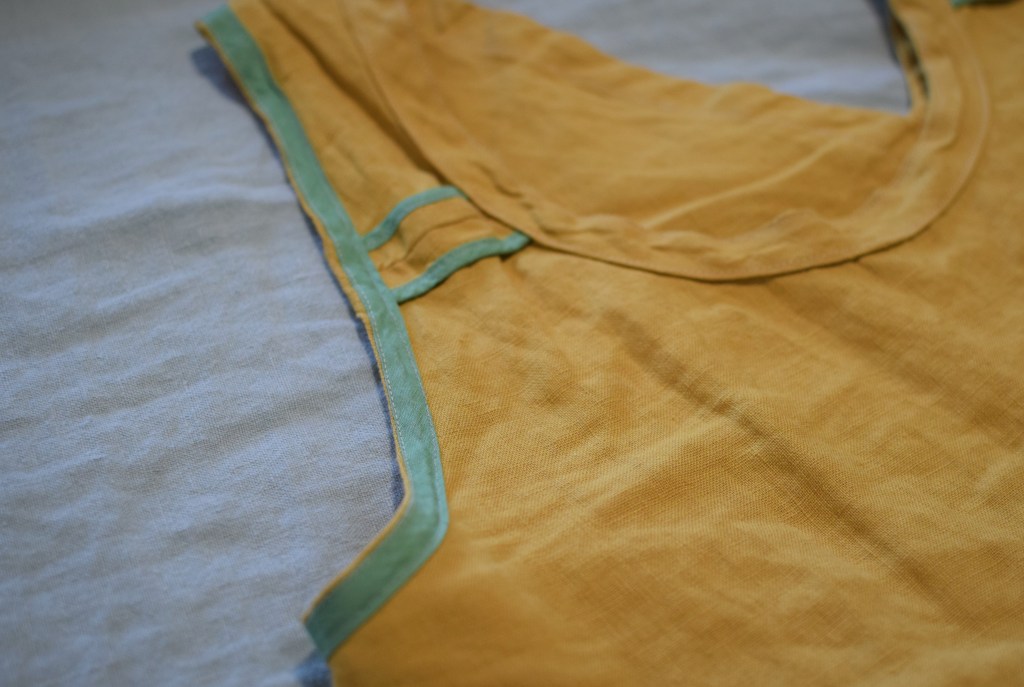
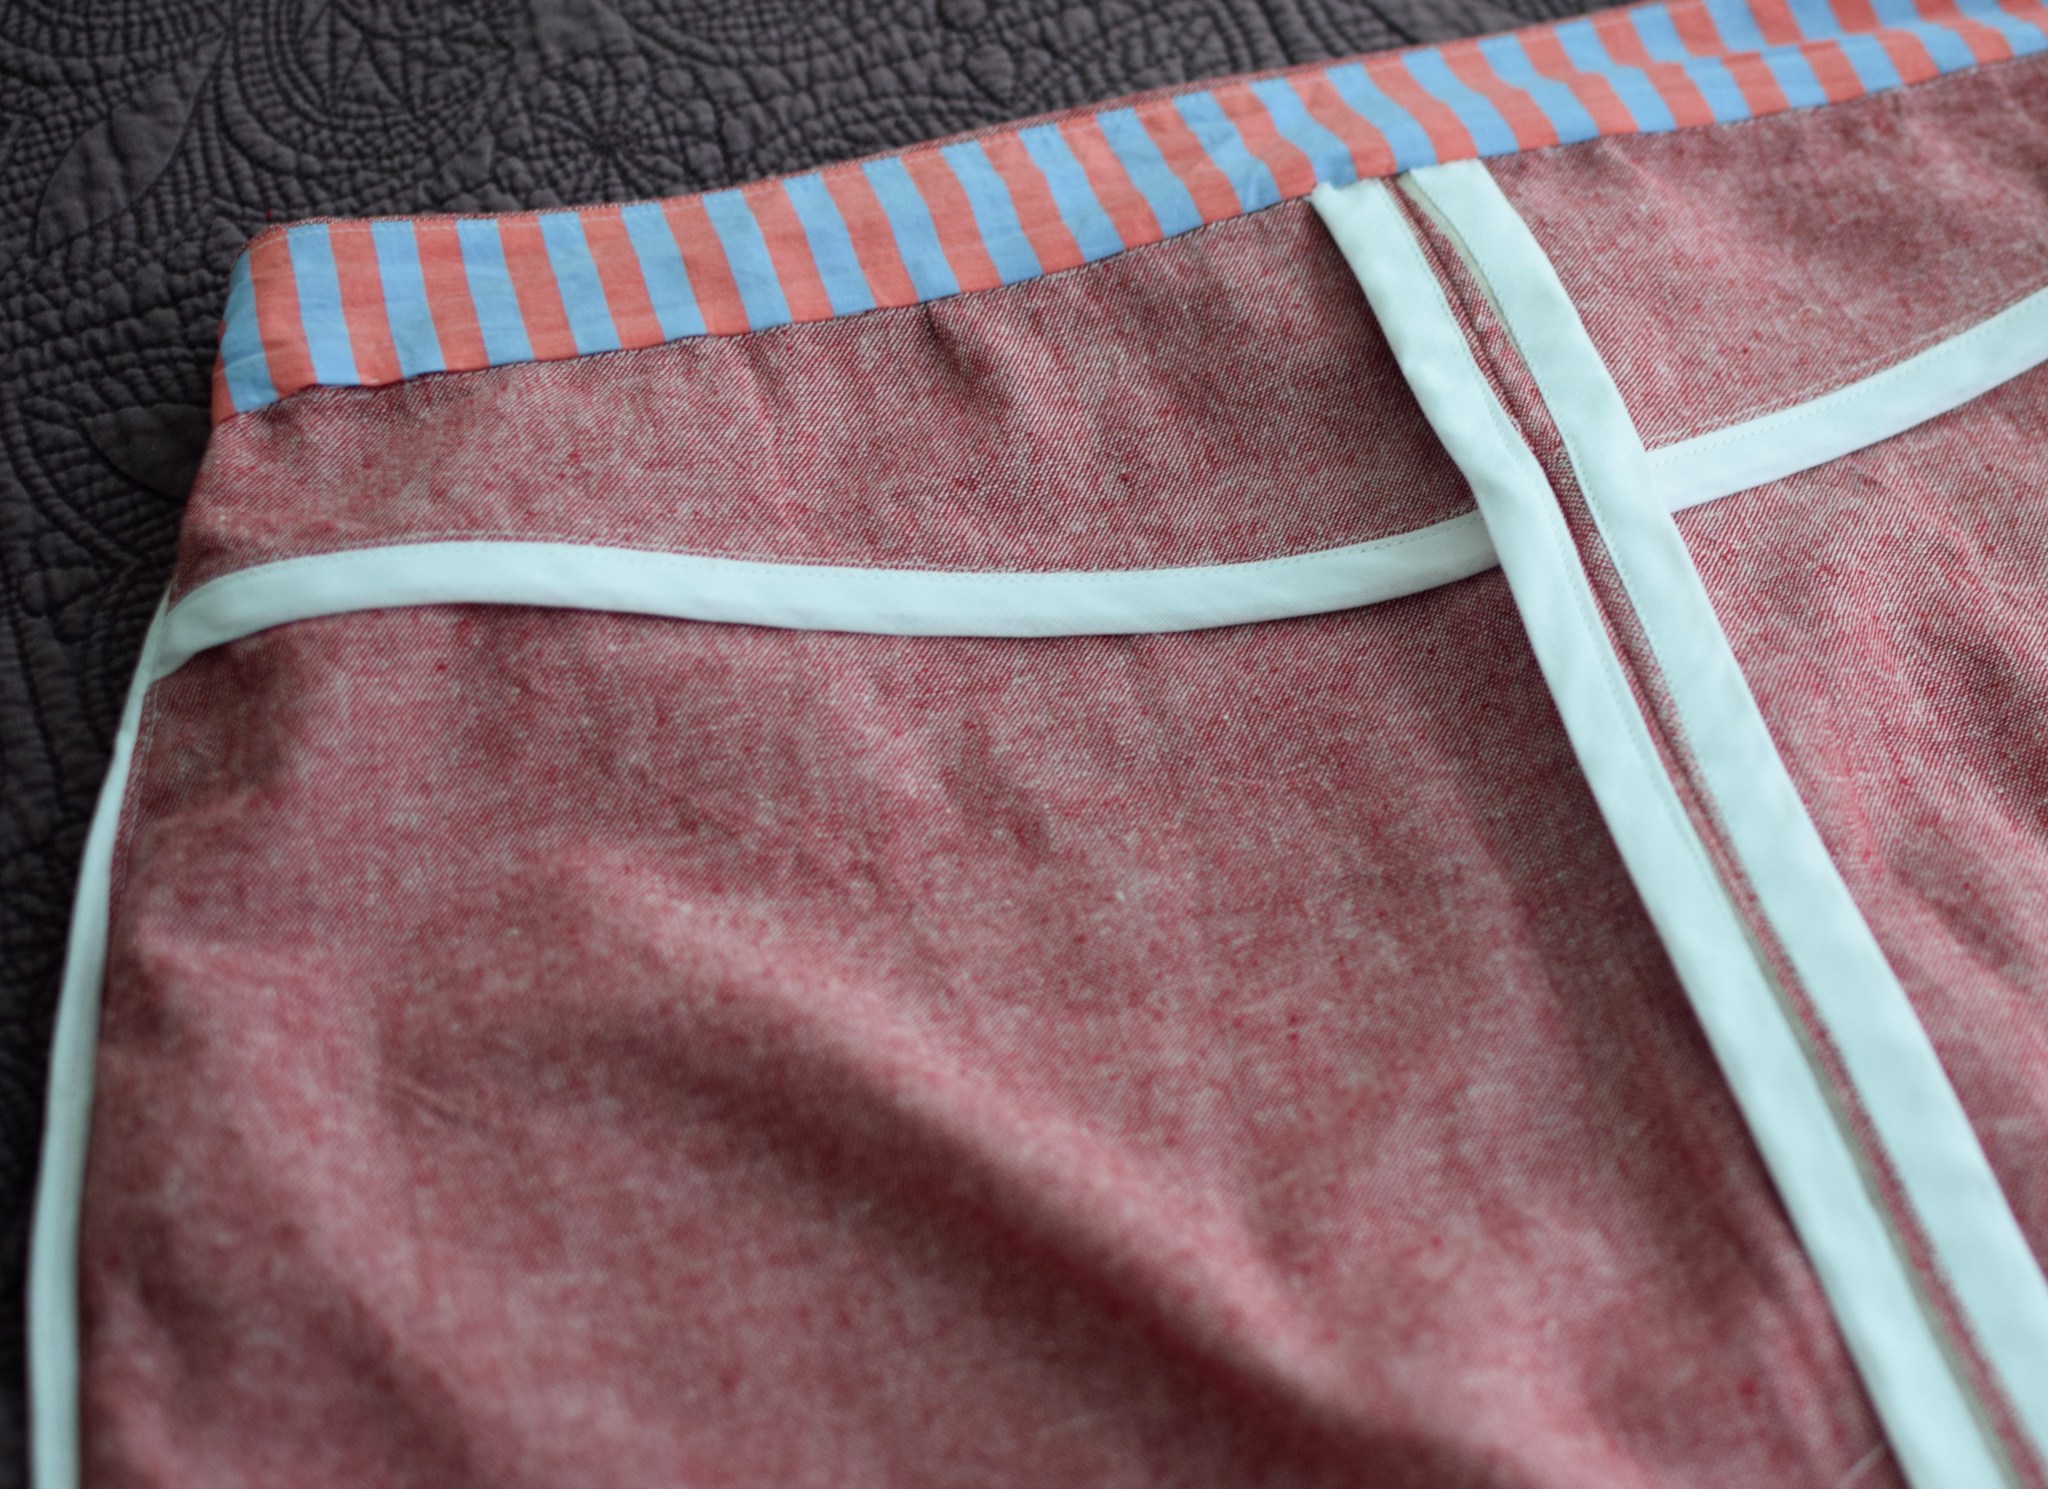
I wanted to use stashed fabric only for this first version. I had just less than enough of some white Merchant and Mills linen, so I had to get creative with how to use it most efficiently. I couldn’t figure out a cutting layout to accommodate the front facing pieces, so I mulled over my other options. I finally decided on some pink cotton for the facing and a brick red cotton for the collar. I thought that the patchwork of colors plus a Liberty fabric pocket would look quirky and cute, but I quickly became concerned that this was giving bowling shirt vibes. I ripped out the red collar piece, and pieced together a new under collar in the white linen instead.

The buttons are a gift from my friend Alexis, she found them at a flea market. I thought the stripes were pink because I was sewing in very low light 😭, but after I fell in love with them I realized they are orange! I think they look perfect.
Sizing and construction
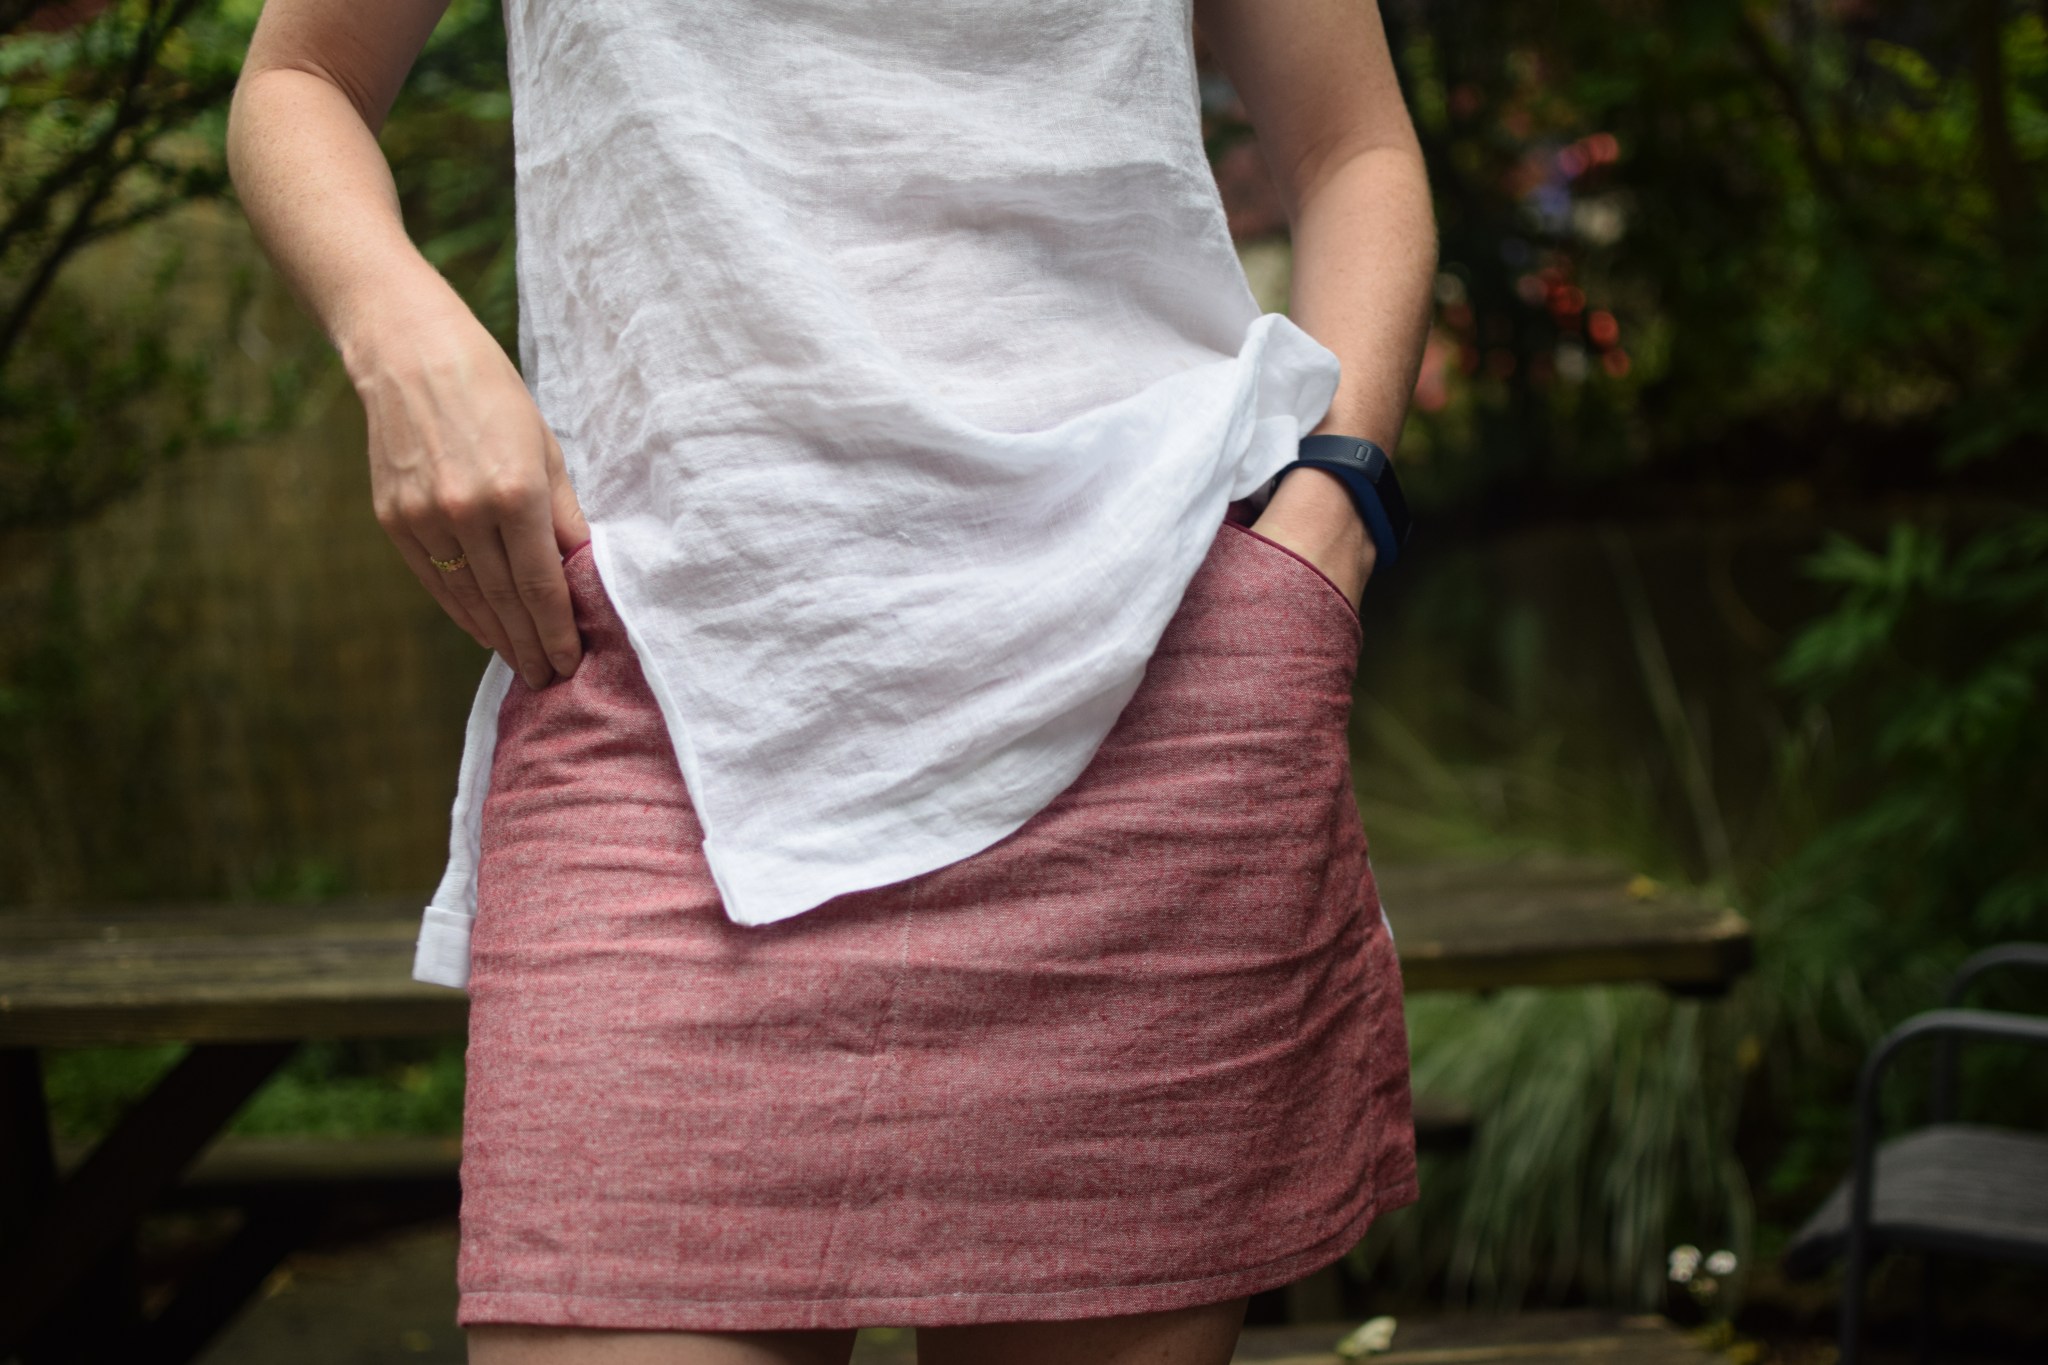
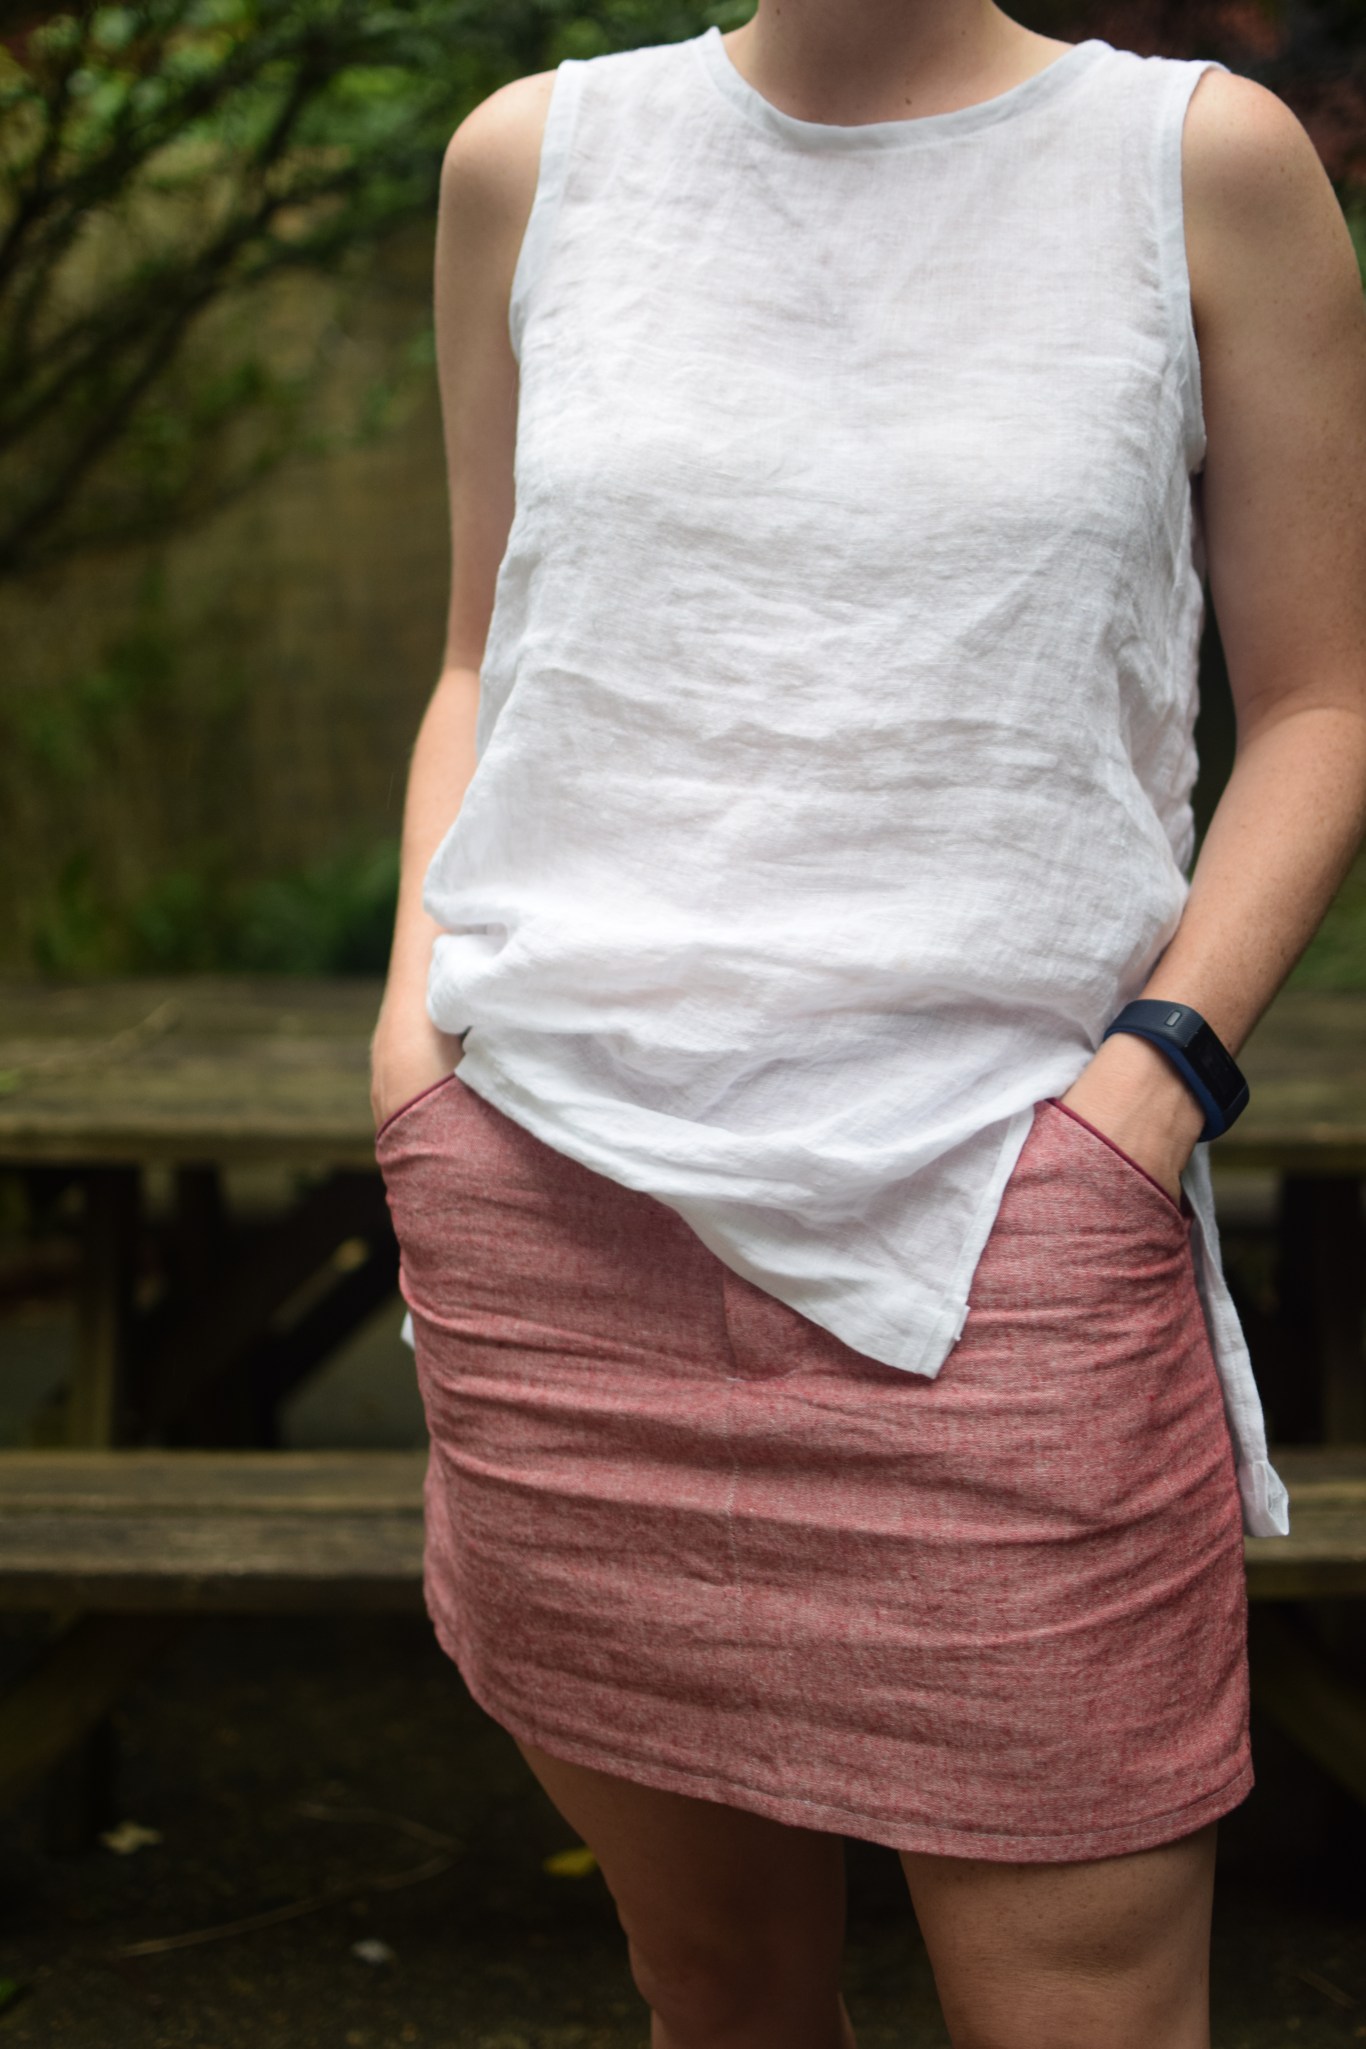
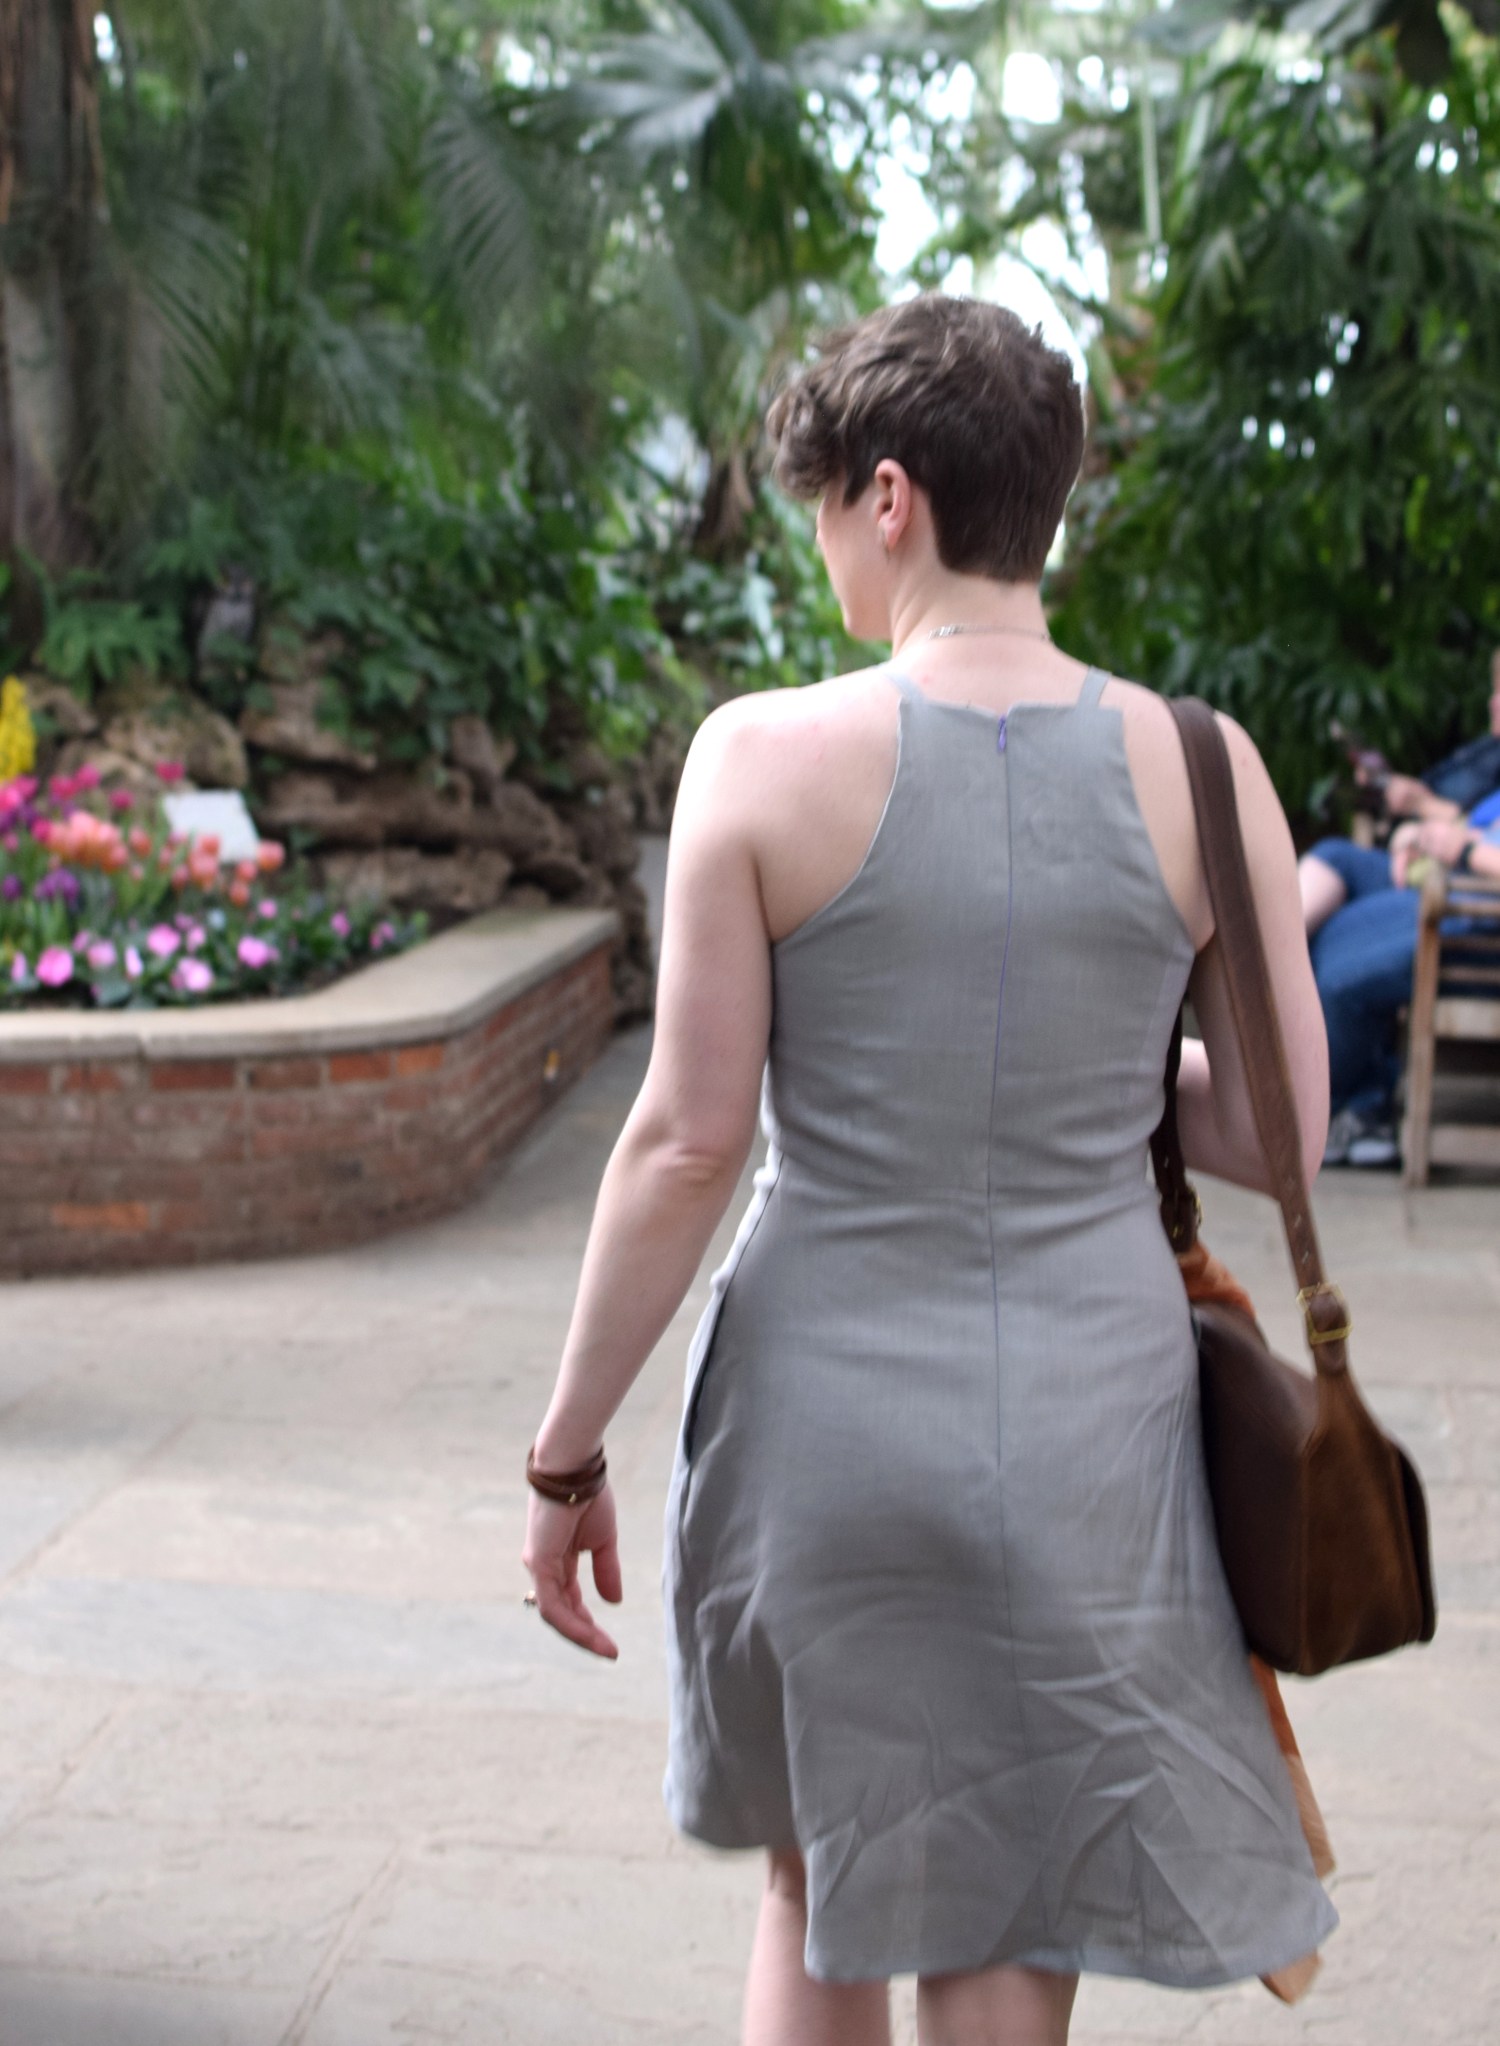
I went down a size from what the pattern recommended; I cut a straight size 8. The ease is quite generous, and because this is a new silhouette for me, I wanted it to be a bit more close-fitting.
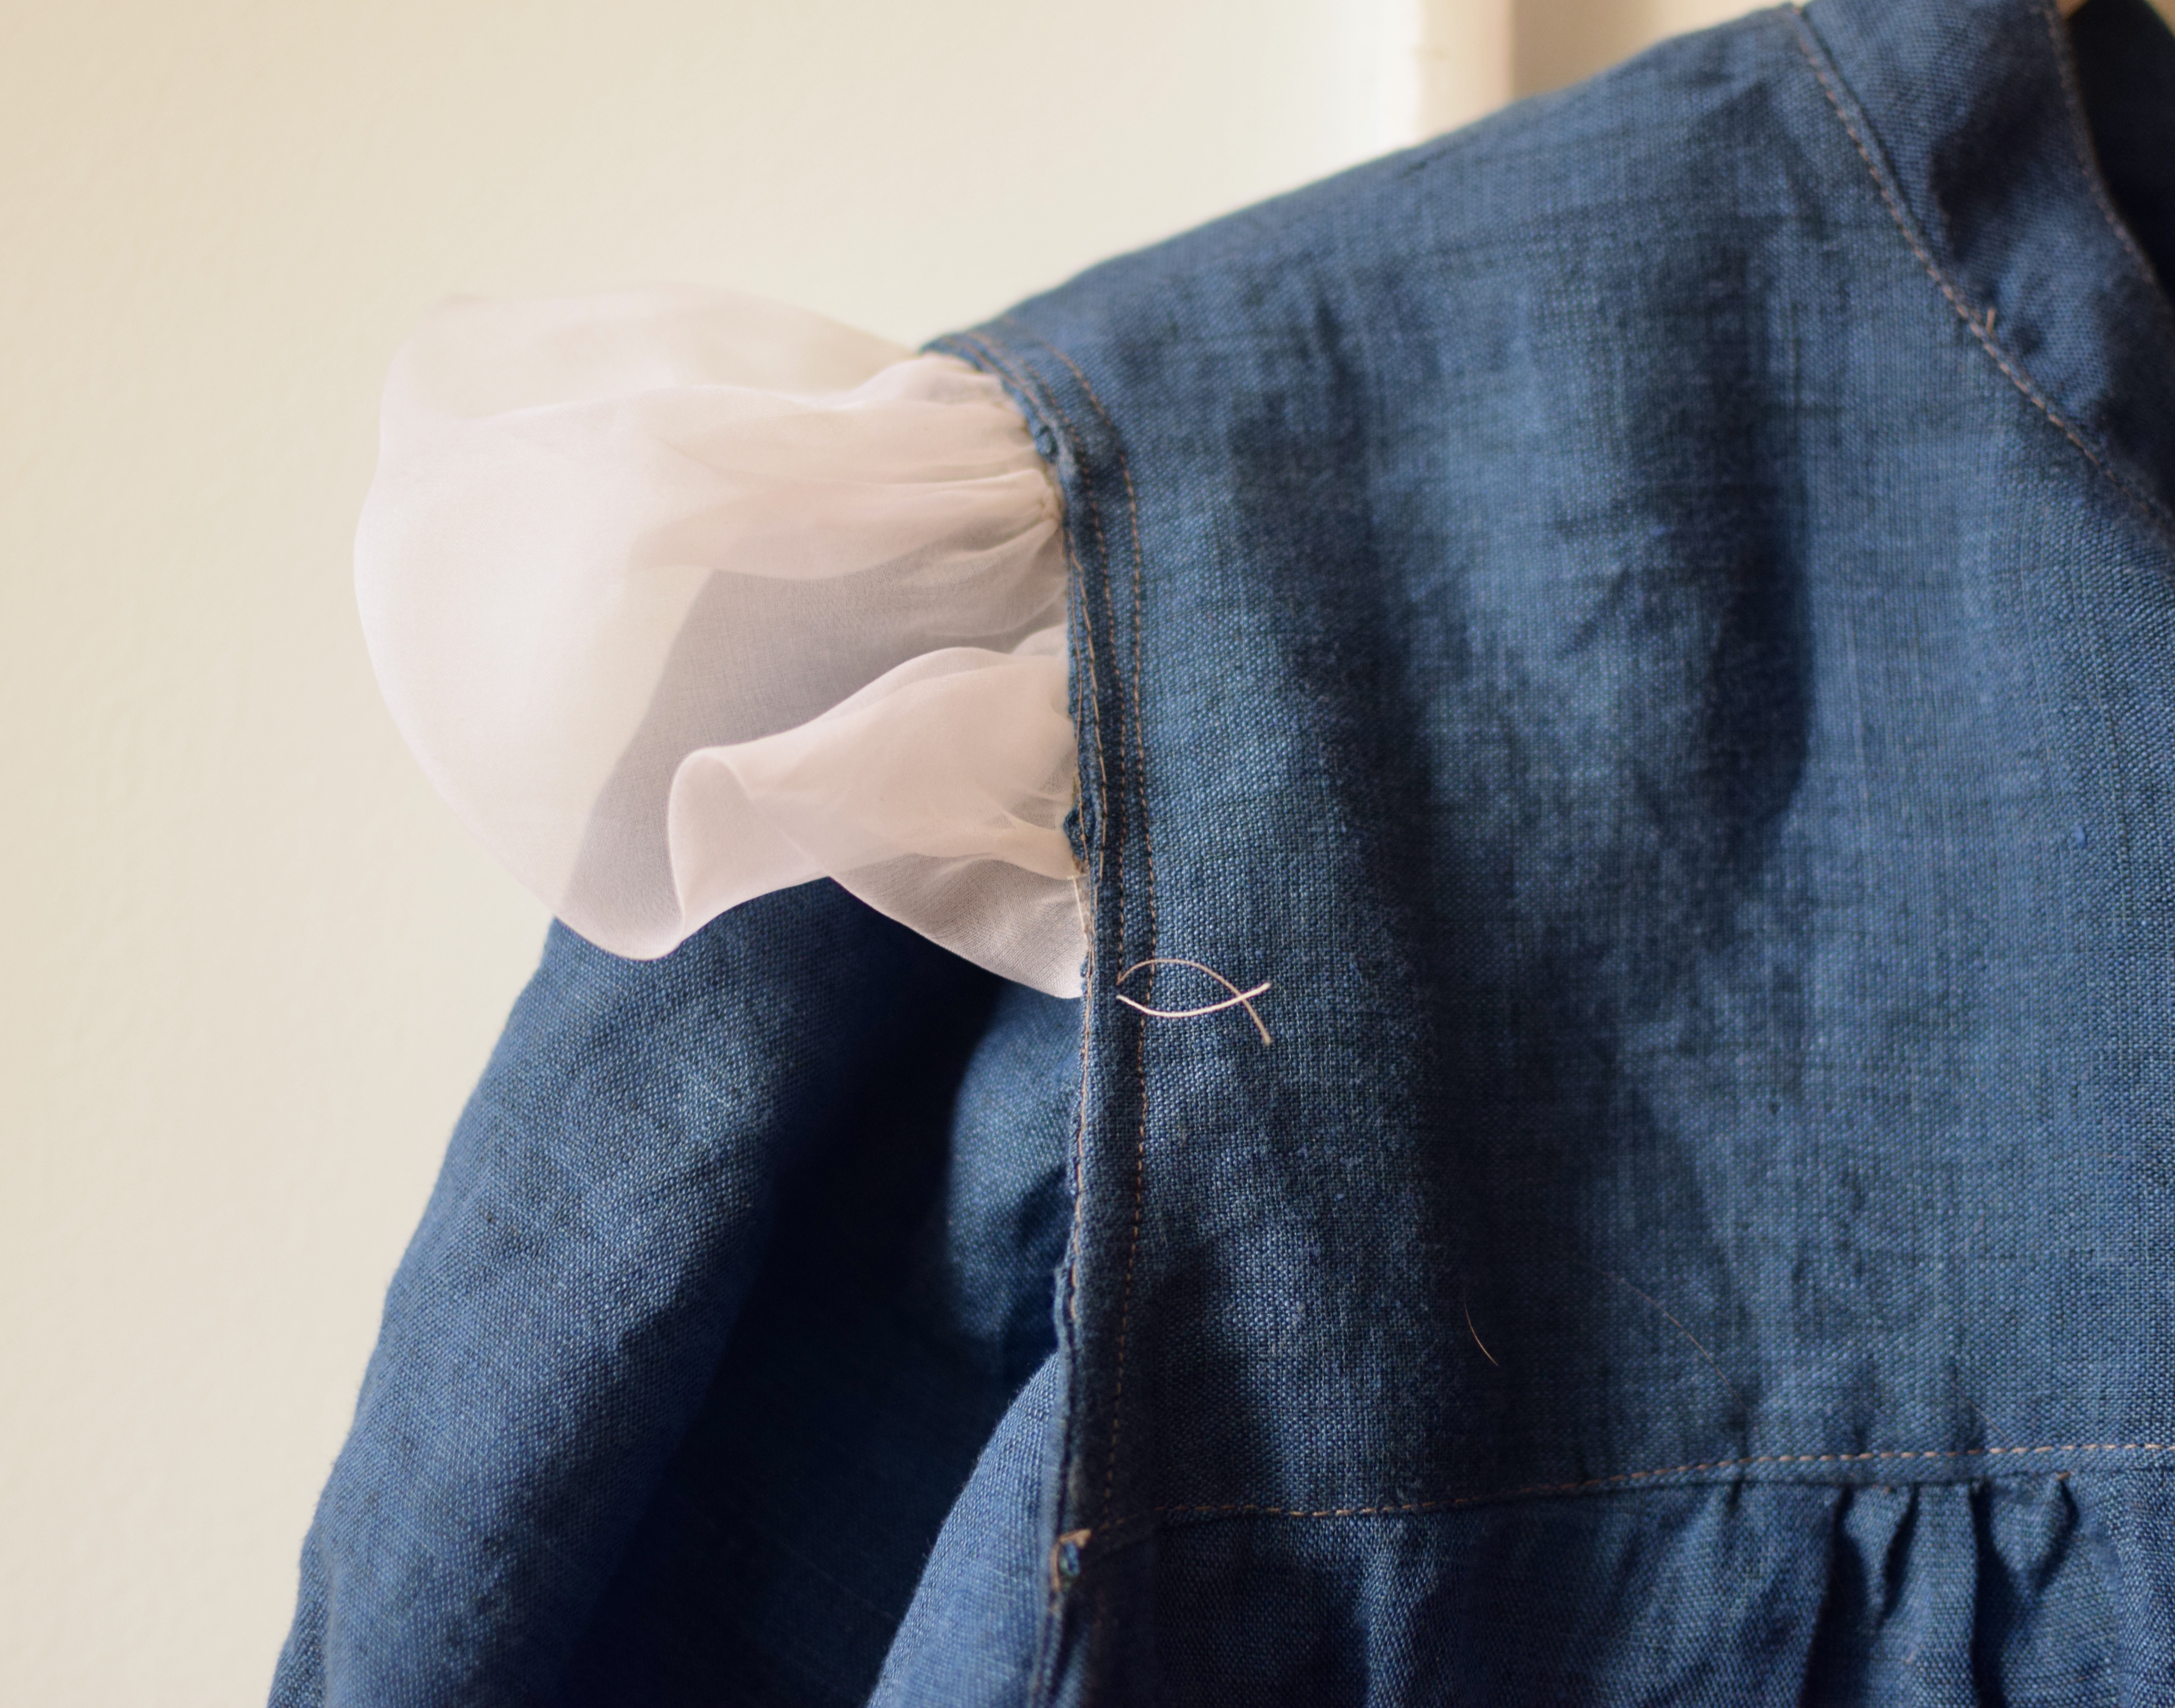
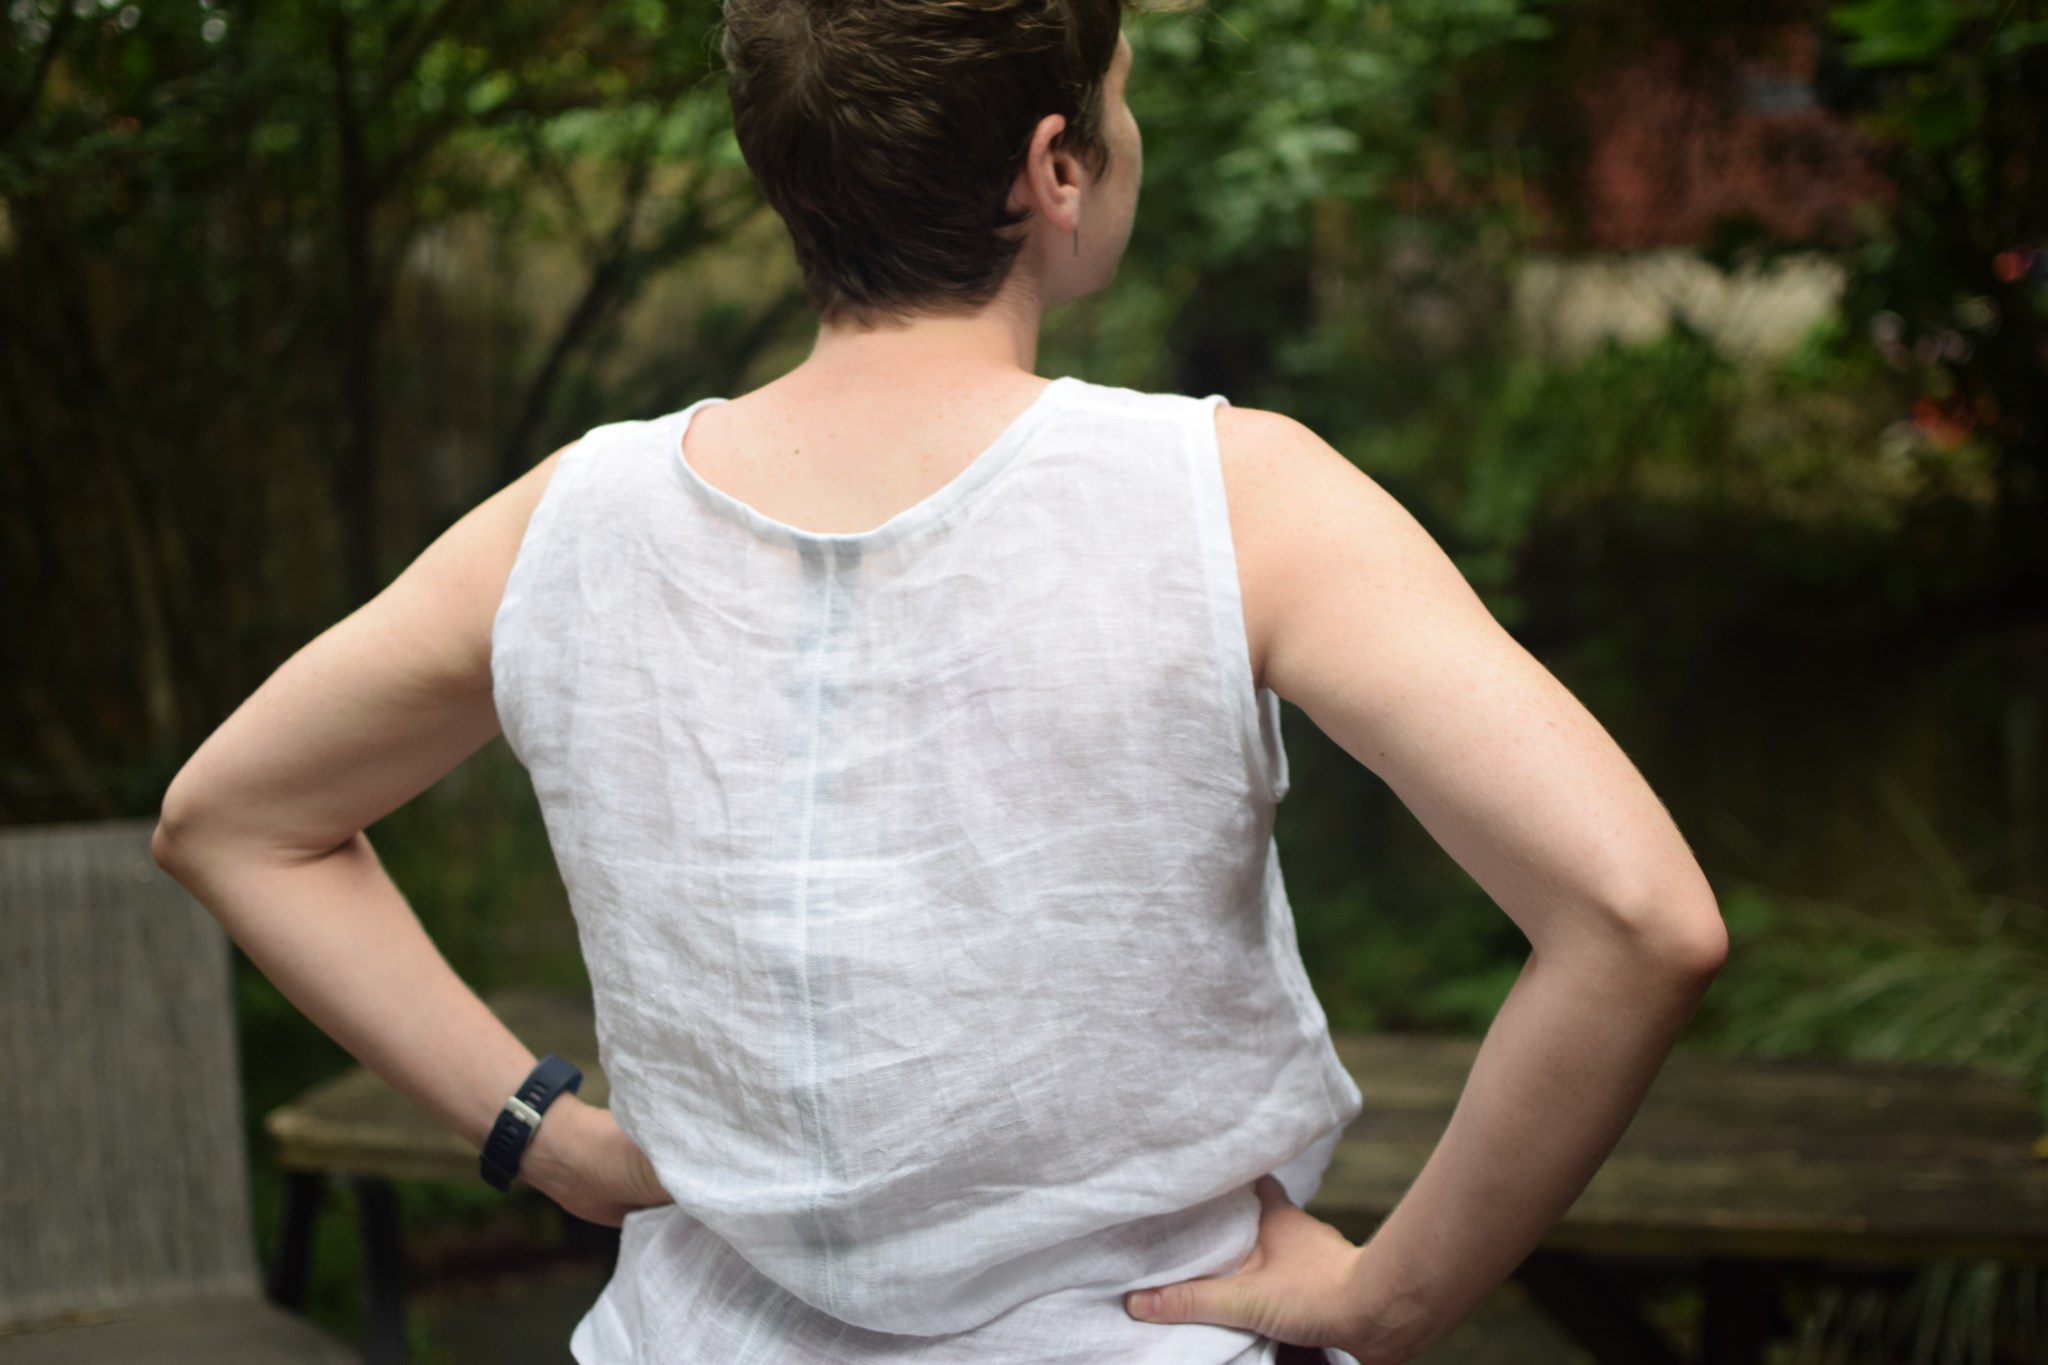
Instead of the recommended seam finishes, I used french seams throughout. I admit that french seams look a bit bulky at the shoulders, but this linen is an unravel-y mess and needs the frenchies. I used this fab tutorial for finishing the side seam splits and they look great.
This was the first time I used the crimp stitch. I did some googling to make sure I was doing it correctly, and I found this great tutorial from a delightful sewer. I think I’ll be using the crimp stitch instead of doing a gathering stitch to prep my set-in sleeve heads from now on.
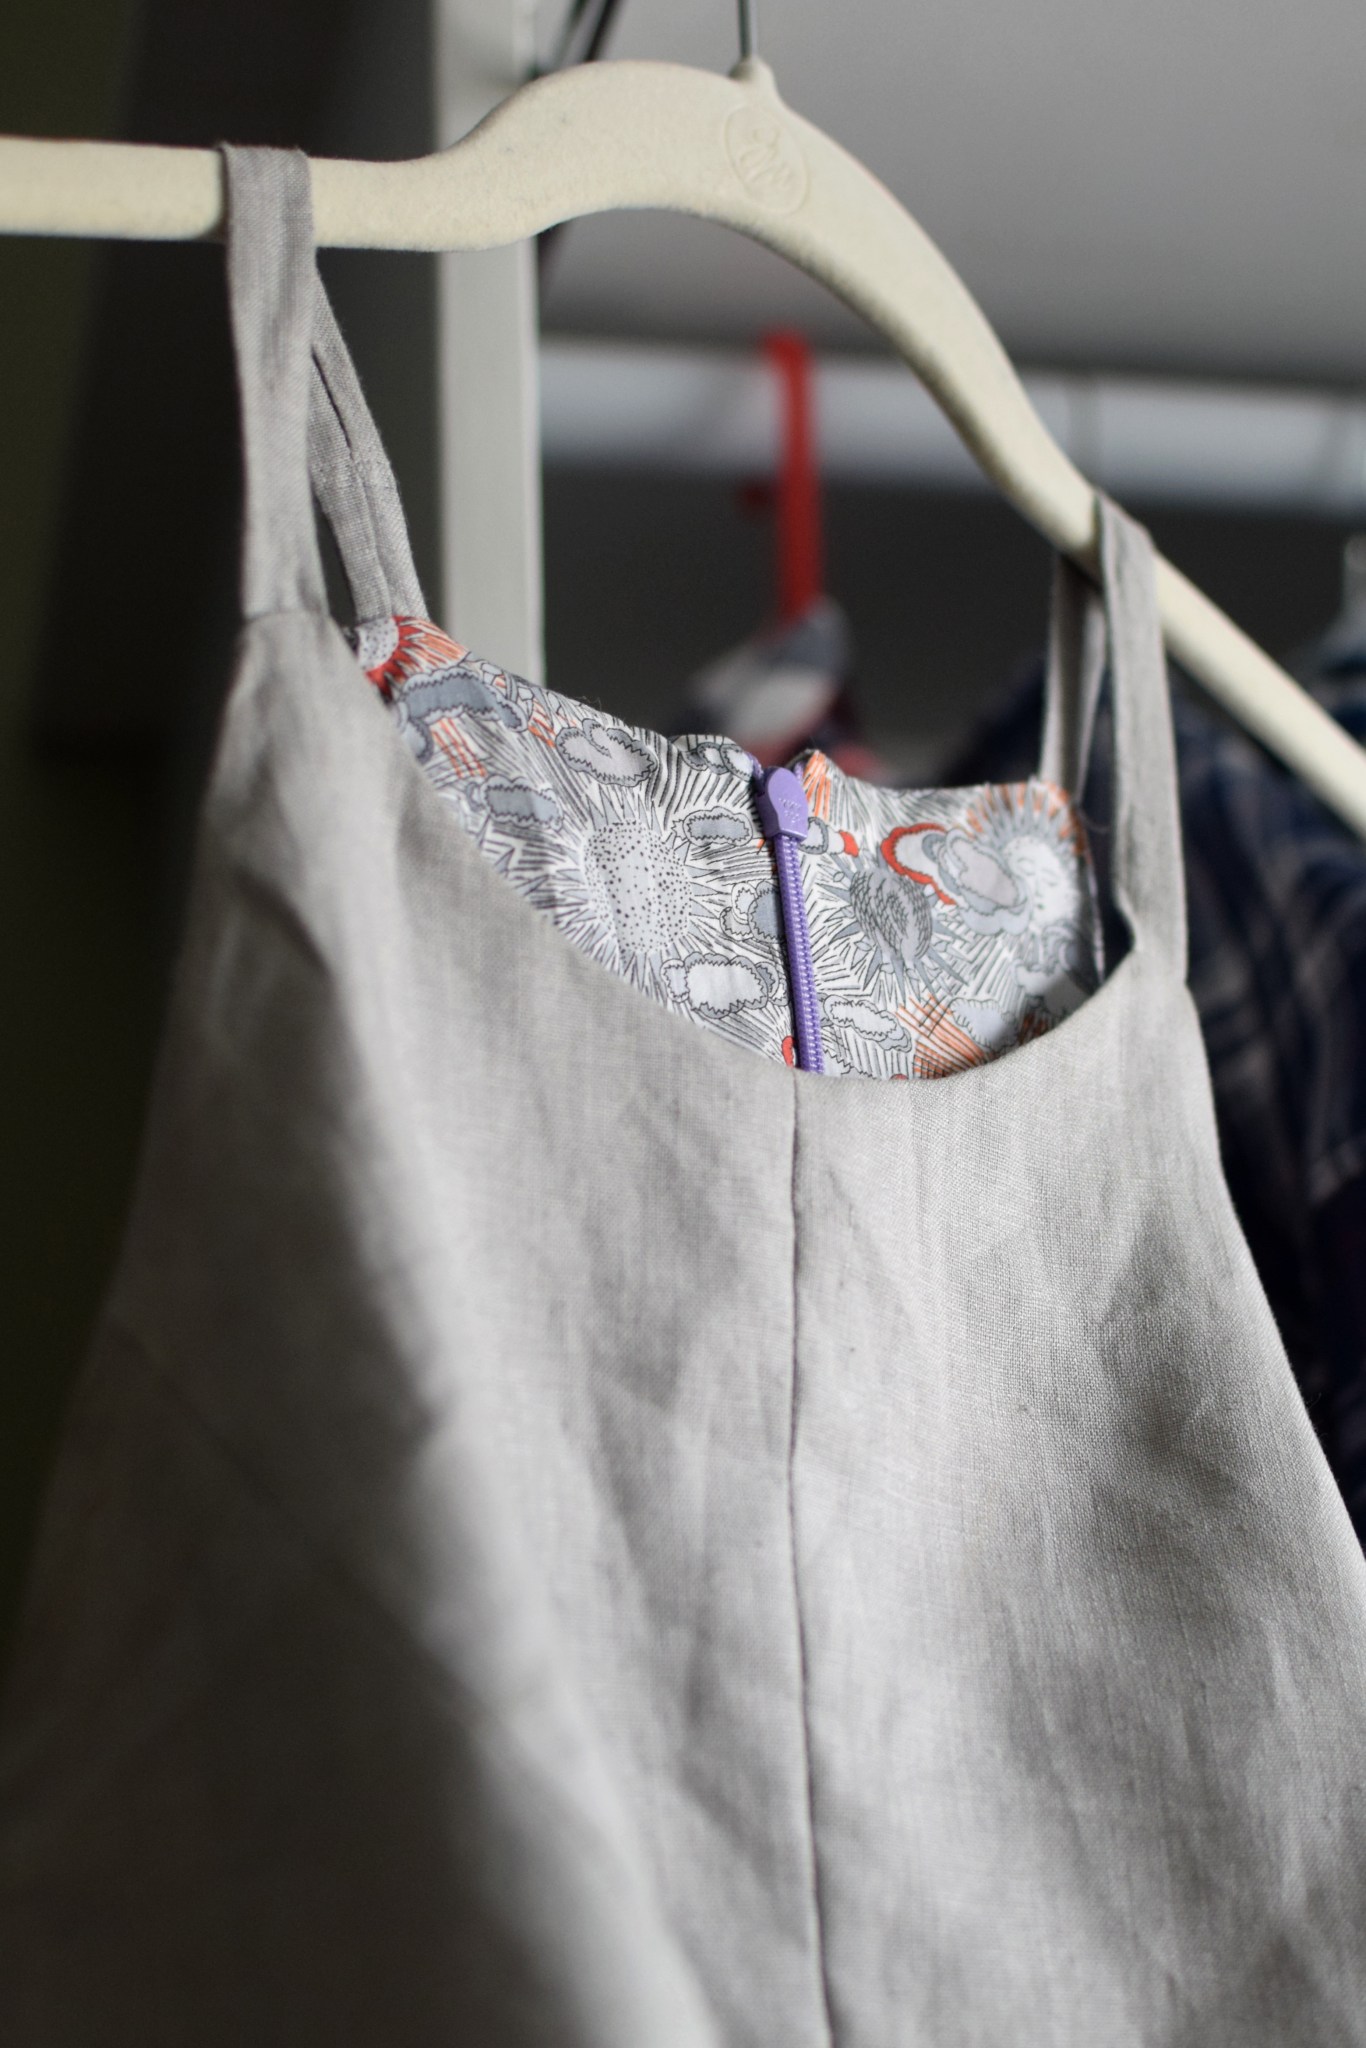
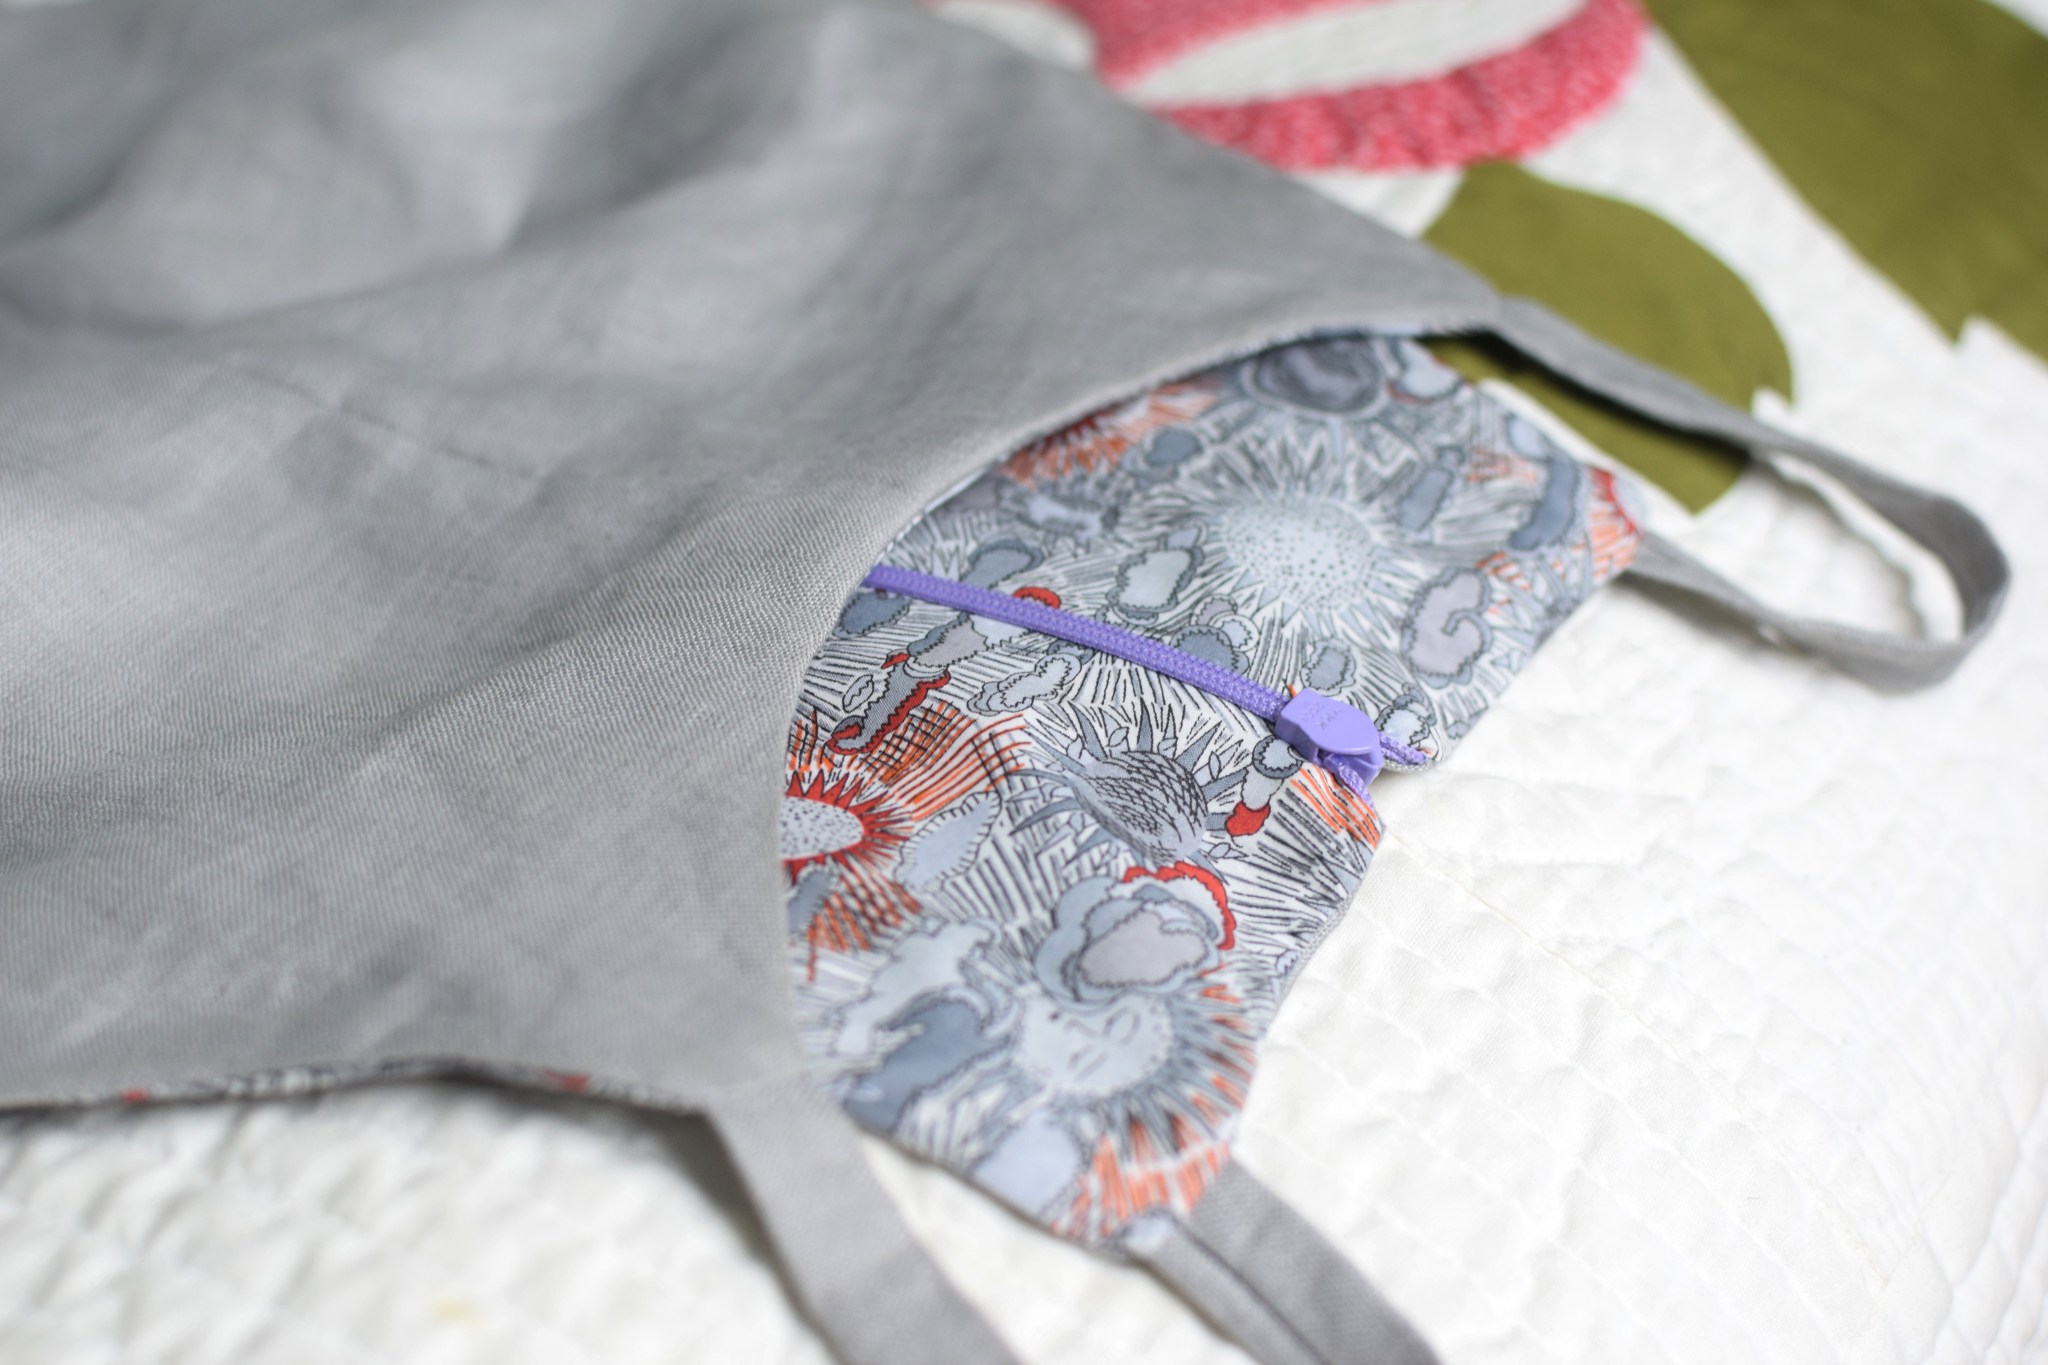
I sewed down the facing because I hate the feeling of a flapping, floppy facing. This becomes especially annoying when the garment comes out of the wash. I topstitched the shoulder and arm seams. Lastly, I hand-sewed the facing at the shoulder as well as the collar to make sure it looked perfect.


Conclusion
I loved trying out a new type of collar construction (no collar stand!) on this garment. Sewing this collar was pretty easy.
I saw some complaints that the directions in this pattern was hard to follow. I found a few bits tricky, but I read carefully and was able to figure out each step without problems. I love it!