I made it through 2019 (almost) without buying new clothes or shoes! I decided to try a buy-nothing year myself after seeing others on the internet. I remember looking in my closet thinking, “wow I have so many clothes and I never wear them all.” This, combined with my guilt about how wasteful I am as a human being, inspired me to take on this challenge.
How did I do it?
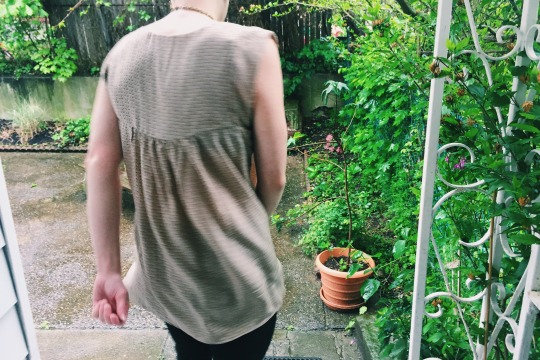
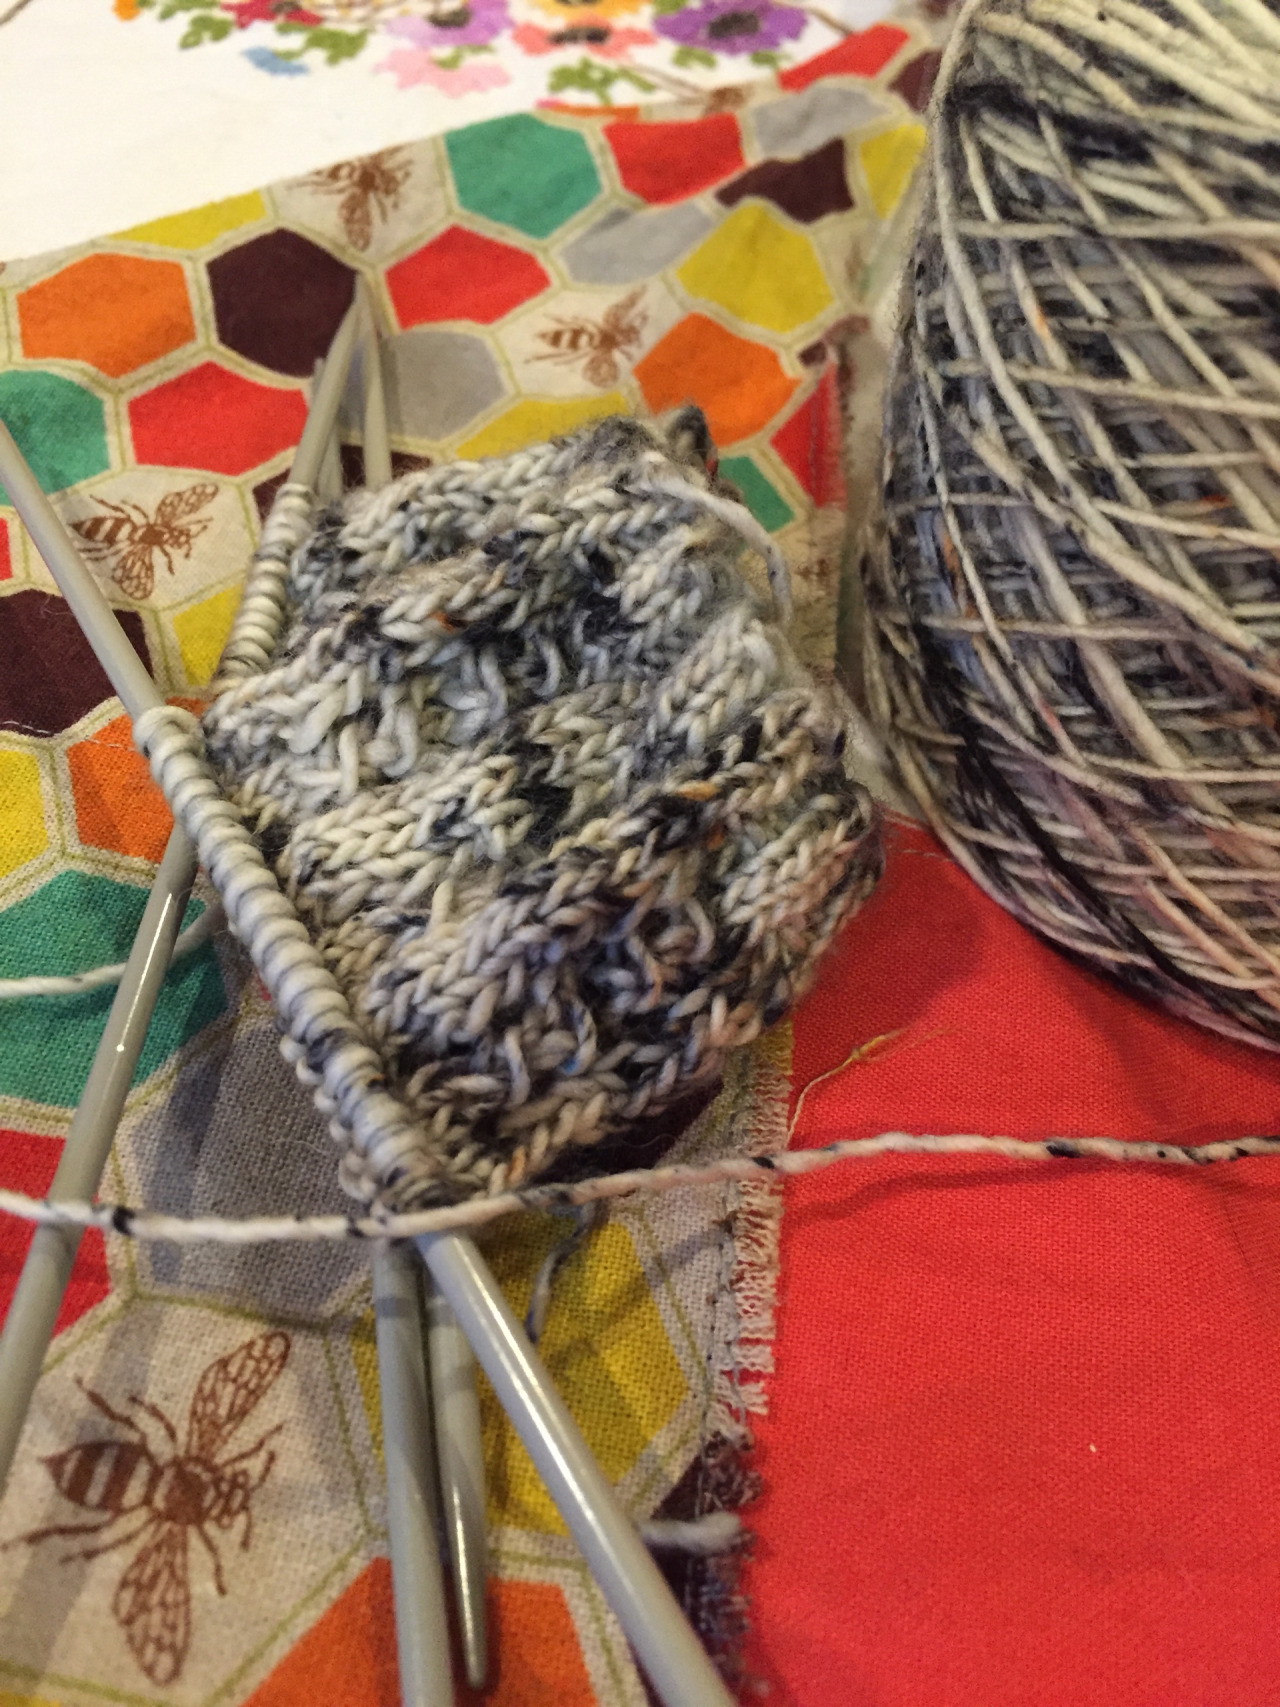
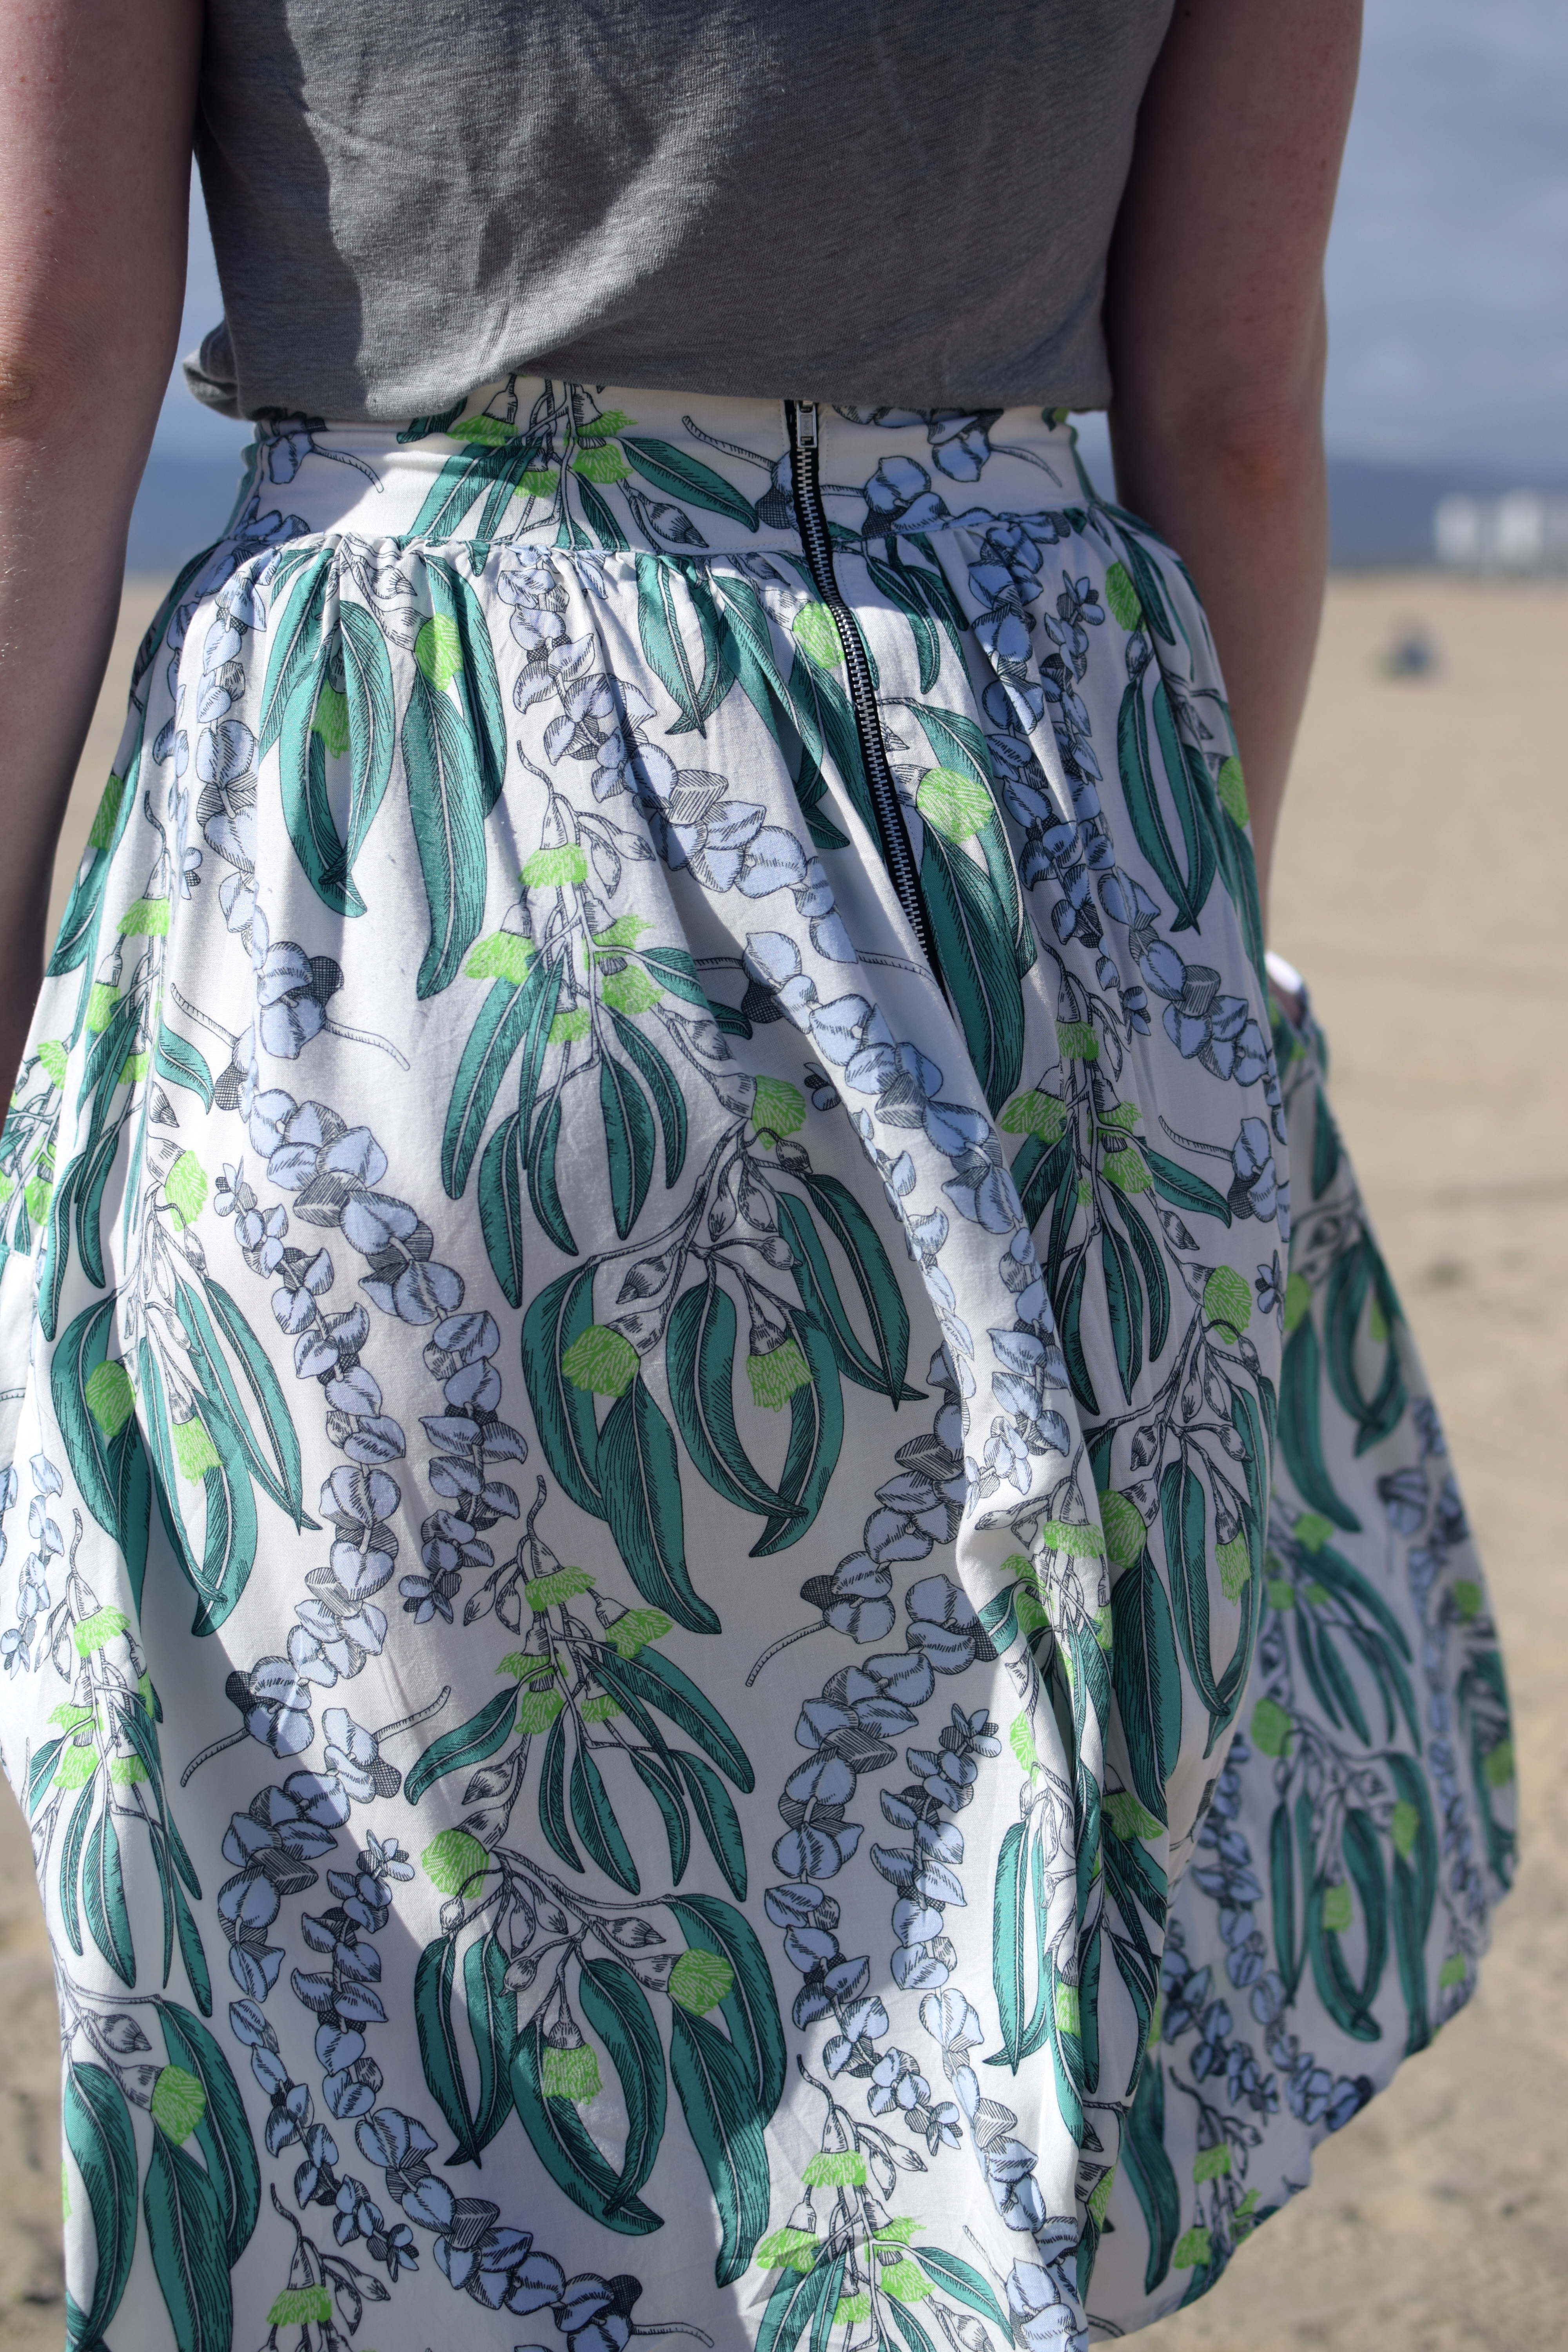
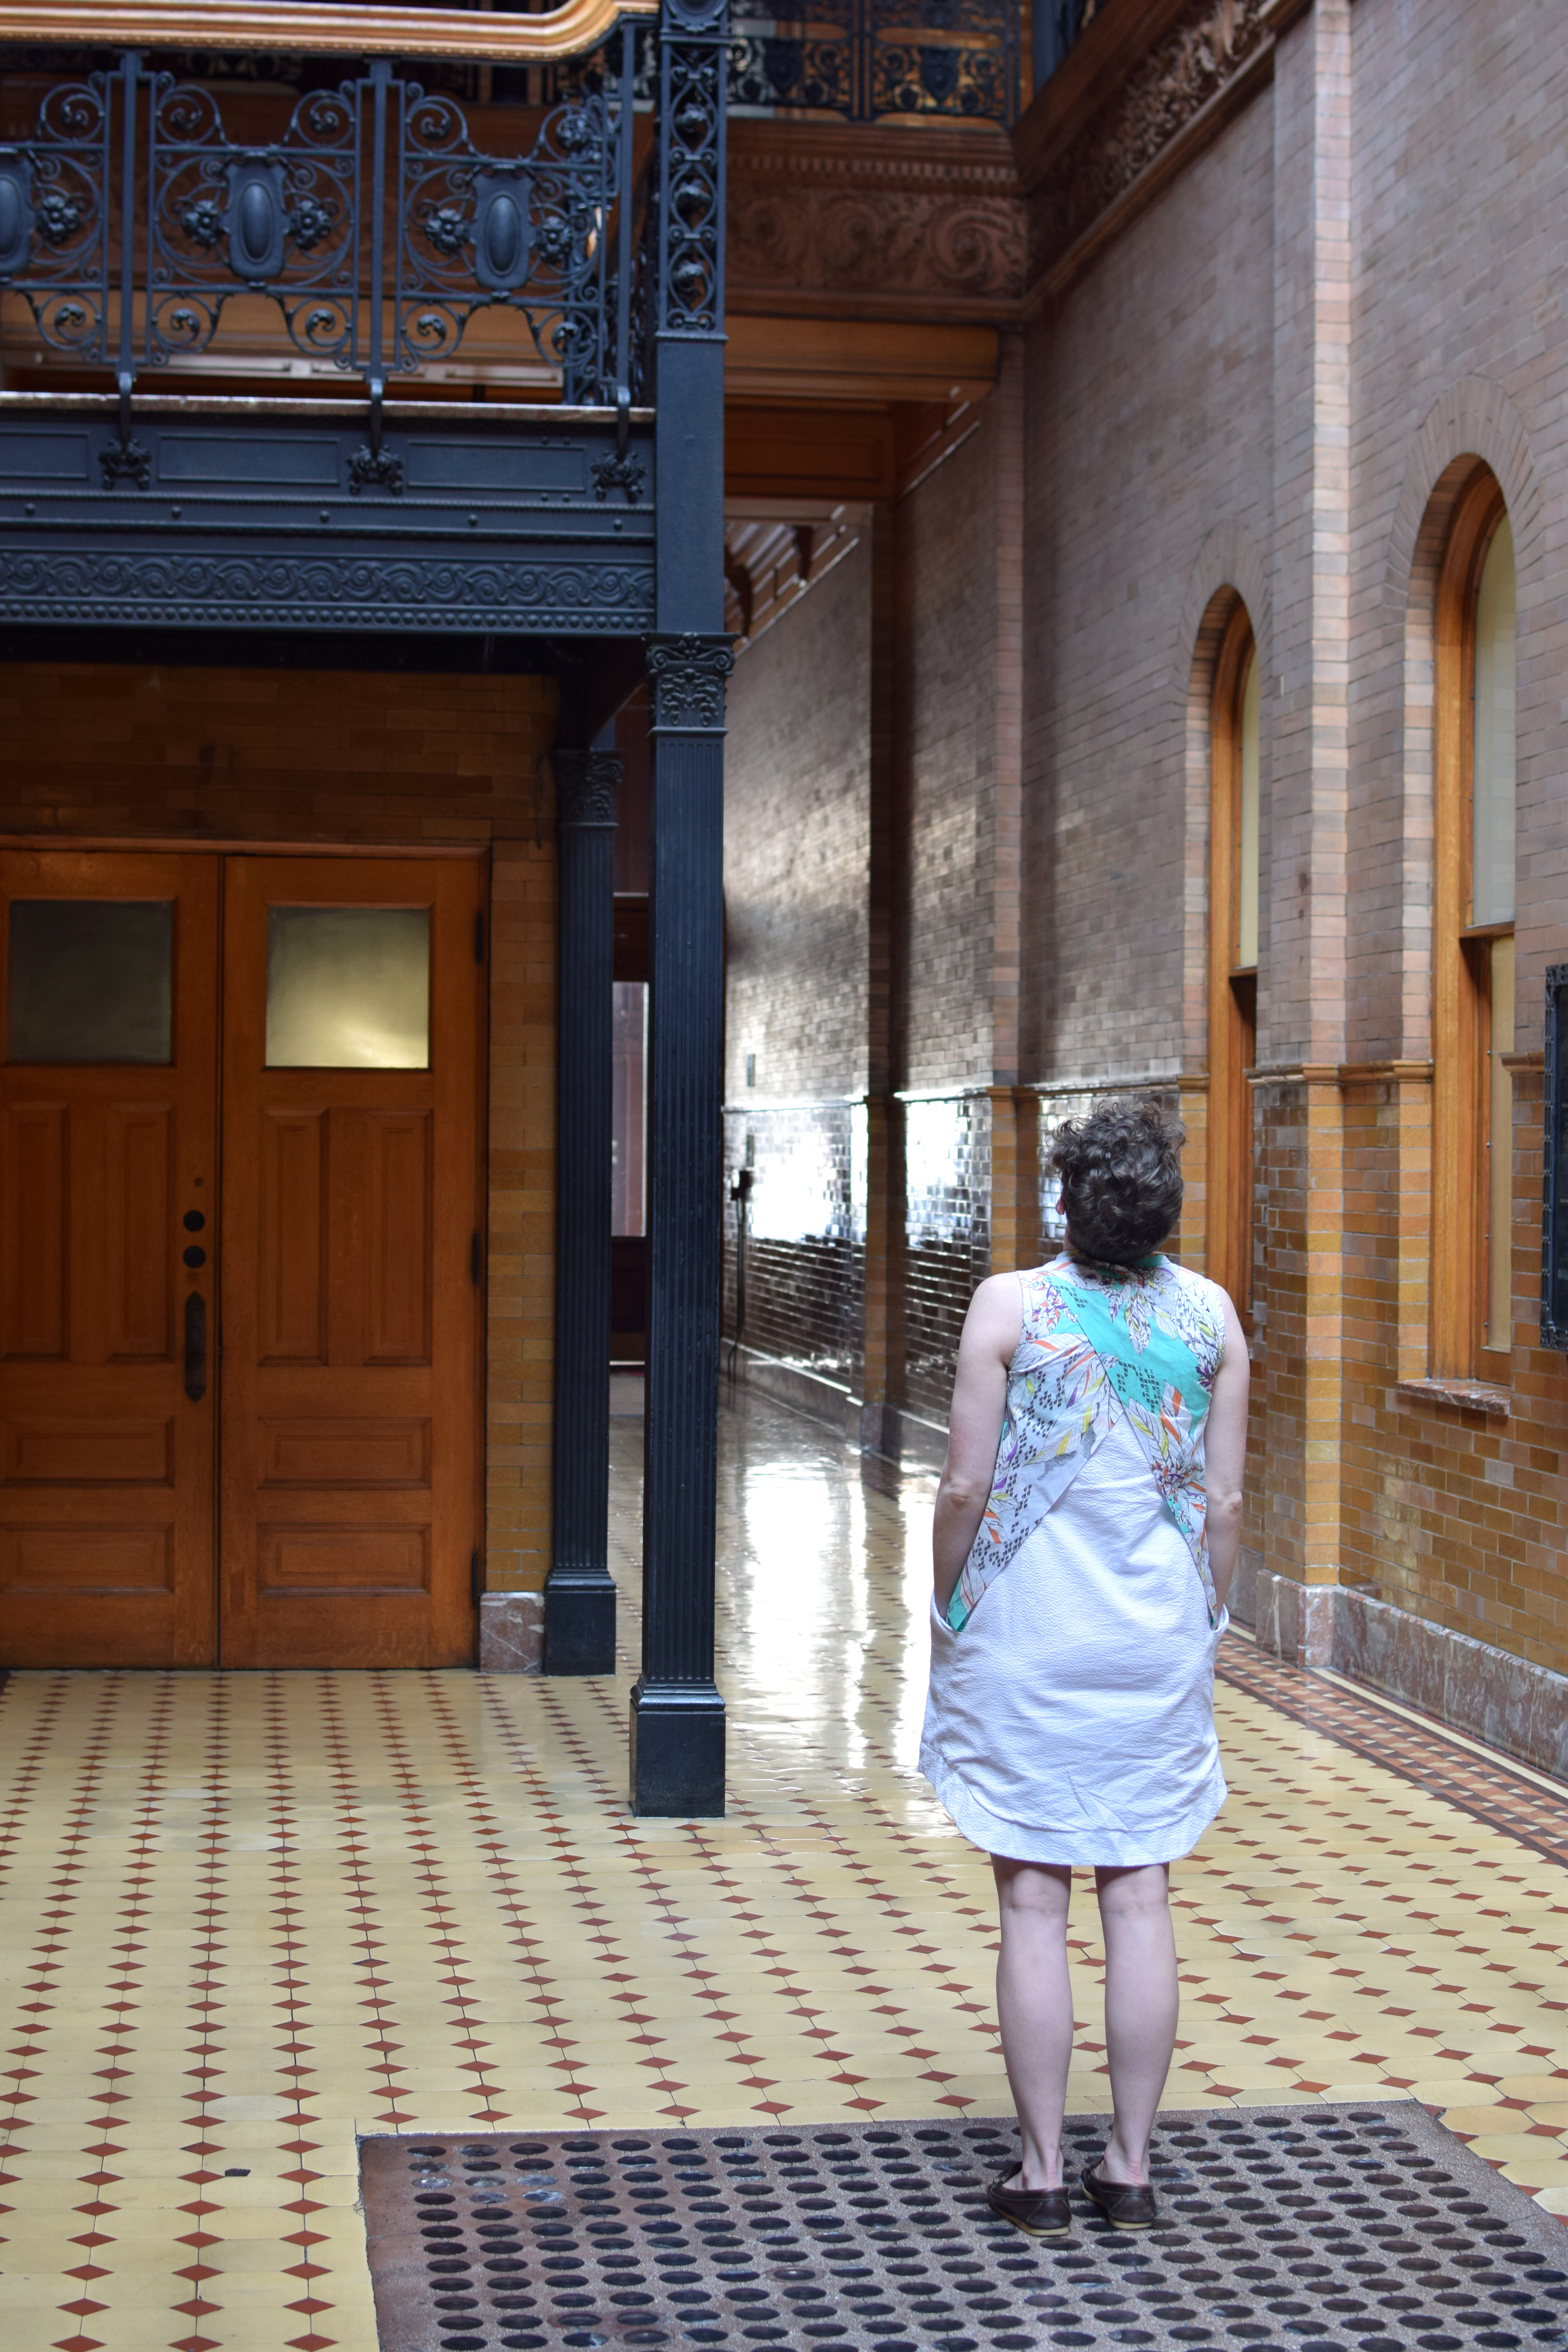
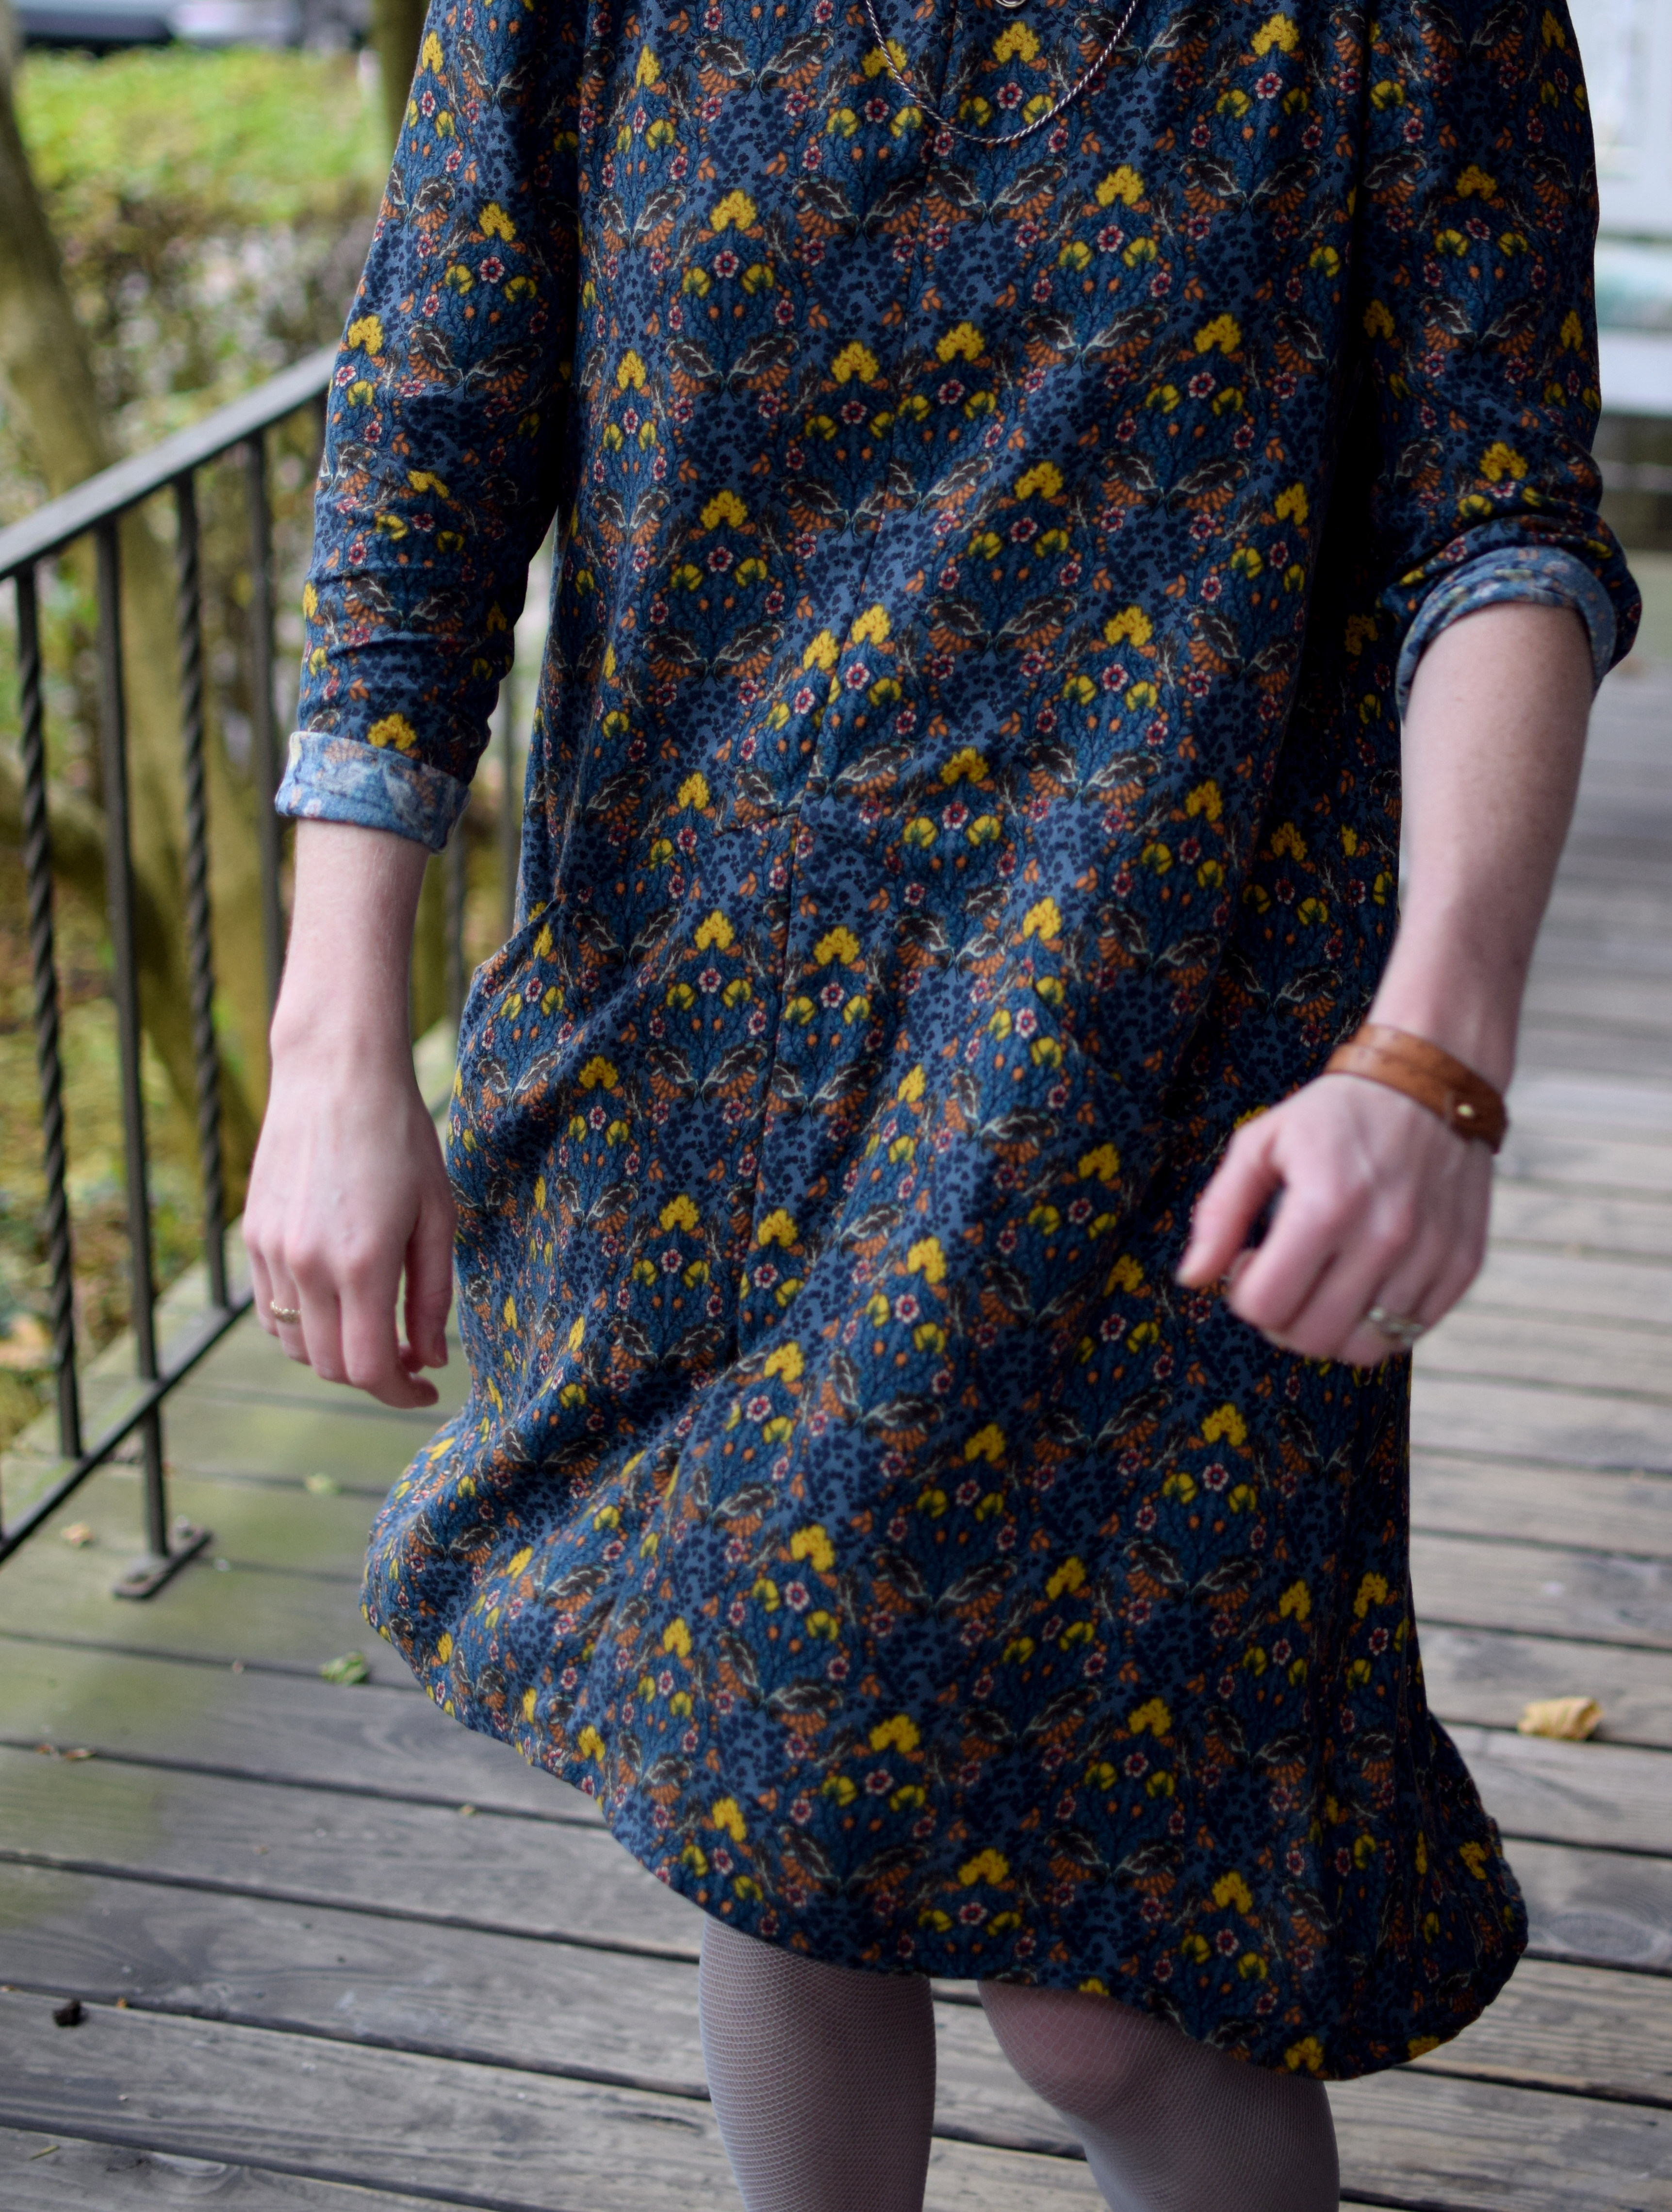
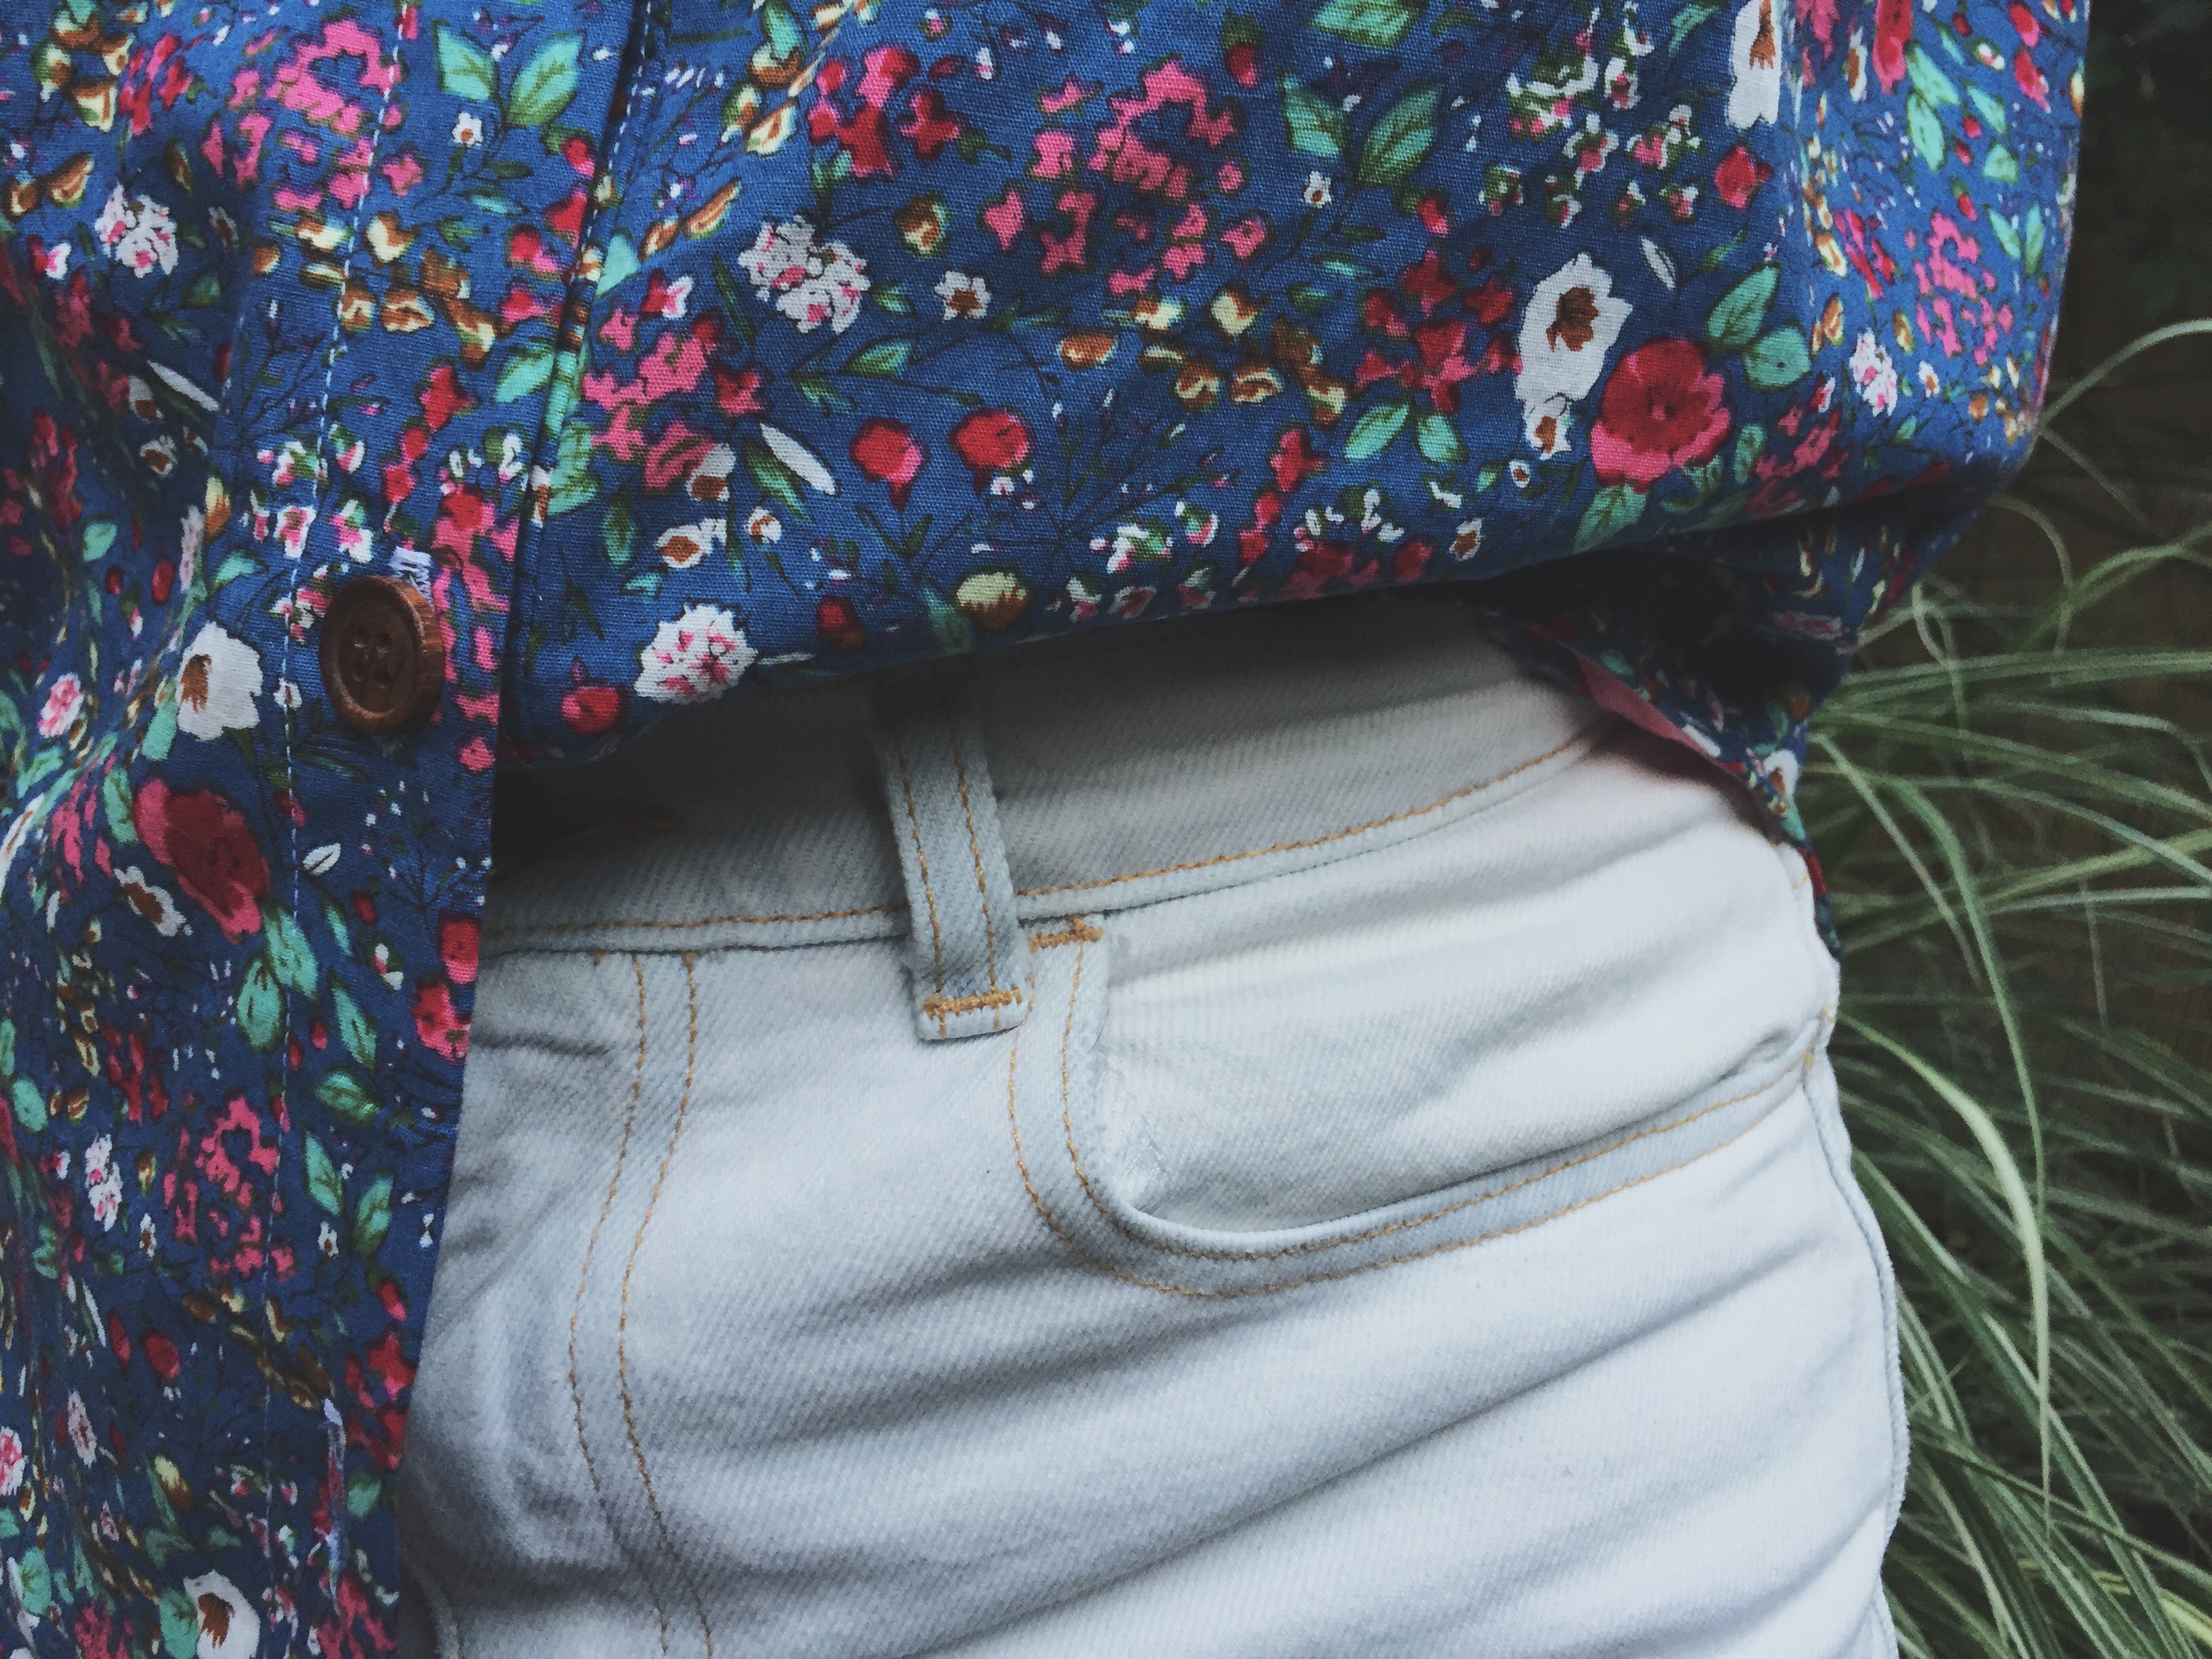
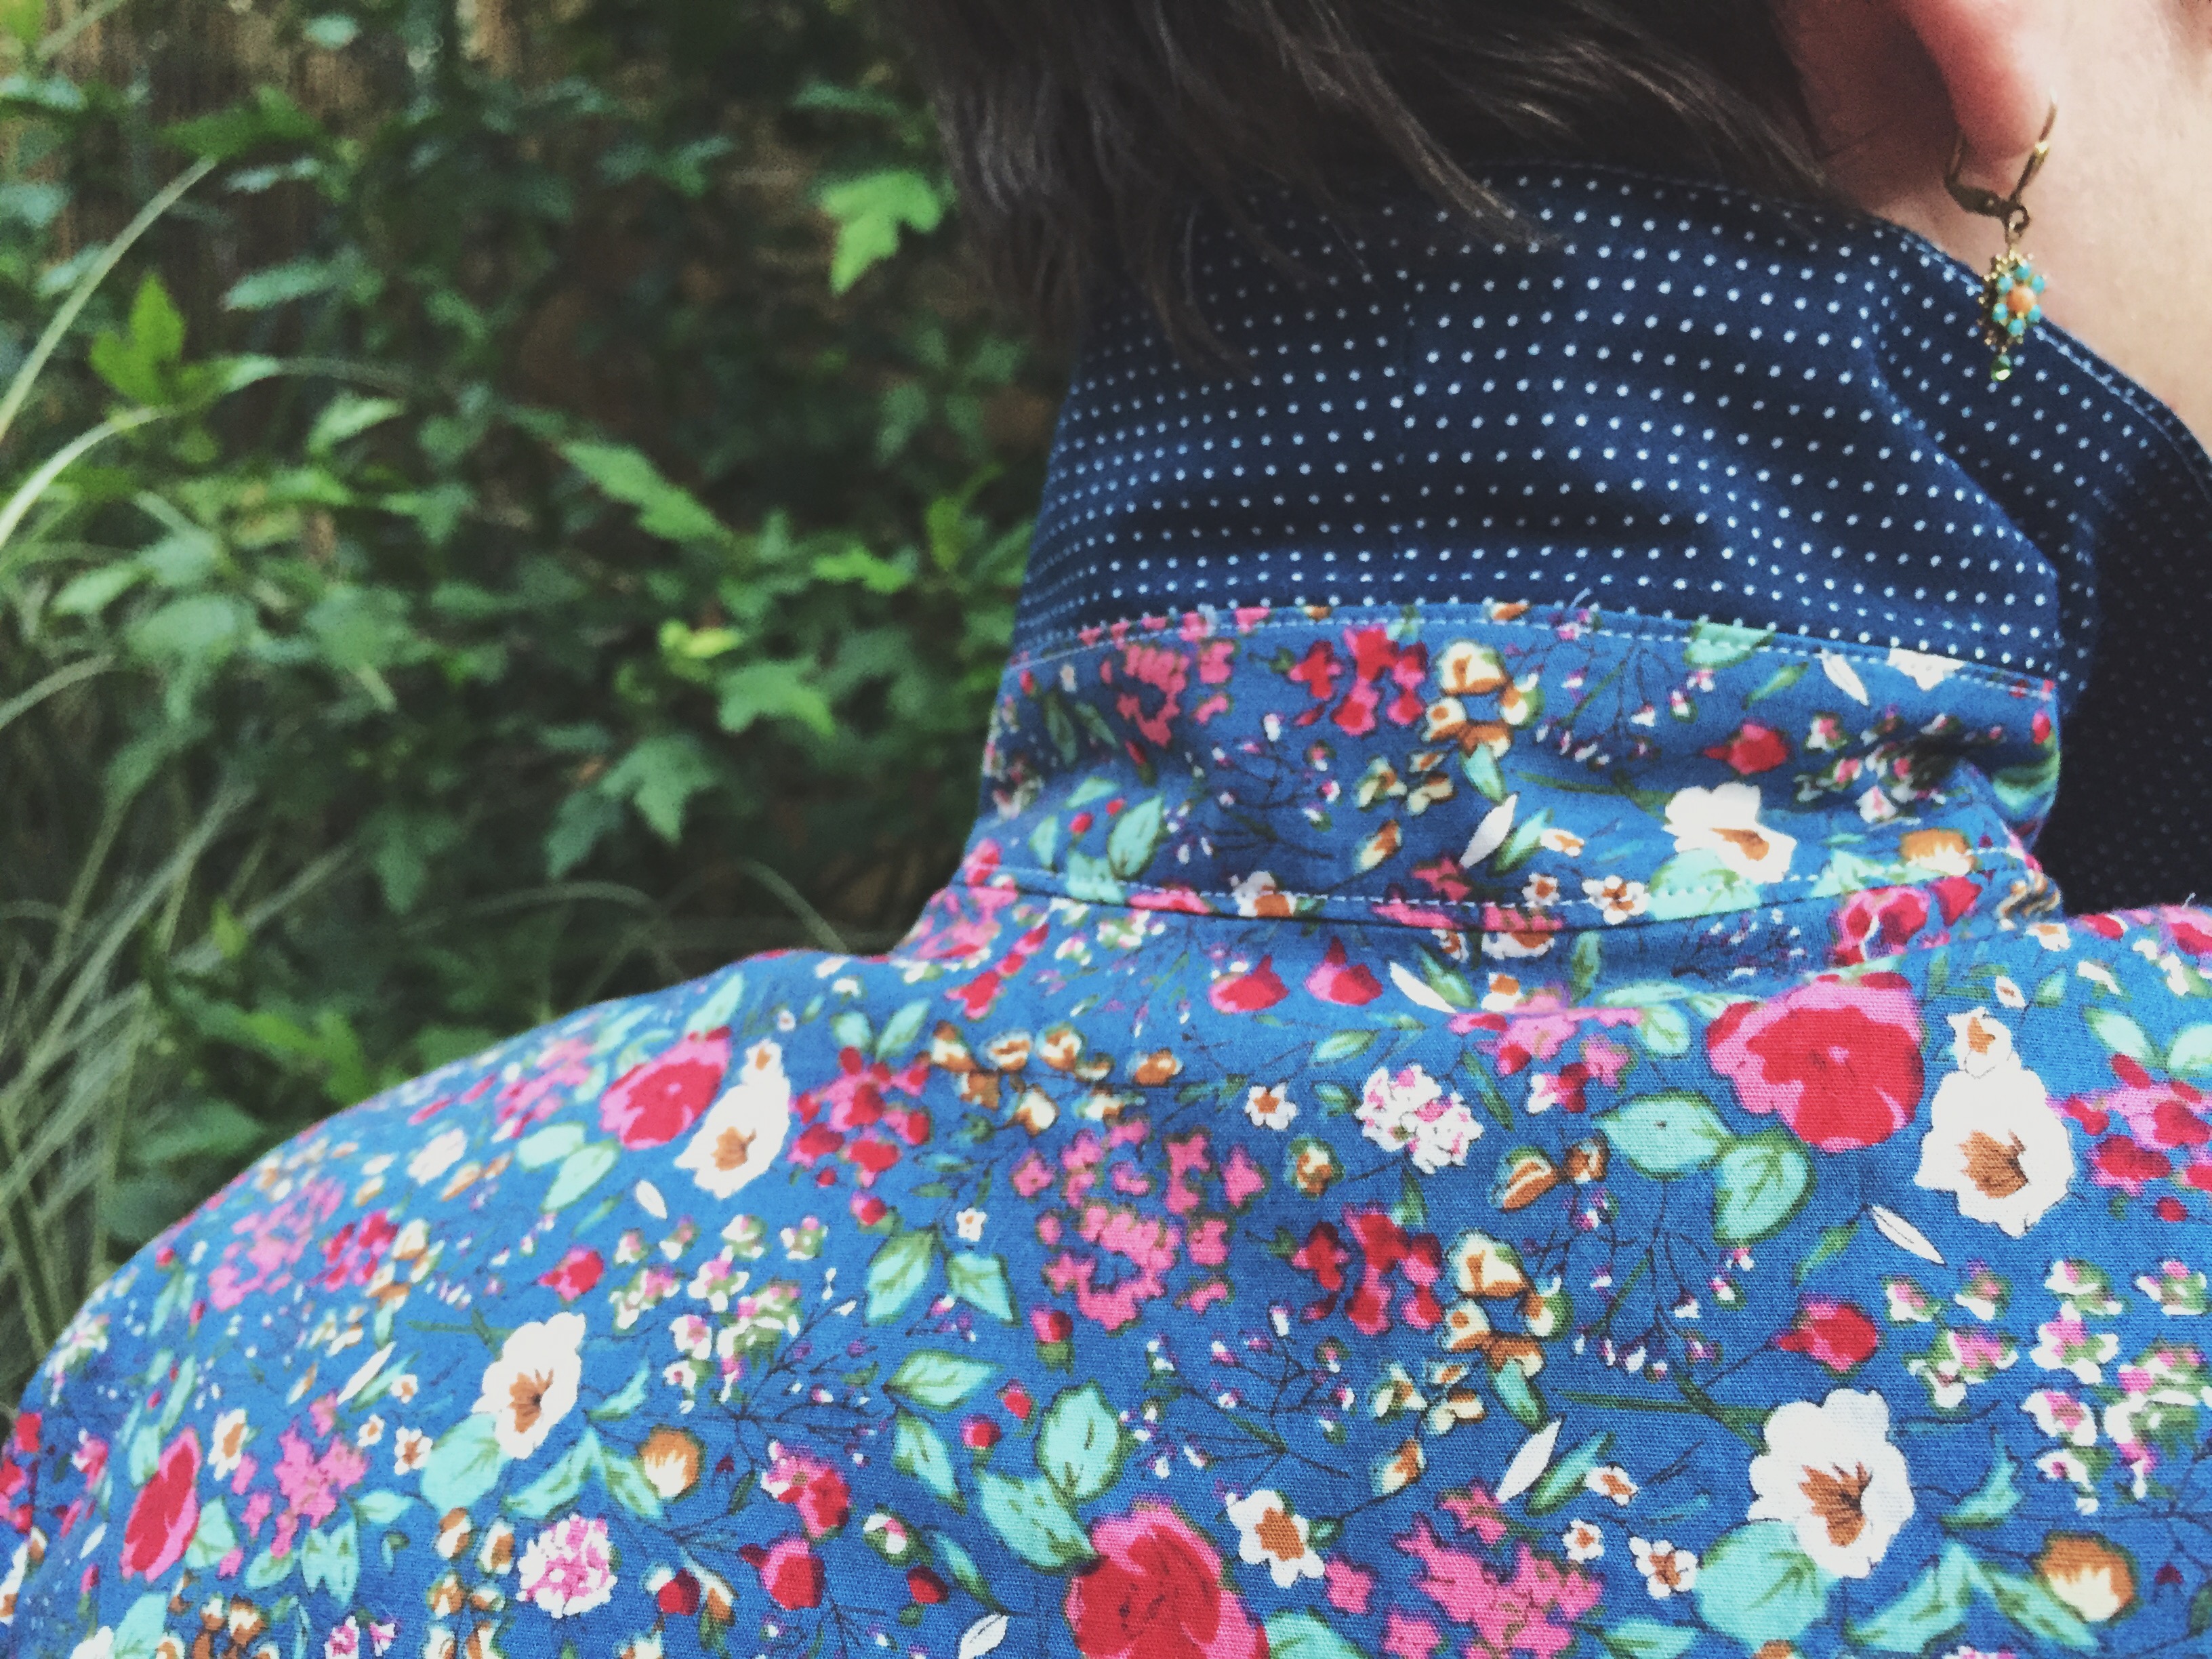
Early on this spring, I remember almost purchasing a top from a secondhand store, but I resisted! Remembering the bigger goal of a no-buy year helped me when urges crept in. I did make clothes throughout the year.
I discovered some tactics and want to share them in case you too decide you’d like to try it:
- Unsubscribe from retail marketing emails. If you cut temptation from your inbox, you’re less likely to shop
- Make a list of the clothes you want, and see if you still want them months later
- Don’t go shopping. Don’t tempt yourself. You may find you save a lot of time!
- Tell at least one person close to you about your goal so you can go to them if you feel tempted
- Host a clothing swap! I hosted one through Creative Mornings Field Trips
- Stop using Instagram. Through the lens of the internet, it may seem like the stuff in everyone’s life is perfect. But stuff is not ever going to make you happy (duh). YOU are the product on free social media apps. Advertisers are lining up to sell you stuff and use your data, and they’re pretty good at it. I quit using Instagram in January, and I credit that as a large part of my success this year.
- As the months tally up, recognize your progress! By June, Remembering how far I had already come helped me later on in the year when I wanted to buy something.
I found these resources inspiring to help me remember why I took on this challenge:
- “The Best thing you can do is not buy more stuff” Fresh Air interview with Adam Minter
- The Buyerarchy of Needs shows you where to focus your efforts in acquiring more stuff
- A Bunch of Pretty Things I Did Not Buy hits the nail on the head
- Make Fashion Circular initiative from the Ellen McArthur Foundation
- The True Cost documentary on fast fashion
- Overdressed: The Shockingly High Cost of Cheap Fashion book by Elizabeth Cline
The Numbers
You may be wondering how much money I saved by not buying any clothes. I use YNAB (NO they did not pay me to say this, but YES, I recommend using it), so it was pretty simple to gather data to share. I am only displaying the budgeting categories that relate to this post.
In 2018, I spent almost $4,000 on clothing and jewelry. Before looking this up, I had no idea I spent that much. To be honest, its a little embarrassing to share.
That’s it! I am proud of myself, and time will tell if I have broken the spell of wanting new stuff. I suspect it will be something I have to work on forever.
Exceptions
I did have some exceptions to my no-buy, and purchased some clothing throughout the year. Here’s my full list:
- new soccer turf shoes (classified in my budget as “Soccer” not clothing)
- 2 bras w a gift card from husband (doesn’t show up in my budget because I used a gift card)
- Fringe Supply Co. bandana (this was my true moment of weakness…)
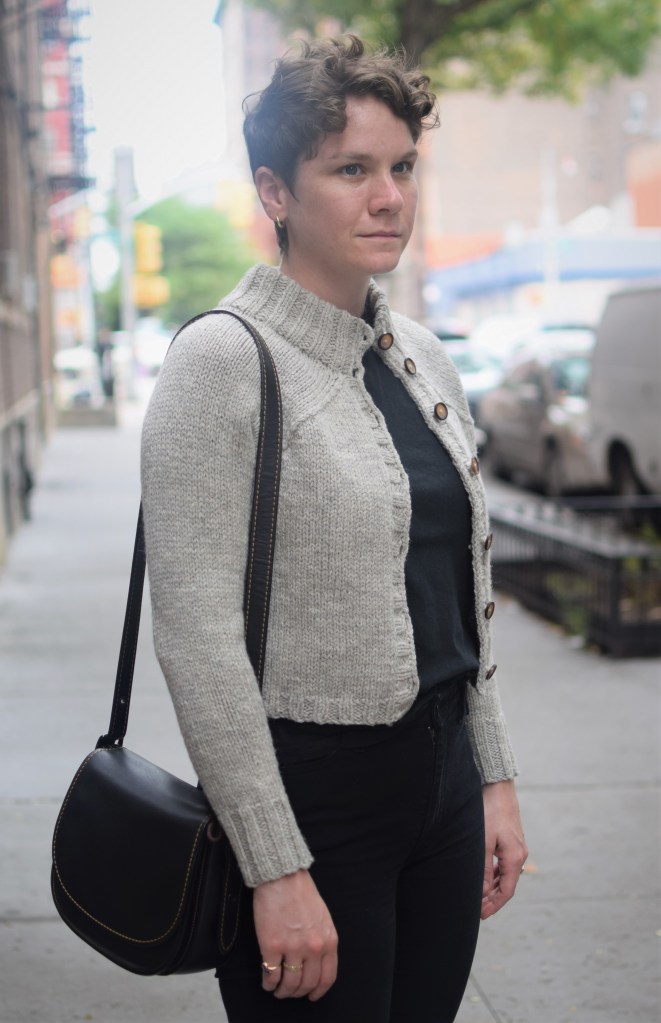
- Coach purse before I left the company (no it was not ethically made, no it was not made sustainably)
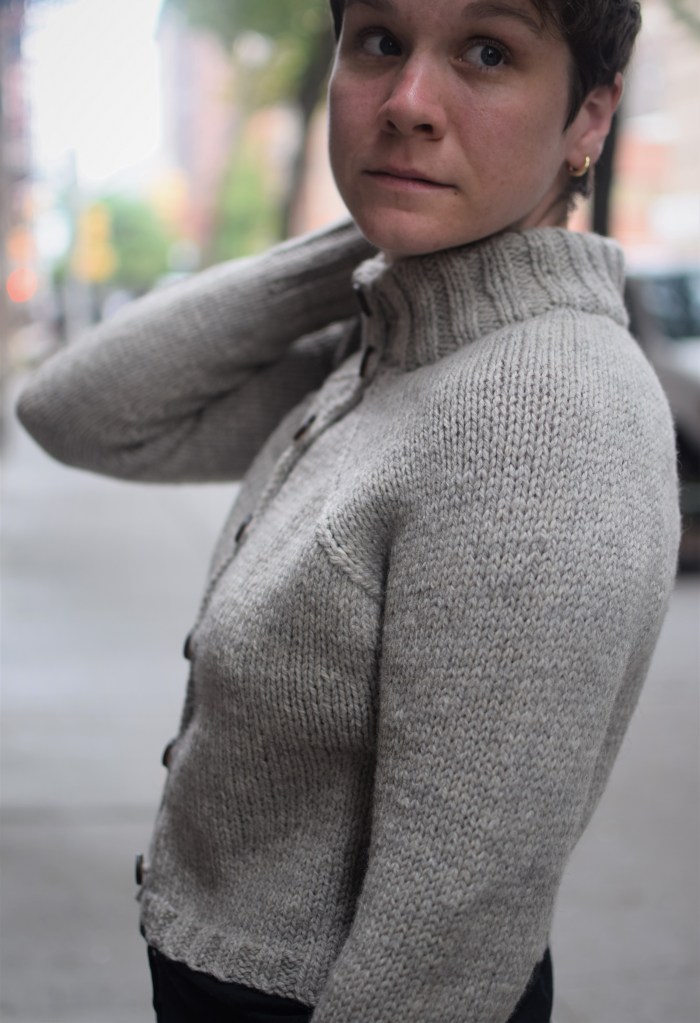
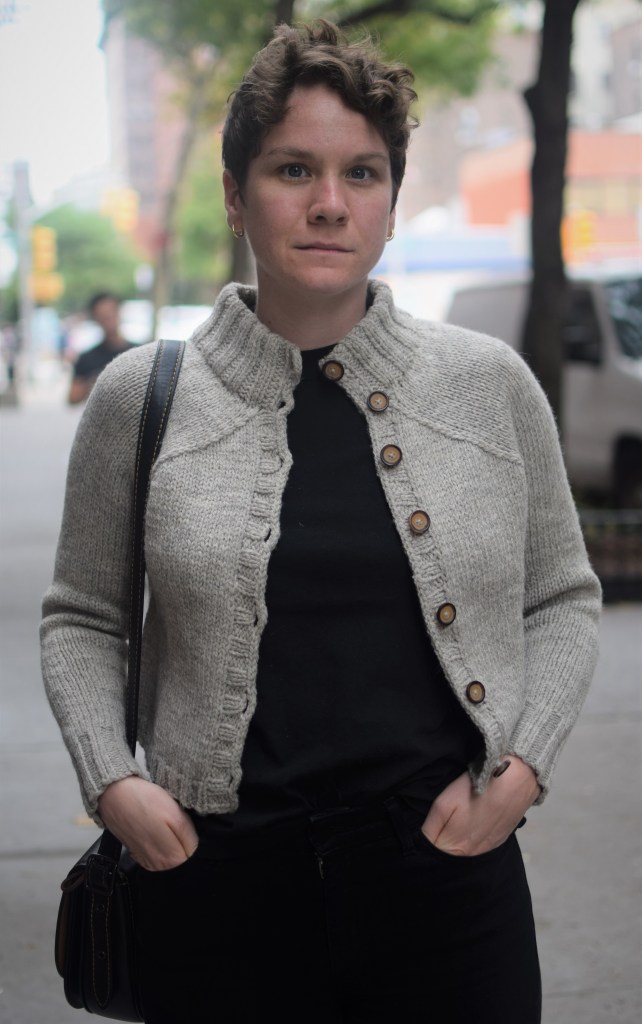
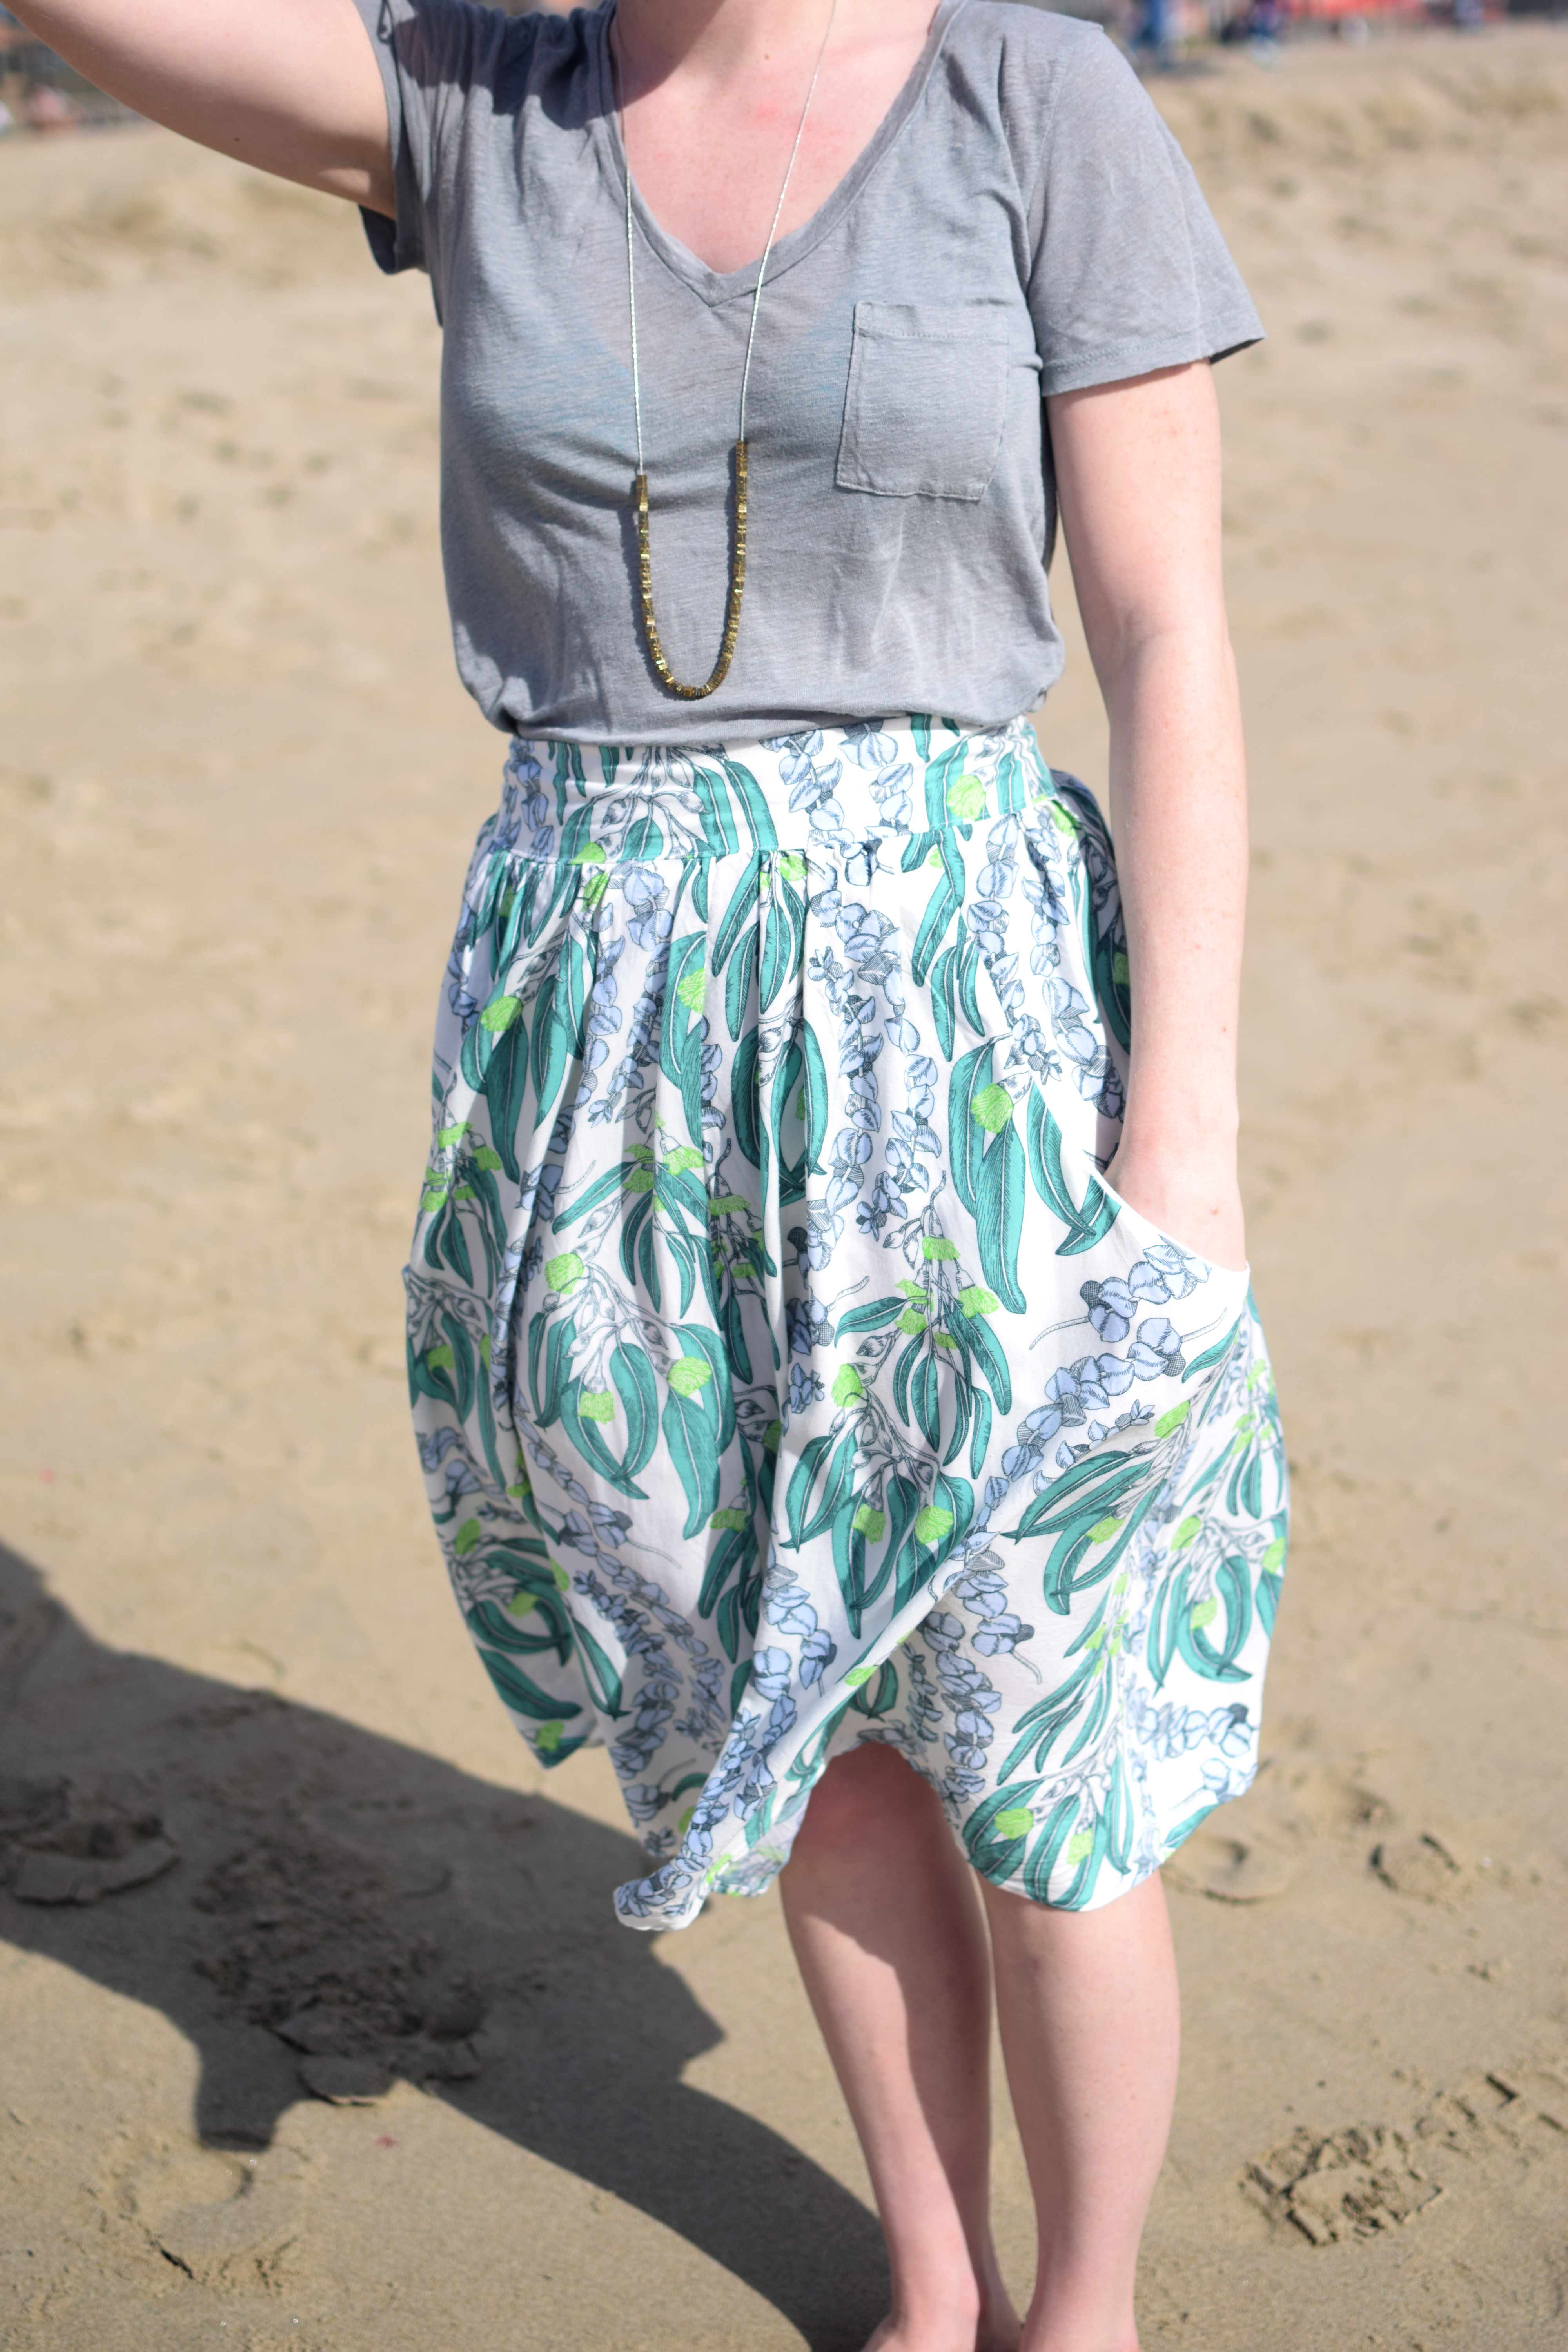
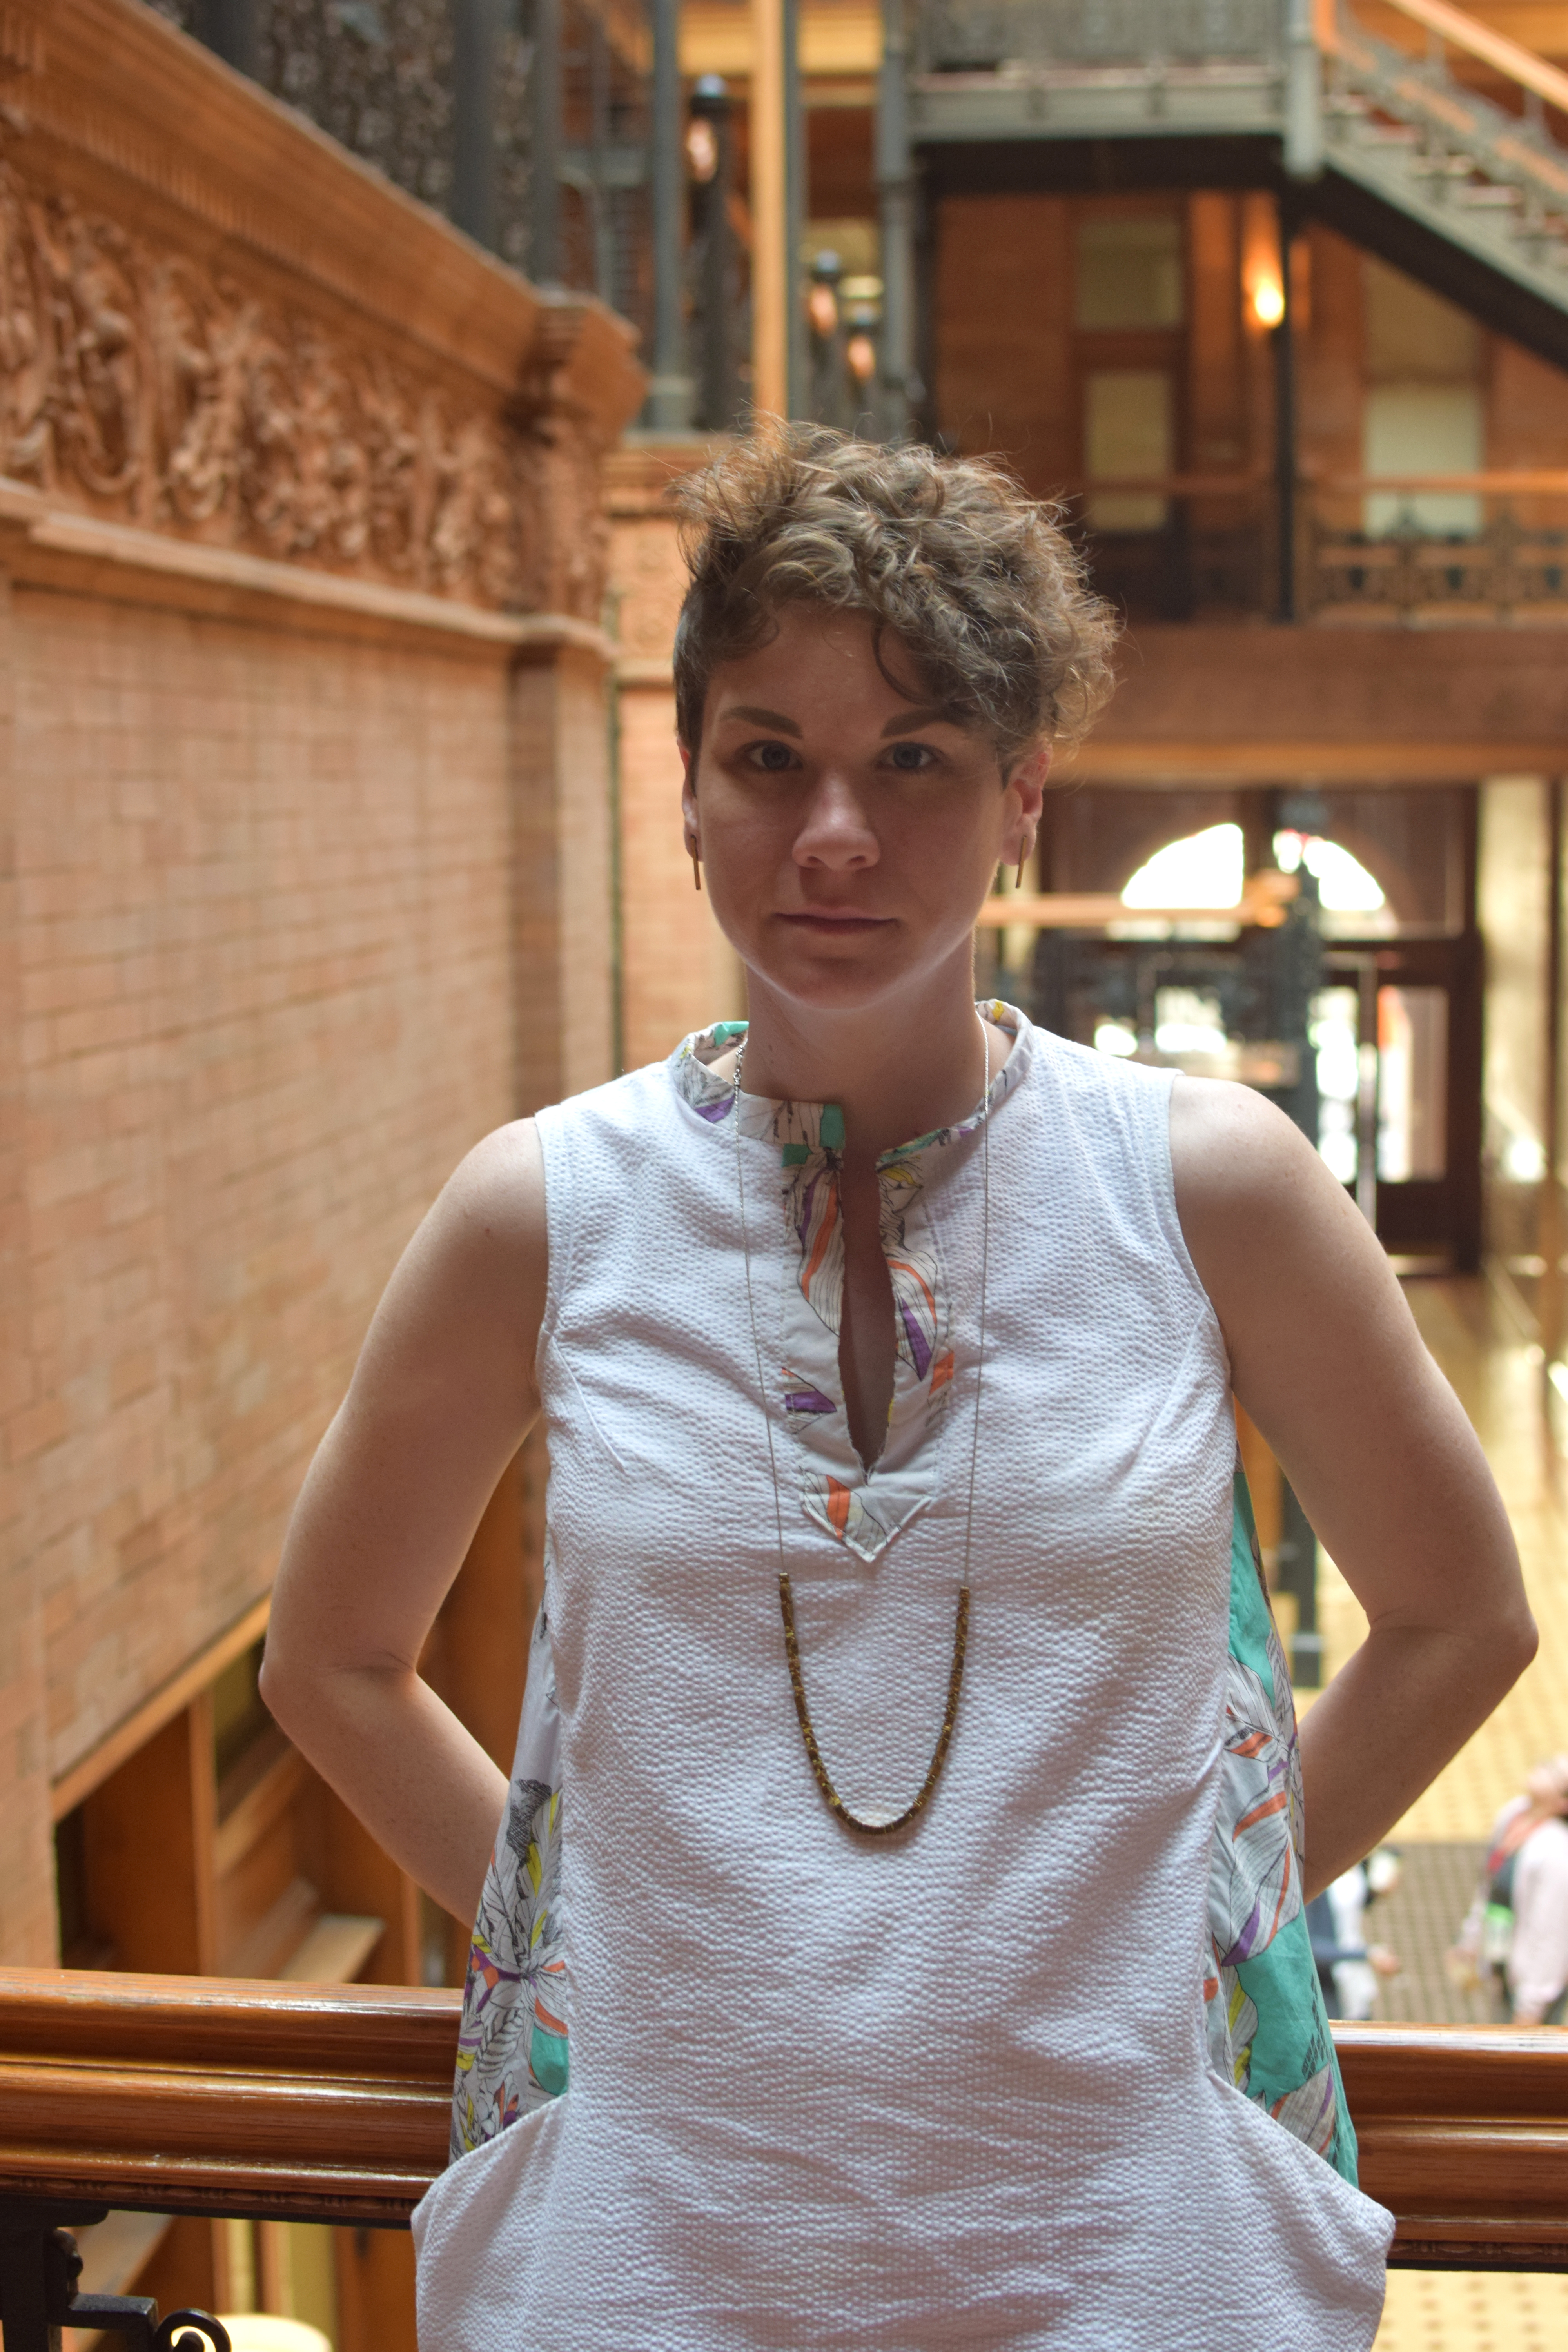
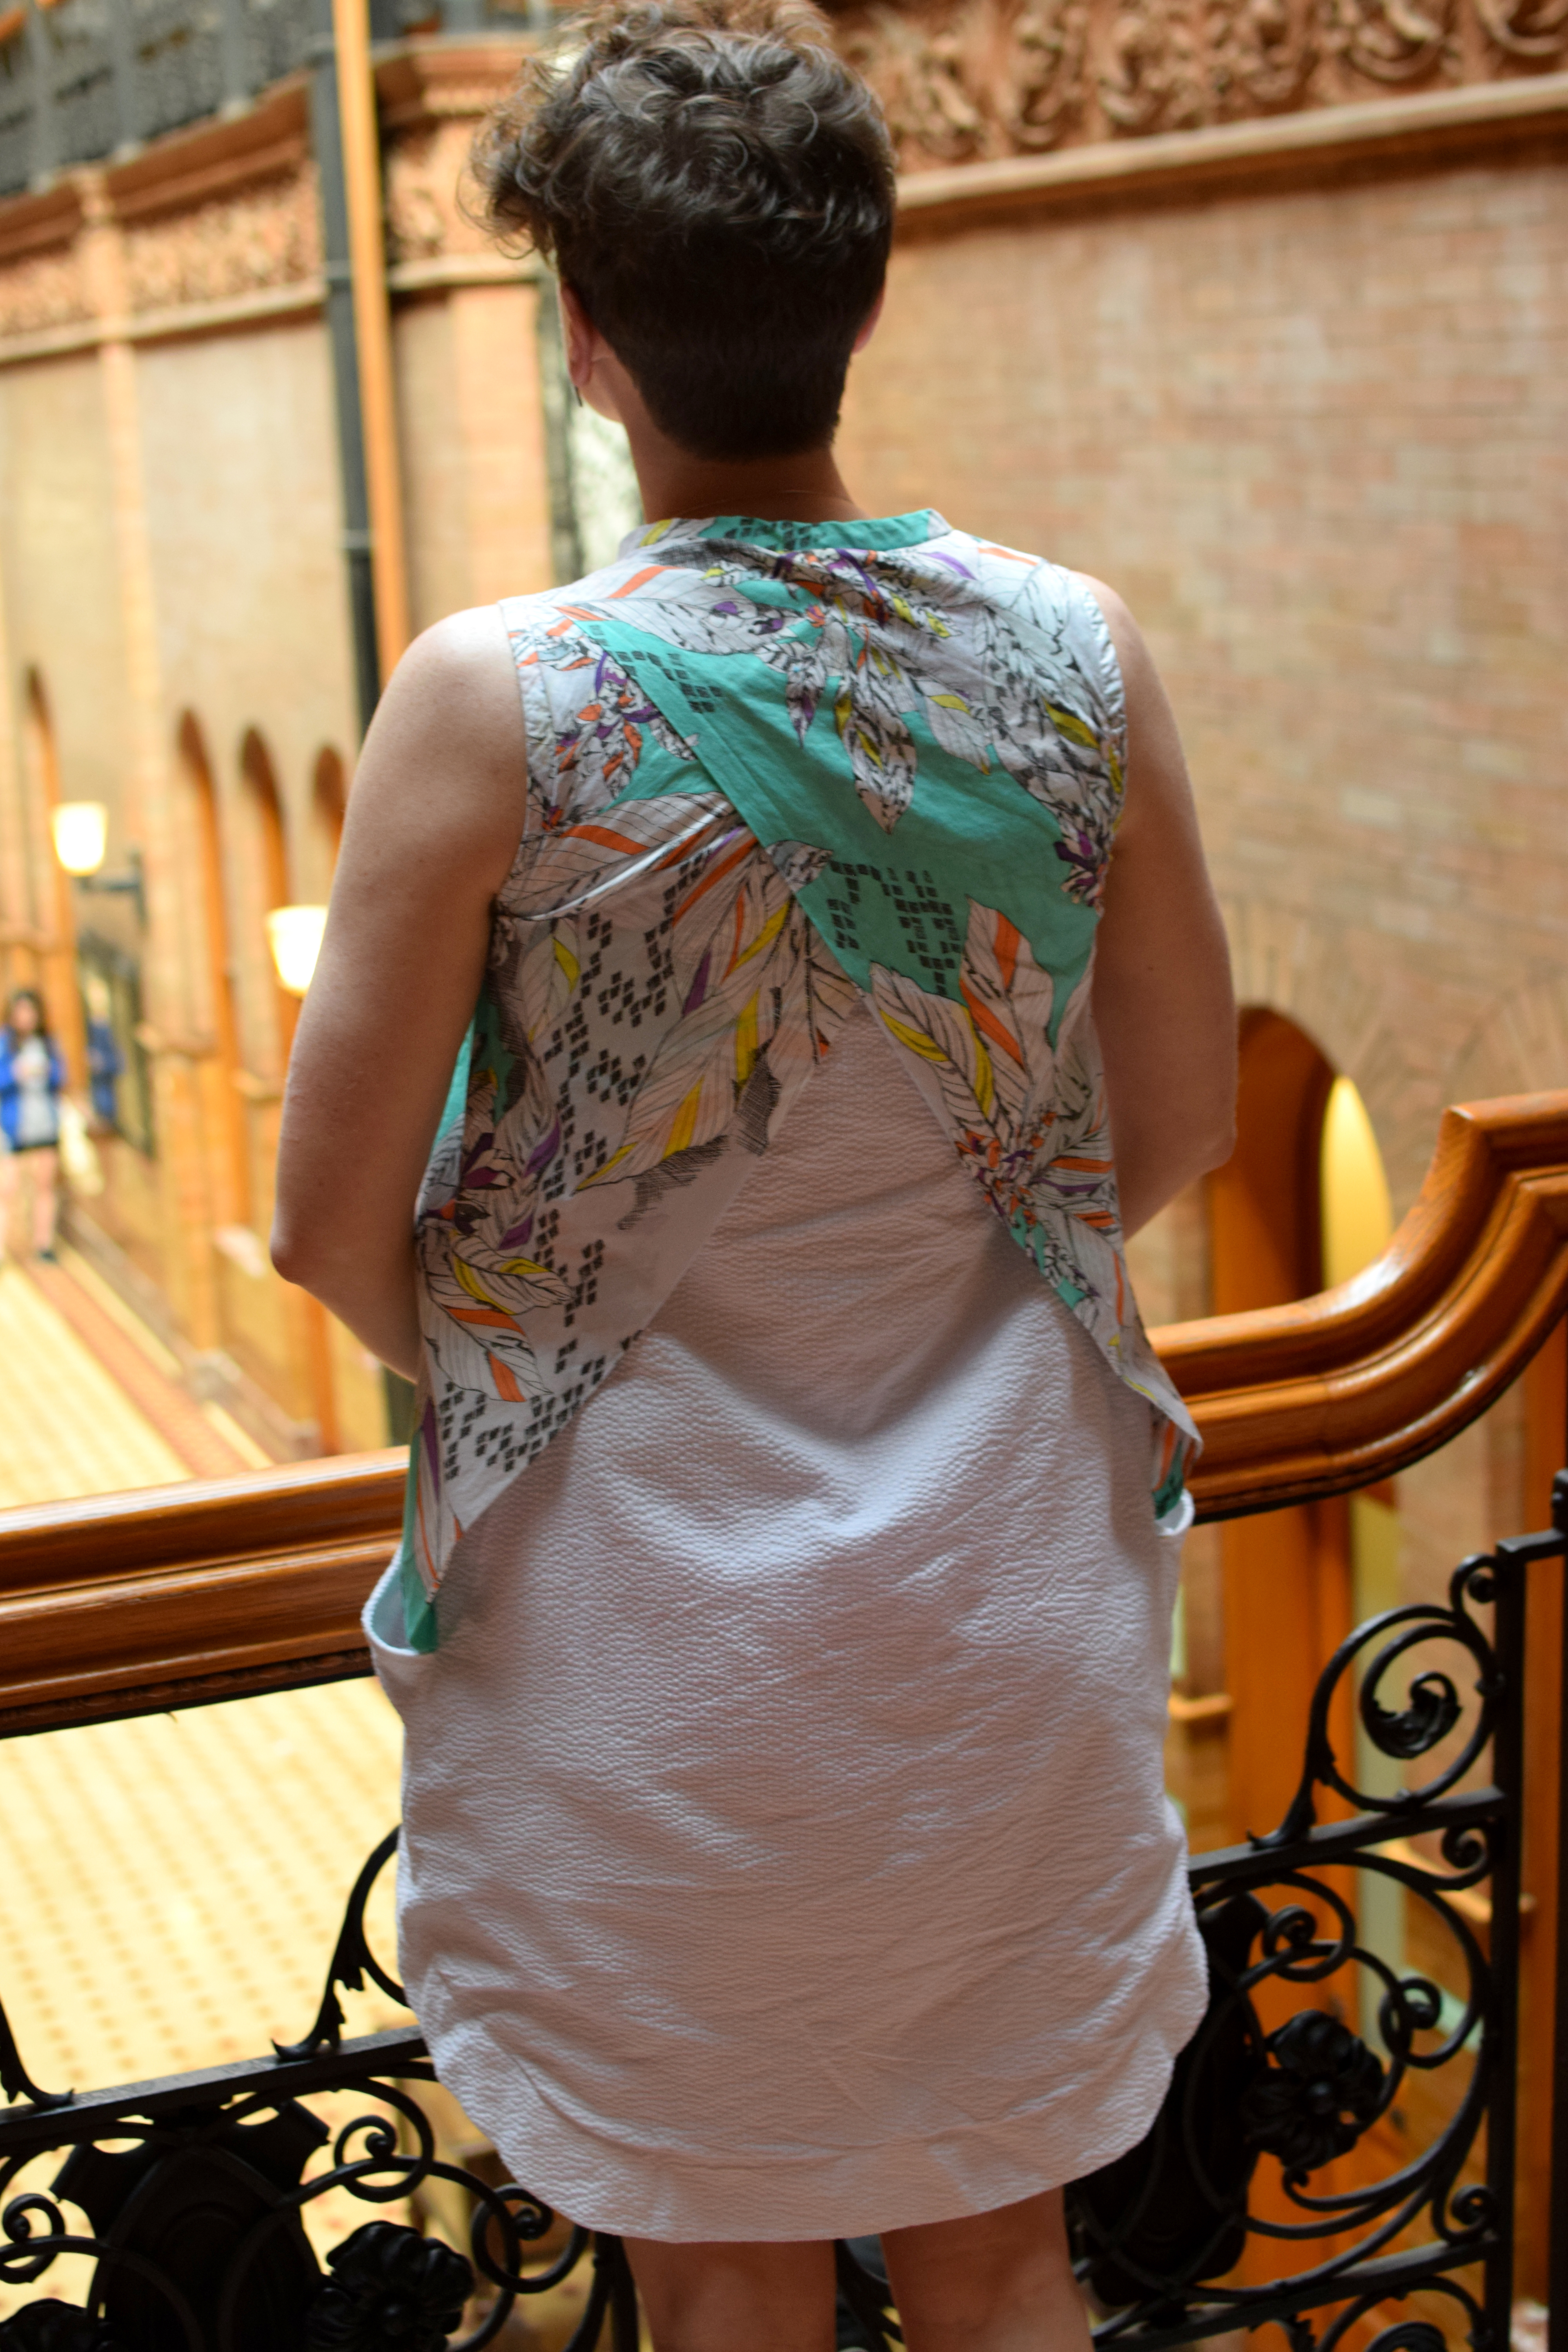

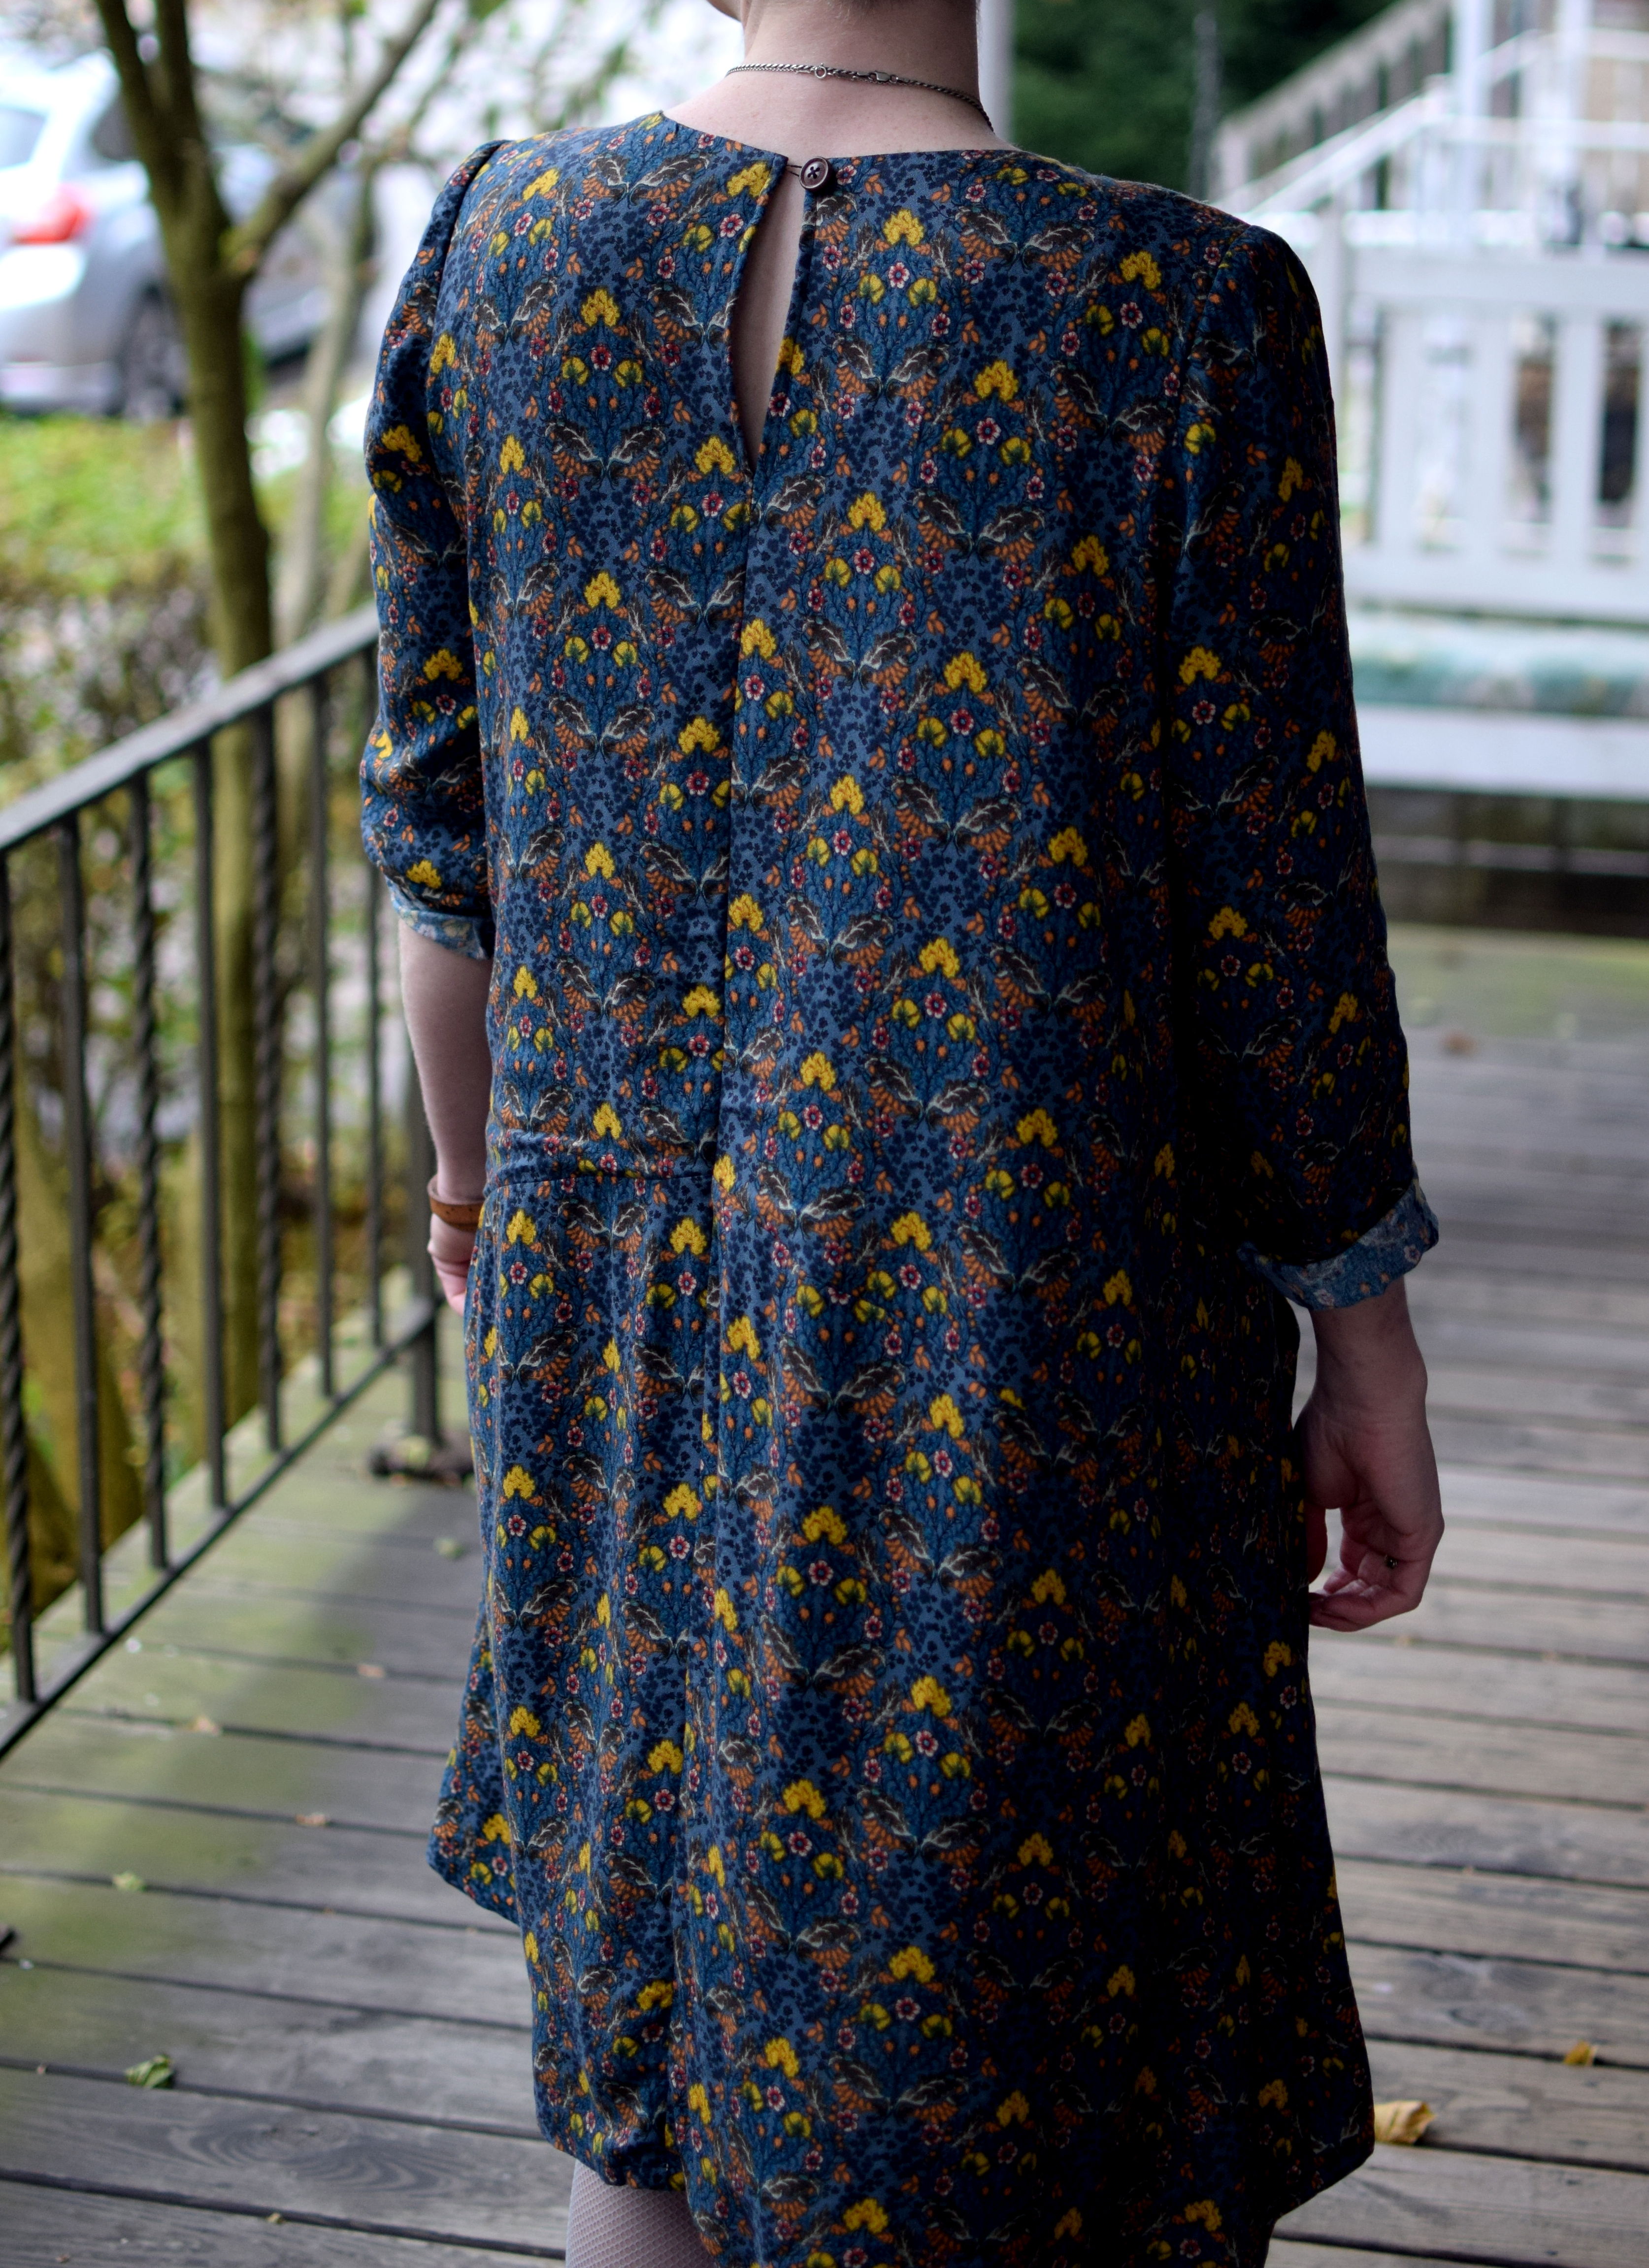
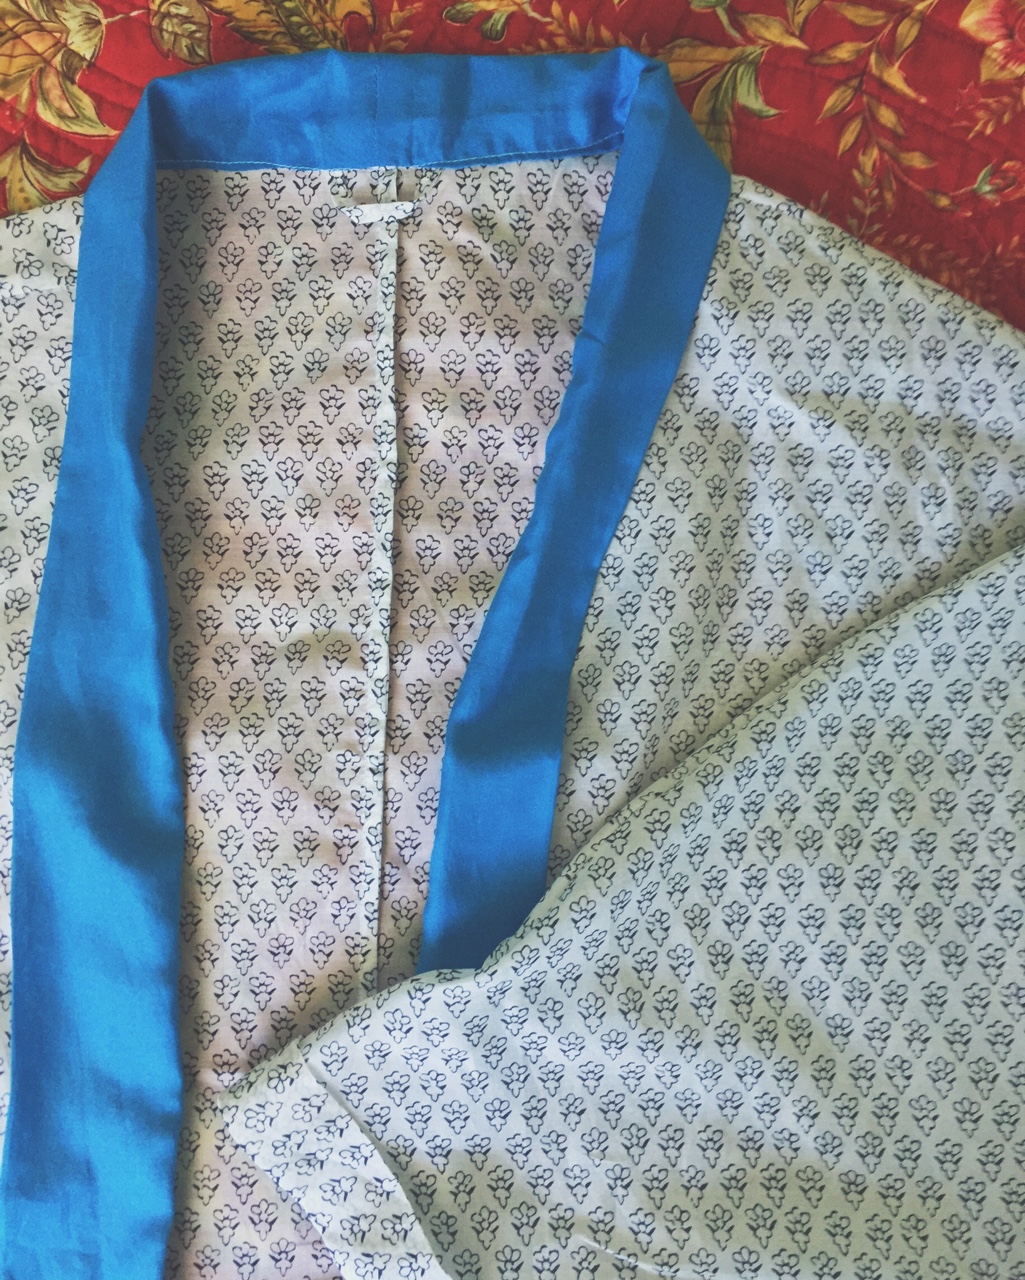
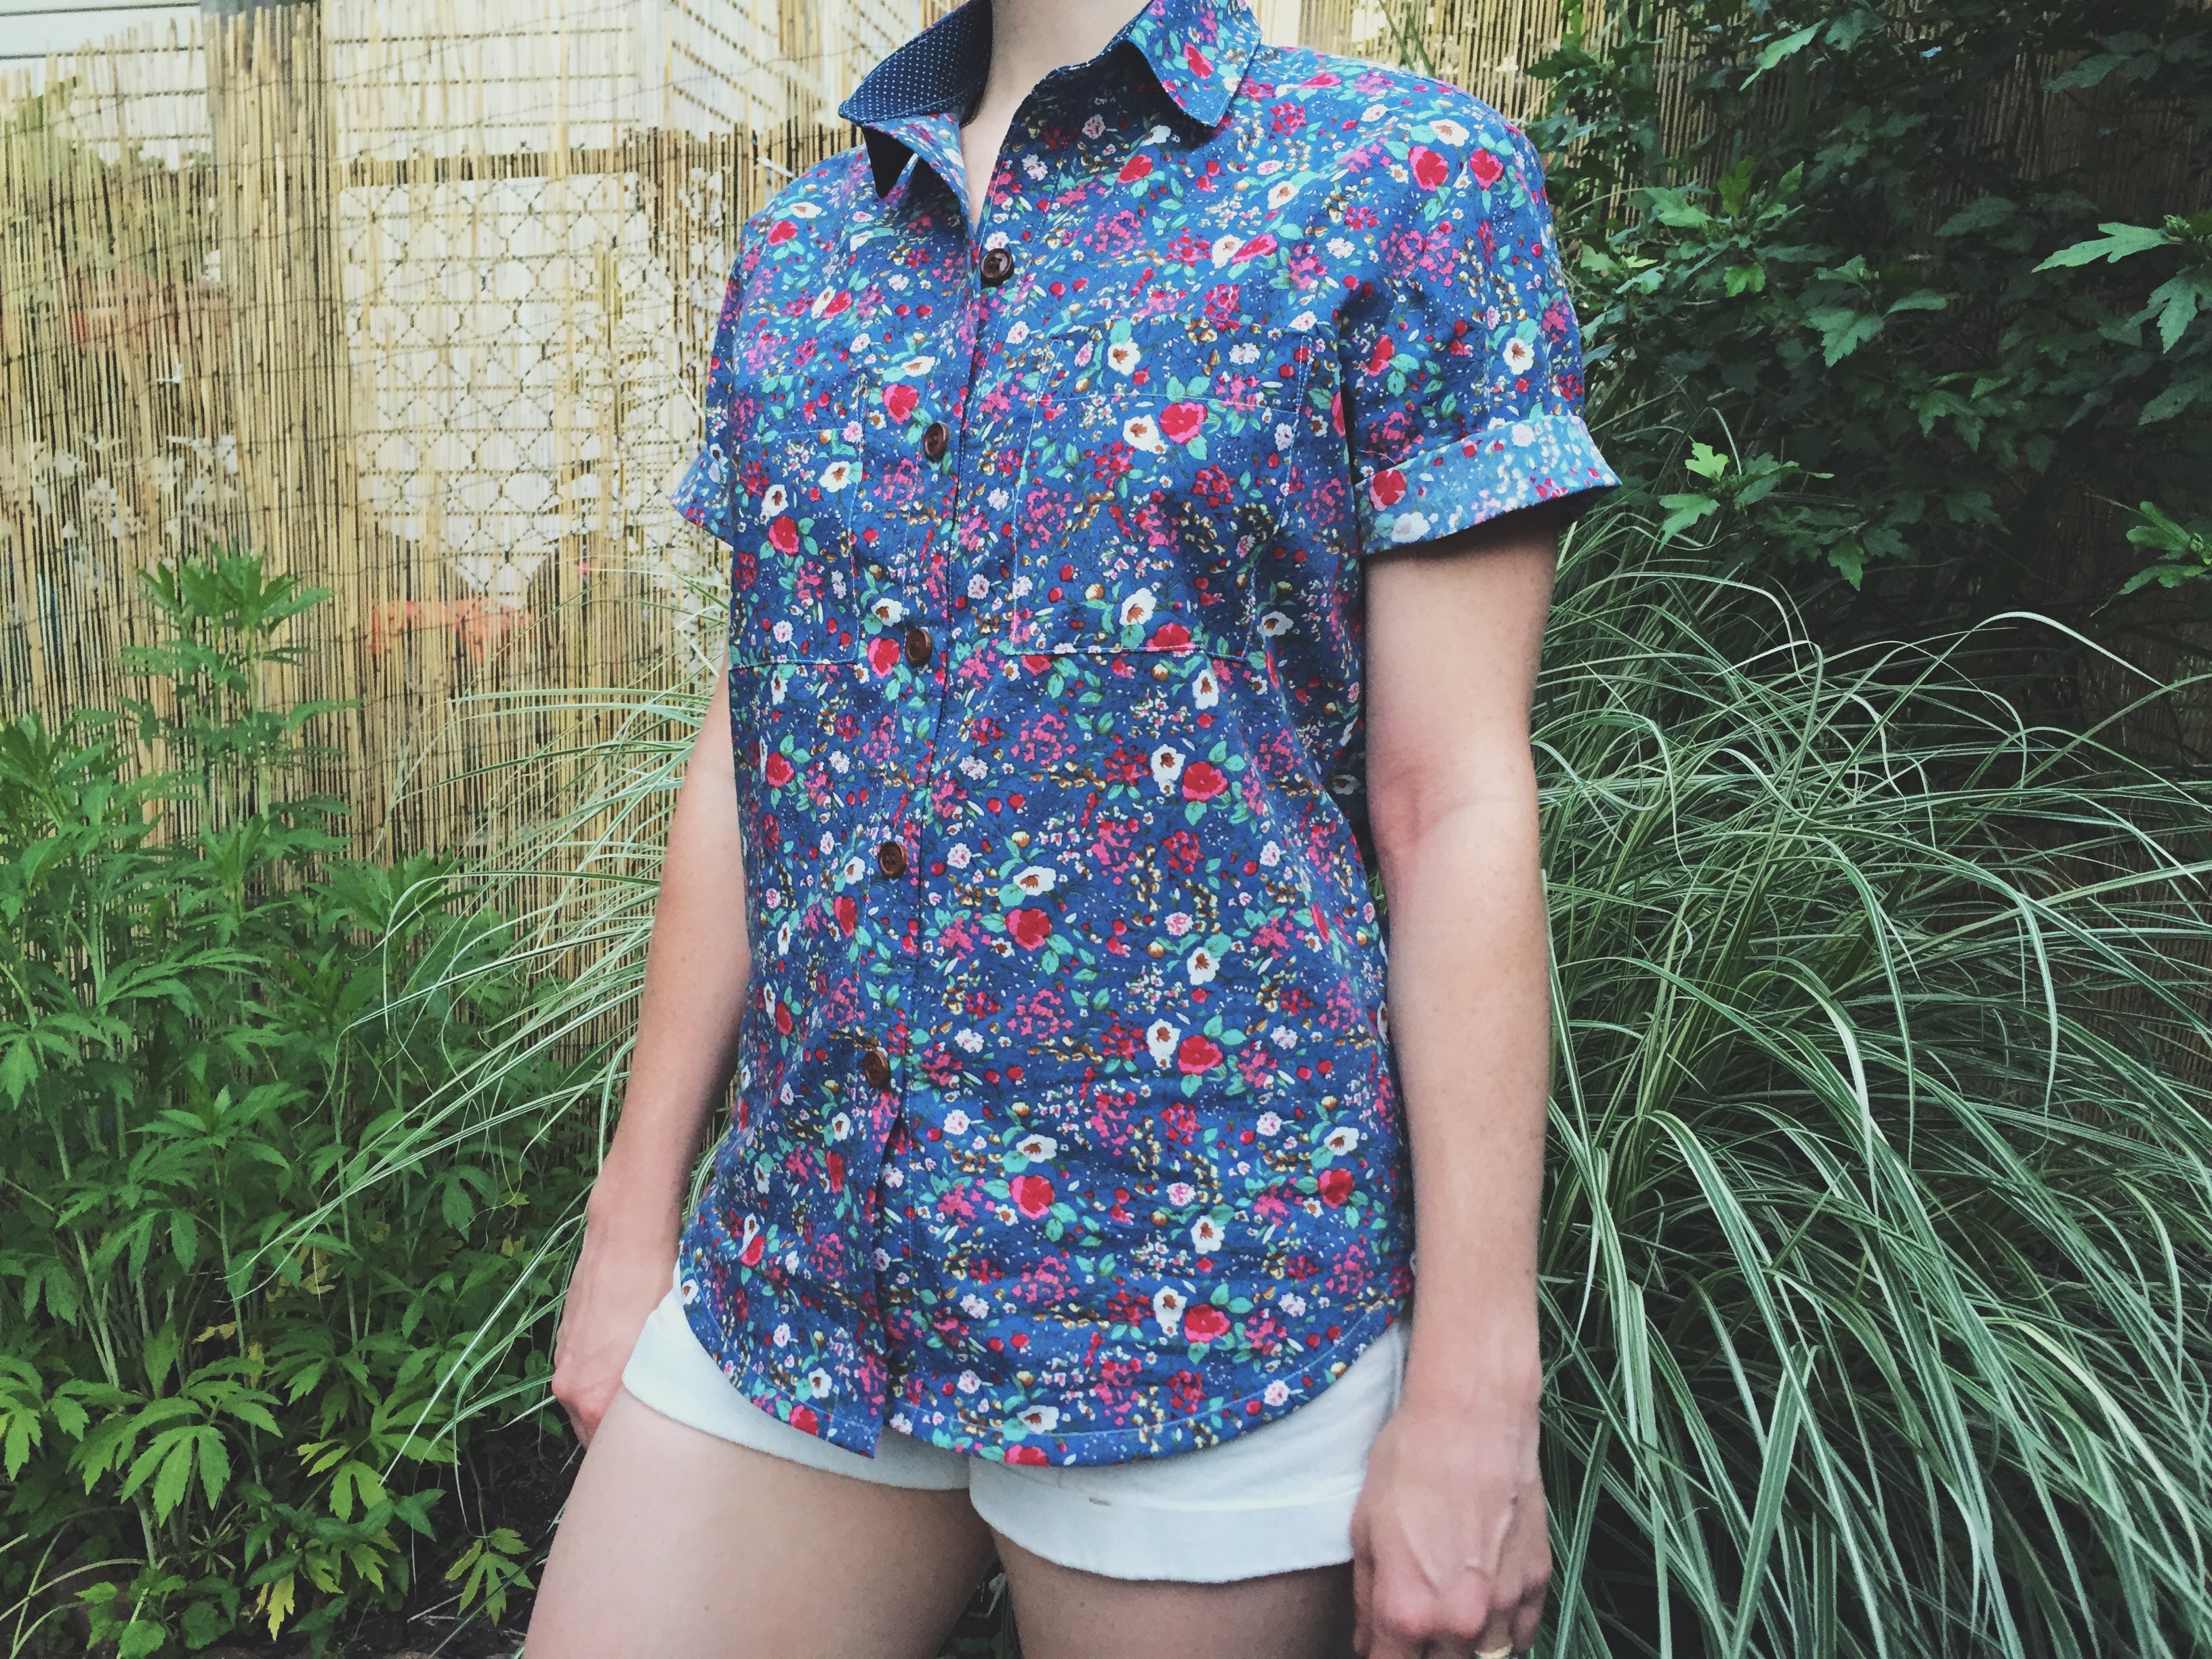 I made another
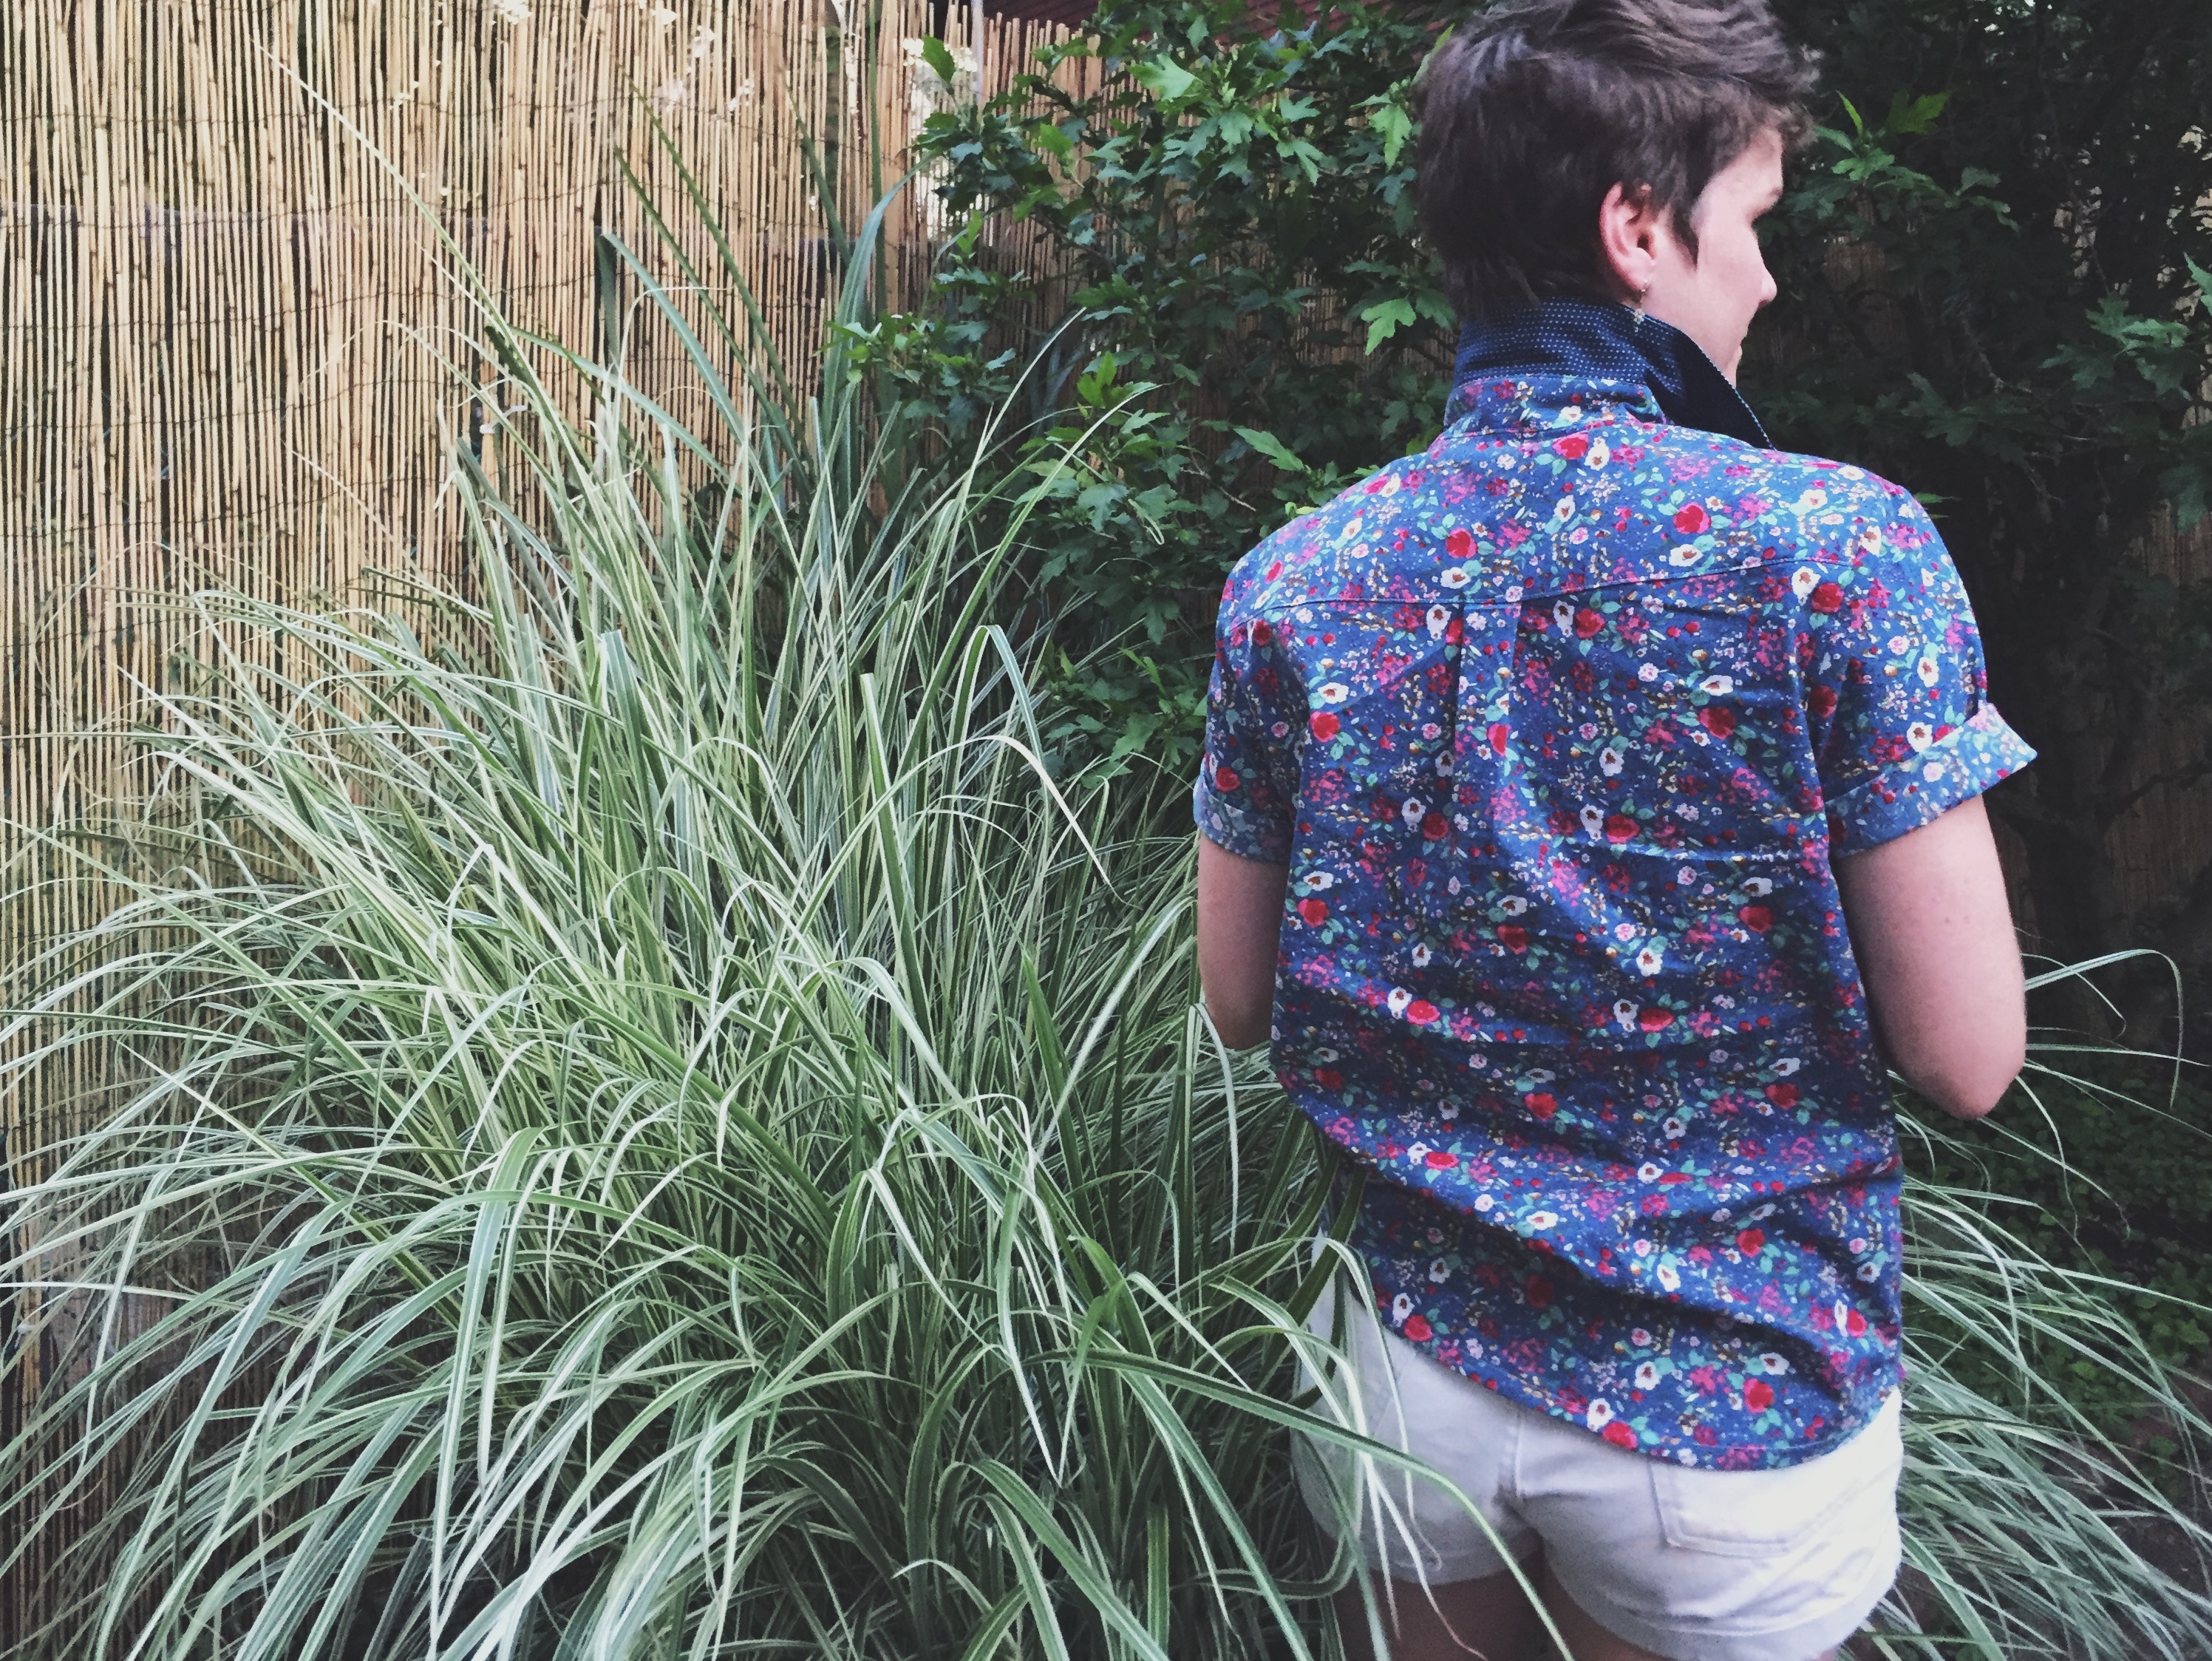
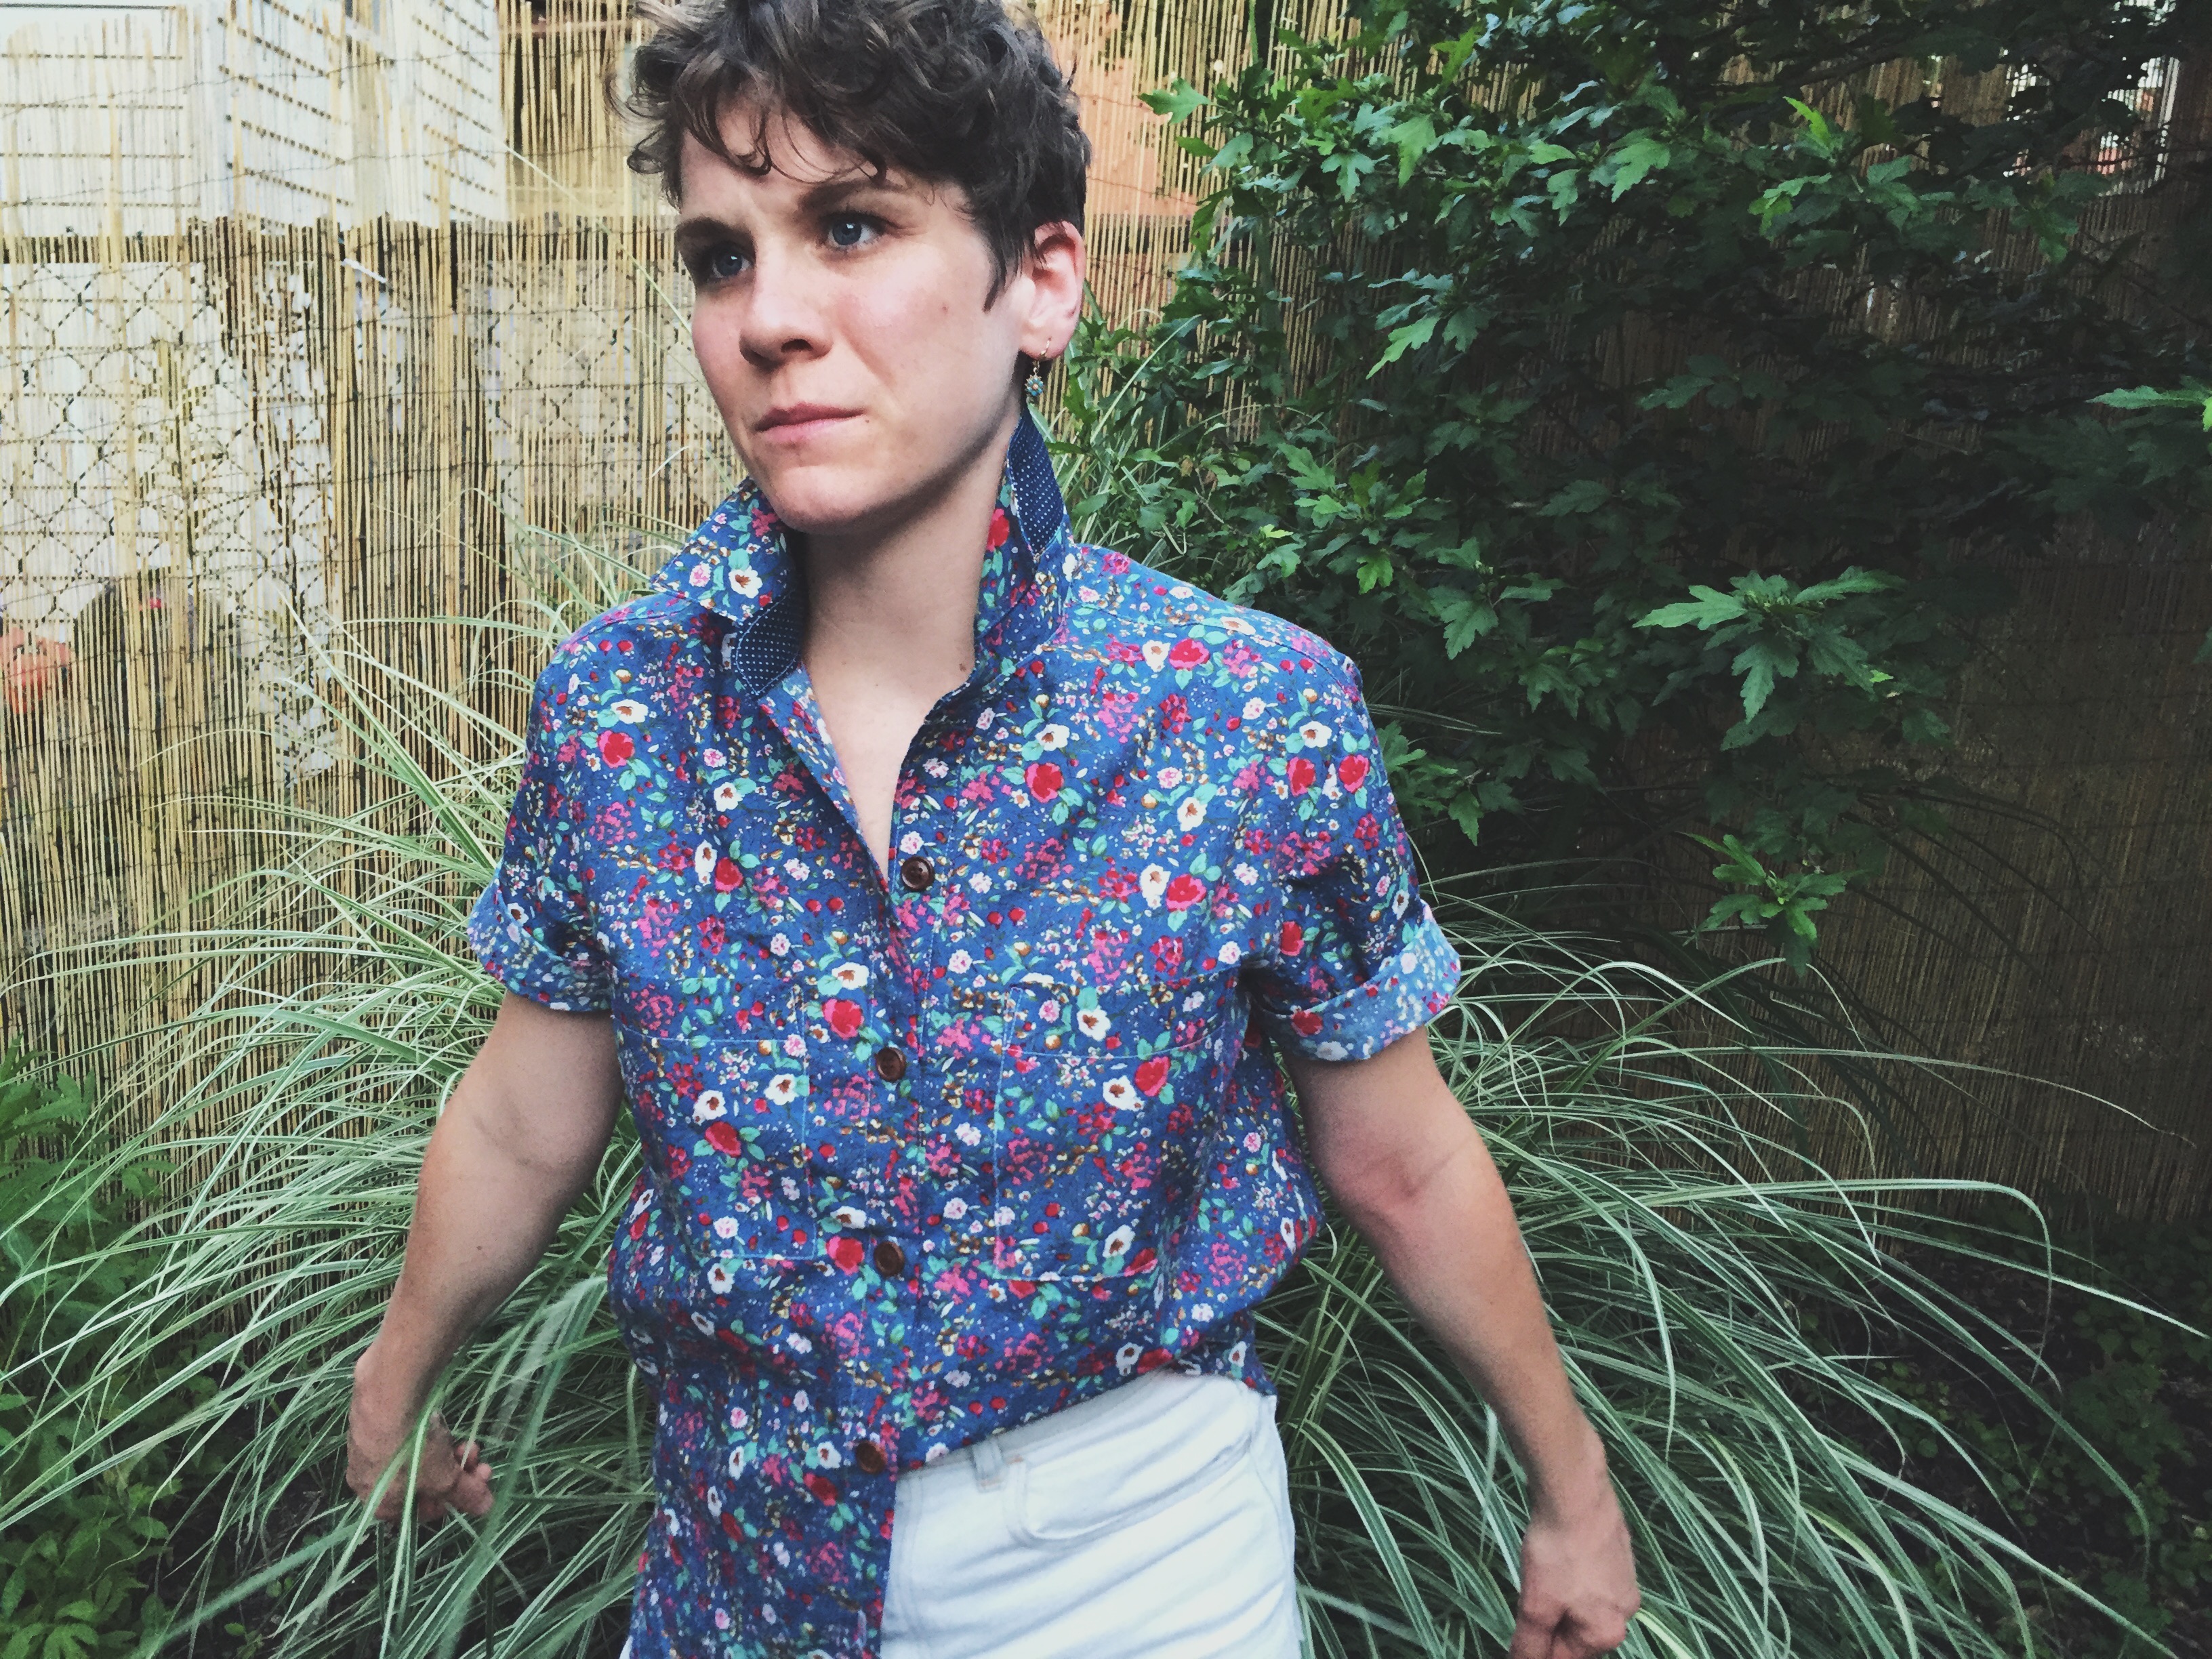
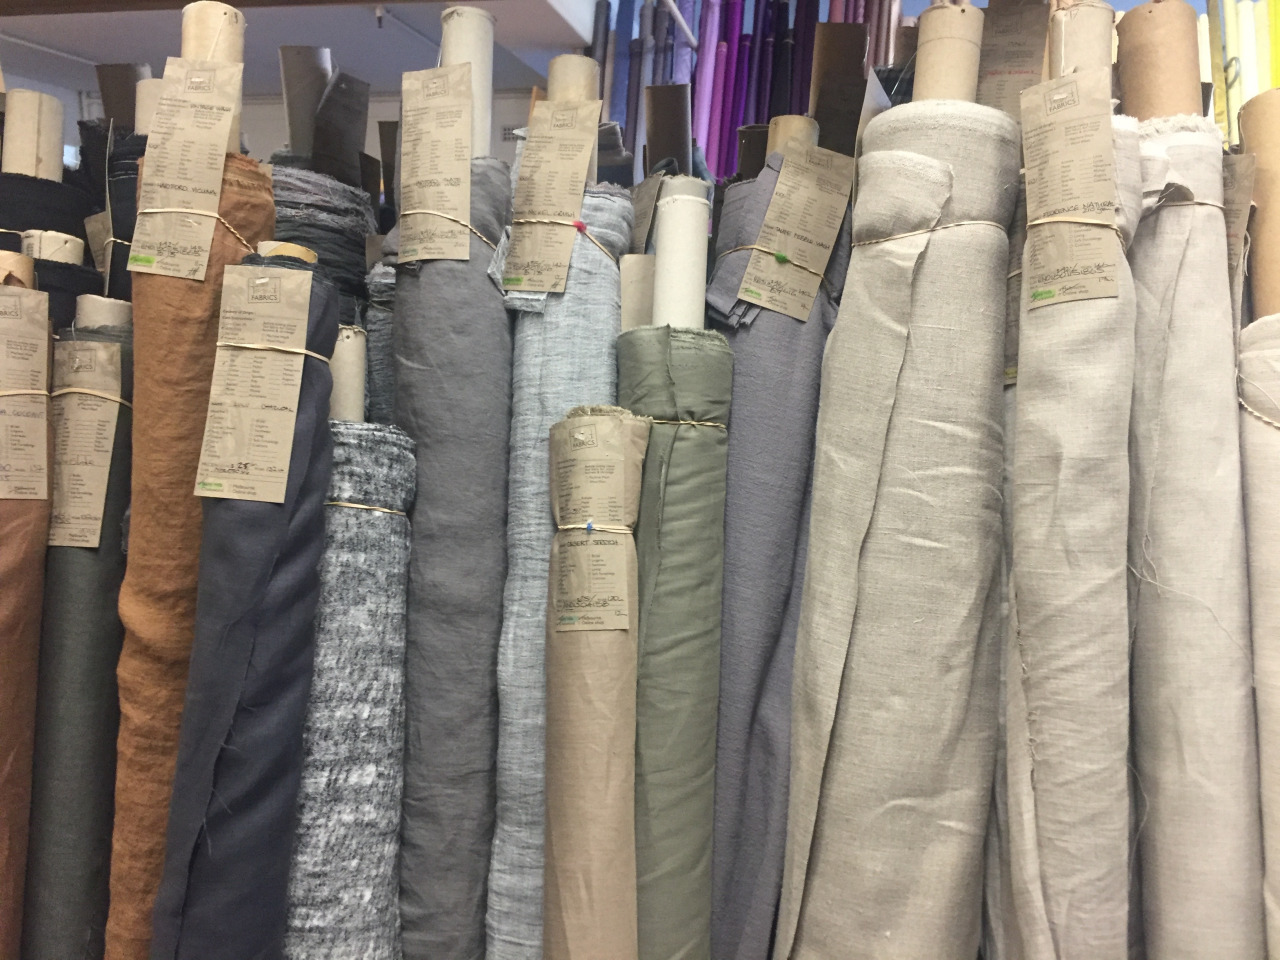
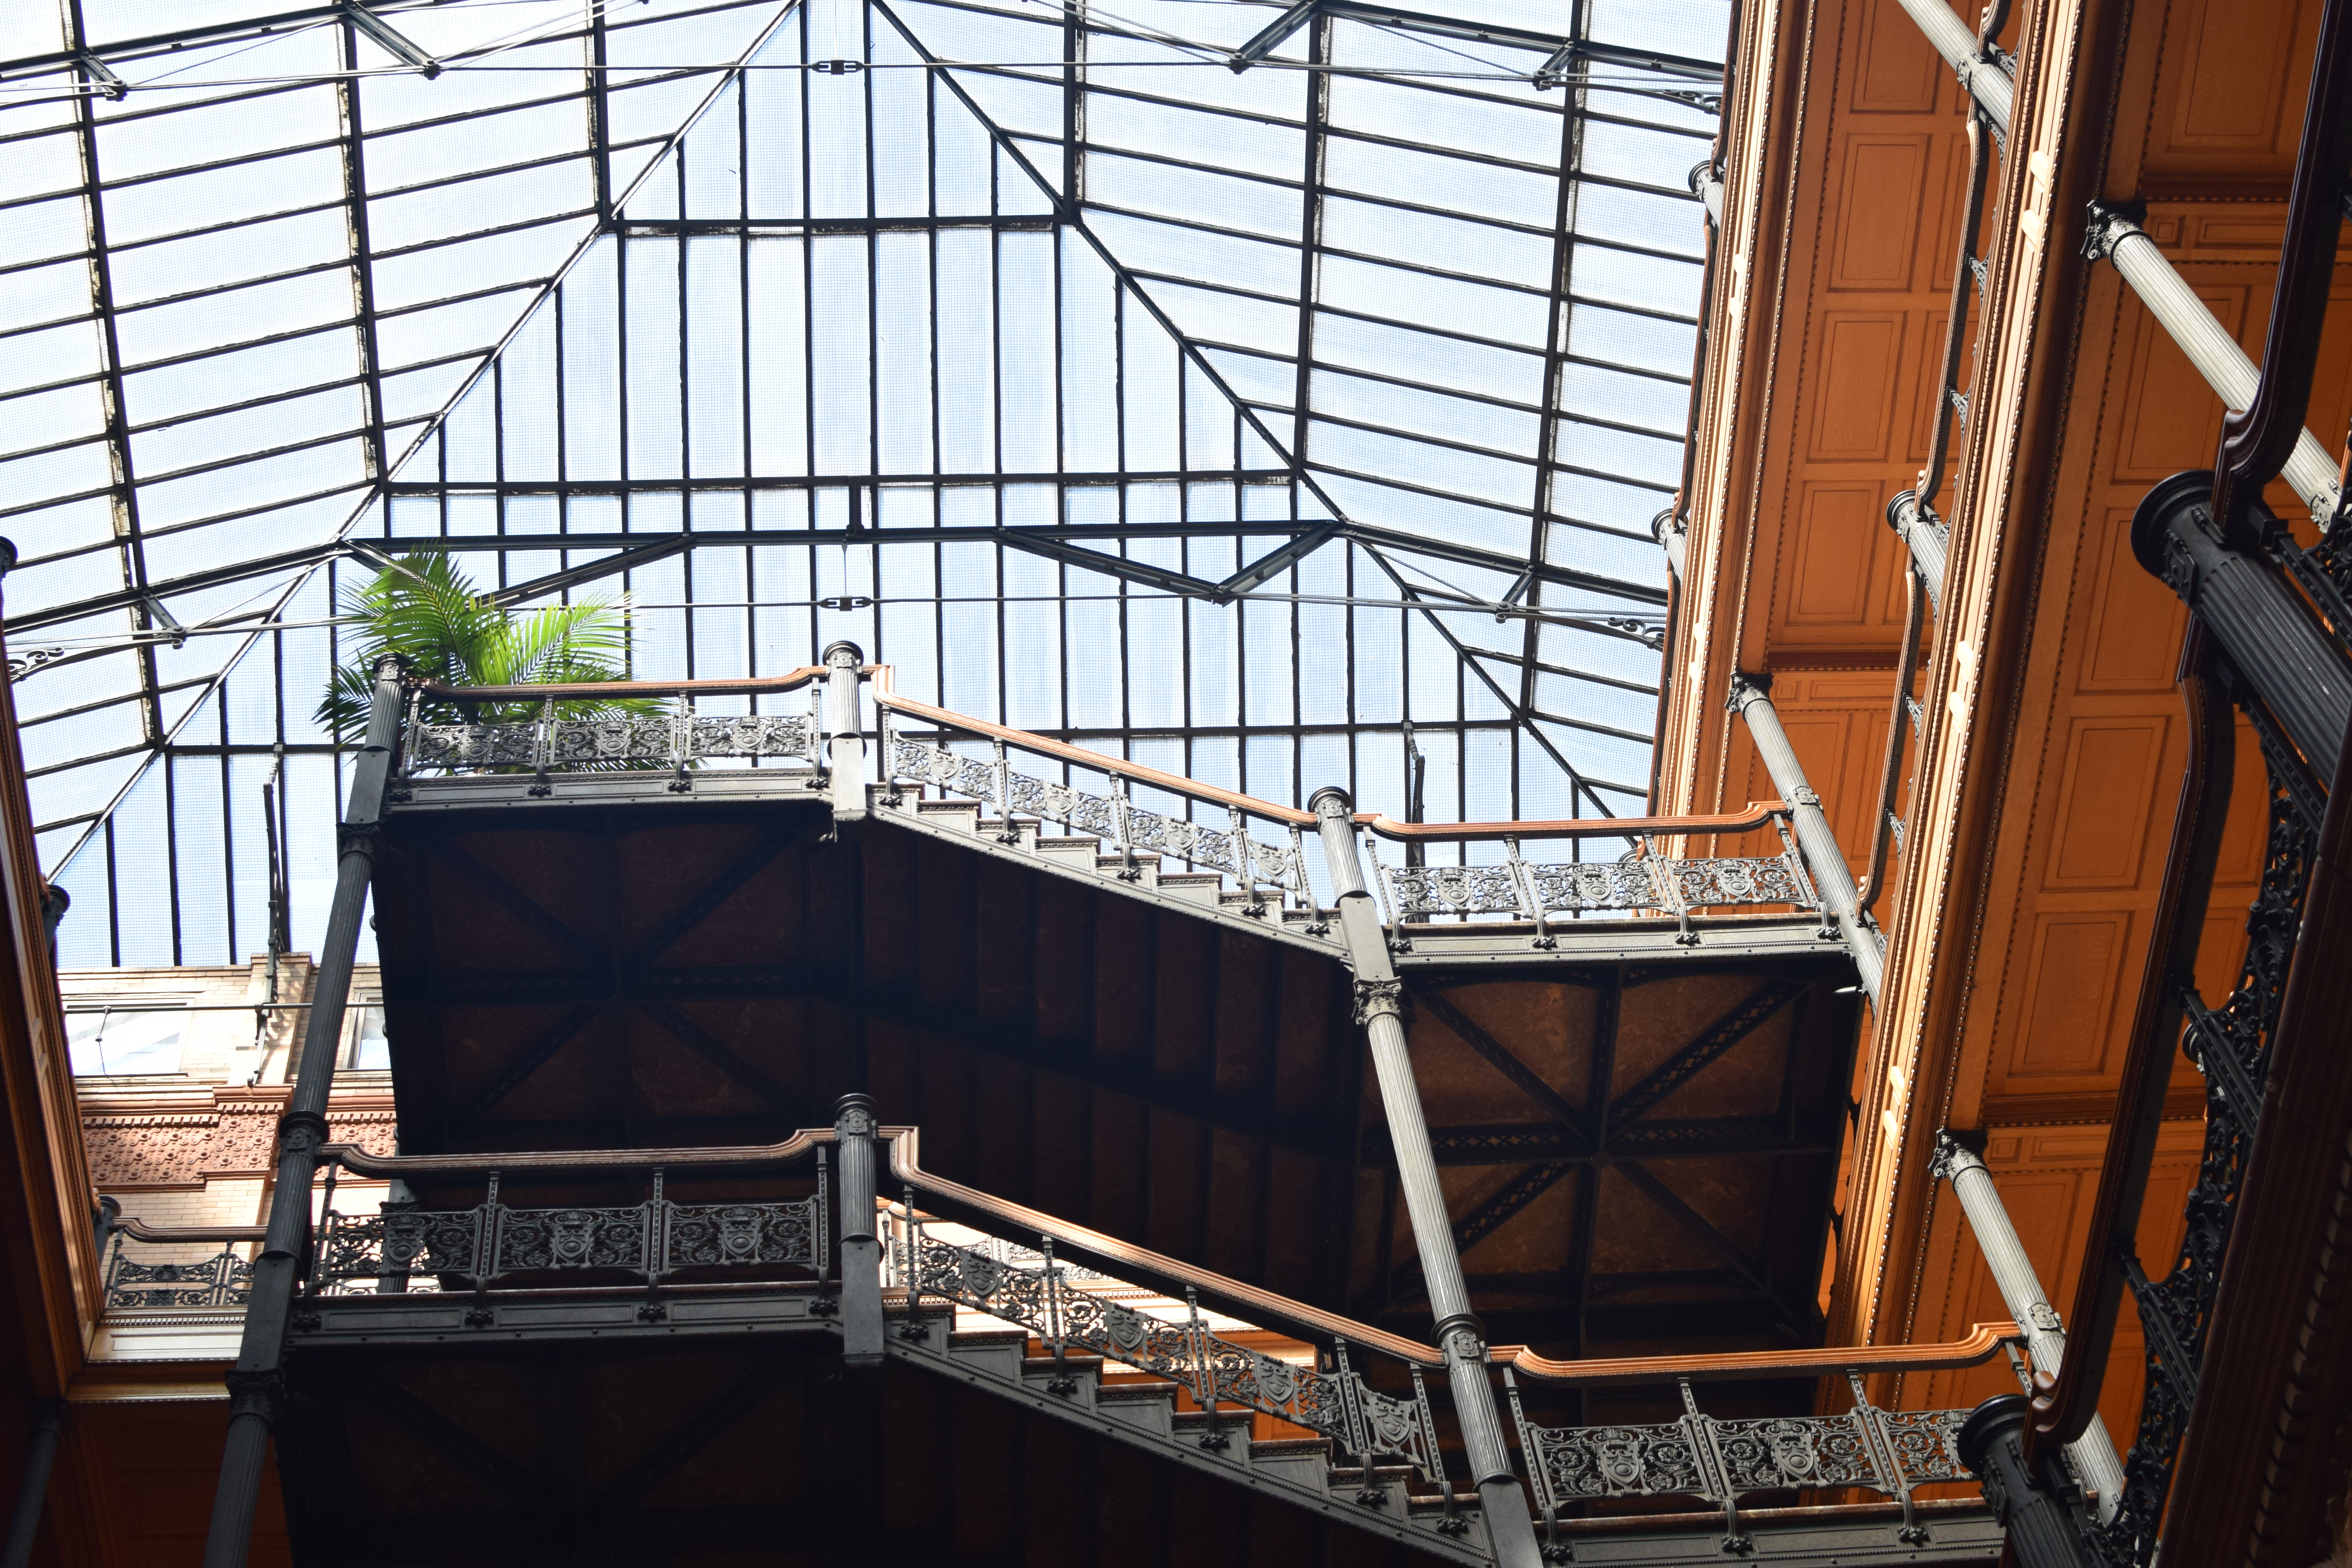
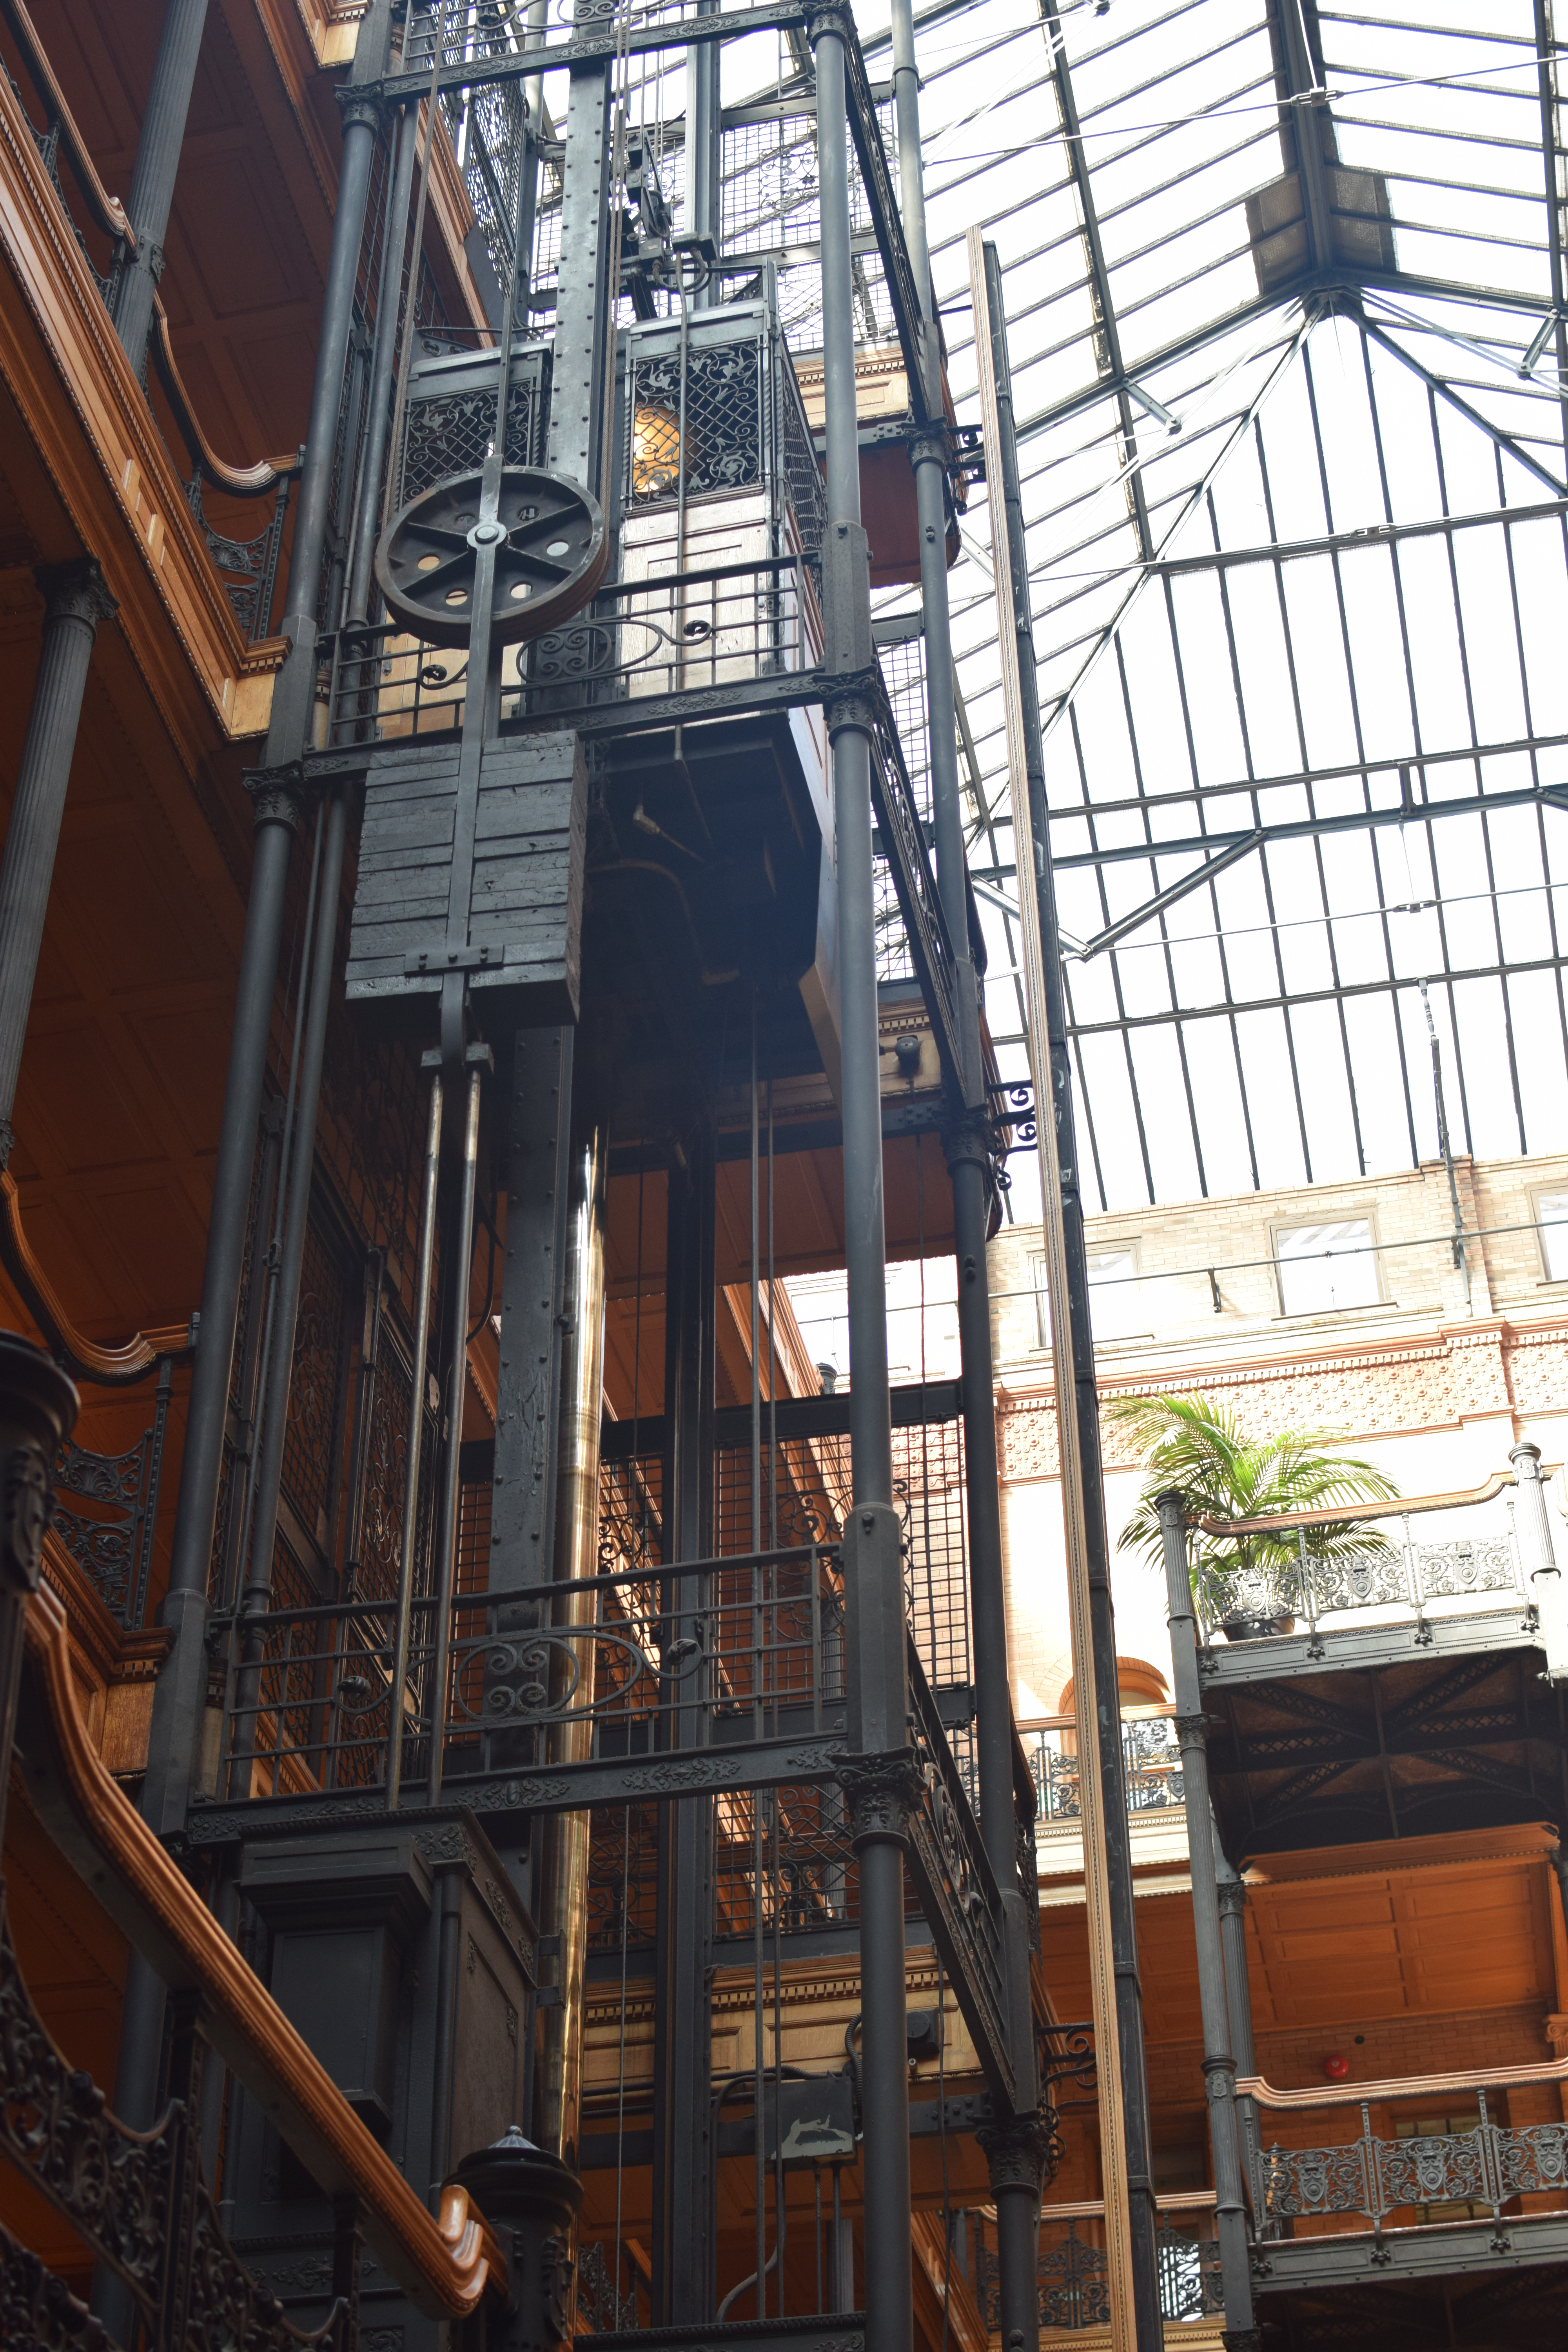
 I visited