Tamarak Jacket

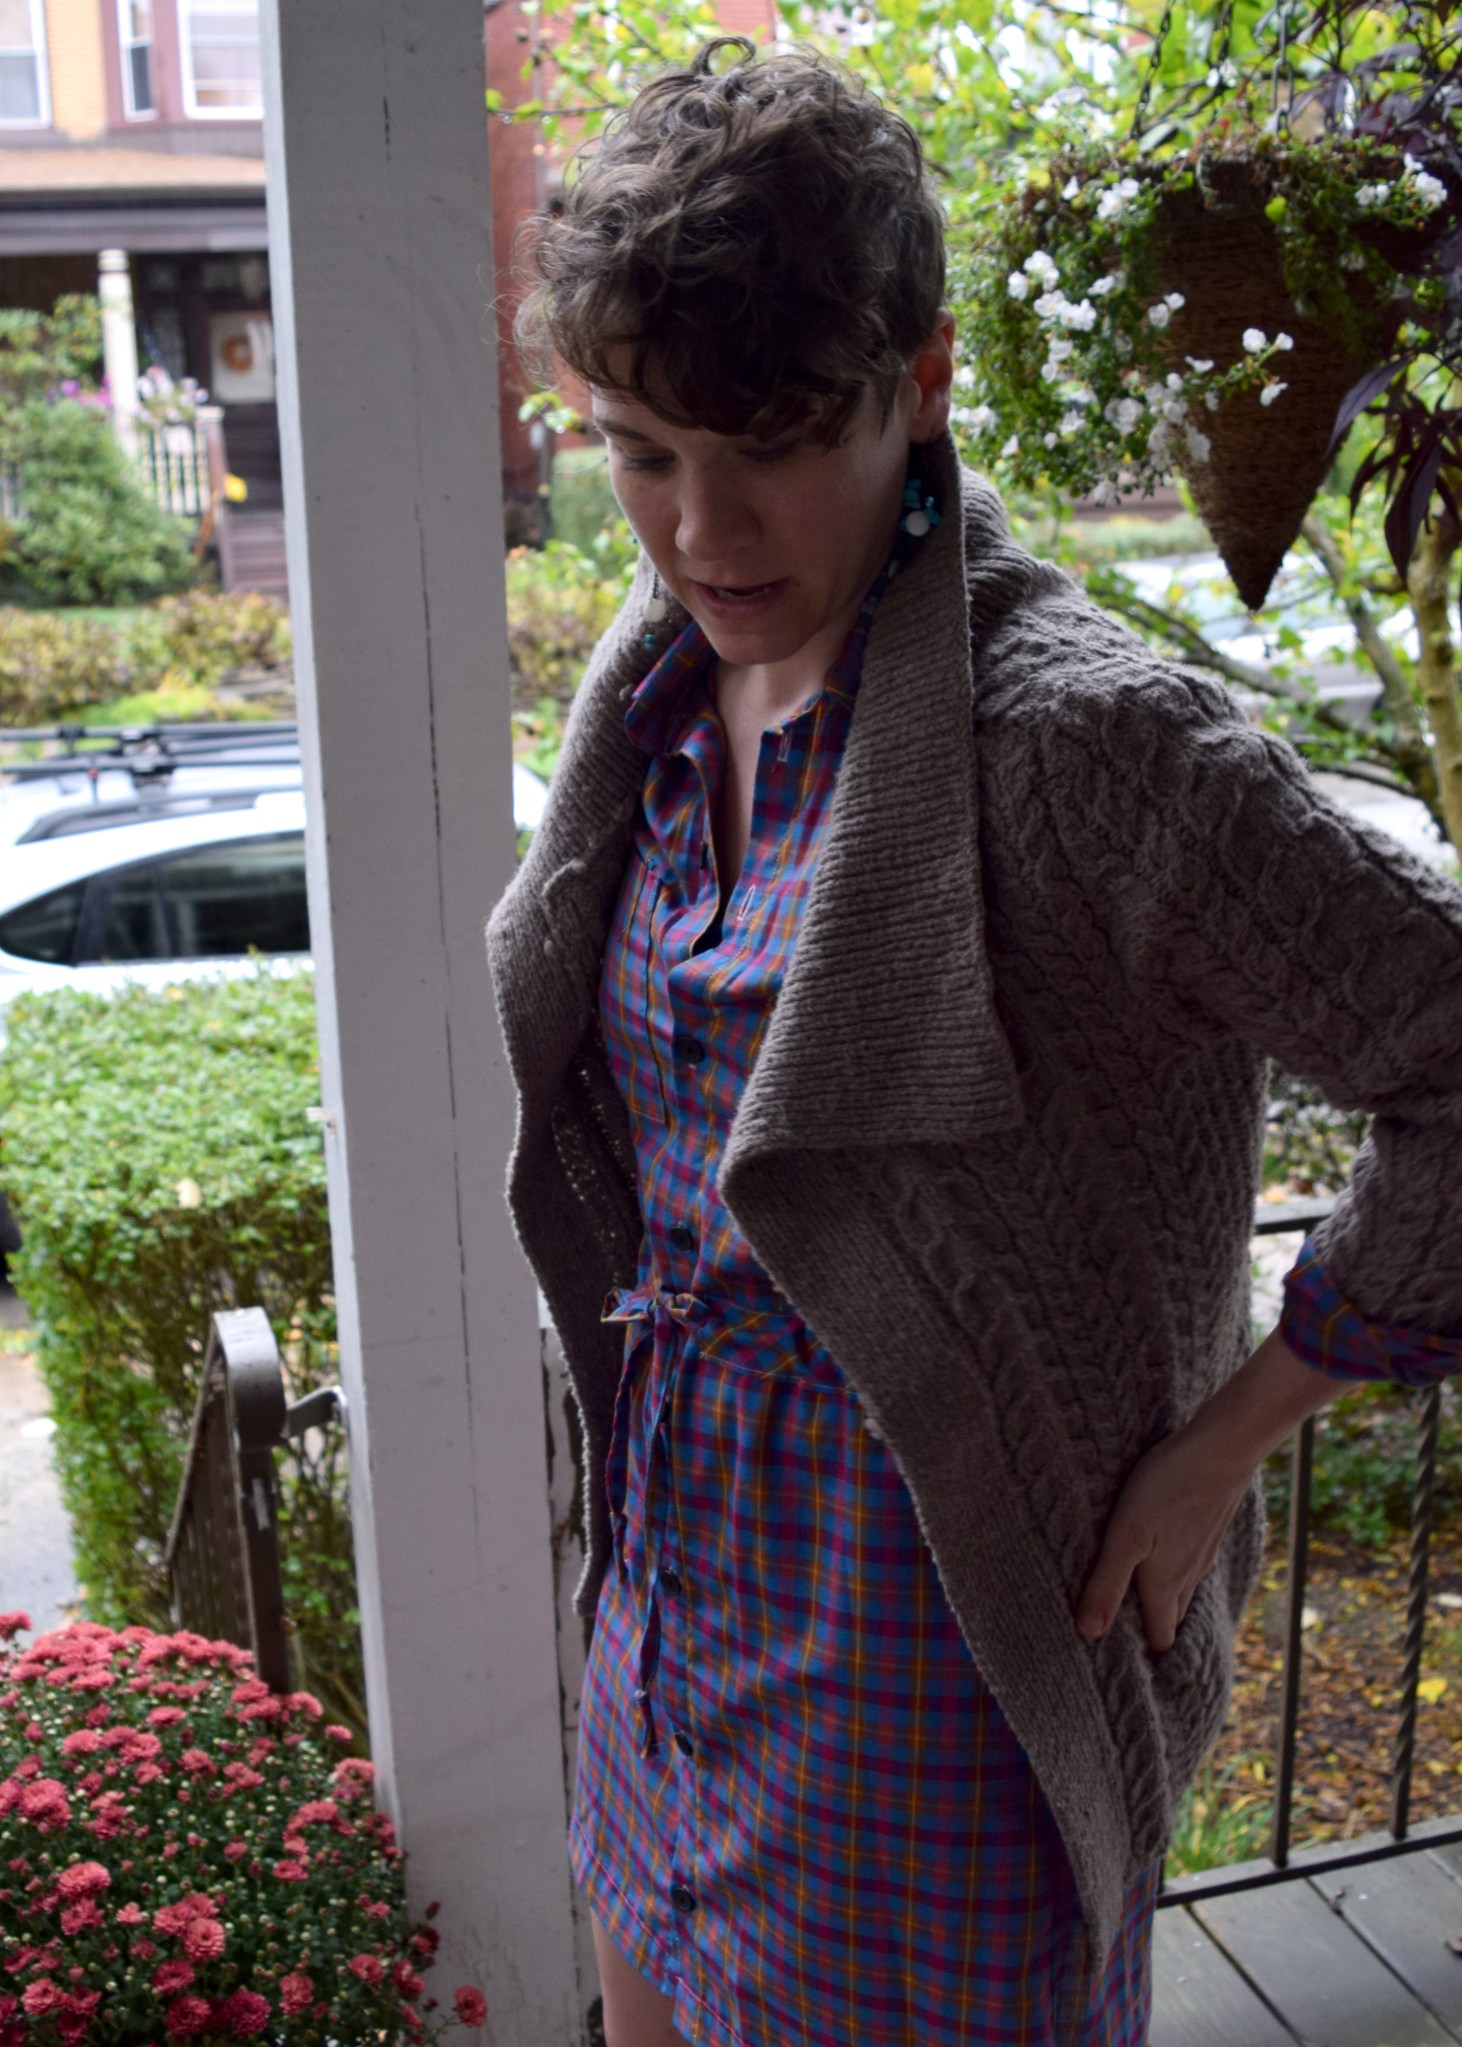
I finished a new coat and I’m pretty pleased with how it turned out.

me, pleased with how this coat turned out.

Choosing a quilted jacket pattern

I have been scheming to turn some stashed Pendleton into a quilted jacket for quite awhile, but was pretty nervous to cut into it. I was torn about what pattern to choose and almost went with Hovea from Megan Nielsen, but I didn’t quite like the neckline options. My biggest hesitation of the Tamarak from Grainline Studio was the lack of a collar.

Last year though, Grainline released an expansion pack that includes a collar, and even though I probably could have figured it out on my own, I bought it for the instructions (they are great!).

Materials

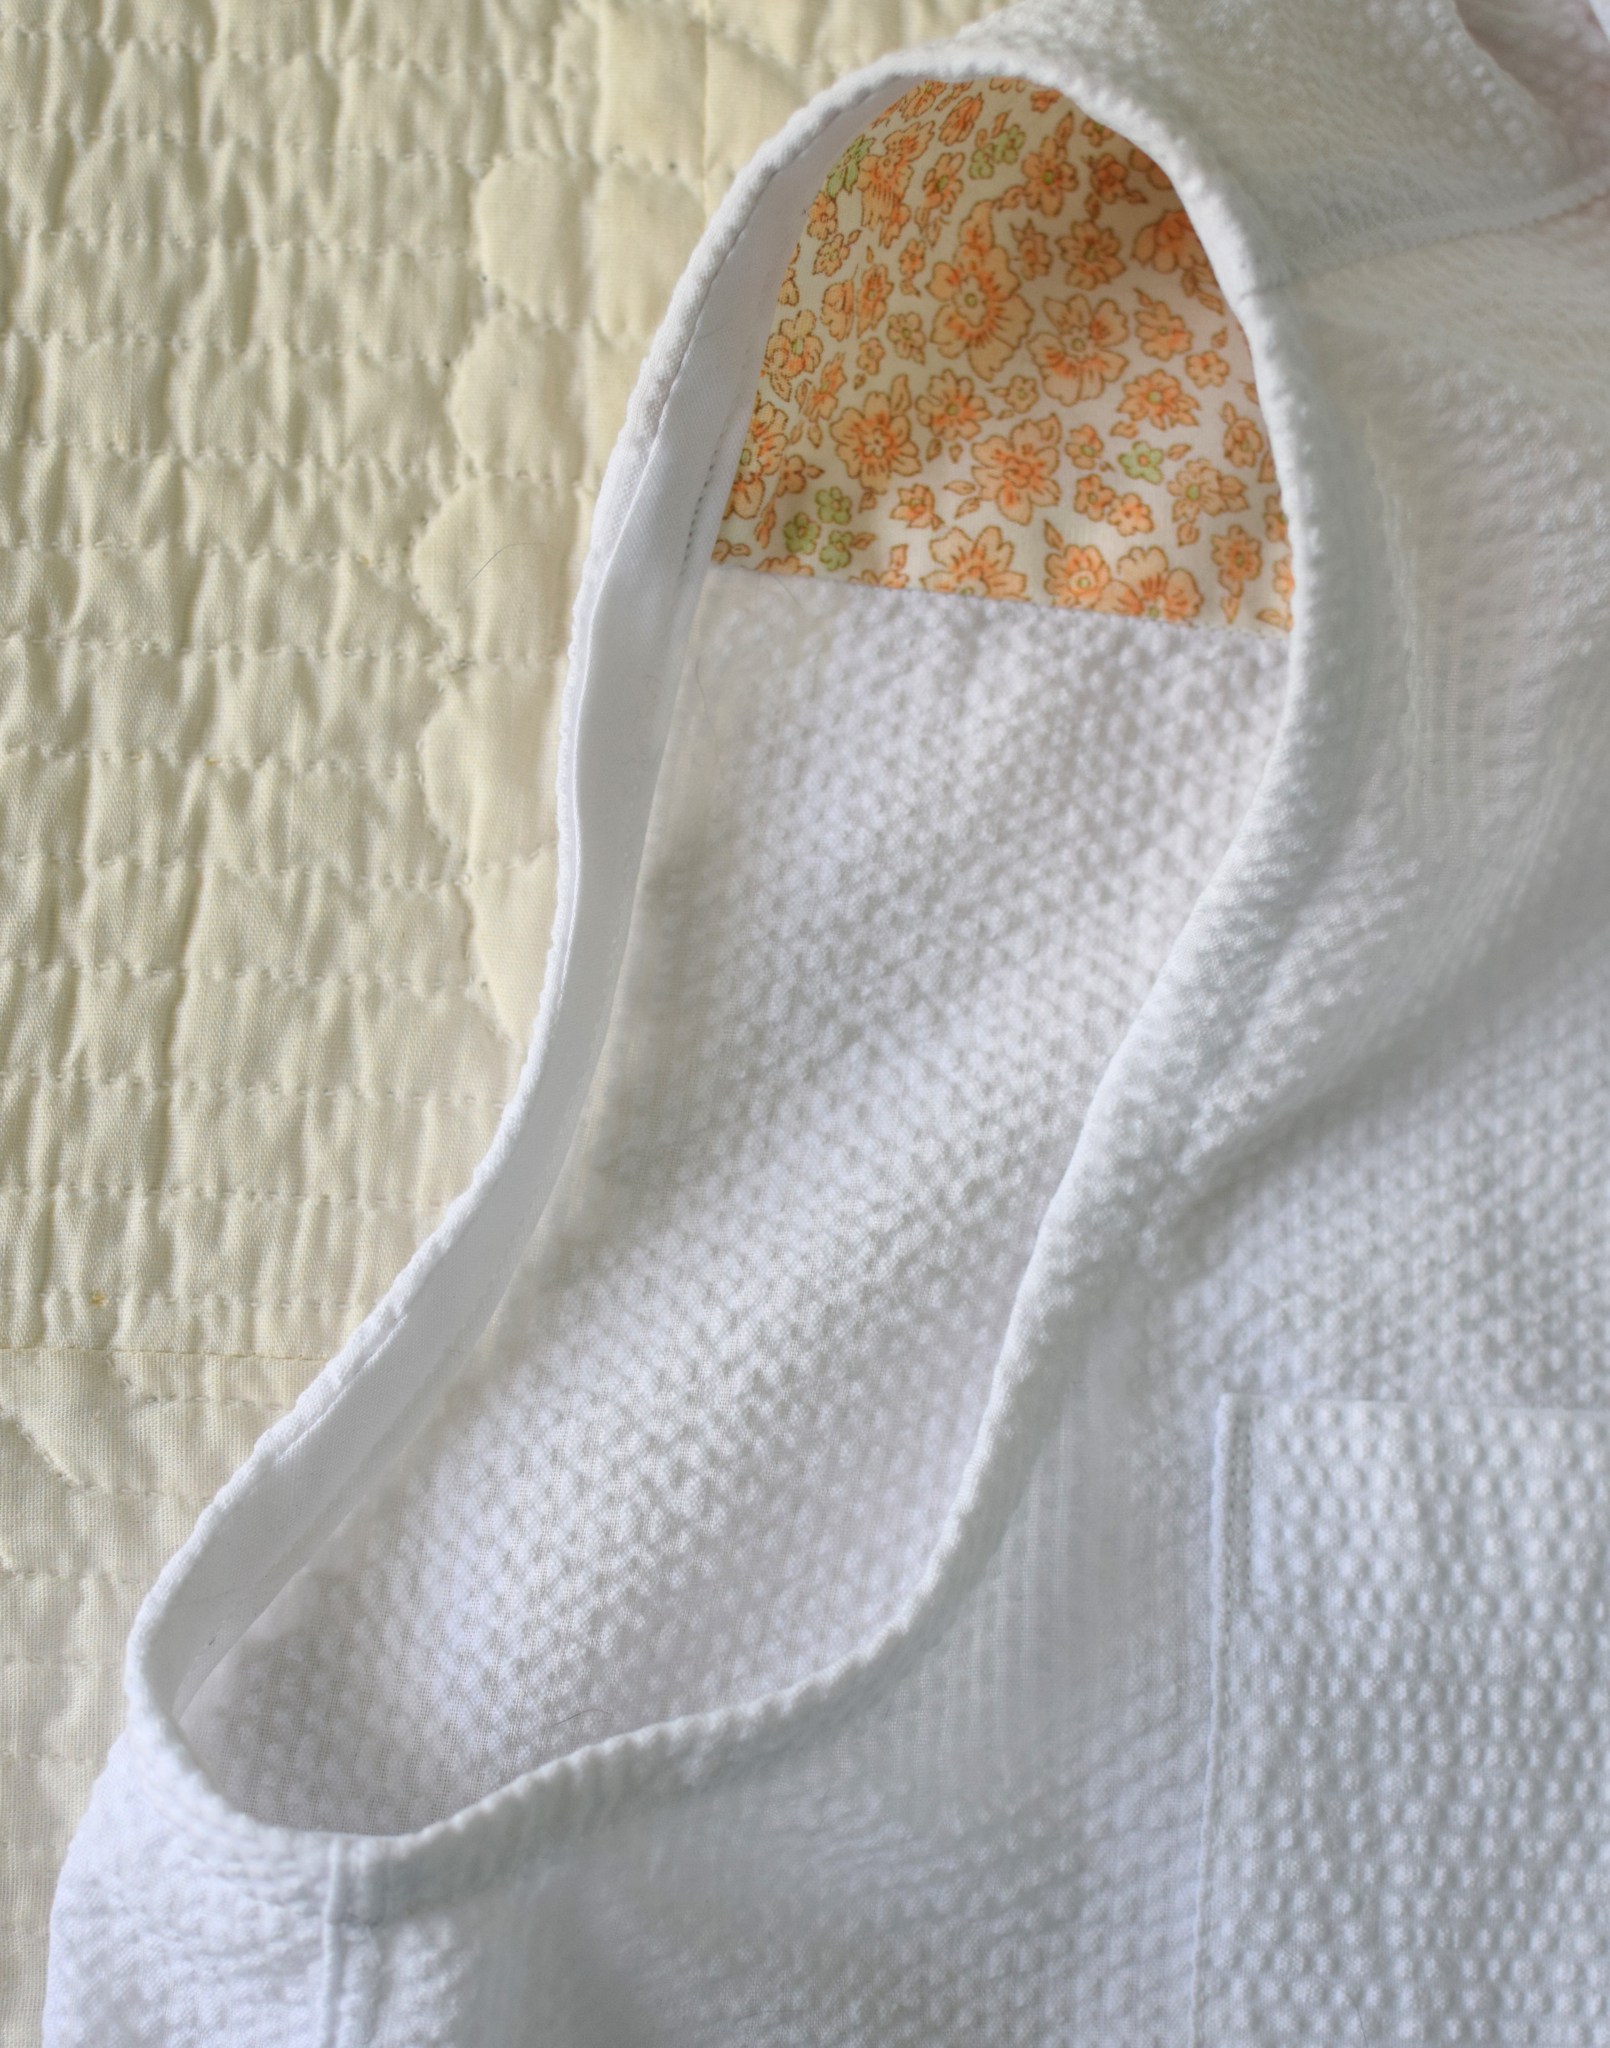
I’ve had this Pendelton wool in my stash since 2019. I fell in love with it at the Pendleton Factory Store in Portland (Oregon!). I also had some red silk charmeuse discards from a friend-of-a-friend, a talented seamstress in NYC. I was really inspired by this Tamarak, and planned on copying their idea to bind the seams with the charmeuse. It turned out too be incredibly fiddly, and I didn’t have enough of the charmeuse for bias binding anyway, so I went with pre-made black bias tape. I think it looks good!

The snaps were installed by Star Snaps. I do not have any snap tools, and decided to lean on the professionals since they are so closeby.

thanks to Meghan Babin for letting me borrow this Oisin hat sample!

Construction Notes

Before I started cutting, I watched the entire YouTube sewalong which was very helpful. I especially liked all of the quilting tips!

I lengthened the jacket by 2″ and I wanted to adjust the pocket placement to be on an angle, but I ended up sticking with the pattern’s placement because I was nervous that I’d get the welts wrong.

This fabric was challenging to sew with my machine. Because the charmeuse is so slippery and the wool is so toothy, it was a nightmare to keep them aligned while I quilted (YES I used a walking foot). The back piece was so big and the lining shifted so much that I had to patch it in parts. Just before I quilted the last pattern piece, my extremely talented friend suggested that I cut the lining bigger than the pattern piece to add some wiggle room in case of slipping. This proved to be a very great idea, please take this advice if you are making one for yourself!

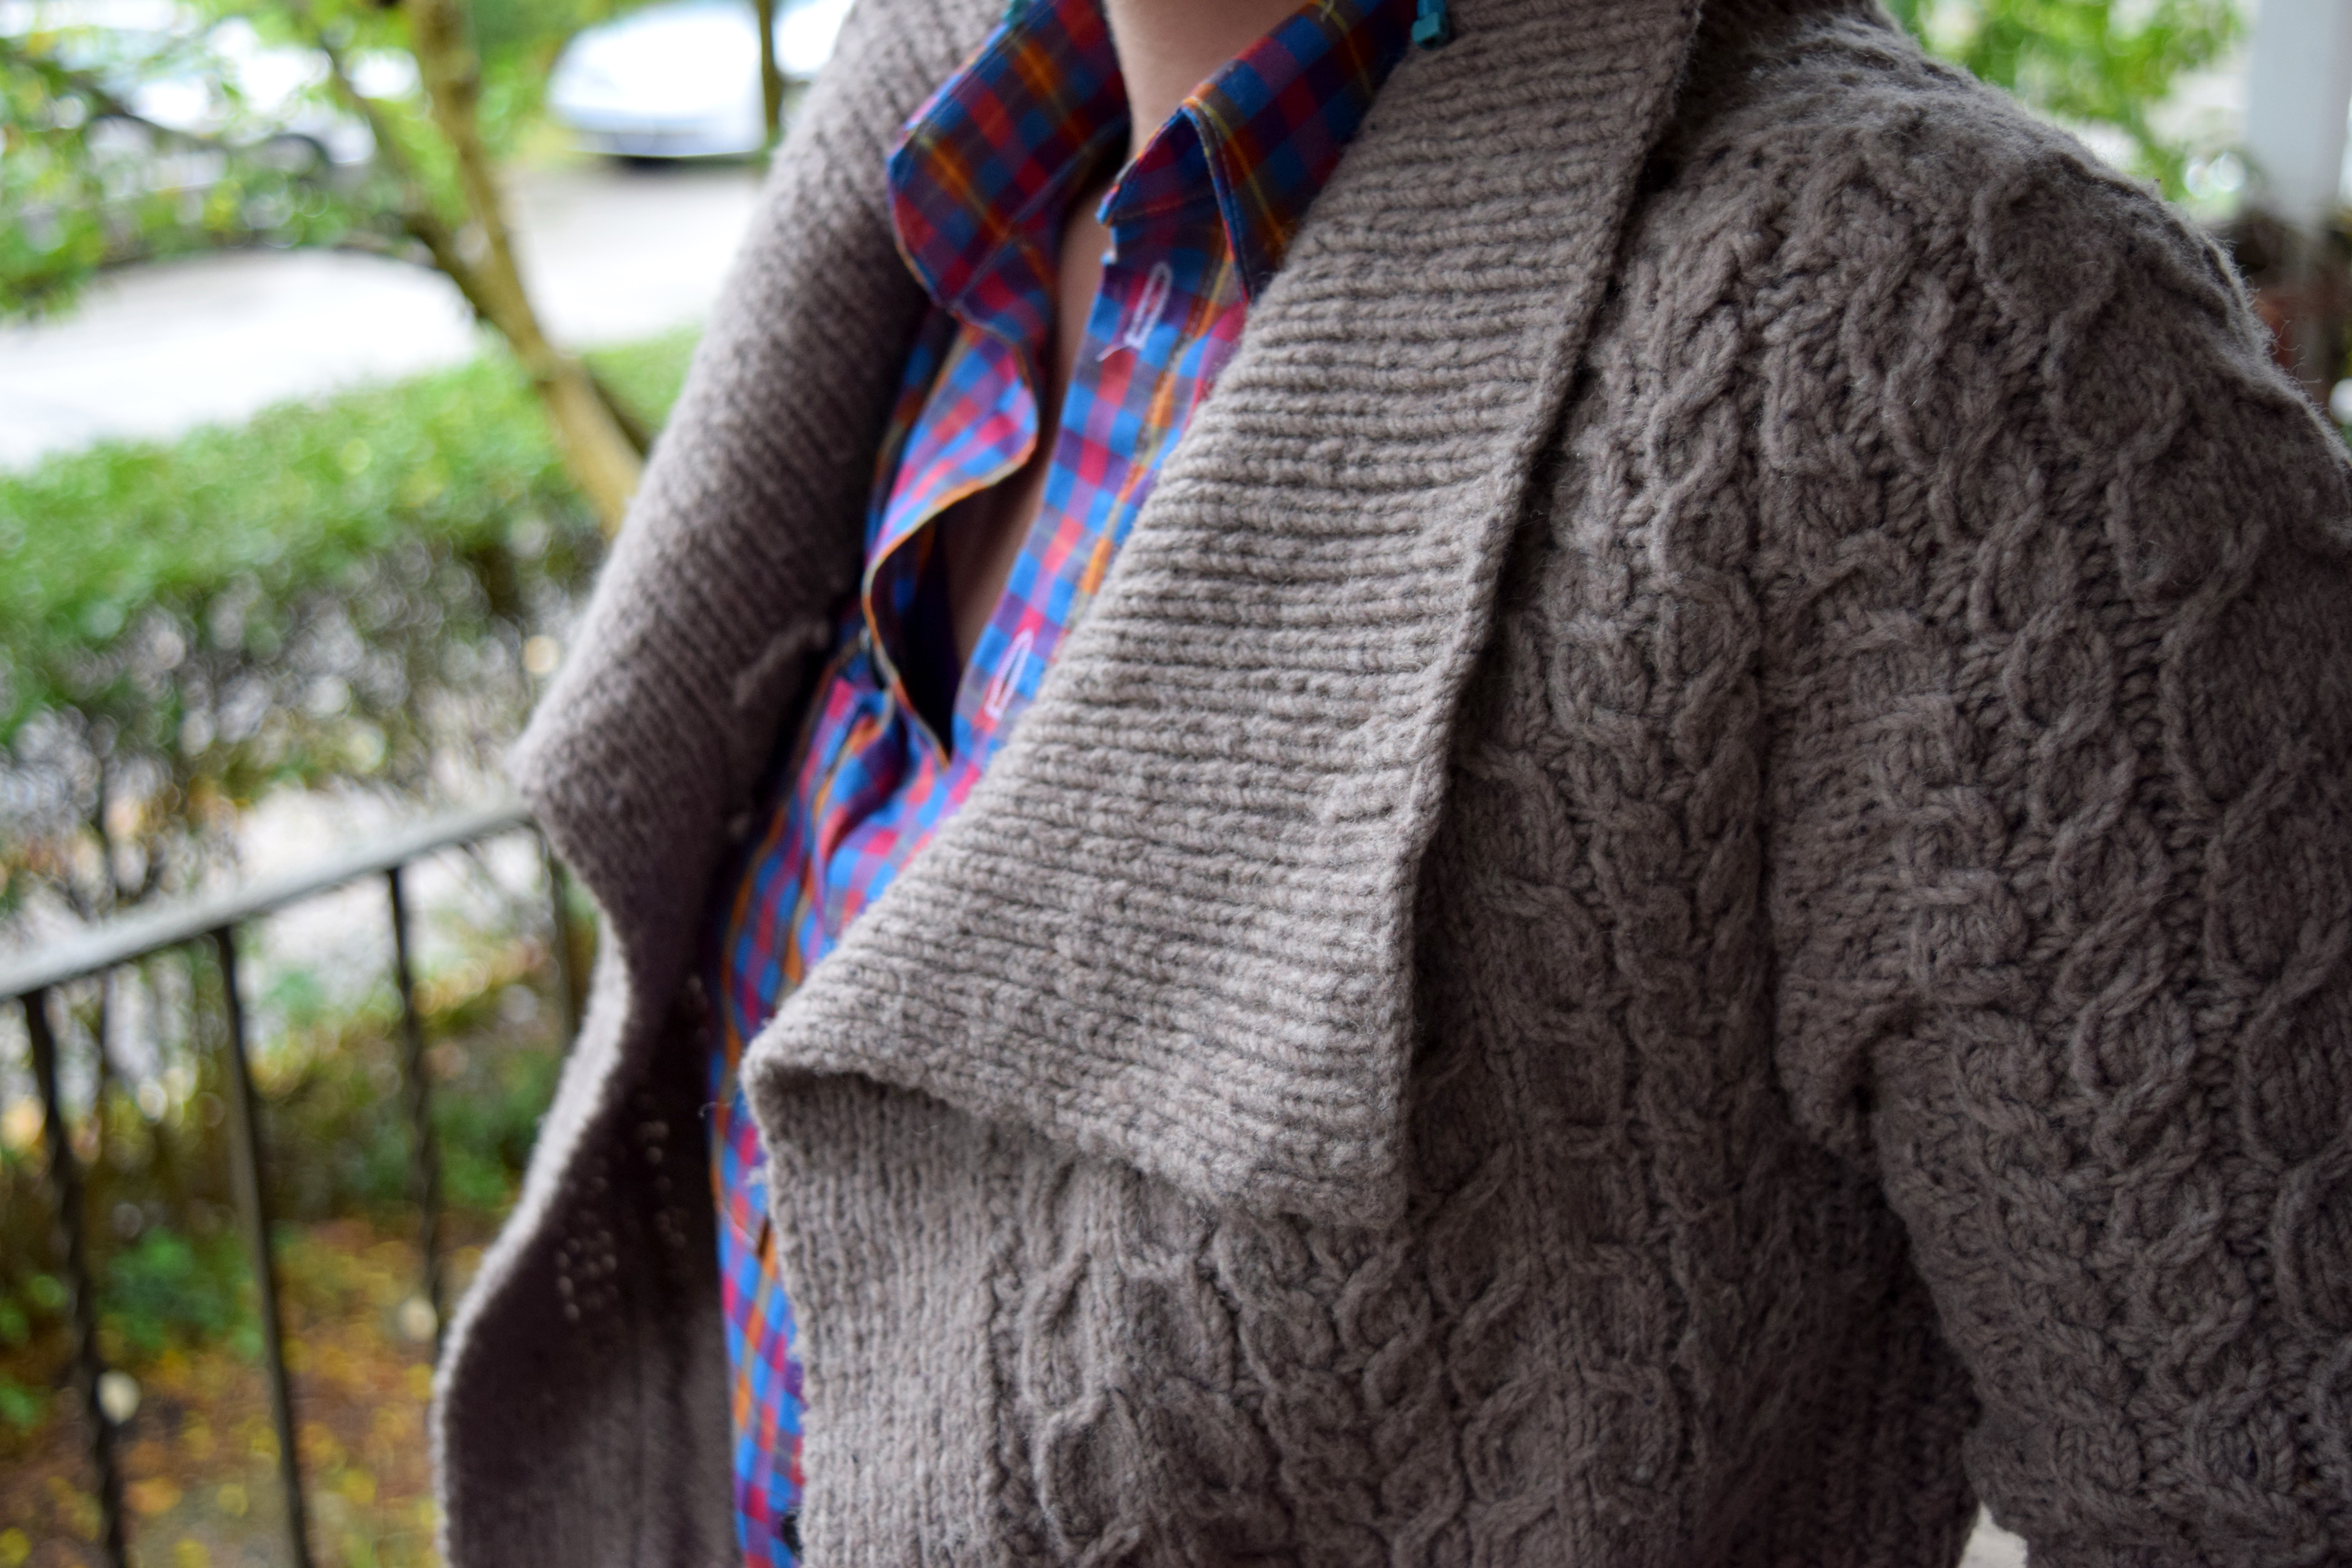
Putting these struggles aside, this jacket rules. I lined it with wool batting from Purl Soho. I was a bit concerned with how to tackle the binding, because with something this thick I was really worried about sewing the second side of the binding and making it look professional. The solution was to hand sew all of the binding. The fronts and collar took an extremely long time to hand sew, but the result was absolutely worth it.

Now excuse my while I go run around outside!

Thanks for the photos, Alexis and Shannon!

Denim Maritime Shorts

It appears that it is the Summer of Denim, because I made these shorts right after I made a pair of jeans. I haven’t posted about the jeans yet because its been too damn hot to wear them and get some photos. Instead, here are the shorts.

the back view of a pair of jean shorts.

I used the Grainline Maritime shorts pattern, I have made them a few times and I liked the fit. They aren’t high rise, just a regular old medium rise, and there are no belt loops. They were a very quick sew. After I finished the pockets, I happened to see Debbie’s version with bias-finished pocket linings, so I went back in and applied bias tape I had lying around for a prettier interior finish. I like the print mixing result.

the interior of a pair of jean shorts.
a woman poses, wearing a half-tucked button down and homemade jean shorts.

Not too much else to say about these, but I am glad I have a pair of JORTS again.

a closeup of a pair of homemade denim shorts.

Farrow Dress II

I made a second Farrow dress. It surprised me that I chose this pattern again because I was so disappointed in my first one. For that one, I underlined the bodice and used hot pink bias tape to finish the seams, so it felt really wacky to wear even though no one else could see it. For my latest version. I used a much more subdued petal pink for the facings which makes it much more cohesive and professional-looking.

This pattern is labeled easy, but I think matching the diagonal seams on the front and back is rather challenging, ESPECIALLY if you use a plaid. This flannel is an unusual fabric match for this dress. Its a strange mix of Puritan fabric and modern style lines. BUT, its very cozy and I’ve worn it nonstop since I finished it.

The pattern specifies faced sleeve hems, which inspired me to add a facing to the dress hem. I also extended the neckline facing to the shoulders so it wouldn’t flop around (pet peeve). I spent a long time lining up the plaids on the four front and four back pieces, and it took forever. Once I got to the sleeves, I lost pattern-matching steam and didn’t do as nice of a job. I have a tiny head so I didn’t need to do the back neck slit, although, to be honest I forgot about that design element until after I sewed on the neck facing. I realized what I had done right after I topstitched, then quickly tried it on over my head to check whether I had some serious unpicking to do.

here are the guts of the dress.

Nothing like perfectly placed pockets, I notice I am constantly resting my hands in them. The joys we find in 2020.

Archer For a Friend.

archer_sleeveless_front_2

archer_sleeveless_front_1

I made a sleeveless Archer a few years ago using Grainline’s awesome tutorial, and I wear it all the time, even though its a white-with-bright-stripes 90s-looking seersucker. My friend Chrissy saw me wearing it one day and commented on how much she loved it, so I decided to make her one for her birthday.

I had some leftover all-white seersucker, but it was barely enough to cut out the shirt. I had to get a little creative with the pattern piece placement: I cut the button band and pockets the wrong way. I didn’t even have enough left to cut the inside yoke, so I used some light micro-floral cotton. I also used it on the under-collar as a subtle way to introduce some color to an otherwise stark white shirt. It took me a long time to settle on a fabric that wouldn’t show through the seersucker too much. I really struggled with buttons, I spent forever comparing at the fabric store before settling on these taupey gray ones. This is the first time I used a teeny button for the collar stand, and I like how it turned out. I also recently got a buttonhole cutter and some fray check, and WOW they improve the finish to look much more professional!

archer_sleeveless_undercollar

archer_sleeveless_close_1

I am so happy with this shirt, especially because I look at it and see such great strides in craftsmanship since the last time I made one.

archer_sleeveless_close_2

Summer of Basics #1: Maritime Shorts

DSC_4072

I’ve decided to enter the Summer of Basics make-along as a challenge for myself to pepper in practical, plain items along with all the garments with wild prints I am drawn to. Here is my first make, Maritime shorts from Grainline in Essex Linen. I made these once before a few years ago, and have been meaning to make more ever since. I remember being very challenged by the fly, but this time I really focused (turned off those podcasts!) and powered through successfully. I did use a 5″ zipper, because thats what I had, and it turned out fine. I also used a front button instead of a pants hook/eye closure.

DSC_4077

I really love these, especially the tushie pockets! I wore them all weekend, and they are very comfy. I was surprised by how little fabric they take, as well as how quickly I sewed it… I did the whole thing in 1.5 sittings. The trickiest part was the waistband… you have to reallly pay attention to the grain of the fabric and the way each piece is flipped, especially if your fabric has no RS or WS like this linen. One note, I sewed my button hole the wrong way! GAHH!

DSC_4087

Autumn.

A few weeks ago, Grainline posted Sarah’s “fall wardrobe inspiration” and I was quite smitten with the Steven Alan dress she featured. I decided to hack the Archer shirt into a homage to that dress with some vintage plaid I’ve been saving. I added a very slight a-line shape to the dress, and made a shirttail hem. I planned to put in the patch pockets, but just never got around to it. I could hack apart the side seams and do it, if I really want to. I thought it looked a little blah when I was done, especially in the waist, so I added a bias-cut channel and created a drawstring waist. Its a teeny bit short but I am really happy with how it turned out; I think it will be great for autumn. Buttons are blackened brass from Fringe Supply Co. archer shirtdressarcher shirtdressarcher shirtdress

Also finally got around to photographing my Stonecutters cardigan by Amy Christoffers. I finished this in late winter last year and didn’t have much of a chance to wear it before it warmed up. I LOVE it and I am so happy with the Imperial Stock Ranch Columbia yarn.stonecutters cardiganstonecutters cardiganstonecutters cardigan

lakeside_pjs_grainline

Honeymoon PJs. Made with some French cotton voile from Marché Saint-Pierre, and some blue silk trim. Working with silk bias tape was incredibly fiddly, and I had a really hard time keeping things tidy. To make it, I did use this tutorial which I found very easy compared to tutorials I have followed in the past. I also finally figured out how to use my bias tape maker, so that was also a big help. I french seamed everything but the crotch seam (I just zig-zagged to finish instead), and I only had 3/4″ elastic, so thats what I used for the waistband. I tacked it down via stitch-in-the-ditchat both side seams (instead of sewing in the middle of the waistband all the way around).

back_lakeside_pjs_grainline

grainline_lakeside_pajamas

I compared these, my second version of the Lakeside PJs, to the first that I made ~2 years ago, and its neat to see how my sewing skills have improved dramatically since then. The first time around, I vastly underestimated the amount of ease in the pattern, so this time I made a 6 in the top, and an 8 in the bottoms. The bottoms are still a tiny bit tight (!!) but they will work.

SUPER EXCITED FOR NEW ZEALAND NEXT WEEK!!!!!!