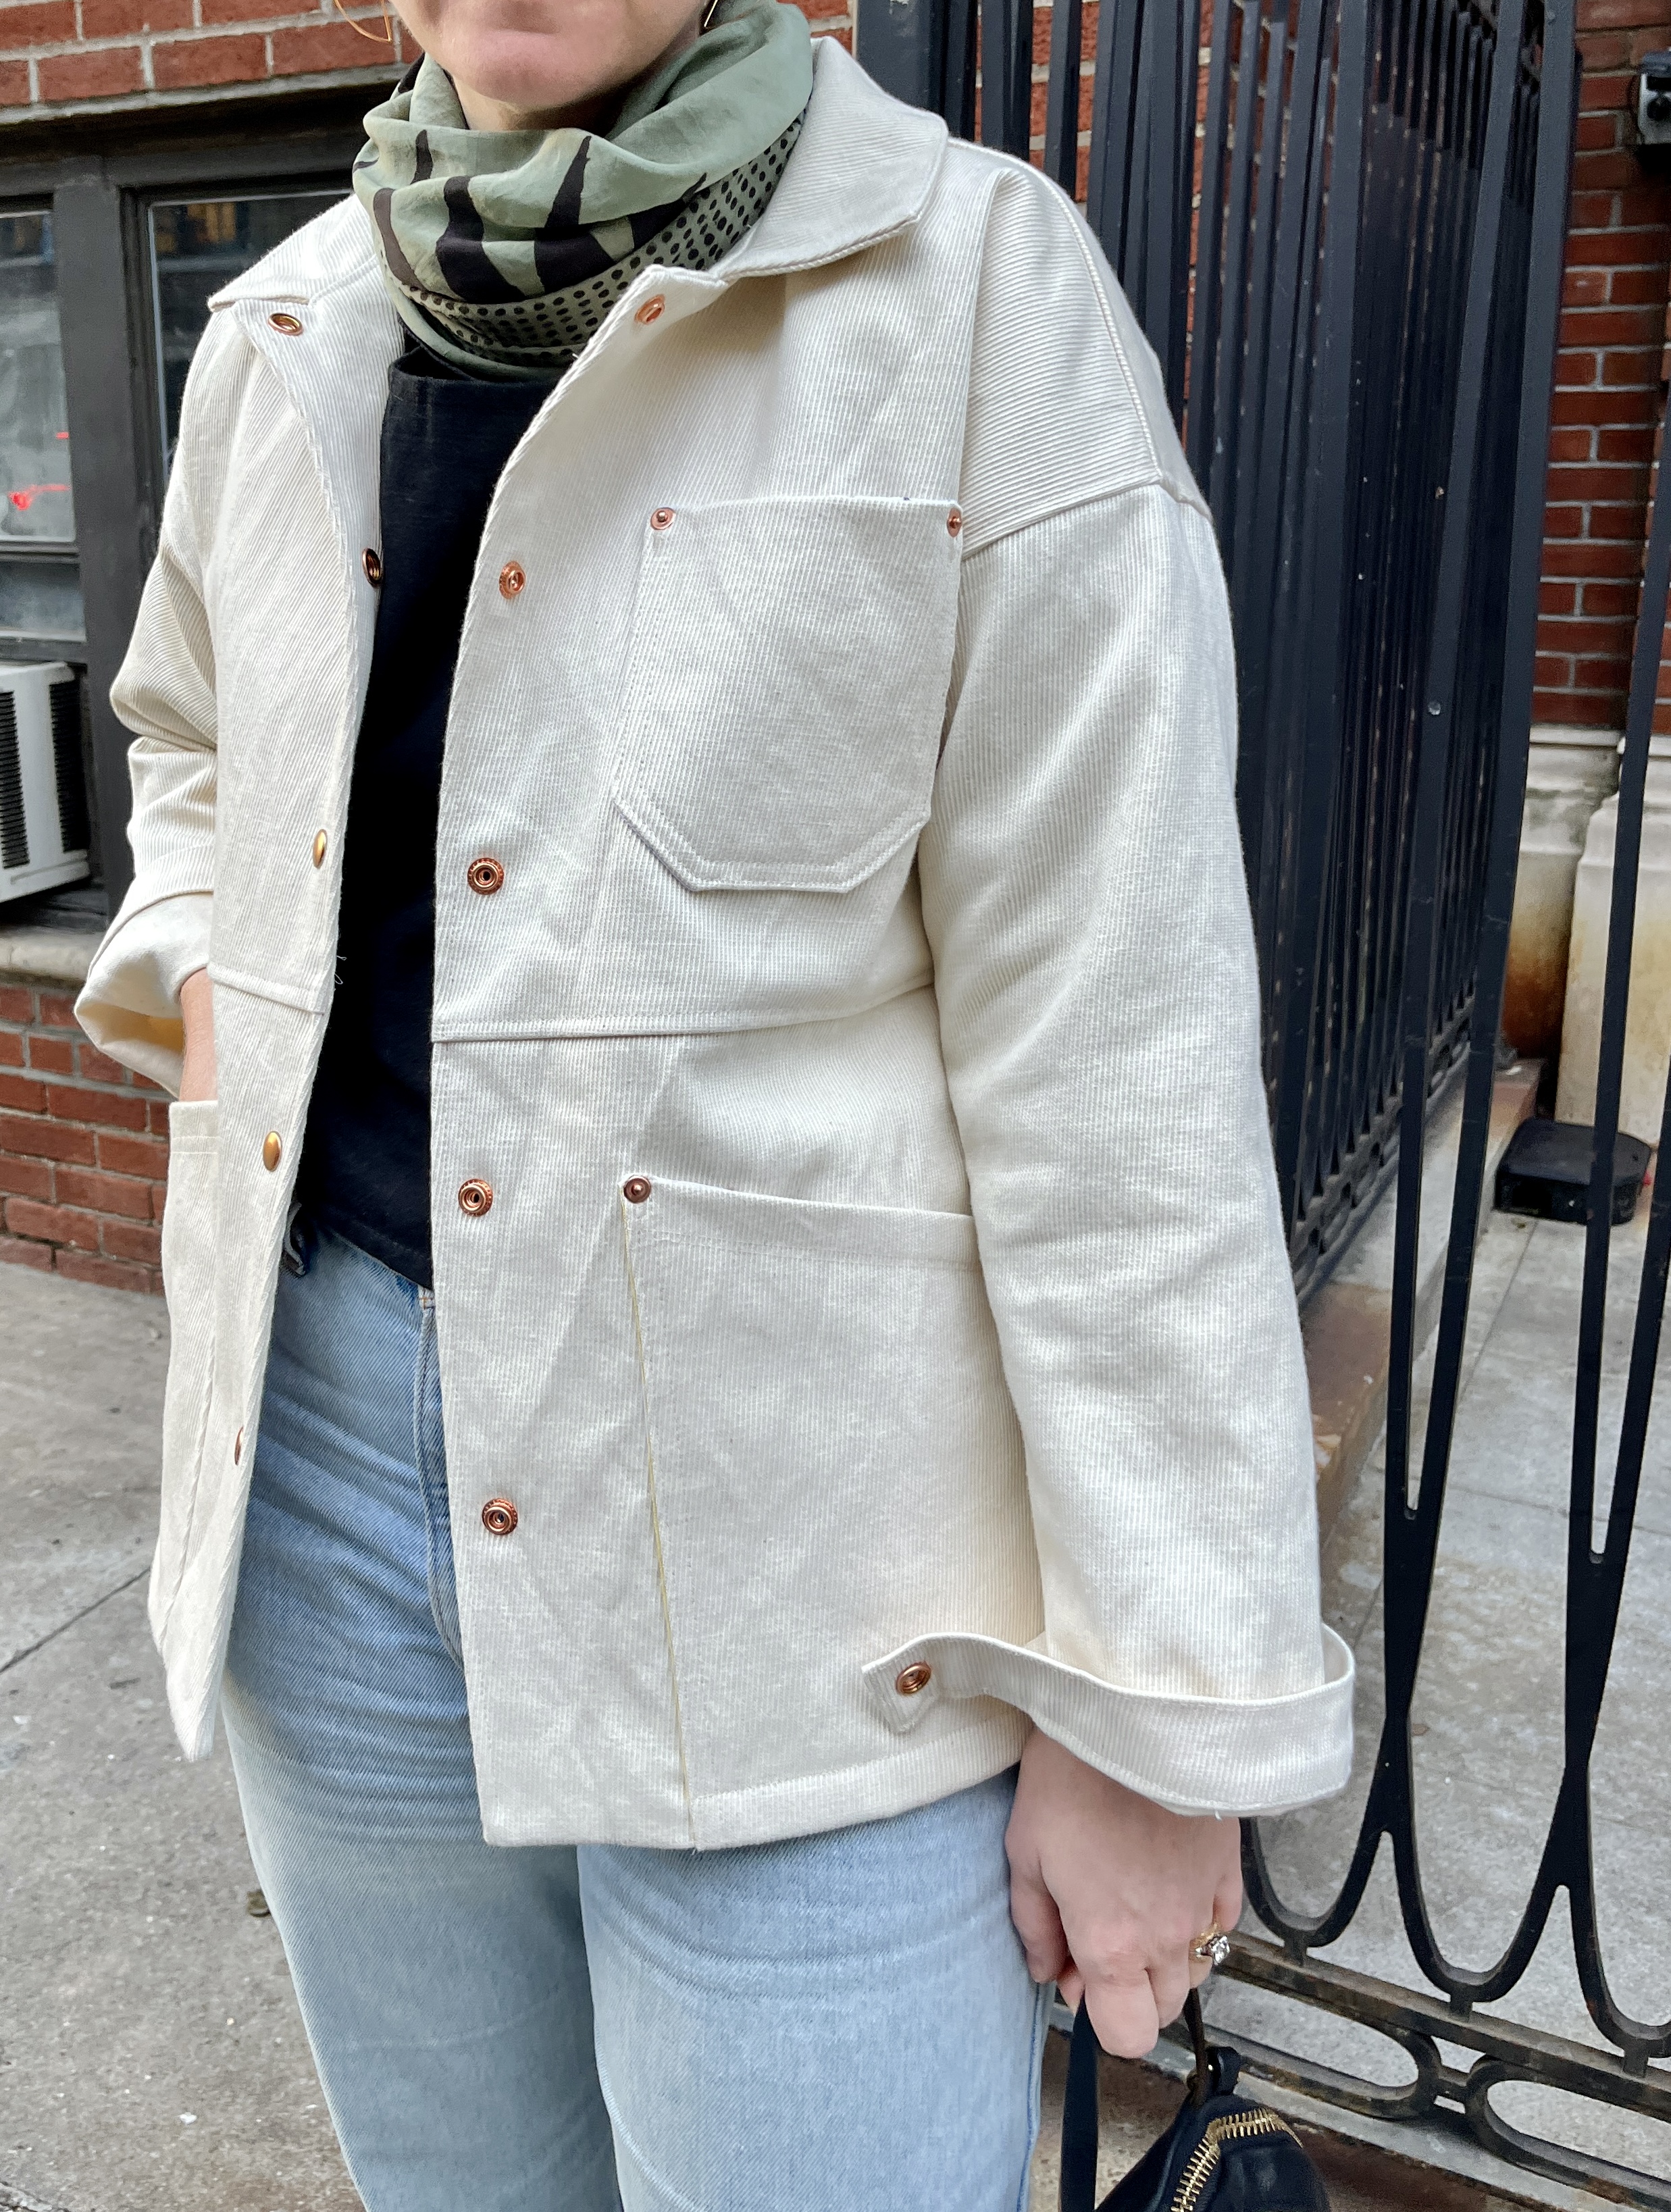
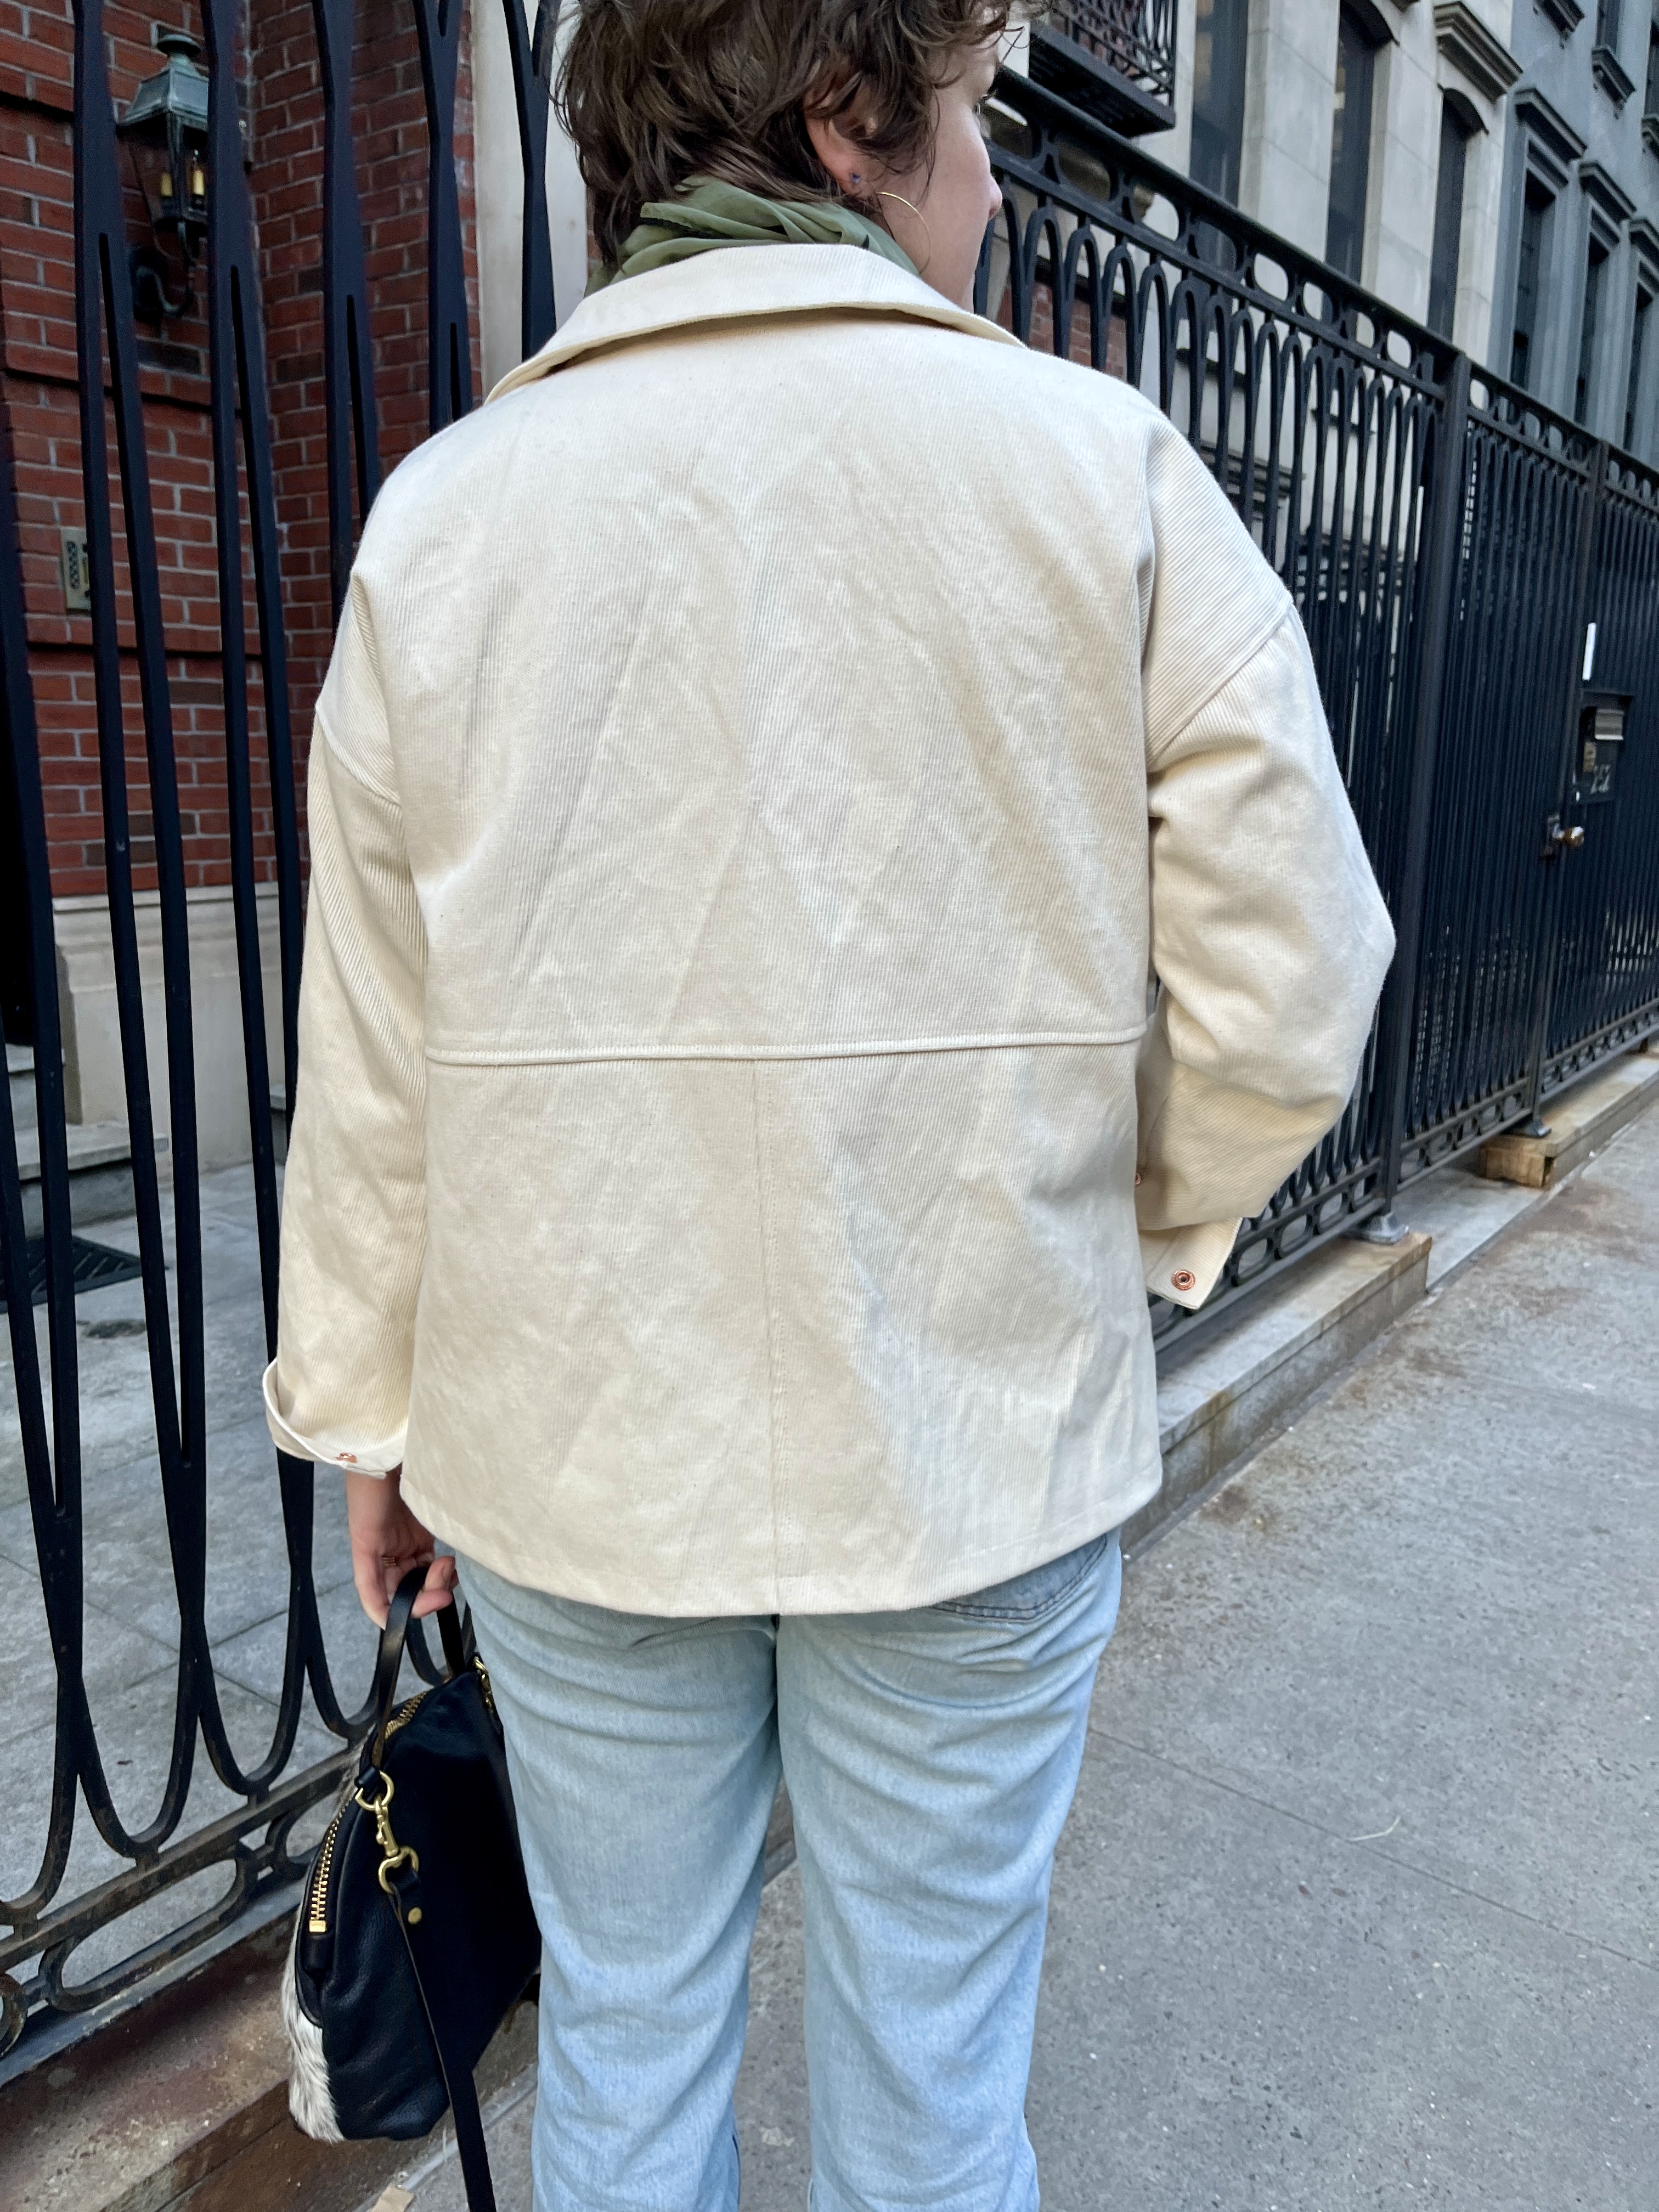
i saw an off-white jacket from Ozma and knew it was the perfect spring coat.

I didn’t want to fork over $350, so I started hunting for chore coat patterns. After considering several options, I settled on Ready to Sew’s Julian Chore Coat because the pockets looked nice and roomy, and it has a lining.
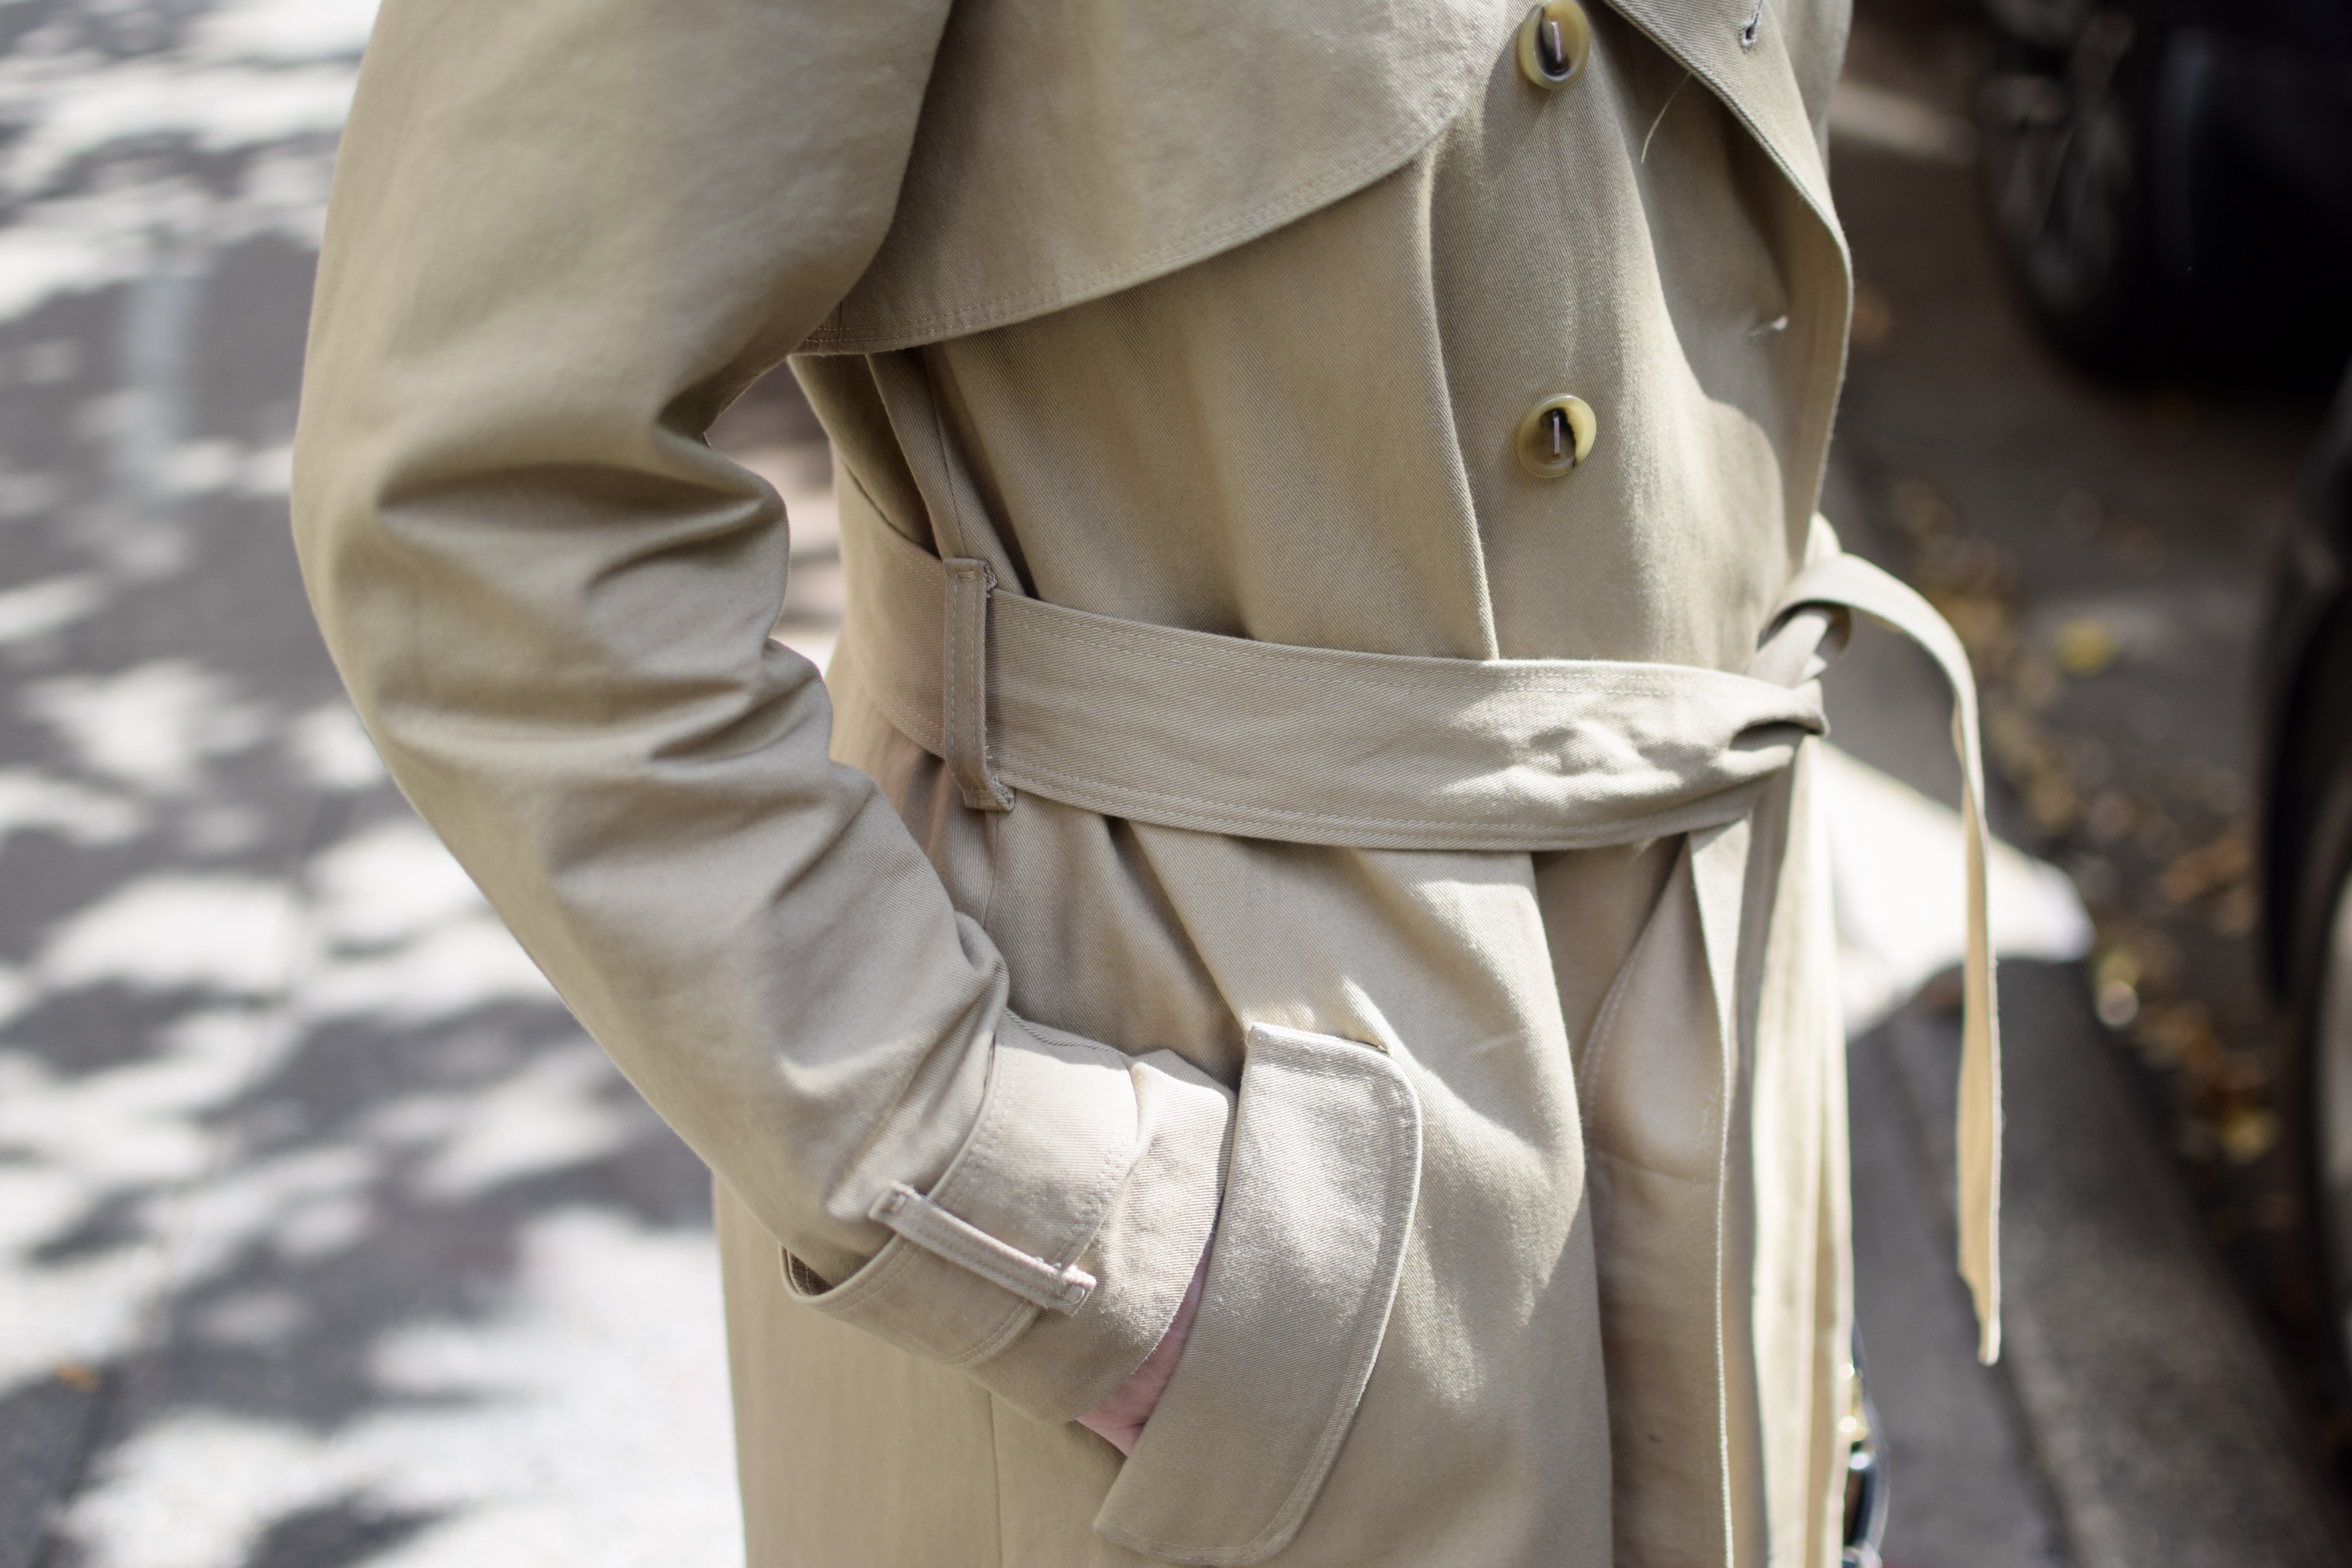
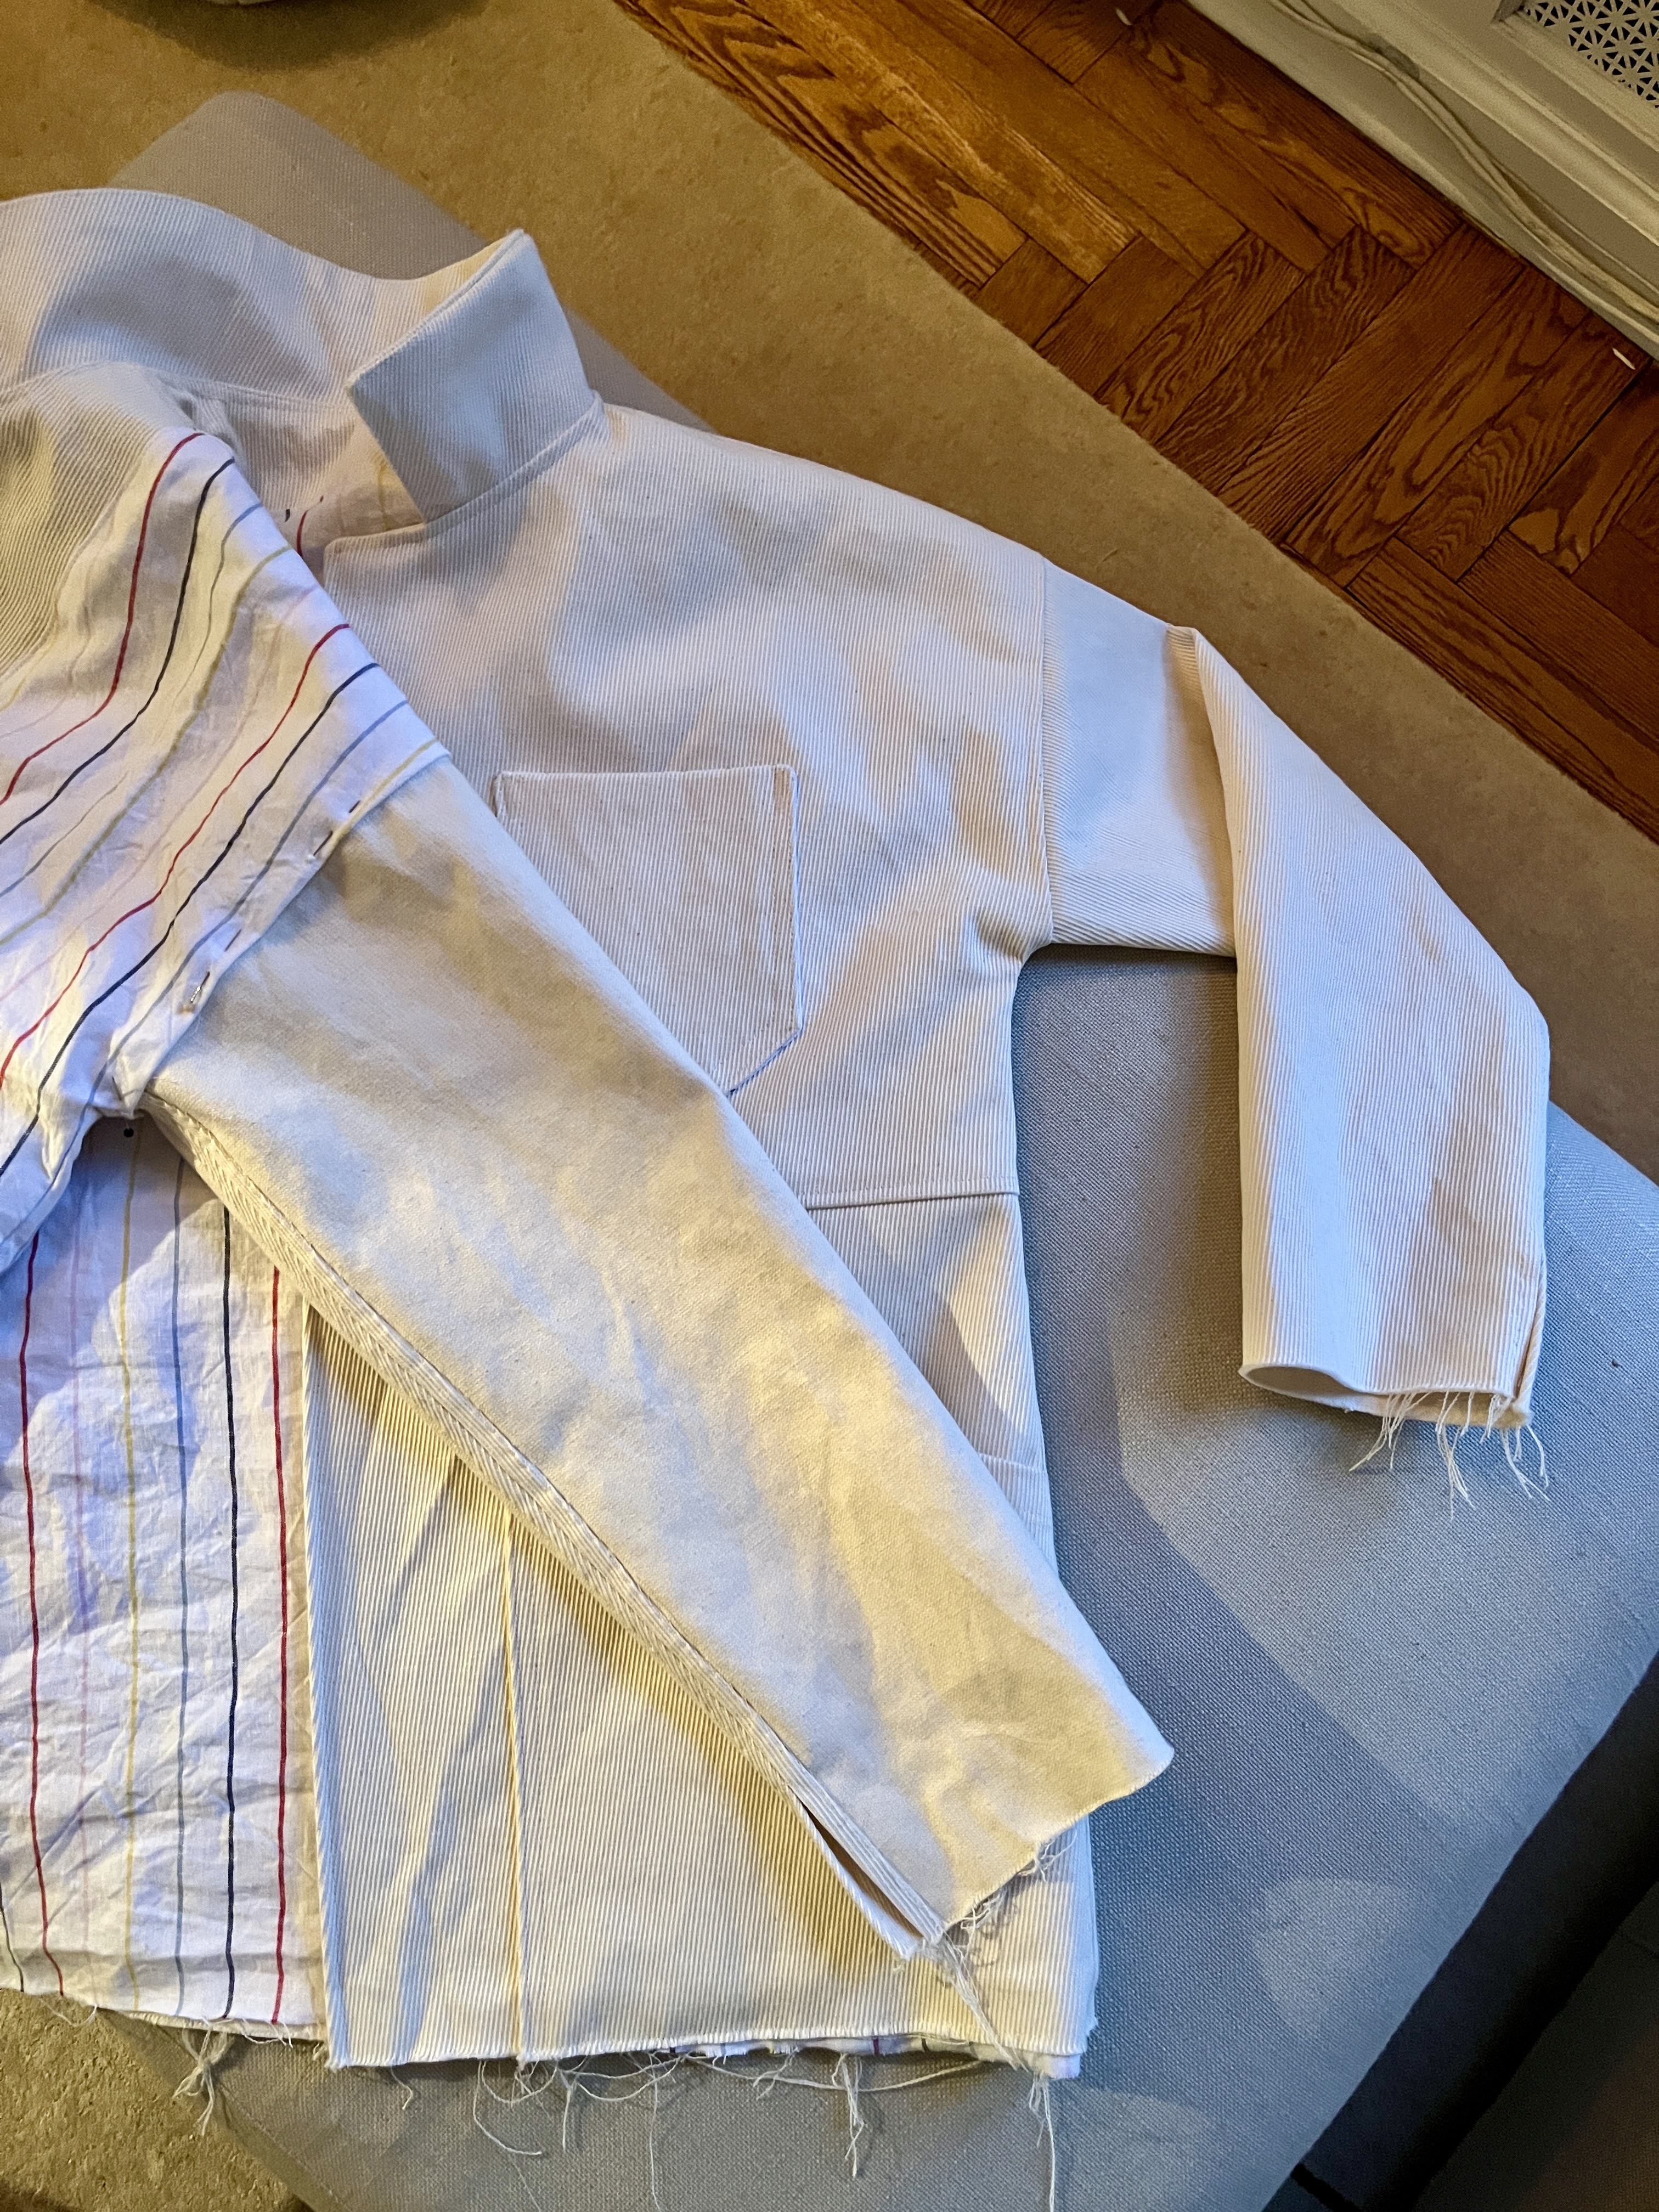
After I figured out the pattern, it was time to find the right fabric. I found this Theory cotton twill from Mood for $38! It was a bit more textured than I was imagining, but I was really drawn to it. The person who cut it for me was very enthusiastic about it becoming a spring coat.
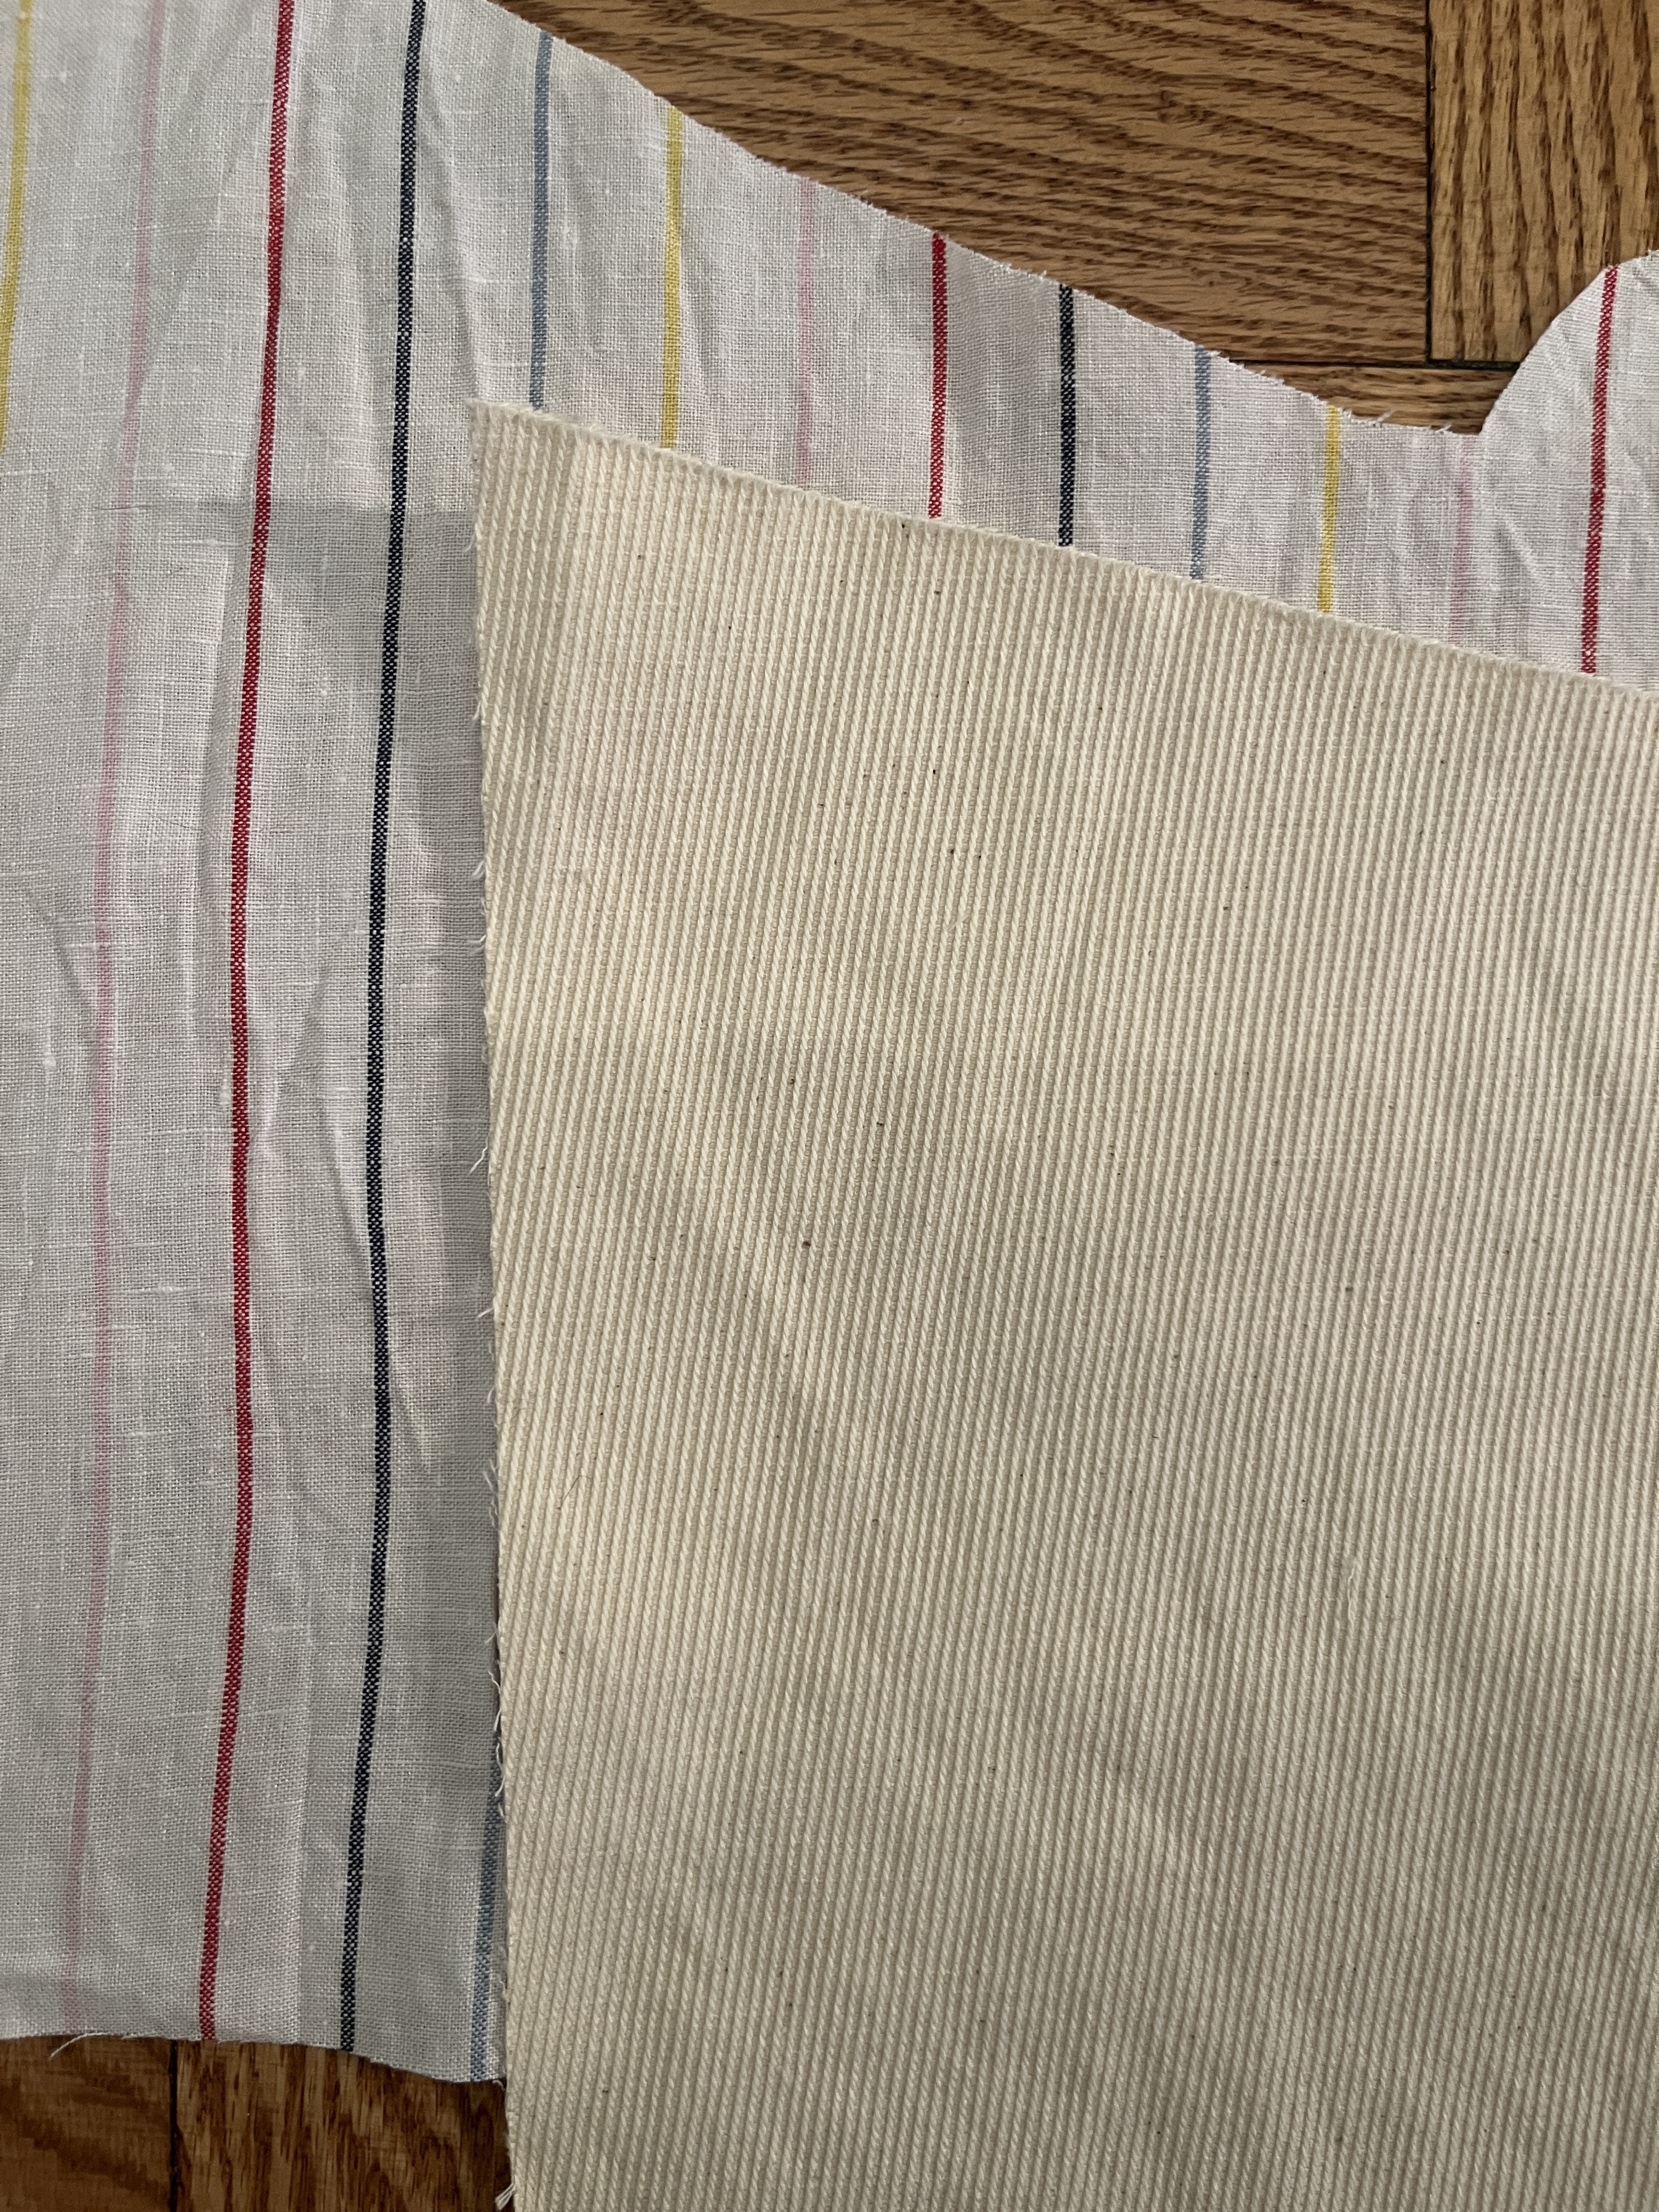
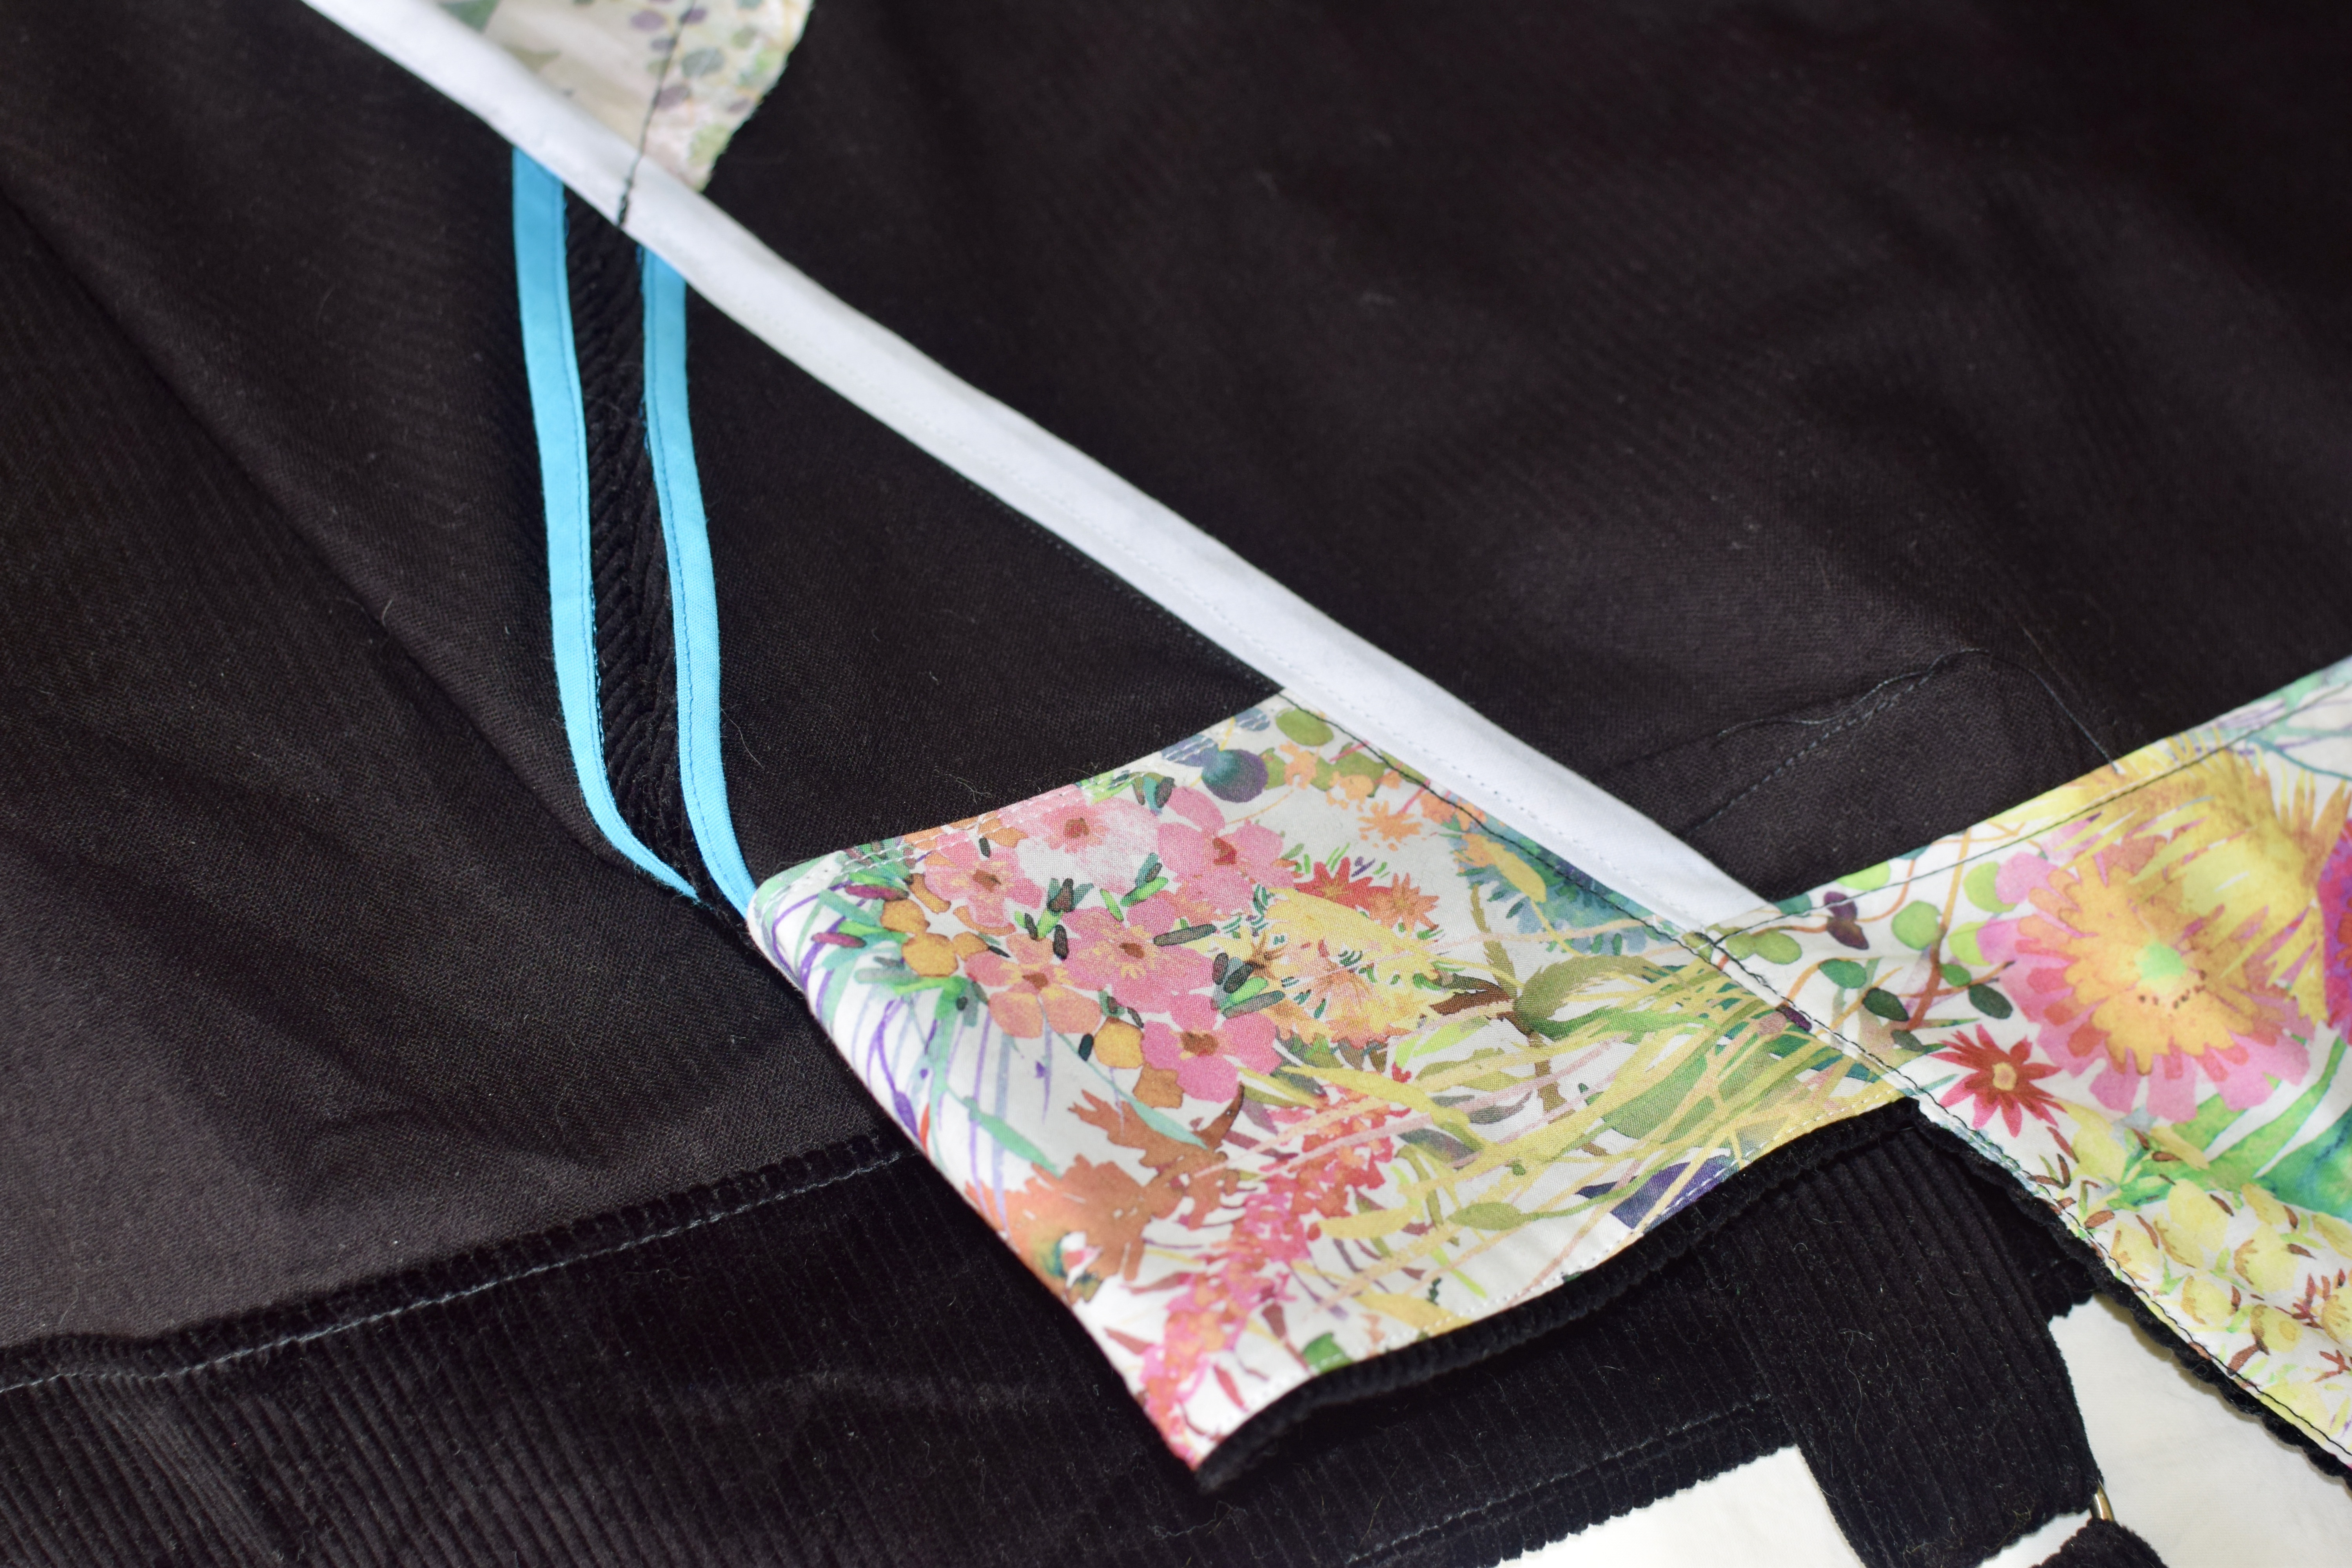
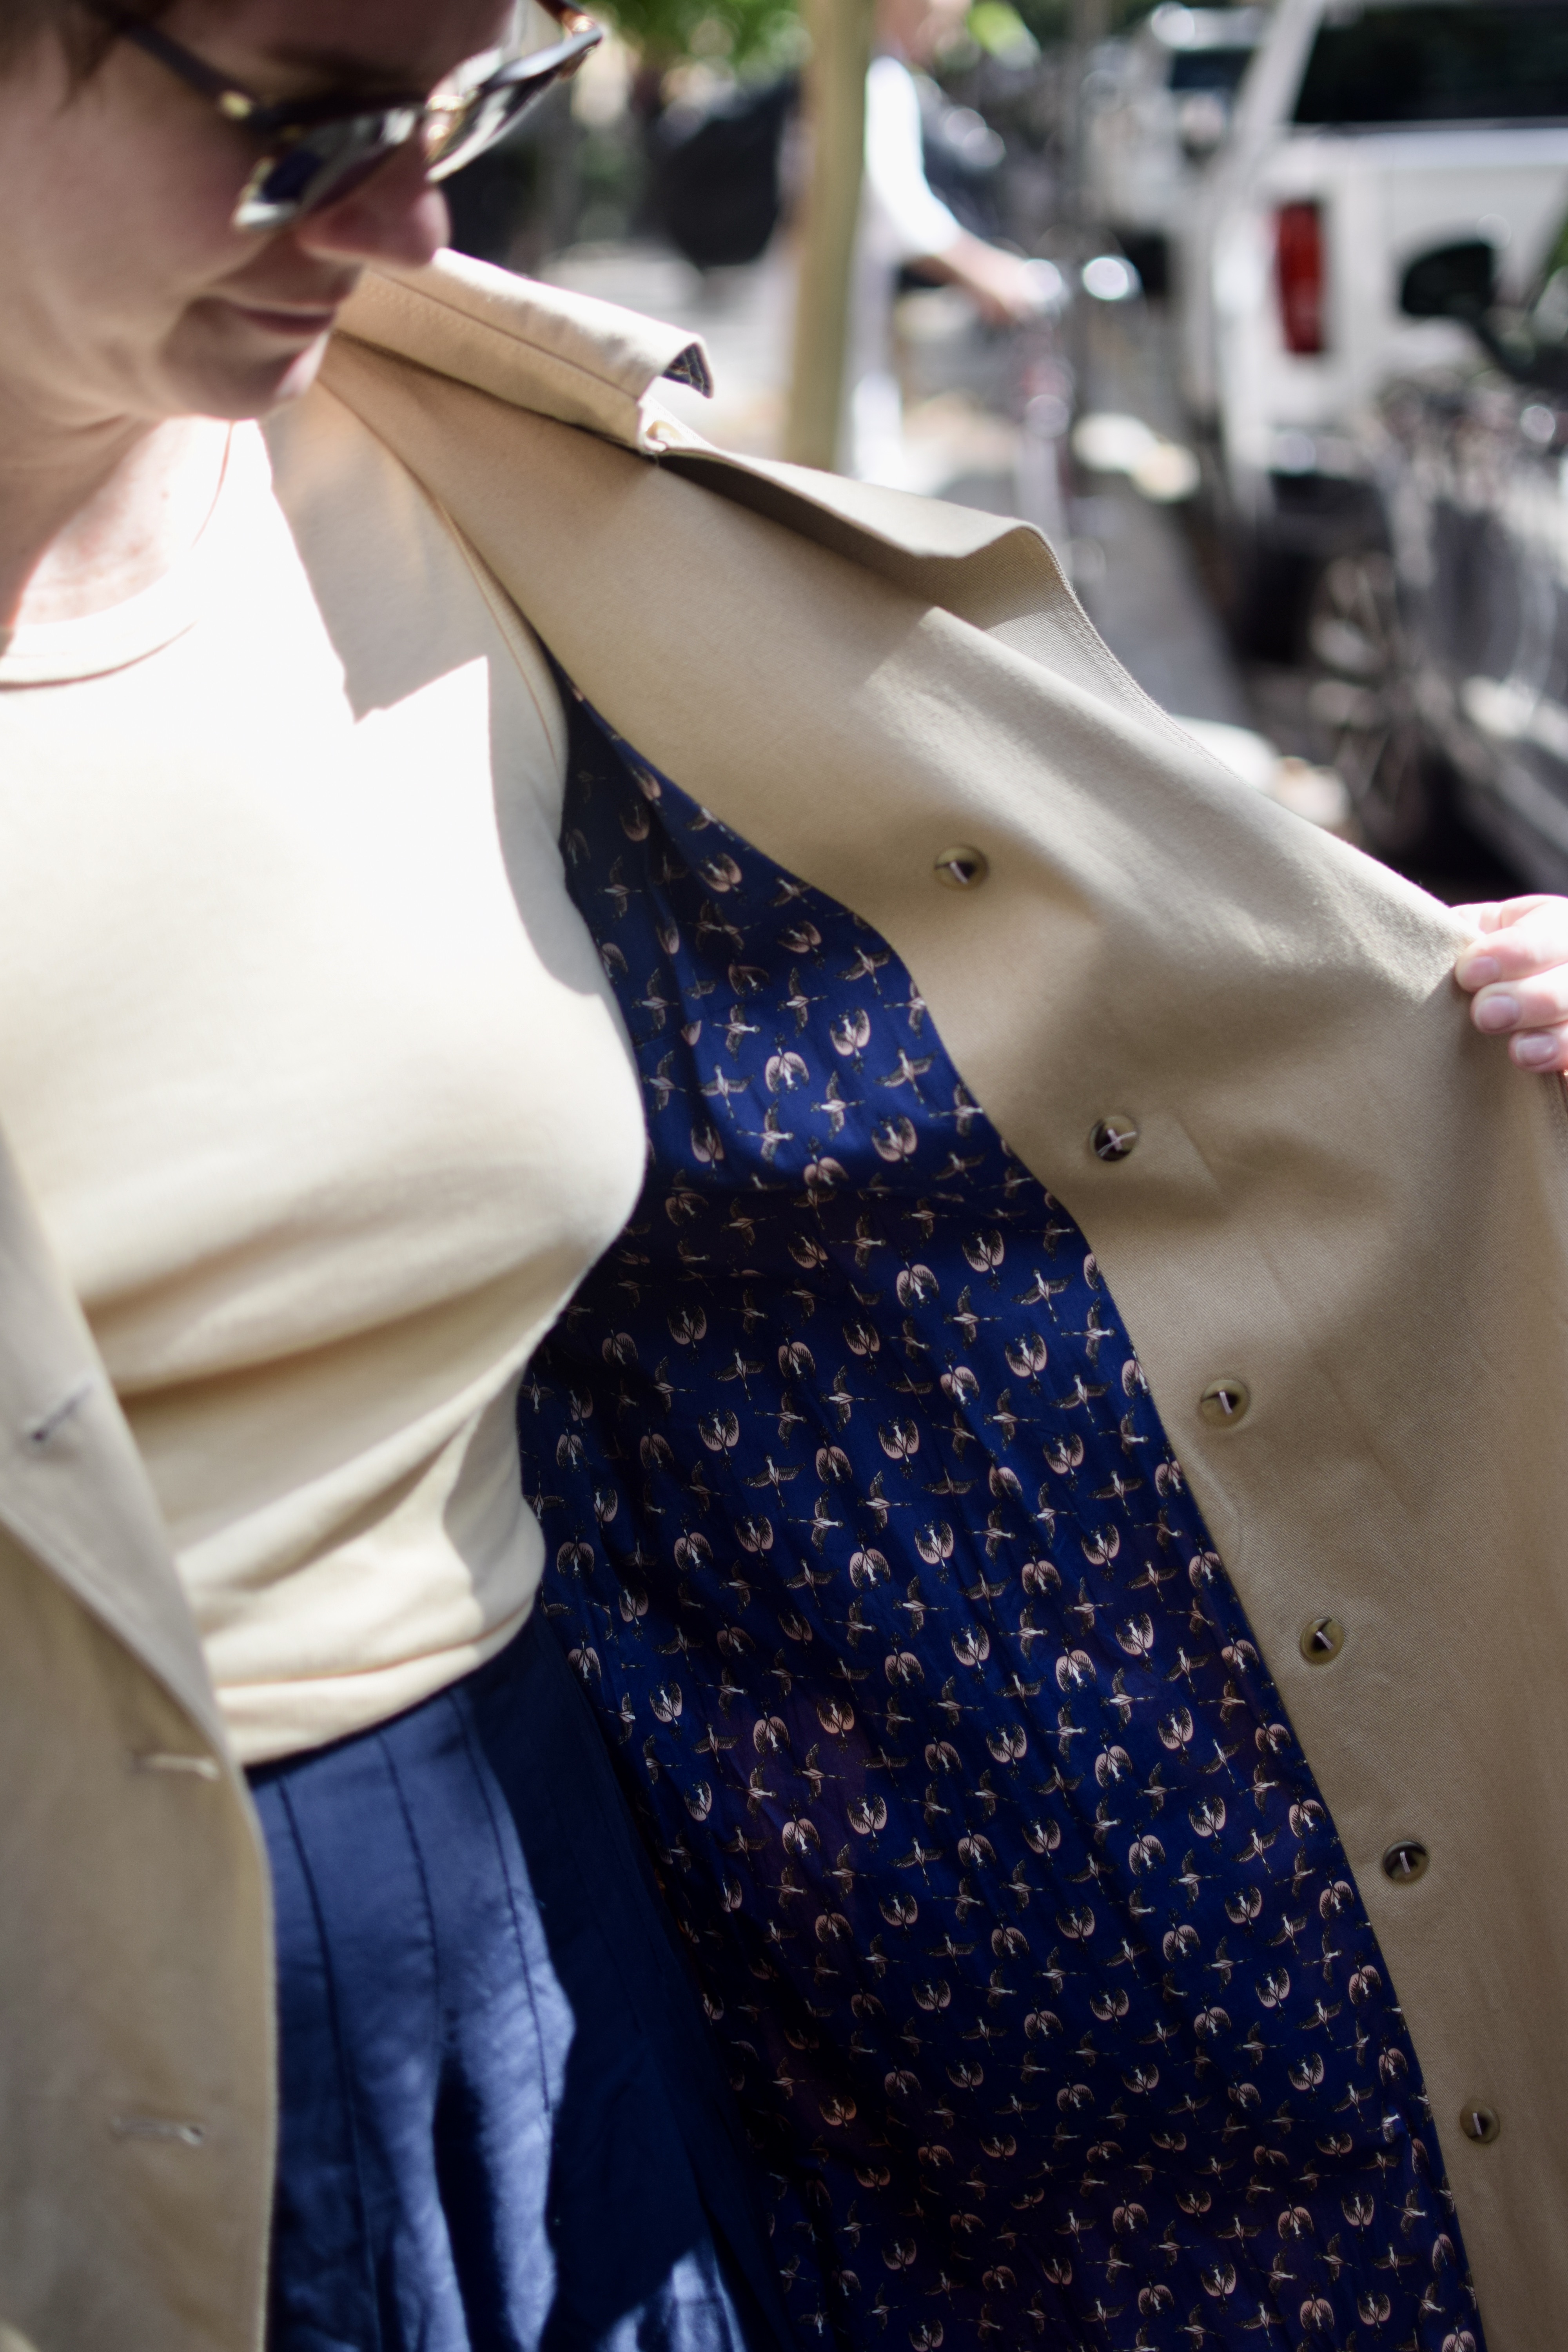
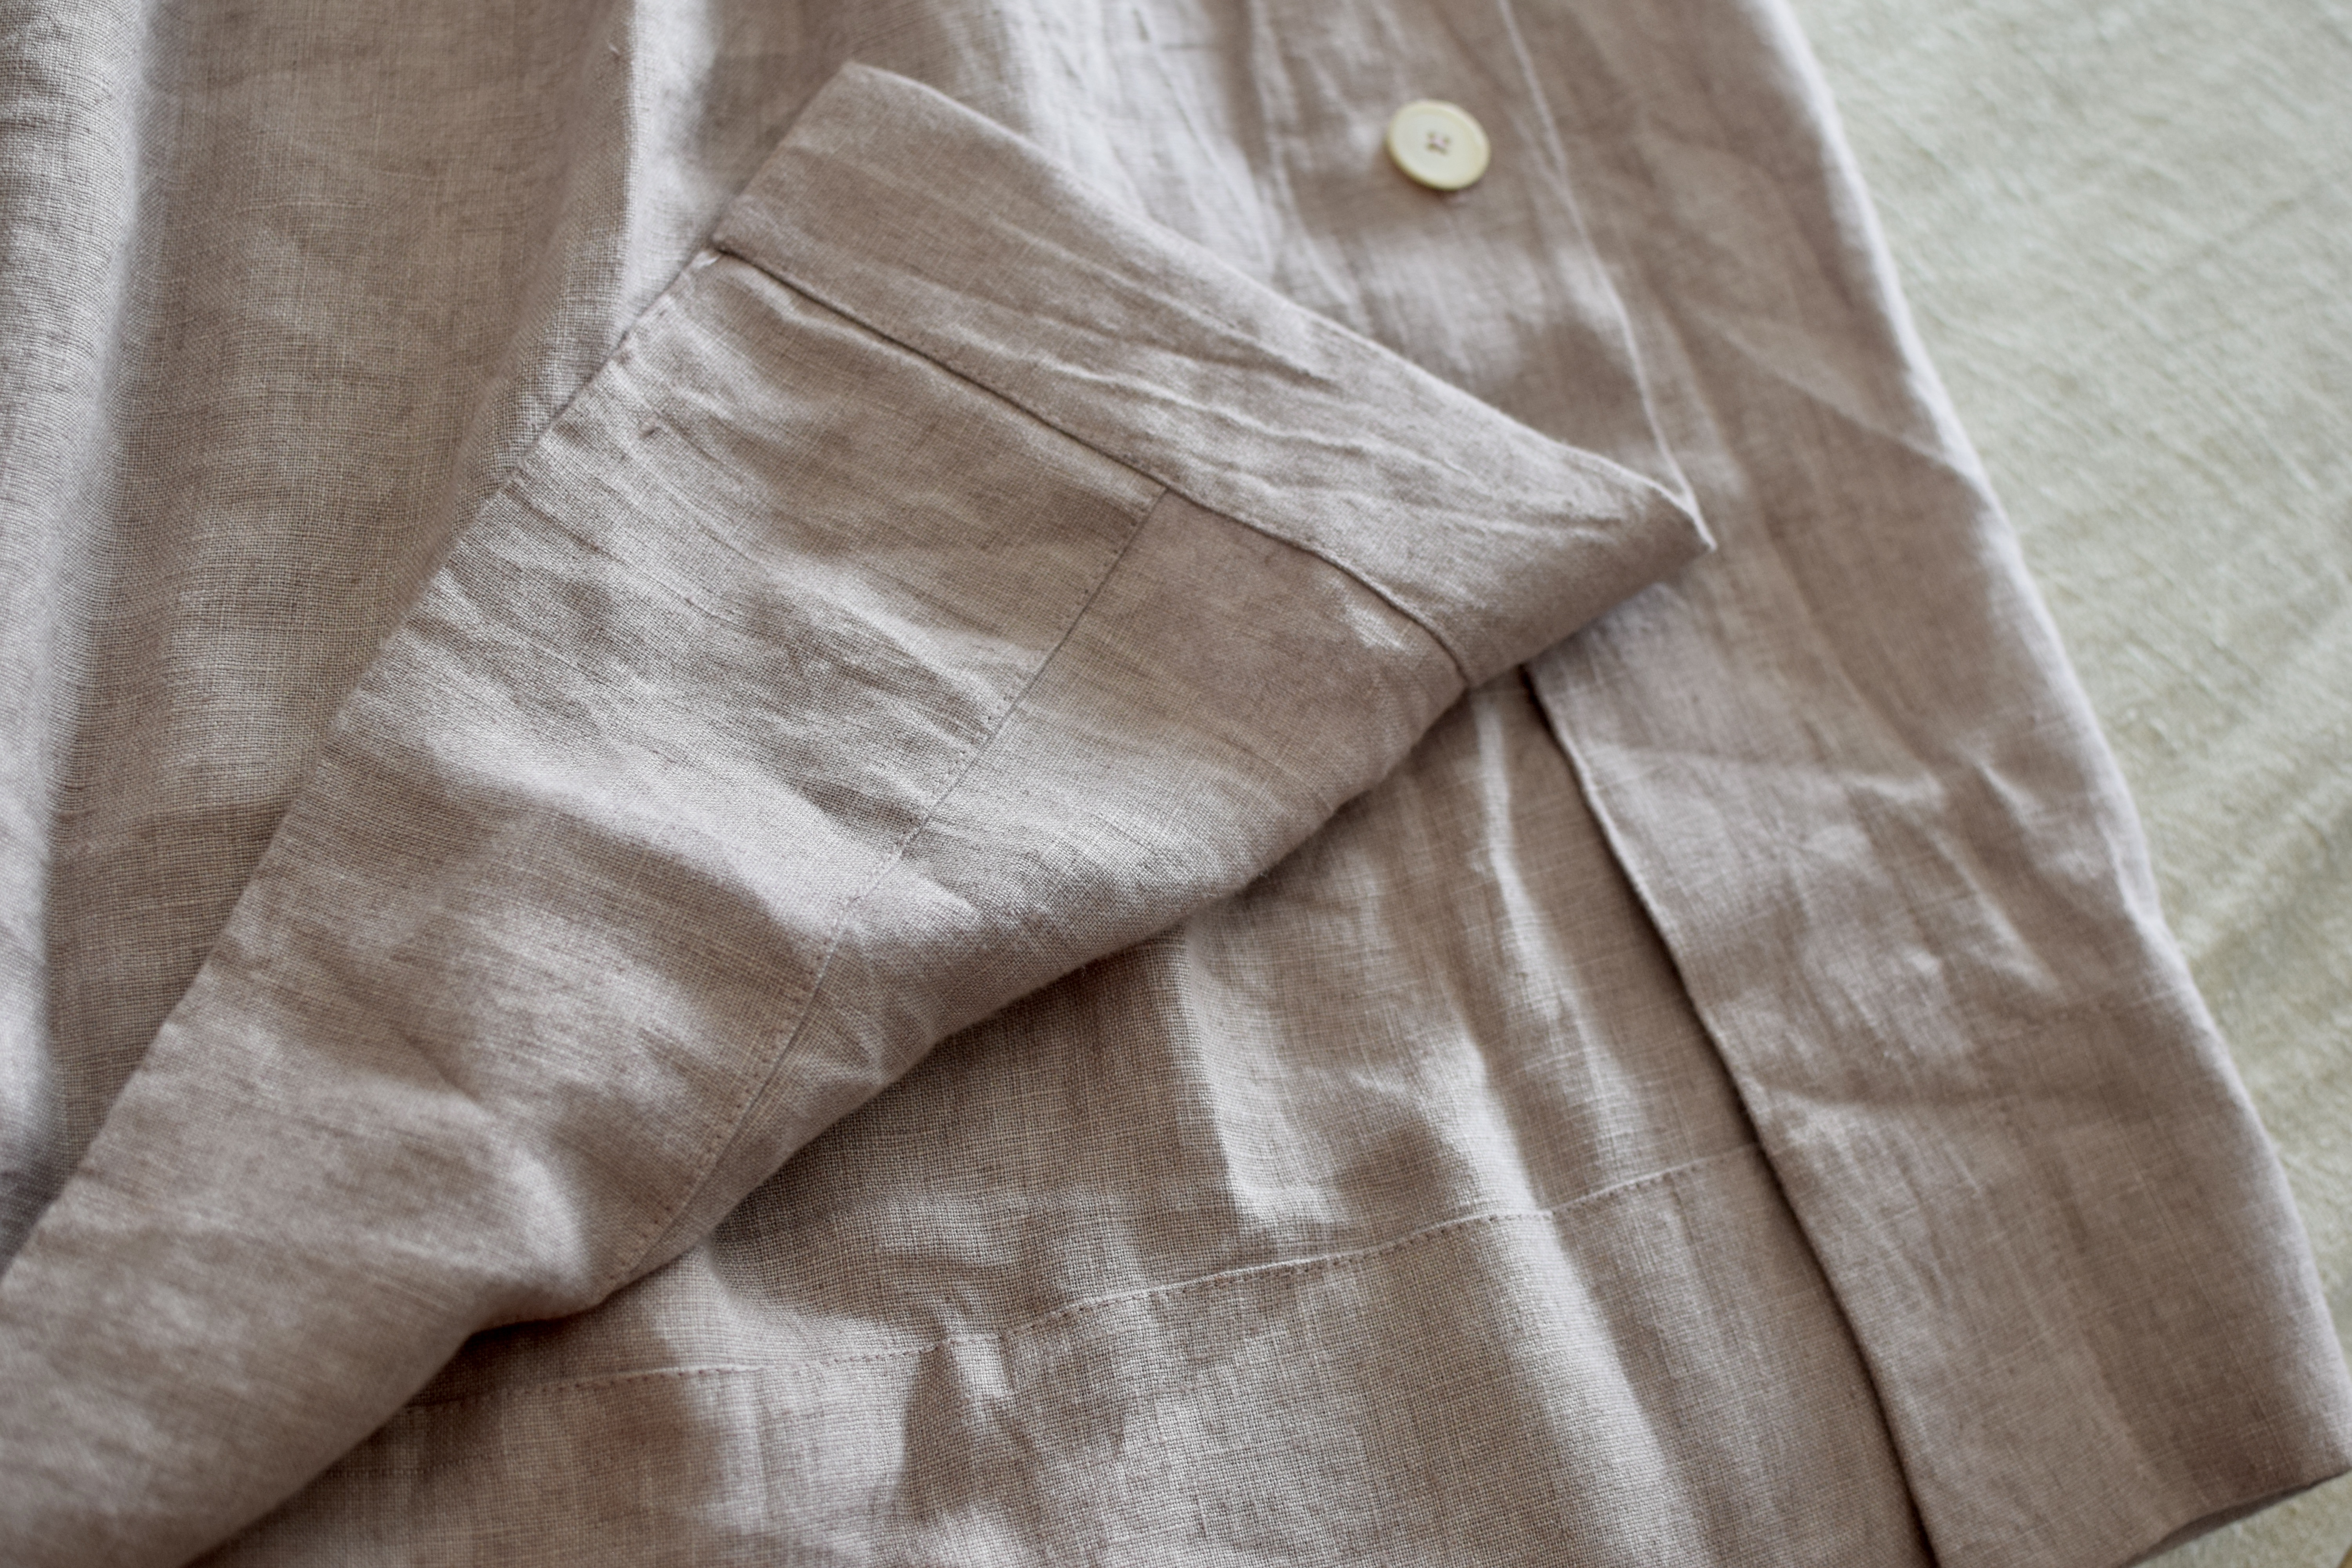
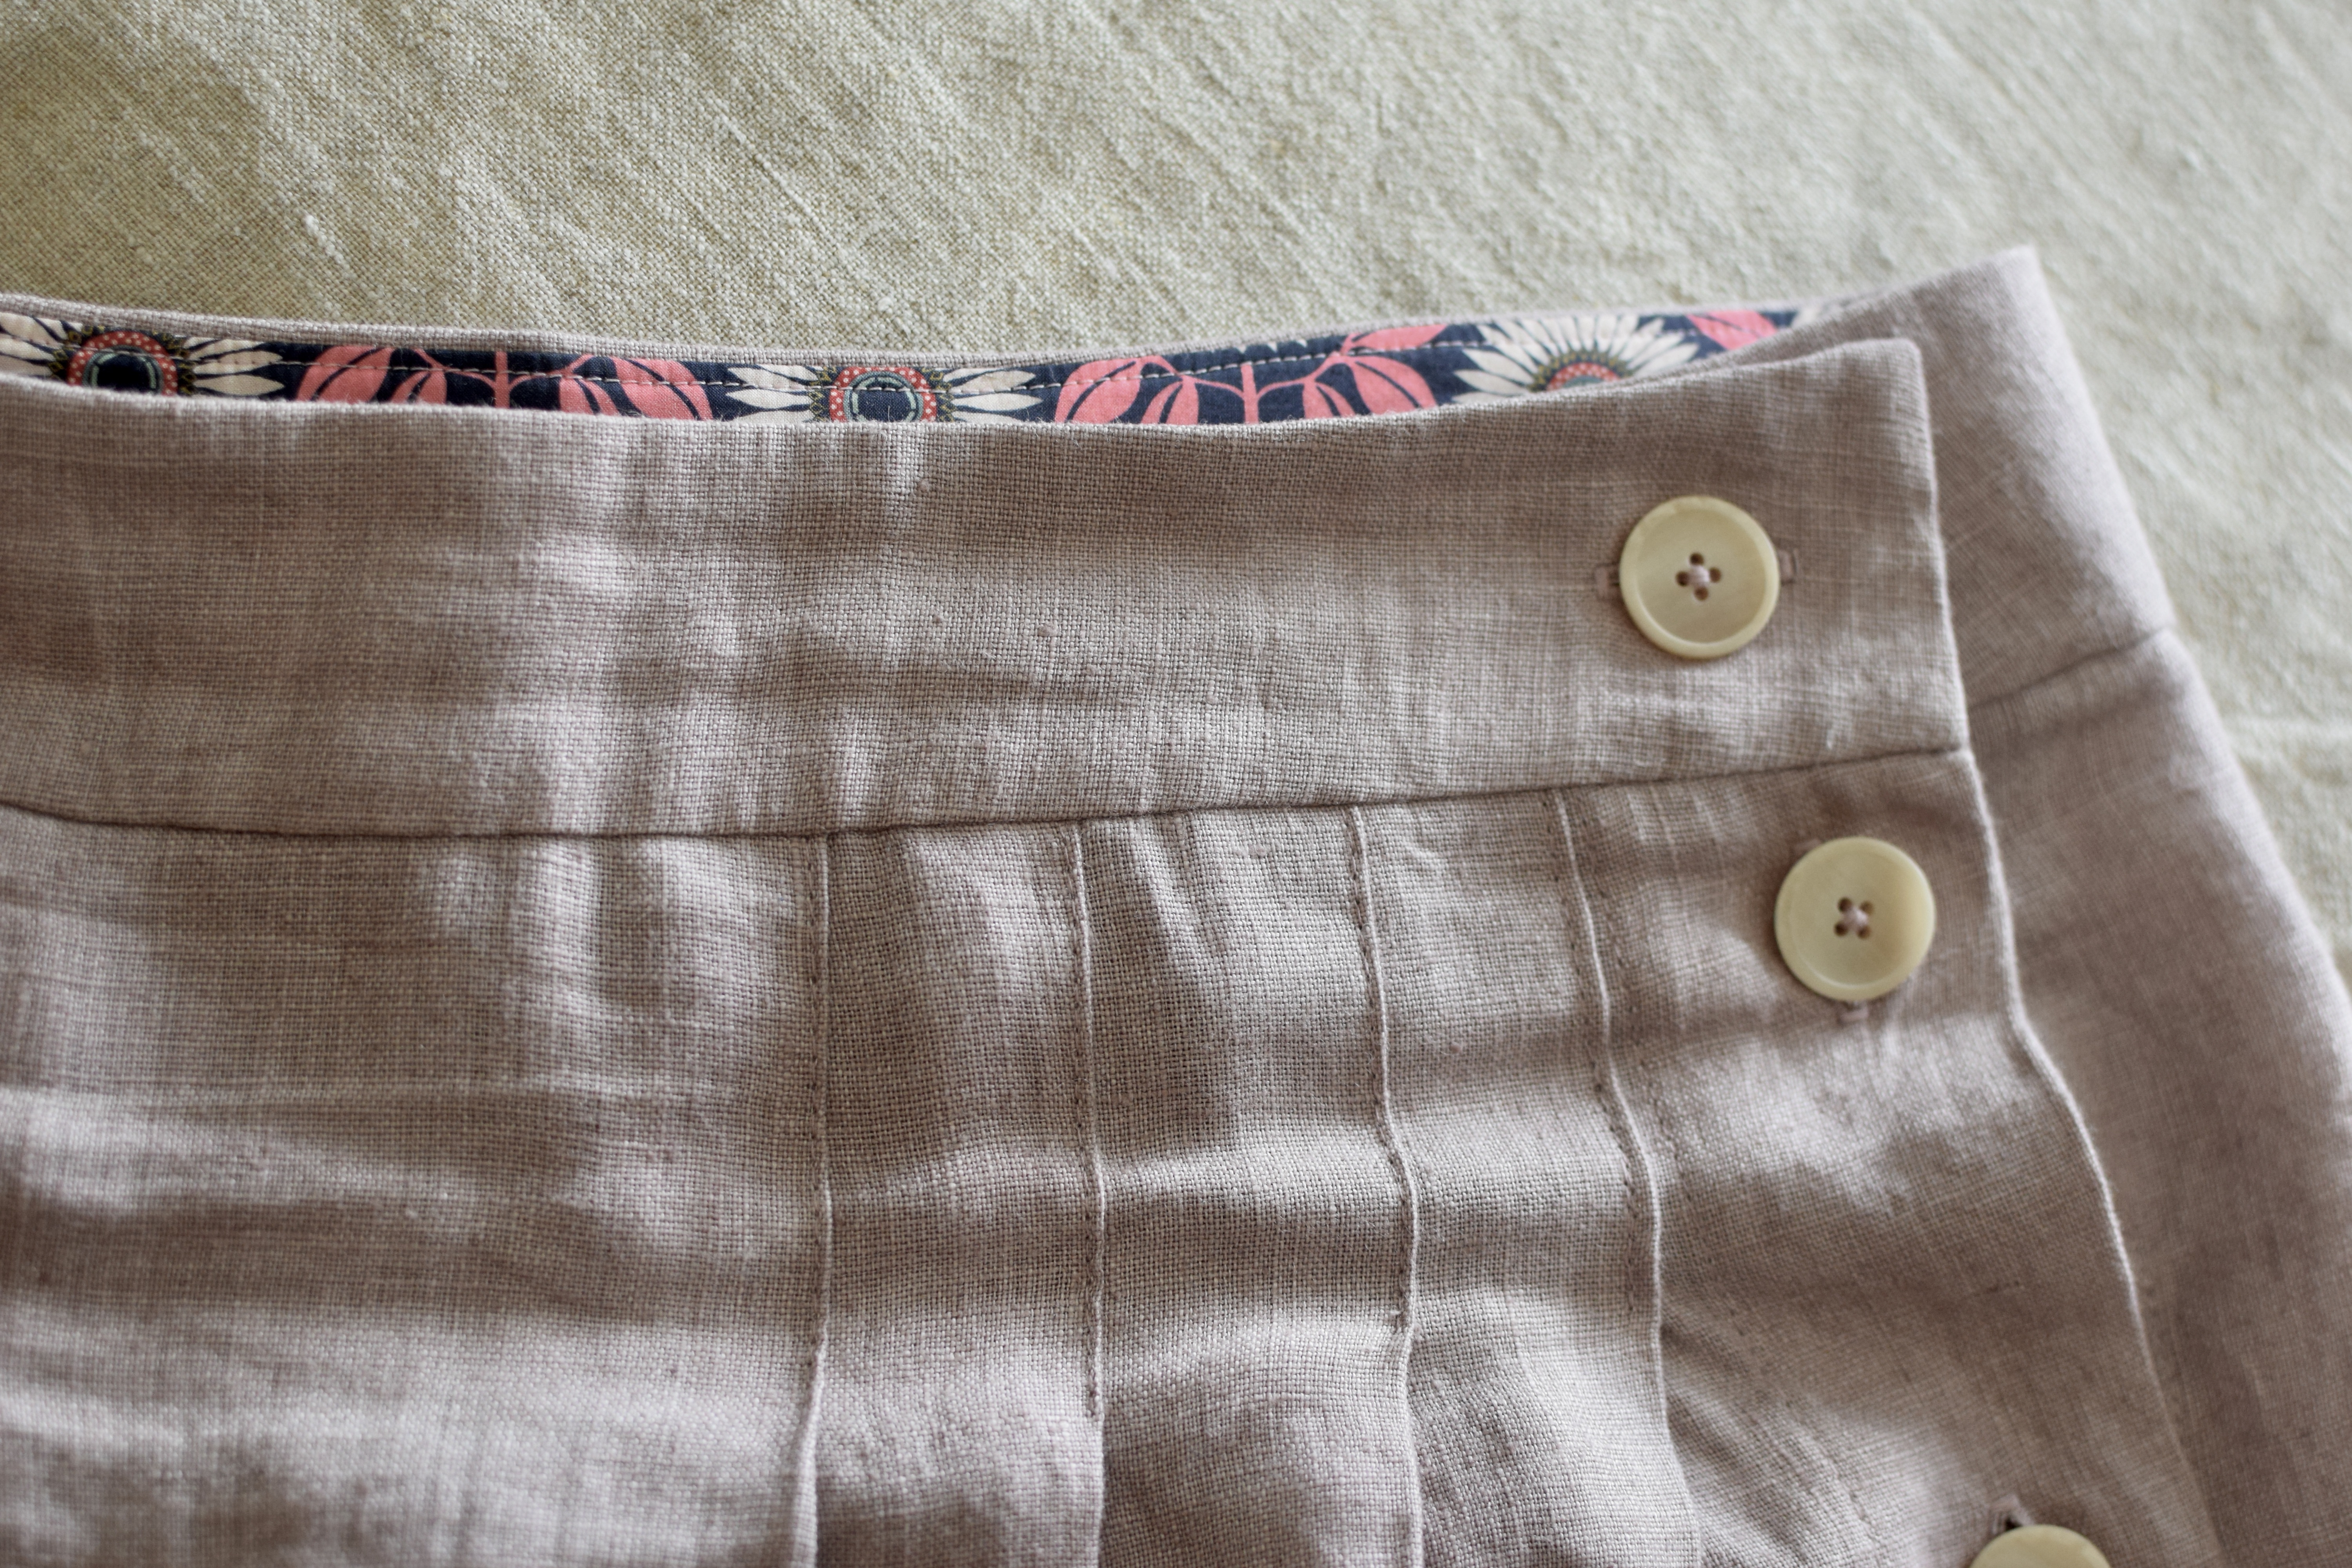
Next up was figuring out the lining. I felt a bit guilty getting more fabric for this project since I already have a ton, so I went shopping in my stash. I ended up choosing a bit of leftover linen in a spring-y stripe from The Fabric Store. Since I had limited yardage, I chose to half-line it. I’m quite happy with this: it’s the perfect way to hide the raw seams and it gives the jacket a nice weight. Because the sleeves are unlined, I turned under the lining’s shoulder seam and hand-stitched it to the fashion fabric. Then, I turned under the arm seam allowance and hand-stitched it down to keep the raw ends at bay. It looks very polished when I turn up the sleeves.
To better emulate my inspiration, I added torso and center back seam lines to the pattern’s fronts and back. After looking at many white chore coats online for finishing hardware, I decided to use copper-tinged snaps and rivets (thanks Star Snaps!).
The bottom bobbin of my machine was not happy and I had to redo some topstitching several times, but it was an overall quick sew. Happy with it!