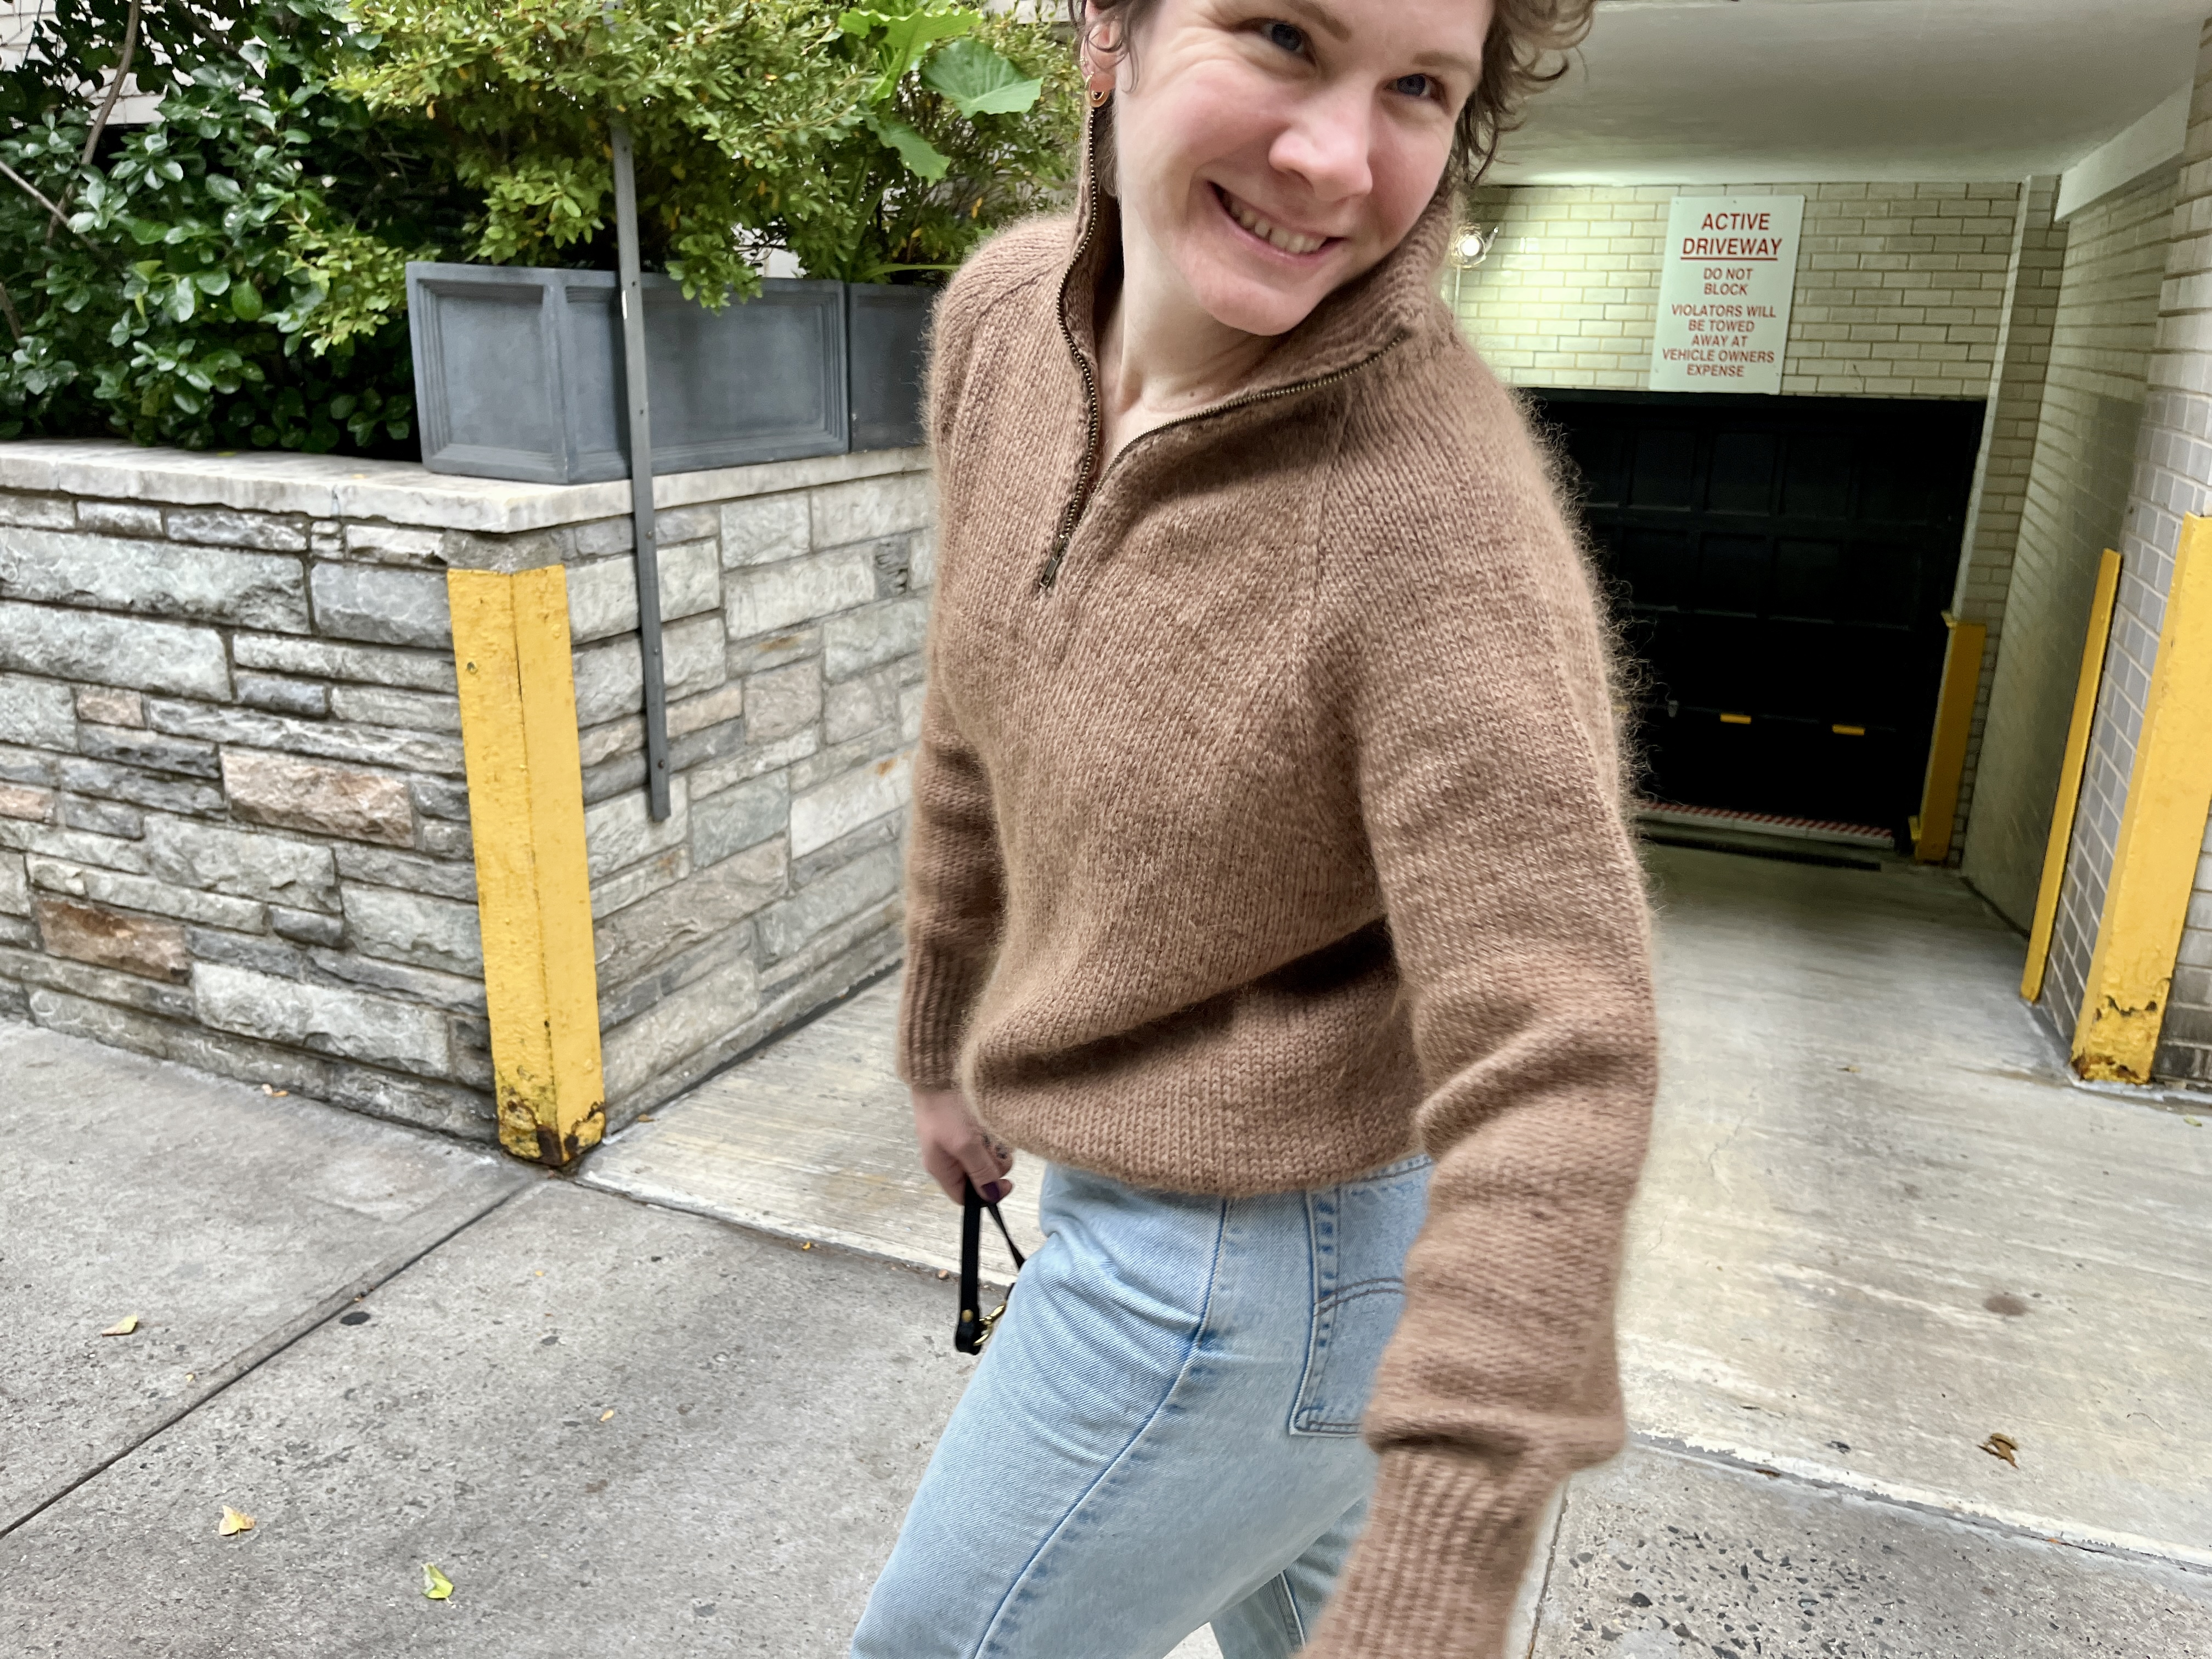
Quarter-zip sweaters have been on my mind for awhile, so instead of buying one I decided to make the PetiteKnit version. I decided to use the Hudson and West Forge ( RIP 😦 ) I got at Rhinebeck last year, but it was tricky to find the right mohair. Somehow Fib-r-land had an uncanny match that blends in really well.
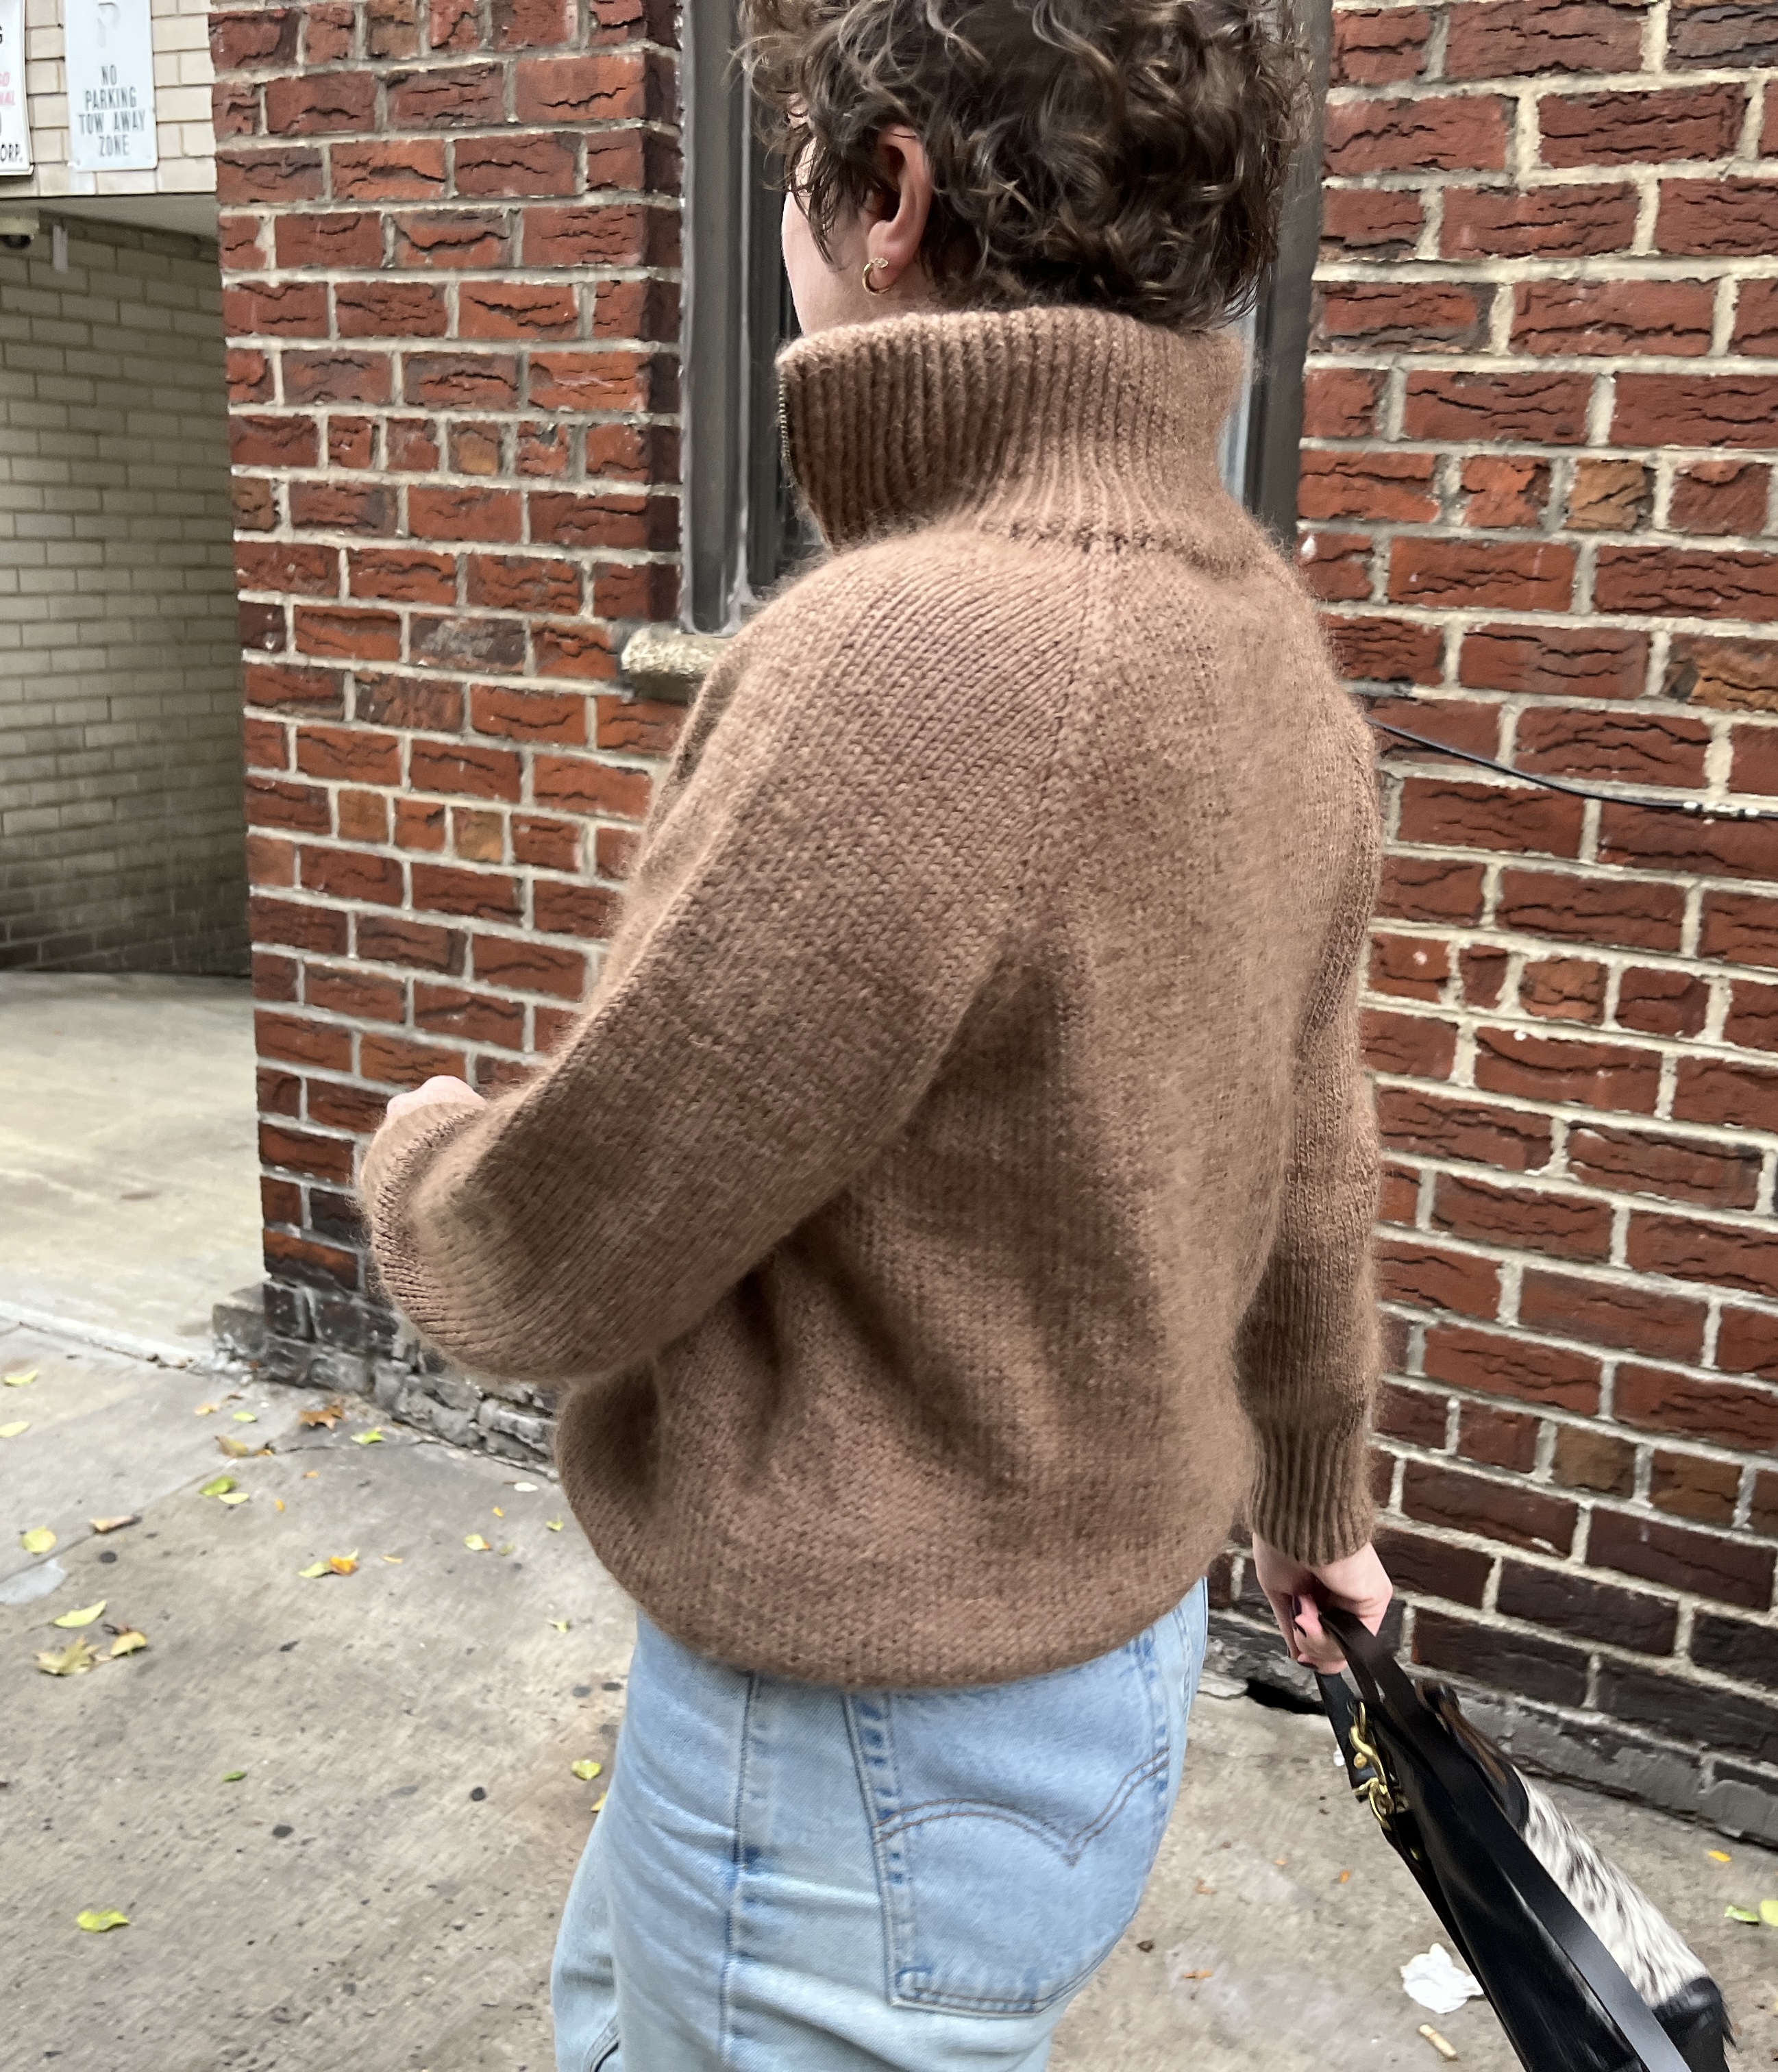
I am really tired of twisted rib and I’m ready for a break! What’s wrong with regular ribbing?
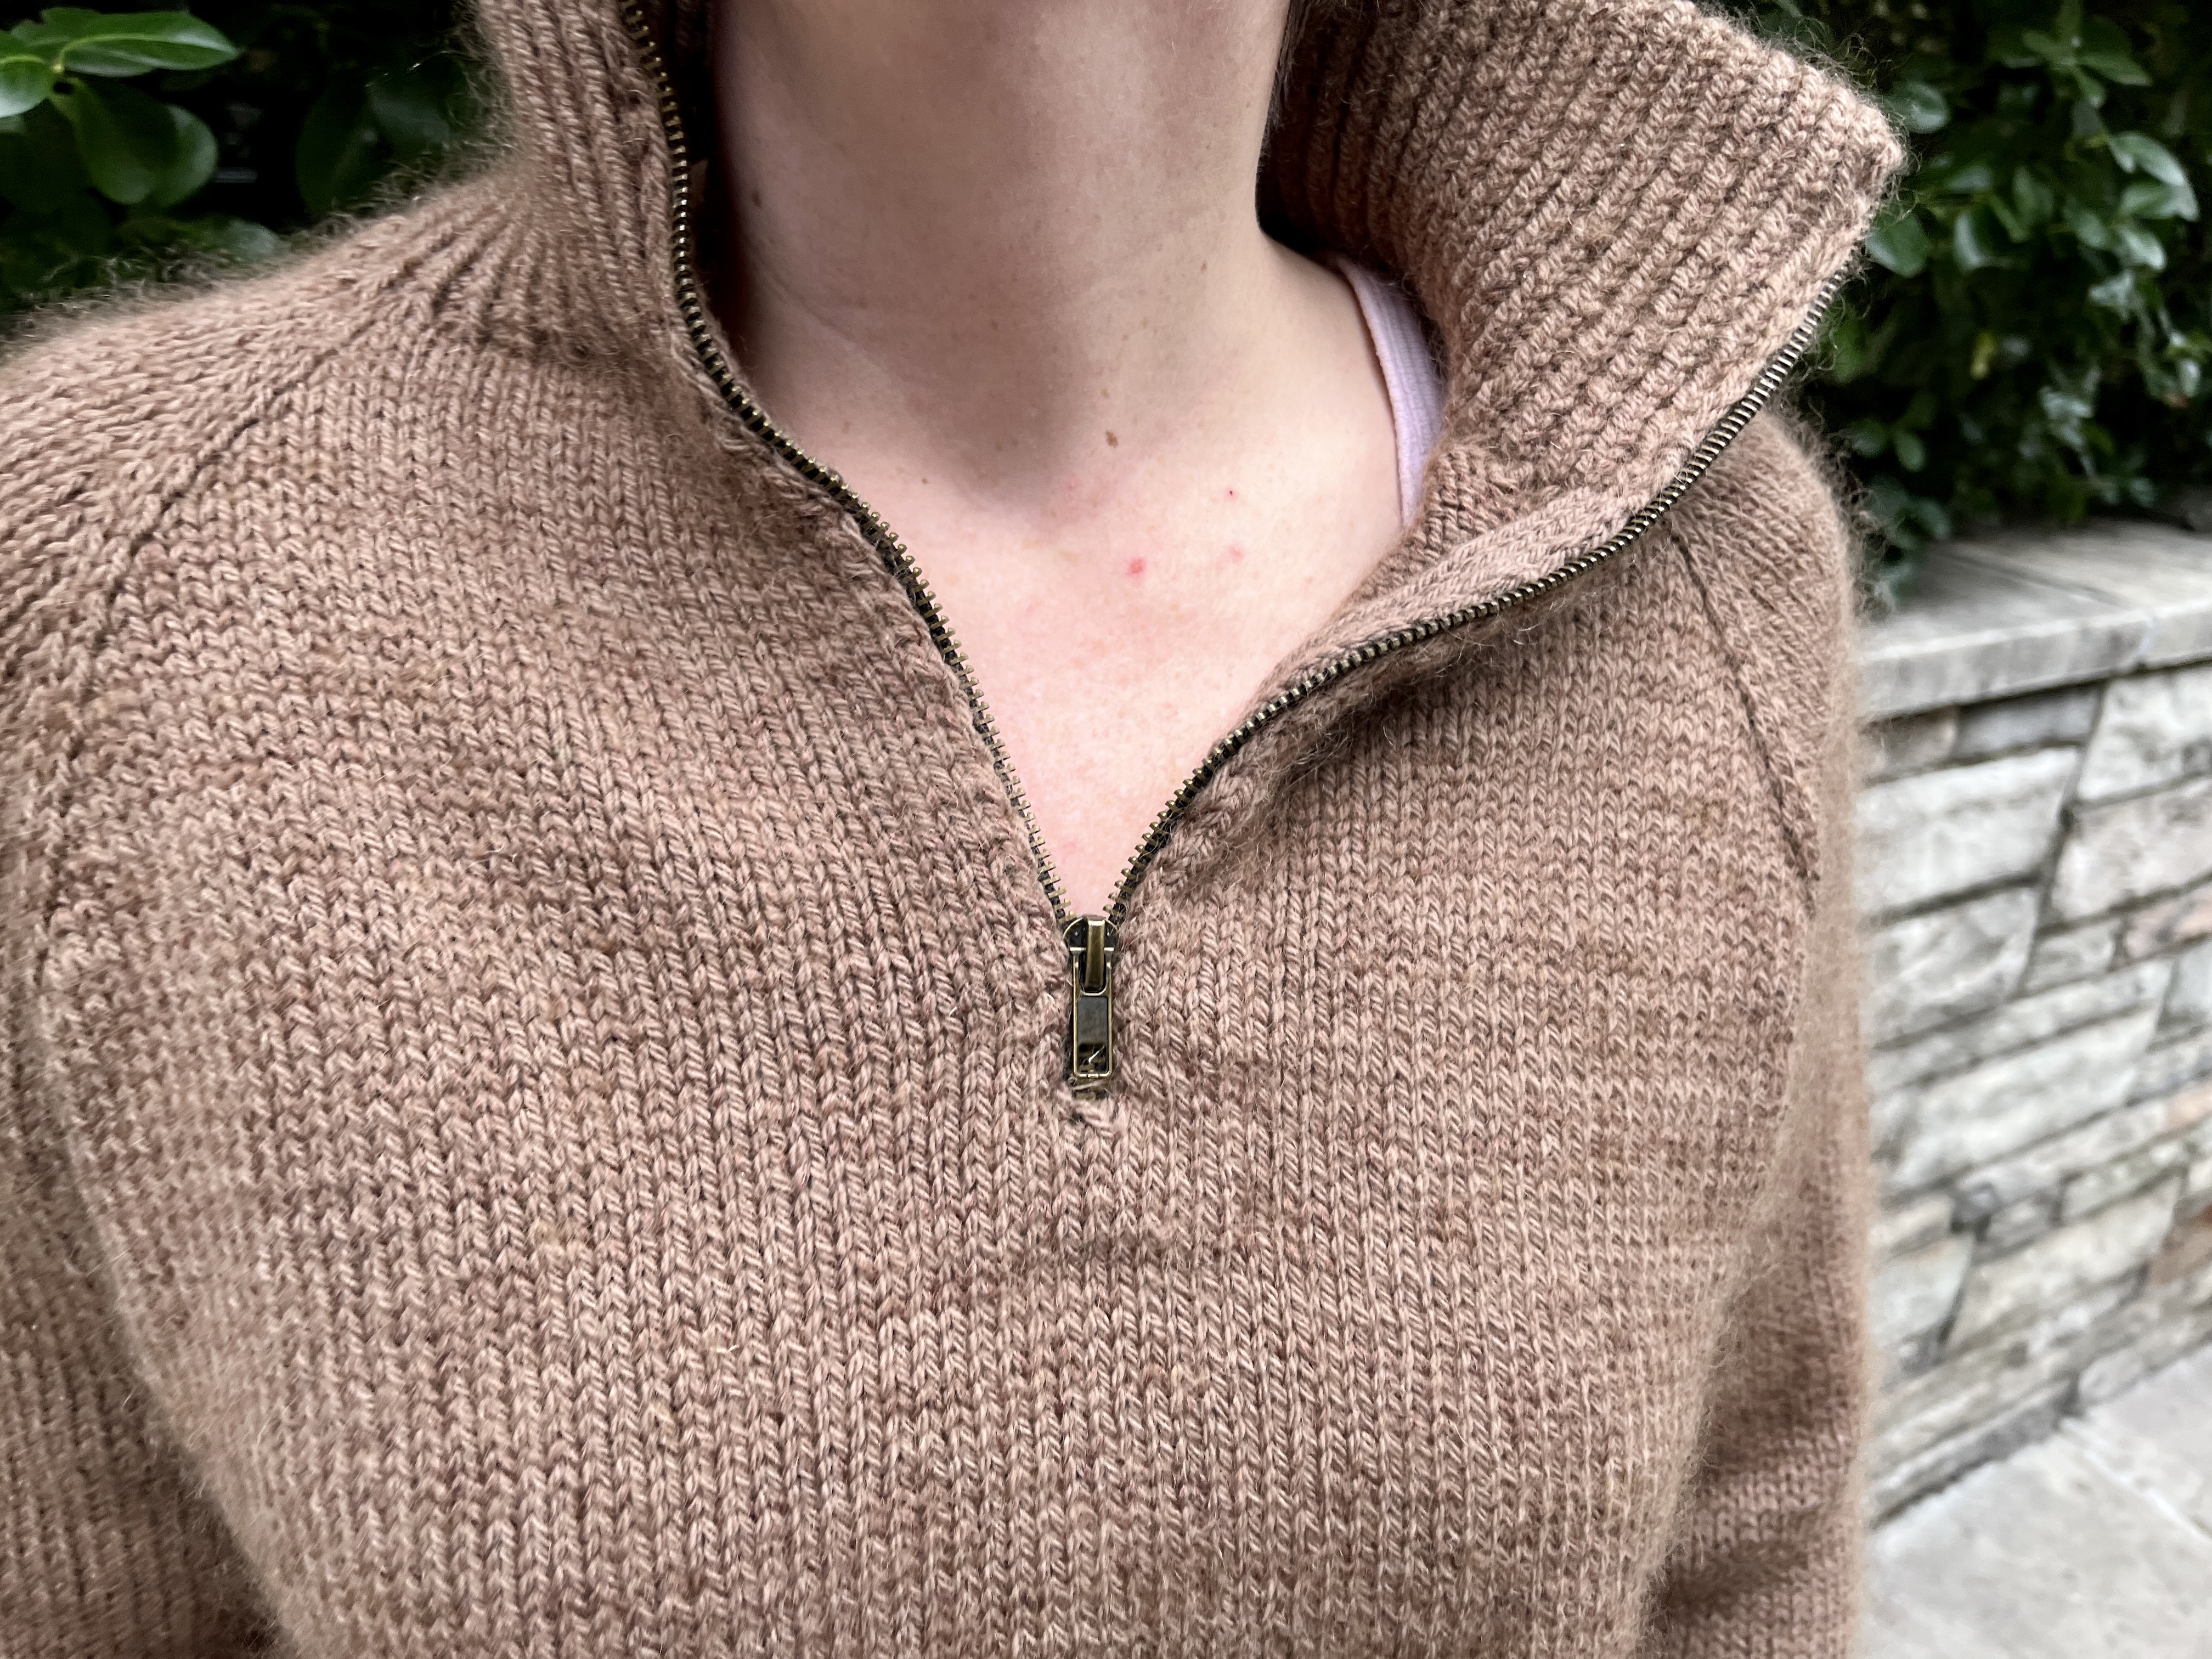
The zipper was not too bad to sew in, but the facing keeps getting caught in the zipper, so I am going to need to do some surgery to give the zipper teeth some more breathing room. I couldn’t find a zipper I liked at Pacific Trimmings, but i found the perfect one in my stash. Love when that happens!
Its going to get chilly next week so I’m hoping to take it out for a real spin. I was getting pretty hot wearing it for these photos on a 60 degree rainy day, but I am so excited that its finished!
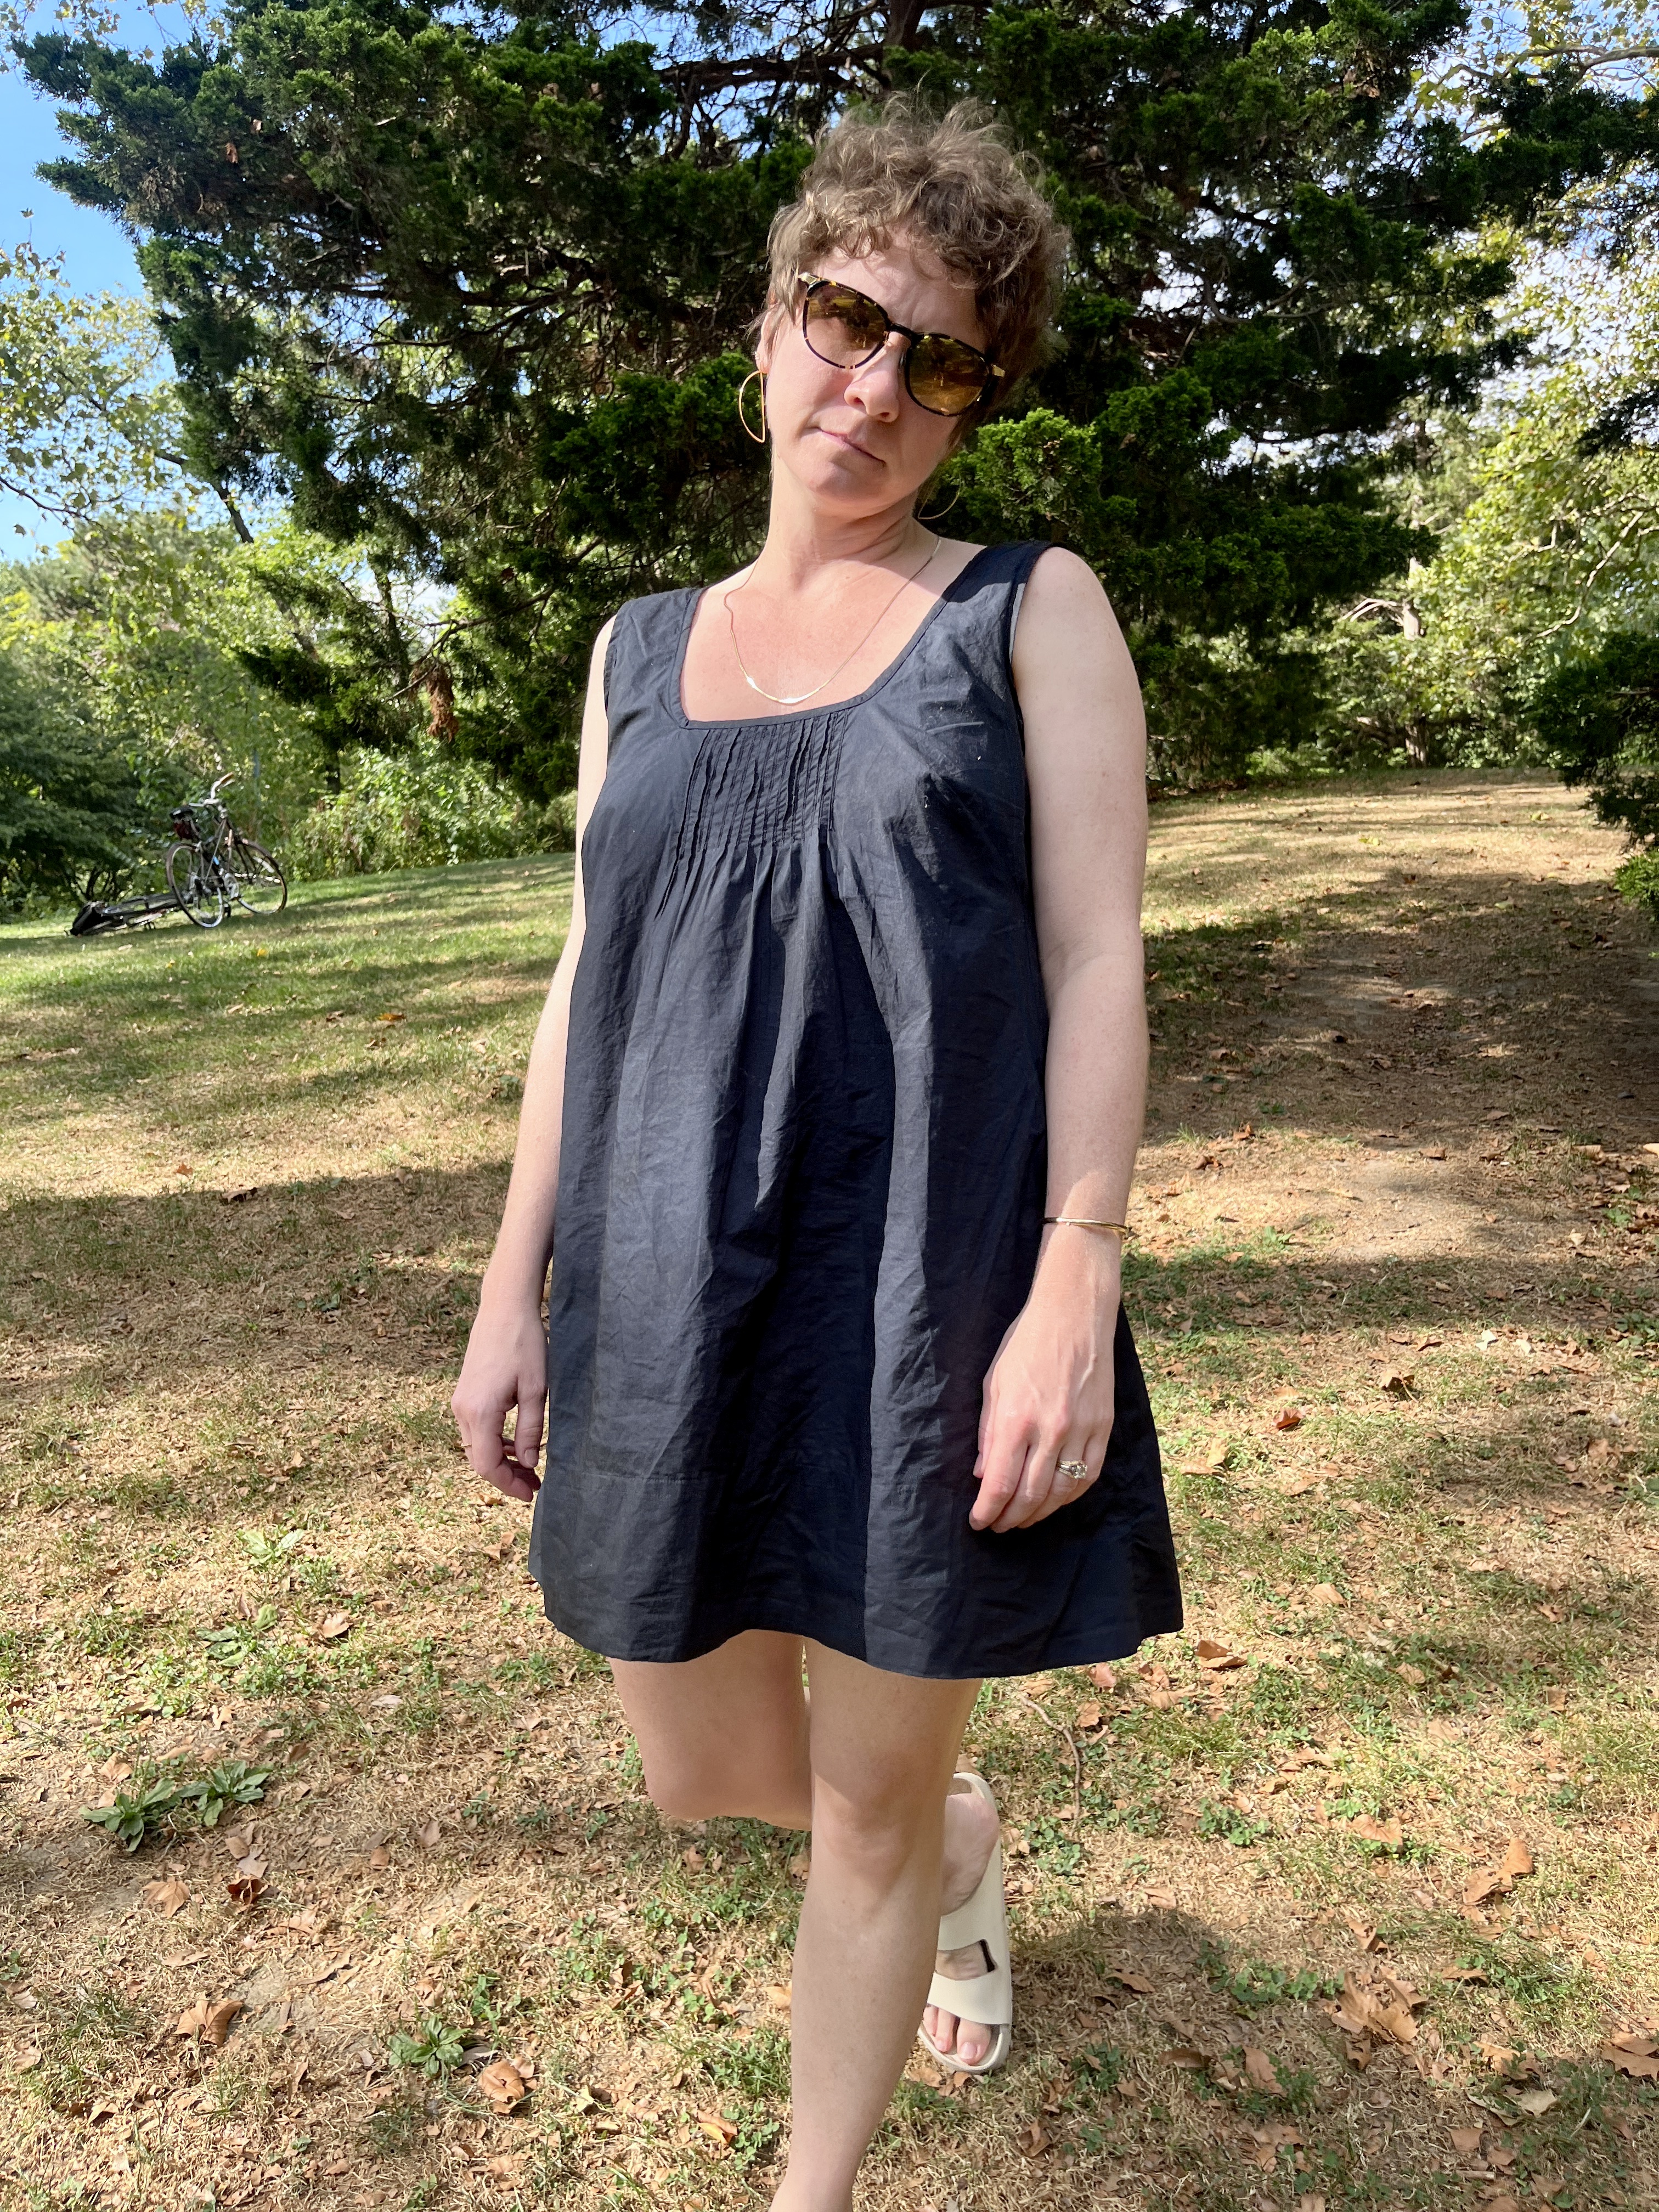
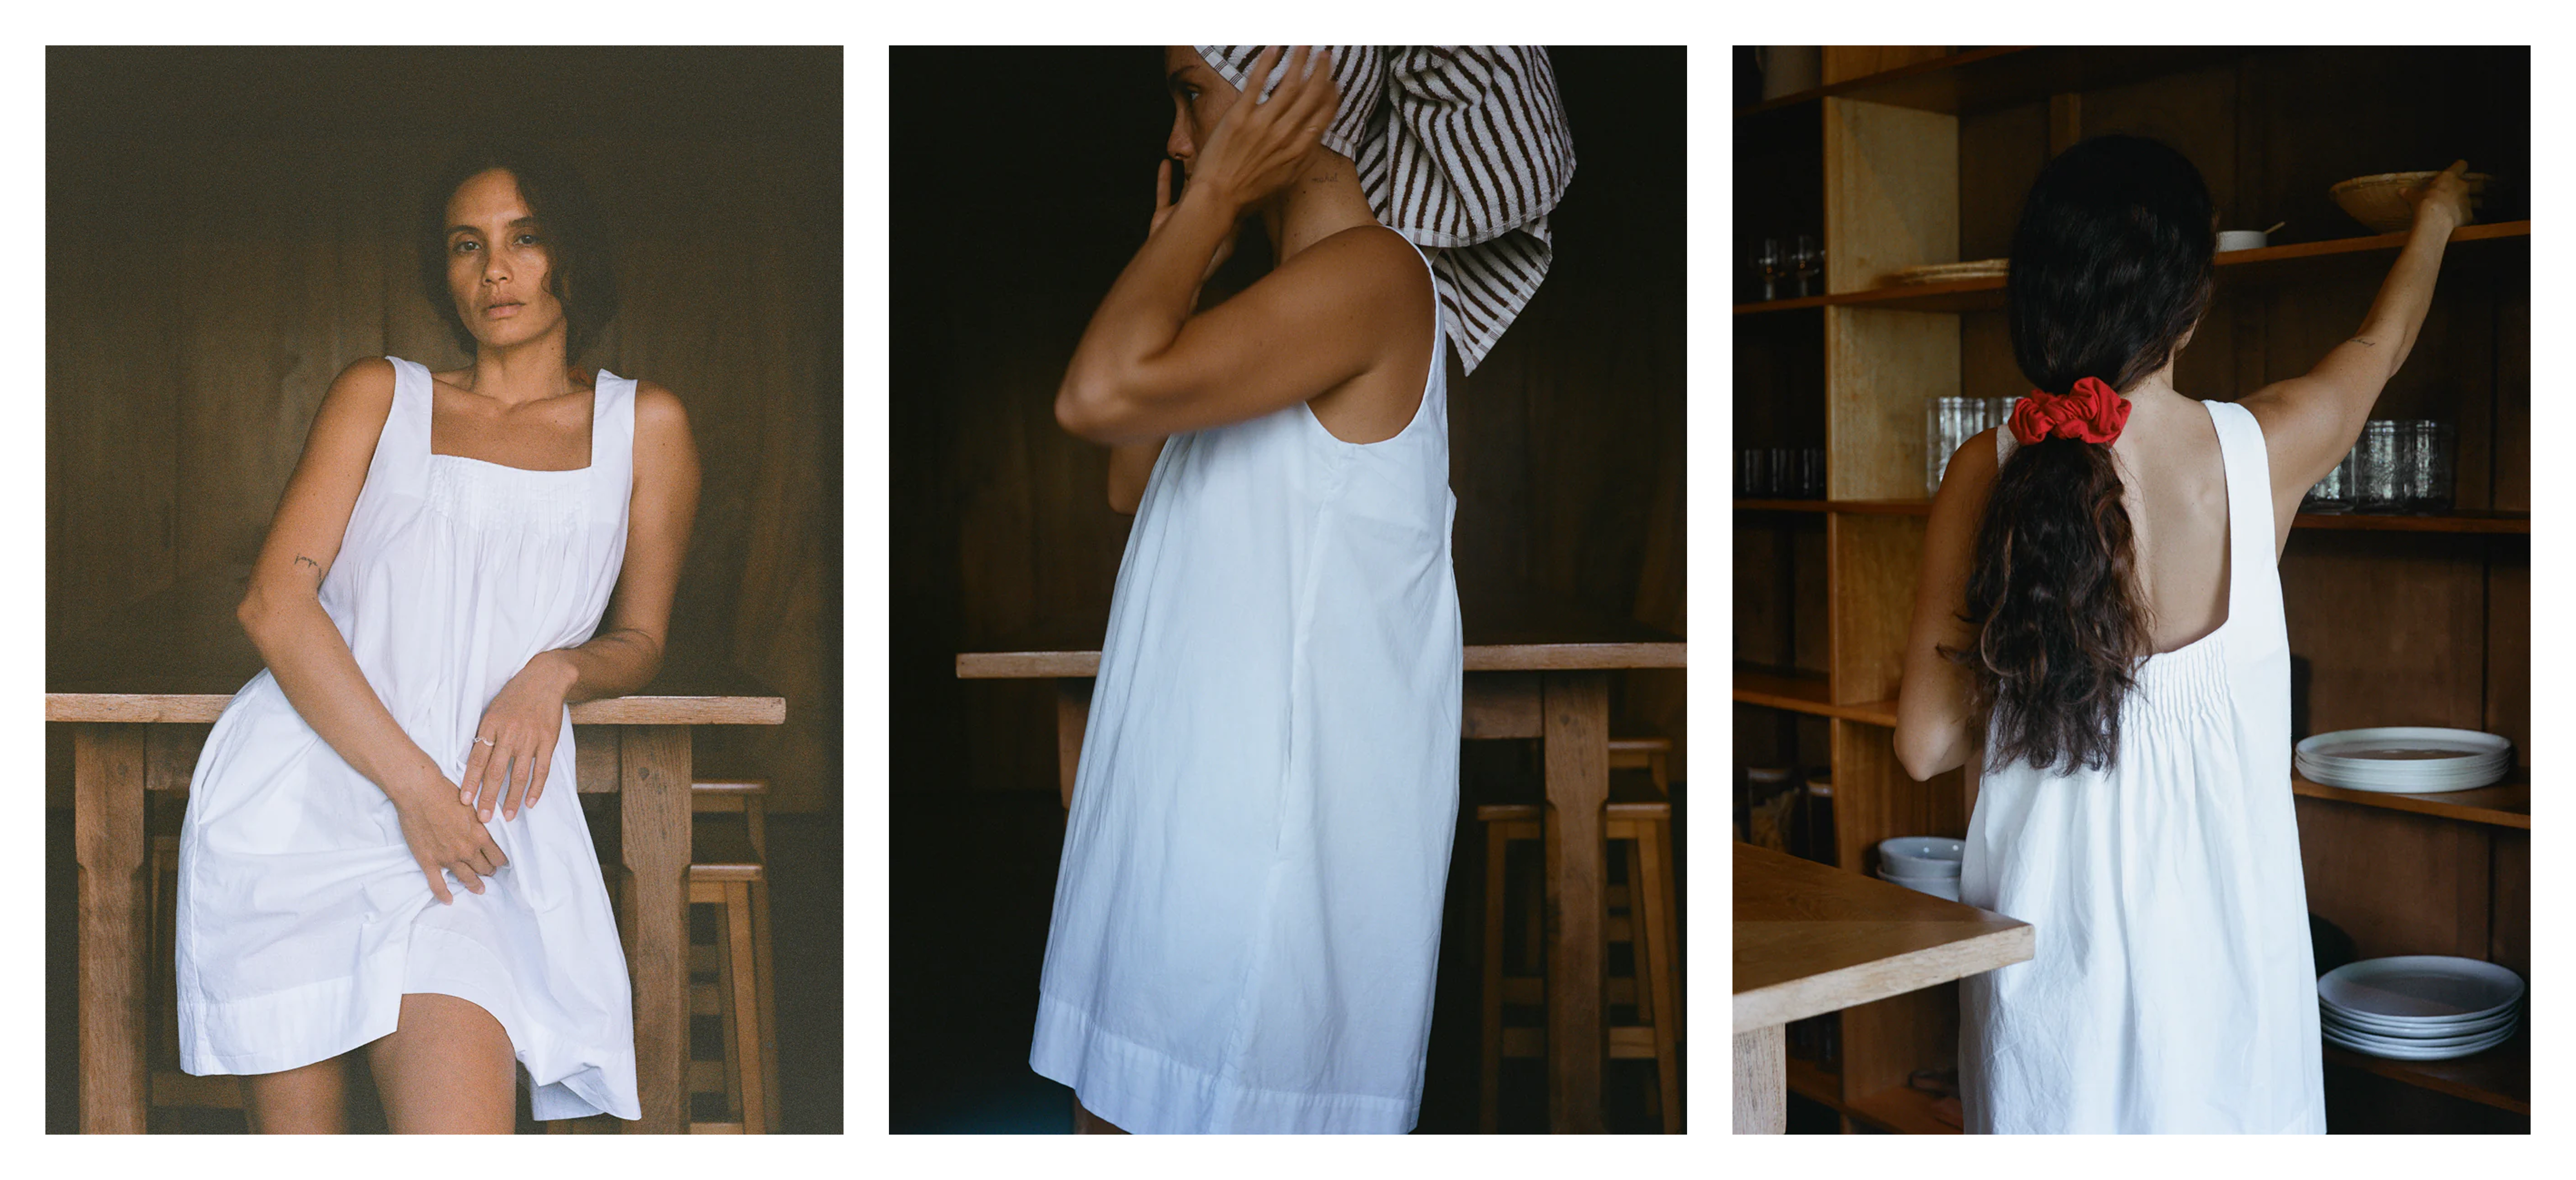
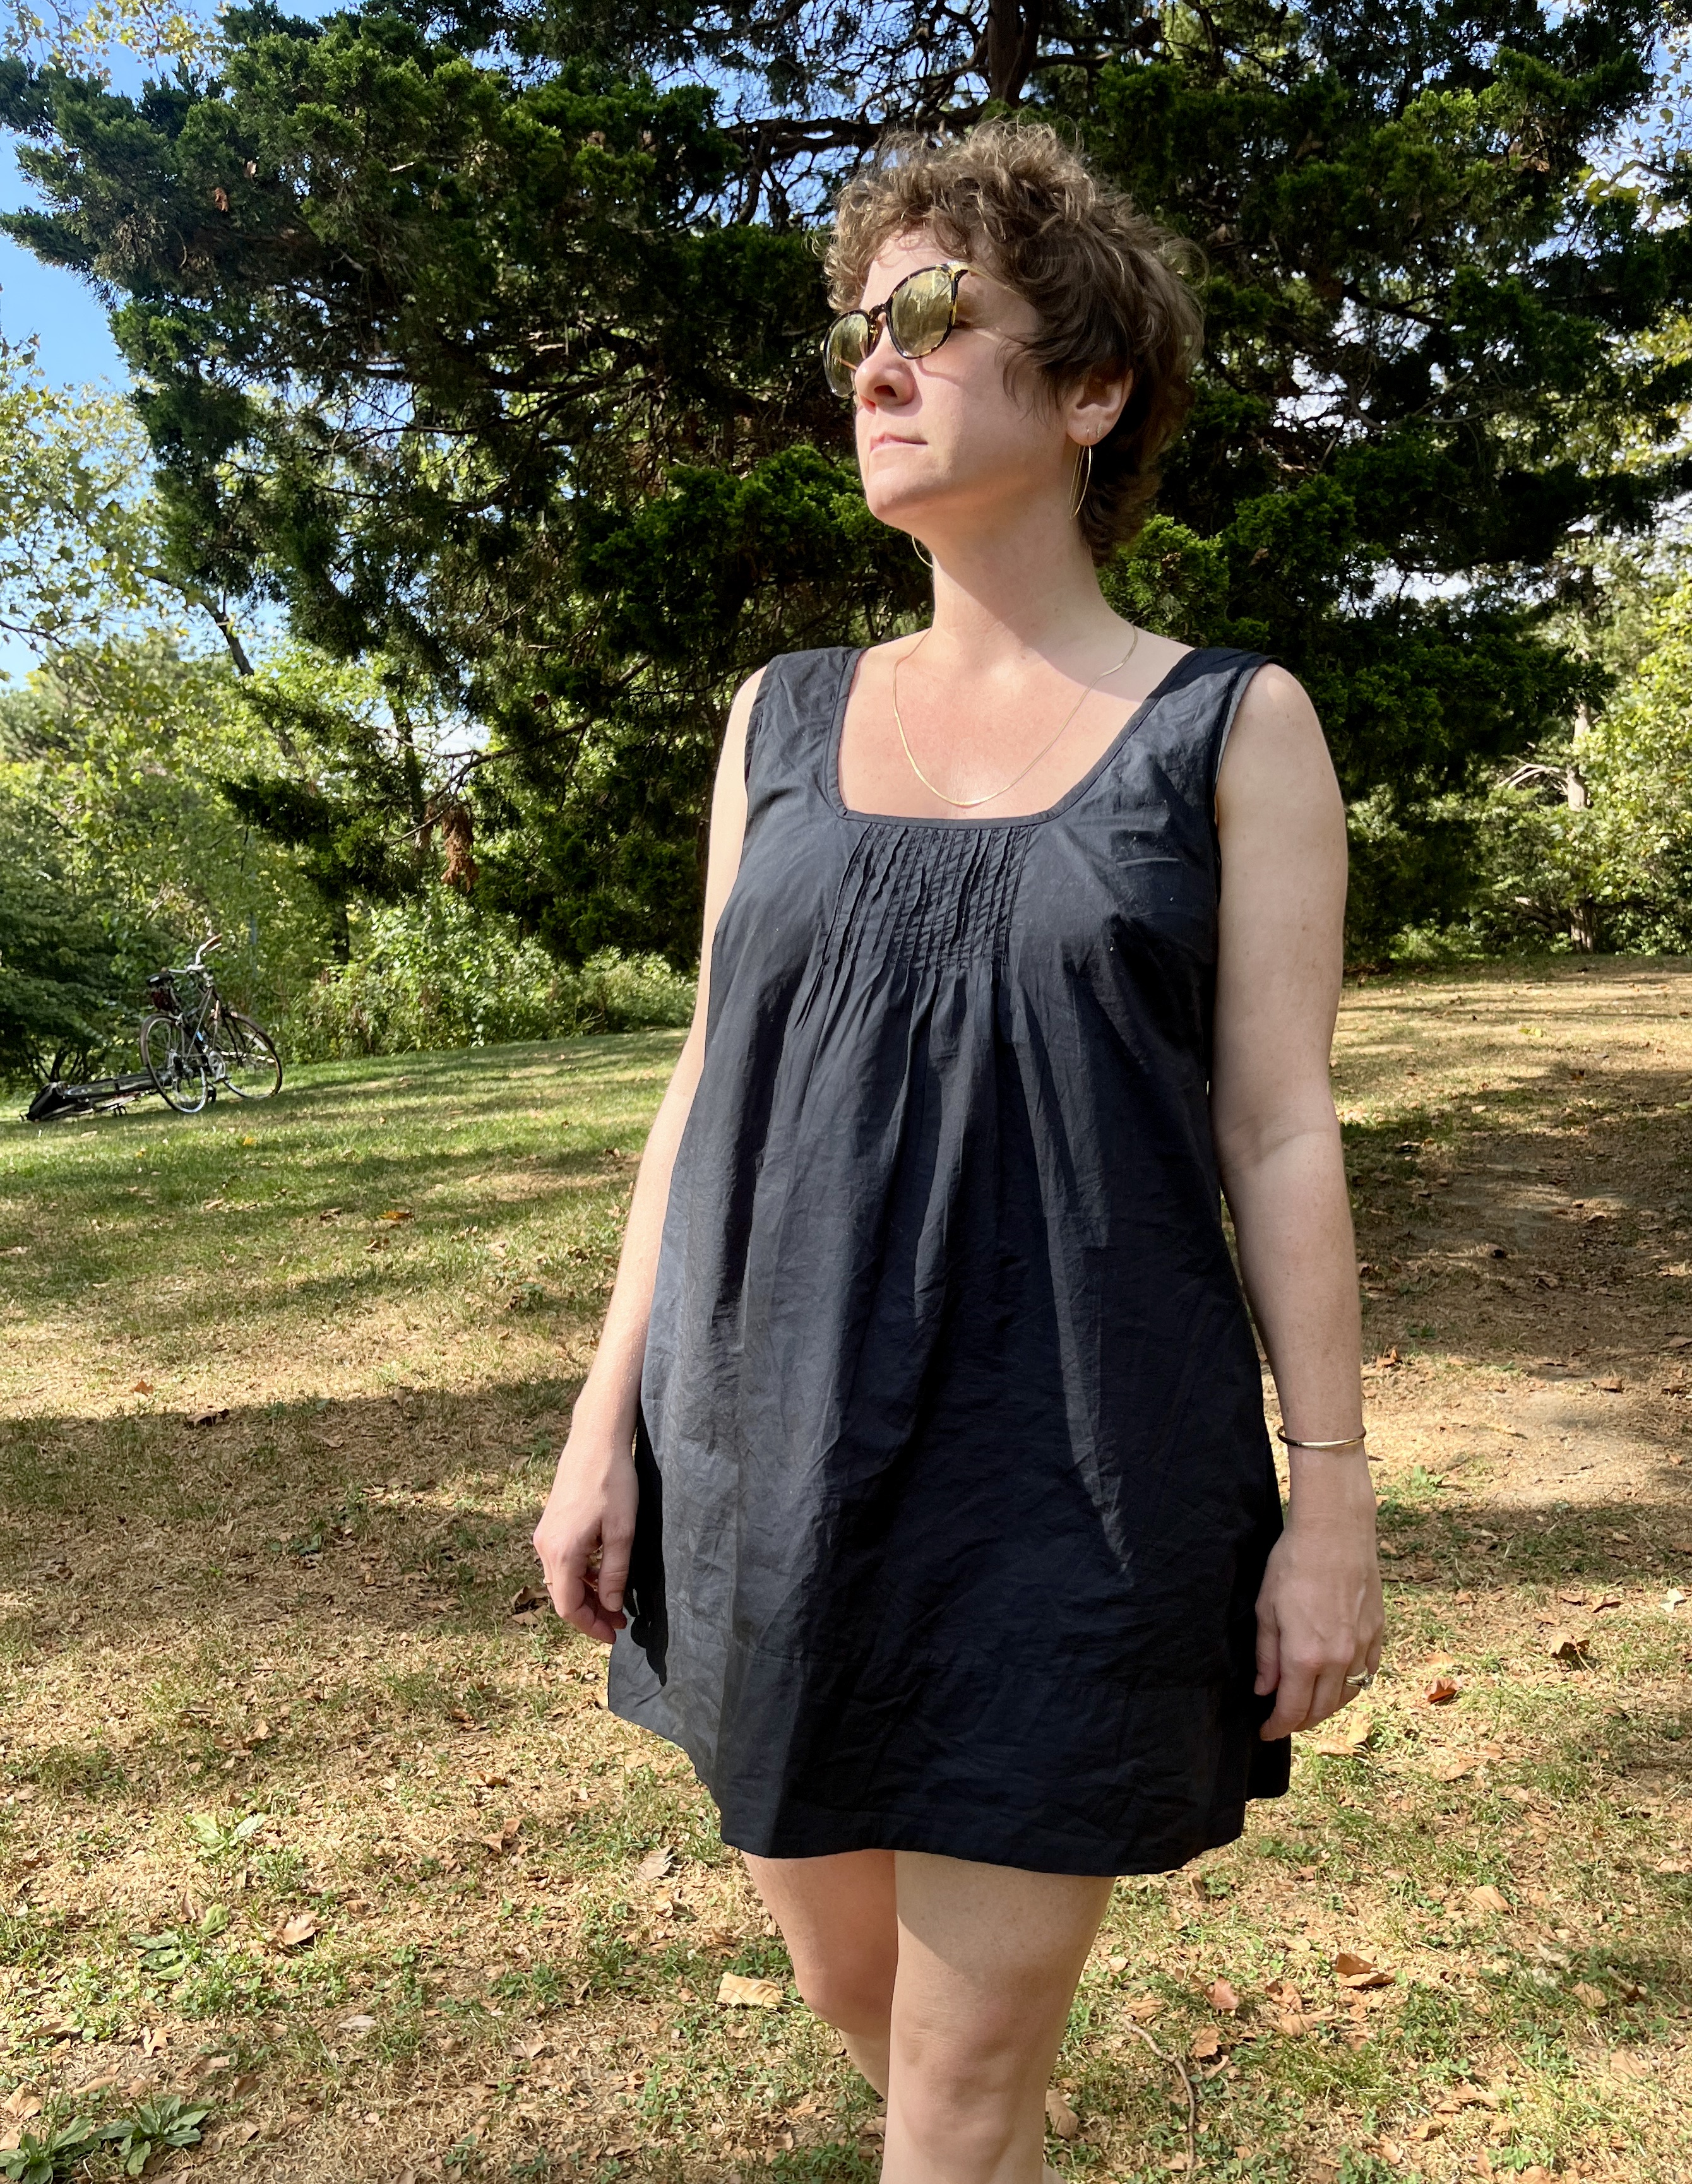
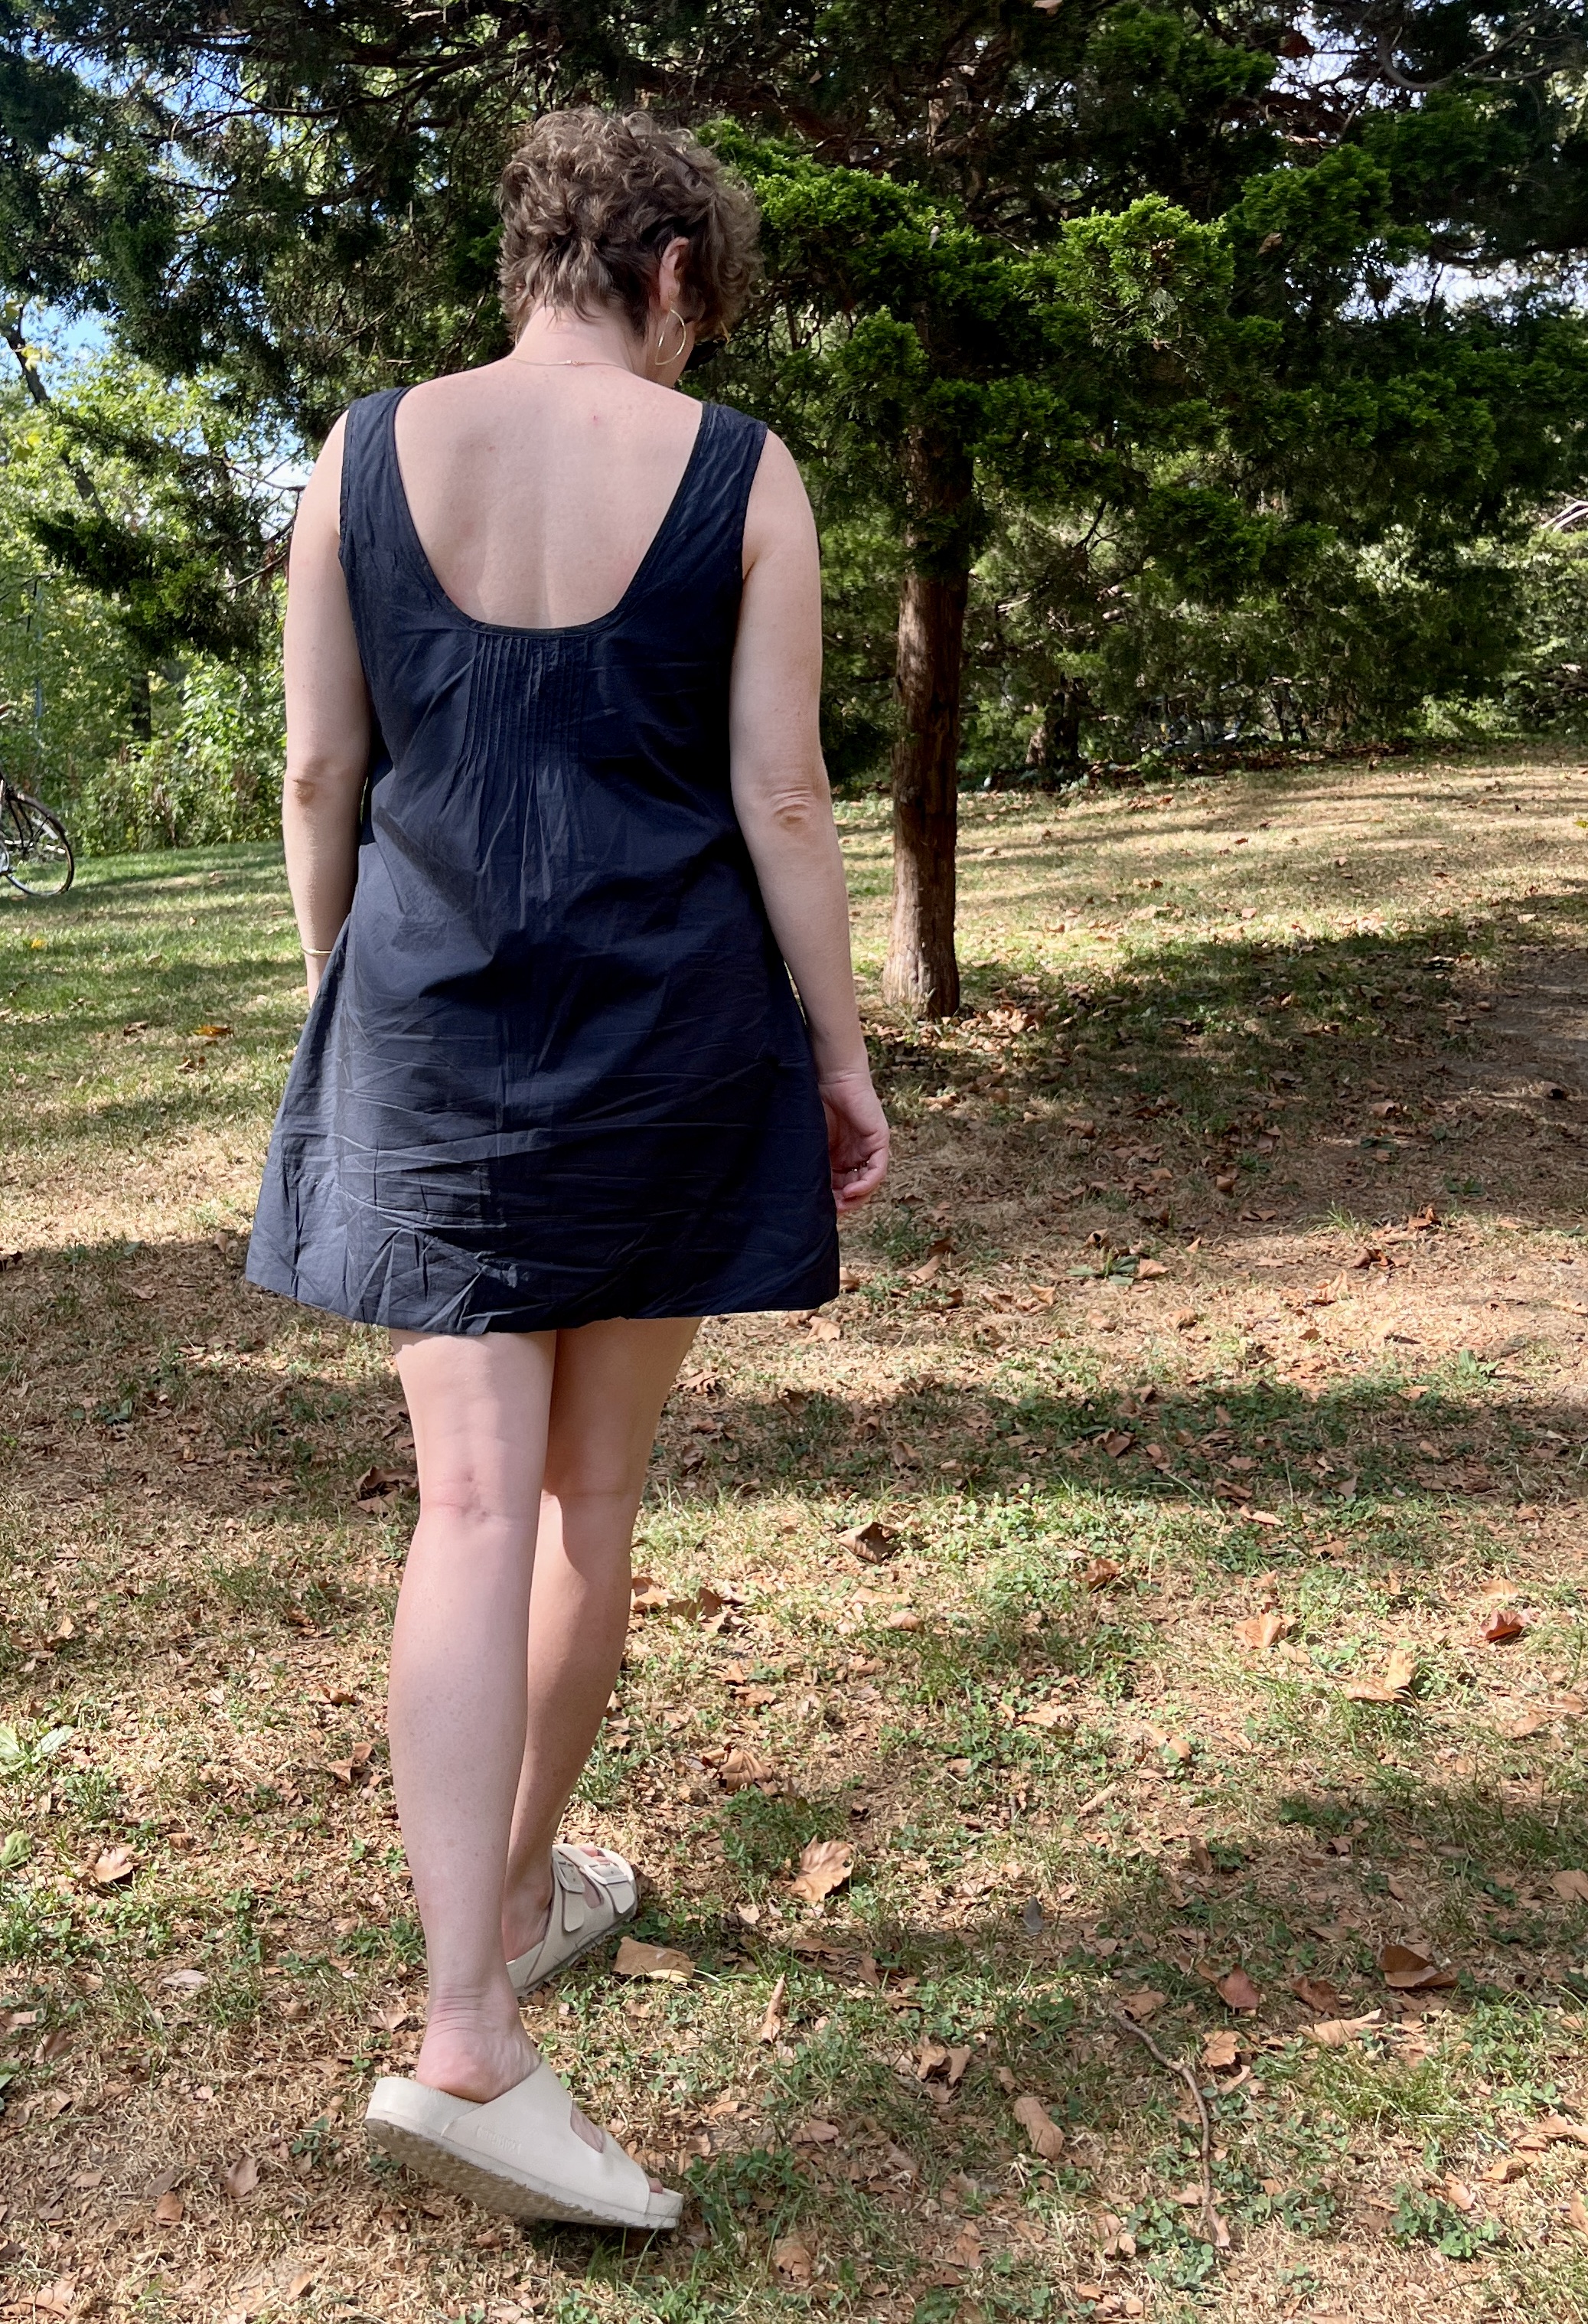
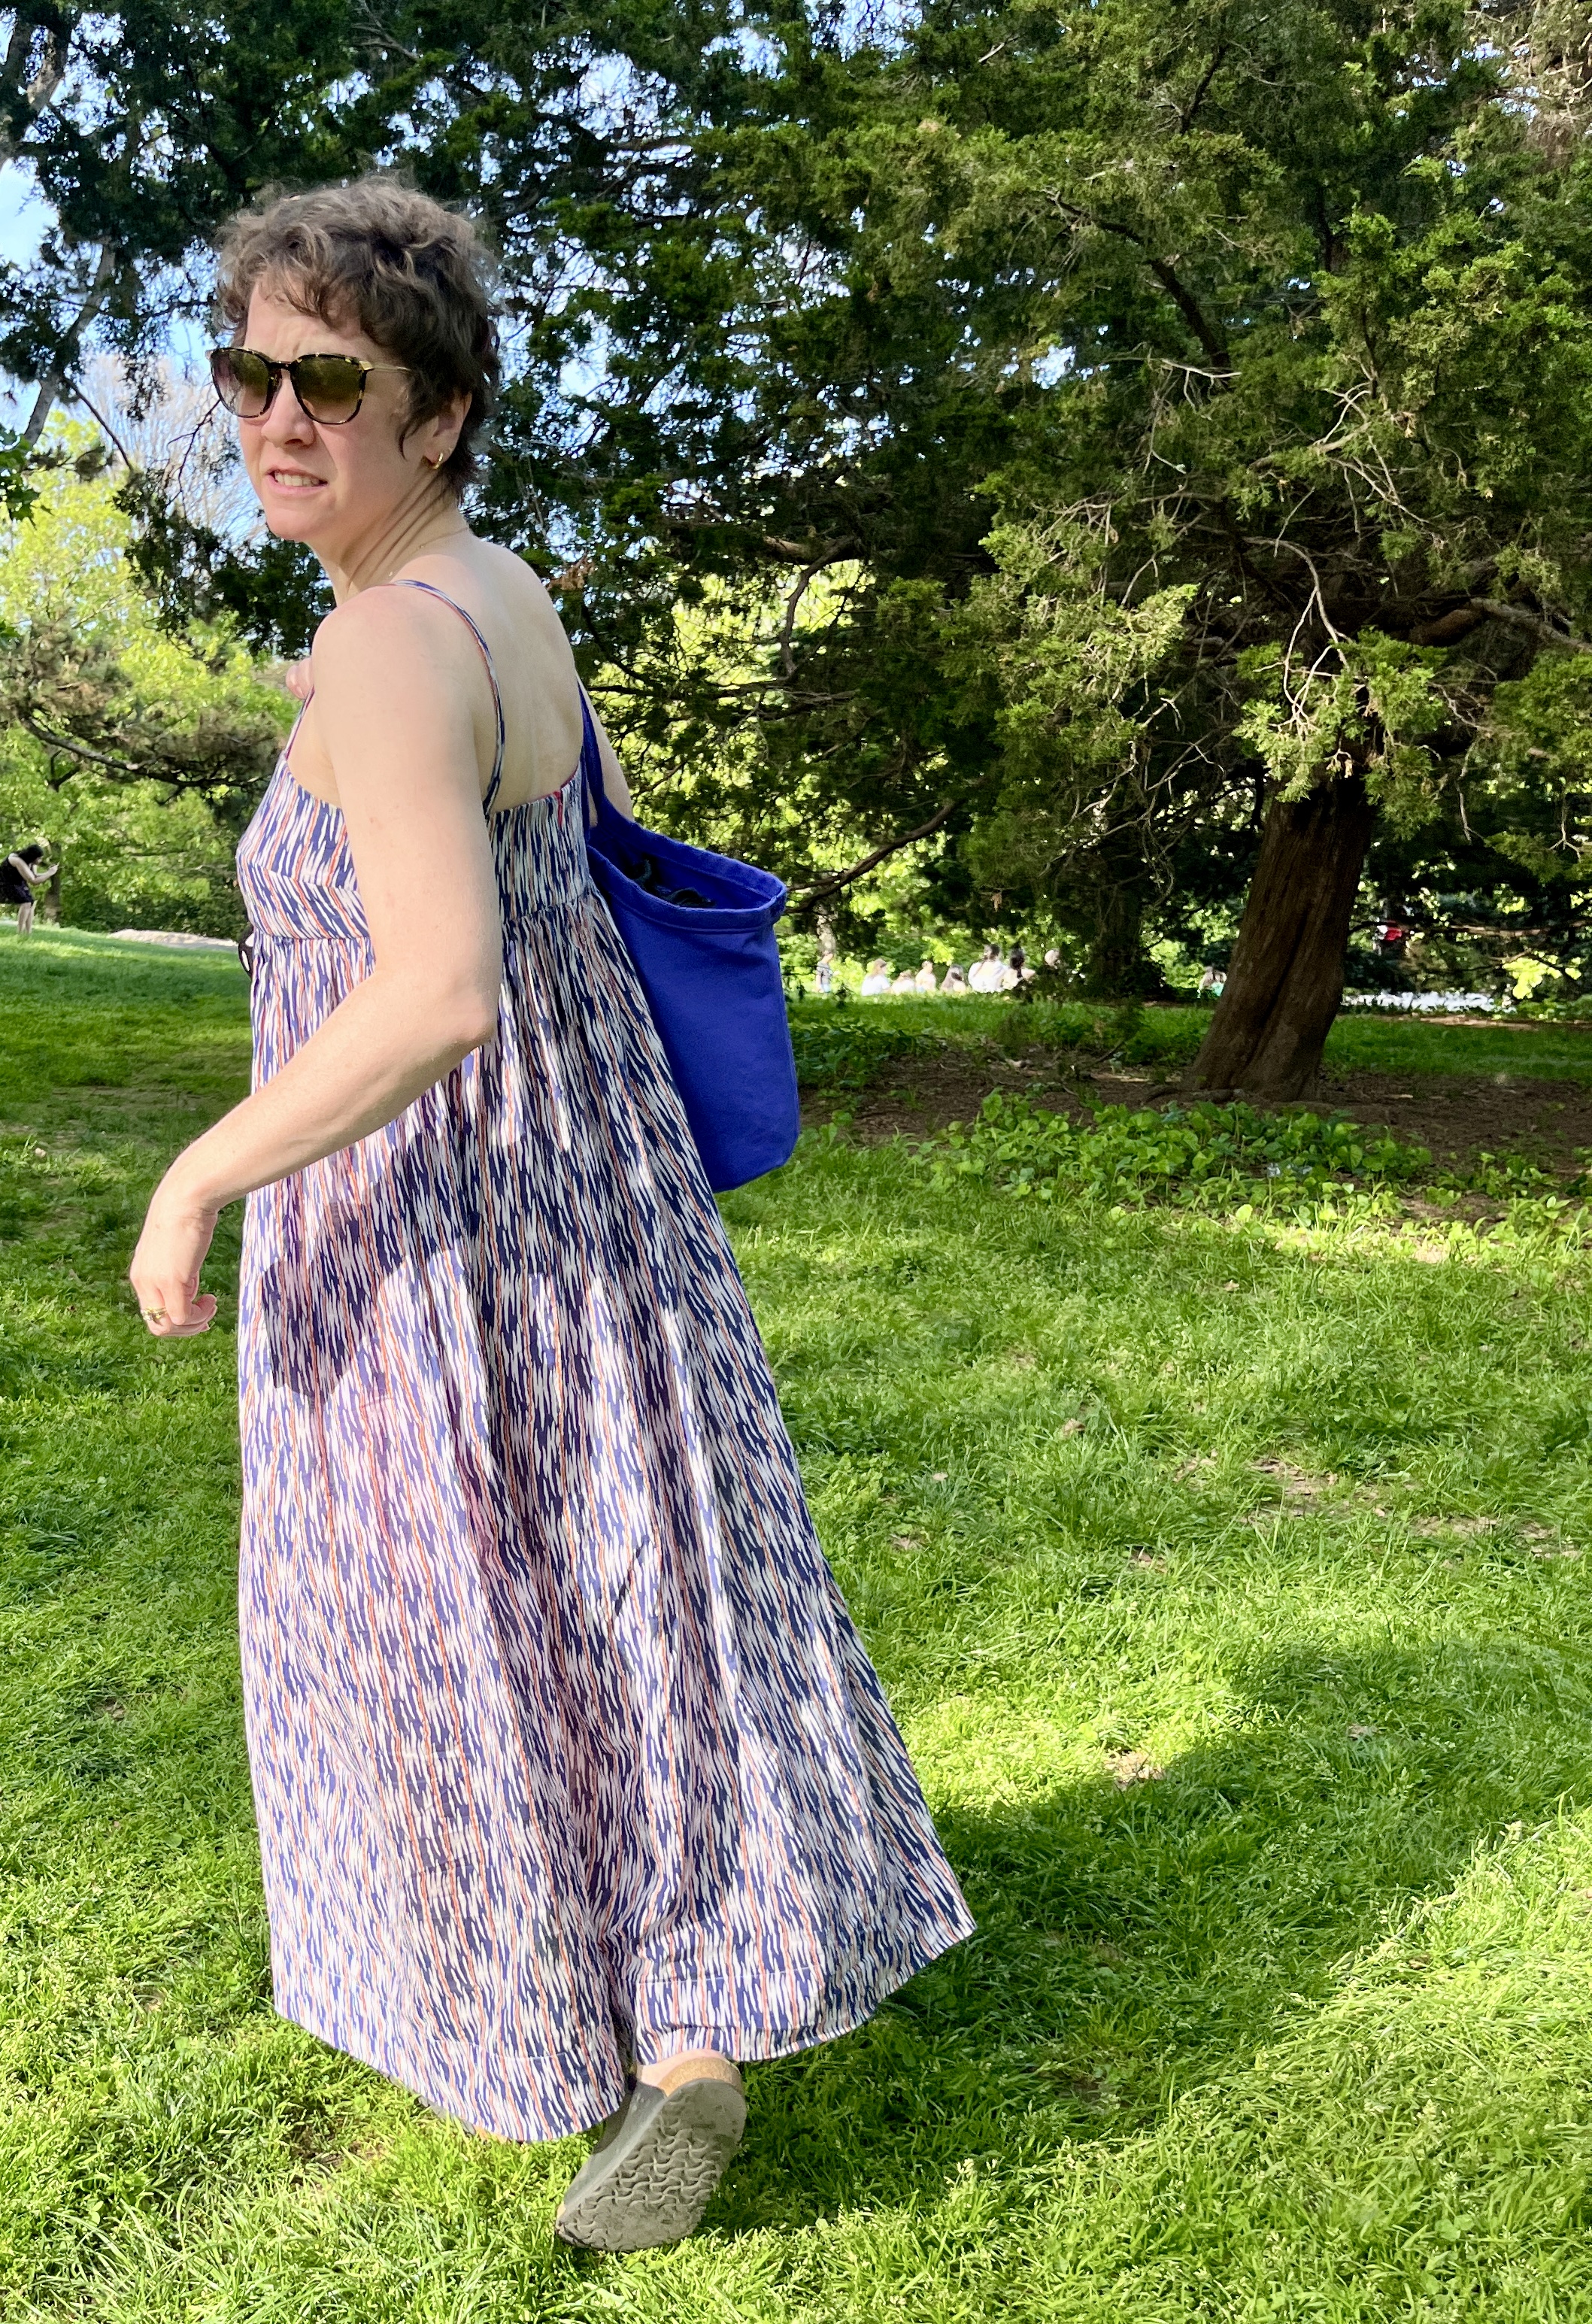
I fell in love with Ozma’s Milo dress, but I had a feeling I could recreate it myself (spoiler: I did!).
So, I got some navy poplin from Mood and figured it out. I used the Sauvie sundress as a base, since I love how it fits me, and it seemed similar enough. I made these mods to turn Sauvie into a “Milo”:
widened the shoulder straps
squared the neckline
lowered the armhole a little bit
added pintucks
shortened the dress
added a hem facing
I haven’t done pintucks before, so I watched a helpful video to see how to do it. I traced a rough outline of one side of the bodice with tailors chalk, and then marked the top and bottom of the pintucks, and marked a few lines of pintuck folds and started sewing. I probably should have planned more carefully, but after sewing several pintucks, I checked against the pattern piece to see how many more I could do. It worked out ok.
I underlined the bodice lining with silk organza, and placed it wrong sides together and finished the neckline and armhole edges with self bias binding. I was pleasantly surprised by how easily this came together, the poplin bias binding was quite easy to work with.
Some of the reviews of the Ozma dress say its too short, but that seems like part of the charm. I ended up making mine pretty short, too. I also loved how much ease the dress has on the model, and I am happy to say I achieved that too!
I have converted two dresses I made but didn’t love to bubble frocks. One was a grey linen attempt at copying a Rudy Jude dress, and the other was a Merchant and Mills Honey dress with a disastrous fit. Because both of these had gathered, empire-adjacent waistlines, it was extremely easy to remove the old bodice and replace it with the bubble frock bodice. I went super rogue and cut a slit in the center back skirt to insert the zipper. Because of the gathers, you can barely see it.
I inserted 1-ply wool yarn into the straps for the first one to give them a 3D quality. Unfortunately, the wool is sneaking its way through the linen and it has given the straps a furry halo!
see the wool working its way out of the strap?!
bubble frock convert 2 also worked out well, but my face didn’t work out for this pic
I’m thinking of making a from-the-start bubble frock with some blue silk yoru I’ve had in my stash. We’ll see what the summer holds!
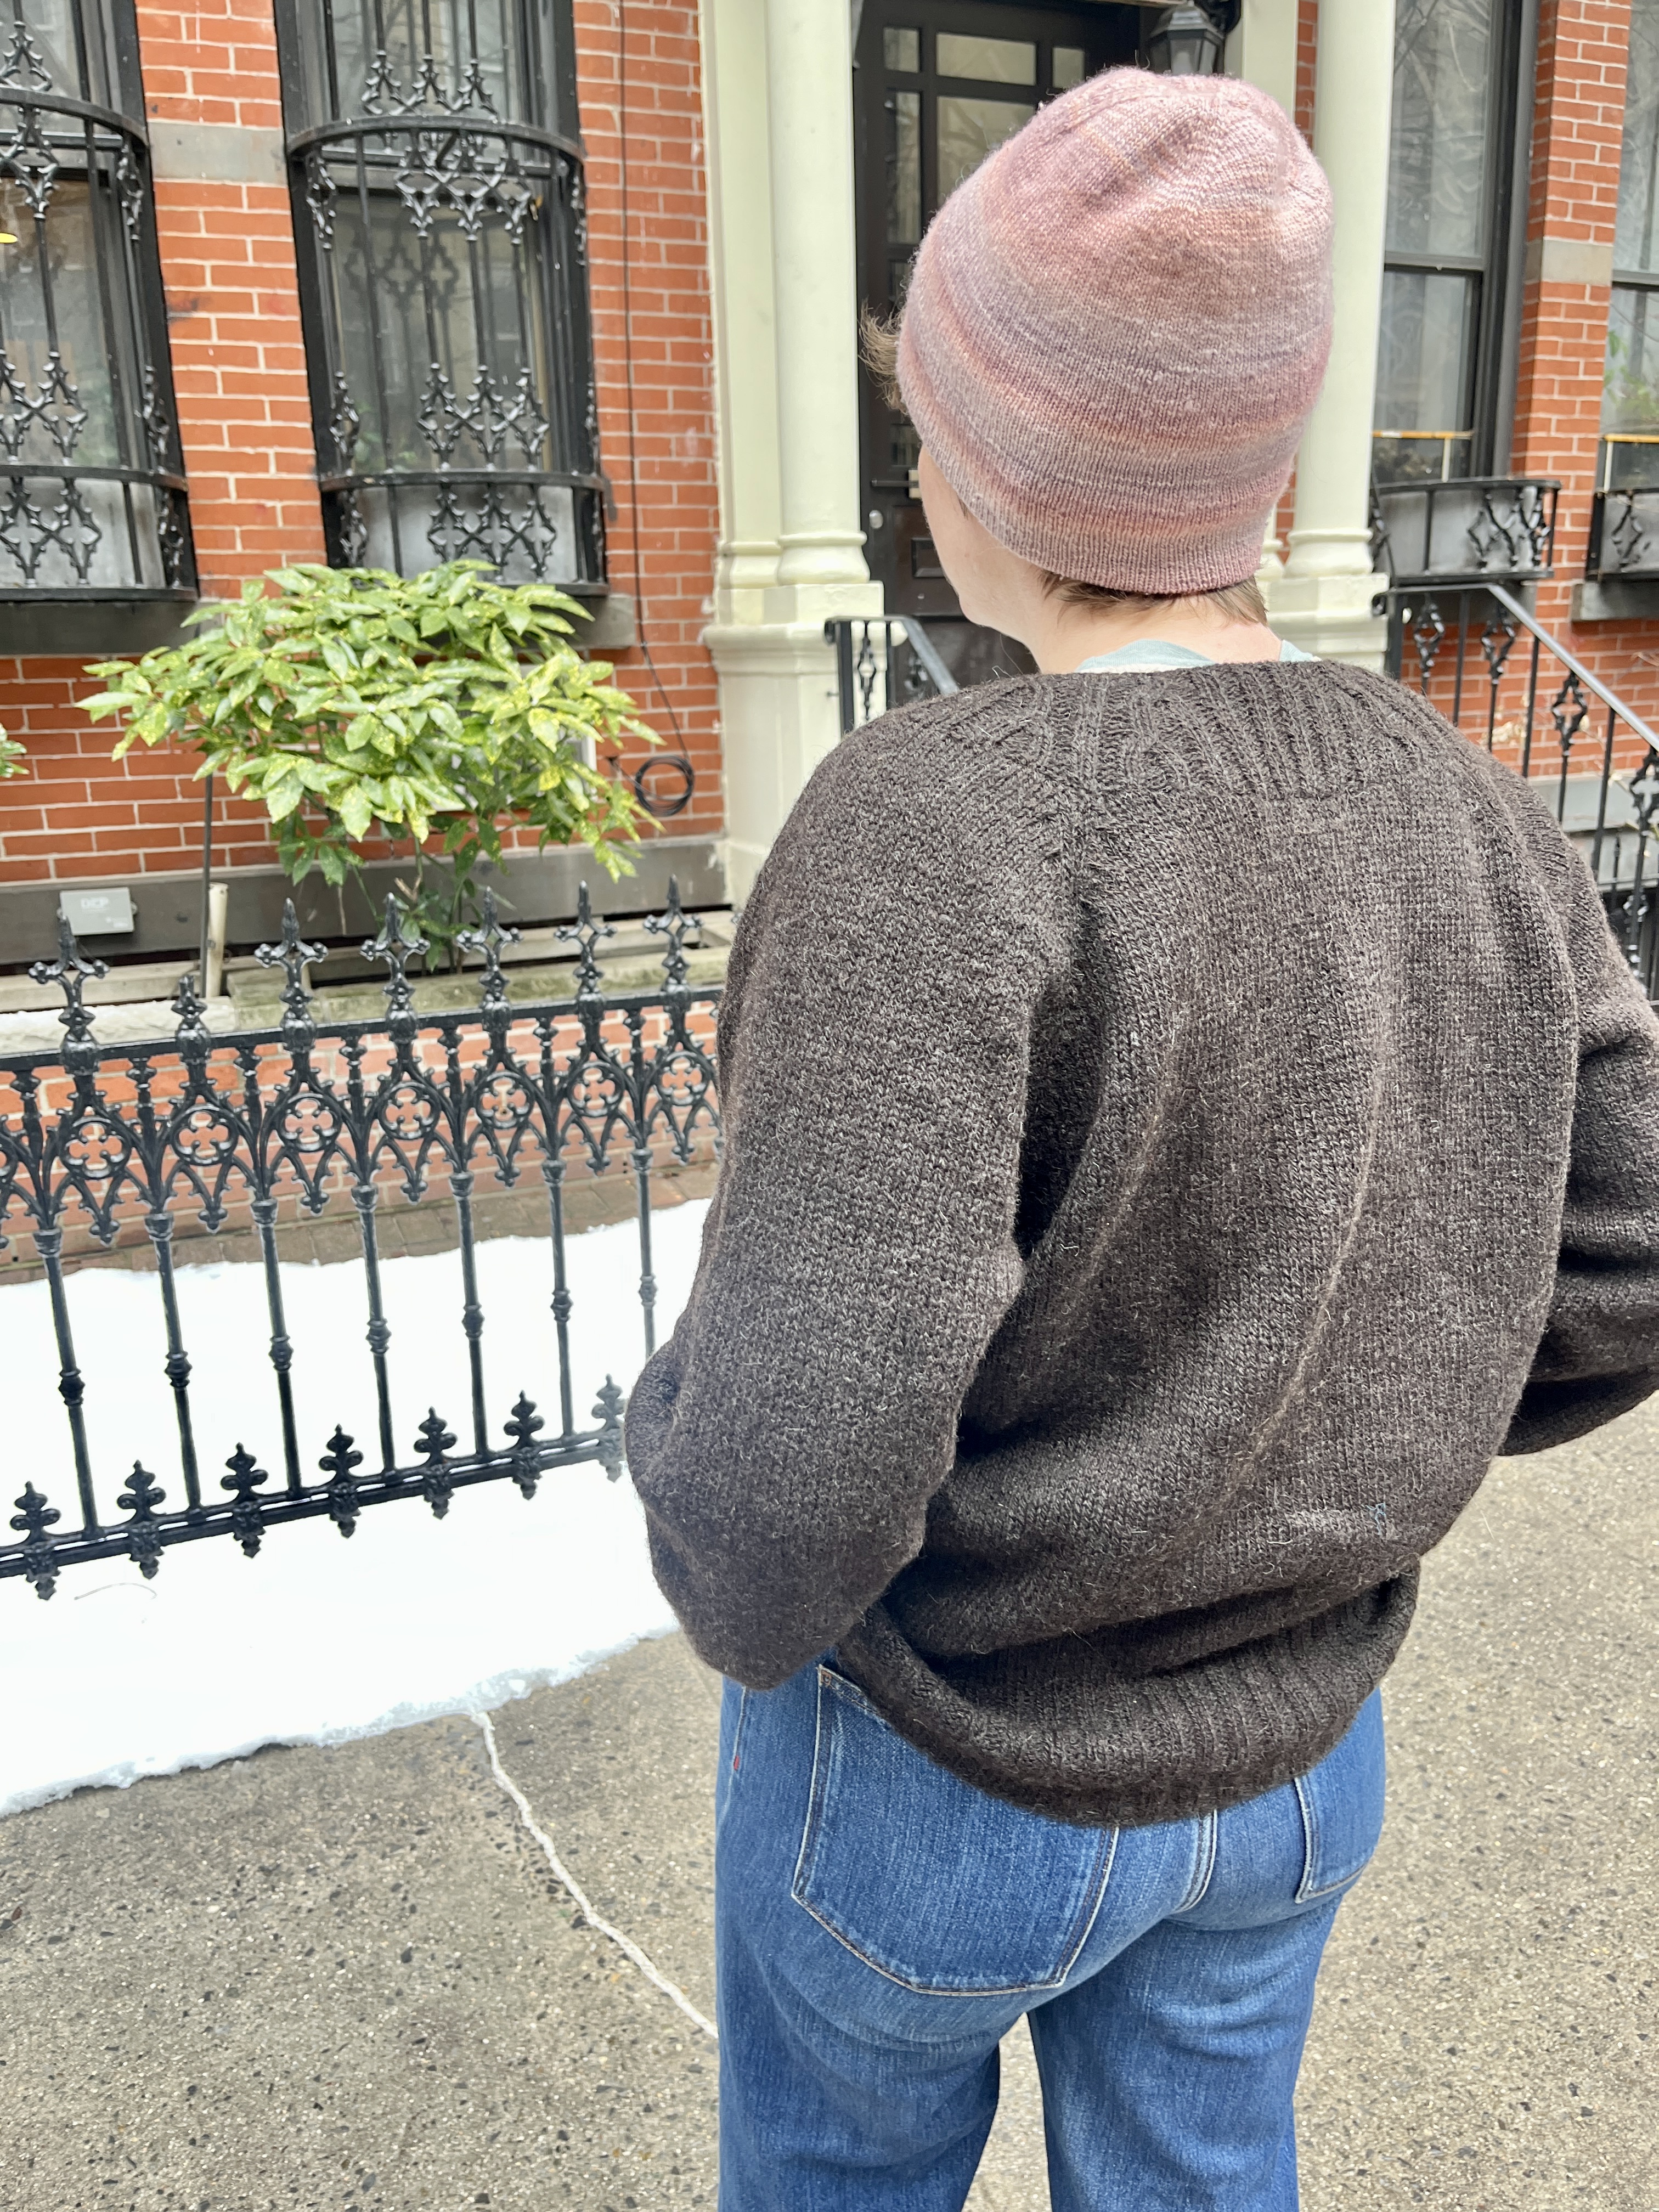
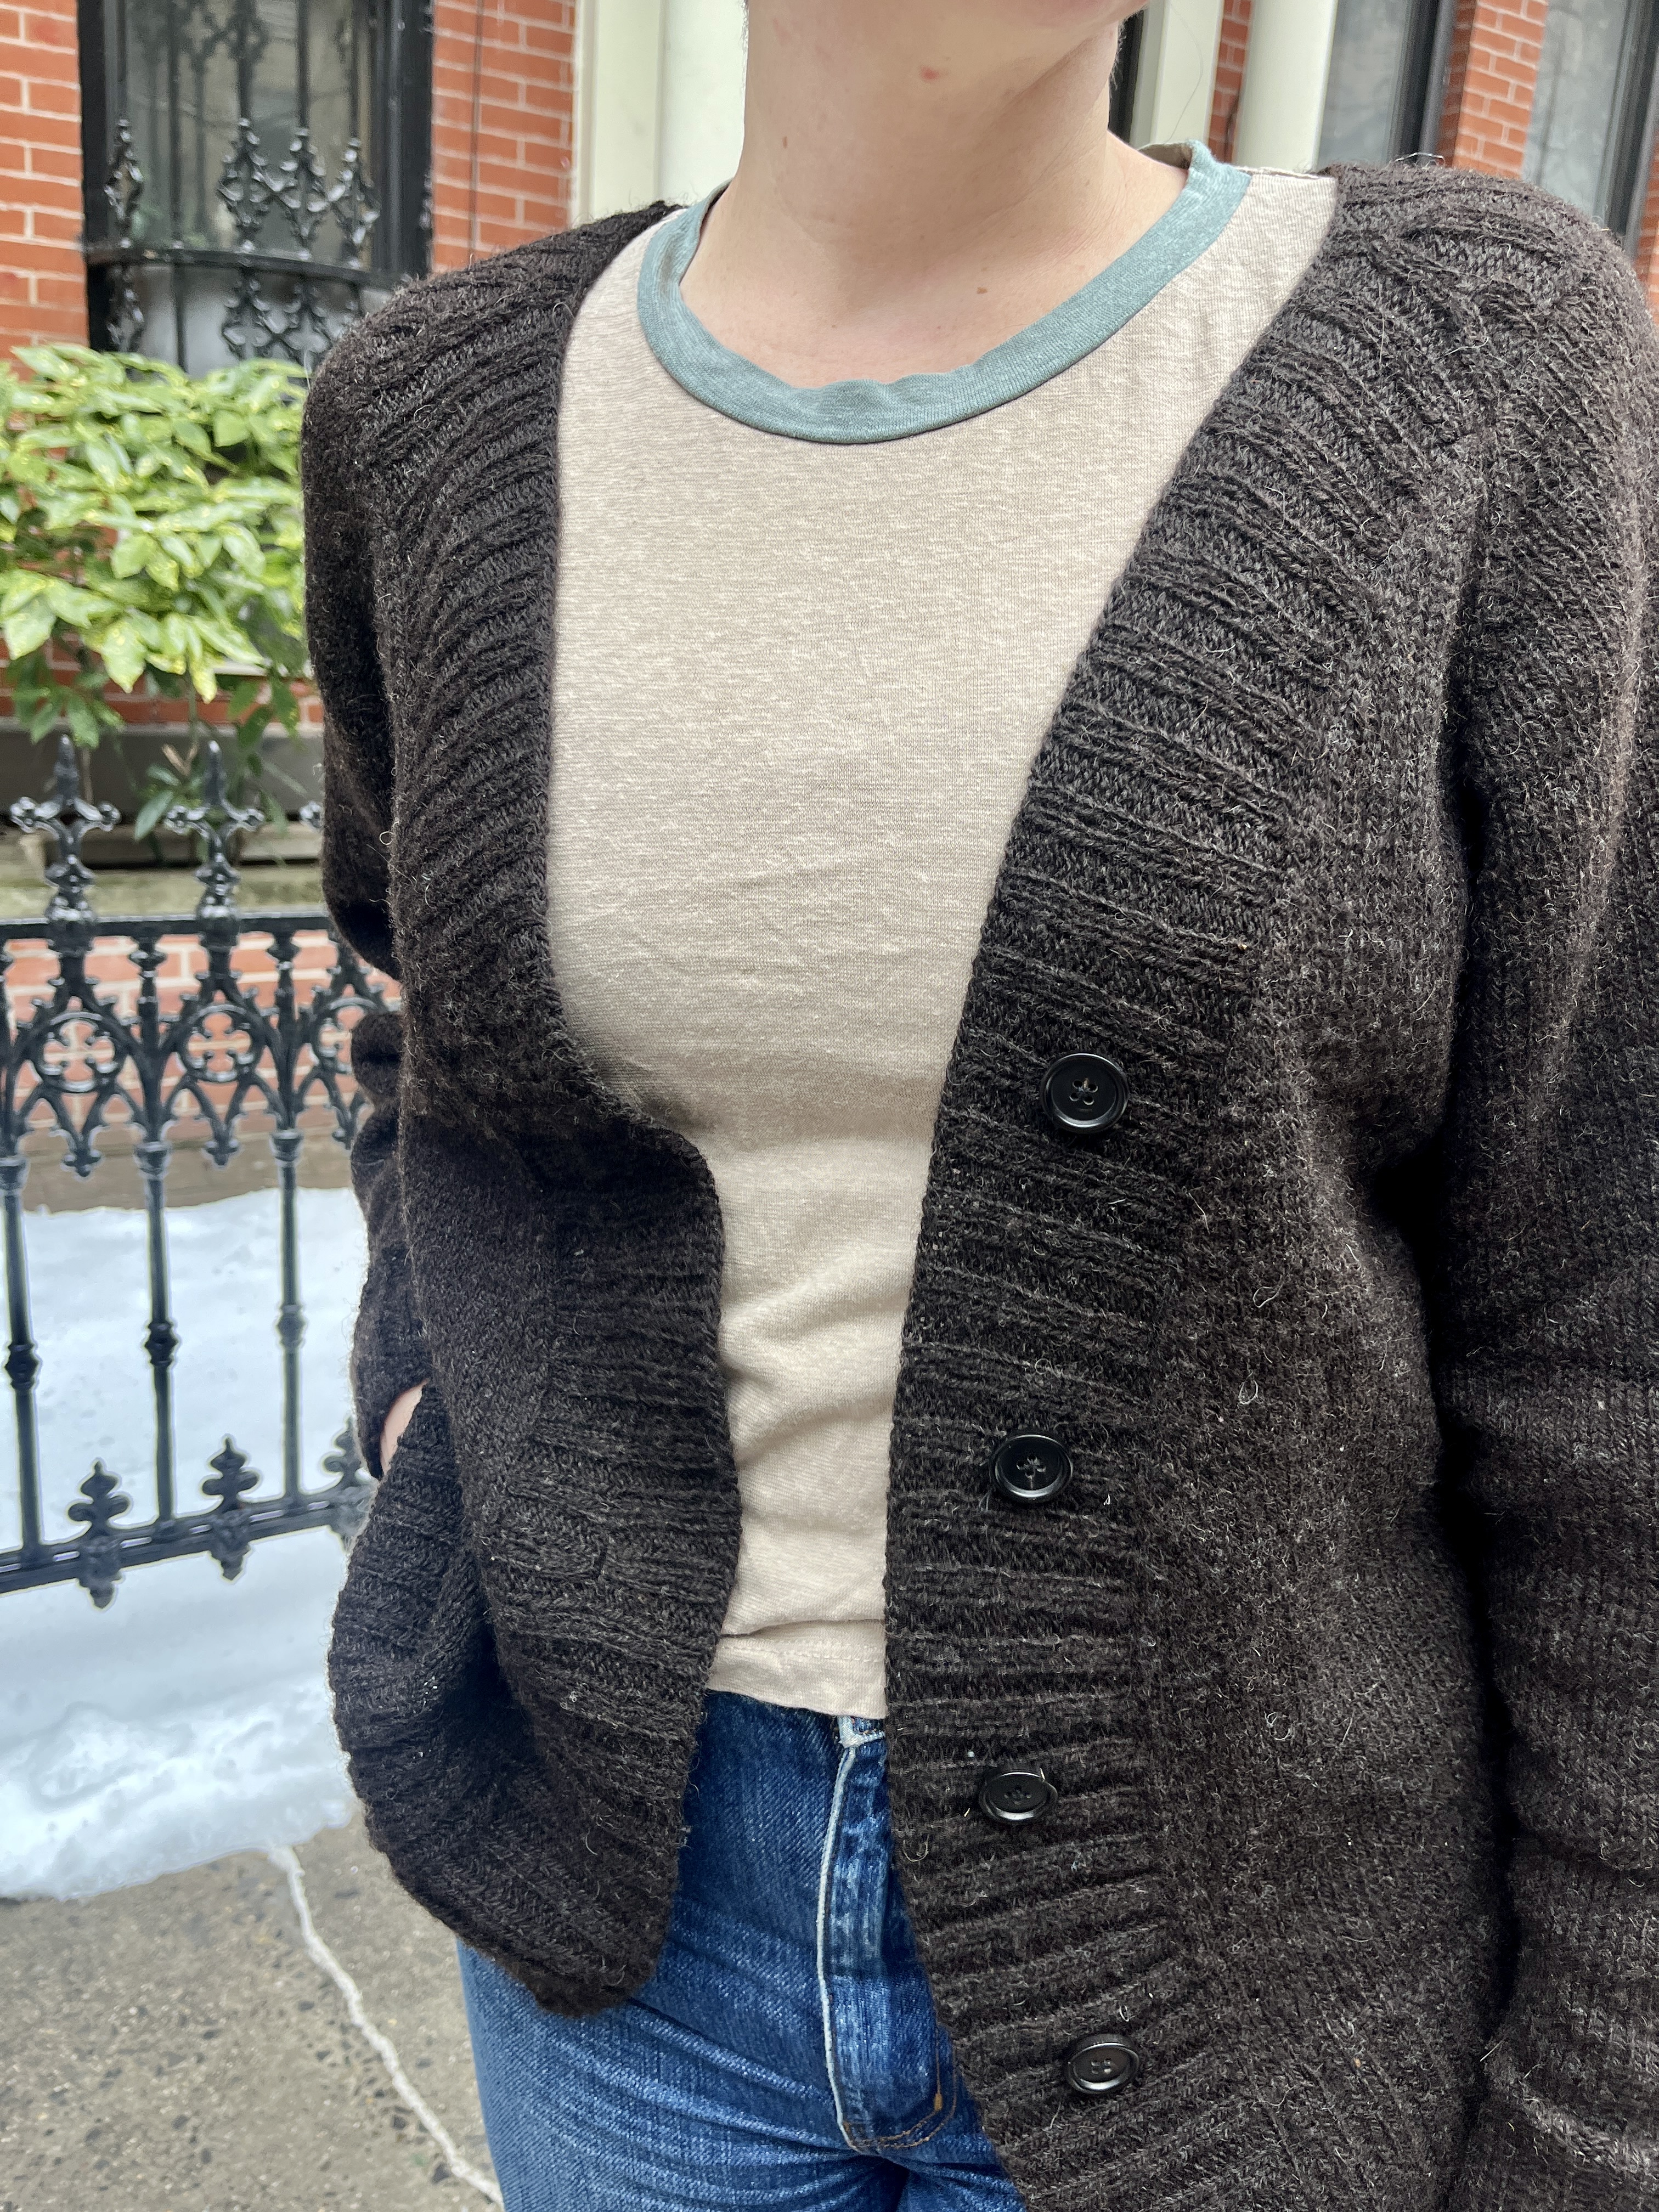
My 2024 Rhinebeck mission was to find the darkest undyed wool possible. I buzzed through the entire fair to see every booth to assess my options, but only one had the exact yarn I was dreaming of. The answer turned out to be a US-grown Shetland from Fine Purveyors of Yarn. The website is pretty tricky to navigate and they do not have it for sale online. Is it scratchy? Yes, but this does not bother me because its lovely and warm.
The pattern is Corrie by Julie Hoover. The fit is quite slouchy, so the seams are crucial to keeping the structure of the garment–I am glad they are there! Maybe one day seamed sweaters will be popular again. As always, Julie’s patterns provide clear instructions and techniques that make the sweater look very professional.
I finally found the horn buttons section at Pacific Trimmings. These look very RTW, and are perfect!
I love this sweater! It’s quickly become a go-to layer this winter.
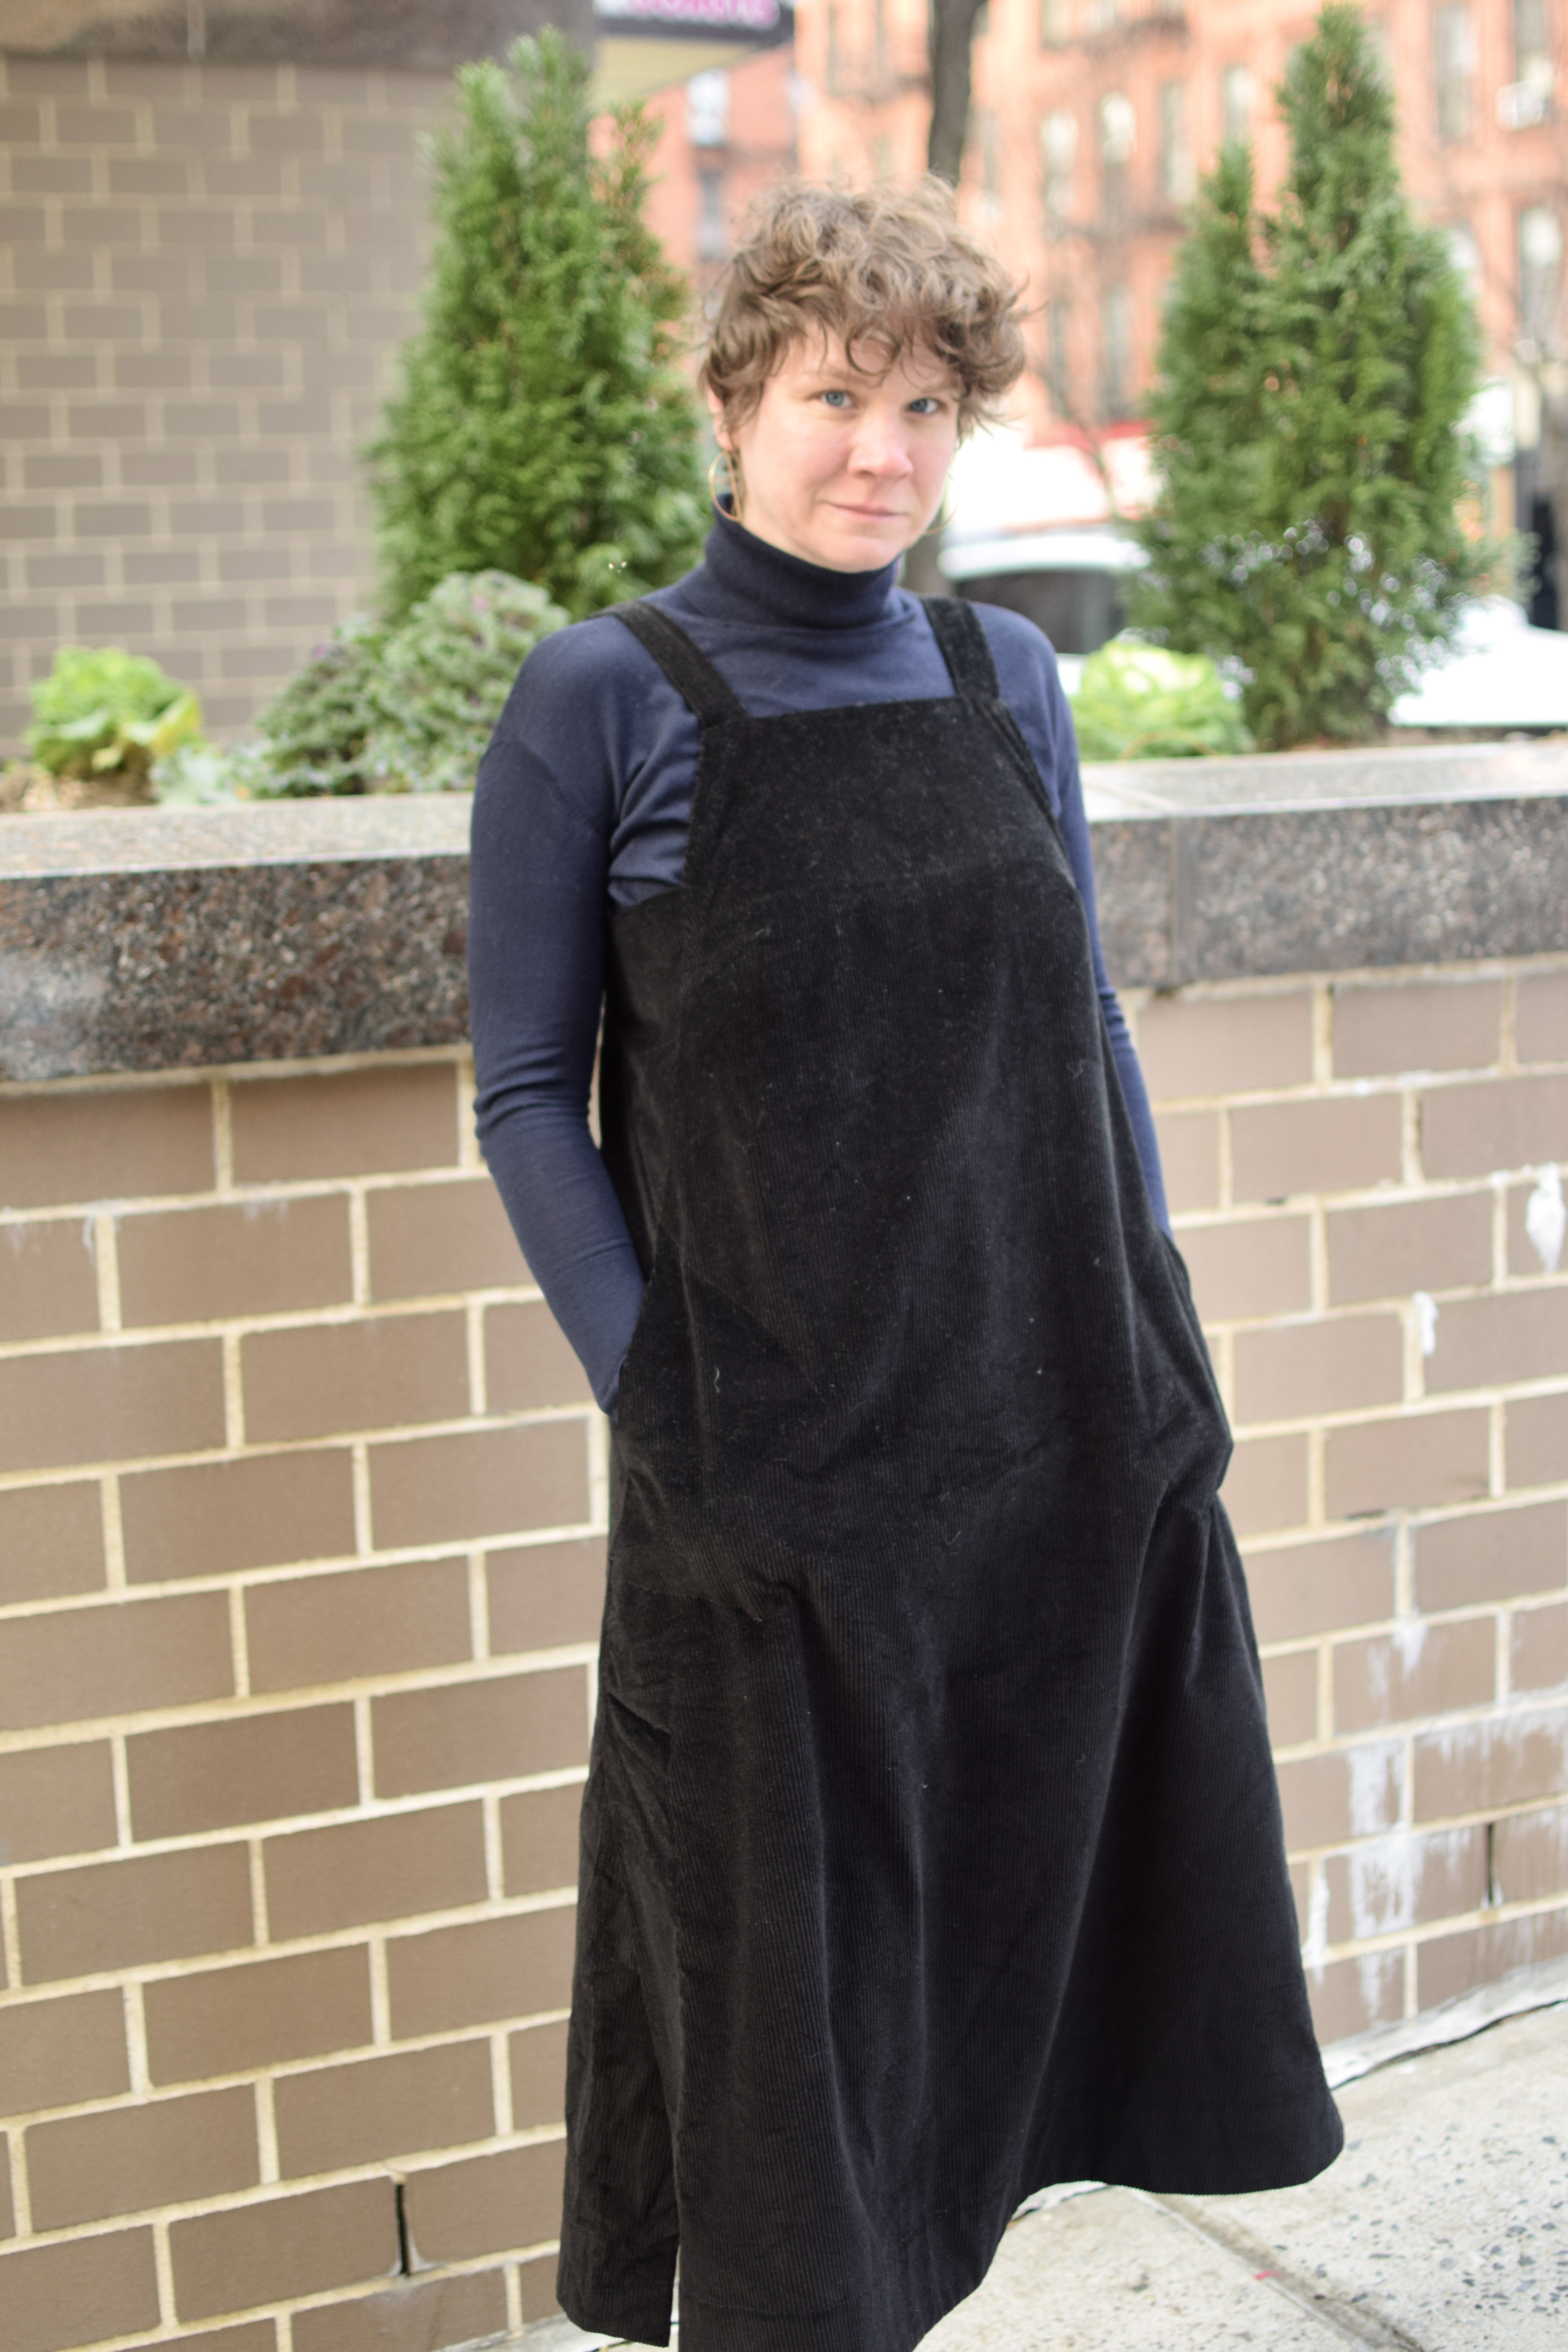
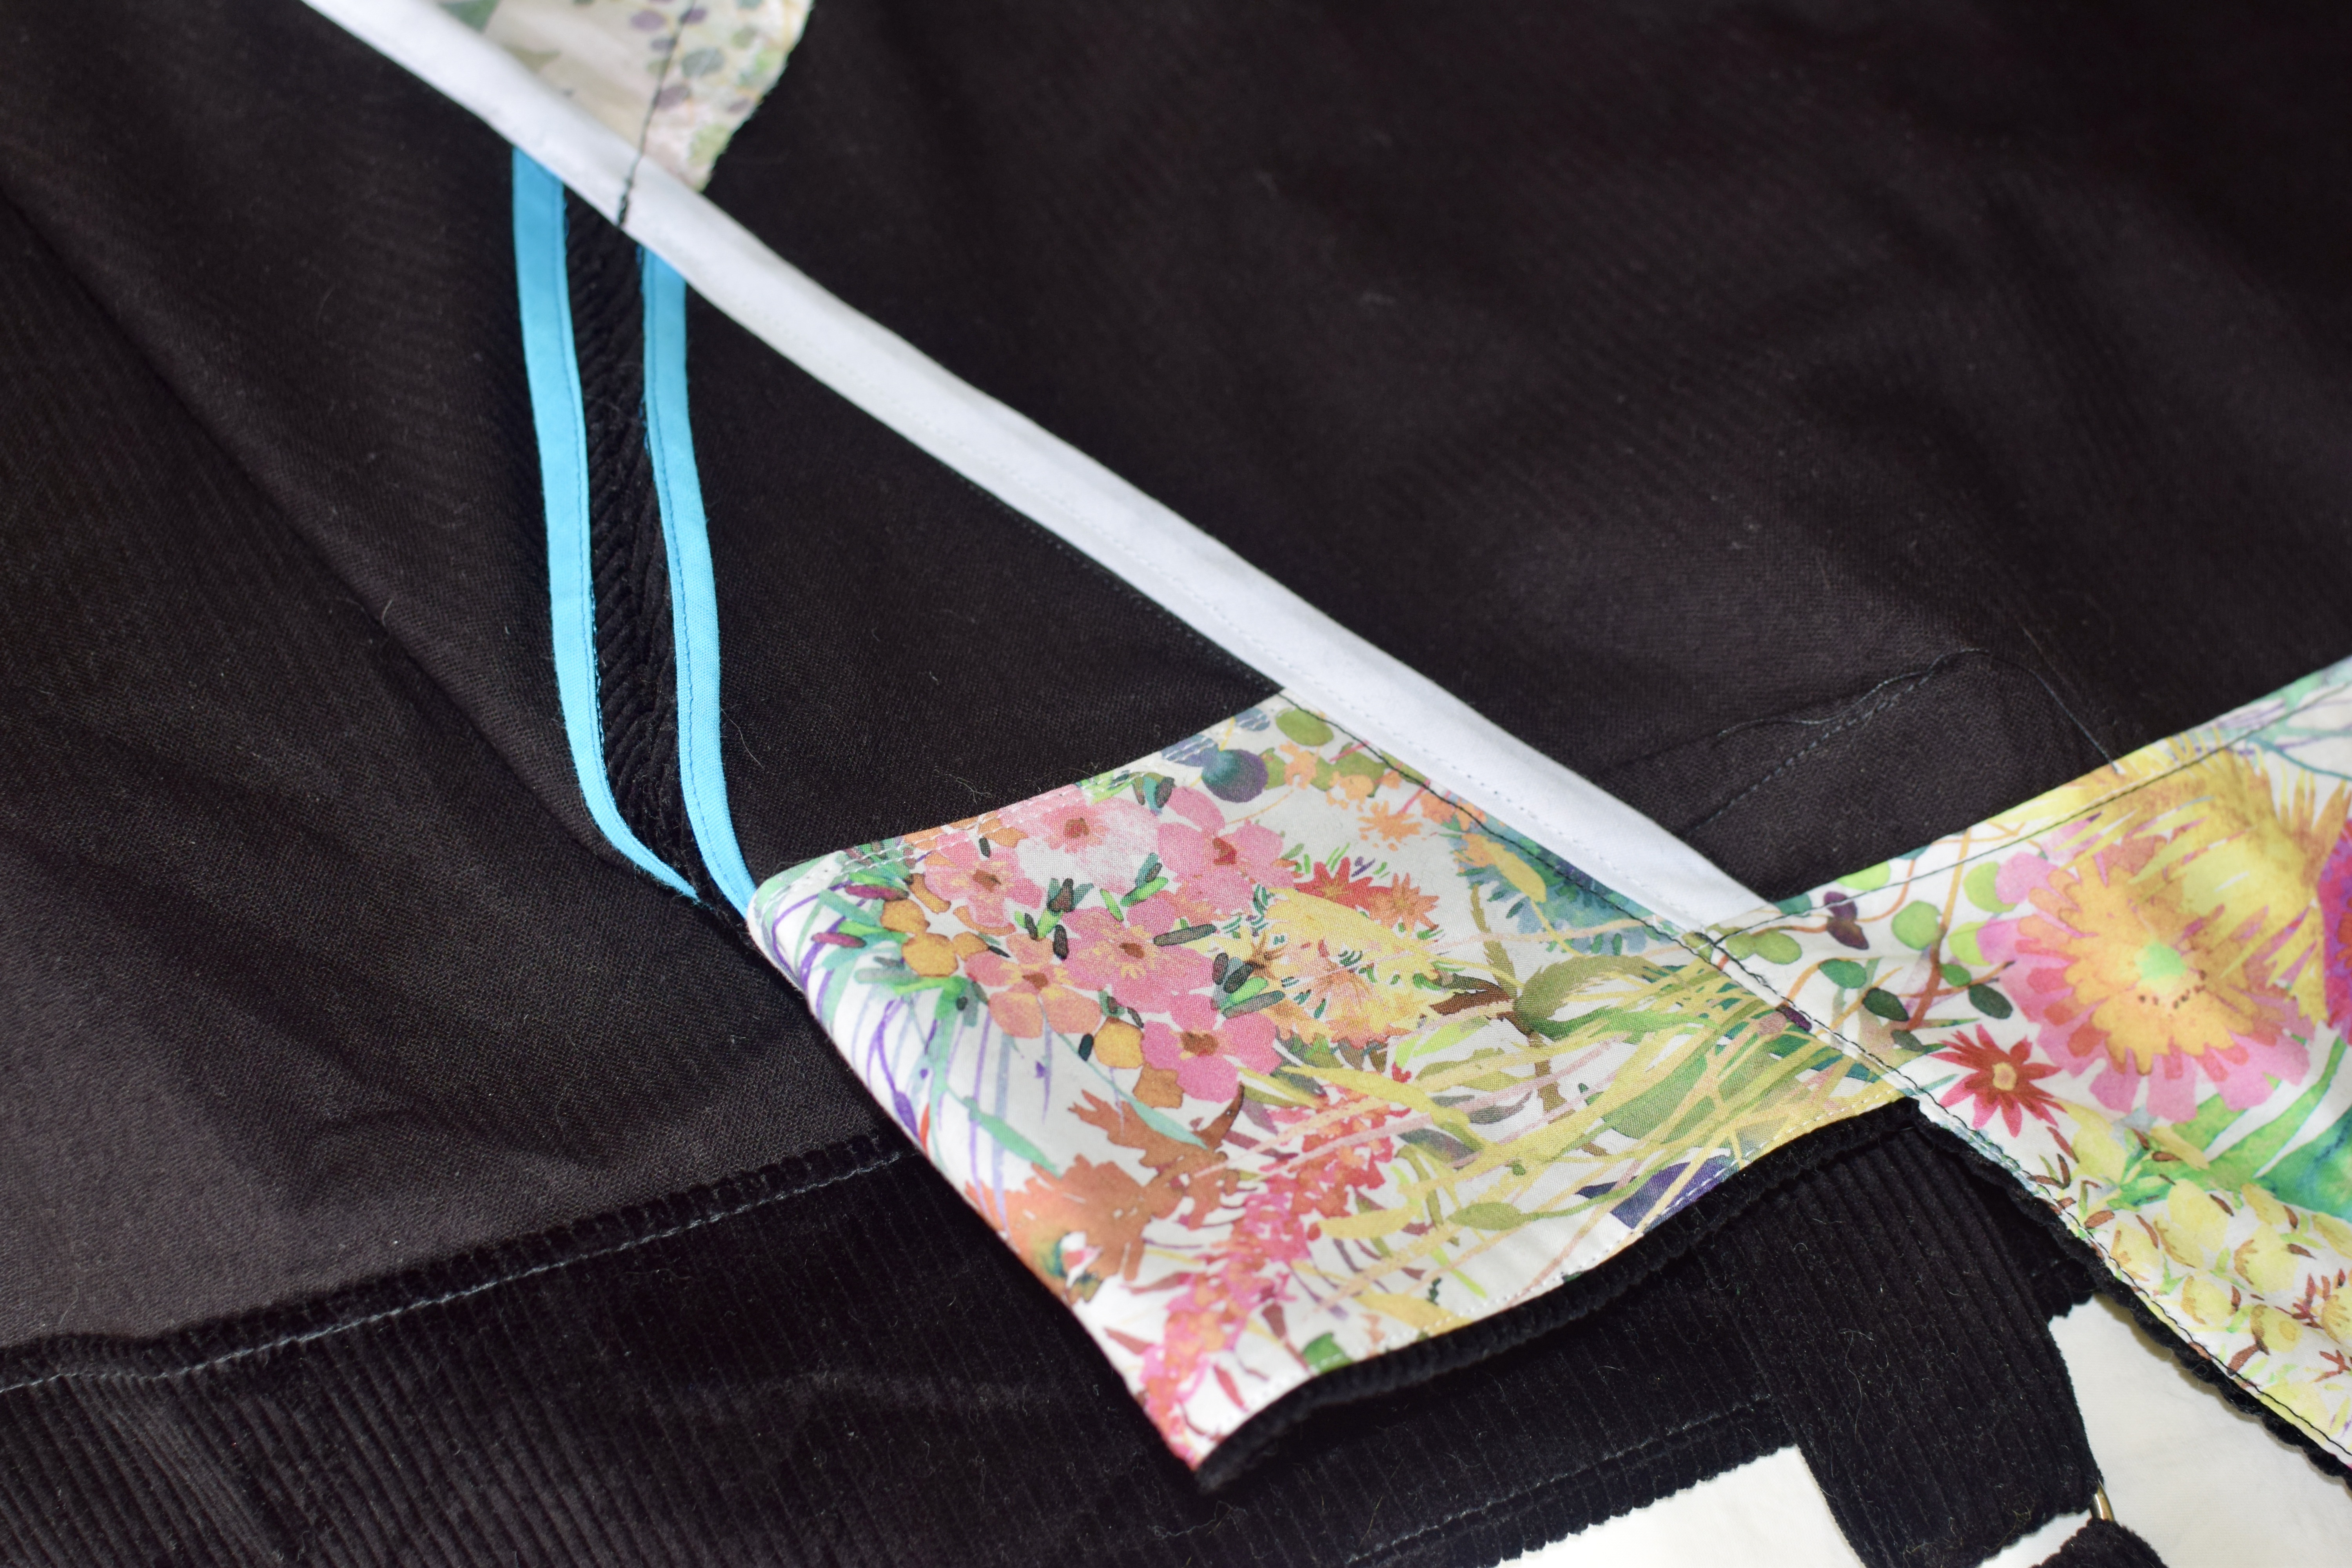
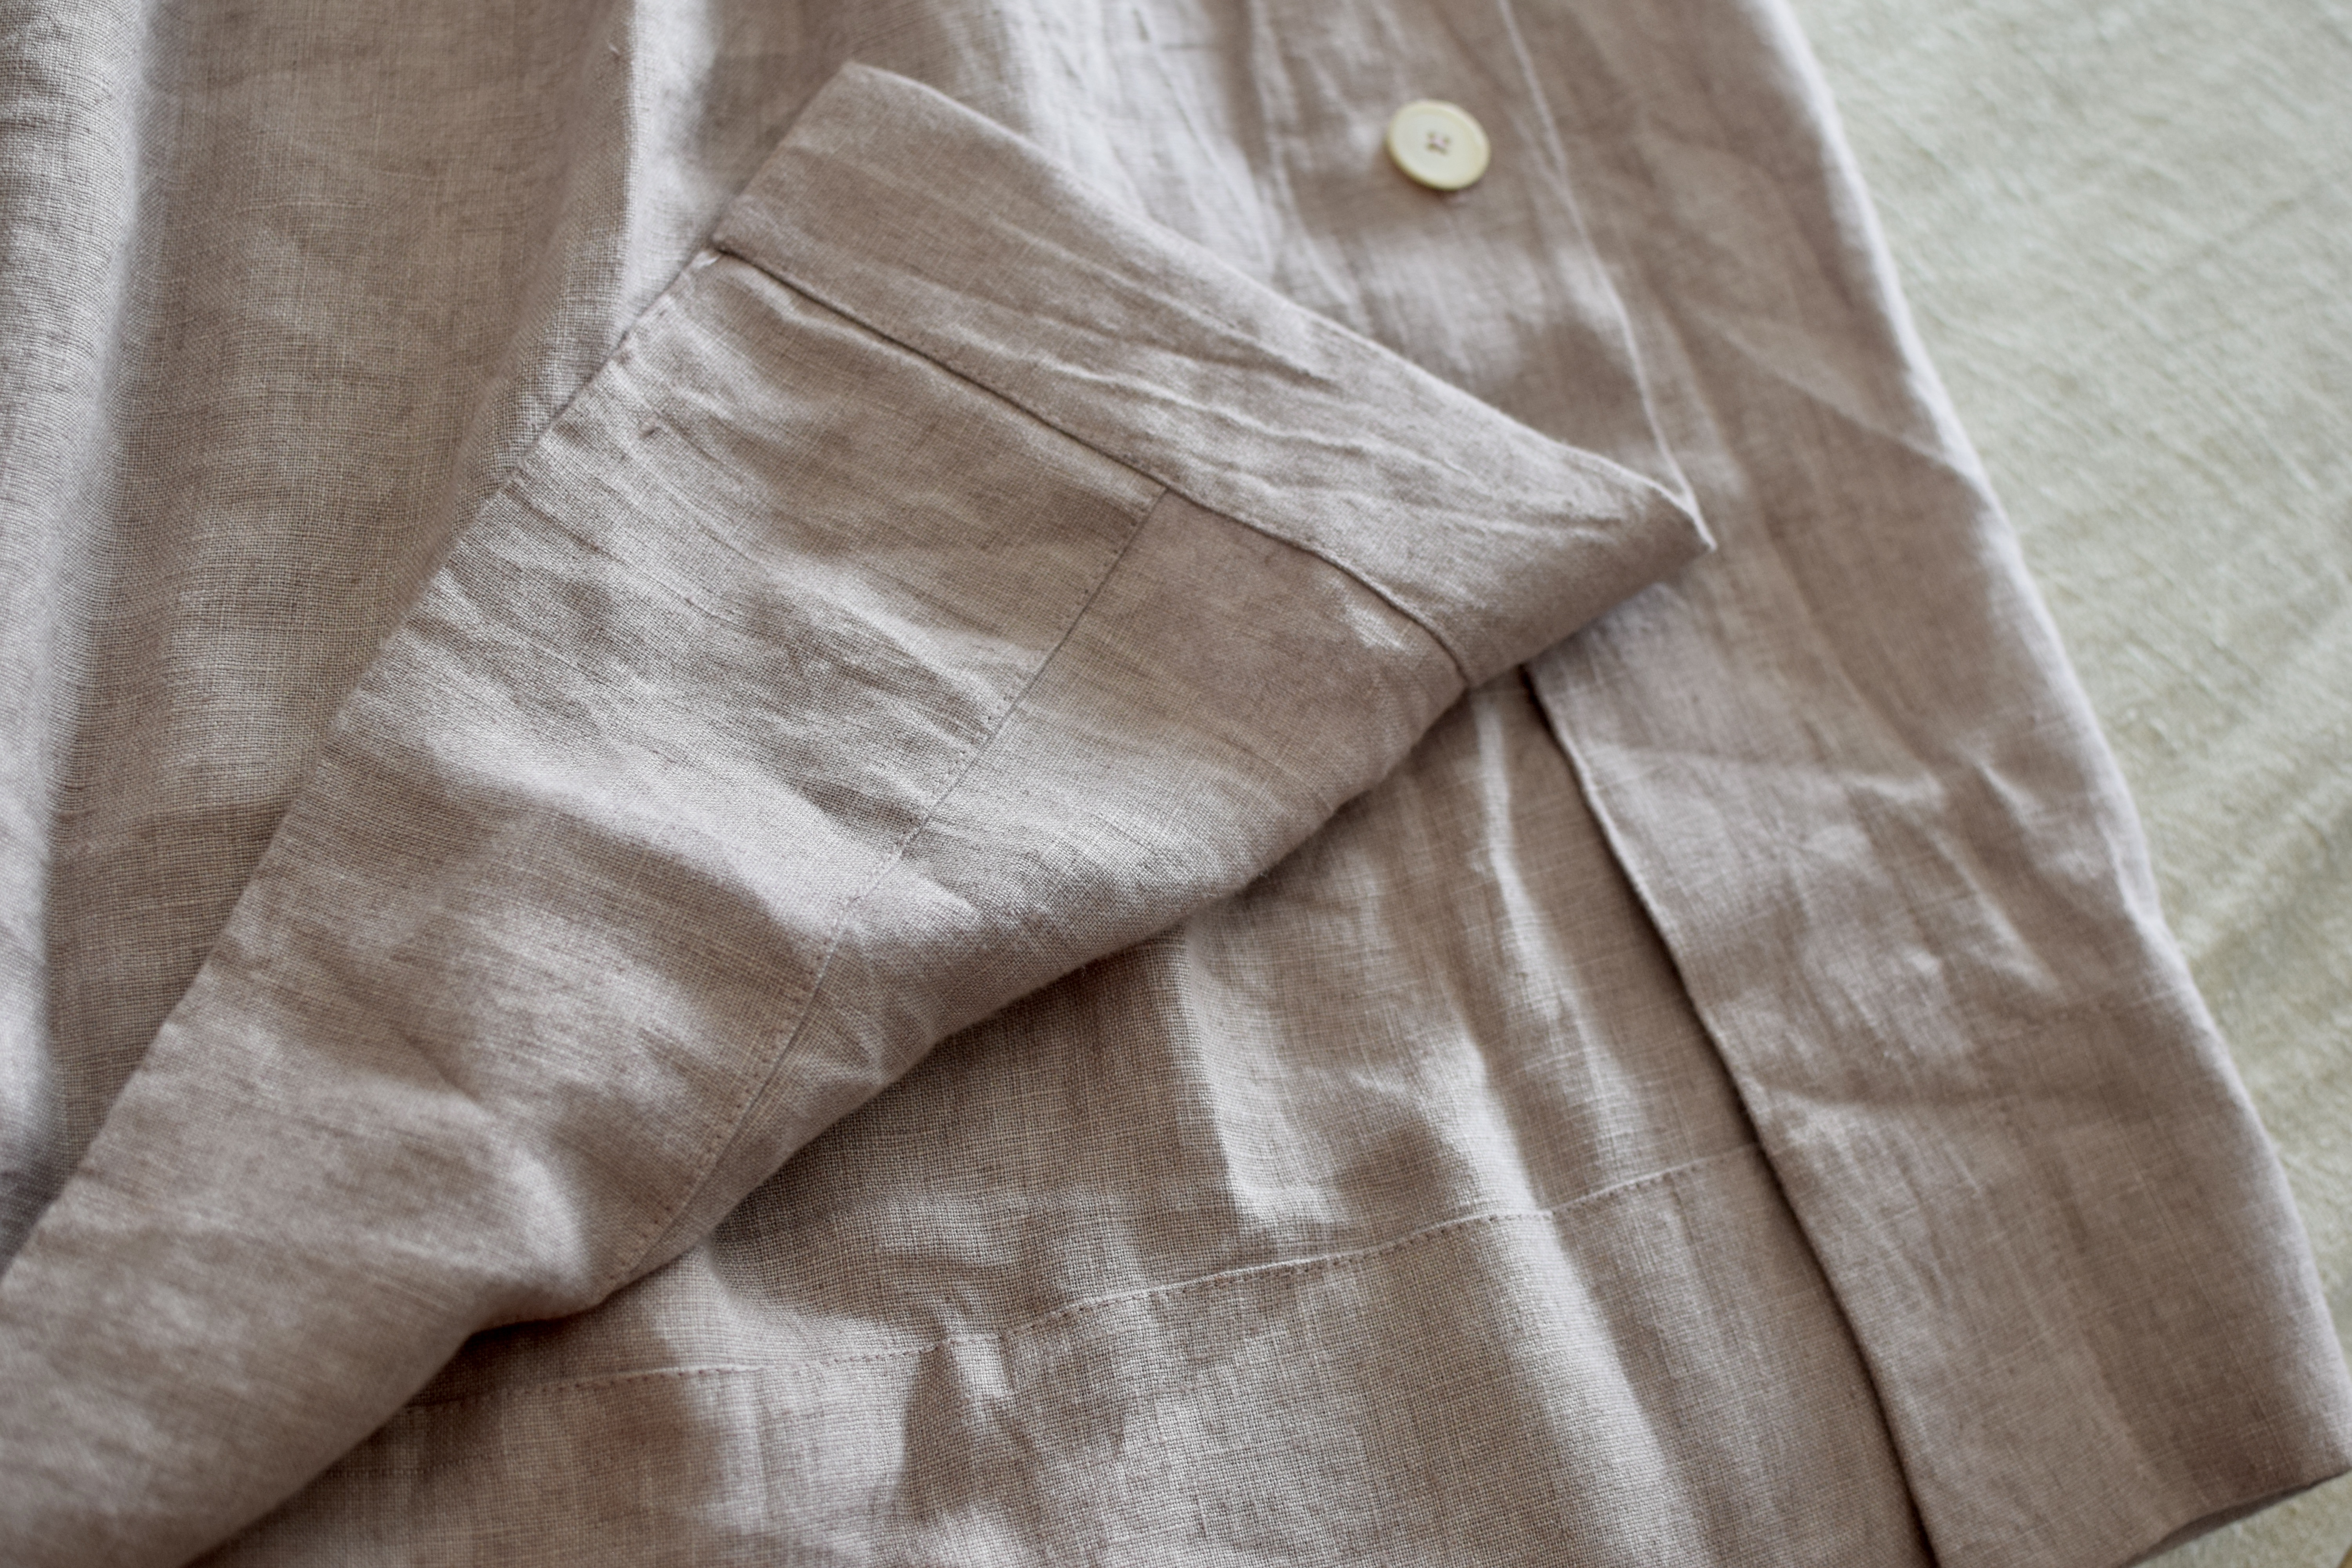
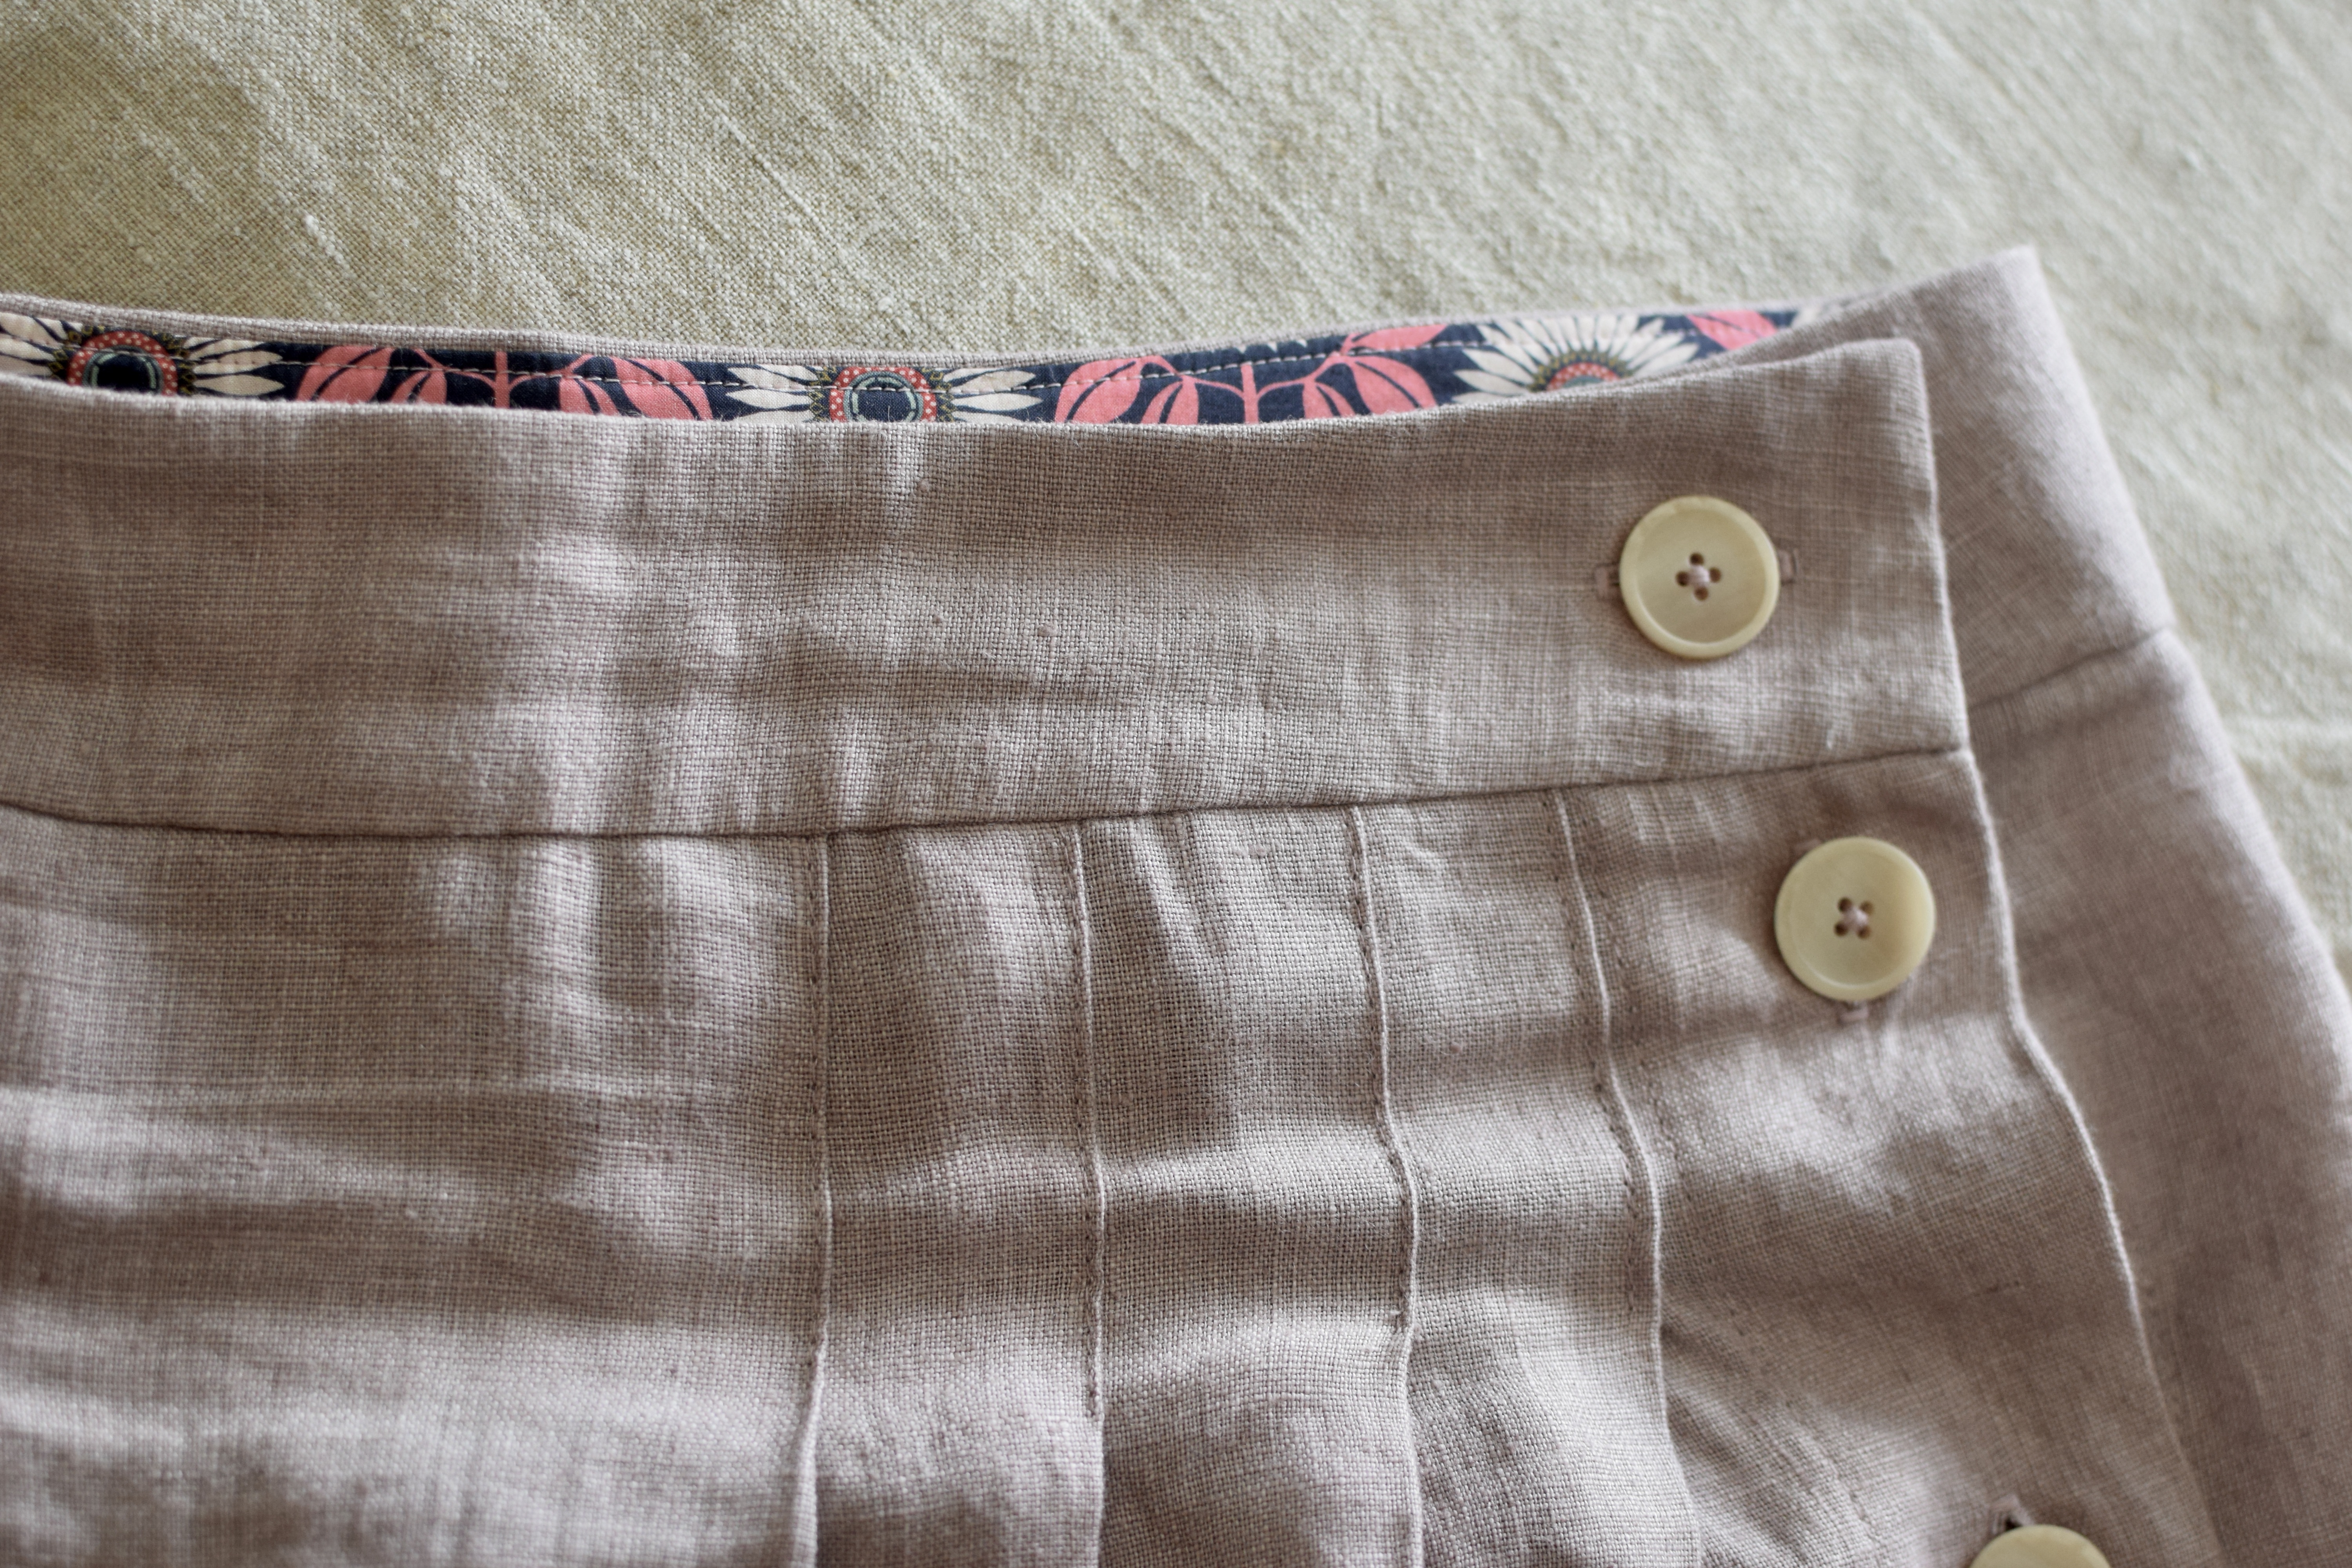
I have so many everyday summer dresses, but my winter wardrobe is lacking. When Paper Theory released the Ray pinafore a couple of weeks ago, I decided to go for it. This was not a quick sew, but I am really happy with the results, and its really fun to wear.
I should have lint brushed…..
This was my second experience sewing with corduroy, and this time I took it more seriously. Its not the easiest fabric to work with, I must say. My first go with a pair of pants a few years back was so bad that I had to abandon it–Mind the Nap!
The inside of this looks quite tidy because I bound the exposed seams with bias tape. Looking forward to making another in a lighter weight fabric.
interior shot
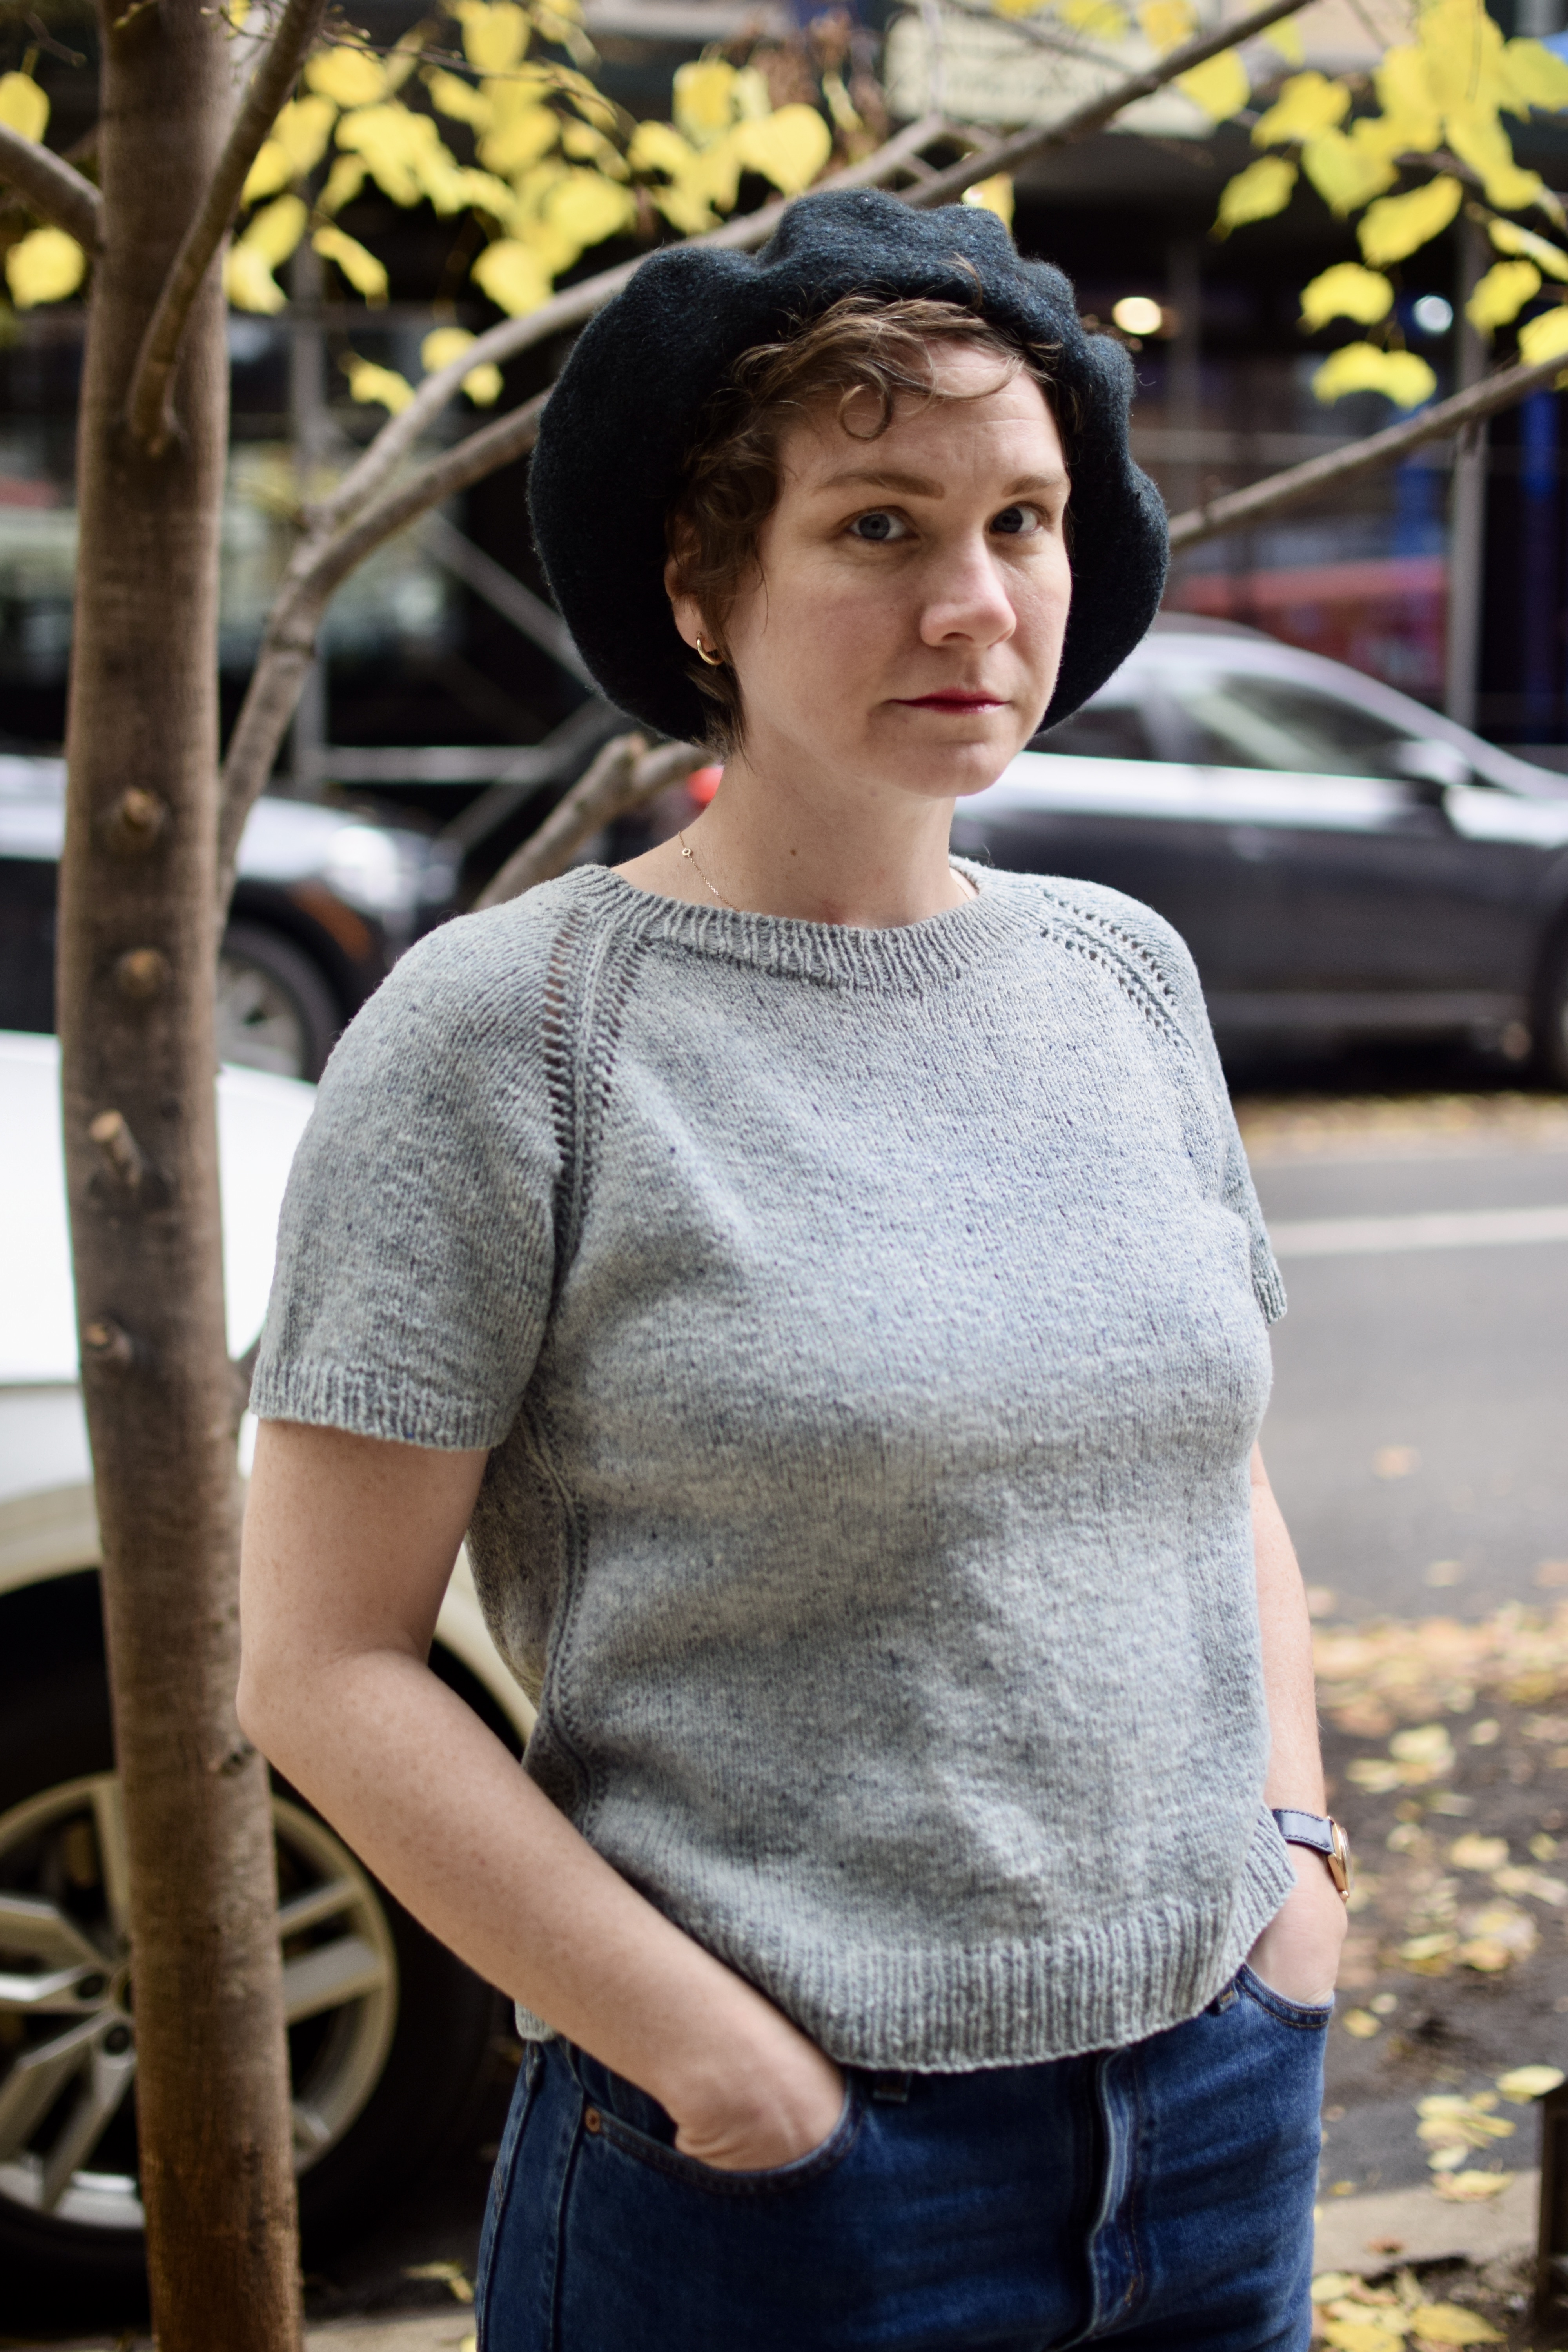
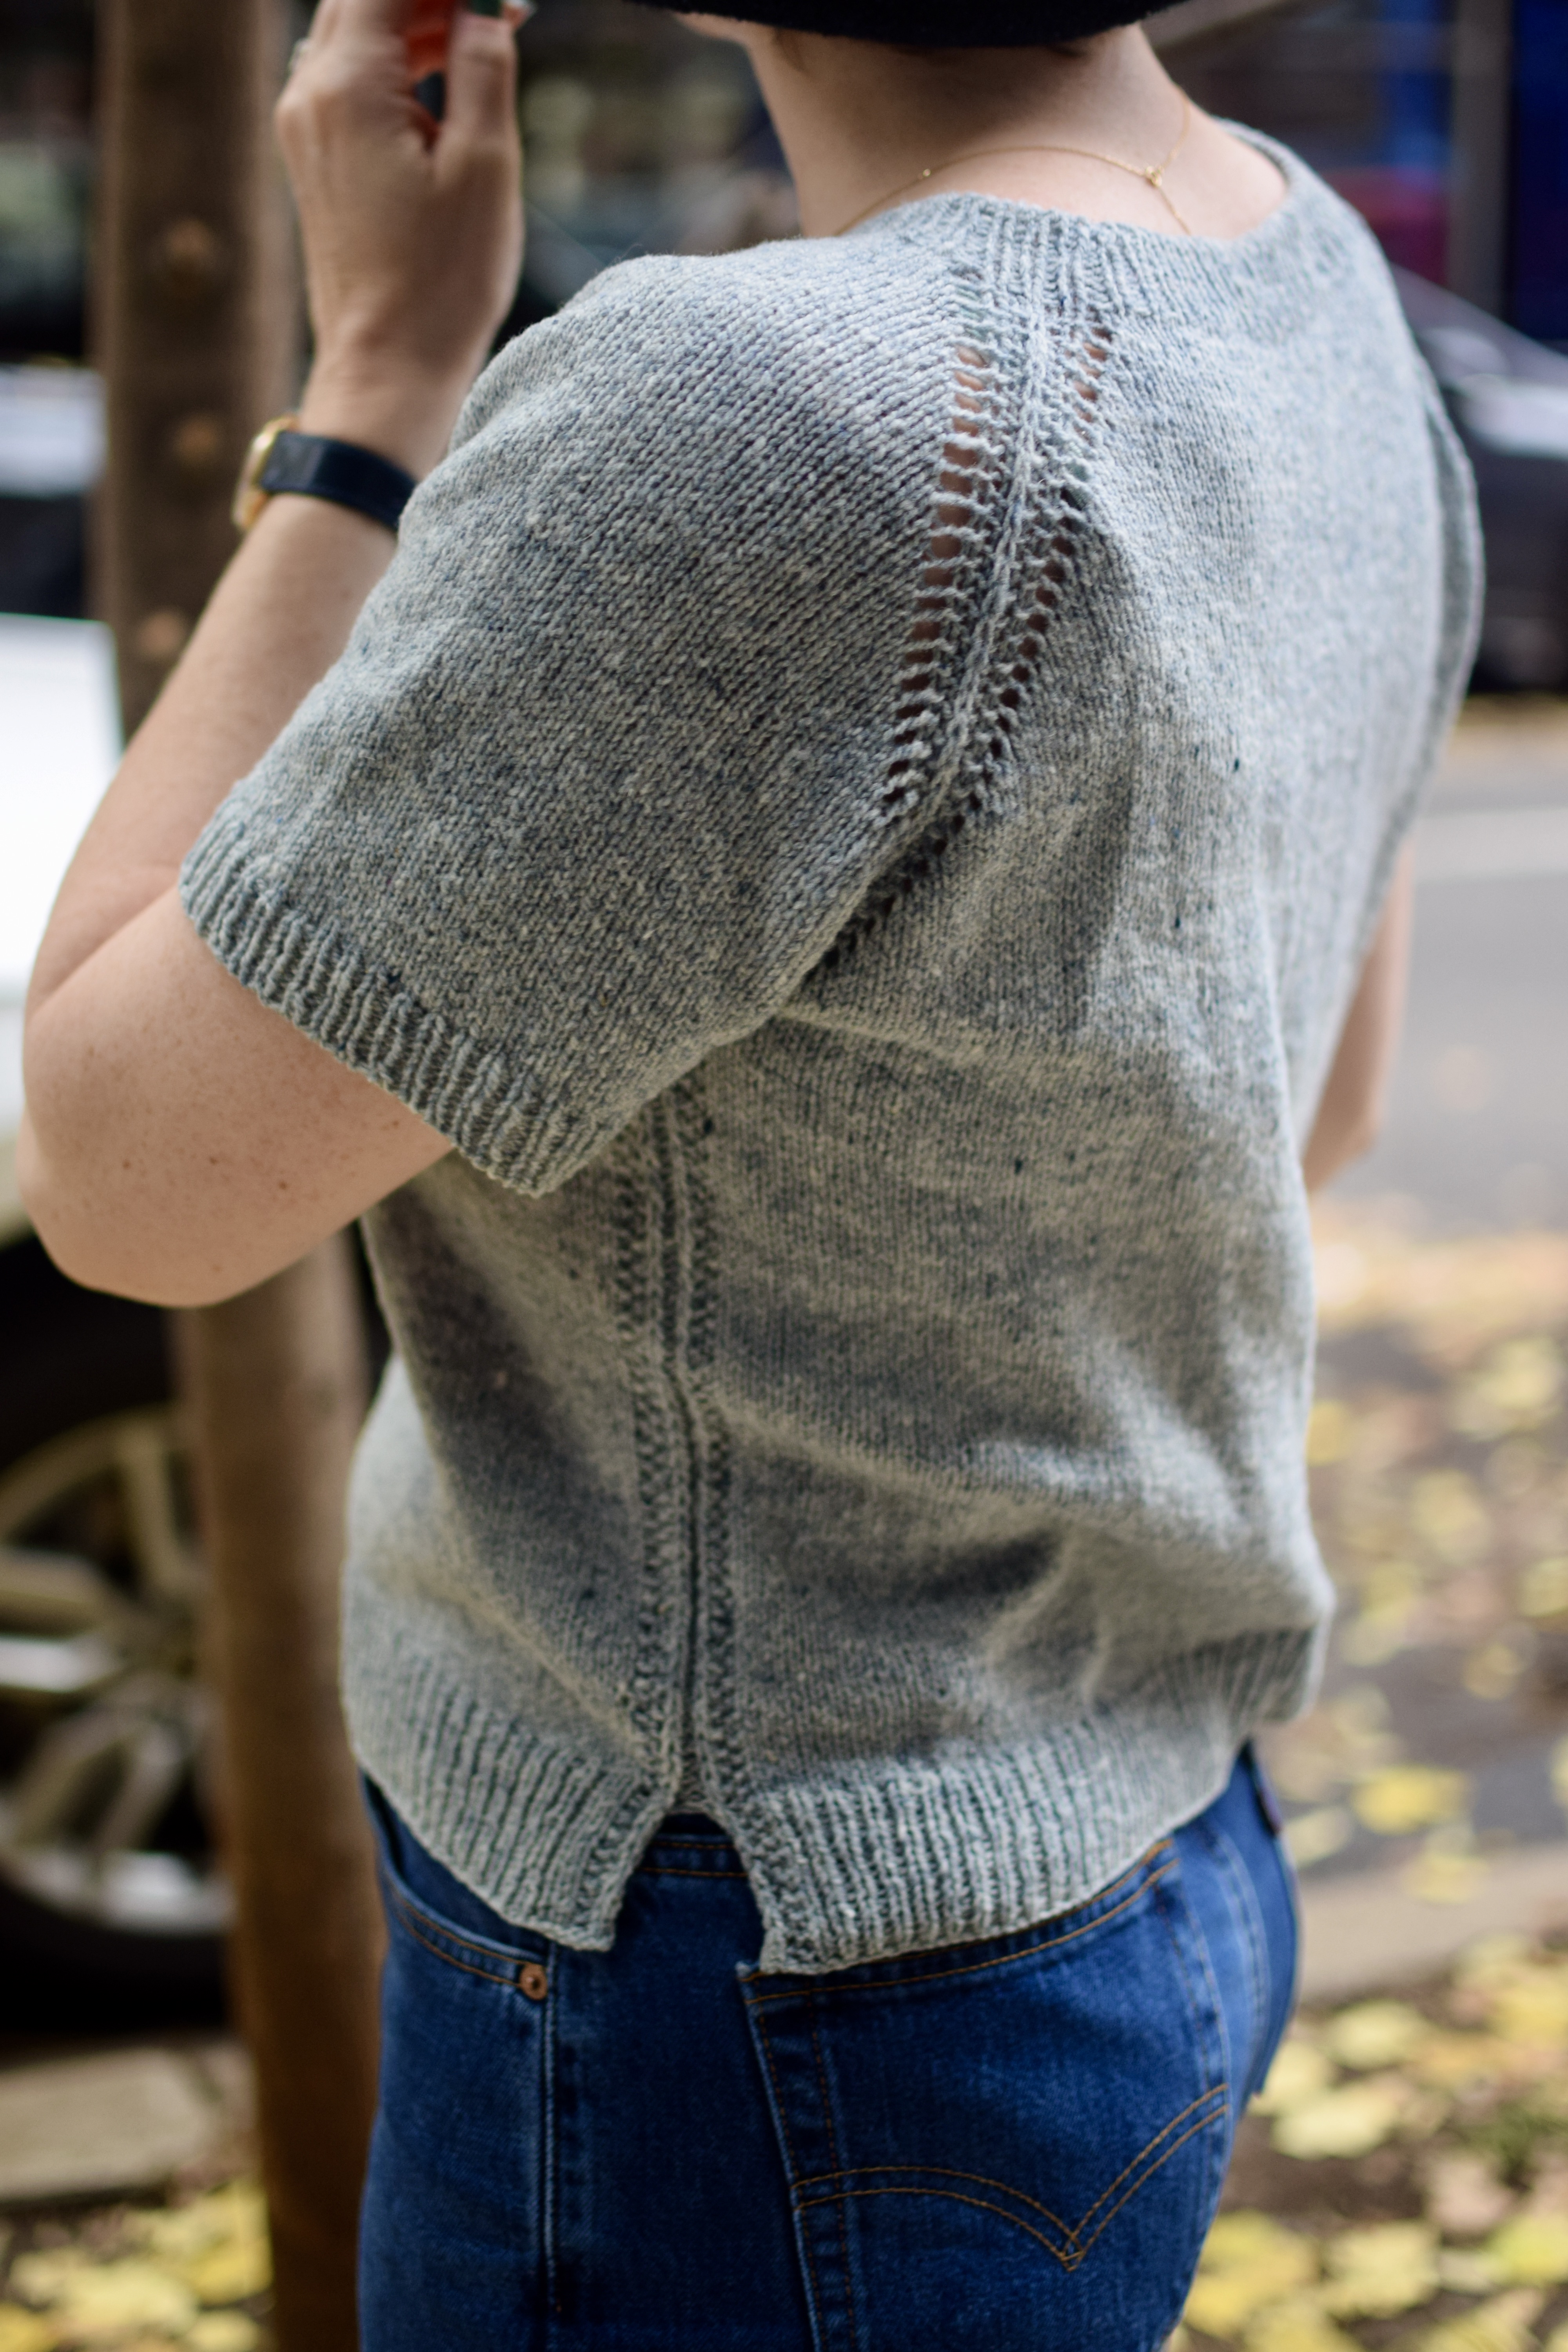
short sleeved raglan
I constantly push up the sleeves of sweaters, so I wanted to try out short sleeves to see how I like it. I got this beautiful yarn from Green Mountain Spinnery last Rhinebeck, and found this Thea Colman pattern that uses this exact yarn and colorway for the sample!
felted beret
While at the Met a few weeks ago, I stopped in my tracks to admire an older woman wearing a very dramatic beret. She looked so stylish that I immediately decided to make a beret of my own. A few years ago I made a white and gray beret with some scraps, but I wanted a navy one with a more dramatic profile.
Last year I made Kiyomi Burgin‘s felt tipped toque. Her felting instructions were thorough and I thought I might try felting this beret. I based the beret on James Watts‘ Best Beret, but I made the brim differently because I don’t love the pattern’s icord cast on. I did a live stitch cast on, knitted 8 rows, 1 purl row, and knitted 8 more rows, then knit the live stitches with the next row to make the brim. After that I followed the pattern instructions for the “dramatic” version of the beret.
I used malabrigo Worsted, it was perfect and felted so quickly! I did 1 round of felting for about 10 minutes, then let it dry to try it on. It was a little big, so I felted again for a few minutes. It eventually took 1 more round of felting, and now it fits PERFECTLY!
I watched a video on how to wear a beret, and learned that you are supposed to turn in the brim so its not exposed. FYI!
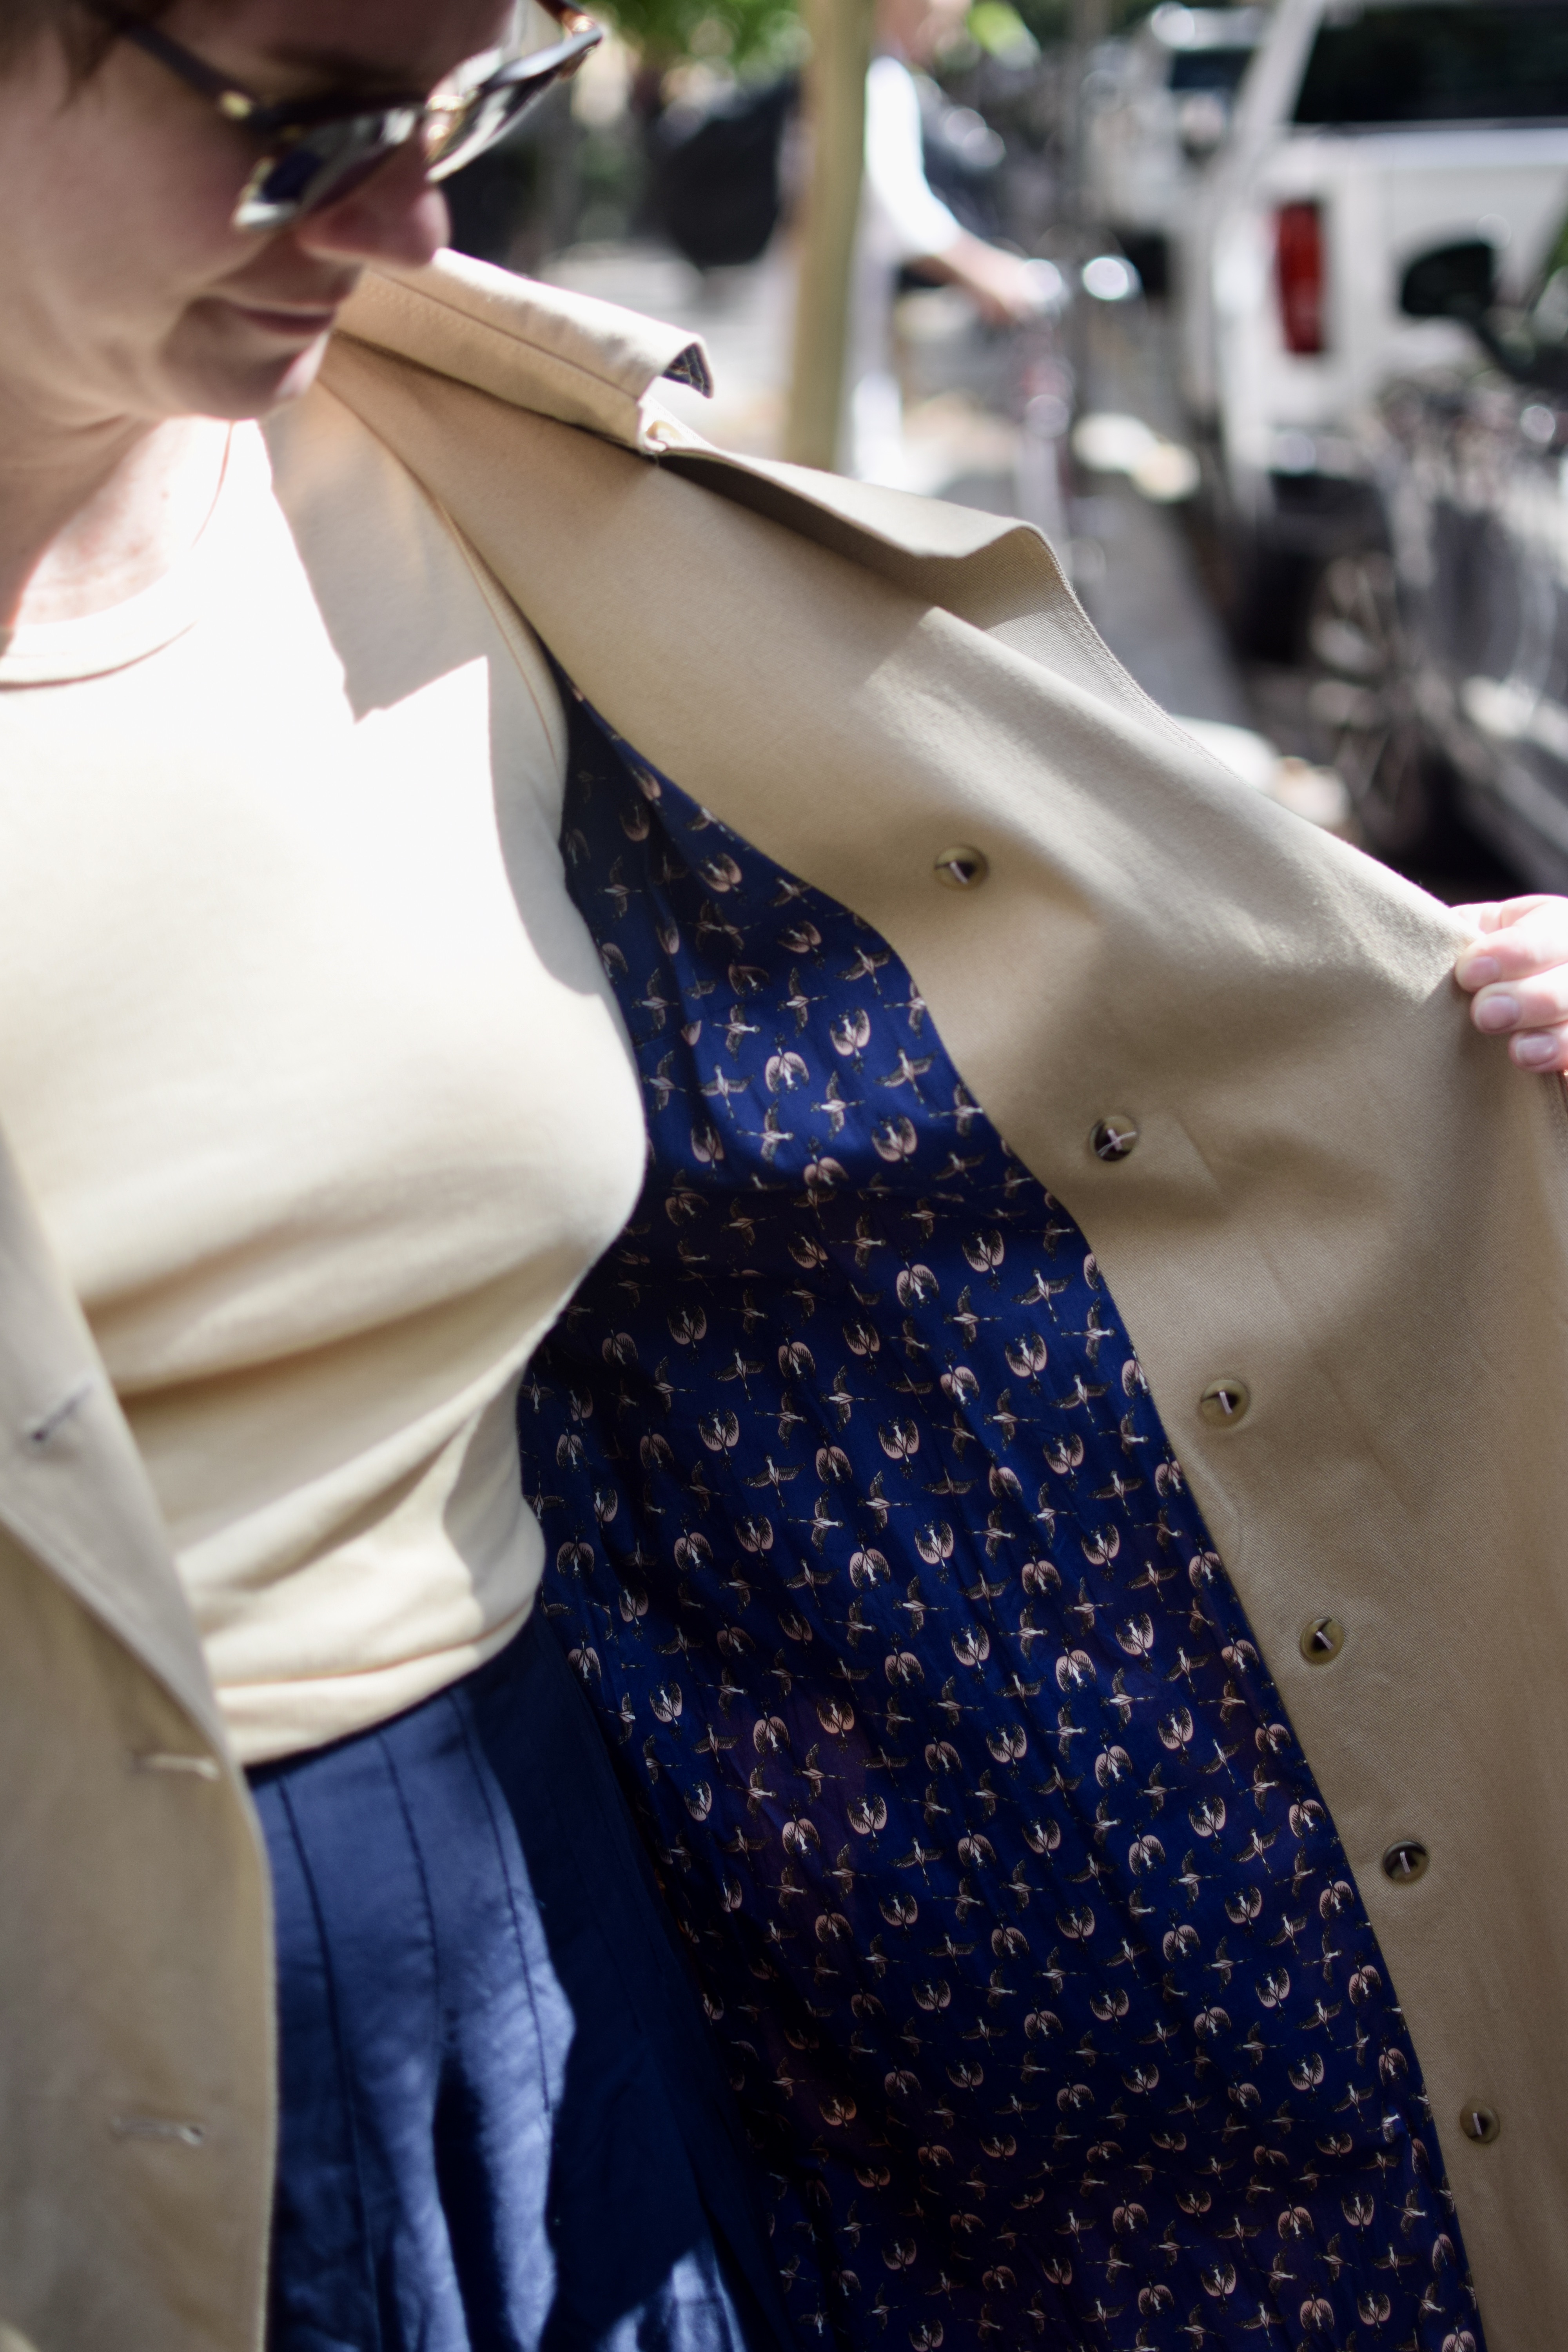
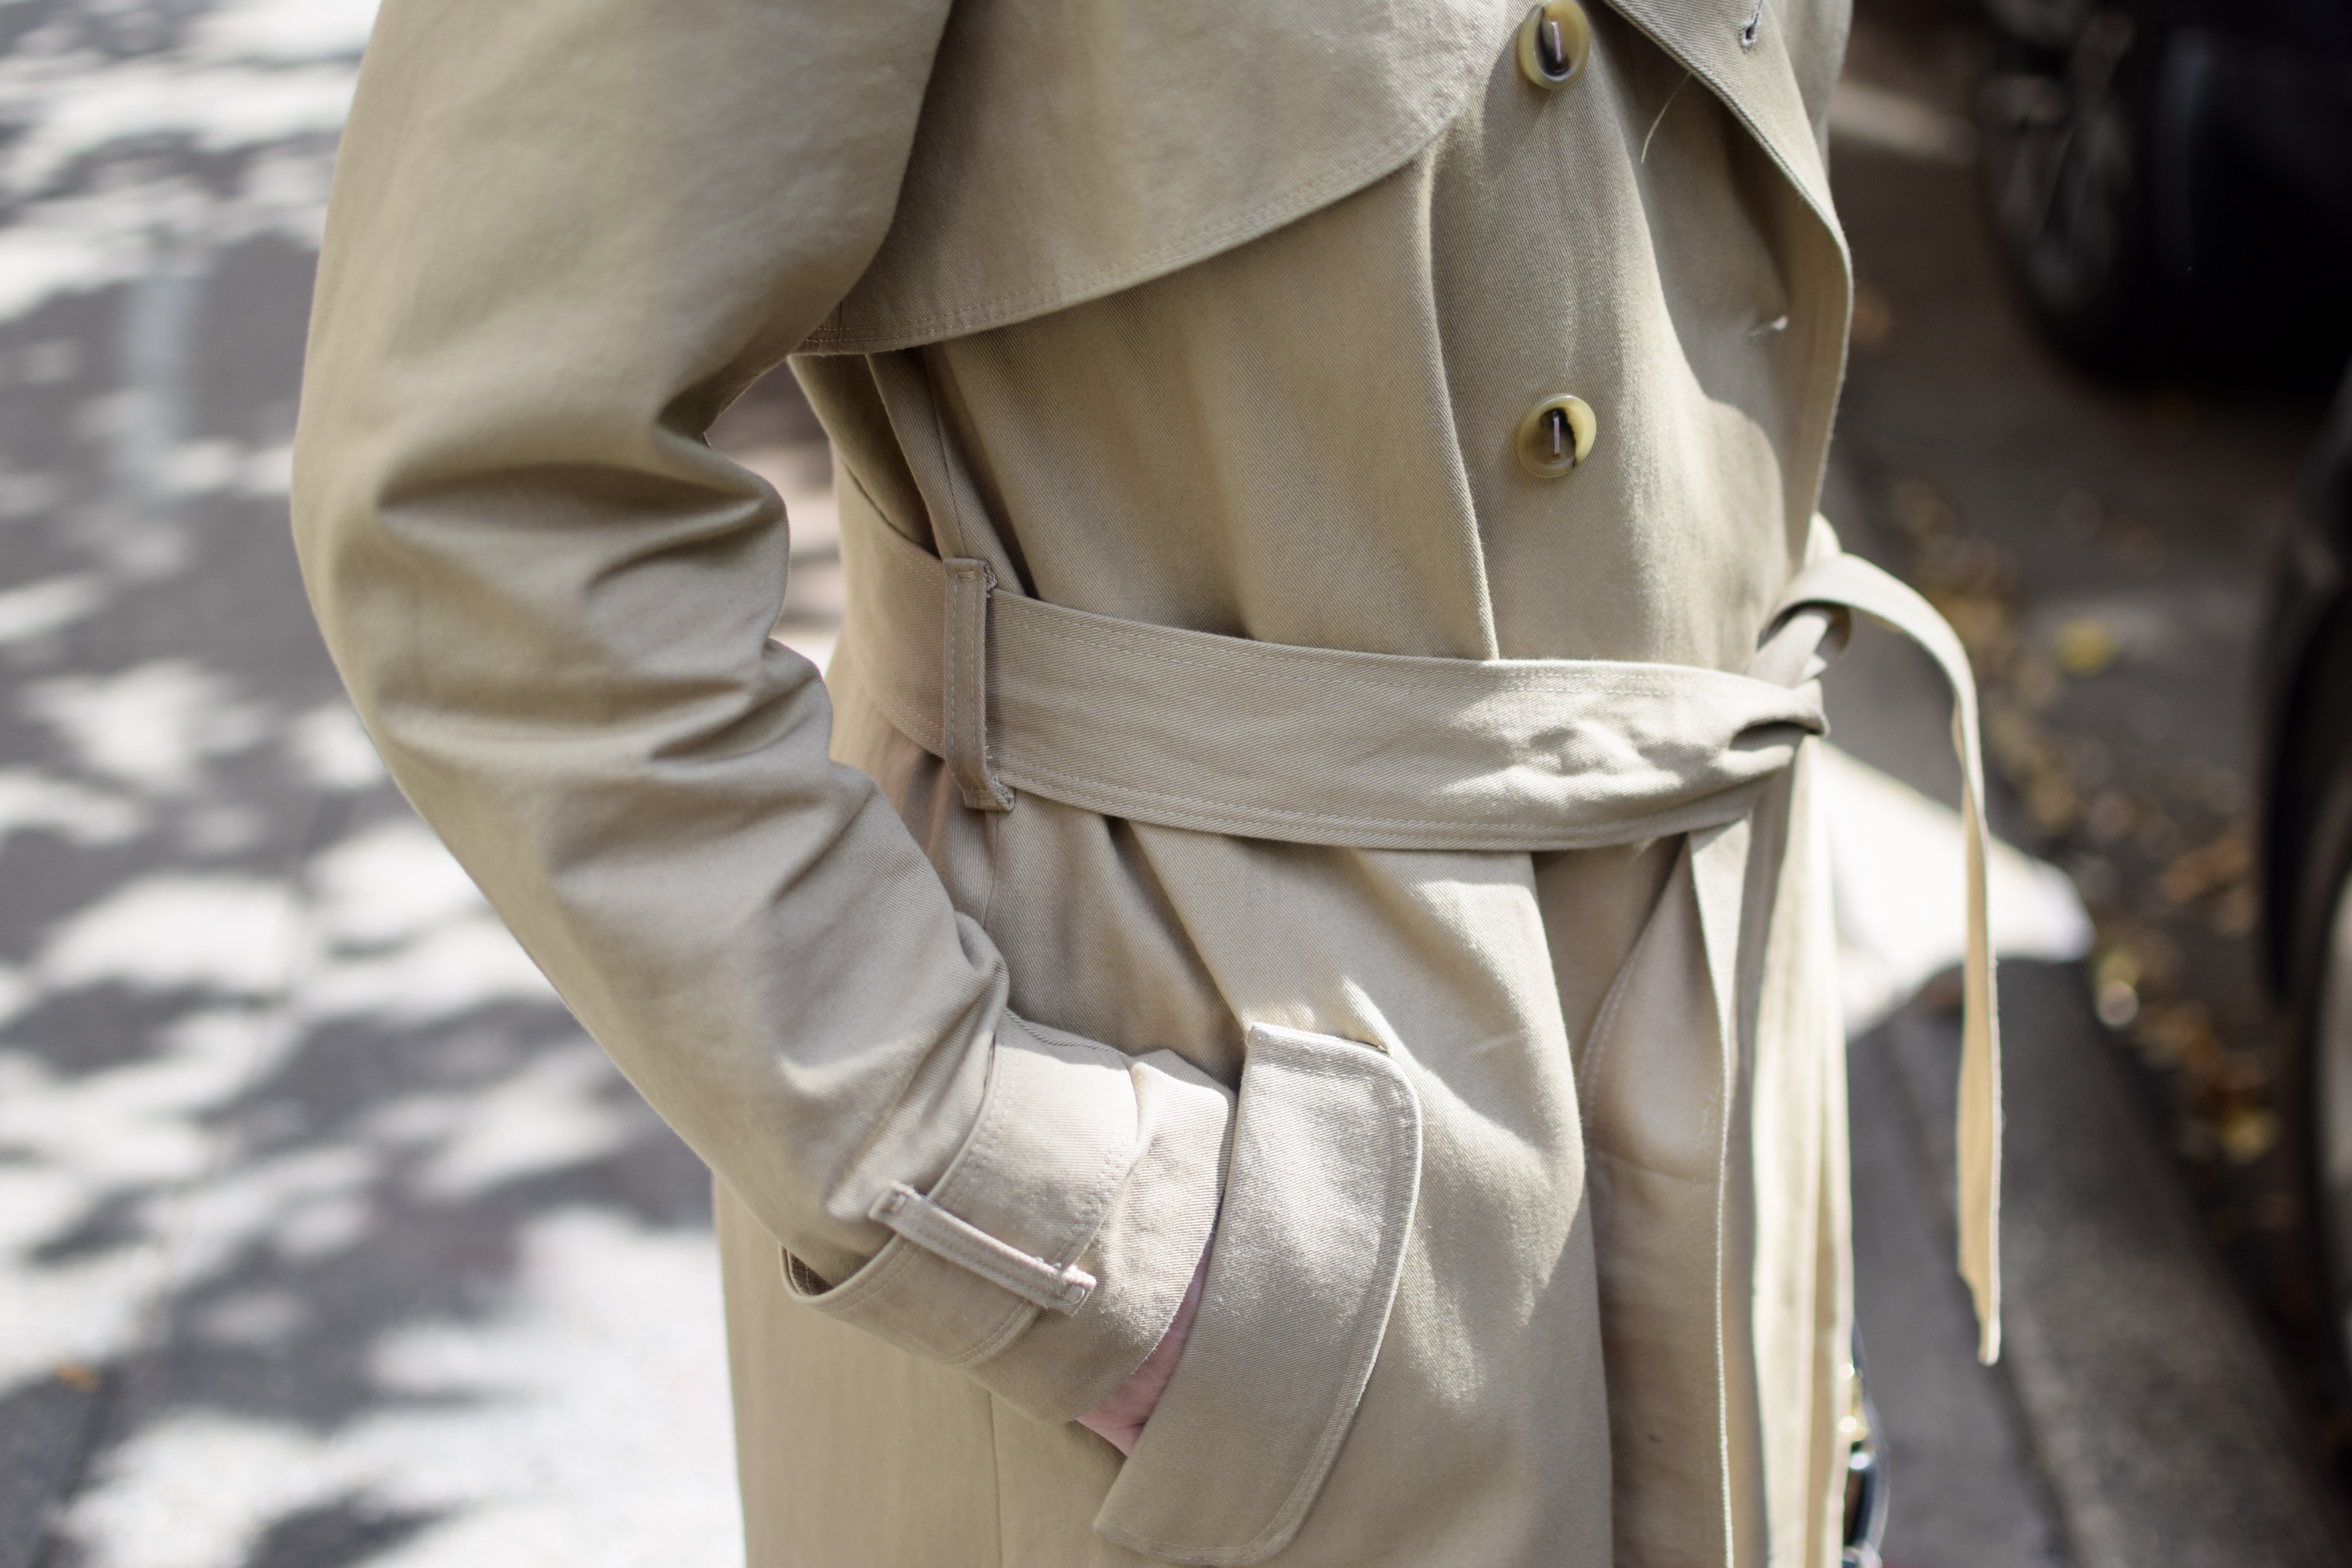
I made the Isla trench this past spring. A big project that was on my “to-make wishlist” for years! I finished just in the nick of time to get a couple wears before the weather turned too hot. now that its cool again its time to get some pics.
I followed the pattern to the T. Had a lot of trouble setting the sleeves and sewing the back vent. The sleeves took at least 3 attempts each. They still aren’t perfect but I just couldn’t bear to seam rip them another time. The pattern’s many, many pieces were a bit overwhelming, but the instructions were straightforward.
Its a little bit long and drags on the floor when going down steps, but I love how weighty it feels. I went to B+J to find the twill, and they had the perfect fabric to match my vision. I lined it in some beautiful bird print Liberty, with navy Bemberg sleeves.
When I wear this coat I feel like a superhero among so many store-bought trenches. It’s a great transitional piece.
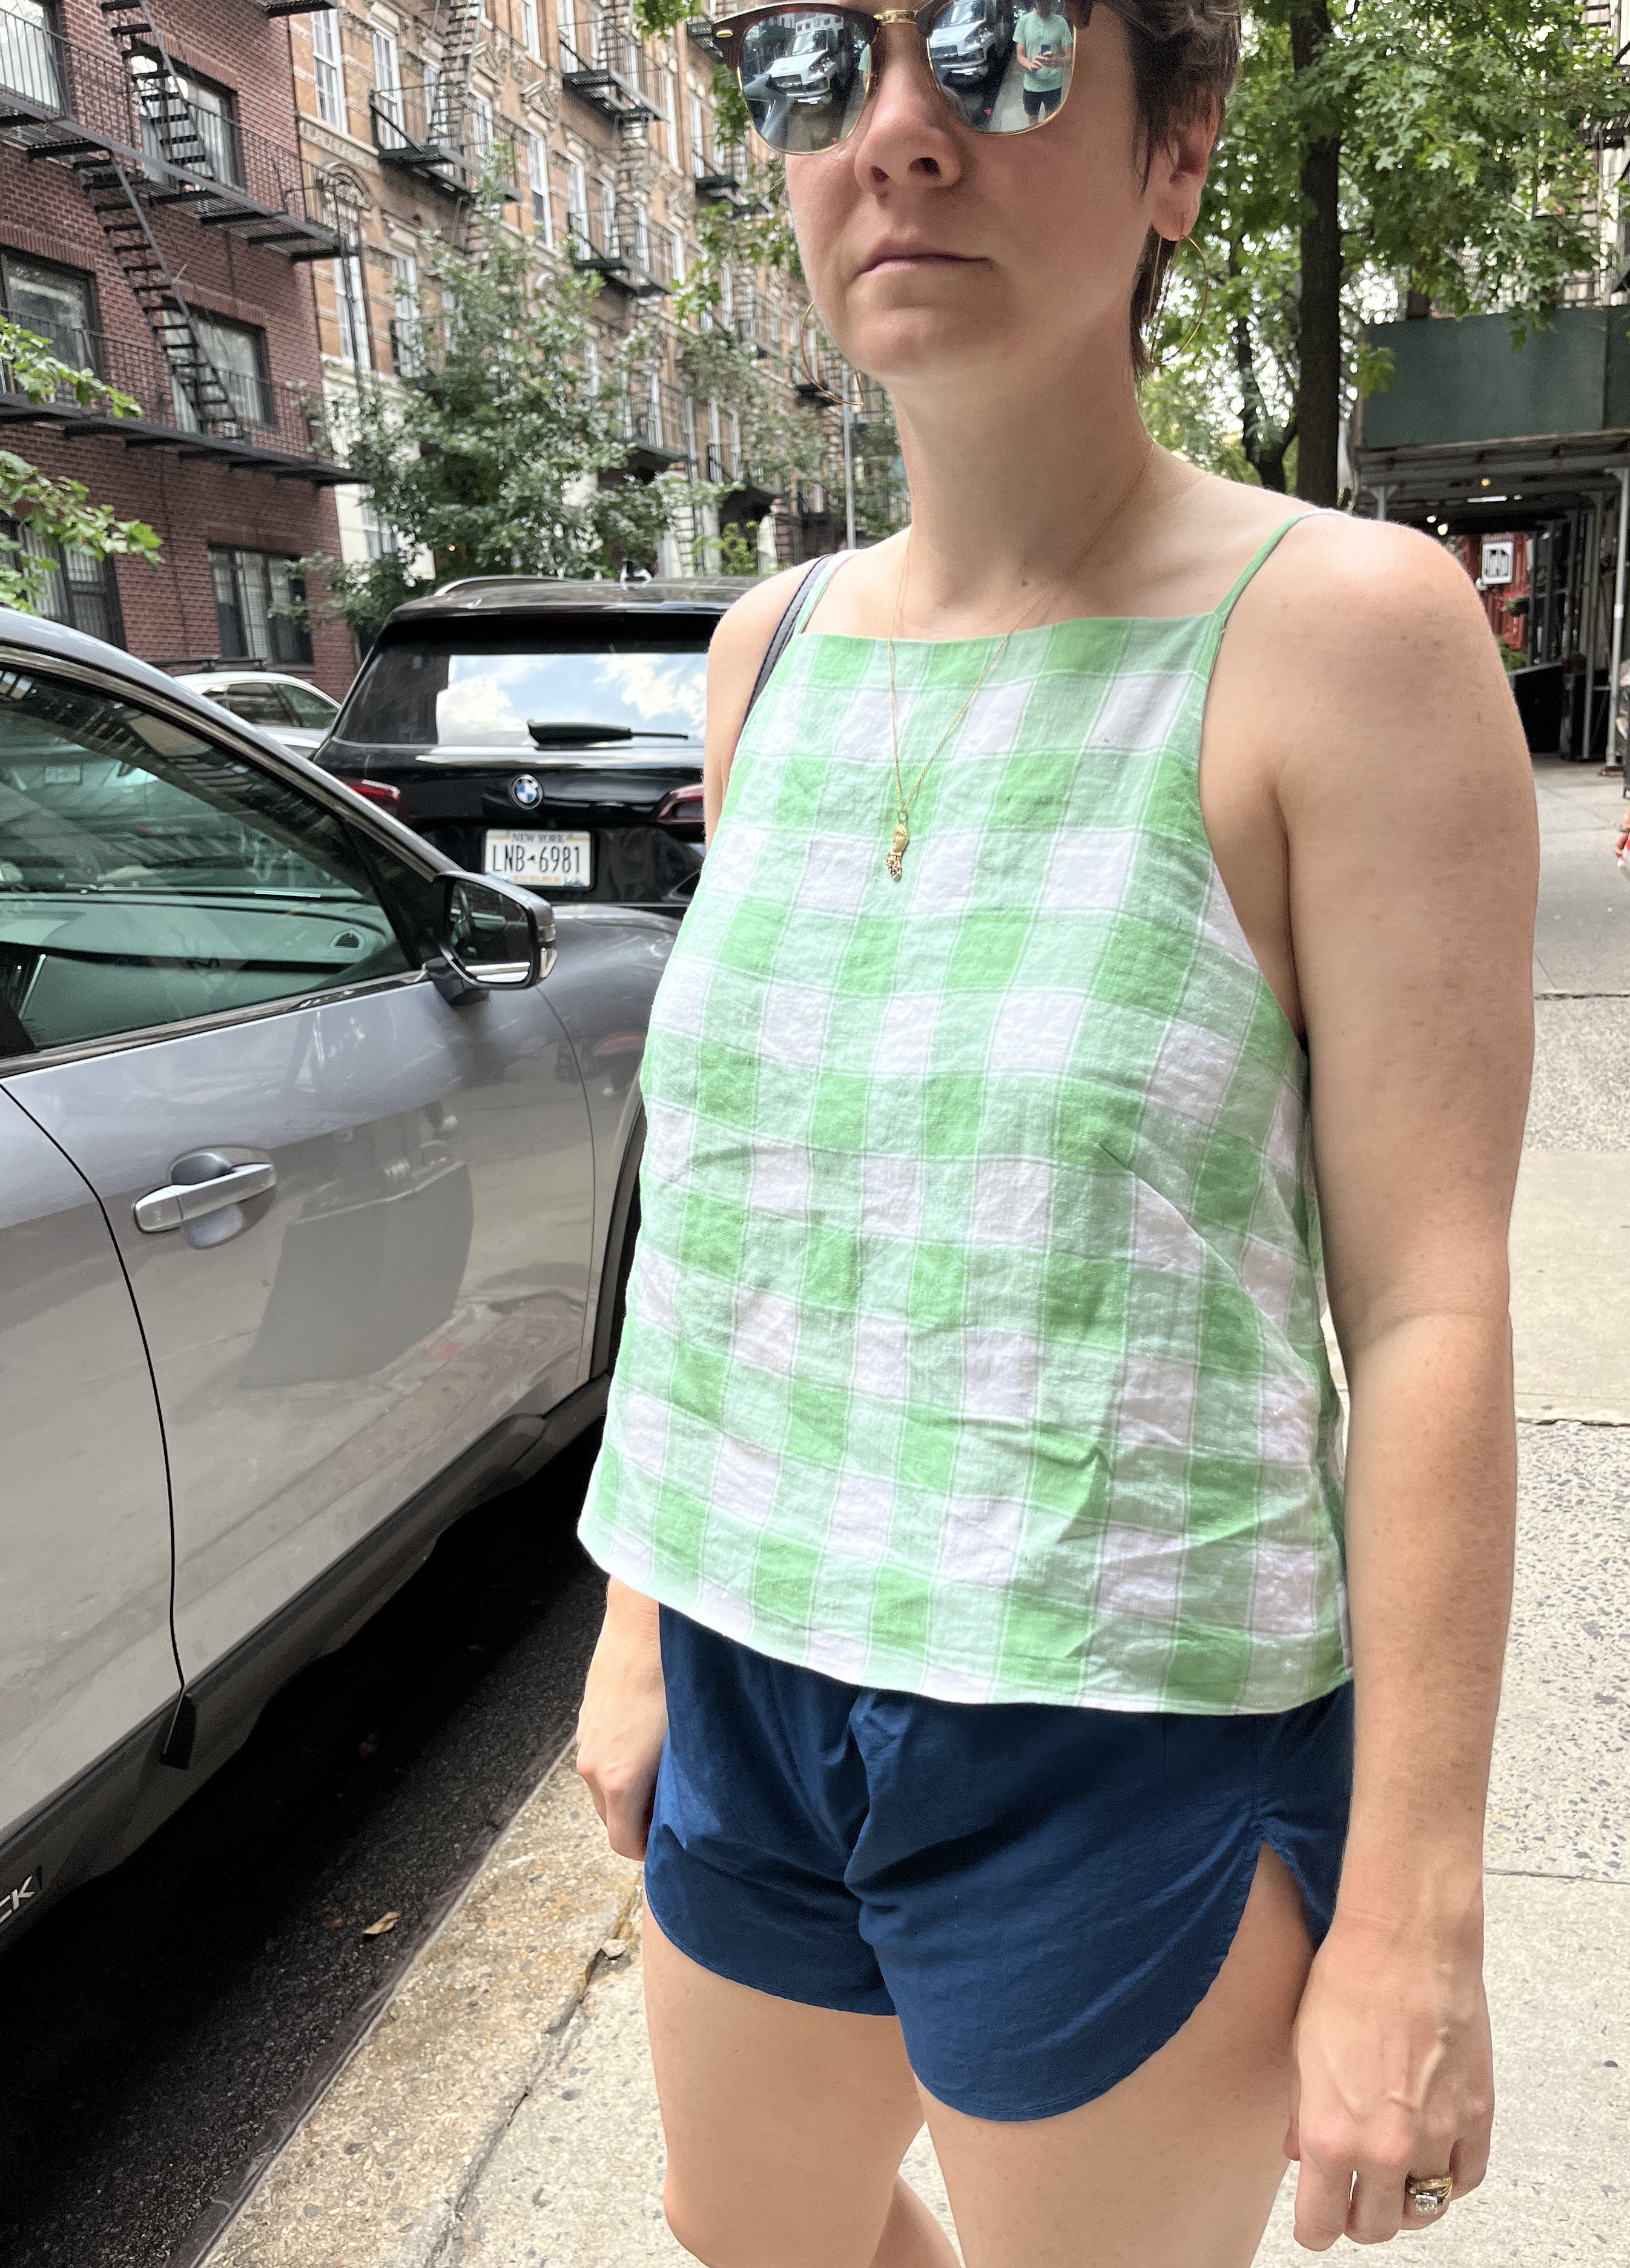
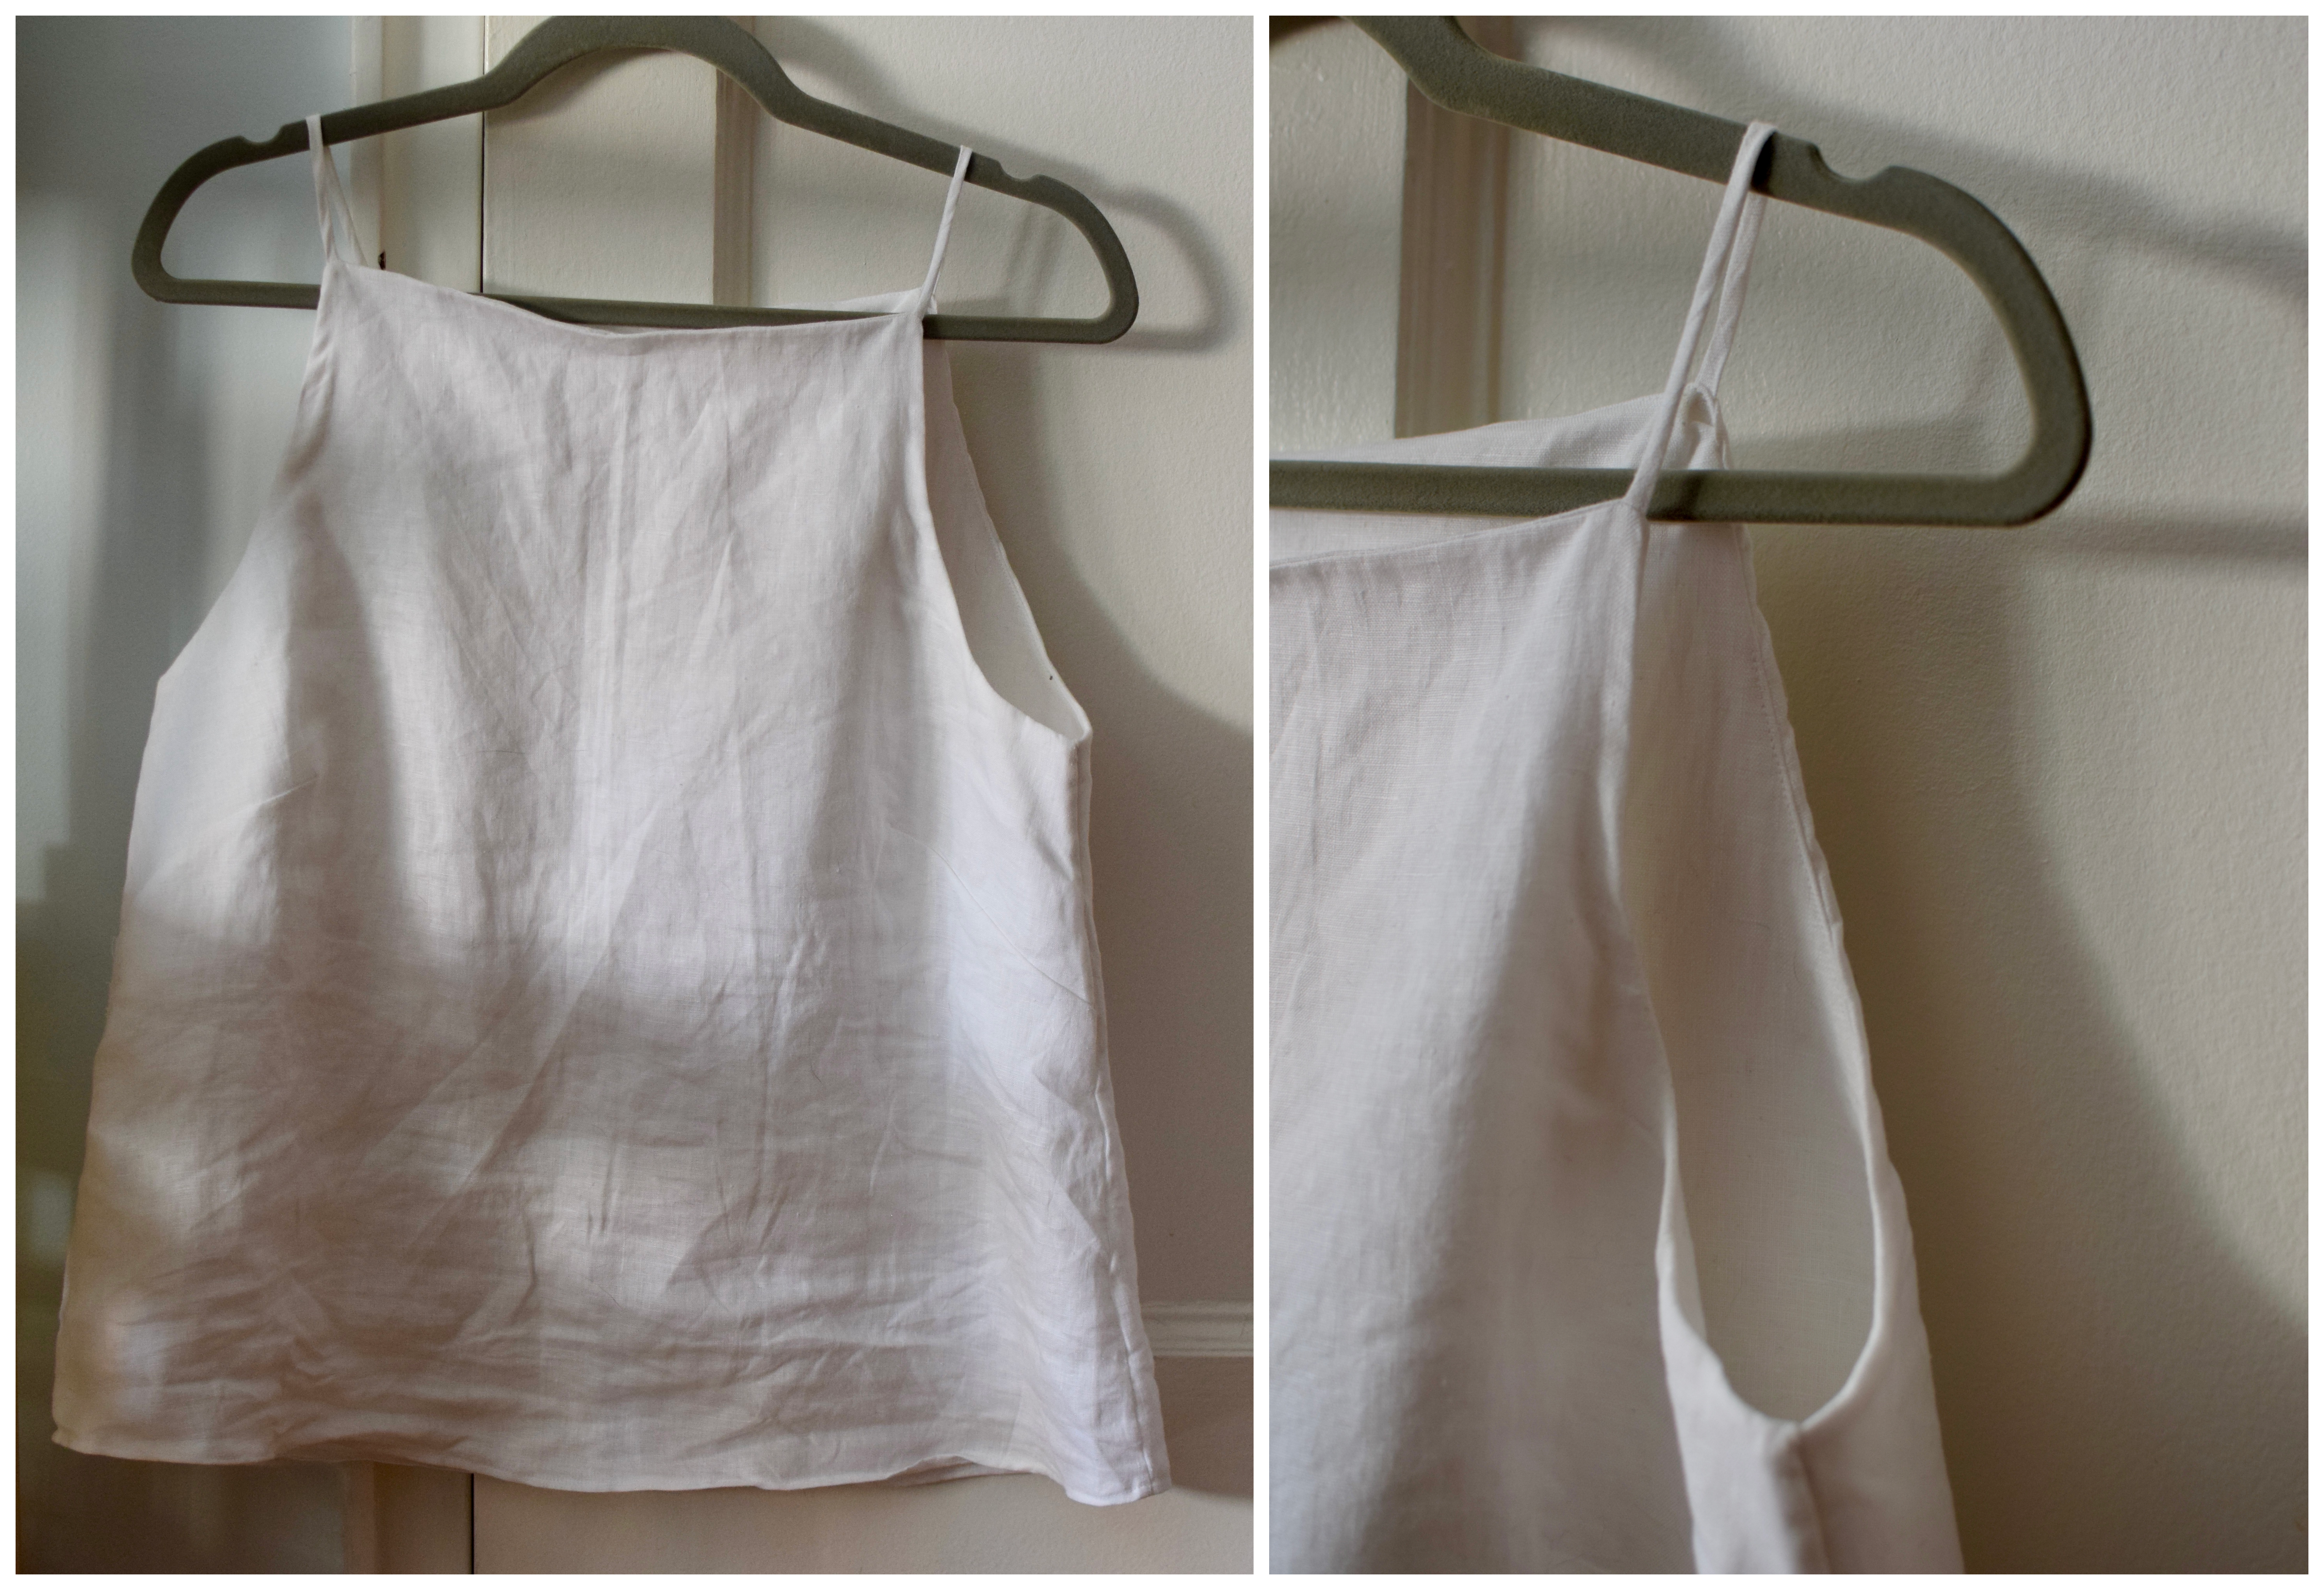
Tessuti re-released their Romy top with a dress variation, and I saw it in a new light. I am not normally a square neckline person so I never considered making it, but I thought I’d give it a go with some leftover white linen from my stash.
I have found my new favorite neckline!! It’s so flattering, I love it. As drafted, this top is a bit long. The pattern calls for interfacing the lining, but this stiff linen did not need it. Somewhere on the internet, I saw someone’s take about avoiding fusible interfacing because its… plastic. Not a great way to stay cool! Nevertheless, its a nice top!
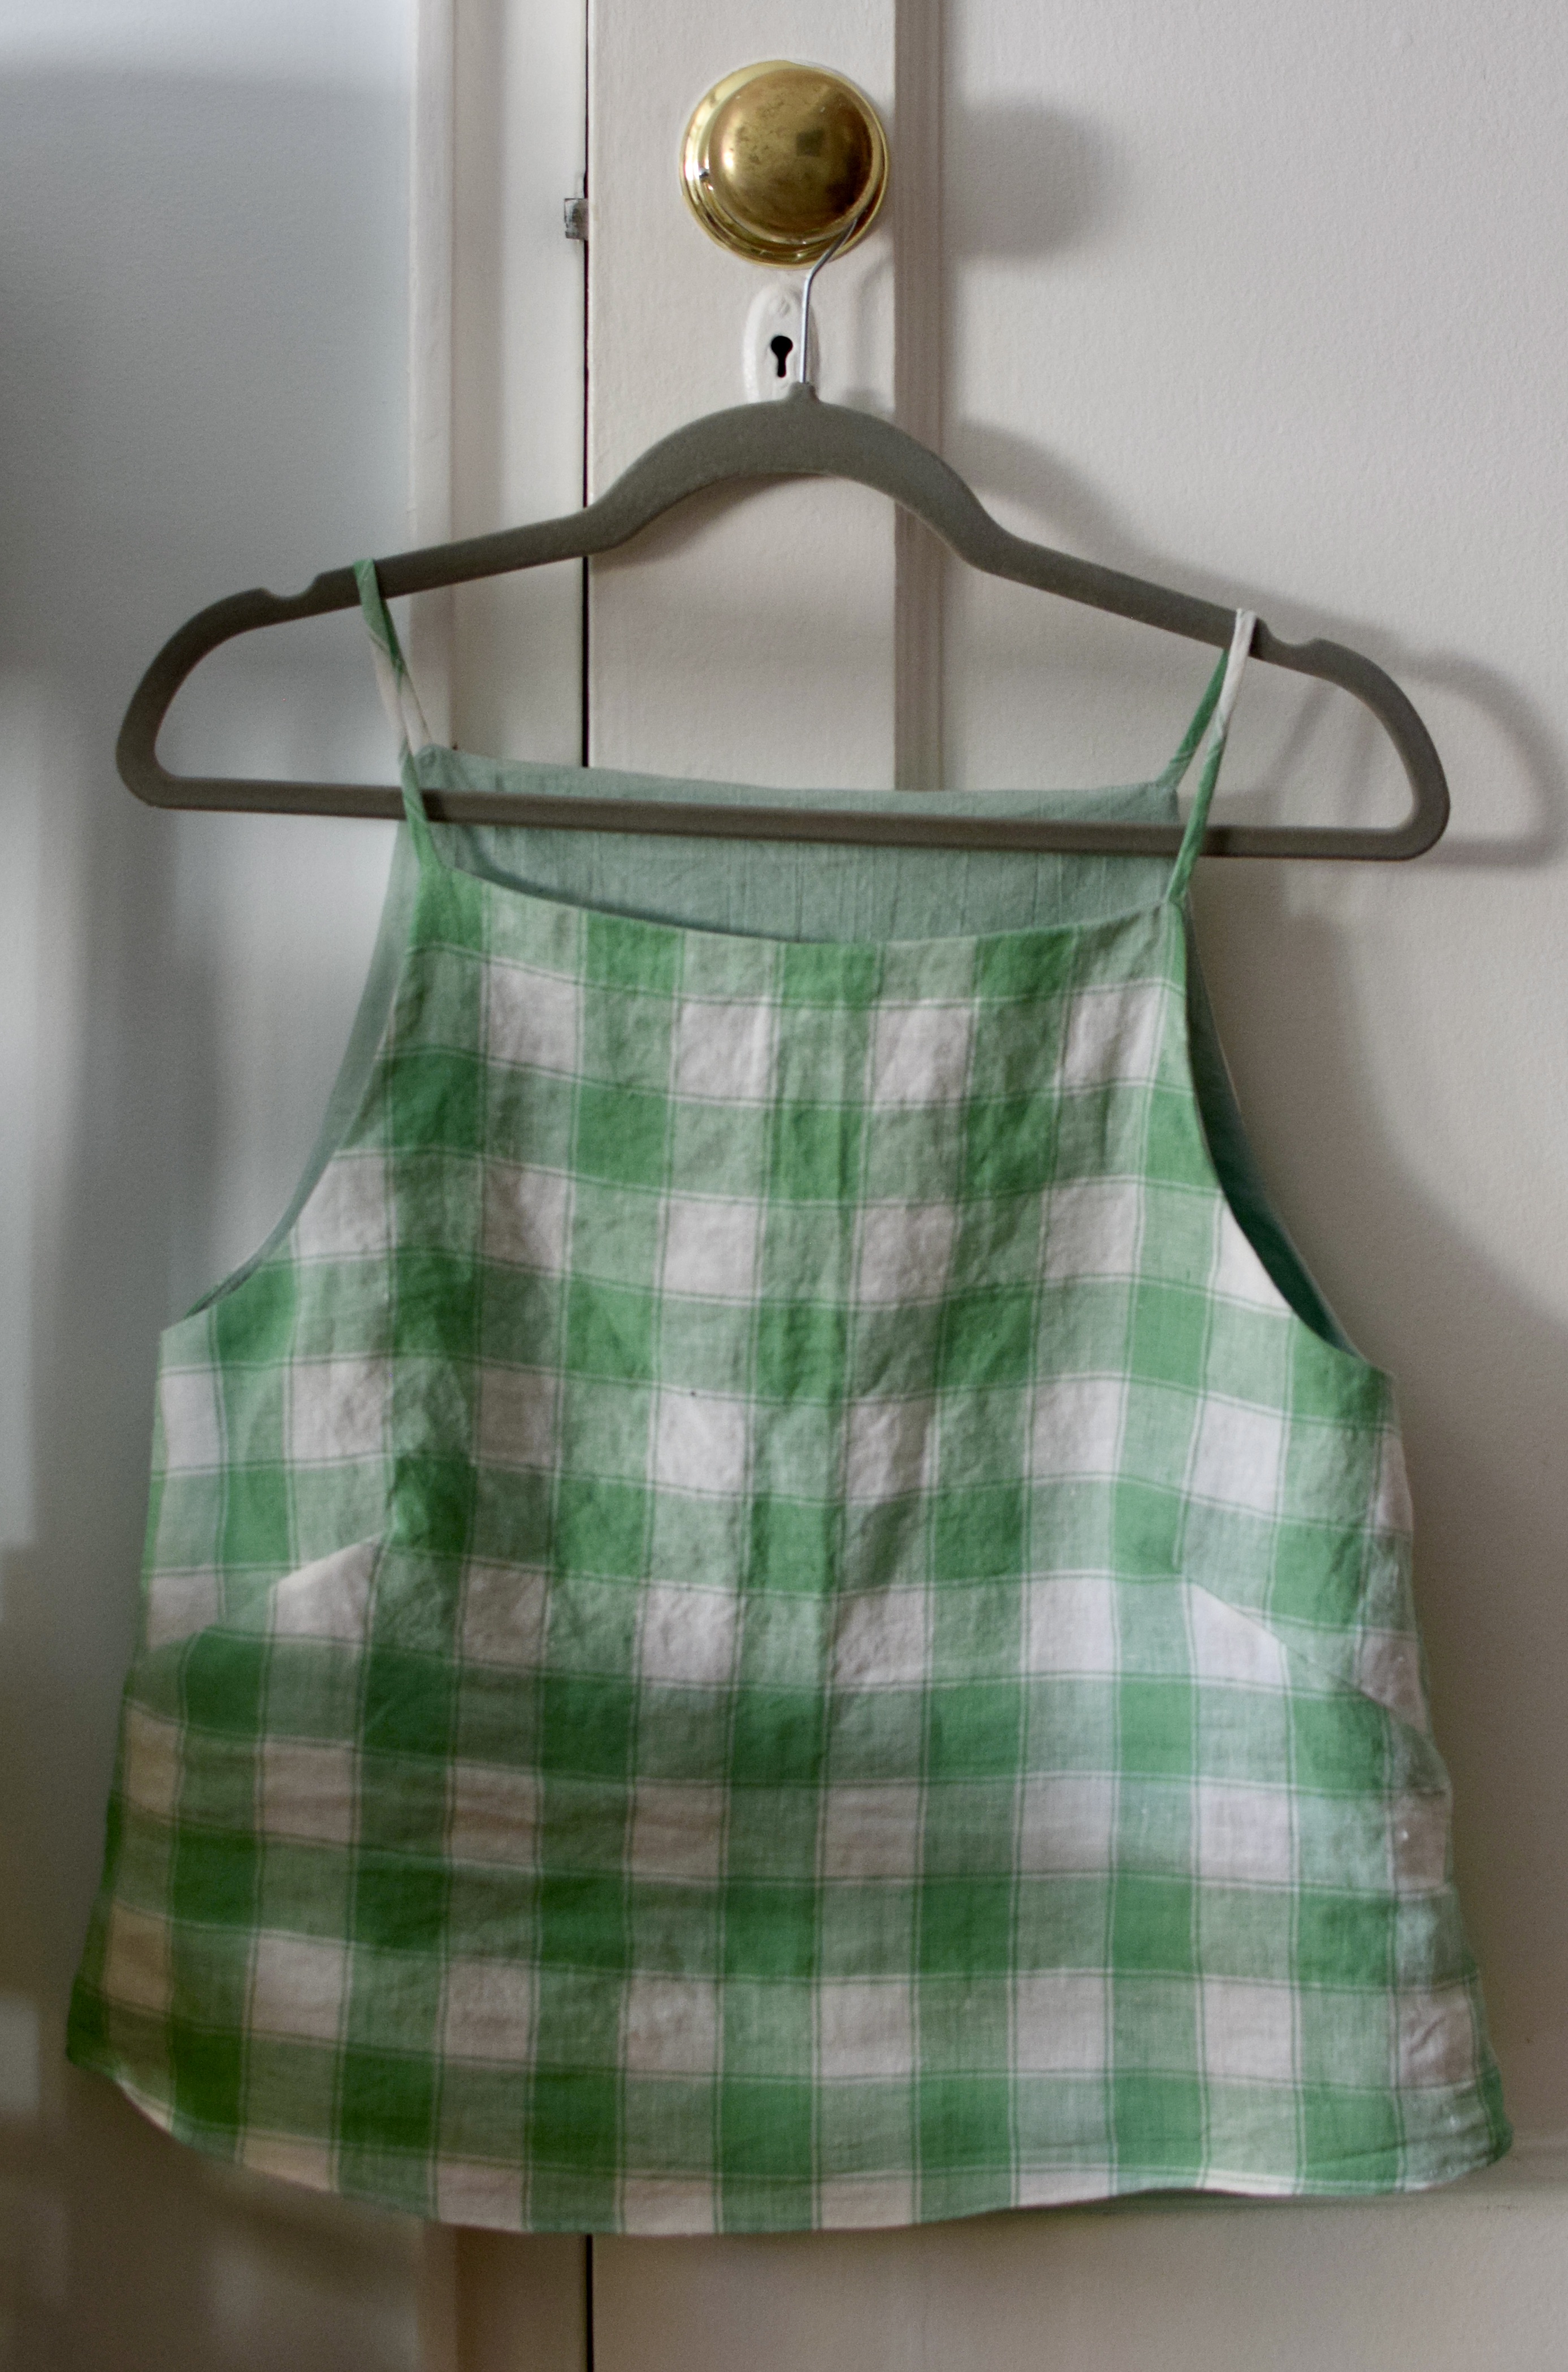
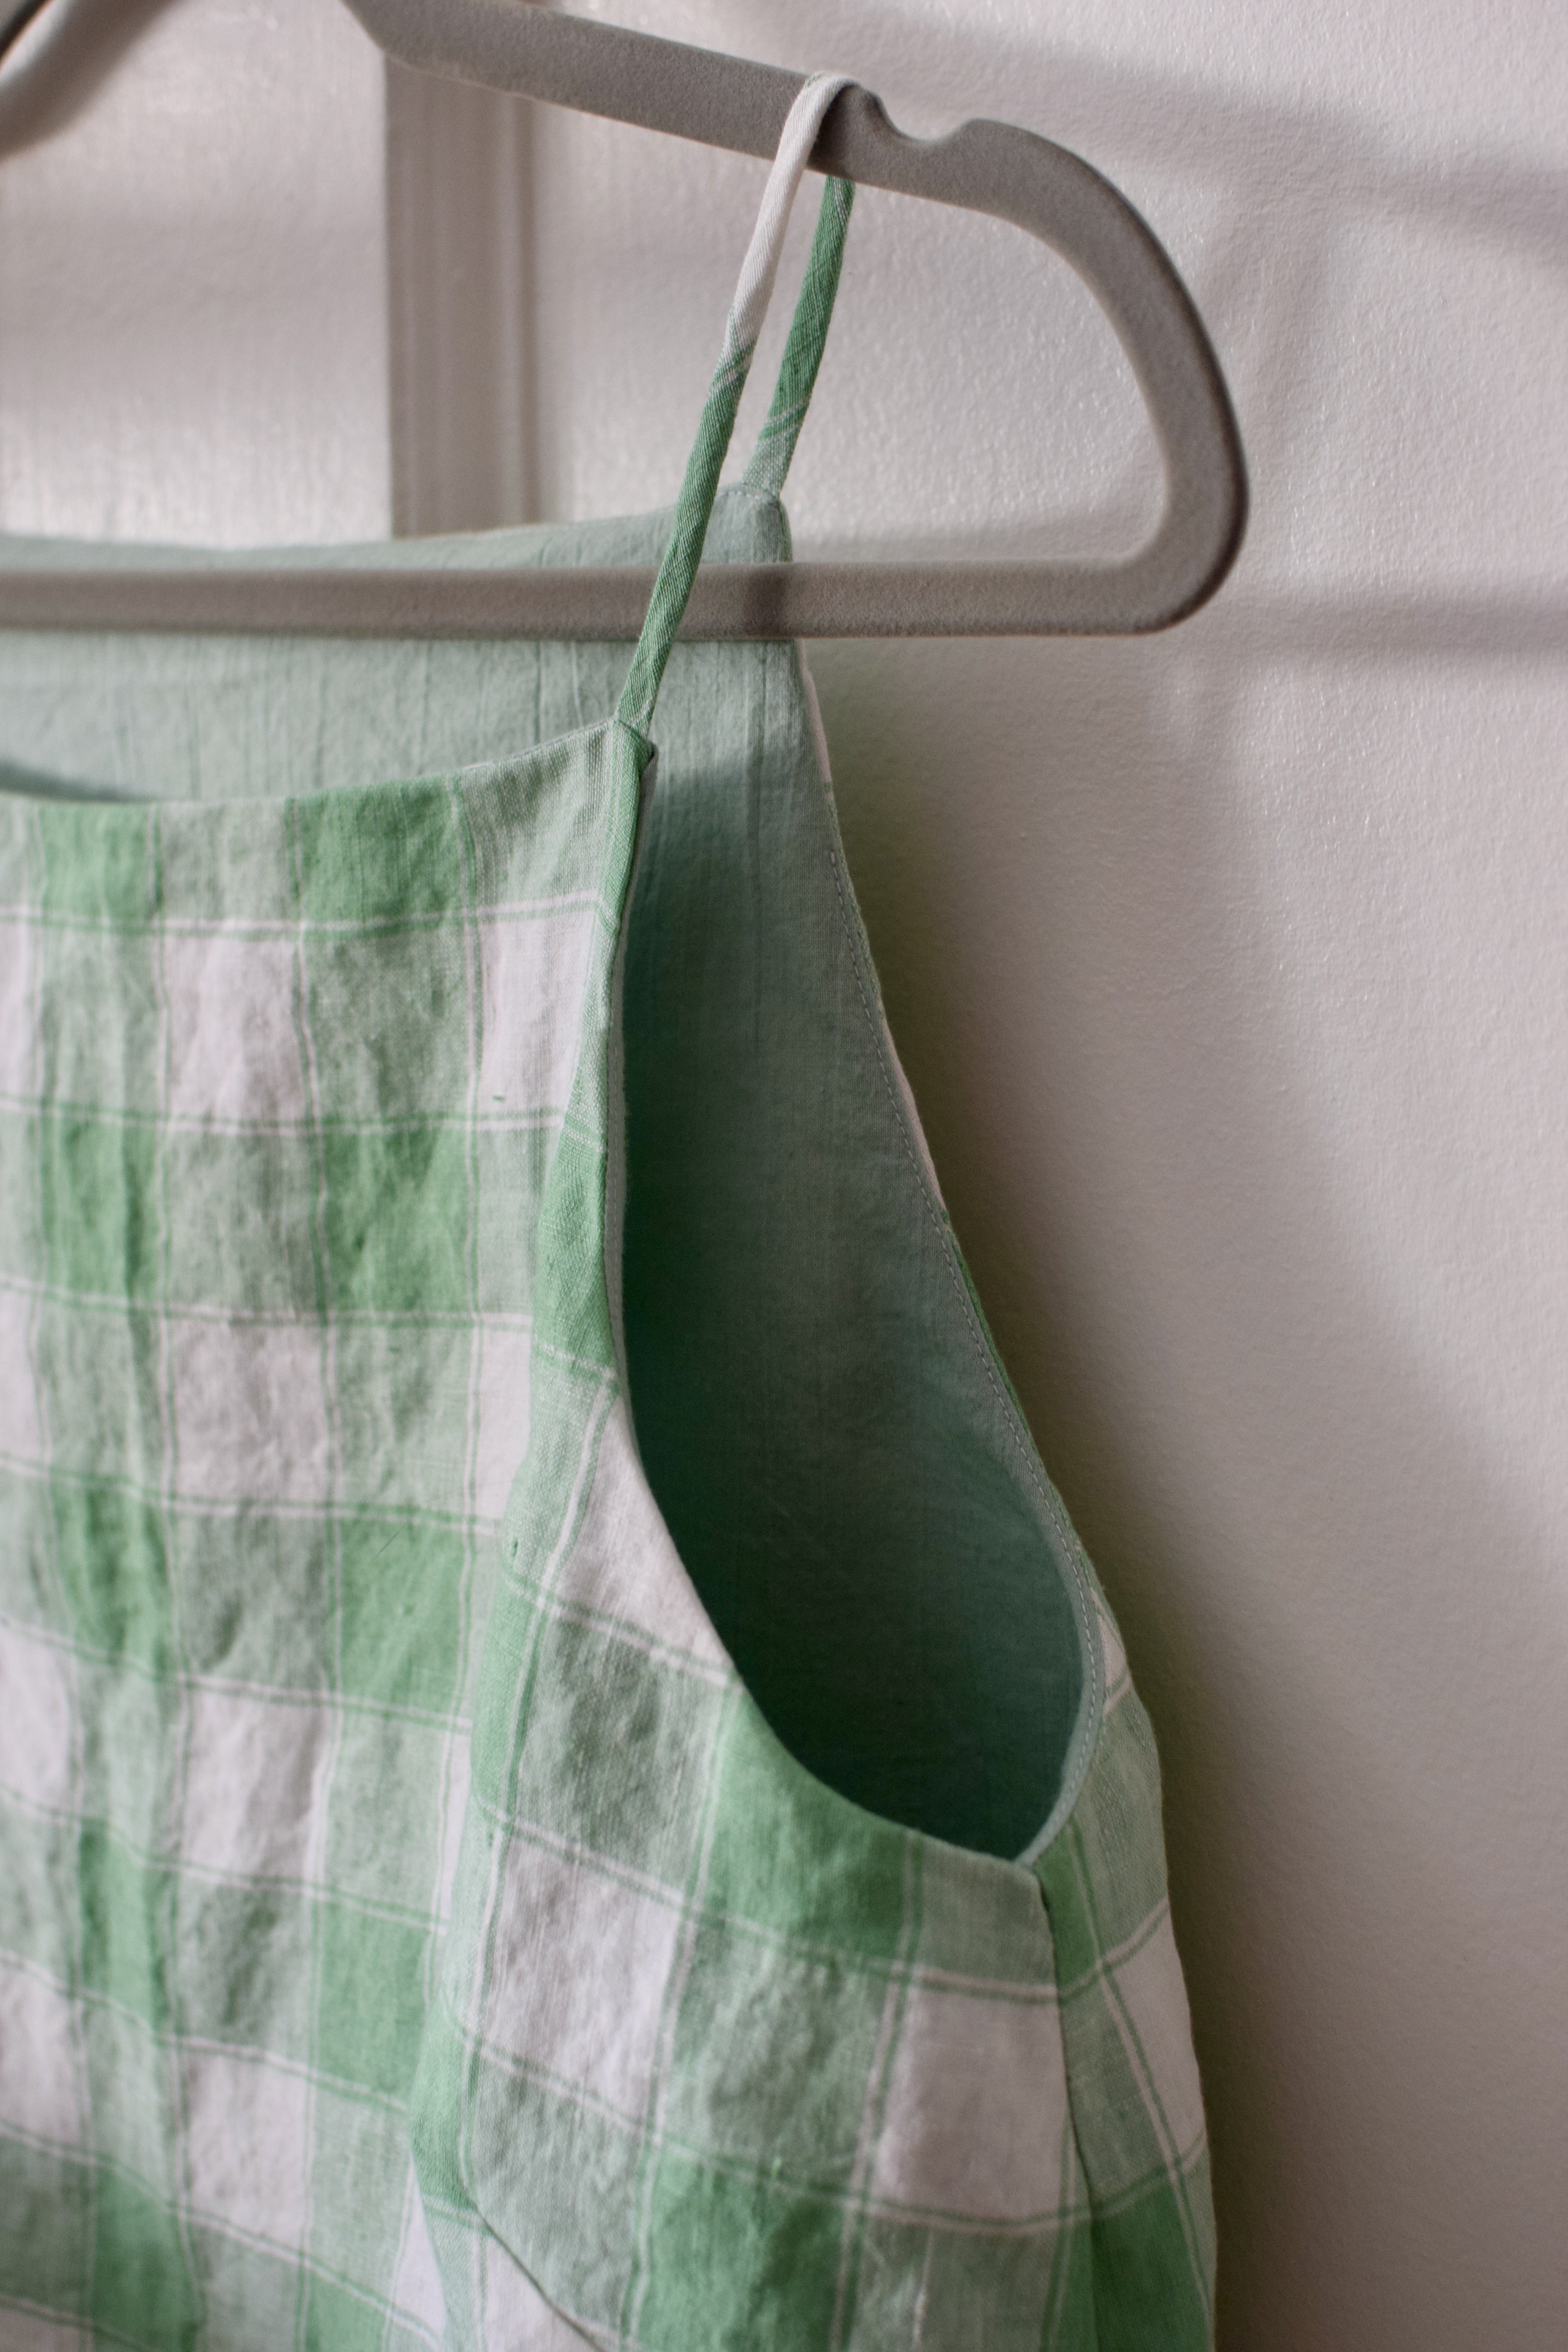
Immediately after finishing the first one, I made another with some linen gingham scraps. Because I had so little left, I lined it with some sage green Spectrum cotton from Purl Soho (oh no they stopped making it!!! Sad!). I cropped it by 4″ (per Tessuti’s blog post) and didn’t interface the lining. I decided to go down a size since my v1 was pretty roomy. With all these mods, its truly the perfect summer top!
I thought the deep facing might be a bit annoying, but it serves as the perfect modesty layer, as well as a place to catch sweat without anyone else knowing about it.
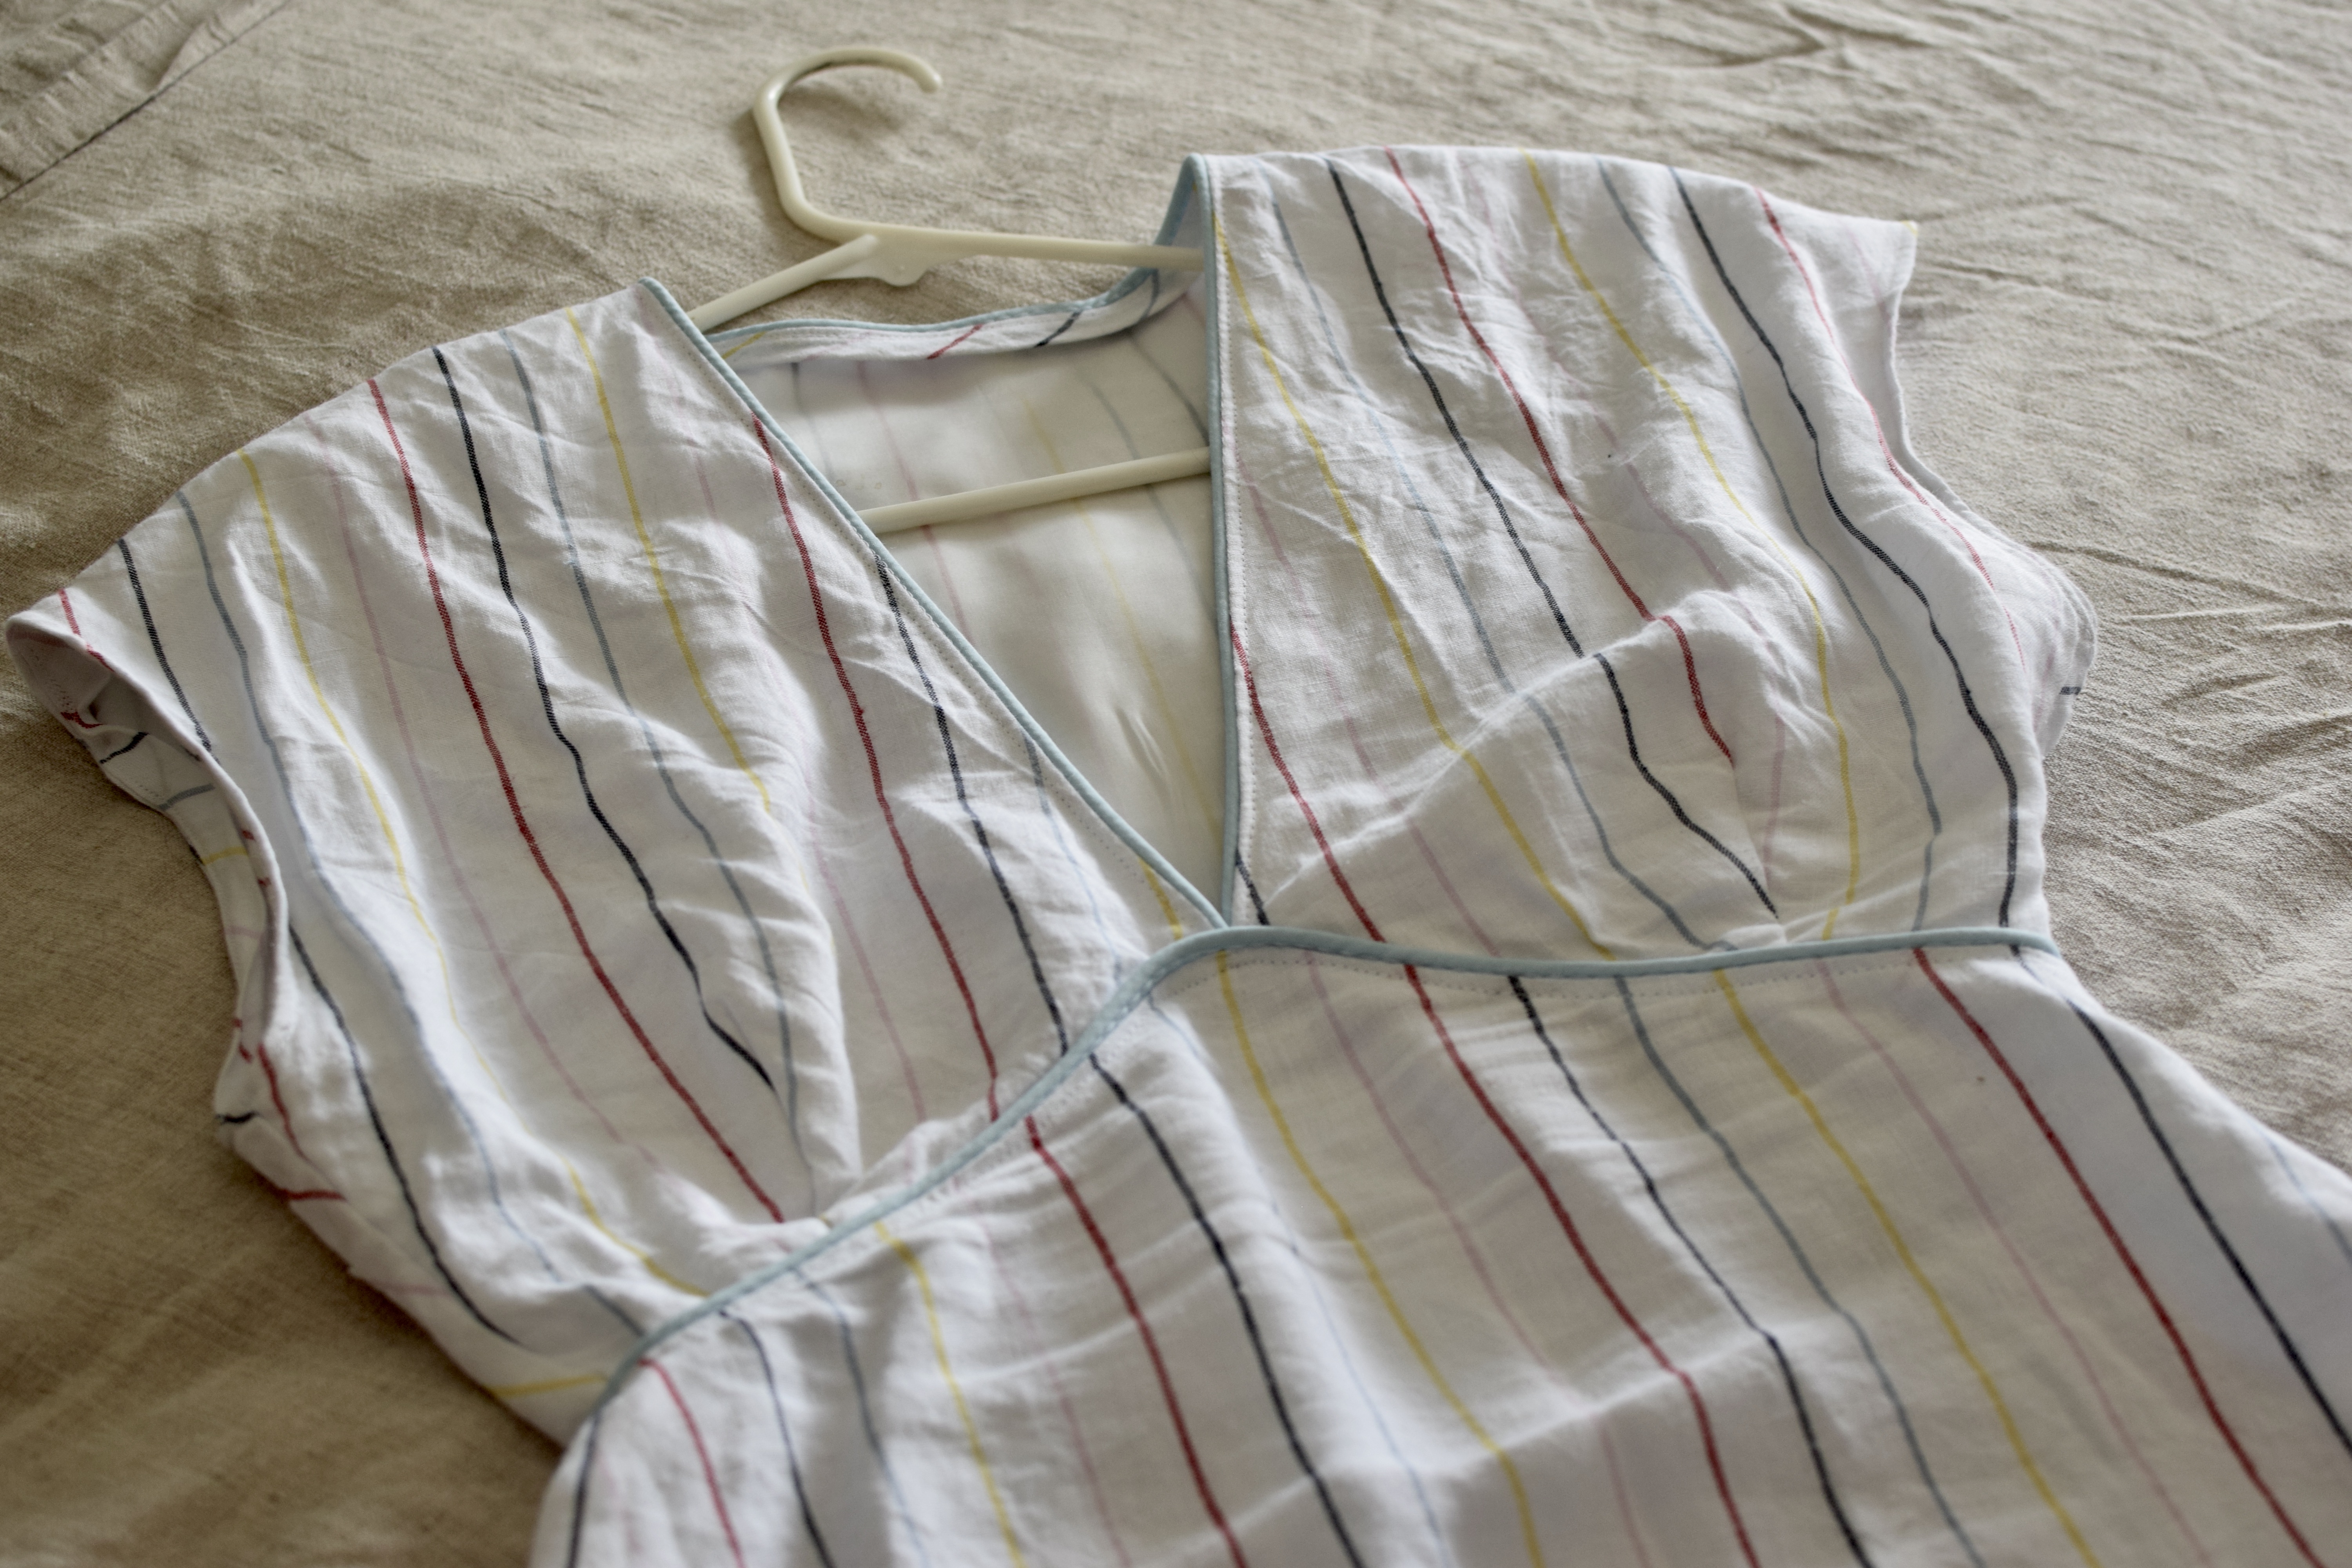
I love my first Lois dress. I made it a long time ago but I didn’t take great notes about the modifications I made. As drafted its a bit big in the waist, and because the side seams are darts (not seams), its challenging to make fitting adjustments. This fabric is a perfect match for this pattern, so I took a deep breath and took in a half inch on the front and back pattern pieces and got to work. I used some piping on the neck and waist seam, it really adds something special to it! I modified the sleeves by removing the cuff as suggested here. It is a weeeeeeee bit tight in the waist. Next time I’ll take in just a quarter inch on each side and I think it will be perfect. It was pretty straightforward to sew. I attempted to match the stripes but quickly gave up as I realized the seams and darts just didn’t play nice. I underlined the bodice in some white bemberg, and its lovely.
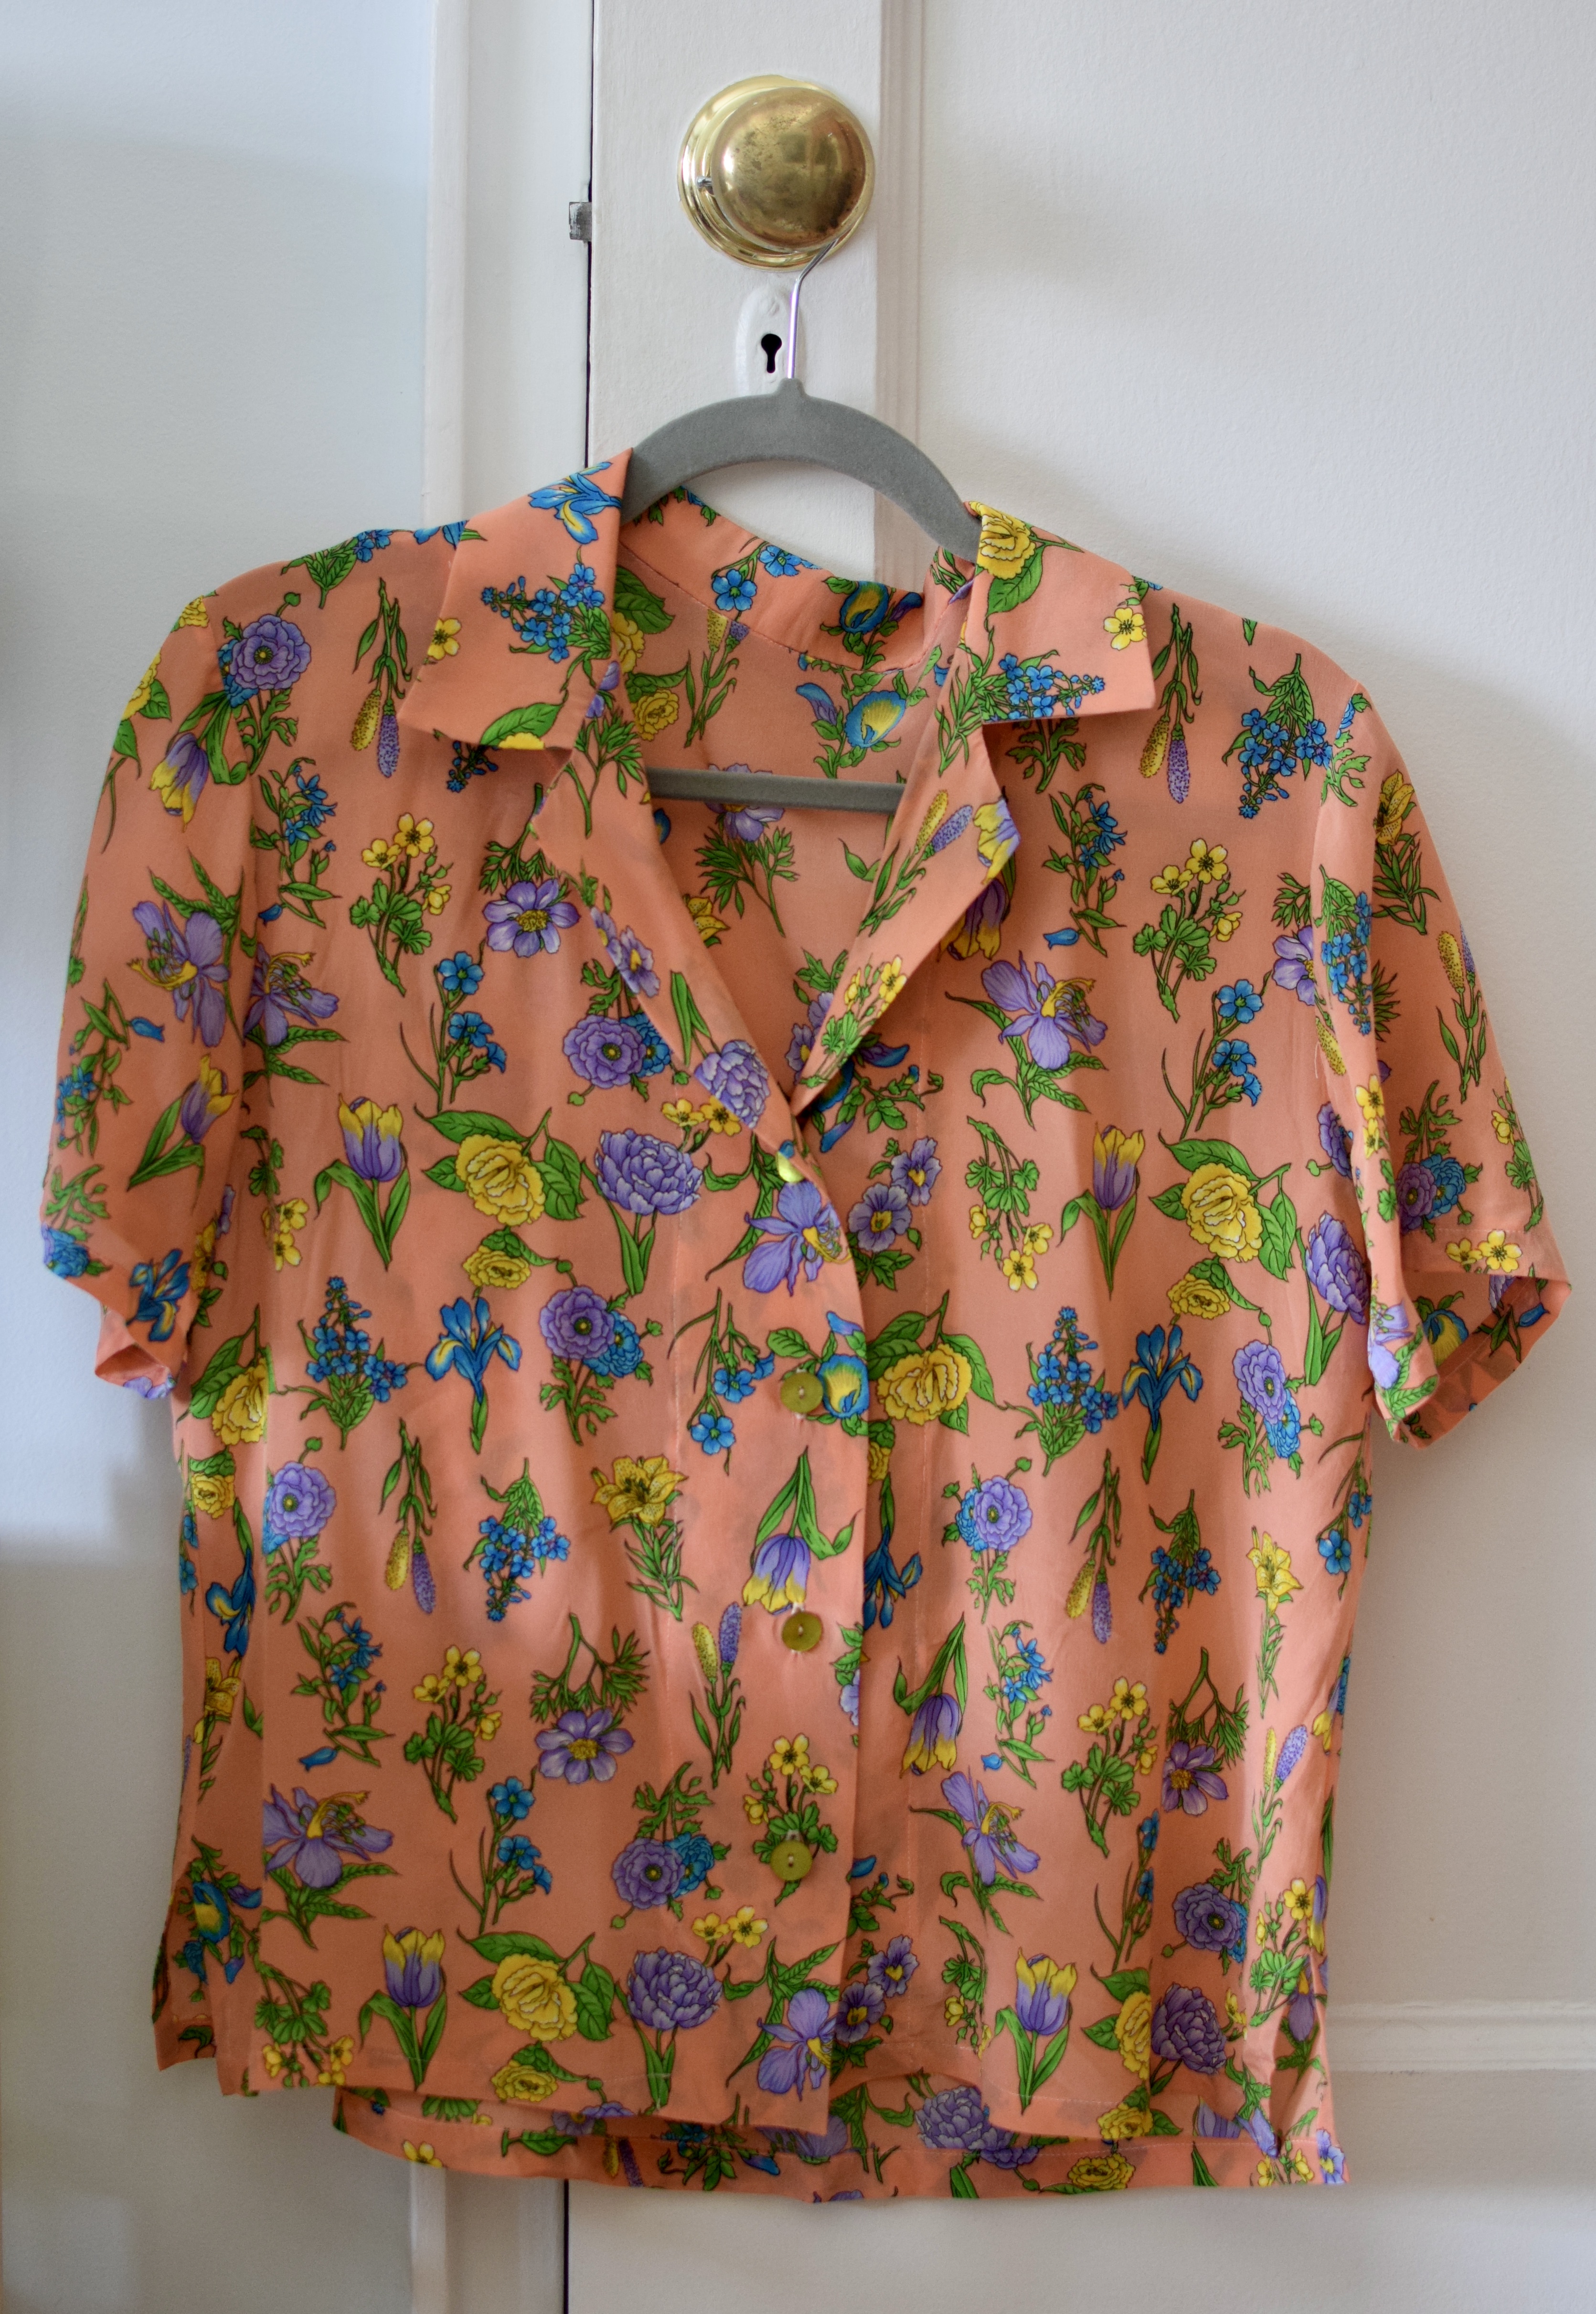
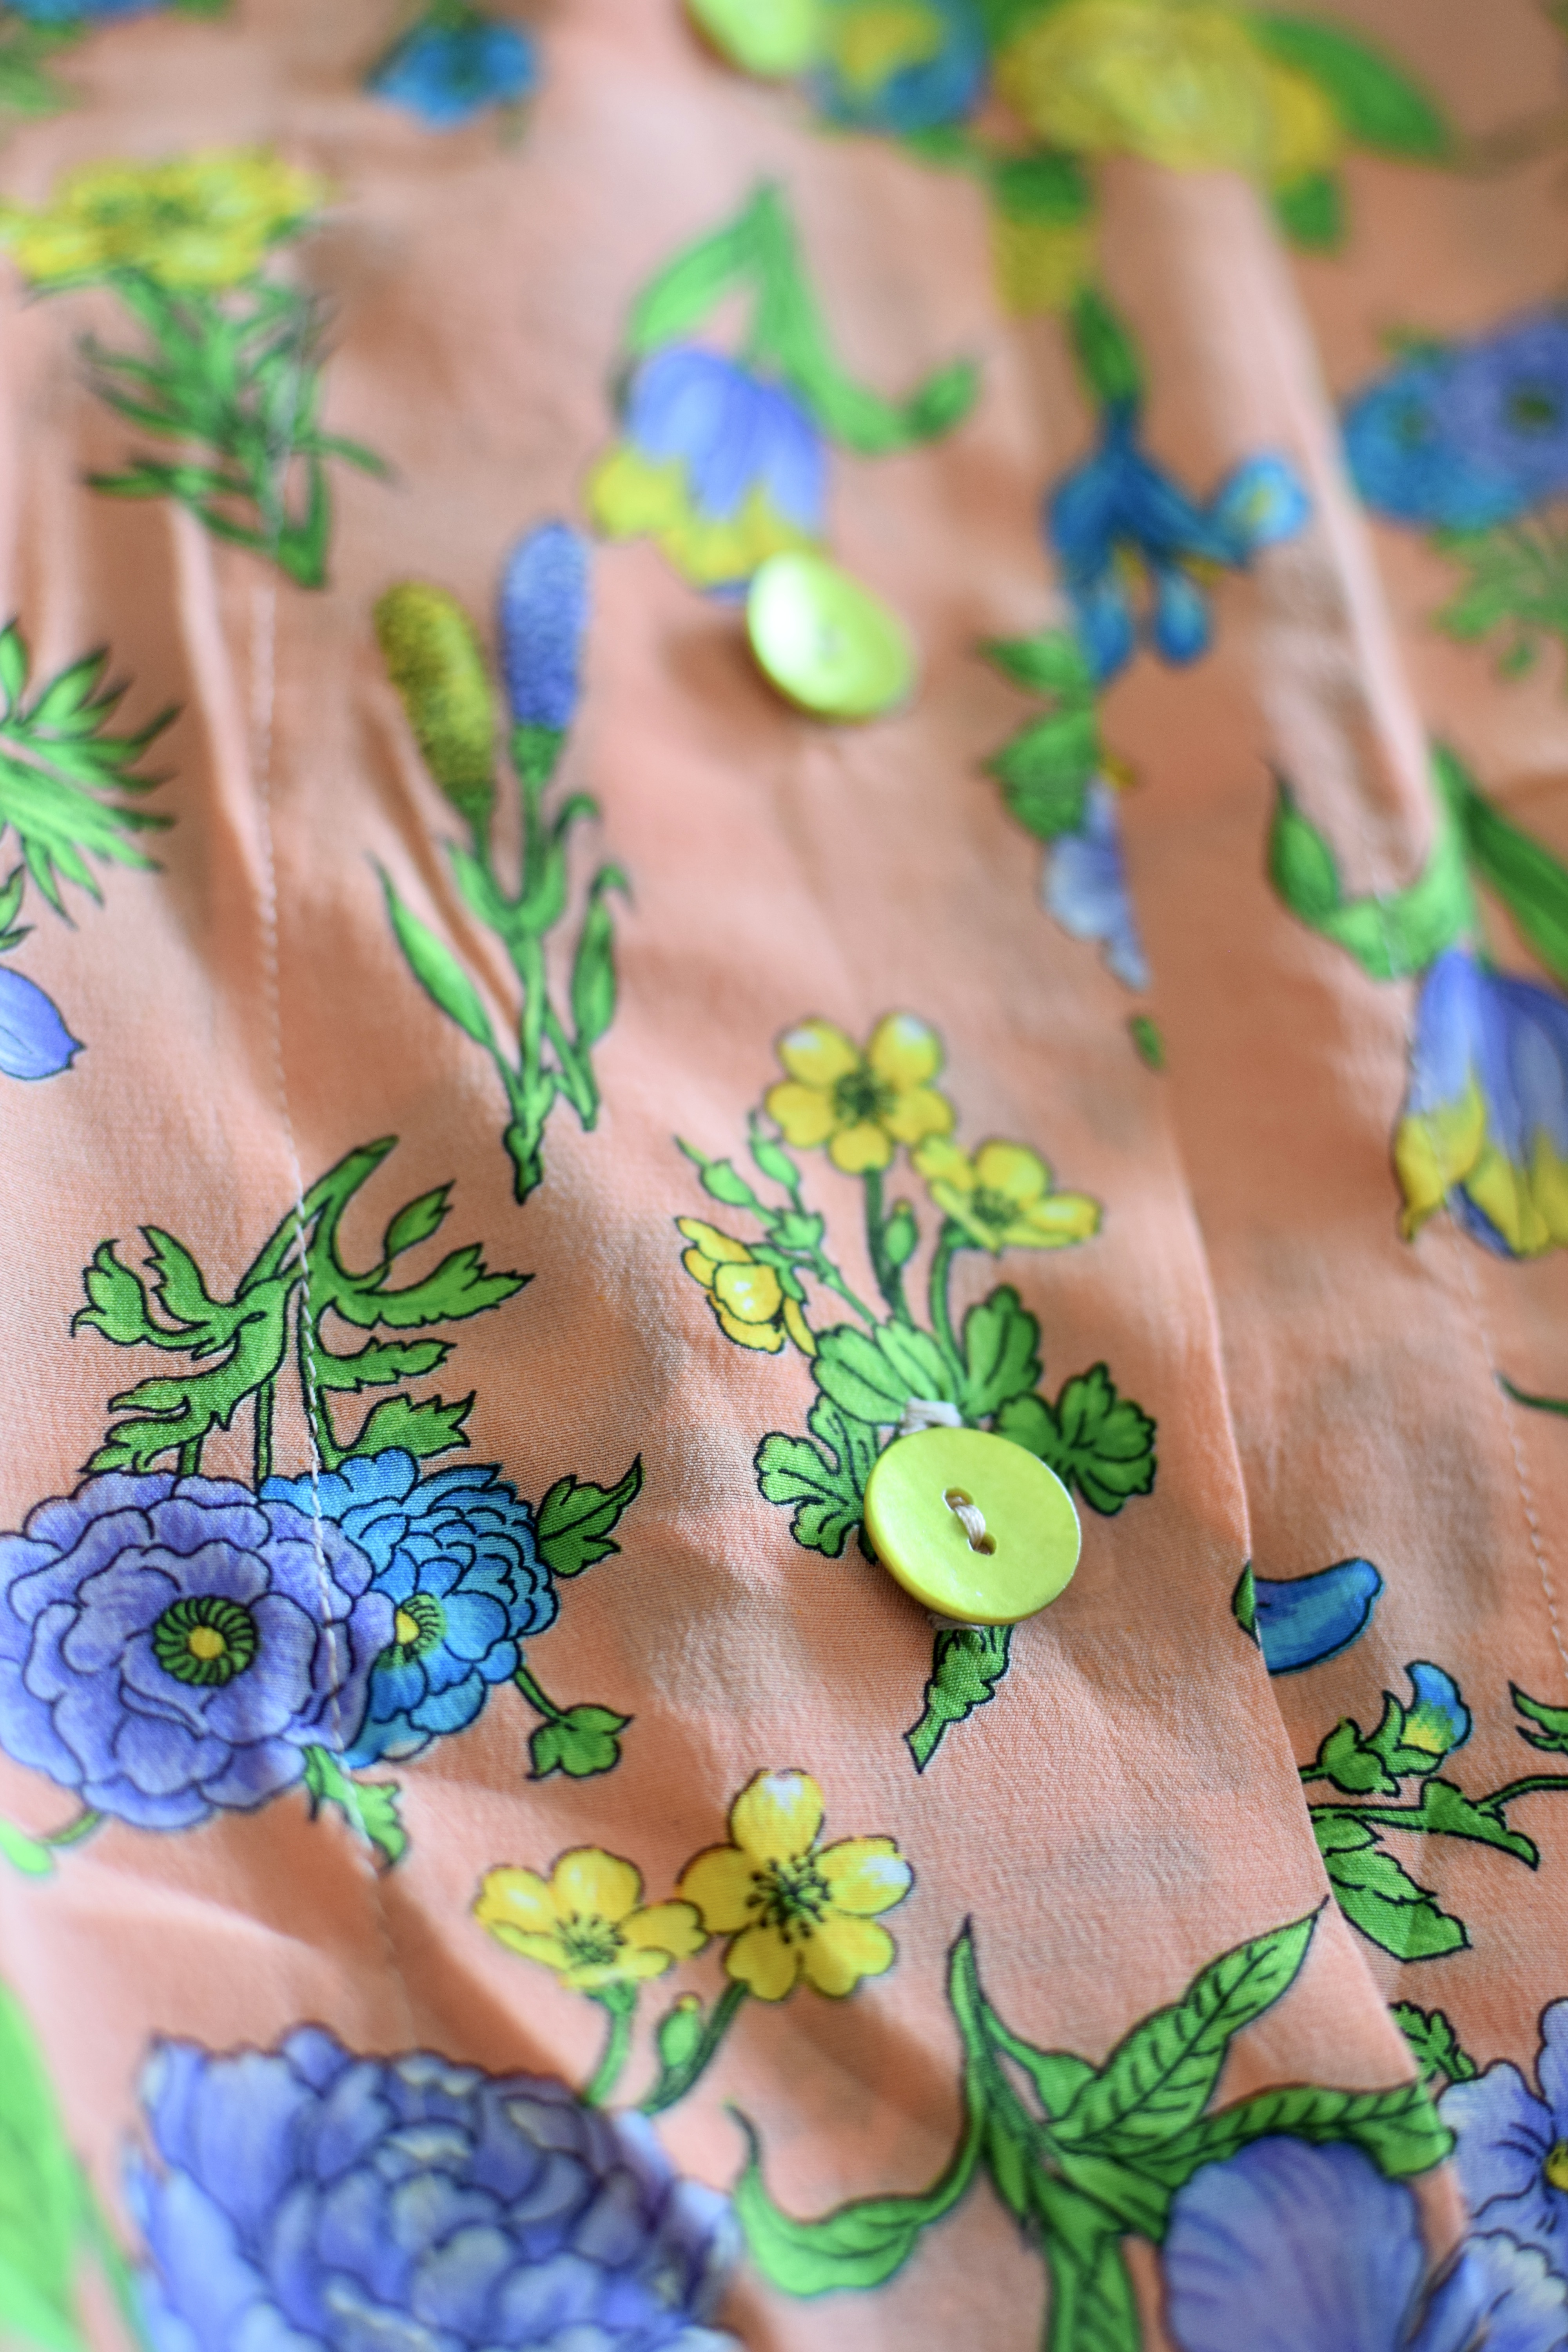
Silky Arkie shirt
I can’t stop making Arkies. They use a small amount of fabric, come together pretty quickly and are incredibly comfortable. I had juuuust enough of this pink floral CDC leftover from a dress I made years ago. I dug it out of my stash and experimented with cutting layouts, determined to make it work. I had to piece one of the facings, but its not noticable. I got some super lightweight green-hued mother of pearl buttons and they look perfect with it. I’m really happy with this one, the silk is so drapey. The only thing I need to remember to do next time is move the buttonhole/button placement a little closer to the middle front if I am using a lightweight fabric.
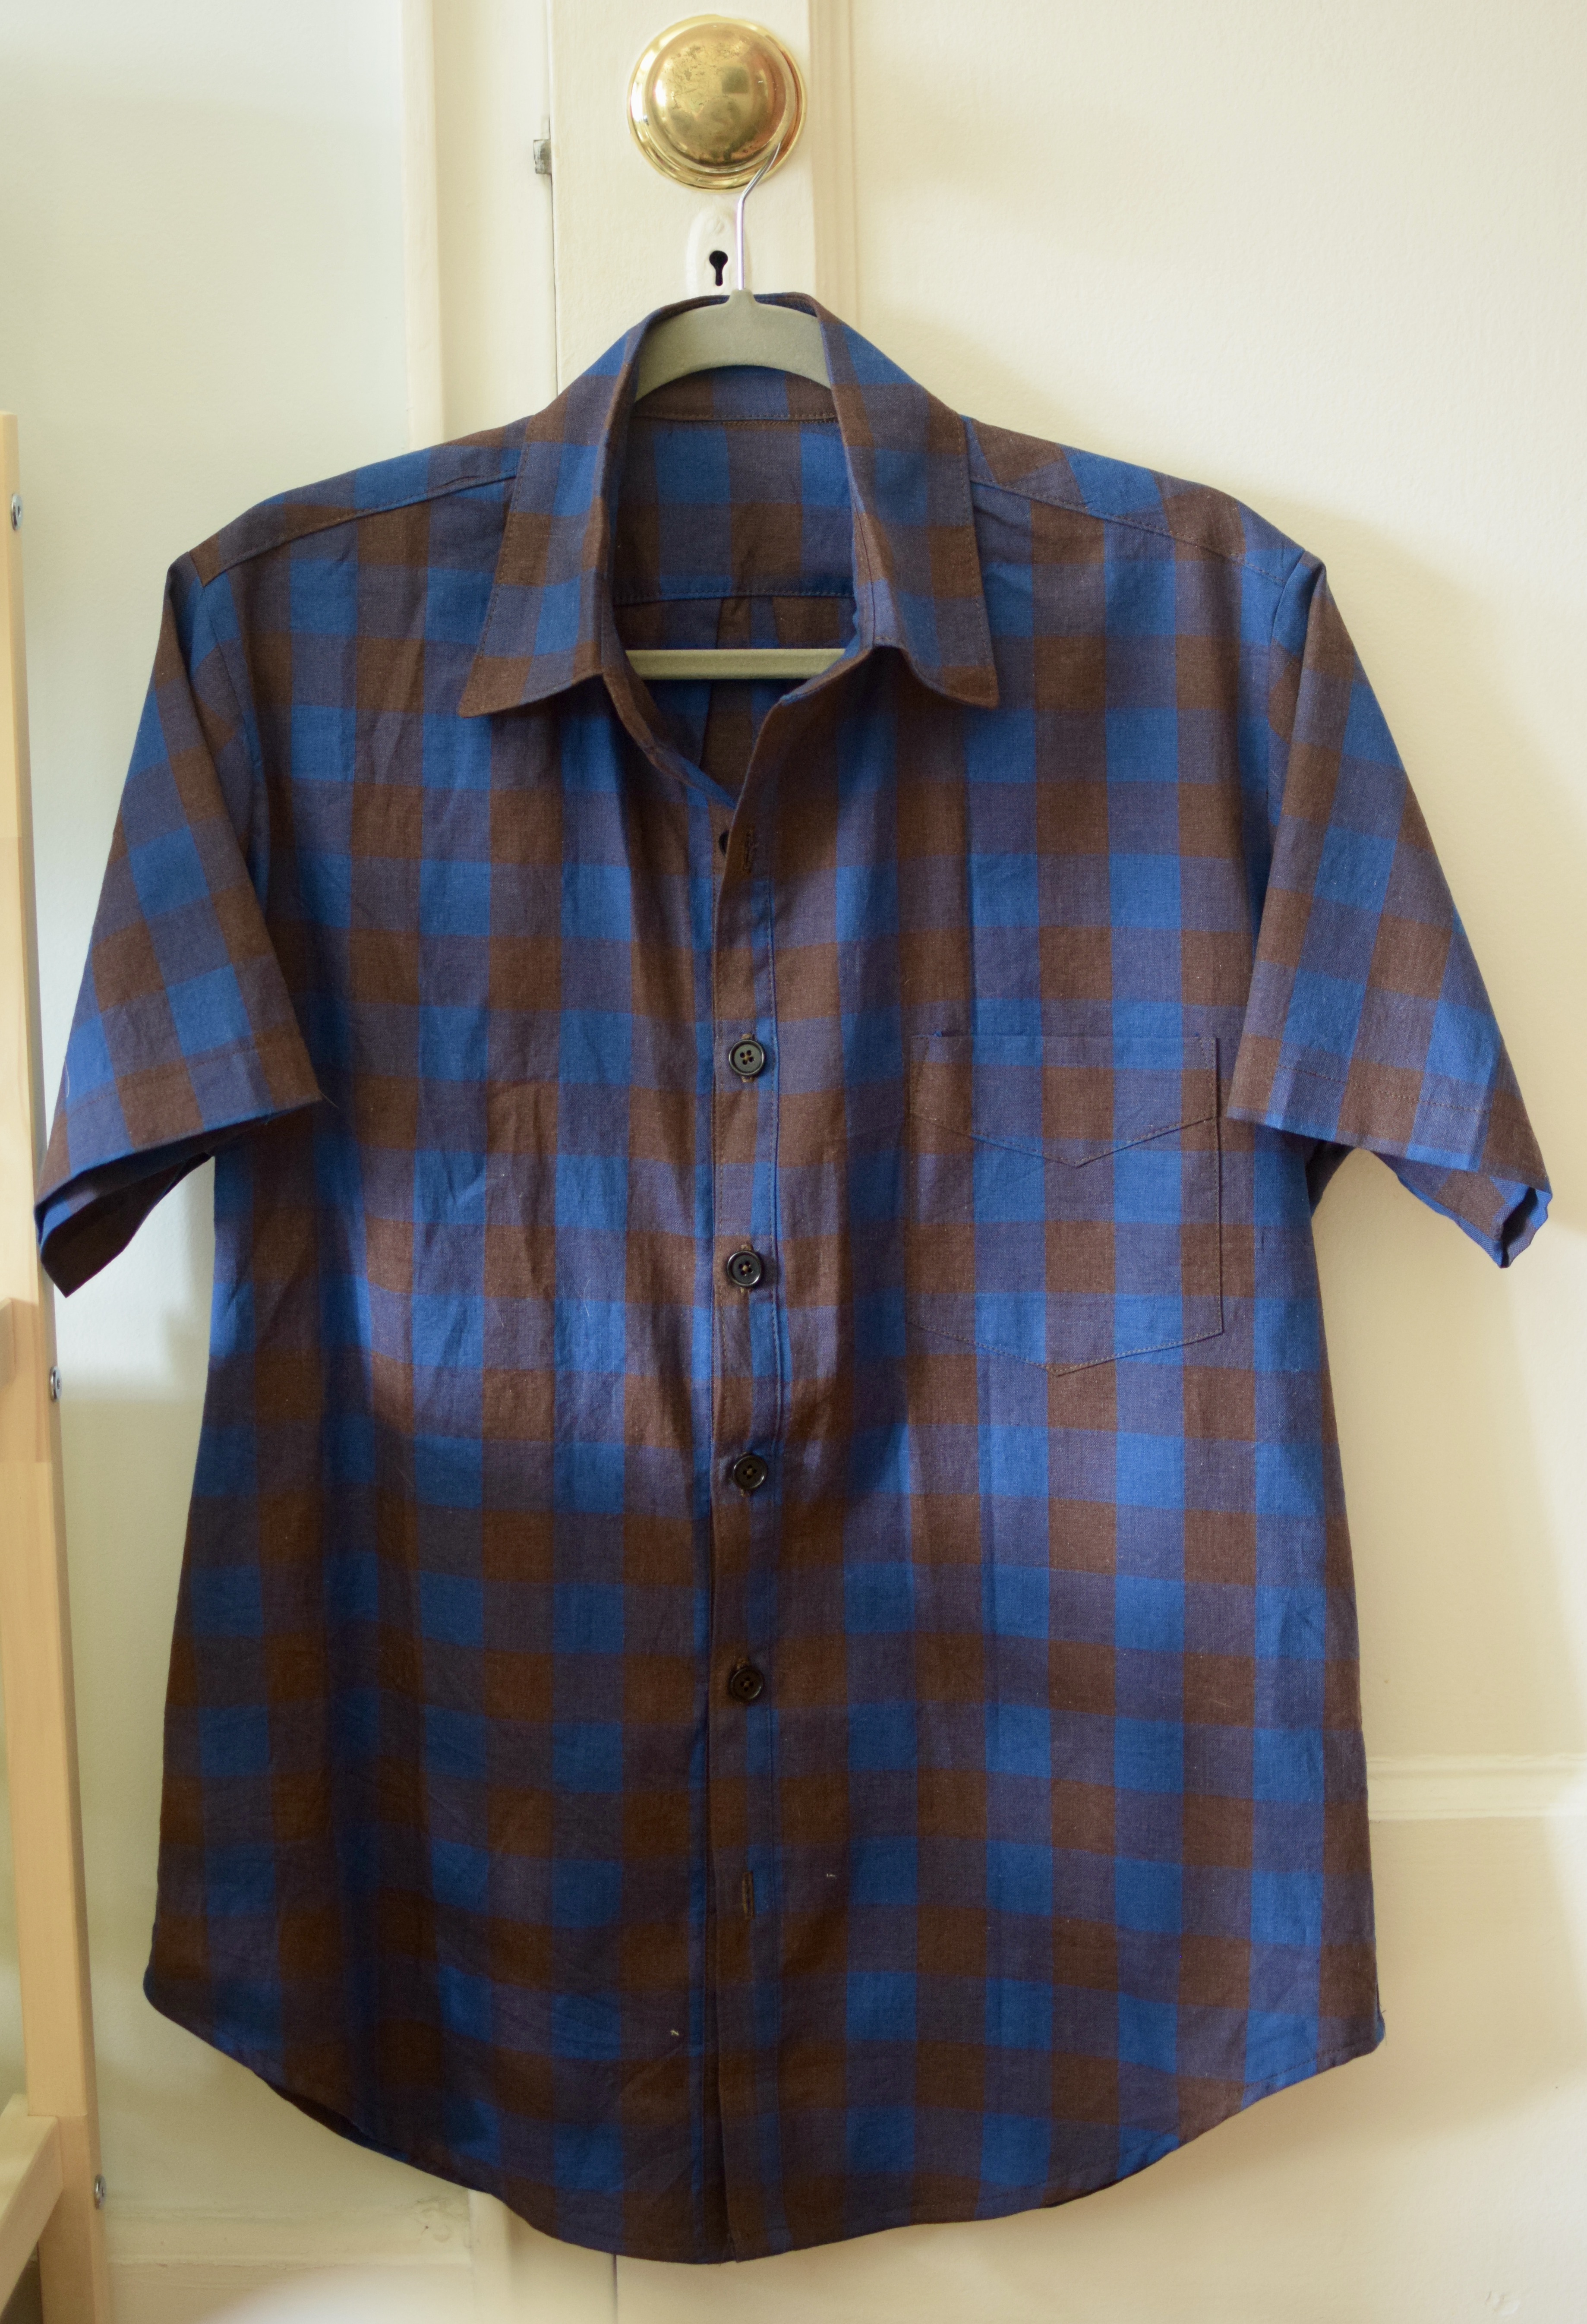
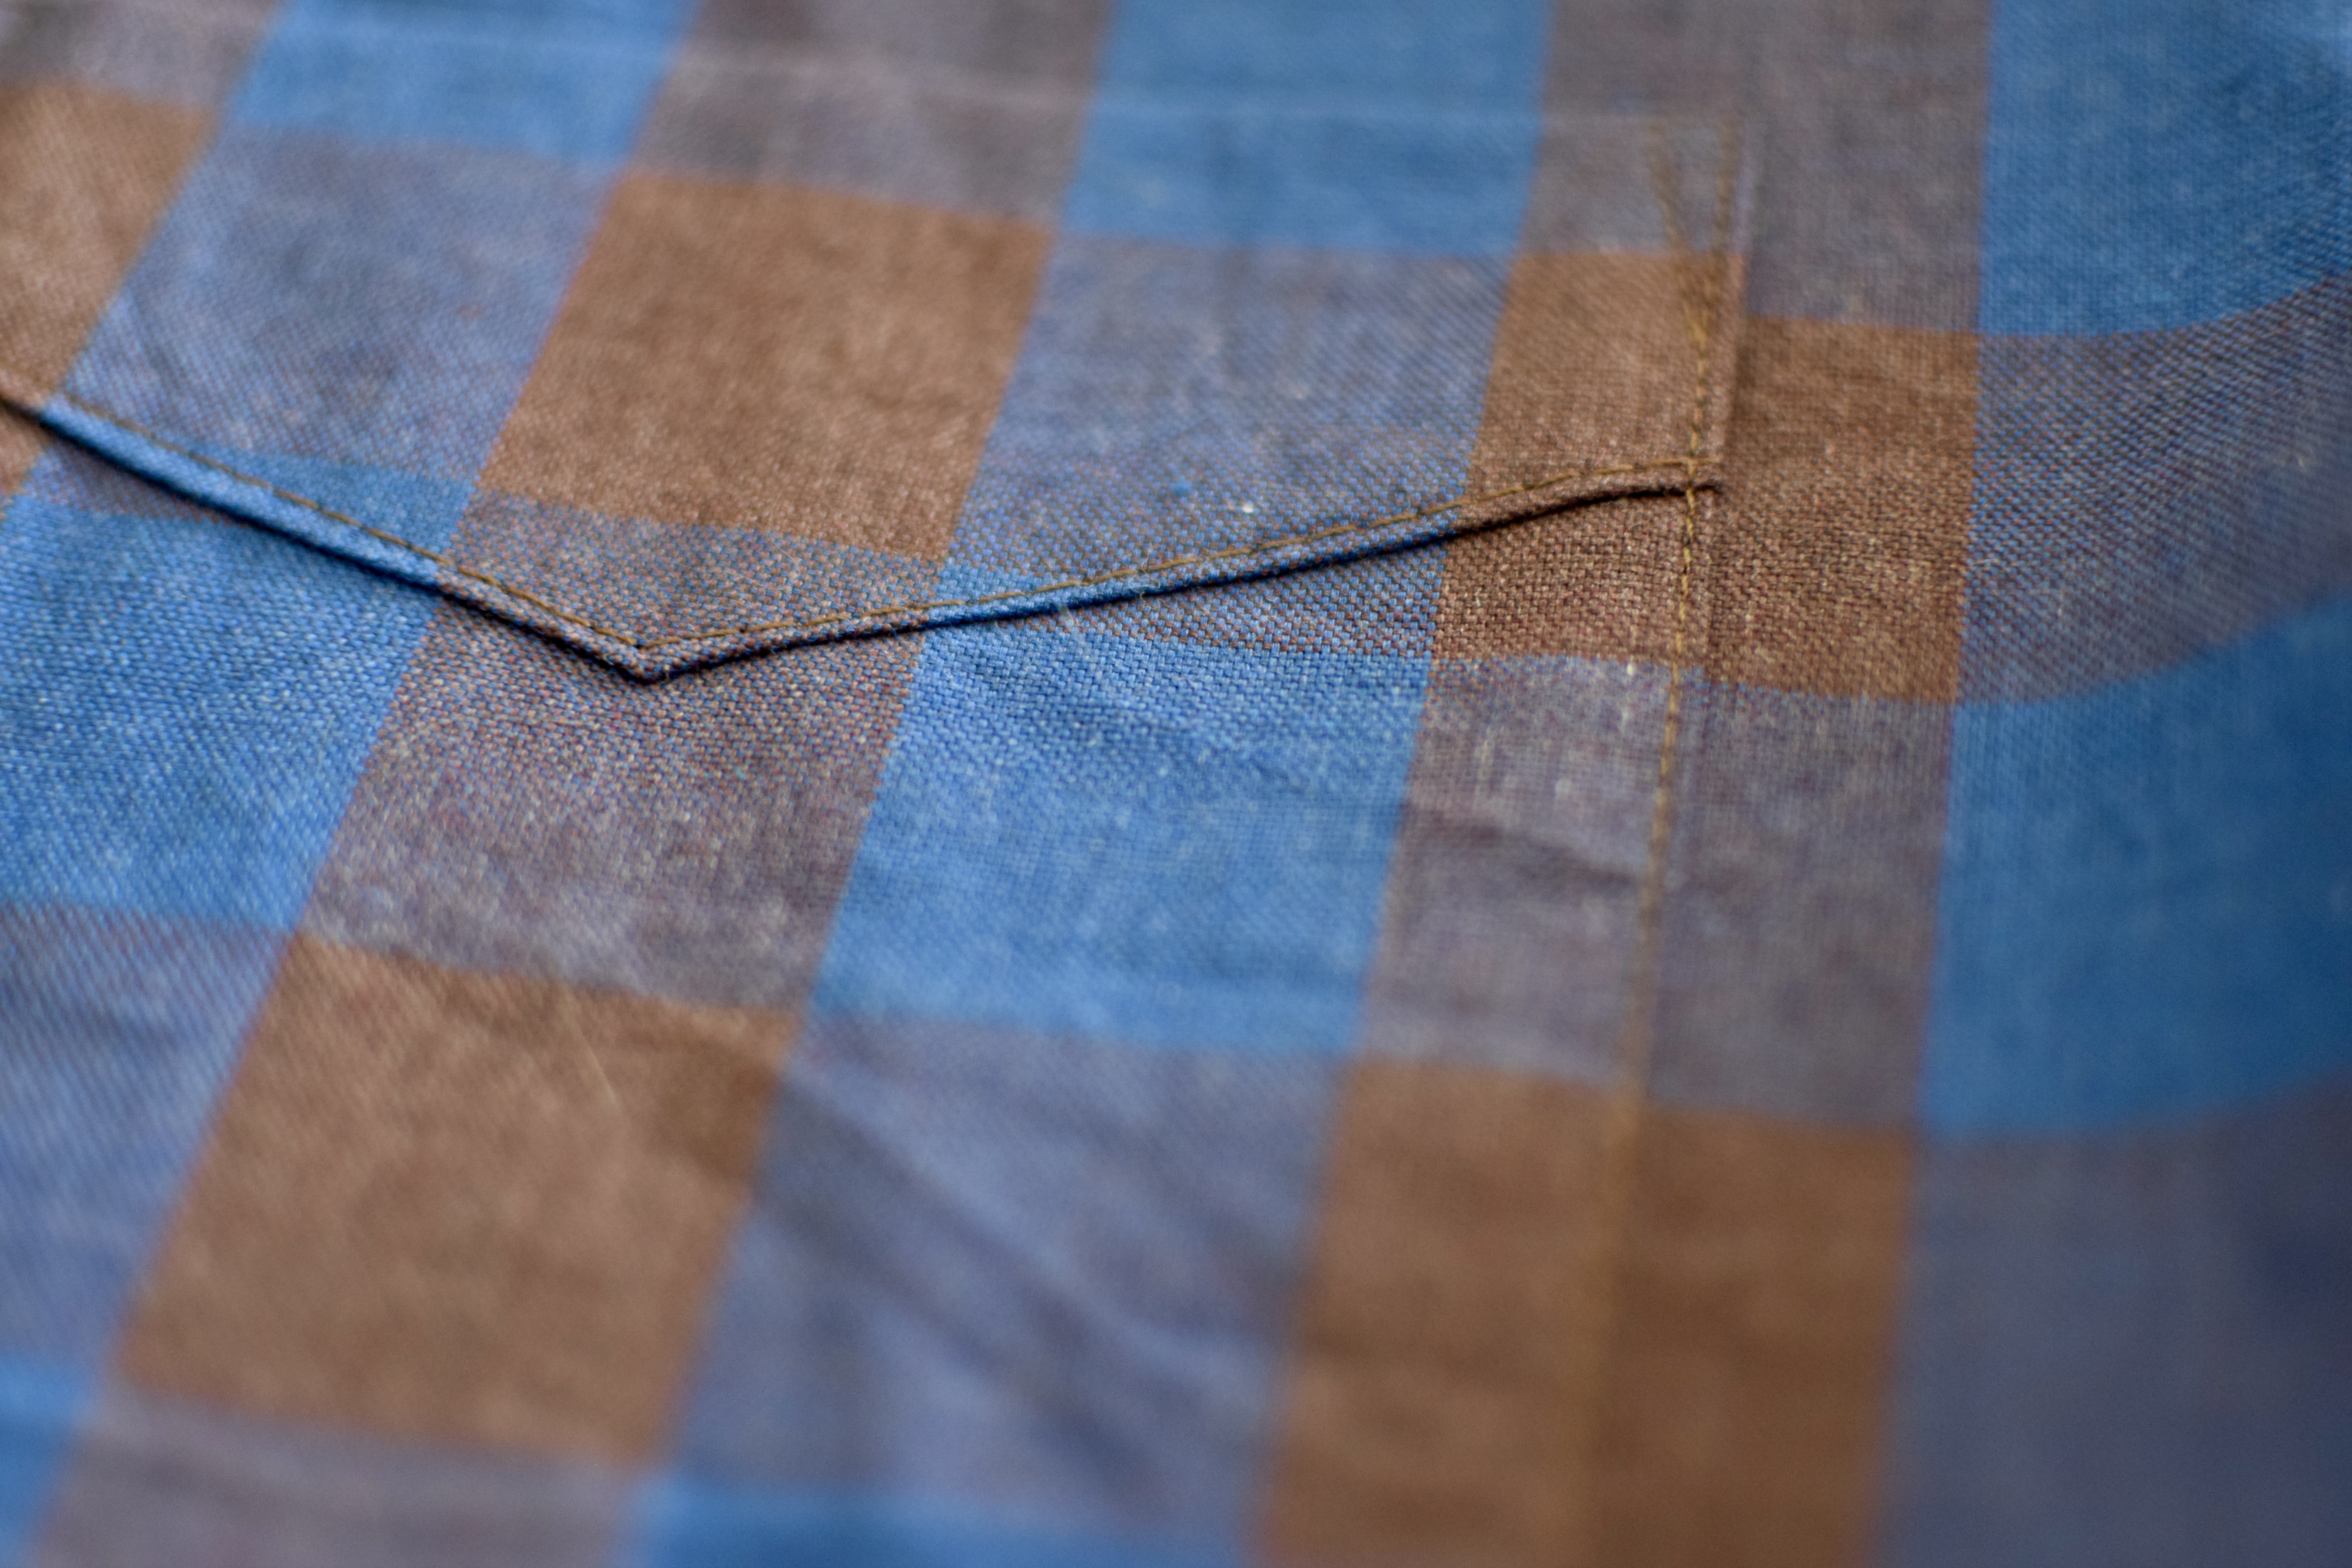
Short sleeved shirt for Jacob!
Do not fear, Jacob has not been forgotten. I made him a short sleeved shirt from fabric we bought on a trip to Span in….. 2018 🫢. I followed the same “pattern” from a deconstructed Jcrew short sleeve button down. Its fits him perfectly and its really easy to sew.
Madden skirt
I notice that I am always reaching for midi skirts in my closet, so I decided to make another. I went for the Madden skirt by who else than Tessuti. I don’t love the fit of the waist, its a little too big. But I’m going to give it a few wear before I make a final judgement on it.
There’s more makes to share but I don’t have any pics yet so they will have to wait!
here’s a bunch of stuff I made over the past couple of months.
Ret nem
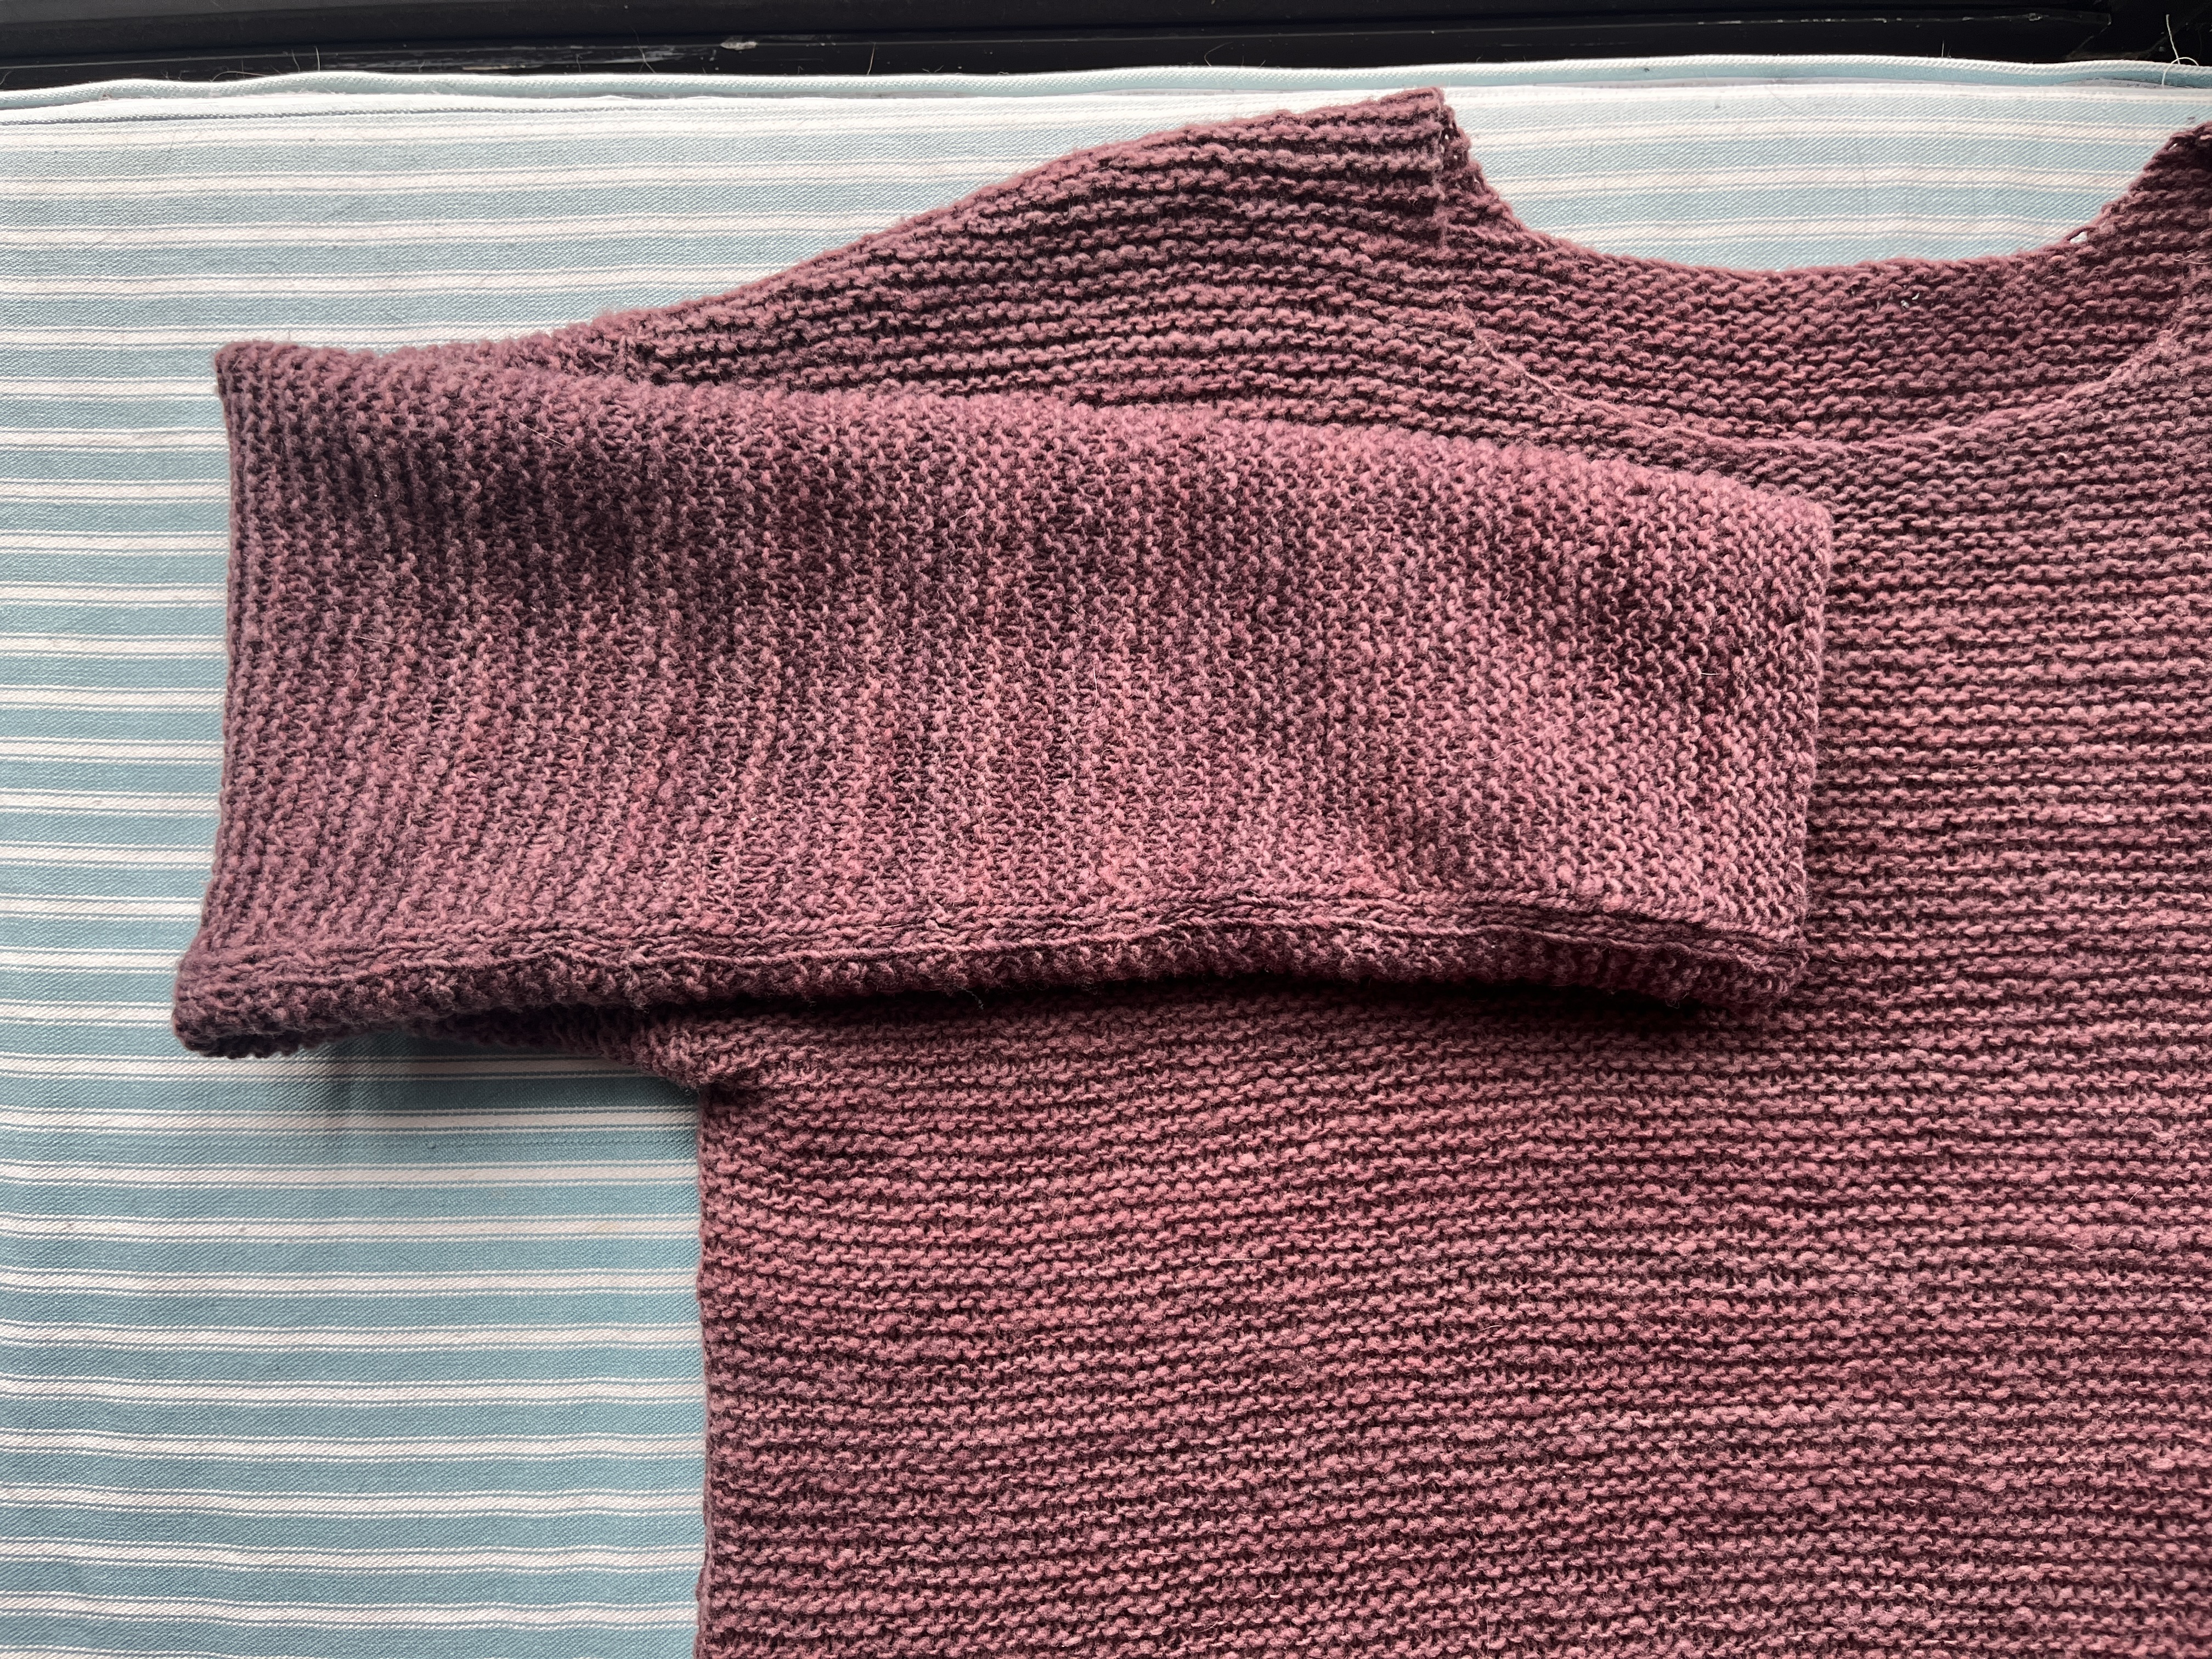
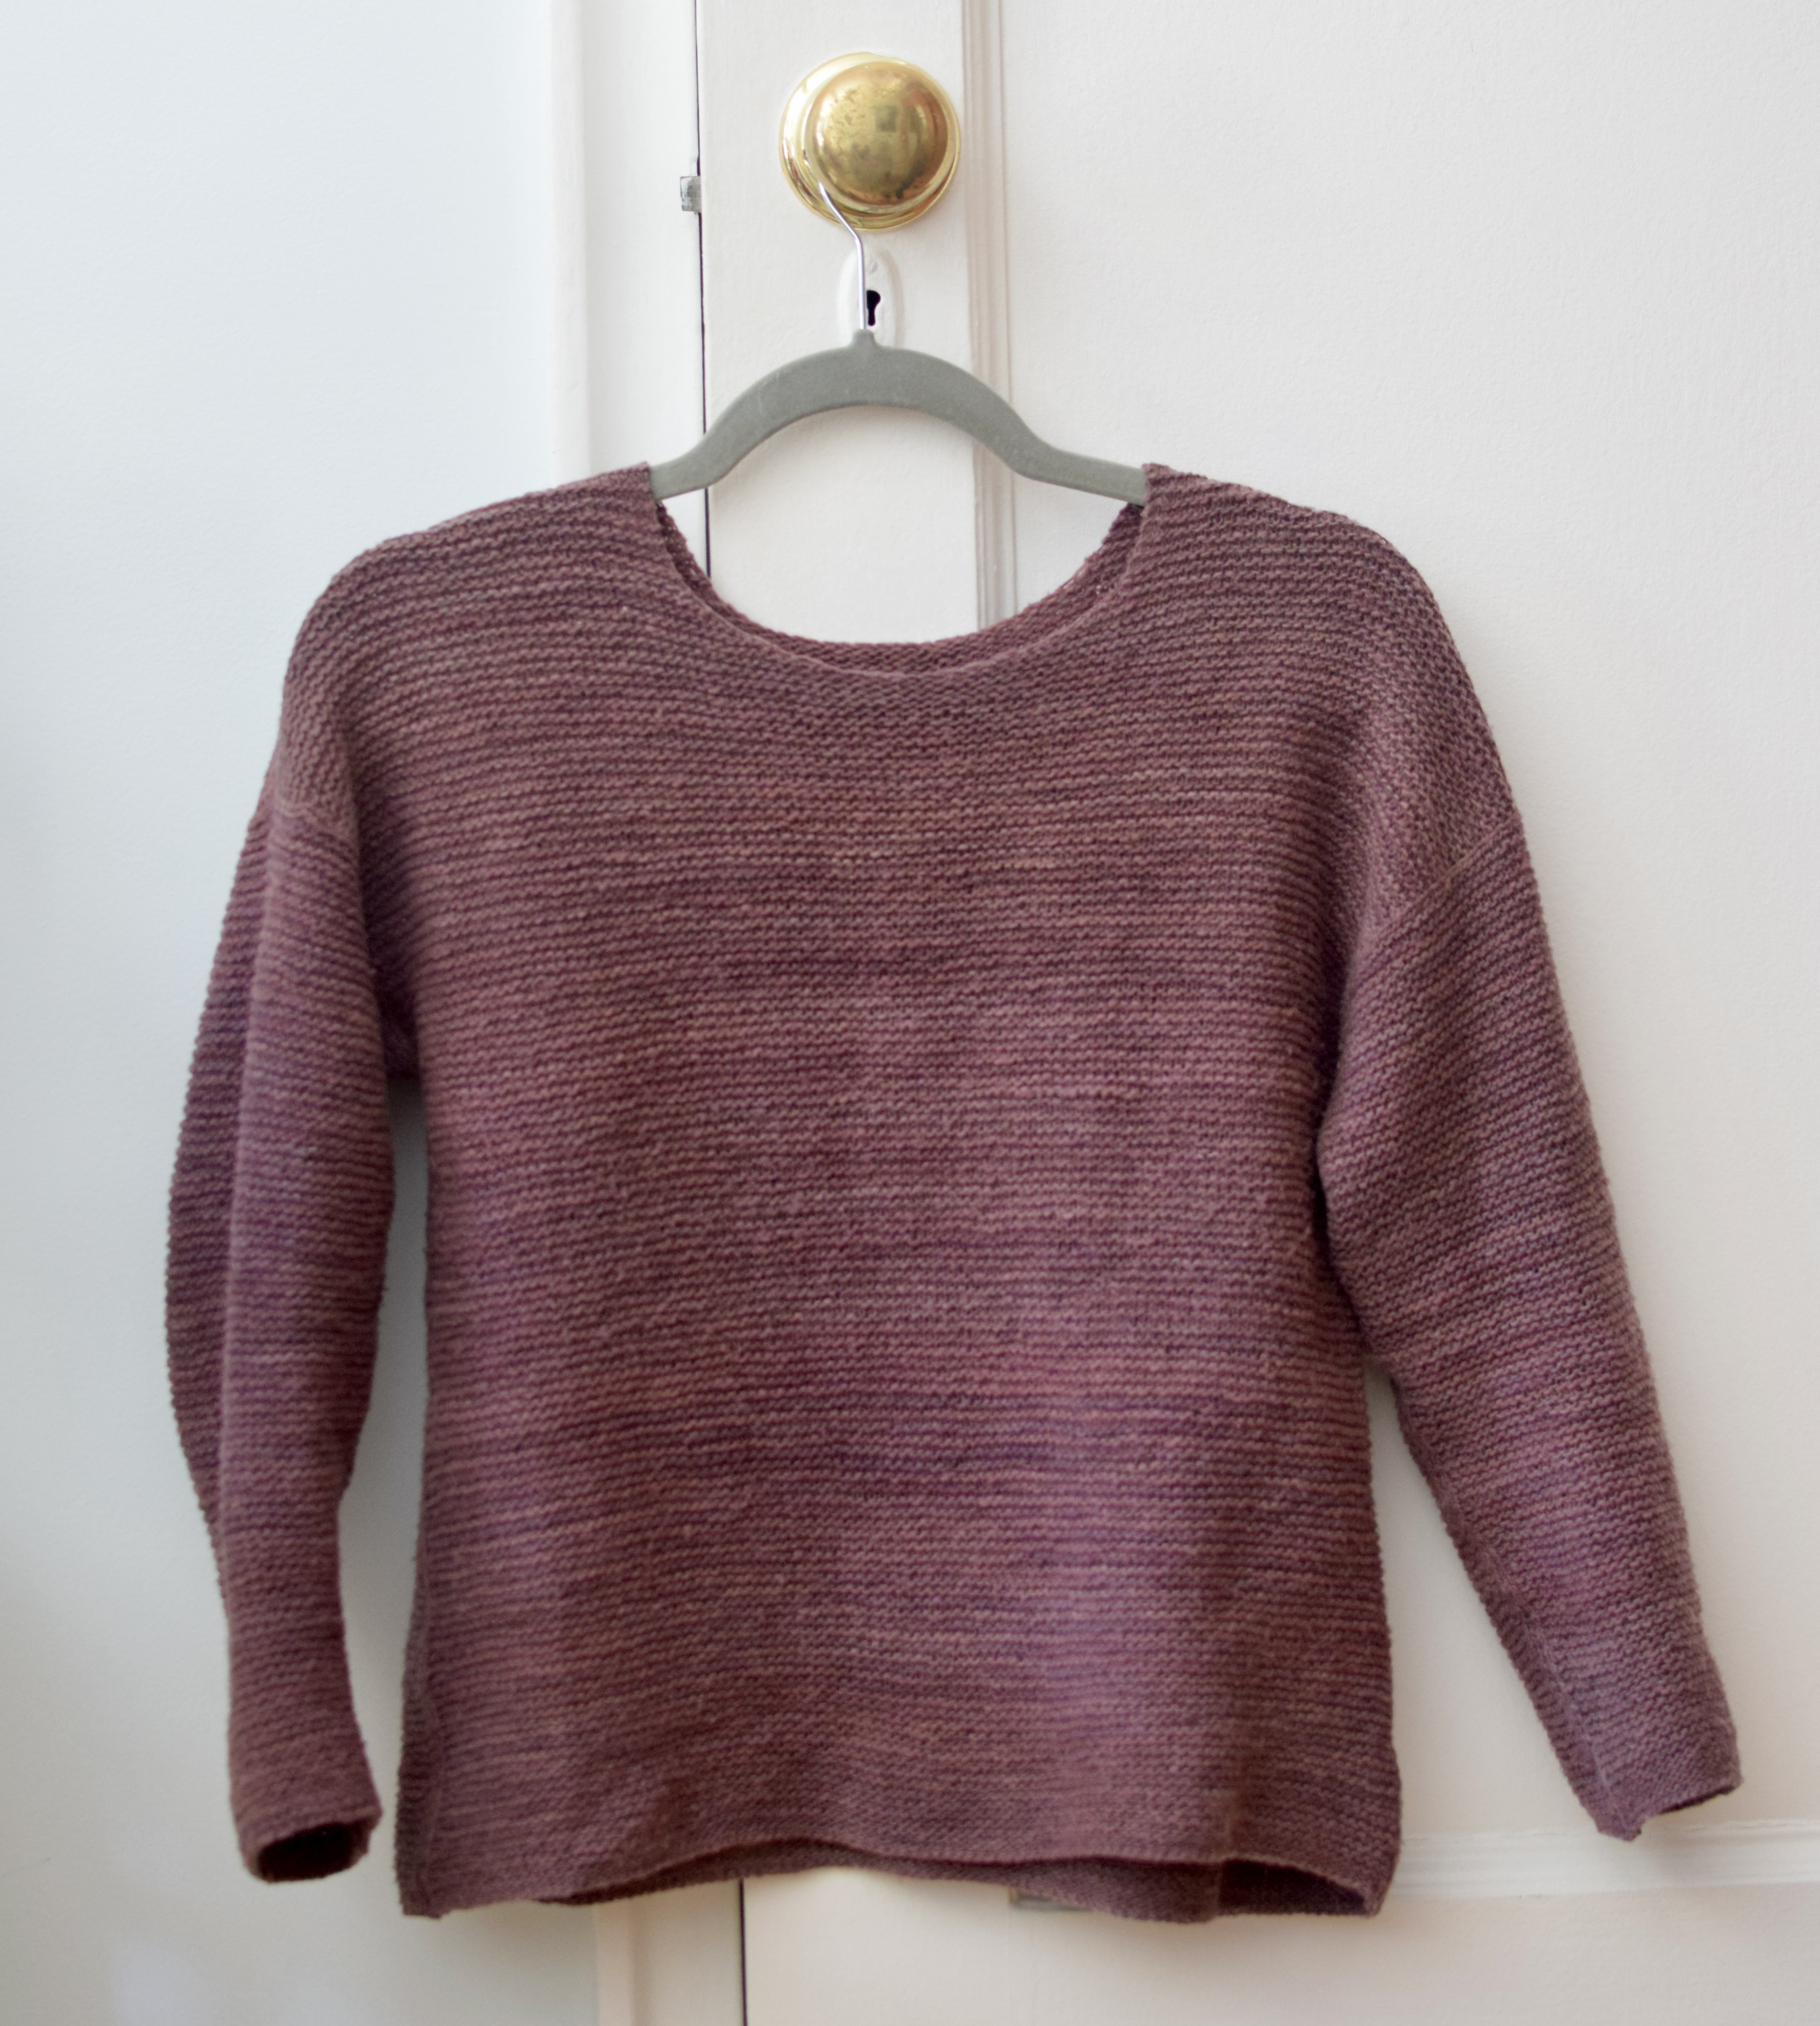
What a project. I was in the bay area in Sept last year and made a detour to a verb for keeping warm. I knew I wanted a SQ of something special, so I poured over their wall of samples to choose one for verb to naturally dye for me. I never think I like purples but I am SO drawn to them. I ordered the yarn and impatiently waited, hunting down the perfect pattern for it.
here’s how it looks after a few wears.
I normally pick a pattern before selecting yarn (because THAT is how you acquire a stash), but this was a worthy exception. I have been enamored with garter stitch so I searched for an allover-garter fingering weight sweater and LET ME TELL YOU there is not a lot out there. Patterns that appeared promising did not have many projects to review. After much deliberation, I settled on Ret Nem. I love the quiet details of the seams. It took an INCREDIBLY long time to knit. After a couple of wears, I’m observing felting at the armpits, but maybe thats ok? Despite this, it fits like a dream: extremely lightweight and soft. I am really pleased with it!
see the seams?? aren’t they pretty!?
Radish socks
Lets call these dual purpose: an amuse bouche between sweaters, as well as motivation to finish Ret Nem. These radish socks were love at first sight–it went to the top of my queue (but only to be started AFTER I completed the sweater). The hardest part of this project was finding a good brown tweed yarn. I almost settled for knit picks but in a fit of desperation I googled “brown tweedy sock yarn” and found hue loco. With few comments on Ravelry, it was a risky purchase. After a few more wears I will be certain to leave a review!
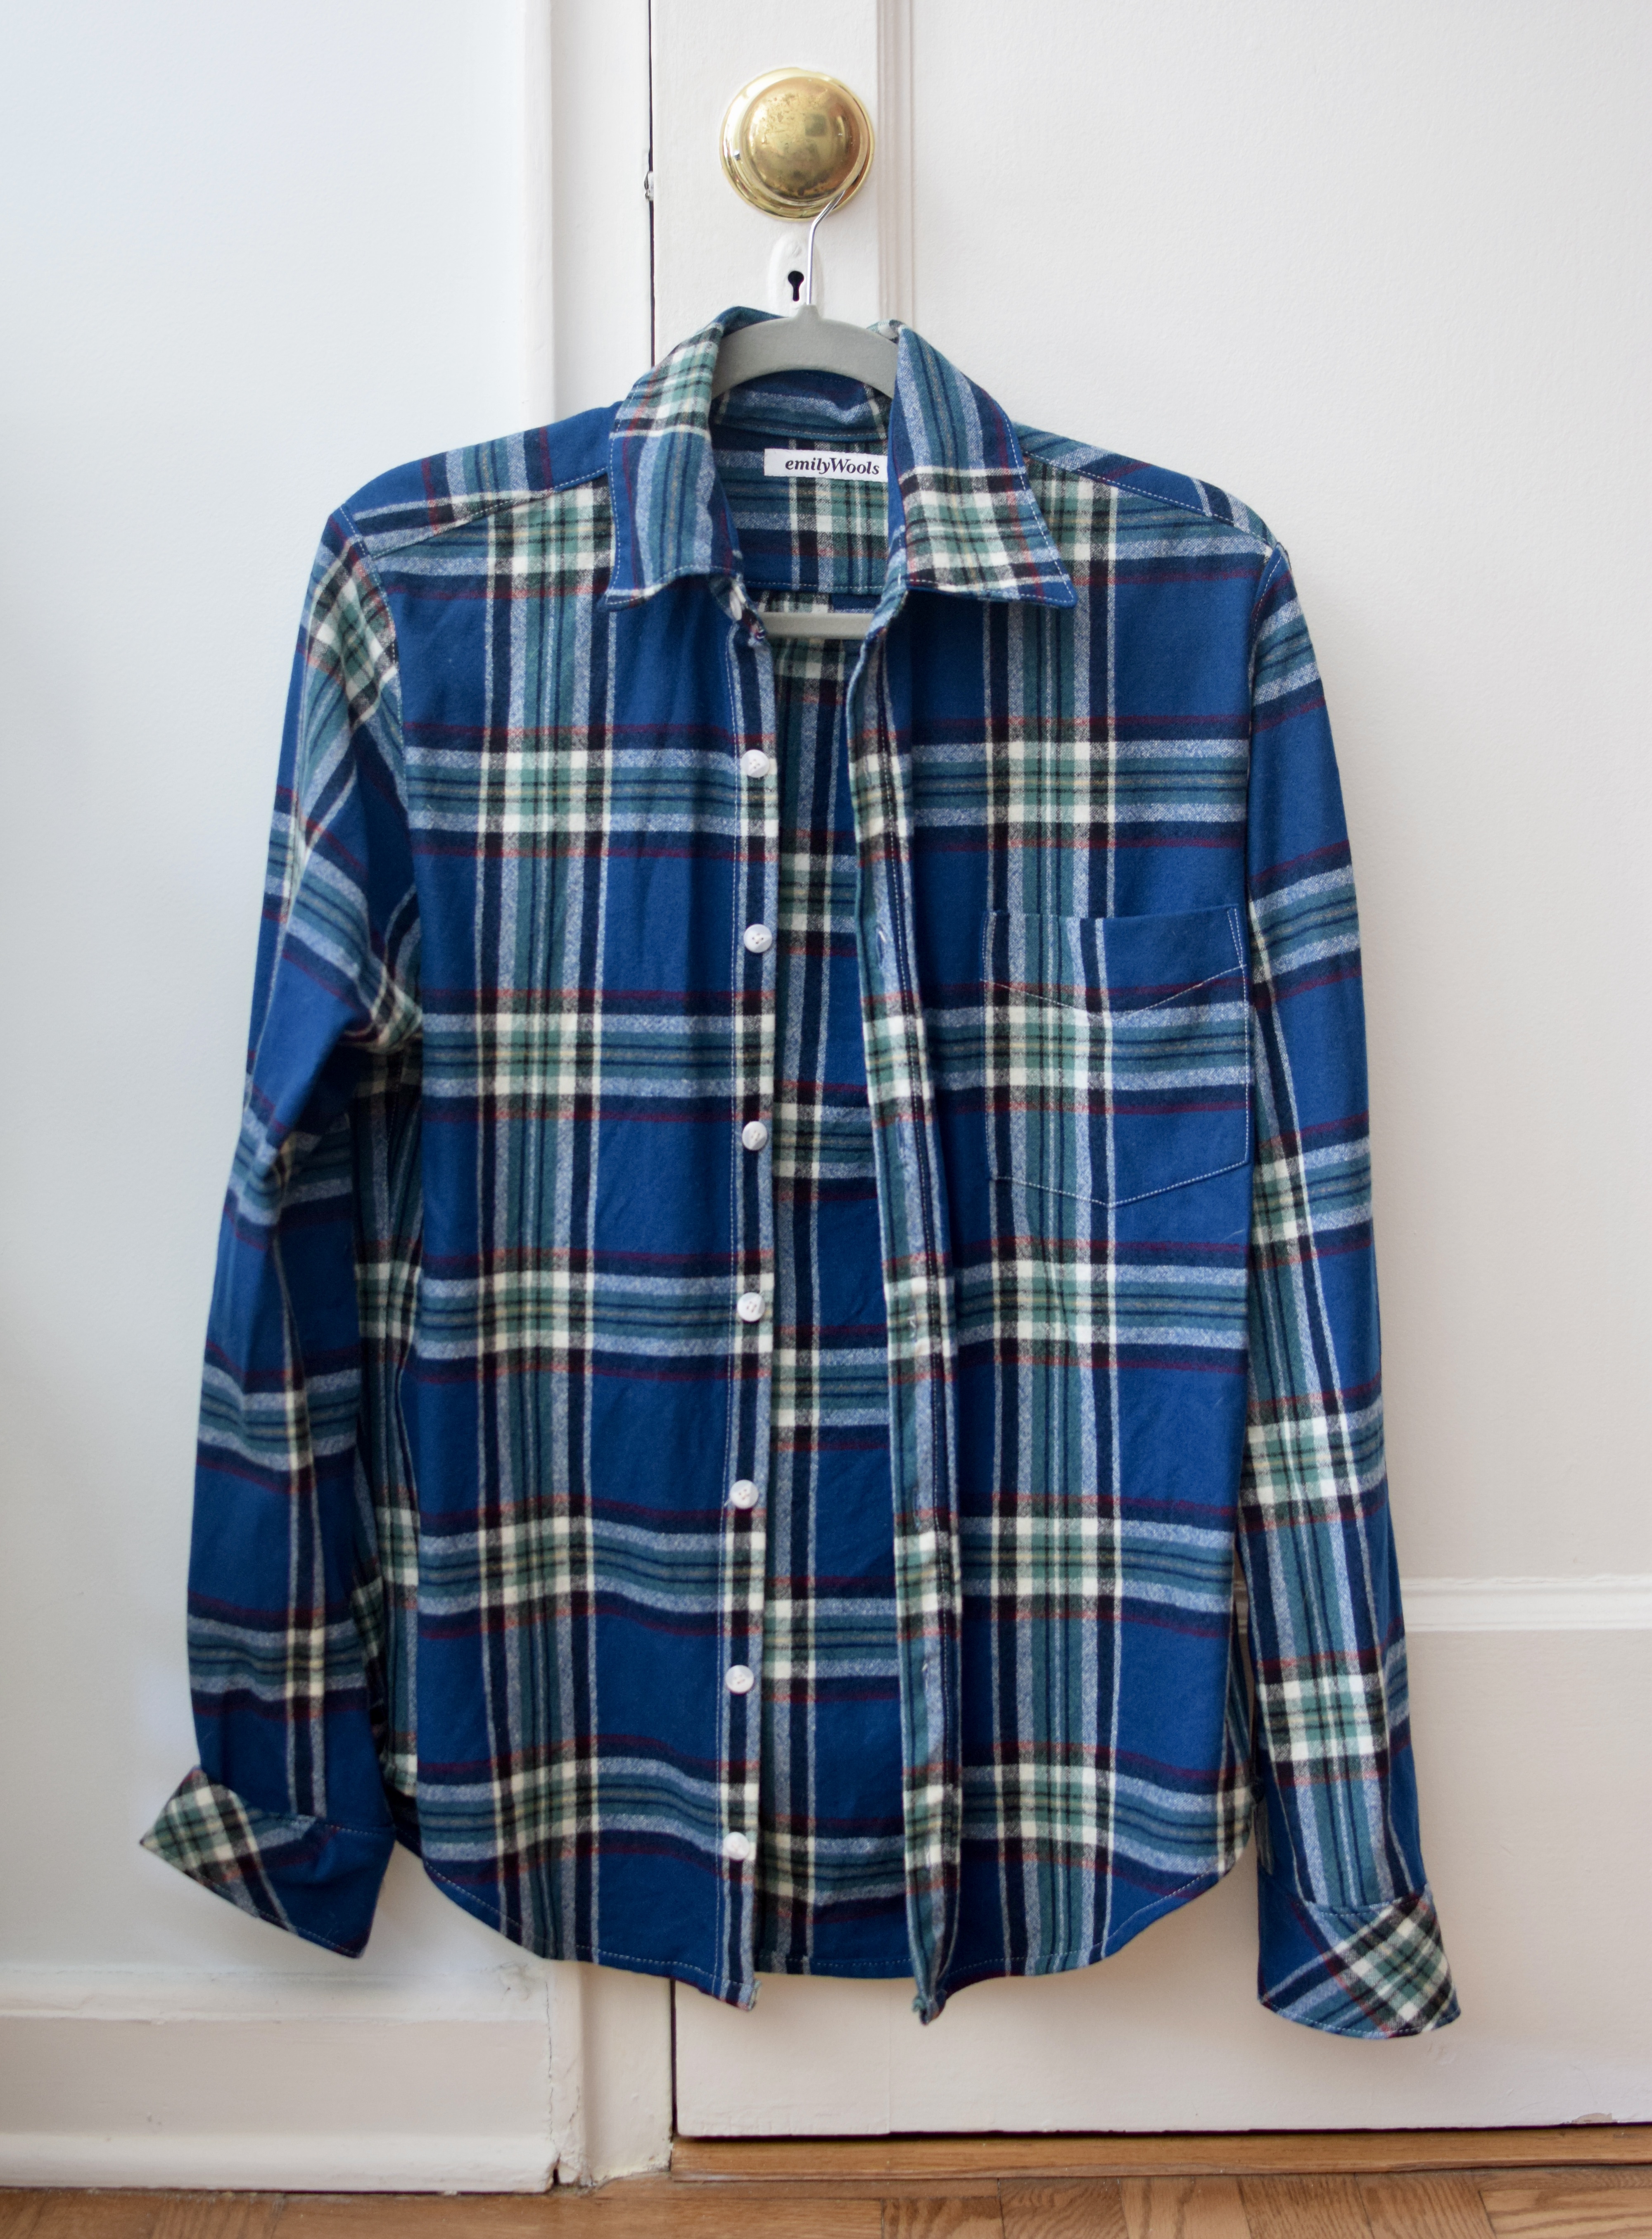
Collared shirt for Jacob
I got some shirting weight Pendleton pre-pando that’s been earmarked for Jacob. I decided it was time, and sewed him up a shirt based on the Jcrew shirt I deconstructed and made a pattern from. The Jcrew shirt is short-sleeved, so I blended it with Grainline’s Archer button up sleeve and cuff, and added a couple of inches because Jacob has such long arms. It turned out really well, I am pretty proud of it. French seams throughout, and it fits him perfectly!
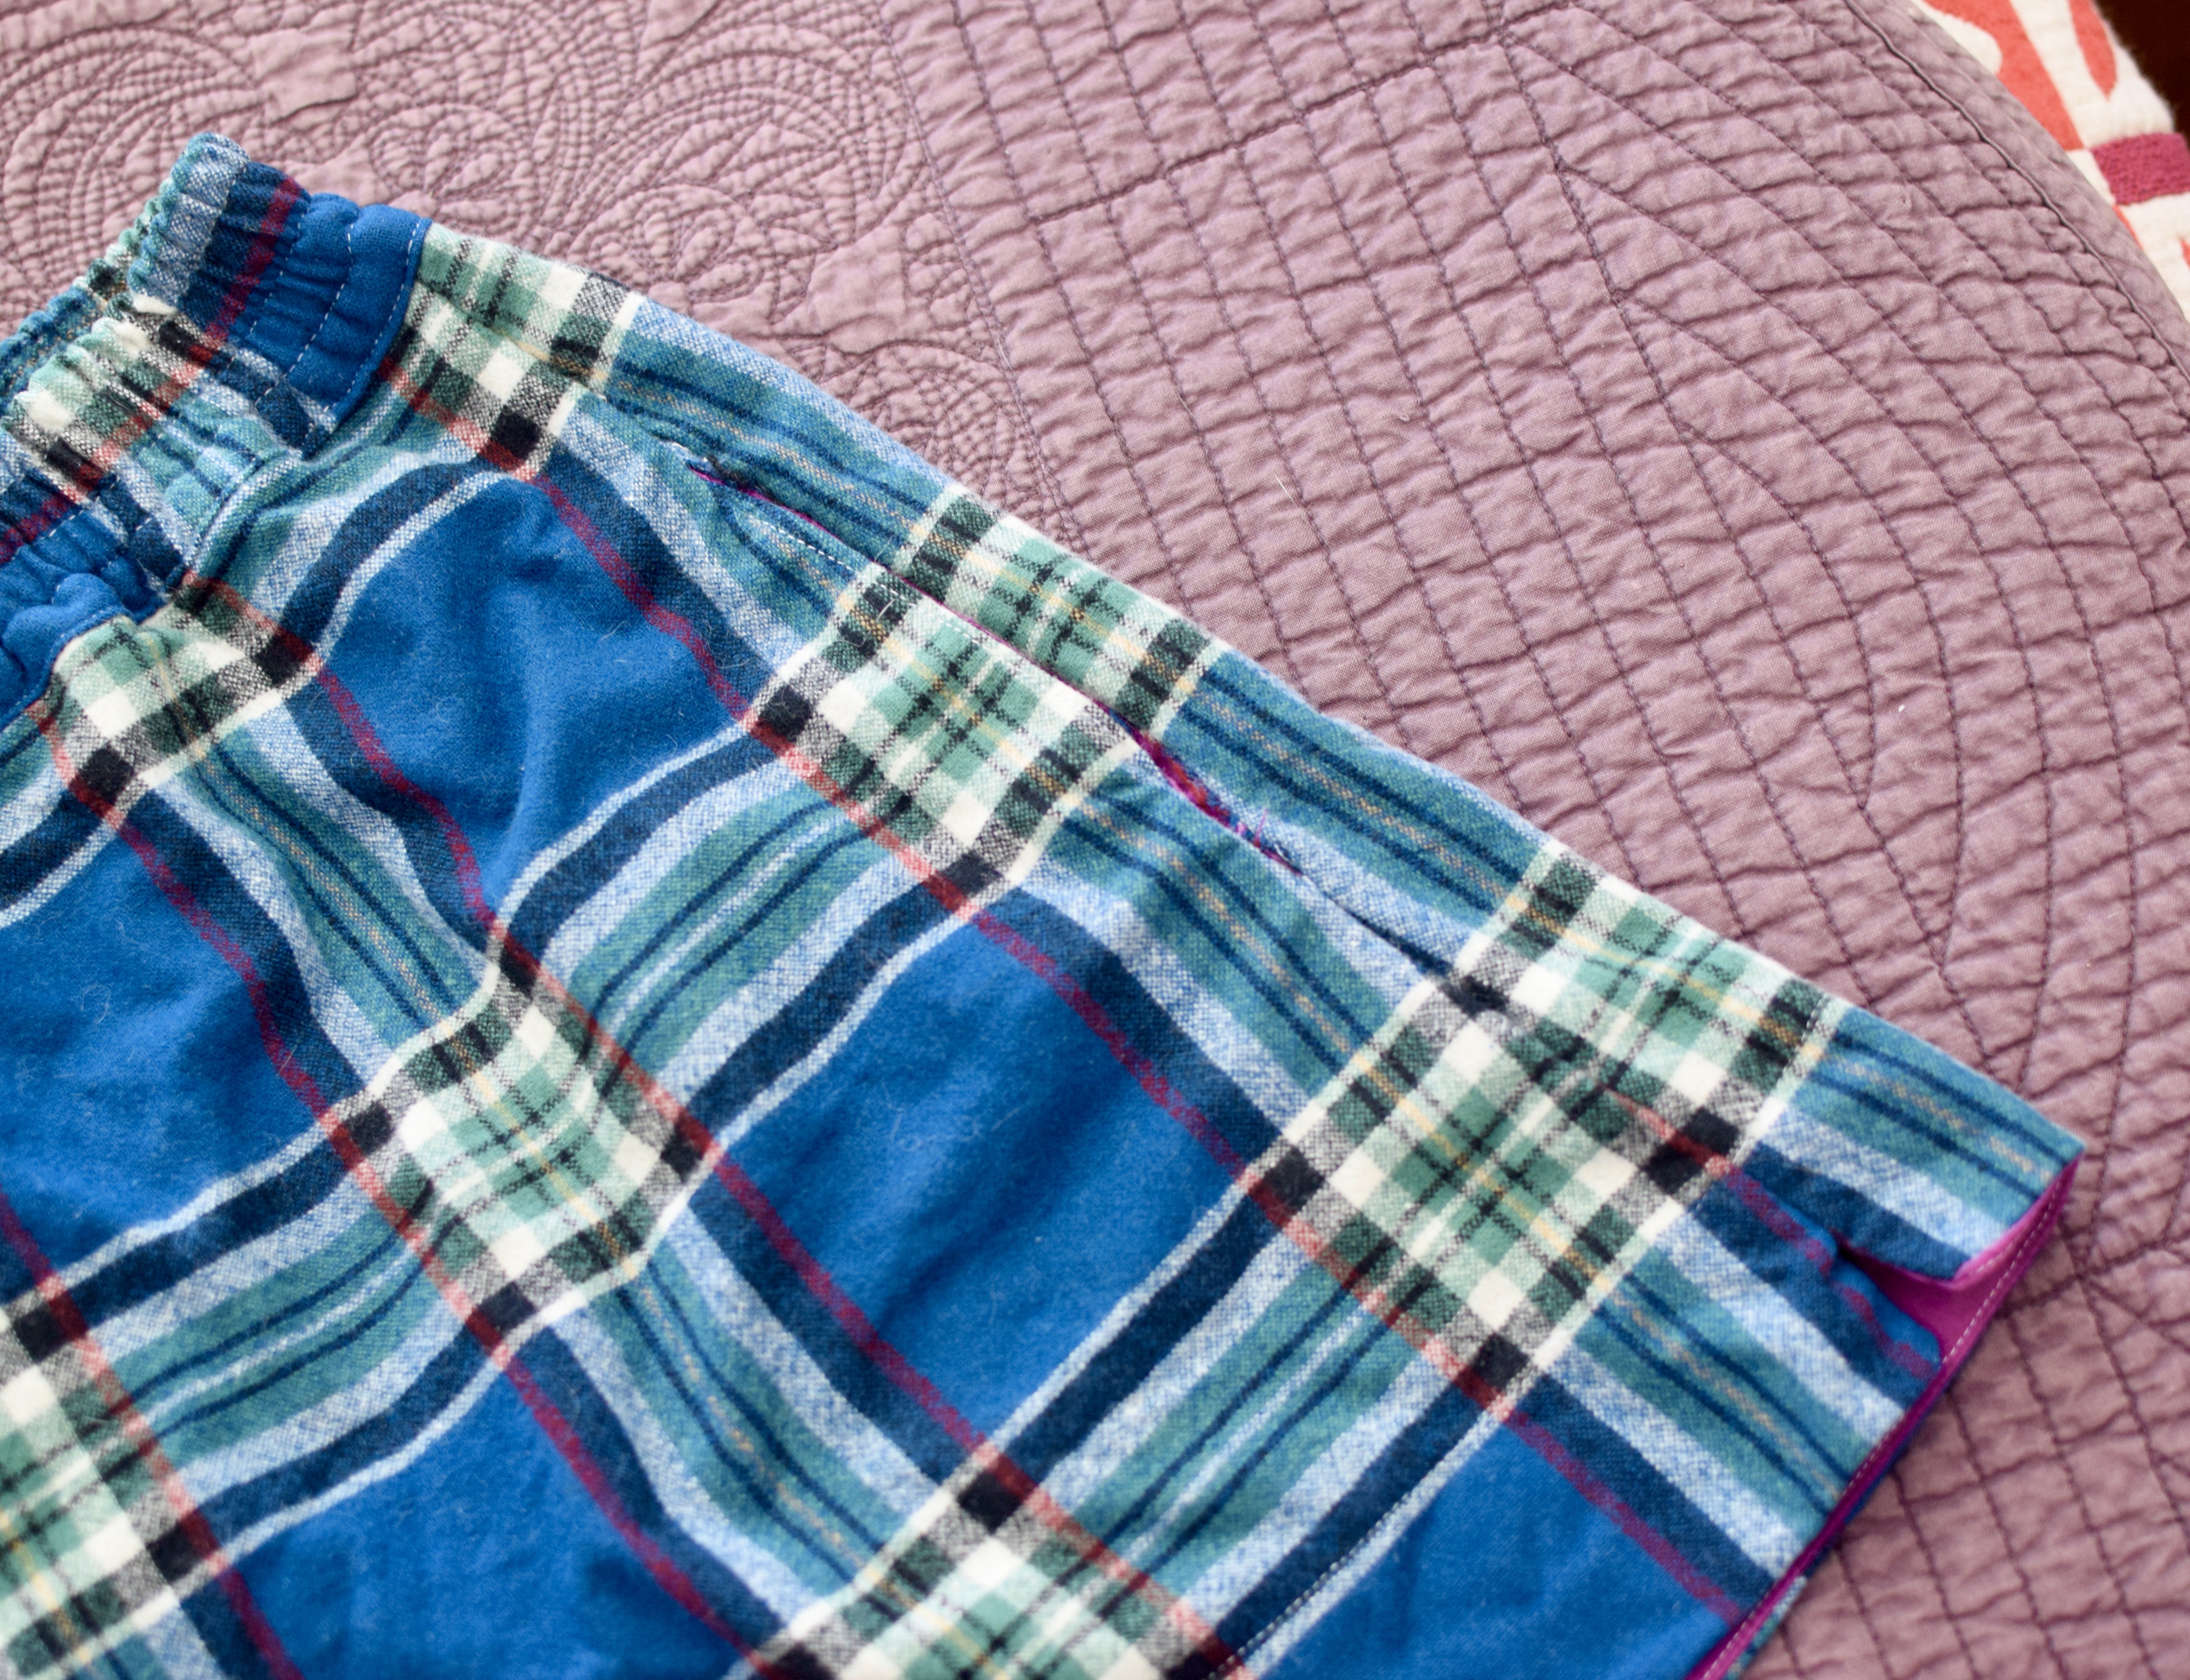
More Bailee shorts
I made another pair of bailee shorts using leftover Pendleton from Jacob’s collared shirt. they are SO comfortable ive been wearing them as PJs all winter.
Our everyday cloth napkins were looking pretty ragged so I’ve been on the hunt for new ones. Thrift stores are a great place to find napkins, and you can usually tell if they need to be ironed with every wash–the ones that require ironing are usually starched and super stiff. The bad news there is that we don’t have too many thrift stores that sell home goods near us. So, I wonder what I did…
After seeing how expensive cloth napkins are to buy new, I decided to make some. I ended up getting a pre-cut bundle of Purl Soho cotton toweling. I settled on two bundles of precut pieces during a sale, knowing I could get two napkins from each piece, which worked out to ~$9/napkin. Whoever thinks making stuff yourself saves you money, well… you can but I do not!
The napkins are on the small side, but they are very soft and thick. The mitered corners help a lot to reduce the bulk. It took a few attempts to figure out the best folding method because of the stripes and odd size, but I’ve settled on folding in thirds, then in half, and it looks very nice. After washing and drying, they are WRINKLE-FREE. Living the dream.