folded!!

I finished my folded sweater.

During the last moment of packing for a quick trip for a Florida wedding, I grabbed the project bag from the pile and threw it in my suitcase. I proceeded to work tirelessly since all I had left was ¼ of an arm, and then the yoke. I can’t imagine what people thought of me on the plane– I was furiously knitting and attaching dangly sleeves to body and then working in the “folds” with 3 DPNs along with the long bendy circulars. BUT TRIUMPH I HAVE. This sweater is DONE.

I tried it on right when i cast off, and was rather nonplussed by the fit. I blocked it and sneaked a try on before it was 100% dry and oh my. its perfect. Ill get some pictures this weekend.

Happy.

always keeping busy

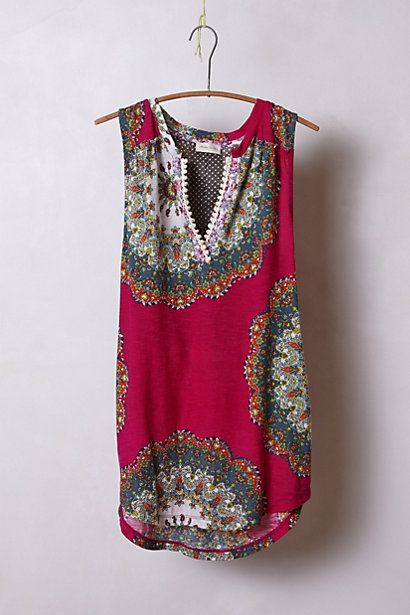
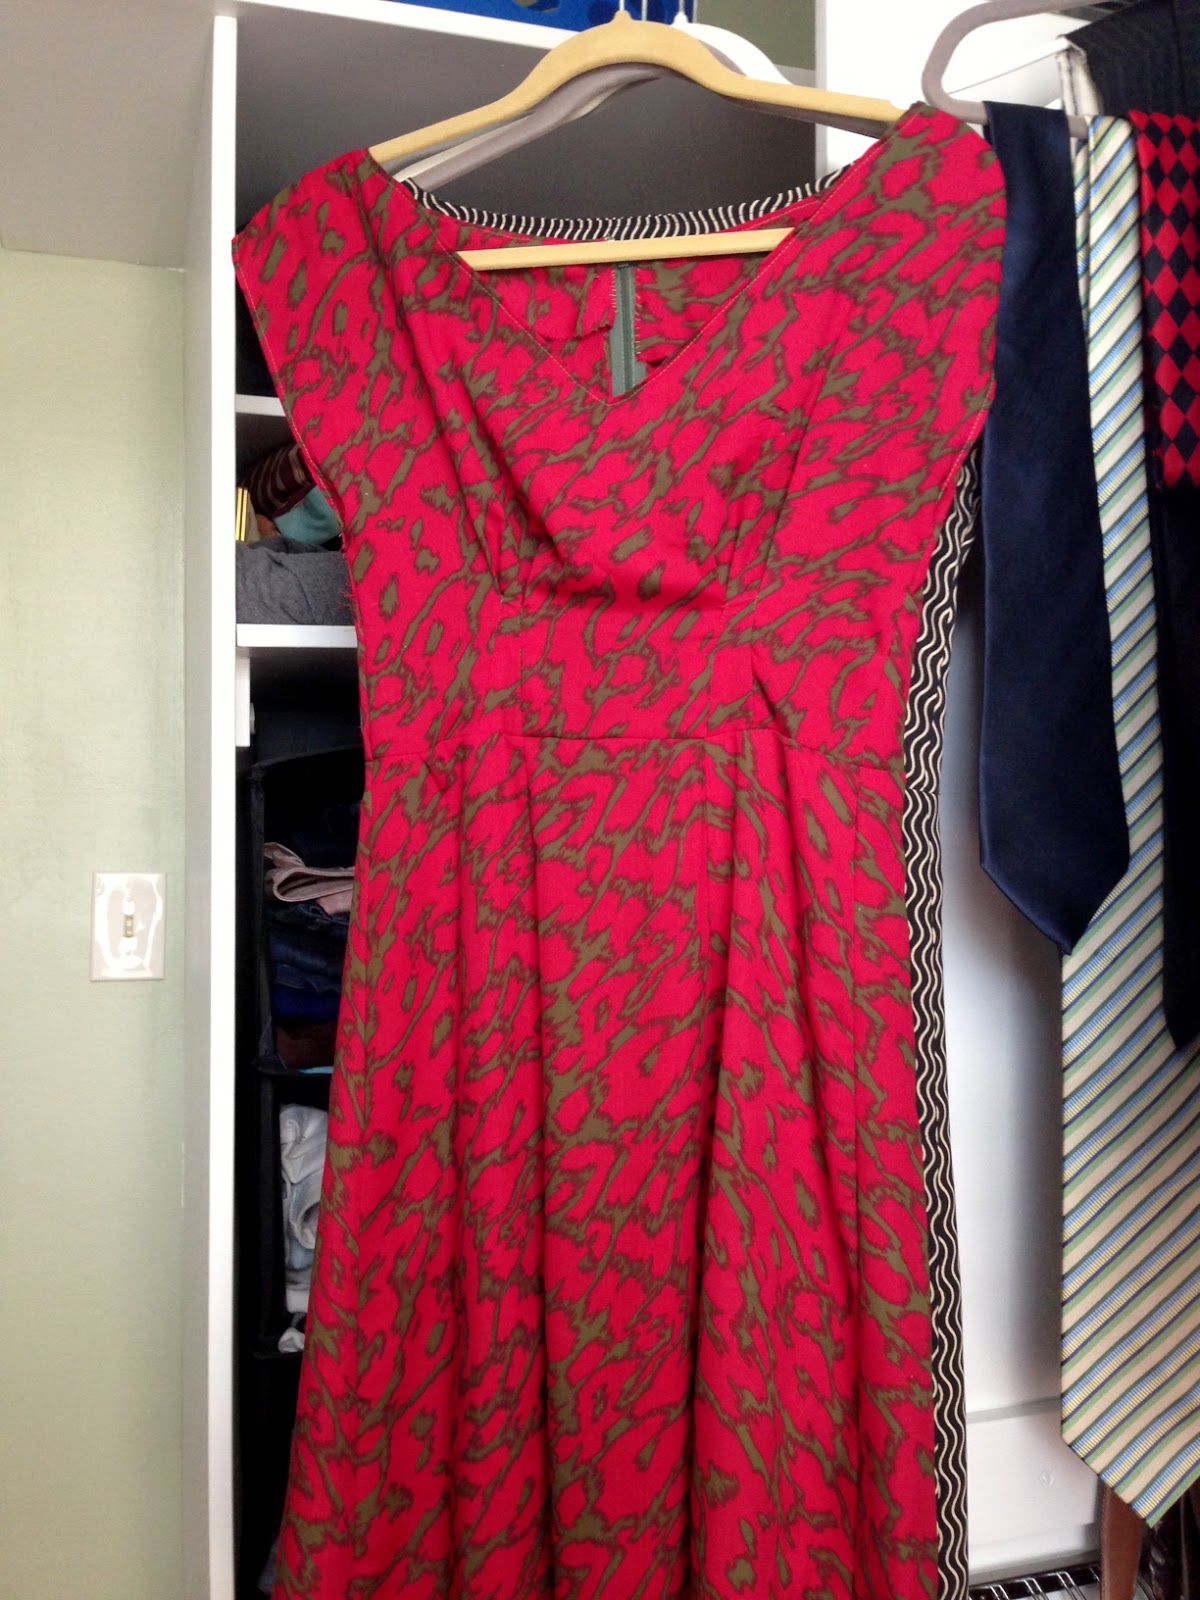
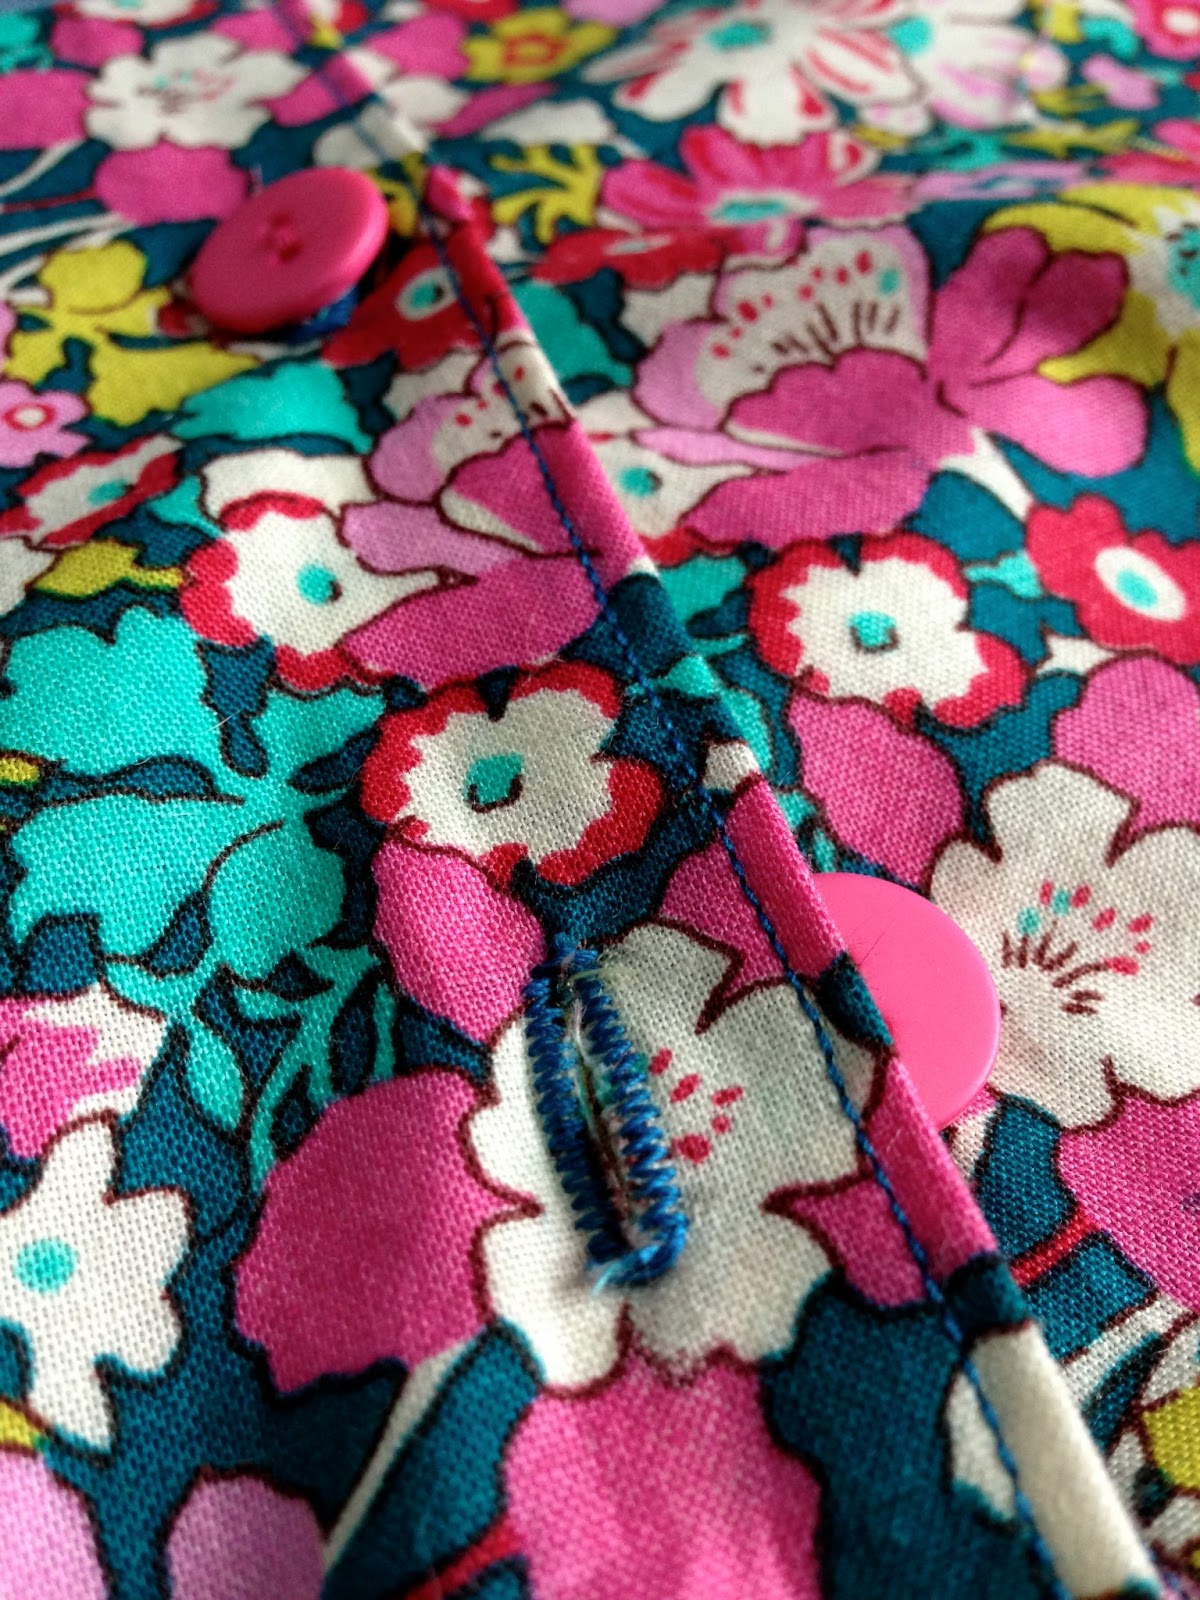
I made the “placket dress” I hinted at previously. the buttons are little wooden guys from joanns. It was a good learning experience, but I did a sloppy job. At worst, its a suitable house dress. At best, I can wear it to work with a cardigan. I based it loosely on the Colette Patterns Sorbetto, but I removed the pleat in the pattern piece, and lengthened about 14". The major issue was the bias tape facing did not get along very well with the placket. The fabric is some poly silky material, and I used leftover cotton bias tape.. not the best mix. Here is a bad pic:

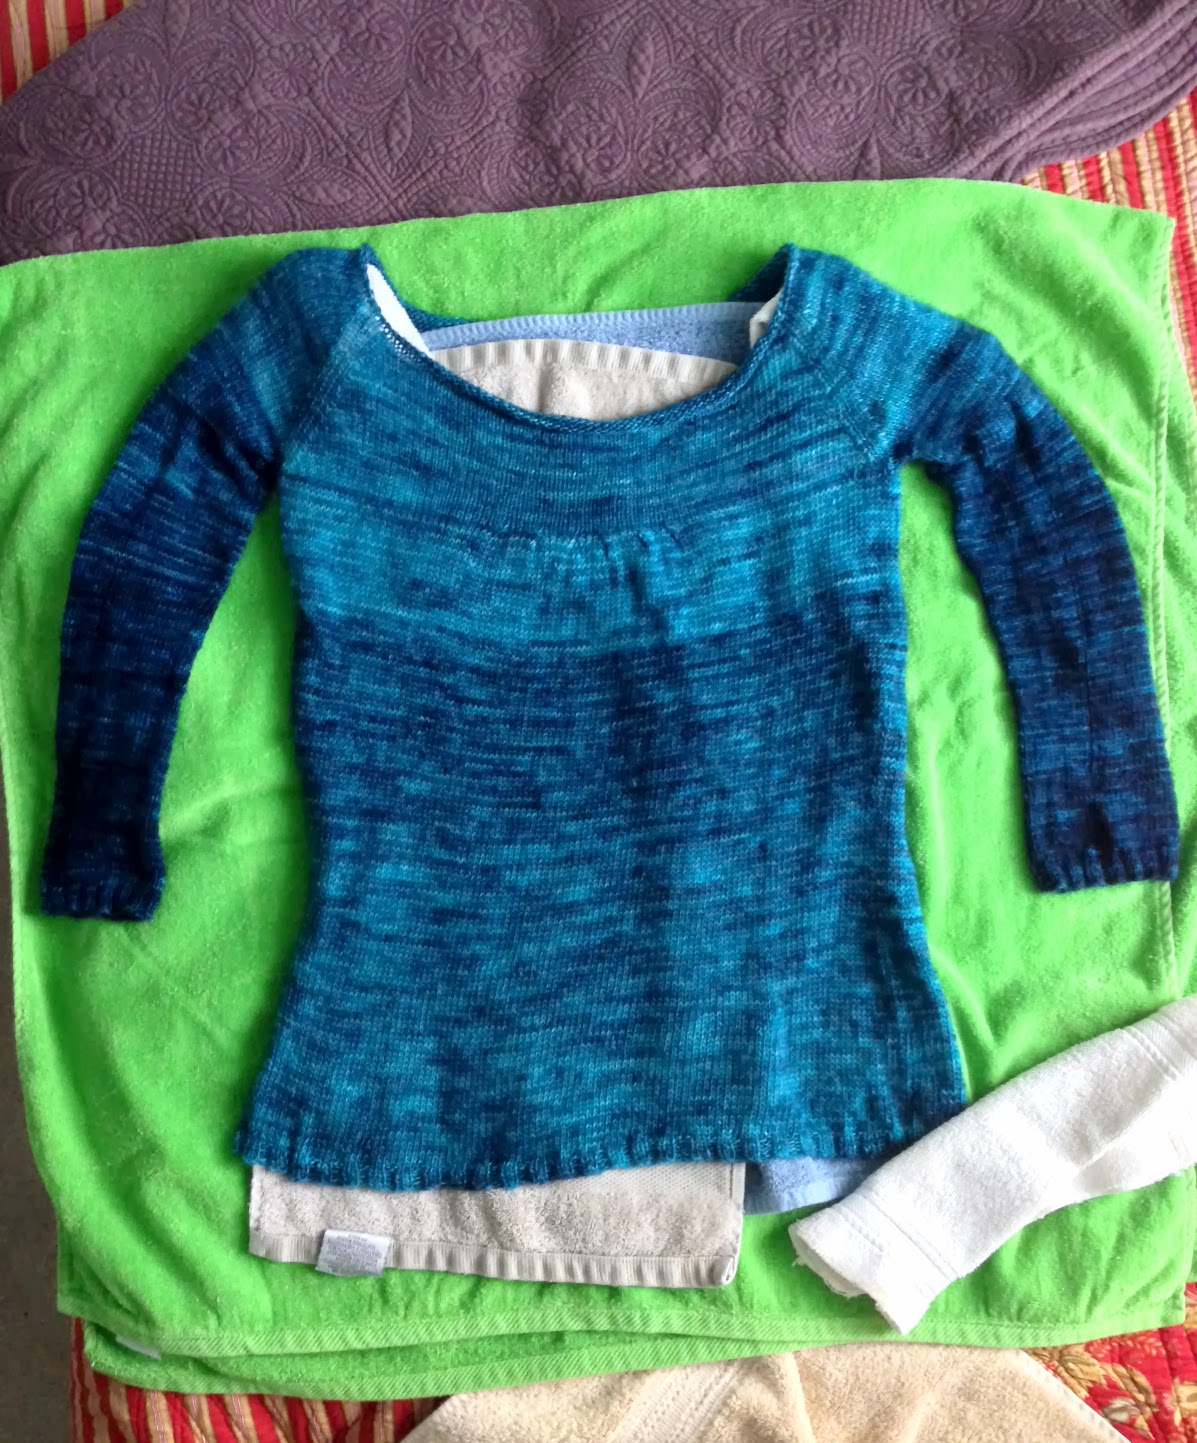
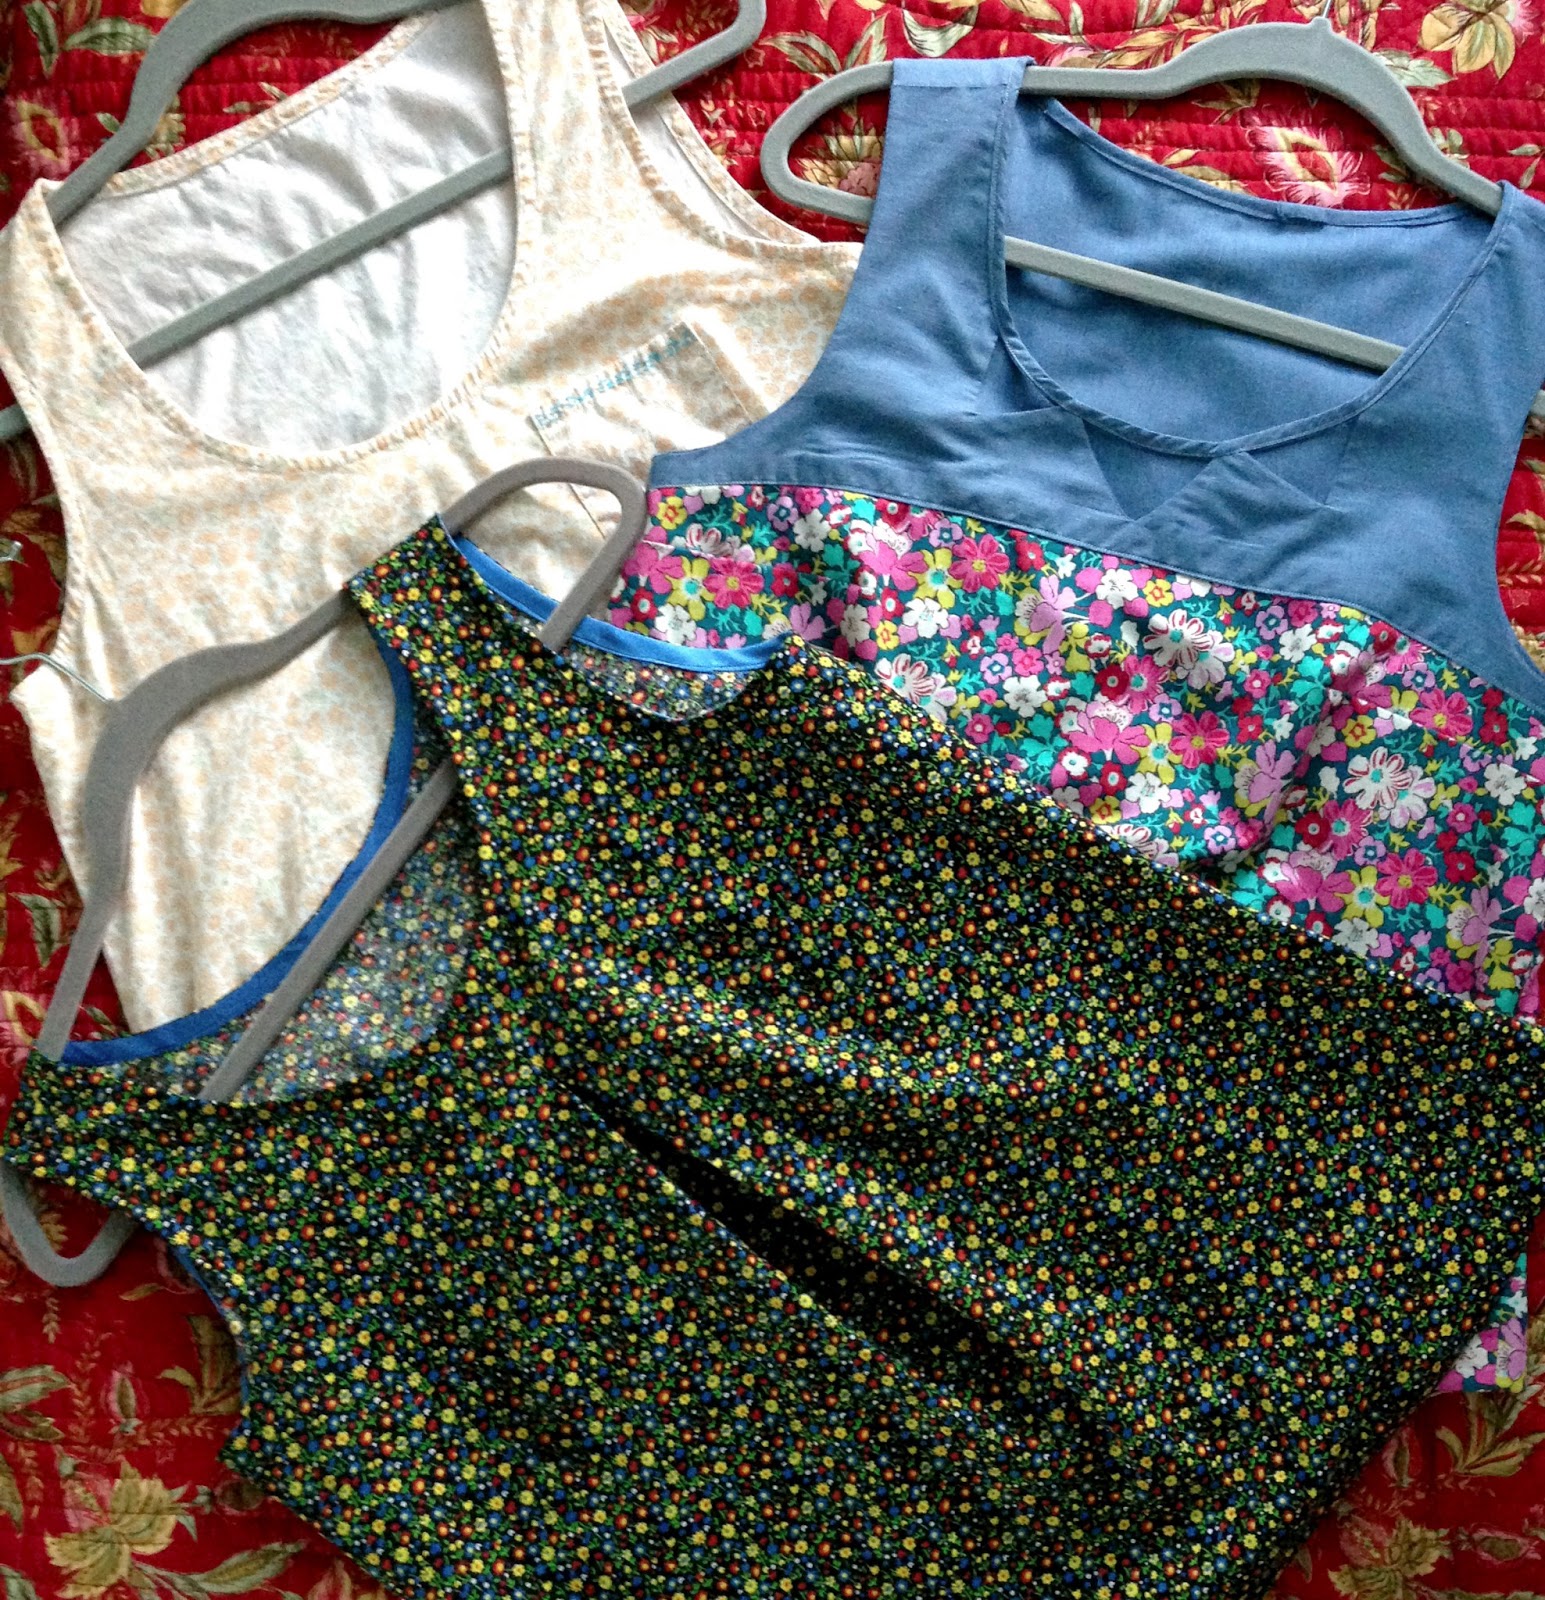
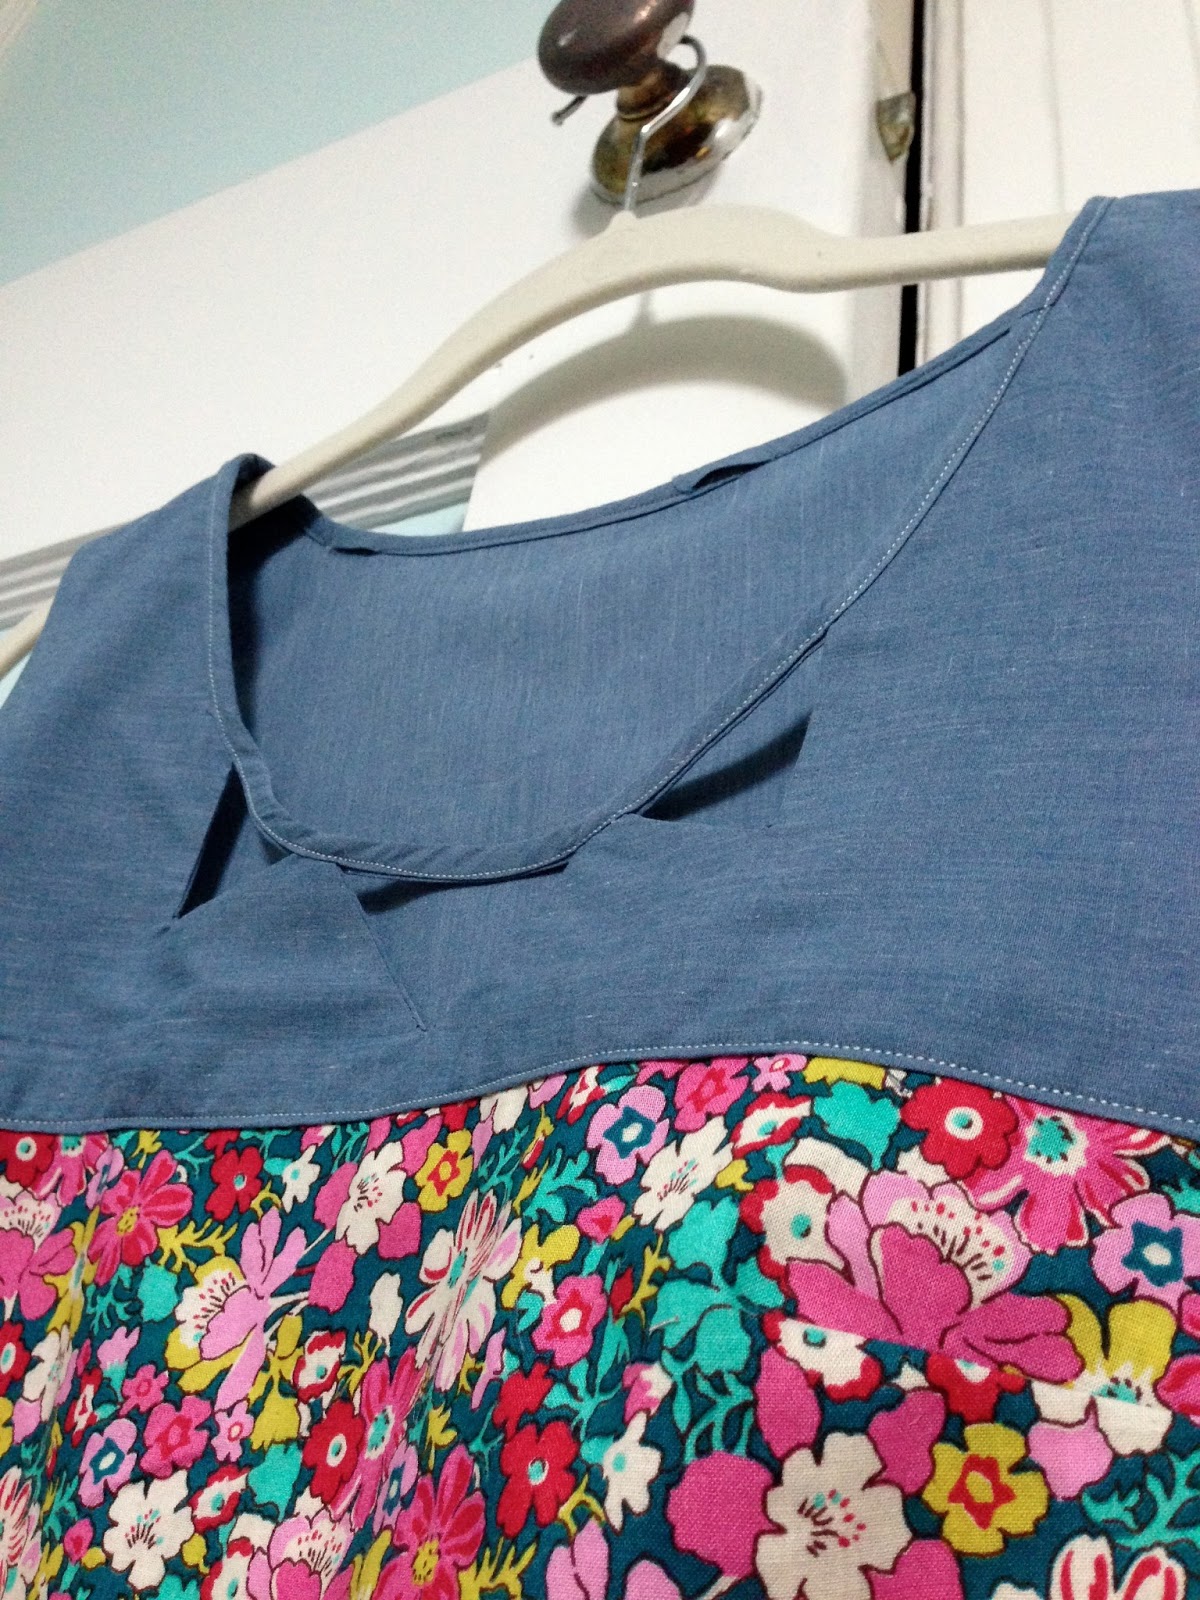
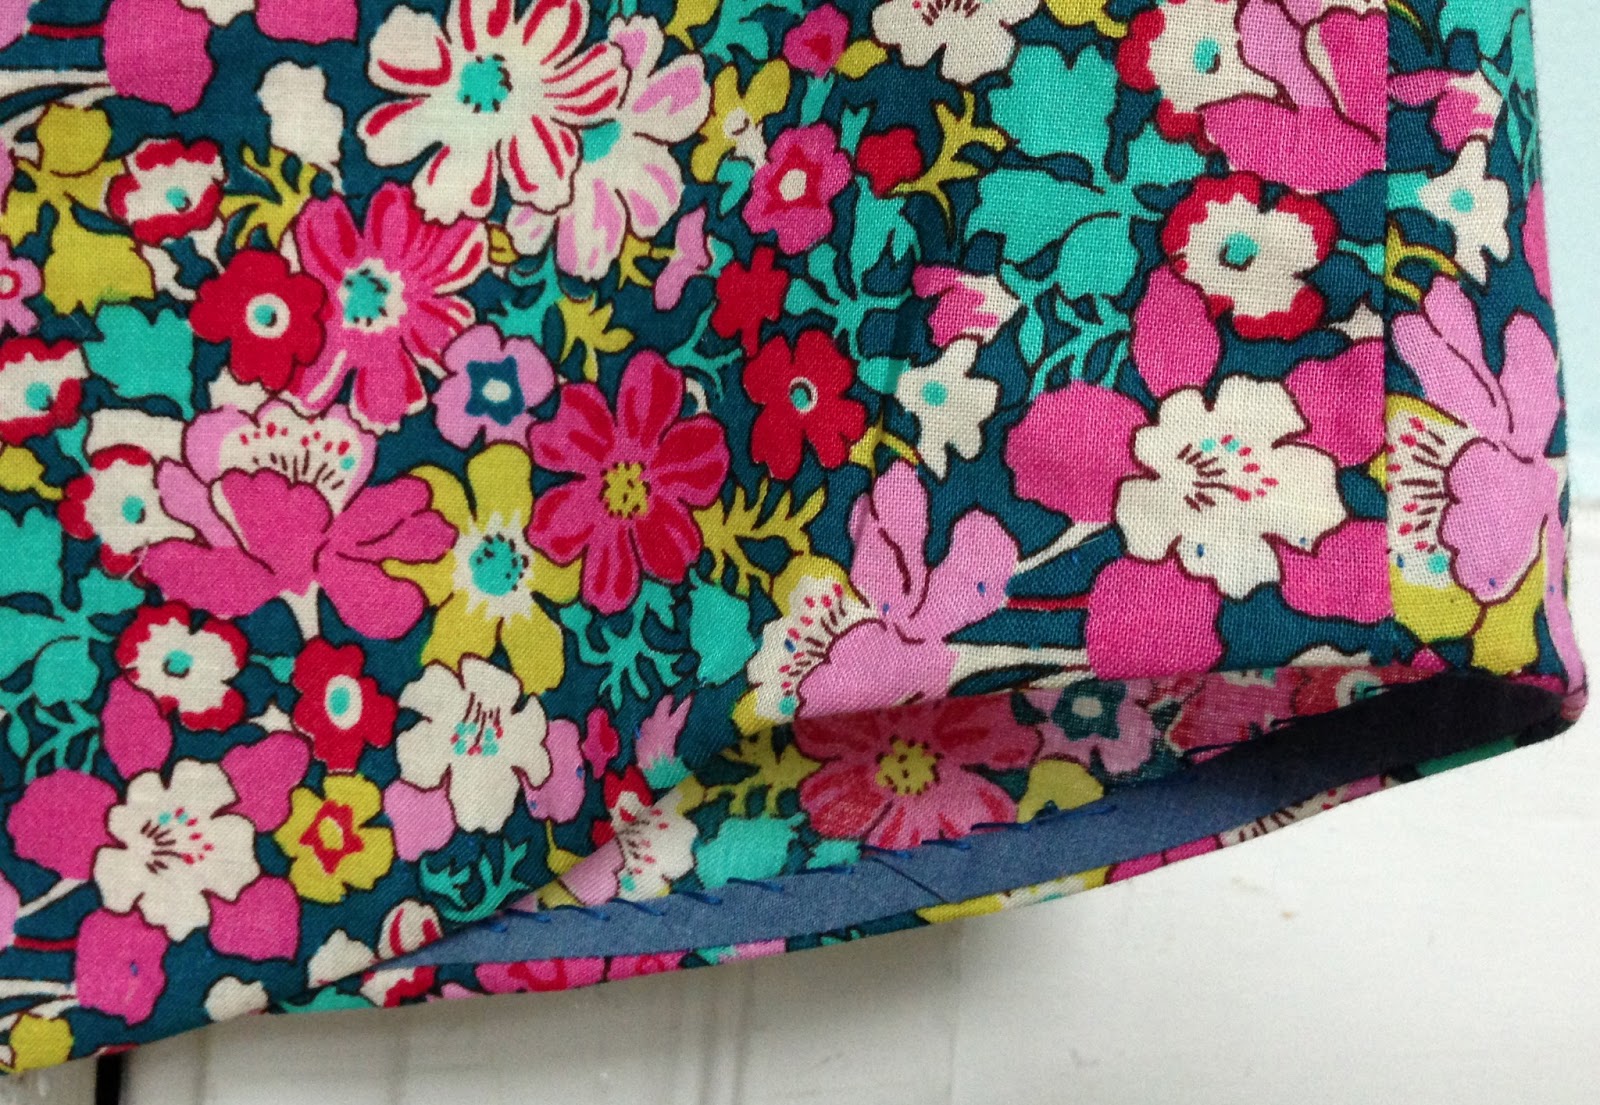
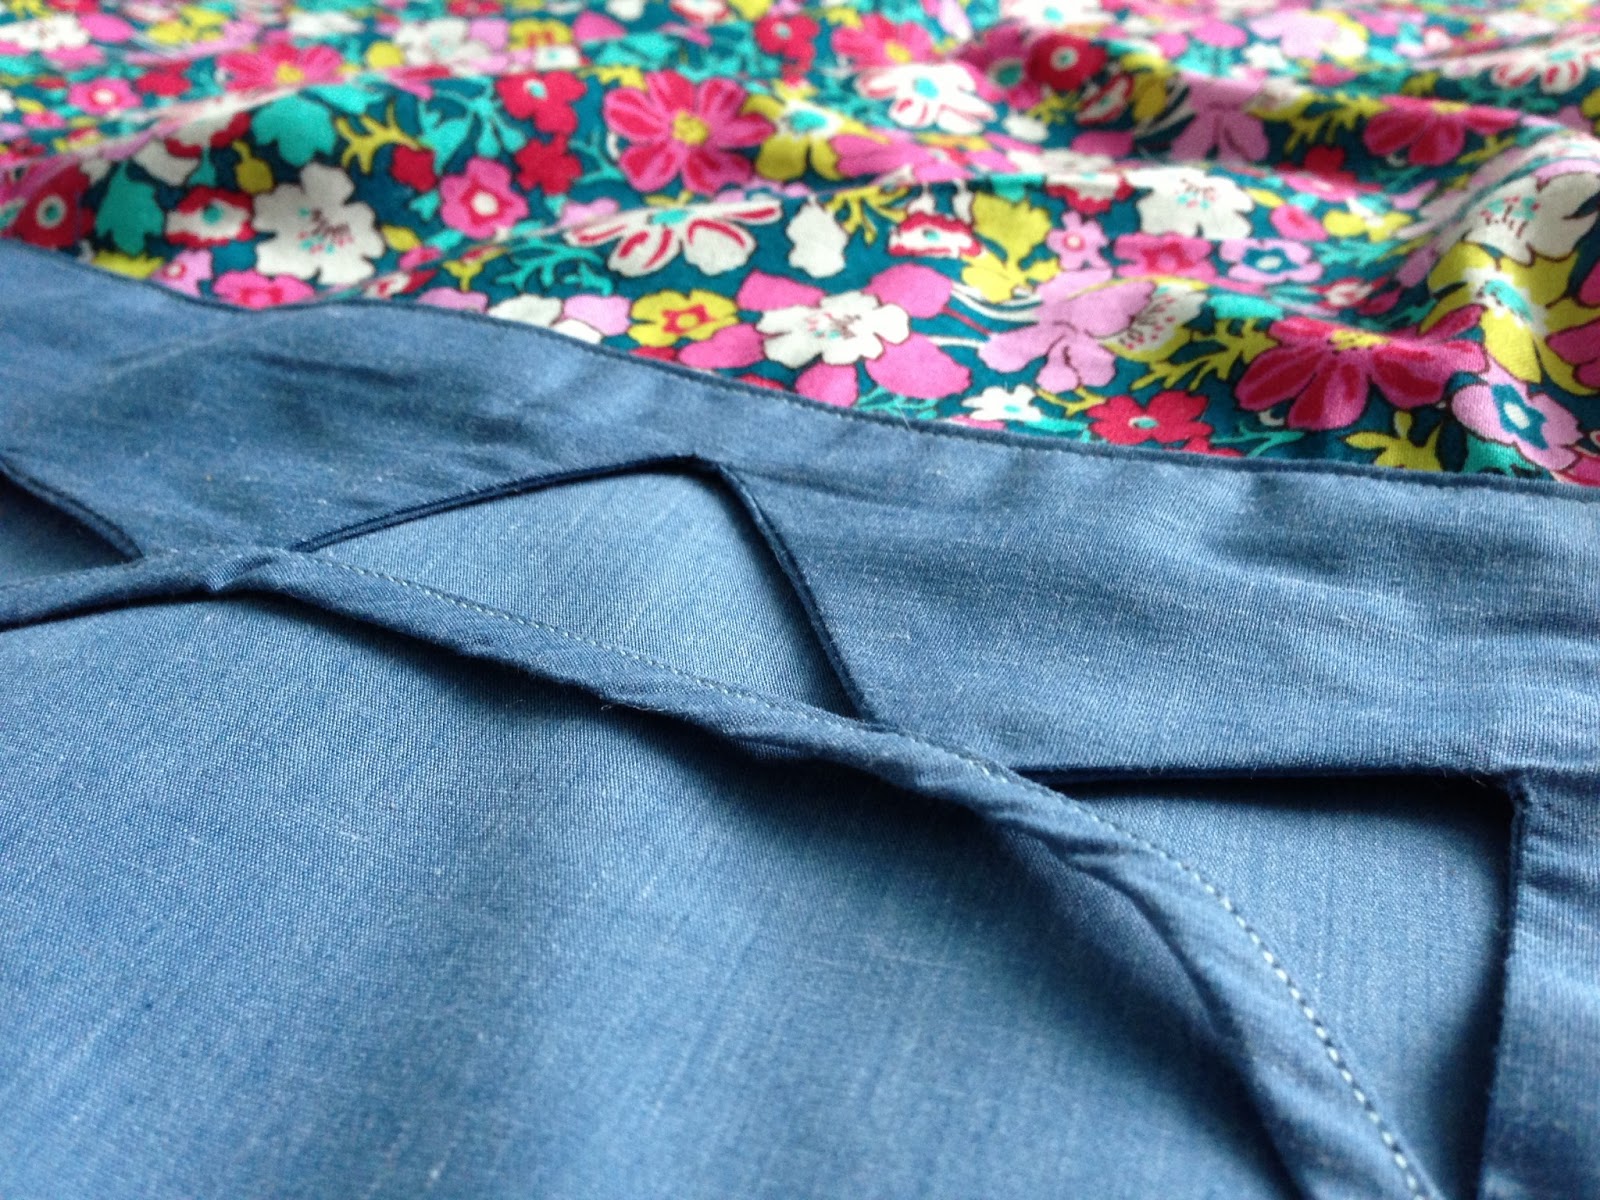
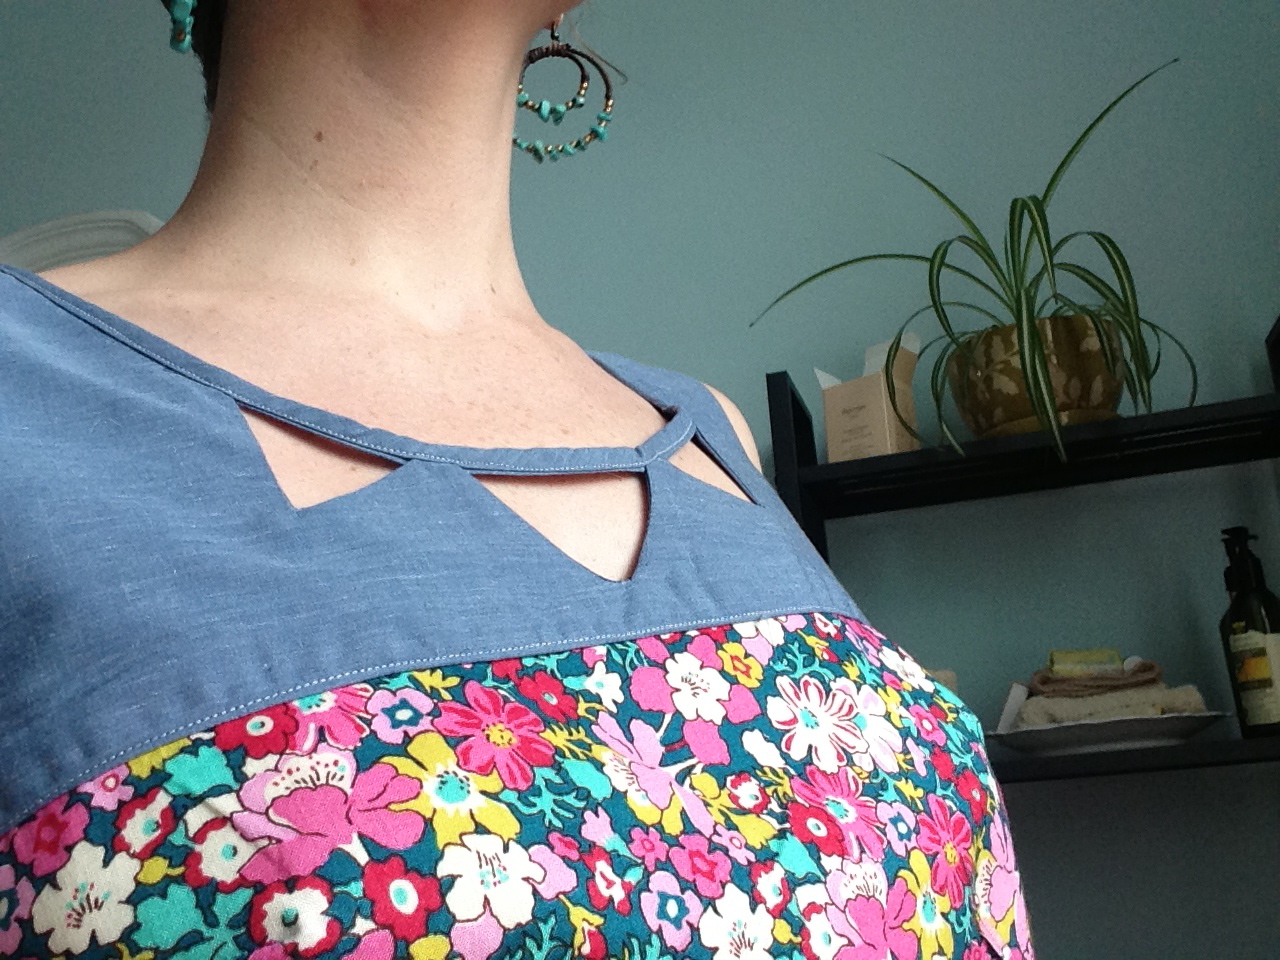
I also made a dress from the Japanese Stylish Dress Book. I LOVE it. Its shapeless with a ridiculous amount of ease in the back, but its my favorite thing I’ve made so far this year. I made the smallest size, even though the “size chart” advised me to make it two sizes bigger. If you want to buy this book, beware: you pretty much have to trace the pattern pieces (vs just cutting them out) because the 27 patterns are all on top of each other on 3 double sided giant pages. I suppose that is the “right way” to use patterns, but I usually take the lazy route and just cut out the pattern pieces straight from the pattern. I found it very time consuming to trace the pattern pieces with tracing paper, and then add seam allowances. Maybe thats how they do it in Japan. (Also, after I took this picture, i added a strip of the dark fabric at the bottom to lengthen the dress a bit– it was very short before).

I’ll try to get some better pics of all the stuff ive made recently soon… I feel a little silly having mini “photo shoots,” especially with my crappy iphone camera. On the other hand, I want to document everything because sometimes I forget all the stuff I’ve made.

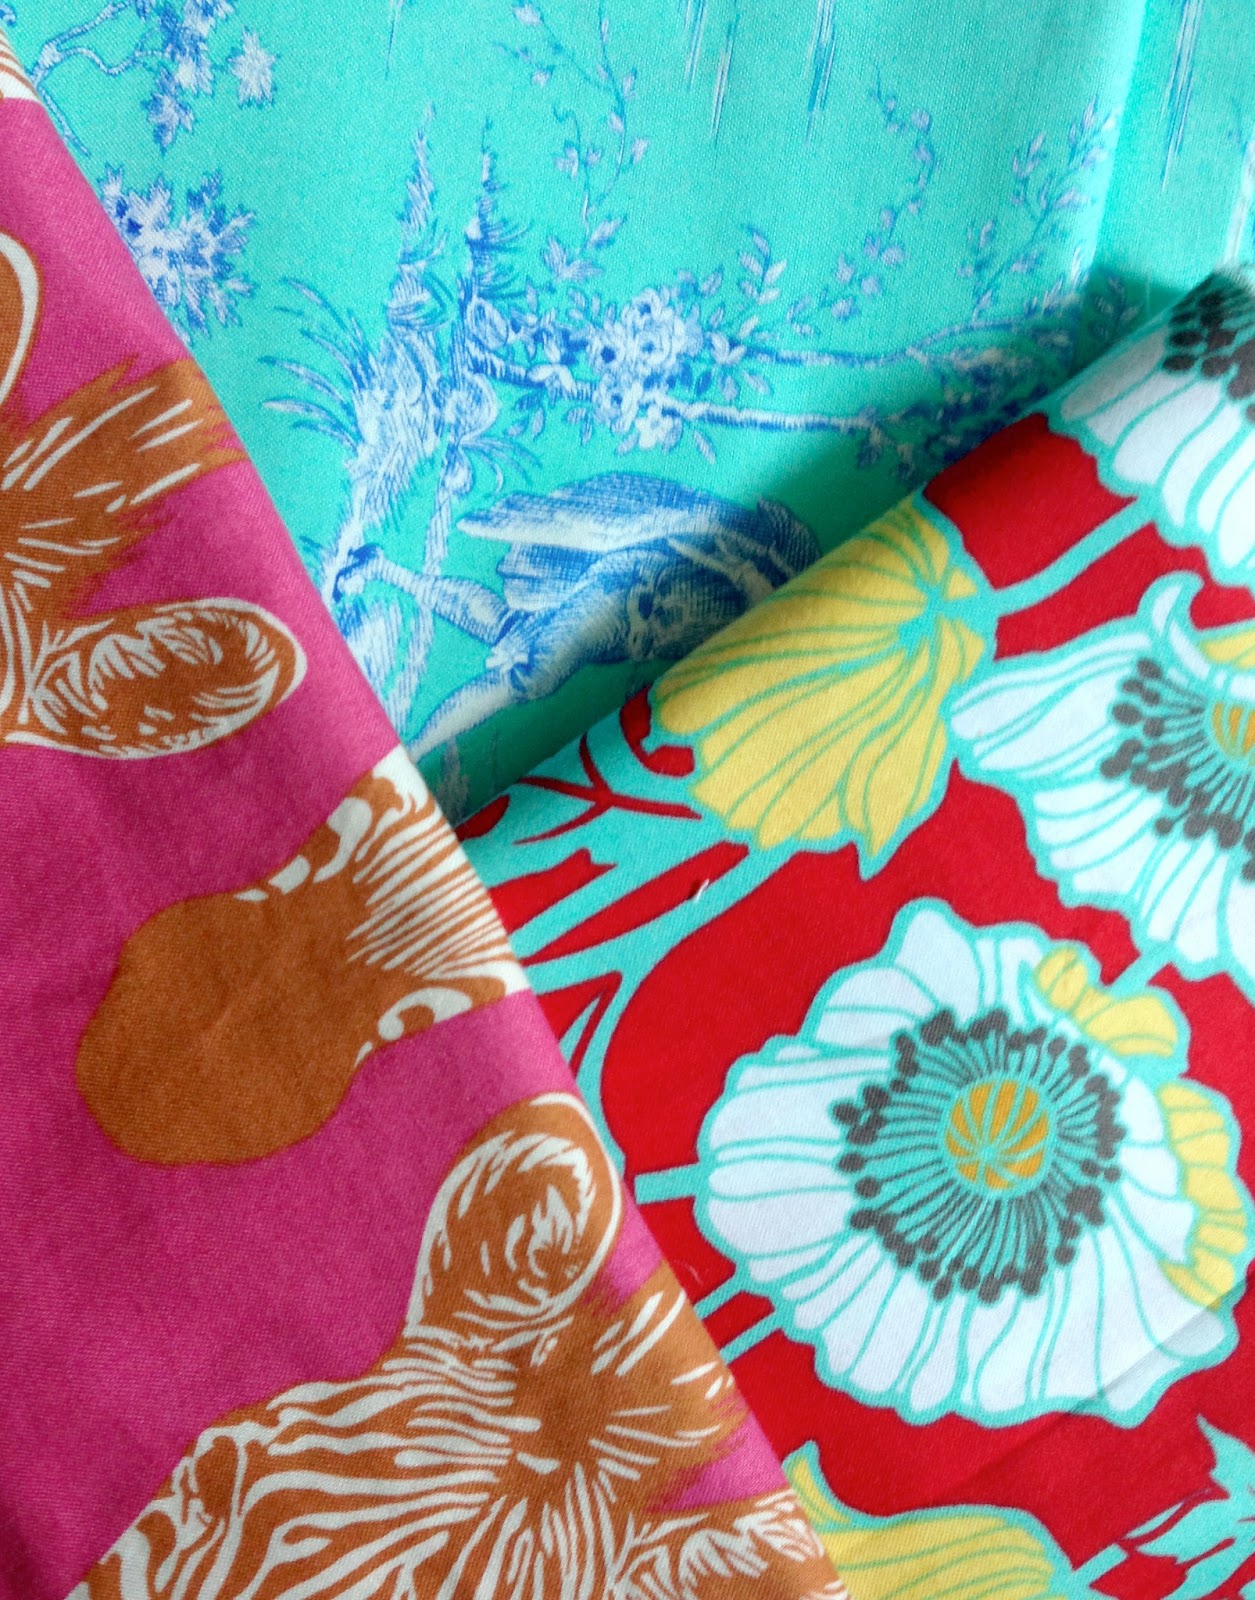
Today some friends and I are having a go at dyeing fibers. We are using onion skins. I’ve been scouring every grocery store to find dyestuffs, which got me some weird looks from cashiers and other shoppers. To dye, I have some knit cotton/modal and some stripey-eyelety cotton, as well as two skeins of worsted lamb’s pride, which is mostly wool with a little mohair. I hope the yarn turns out, if it does it might turn into a Lonely Tree Shawl! We’ll see how it goes!!!!

and that’s why you always finish your seams.

i am a little ridiculous. i made two anna dresses so far. one midi length with a v neck, and one maxi length with a slash neck and thigh-high split. these two dresses have been my foray into synthetic drape-y fabric. i want to be comfortable with silk, but first i want to learn on cheaper material.

one crucial thing i did not do for the maxi dress is pink the skirt seams. i finished the dress, ecstatically, tried it on and was so happy with the result– it fits like a dream. i wore the dress to work and about an hour into the workday, i noticed the seams were getting really….. unravely. by the end of the day giant clumps had formed along each seam, and some spots had unraveled through my seam! i was so upset! the parts of the dress i had pinked were fine, but these raw edges just were not happy. my plan is to rip out all of the skirt seams, and take them in a little bit so i can finish the edges correctly.

what a stupid mistake. now i know, i suppose!

off-topic inspiration.

i try to keep this blog on-topic, or at least mildly related to fiber crafts. but i saw this list and it really resonated with me, so i wanted to put it here. especially:

“7. Measure your failures as cautiously as you measure your successes.
So you failed. Okay. In the same way you are modest about your successes, be modest about your failures. Don’t linger in them. Think of all the hard learning you did while you worked so hard on something that sucked. Valuable knowledge. That’s how it goes sometimes. On to the next one.”

weekend snapshots

went to loom this weekend and couldn’t help but get more fabric than i needed. will definitely be going back.
also had a go at continuous bias tape. its sorta tricky but so worth it.. a half yard of fabric has made so many yards. 

here are the lakeside pajamas i am halfway through. still working on the shorts.

ps!! i finished my hawthorn dress! i still have to take some pictures though. 

round up + what’s next.

i’ve made 3 tank tops from 3 different patterns so far:

1:  (top left) Wiksten tank. Pattern cost = $8.50. I made this first, and it is the most simple. No darts (probably won’t make again because of it). I like the pocket.

2: (top right) Deer and Doe Datura blouse. Pattern cost = ~$20. The construction of this top is very professional and its fun to make. It includes variations for two types of collars. Will make again.

3: (bottom) Collette Patterns Sorbetto tank. Pattern cost = pattern is FREE. Has darts and a front pleat. Took me about 3 hours to make. I did an inverse box pleat and hid the bias tape. Will make again.

(I think its about time to move on to a new type of garment, and i think i am banning myself from any more florals…)

Next I am planning a sleeveless Hawthorn with some beautiful greenish bluish linen, and also I NEED TO FINISH my Folded sweater.

In other news, I’ve got some sticky bun dough rising in the kitchen…. mmmmmmm!

currently listening: sound of silver, lcd soundsystem (what else on the longest day of the year??)

A Datura!

i finished my Datura blouse!

it was a little rough to work through the directions, especially for the yoke; but after reading and re-reading (and re-reading), i did it! i found surprisingly few examples / tutorials / sew-a-longs about this pattern, so i felt pretty trailblazer-y while i was making it. i had to completely redo and remake the bias tape for the neck because i had sewing machine issues, but after i BOUGHT A NEW SEWING MACHINE, i whipped it out really quickly. it is shocking how bad the old machine was– it skipped stitches like crazy and the tension was so bad no matter what setting i had it on.

this project employed a LOT of new-to-me techniques.

bias tape / hand-sewn blind hem:

buttonholes (omg the machine is AMAZING for this):

 fully lined yoke:

eeee!!!!!
here are some shots that Jacob took: