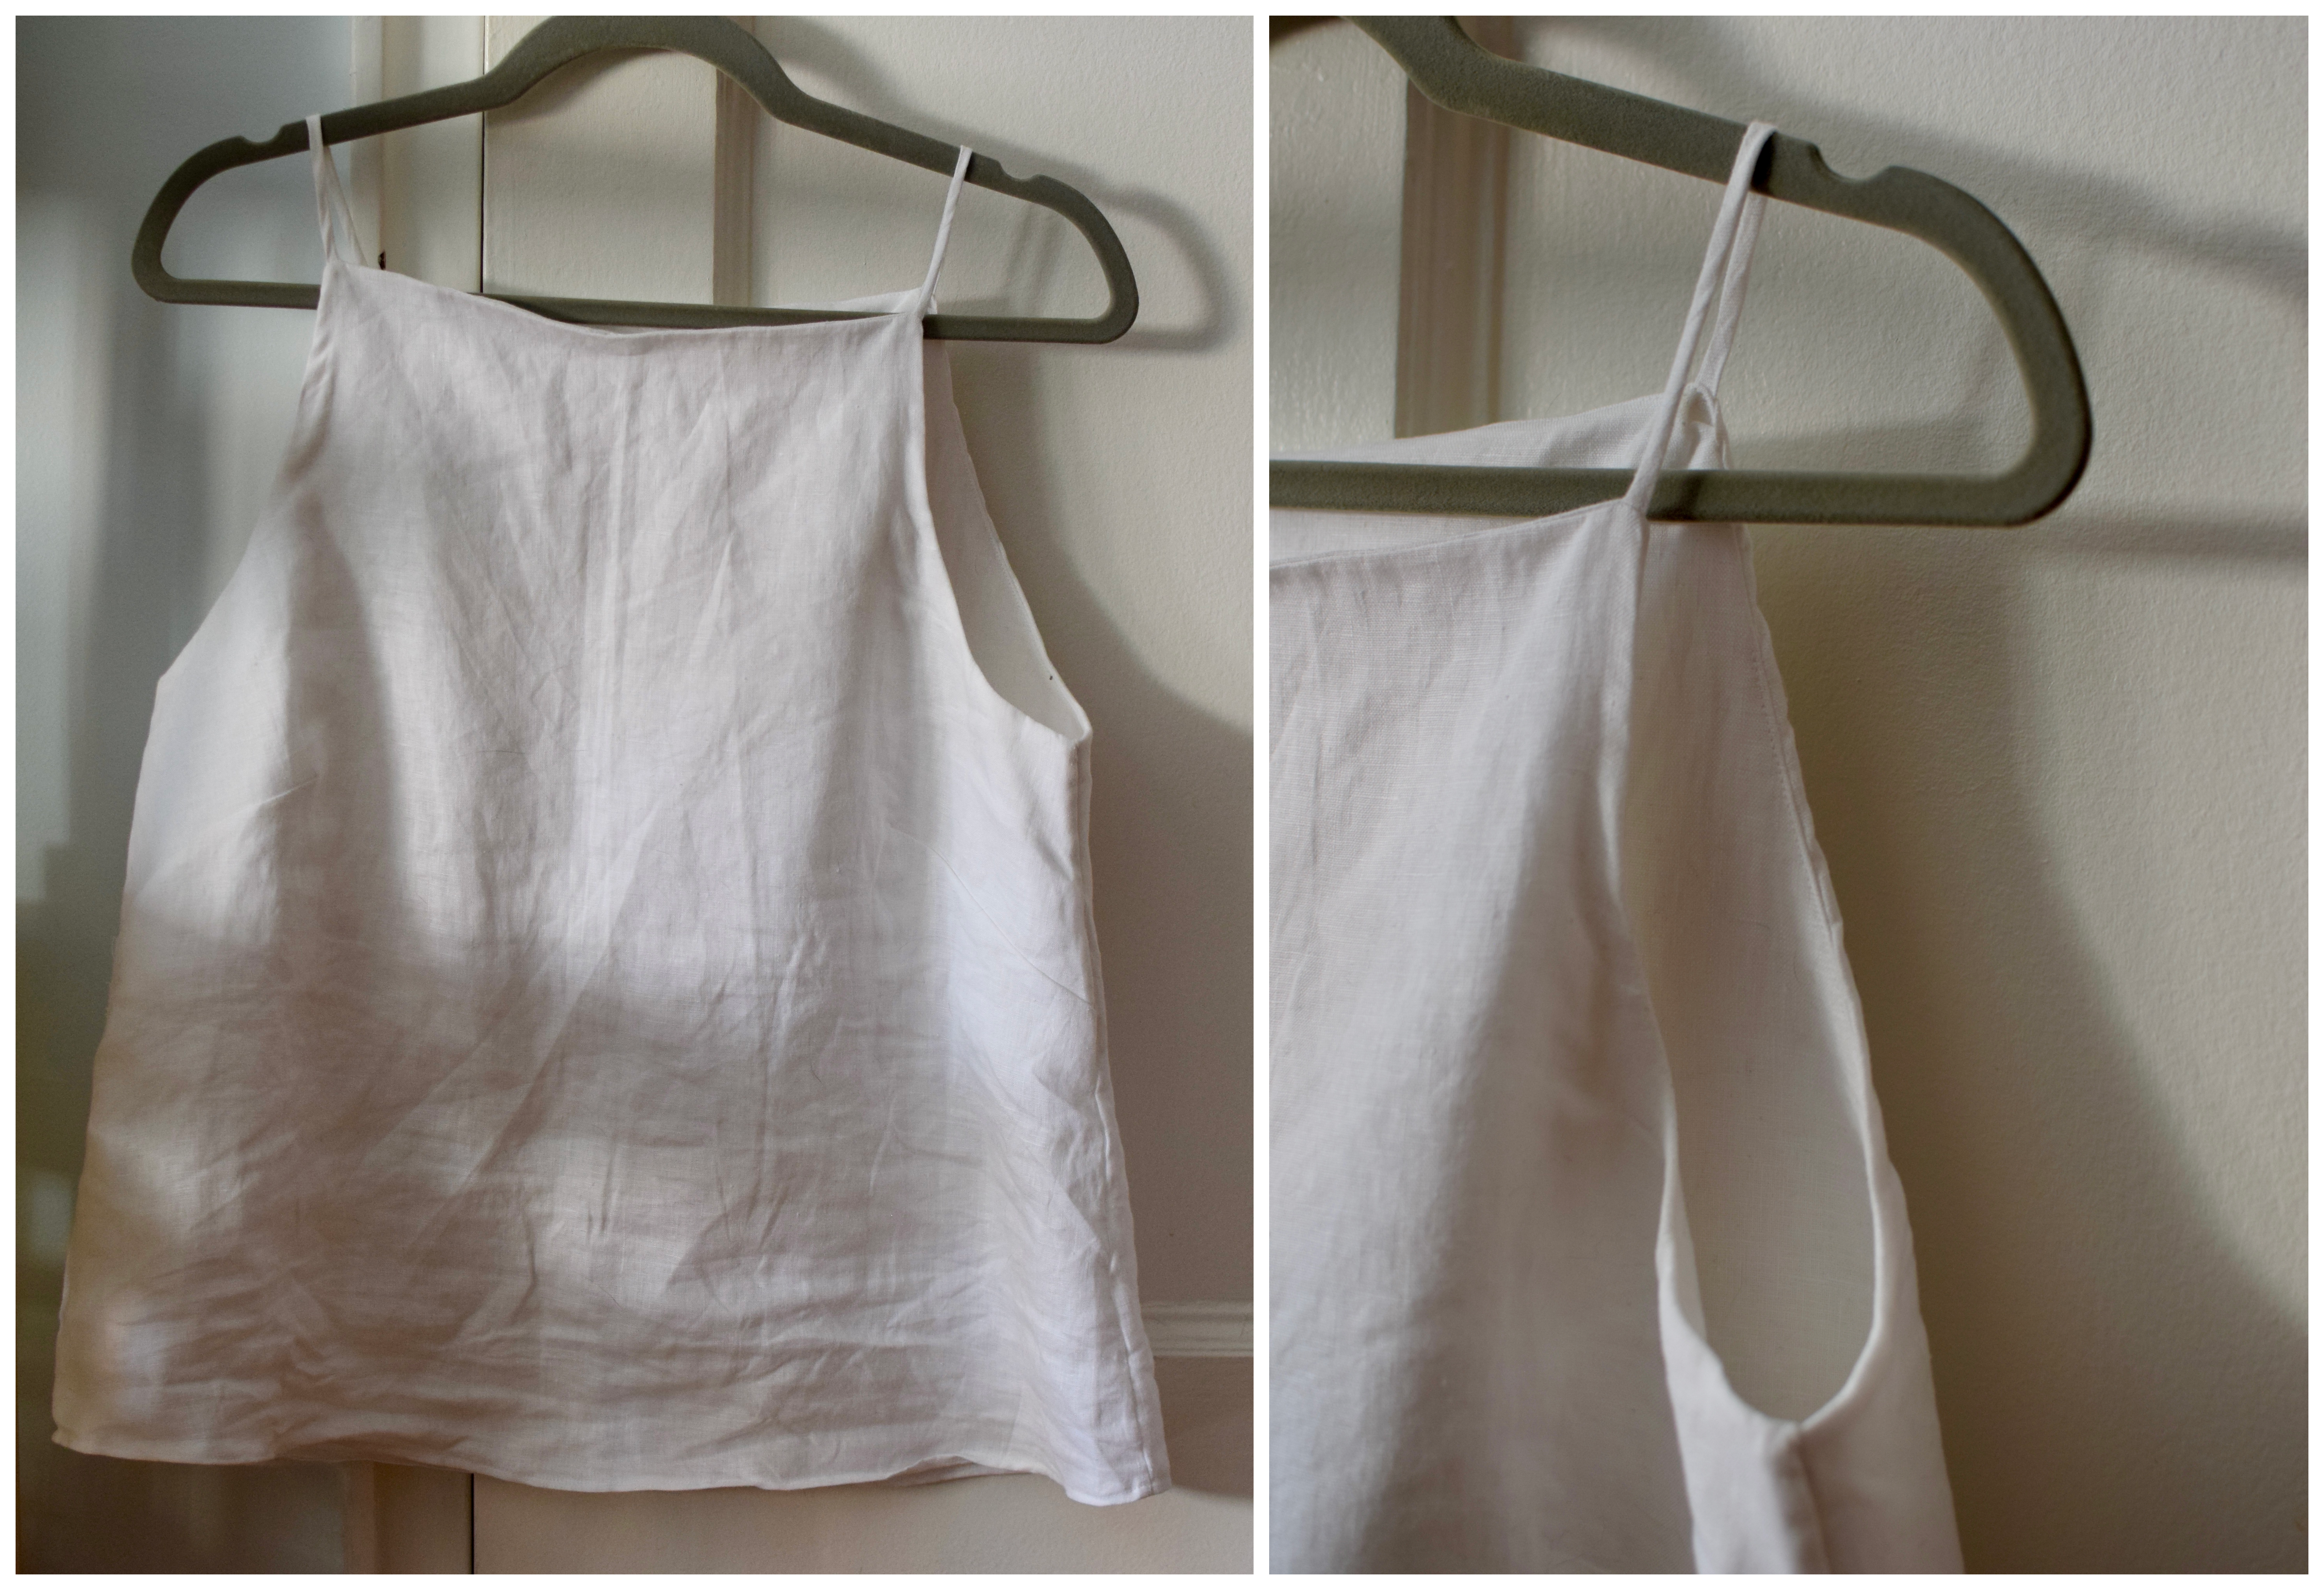
Tessuti re-released their Romy top with a dress variation, and I saw it in a new light. I am not normally a square neckline person so I never considered making it, but I thought I’d give it a go with some leftover white linen from my stash.
I have found my new favorite neckline!! It’s so flattering, I love it. As drafted, this top is a bit long. The pattern calls for interfacing the lining, but this stiff linen did not need it. Somewhere on the internet, I saw someone’s take about avoiding fusible interfacing because its… plastic. Not a great way to stay cool! Nevertheless, its a nice top!
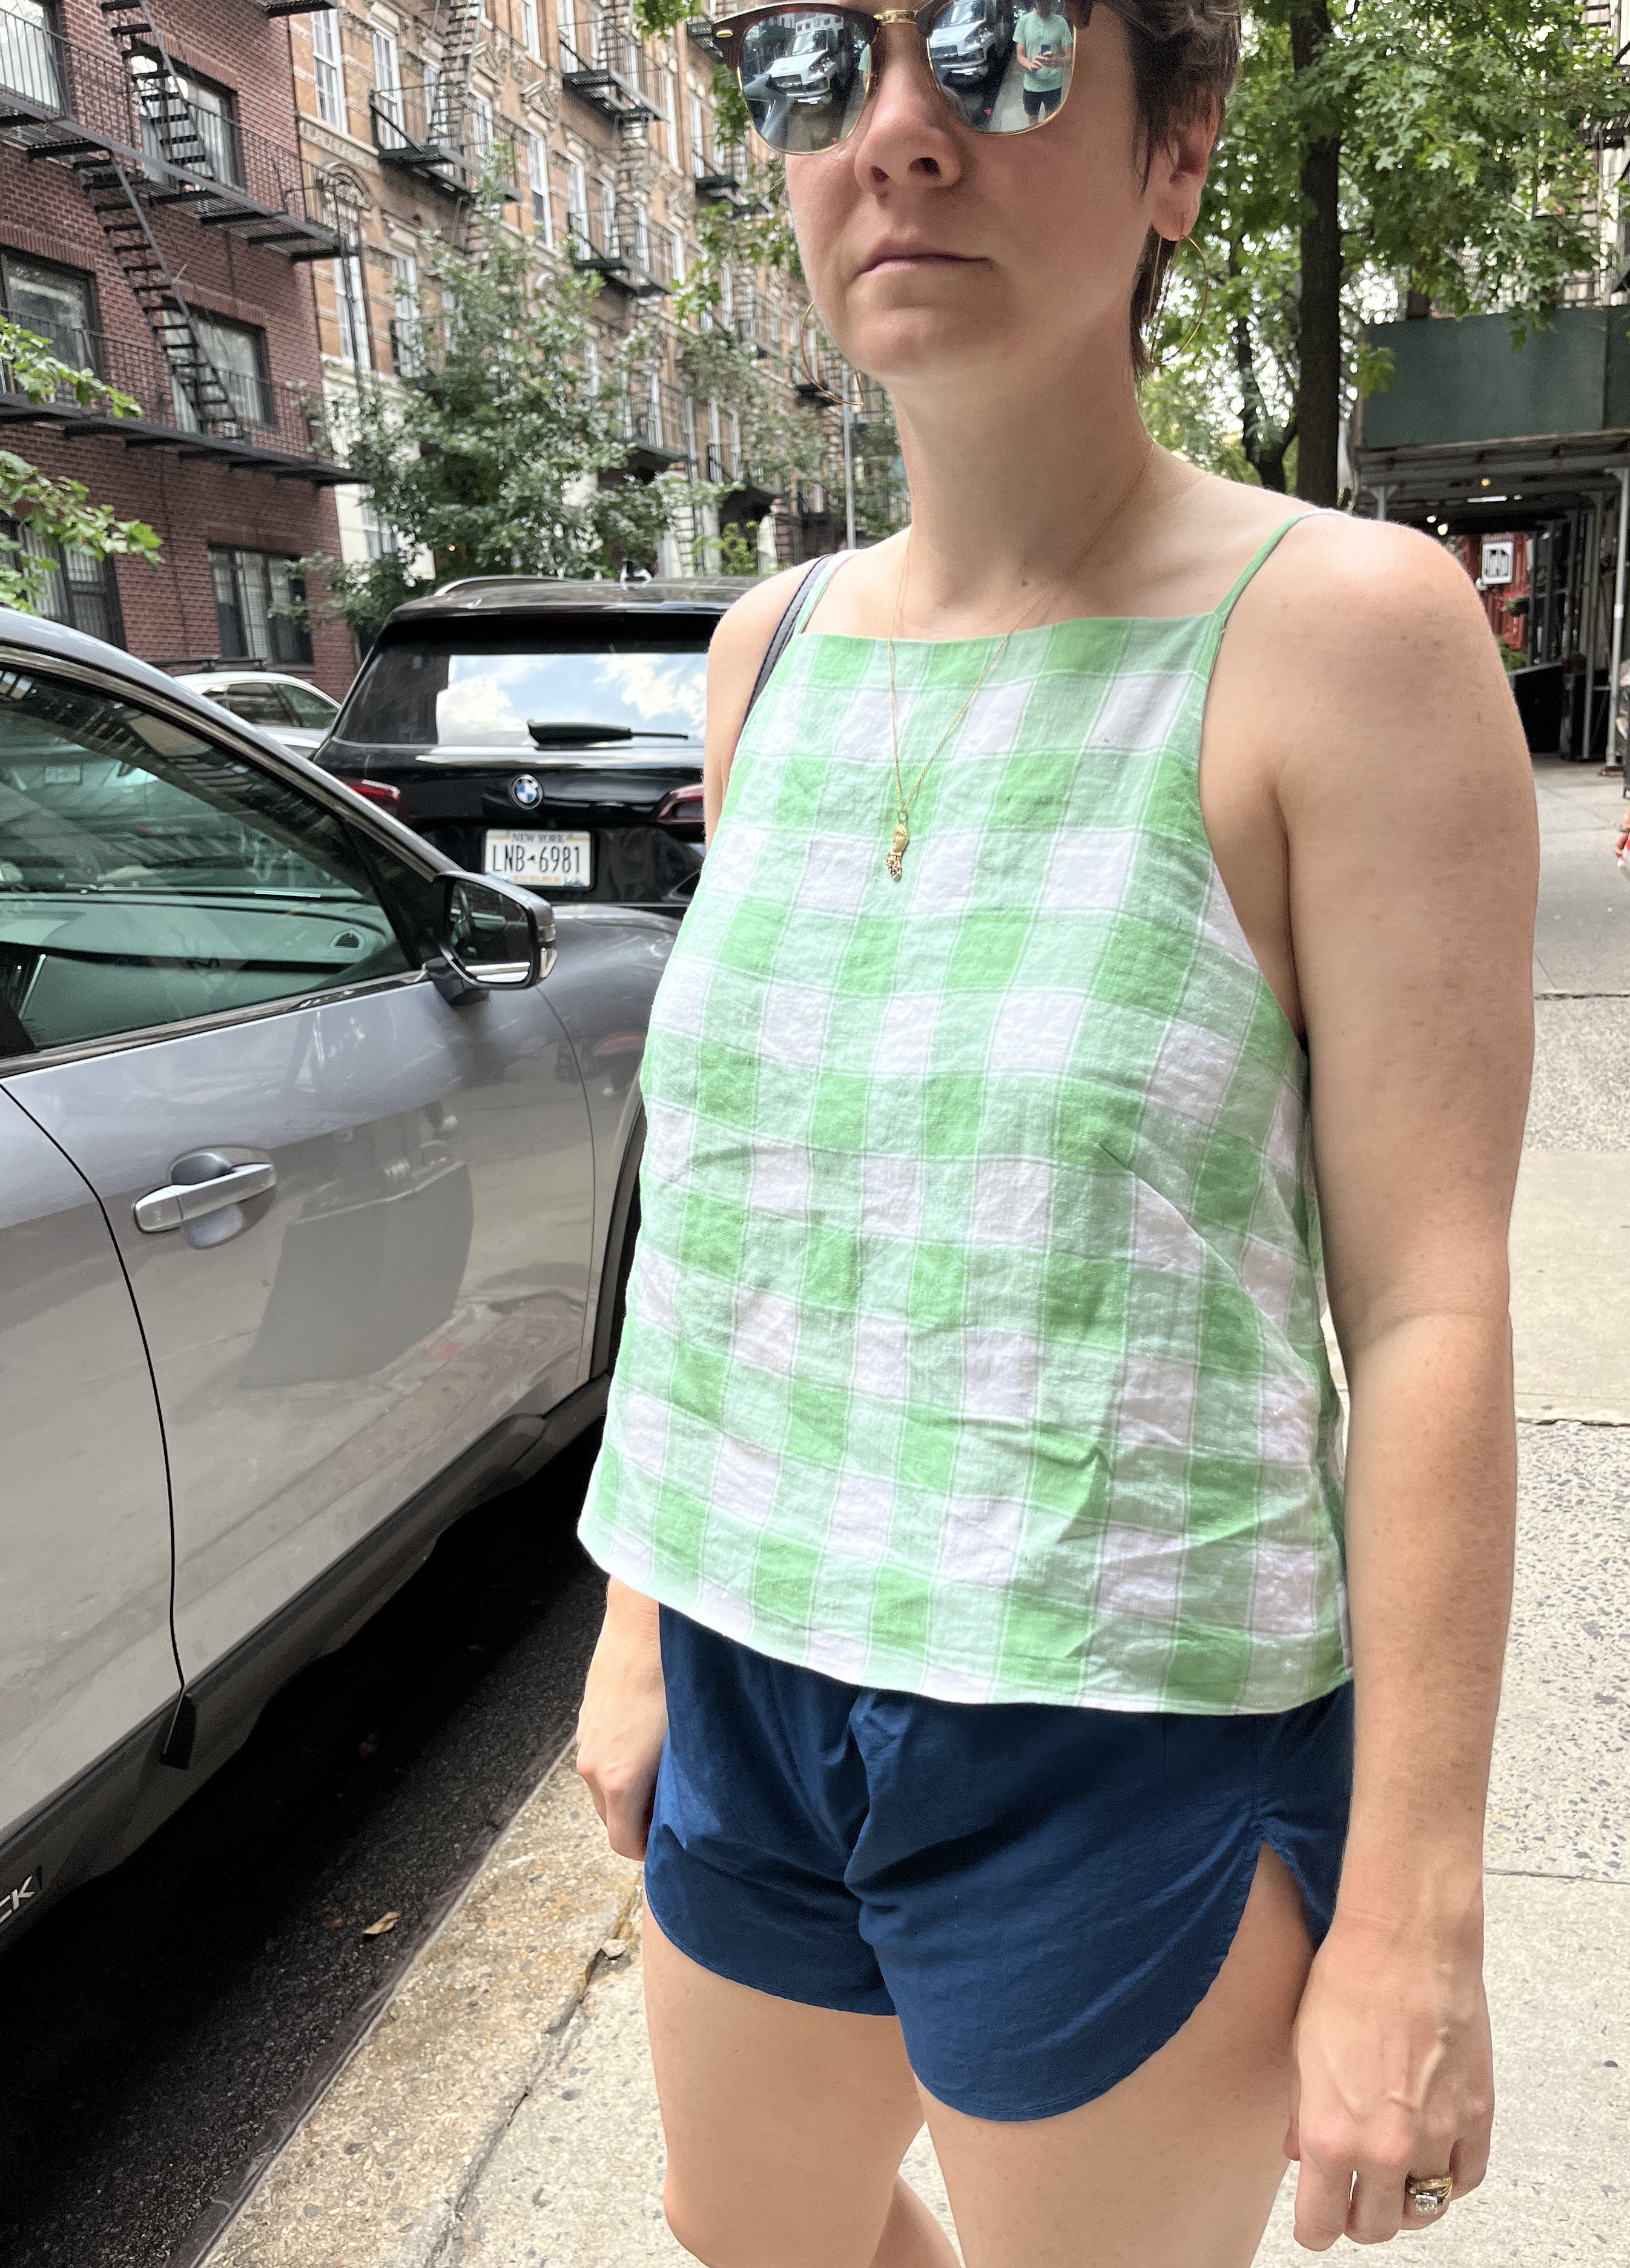
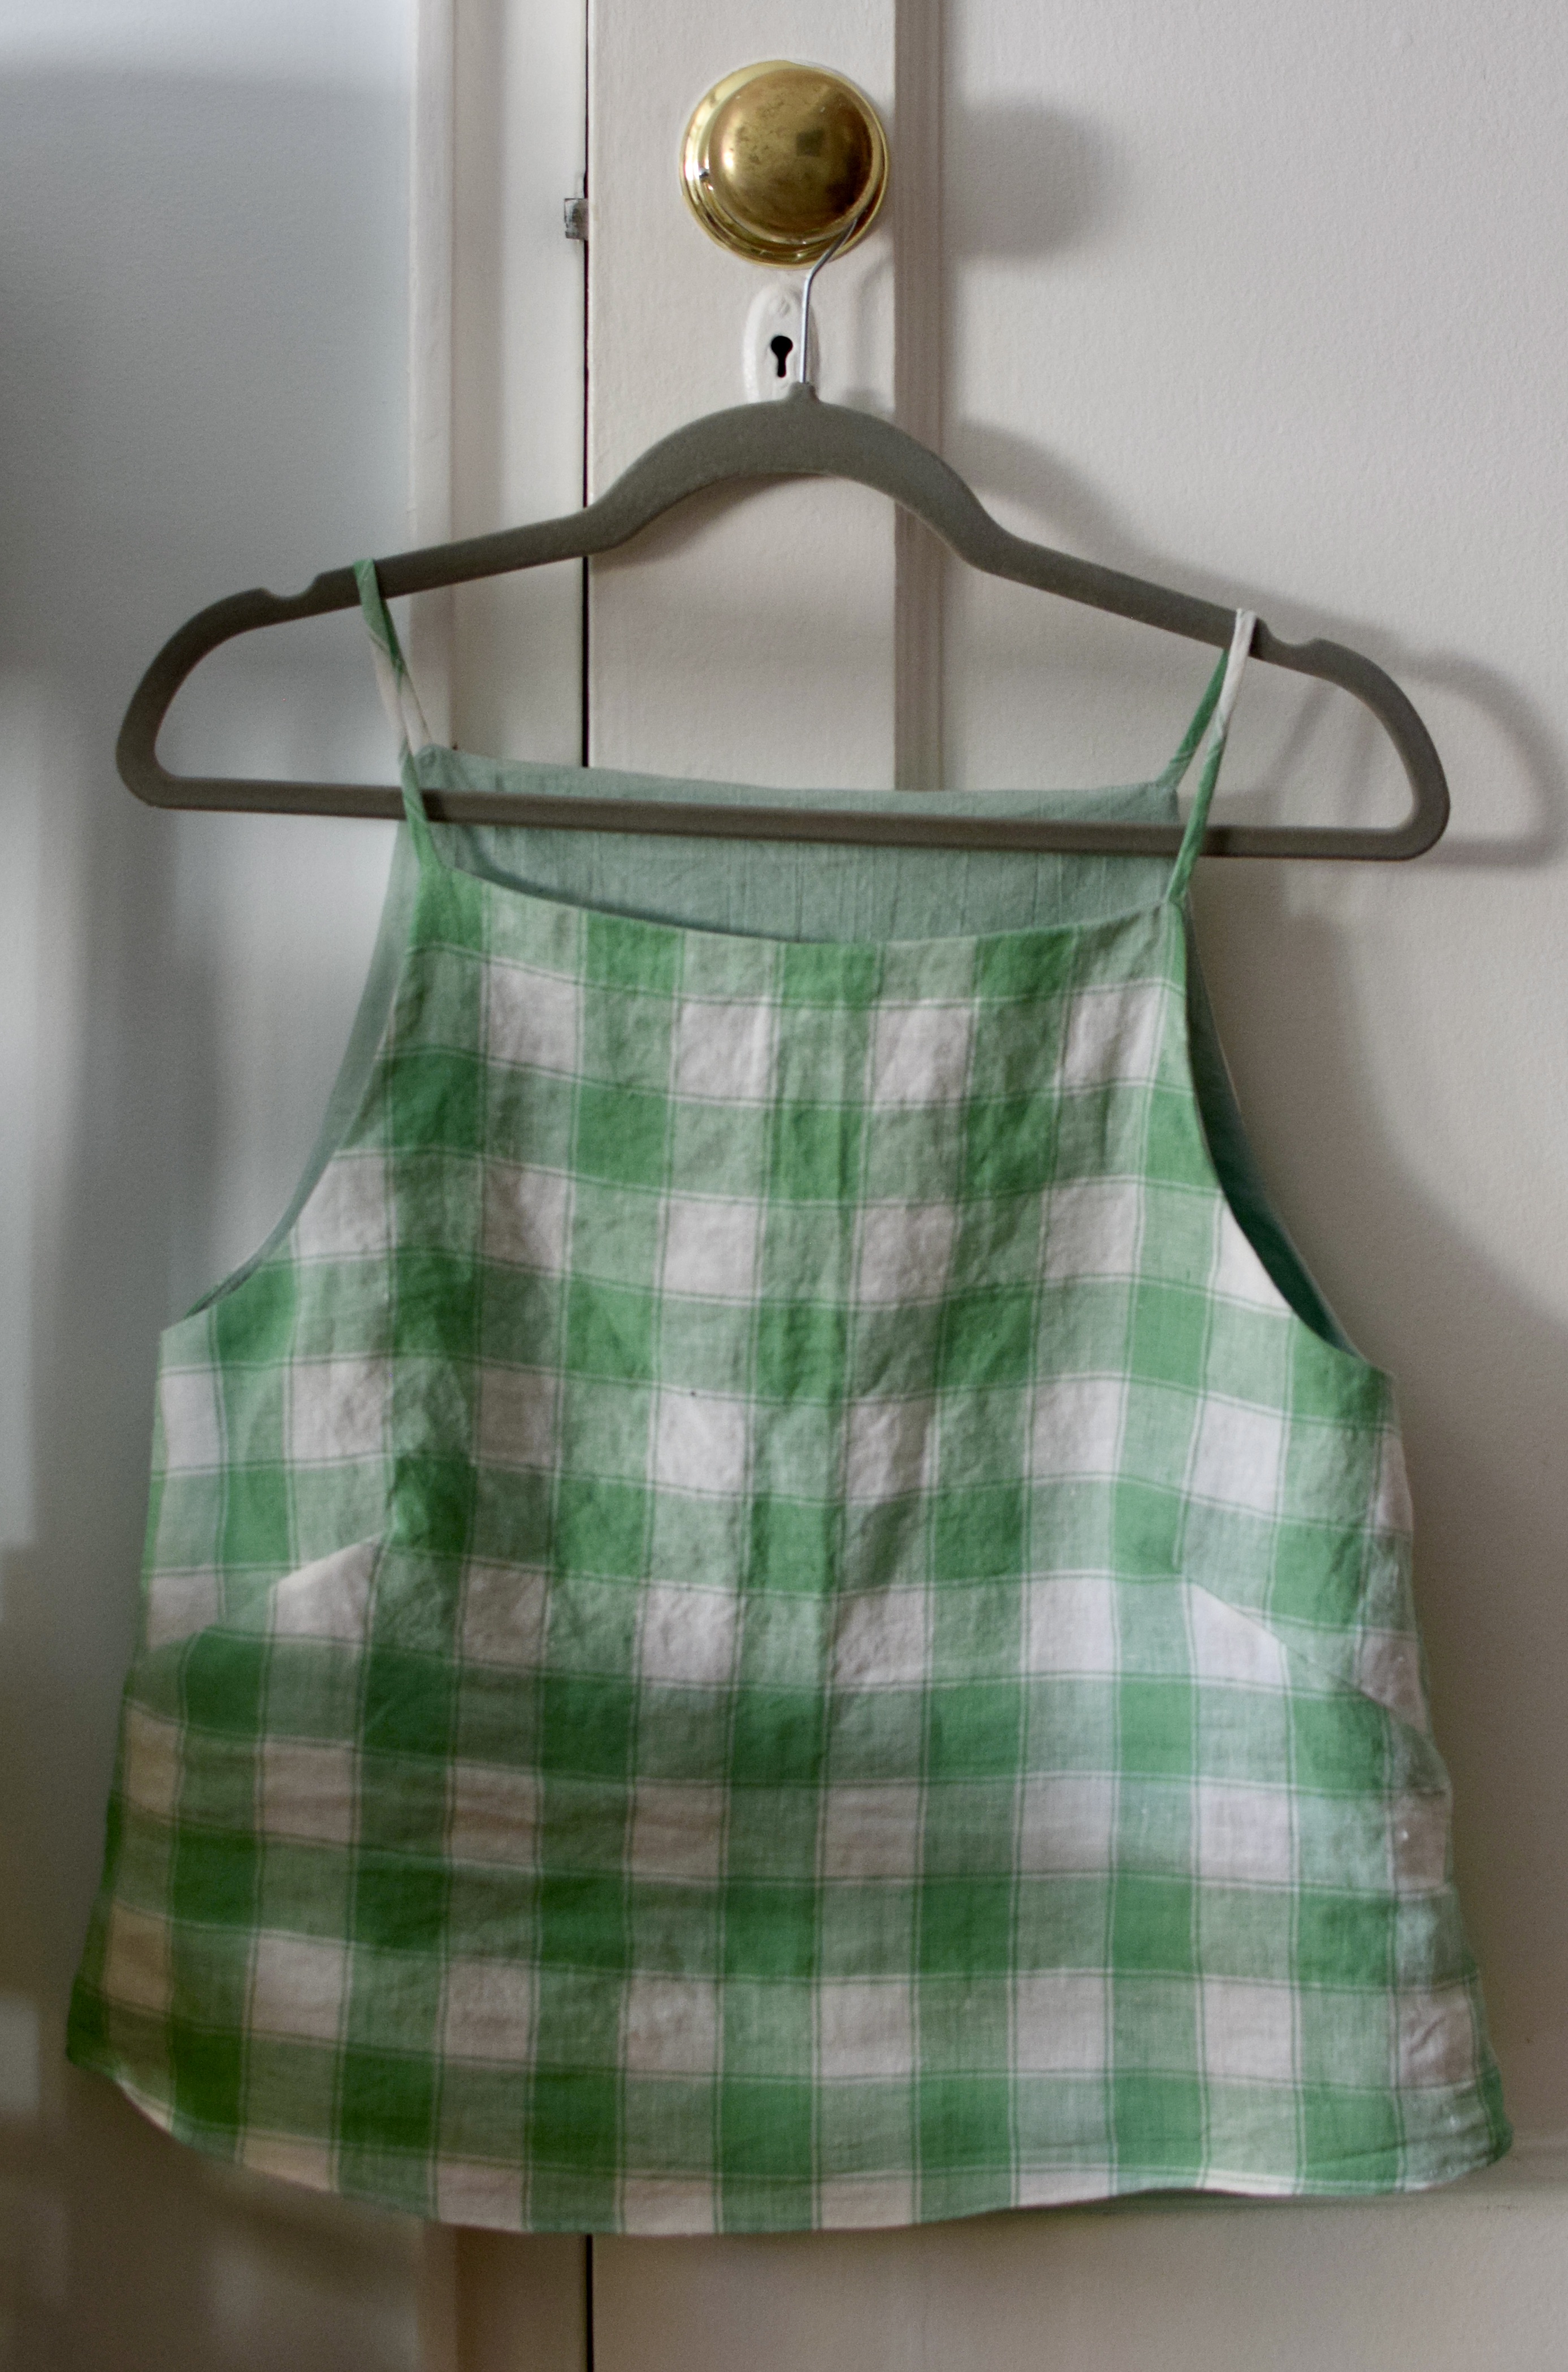
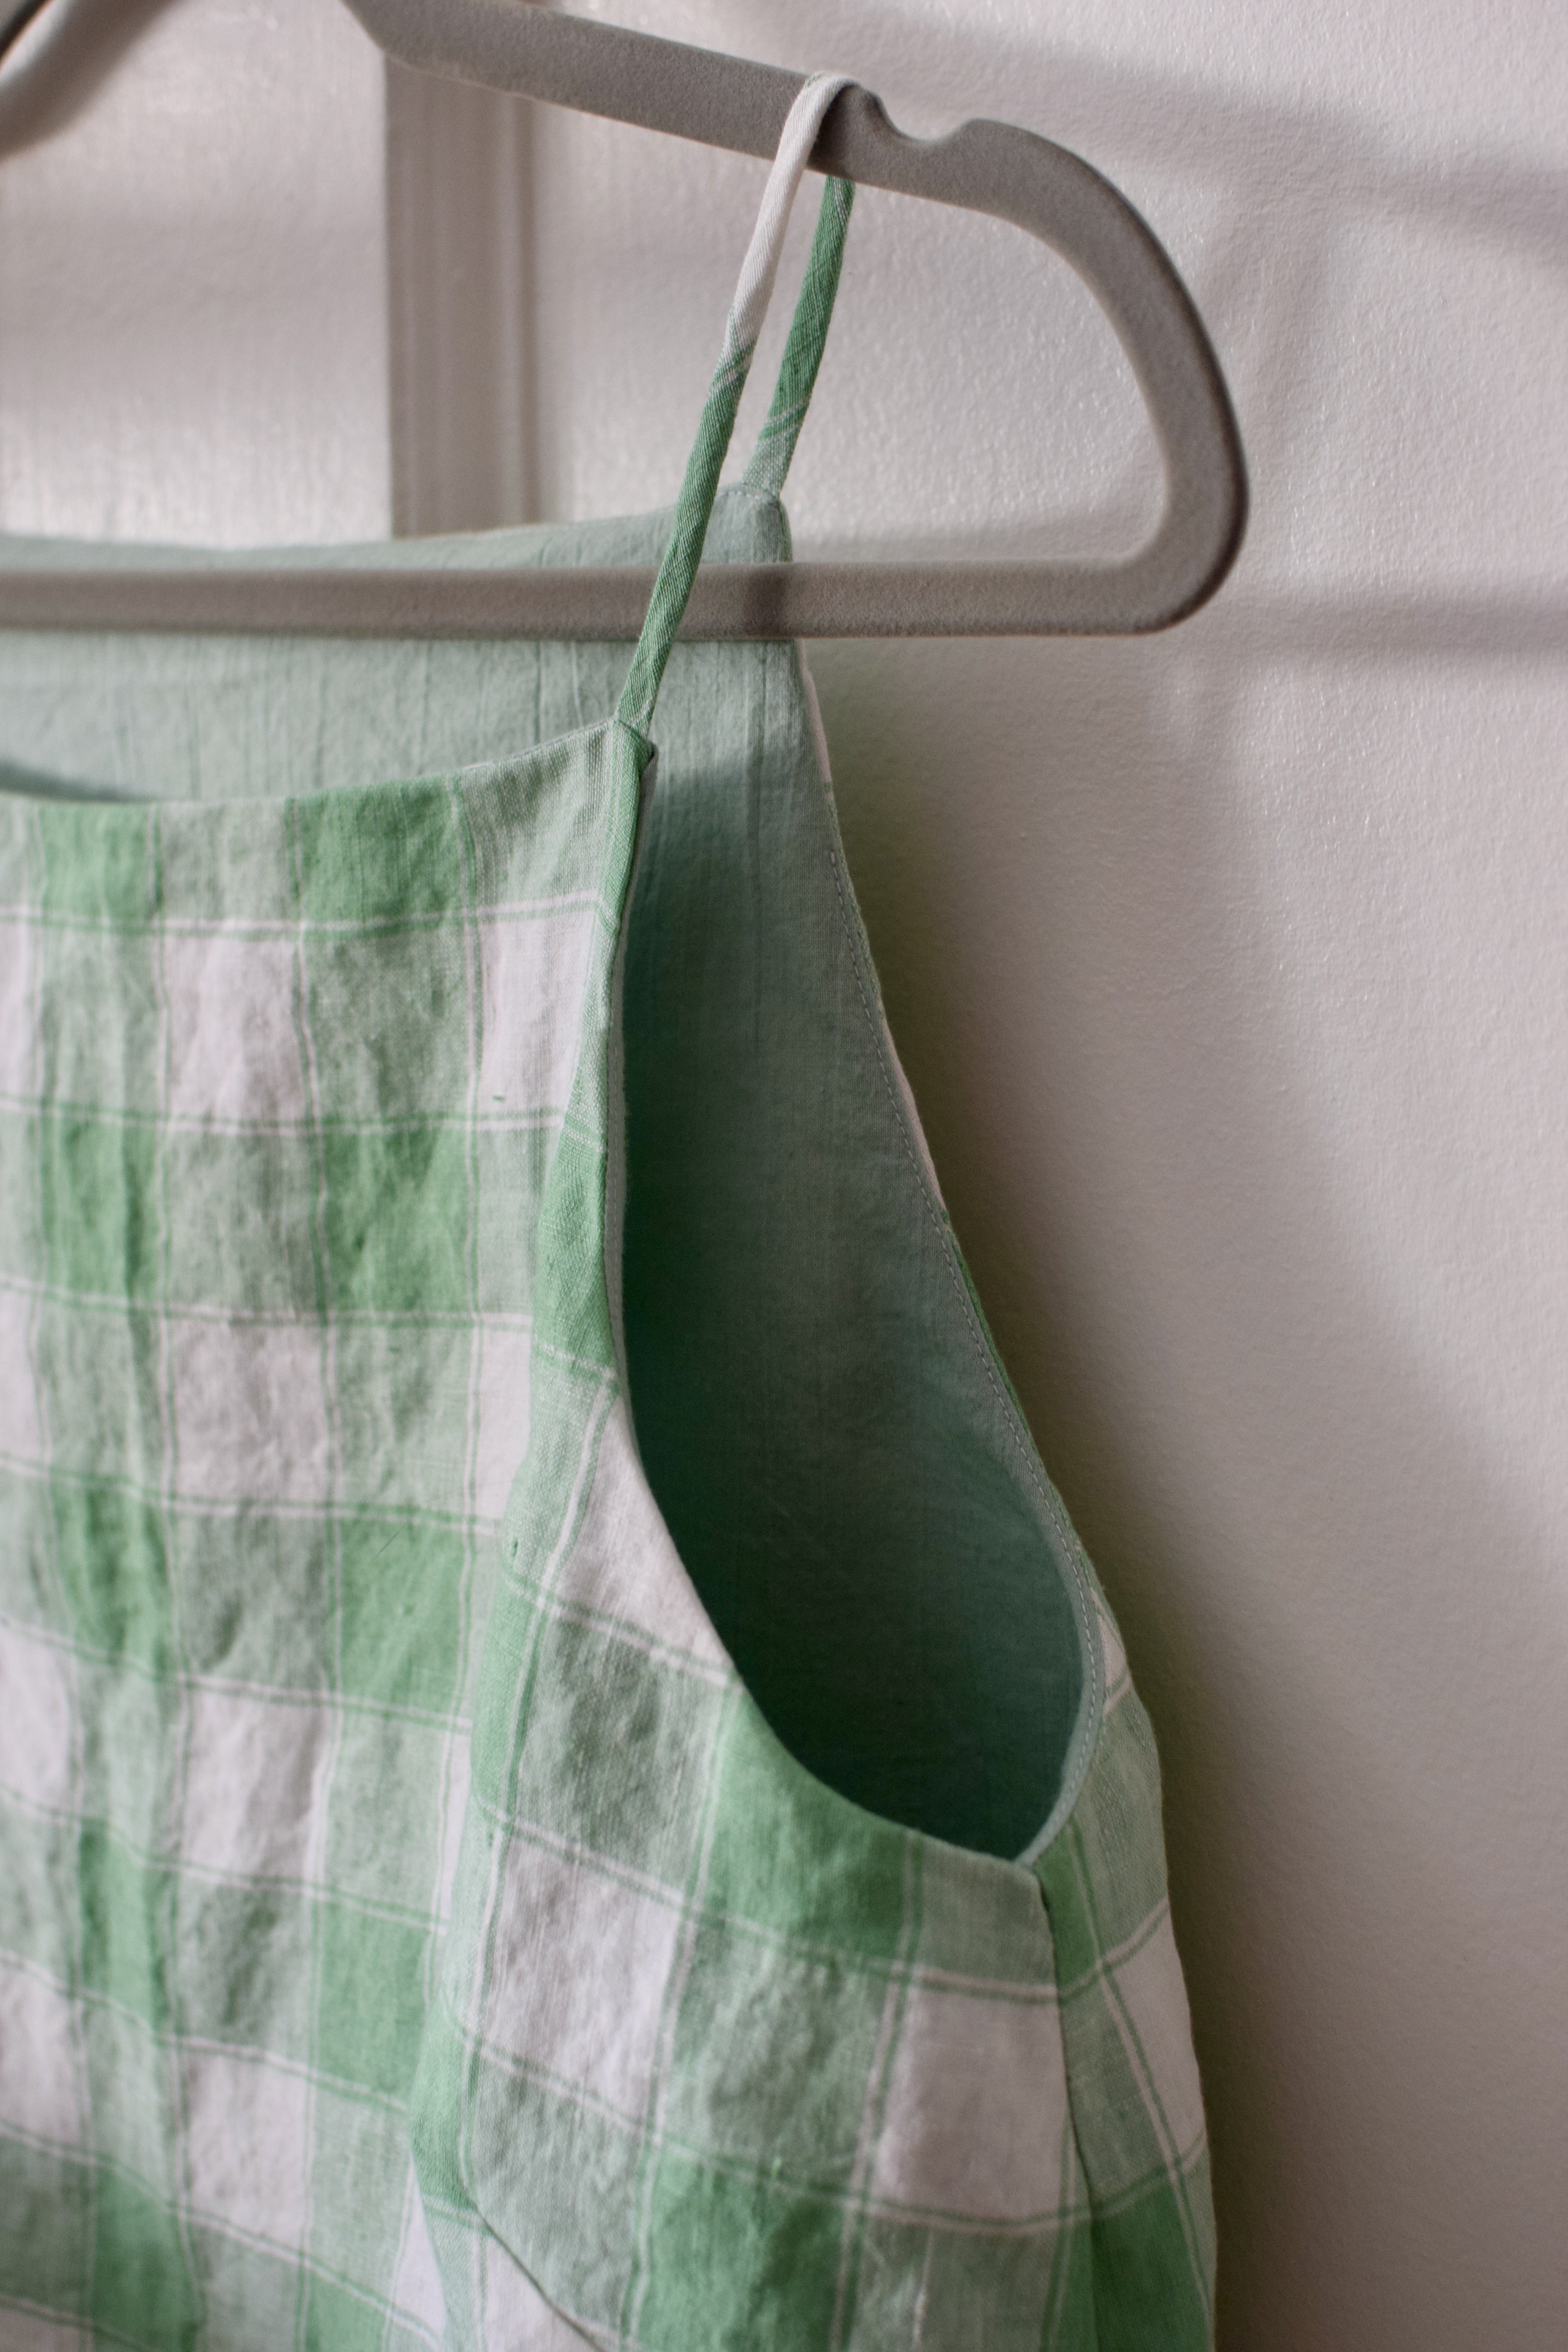
Immediately after finishing the first one, I made another with some linen gingham scraps. Because I had so little left, I lined it with some sage green Spectrum cotton from Purl Soho (oh no they stopped making it!!! Sad!). I cropped it by 4″ (per Tessuti’s blog post) and didn’t interface the lining. I decided to go down a size since my v1 was pretty roomy. With all these mods, its truly the perfect summer top!
I thought the deep facing might be a bit annoying, but it serves as the perfect modesty layer, as well as a place to catch sweat without anyone else knowing about it.
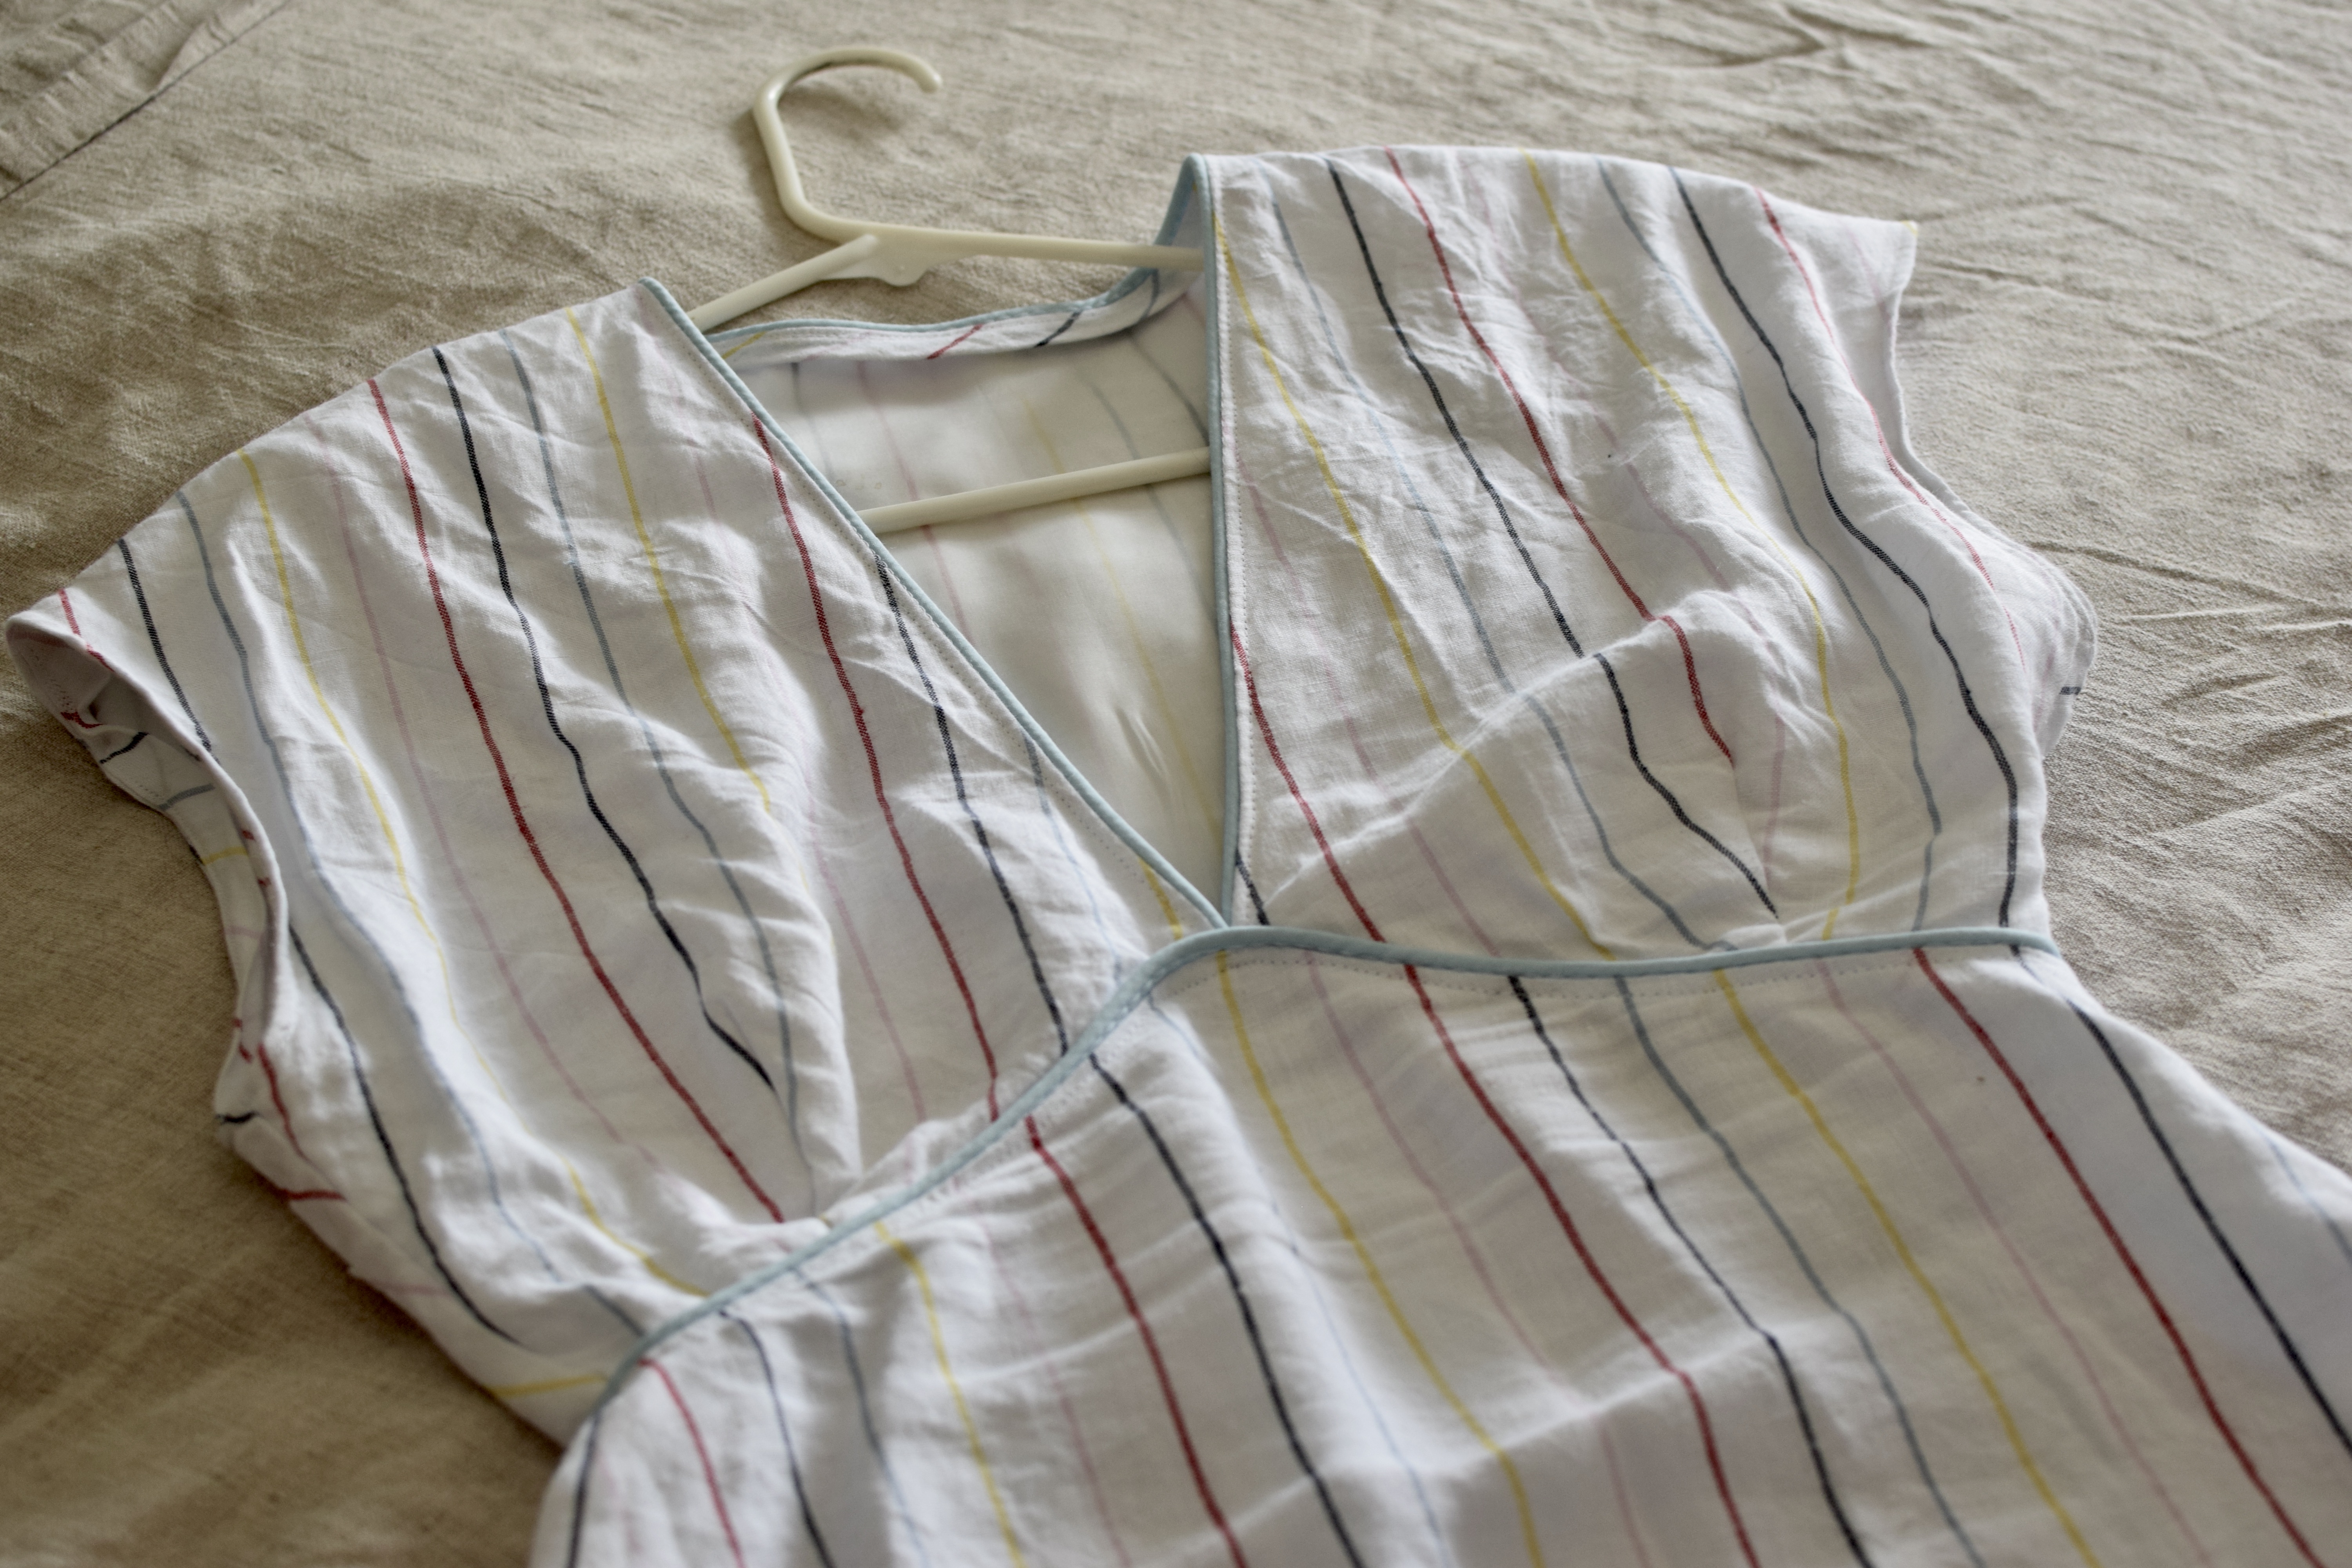
I love my first Lois dress. I made it a long time ago but I didn’t take great notes about the modifications I made. As drafted its a bit big in the waist, and because the side seams are darts (not seams), its challenging to make fitting adjustments. This fabric is a perfect match for this pattern, so I took a deep breath and took in a half inch on the front and back pattern pieces and got to work. I used some piping on the neck and waist seam, it really adds something special to it! I modified the sleeves by removing the cuff as suggested here. It is a weeeeeeee bit tight in the waist. Next time I’ll take in just a quarter inch on each side and I think it will be perfect. It was pretty straightforward to sew. I attempted to match the stripes but quickly gave up as I realized the seams and darts just didn’t play nice. I underlined the bodice in some white bemberg, and its lovely.
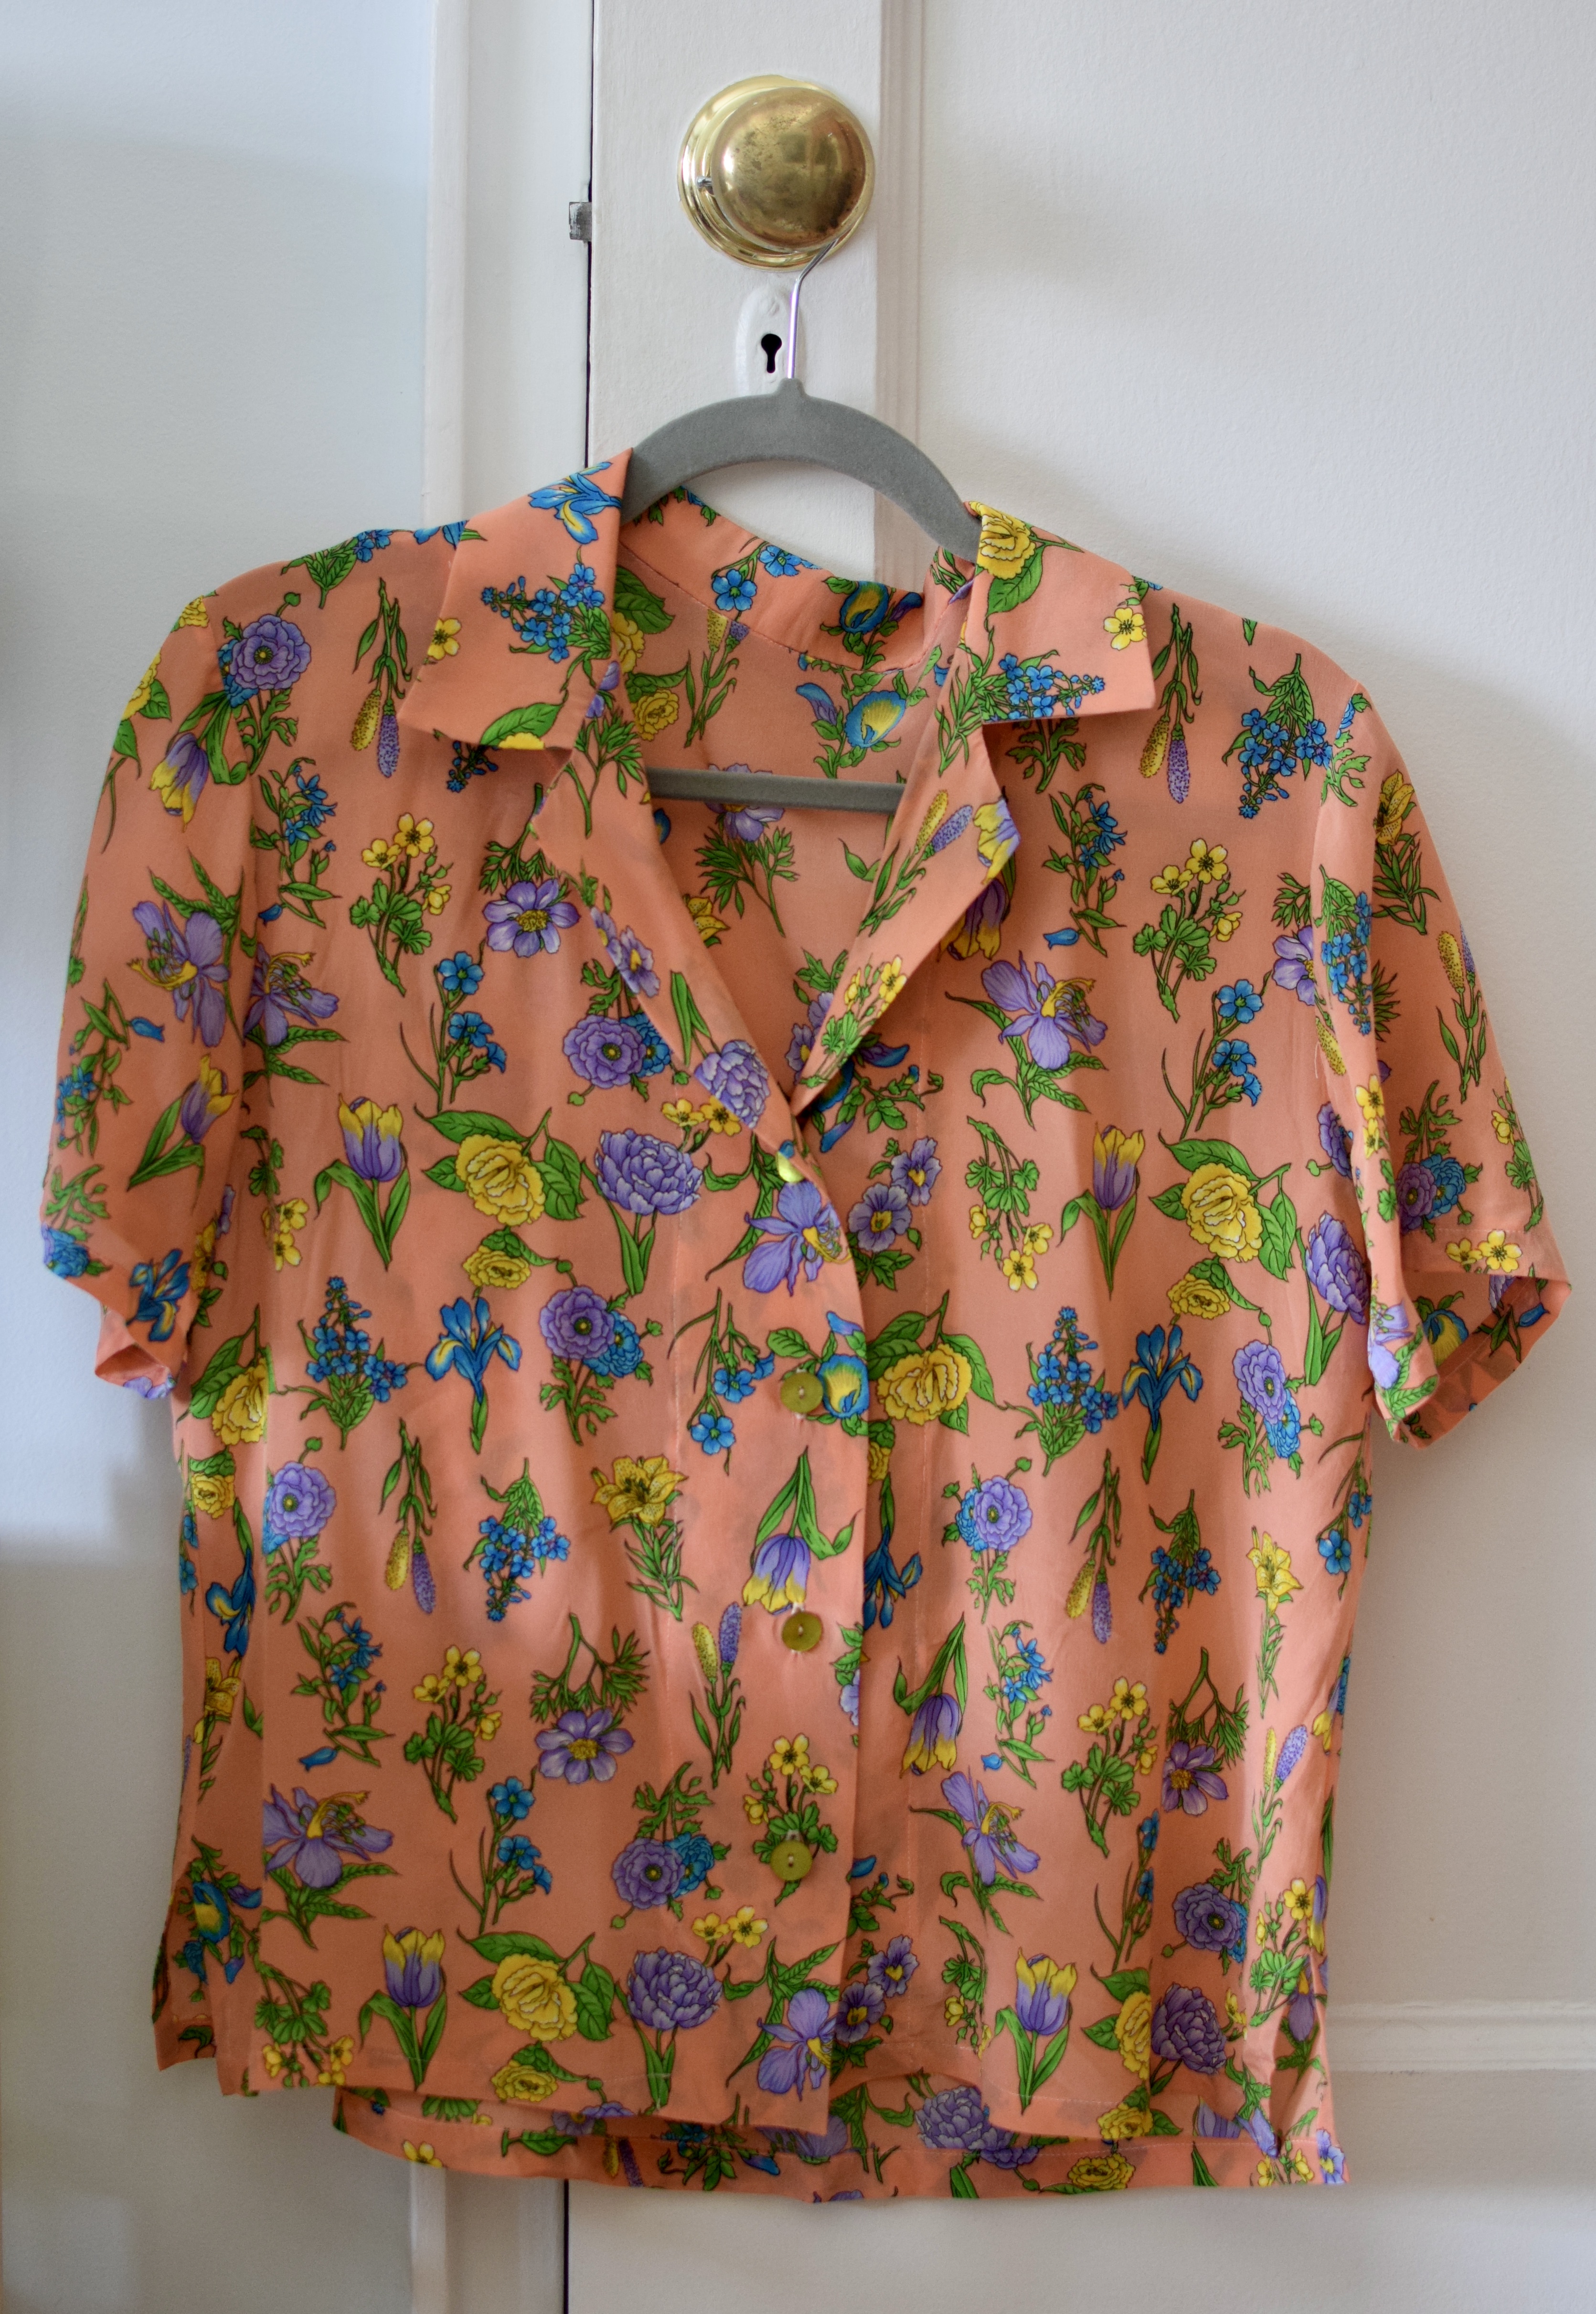
Silky Arkie shirt
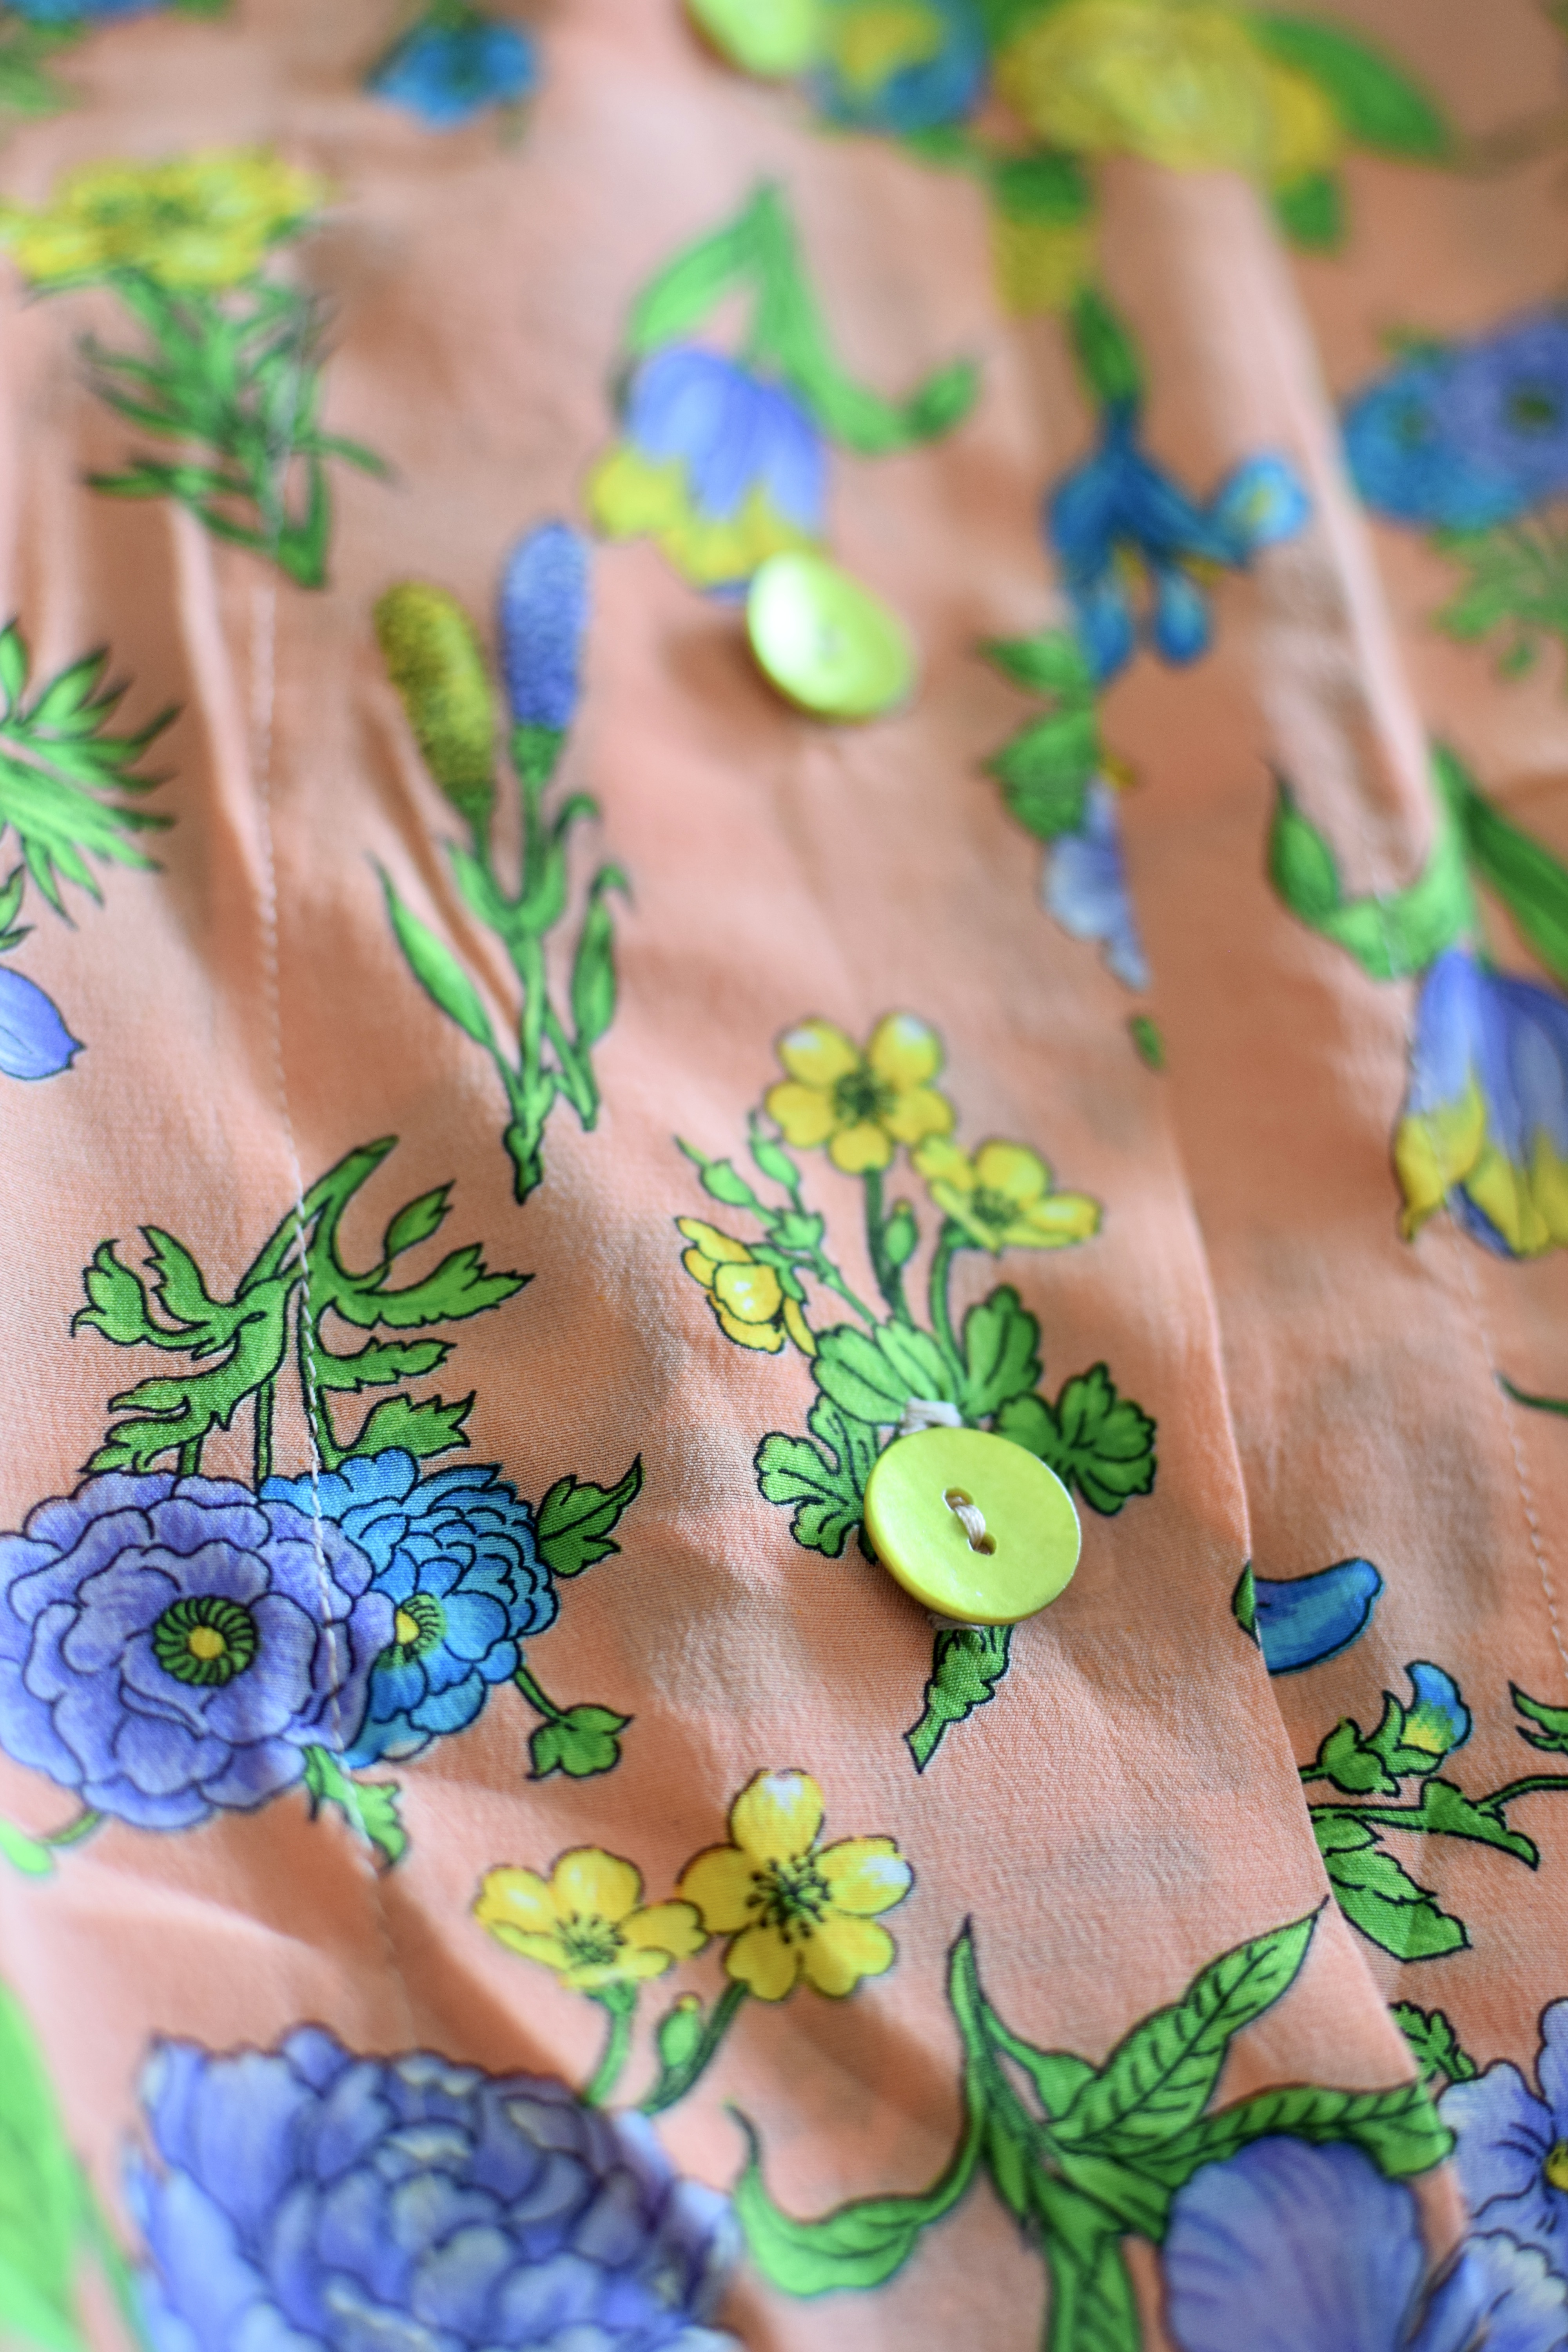
I can’t stop making Arkies. They use a small amount of fabric, come together pretty quickly and are incredibly comfortable. I had juuuust enough of this pink floral CDC leftover from a dress I made years ago. I dug it out of my stash and experimented with cutting layouts, determined to make it work. I had to piece one of the facings, but its not noticable. I got some super lightweight green-hued mother of pearl buttons and they look perfect with it. I’m really happy with this one, the silk is so drapey. The only thing I need to remember to do next time is move the buttonhole/button placement a little closer to the middle front if I am using a lightweight fabric.
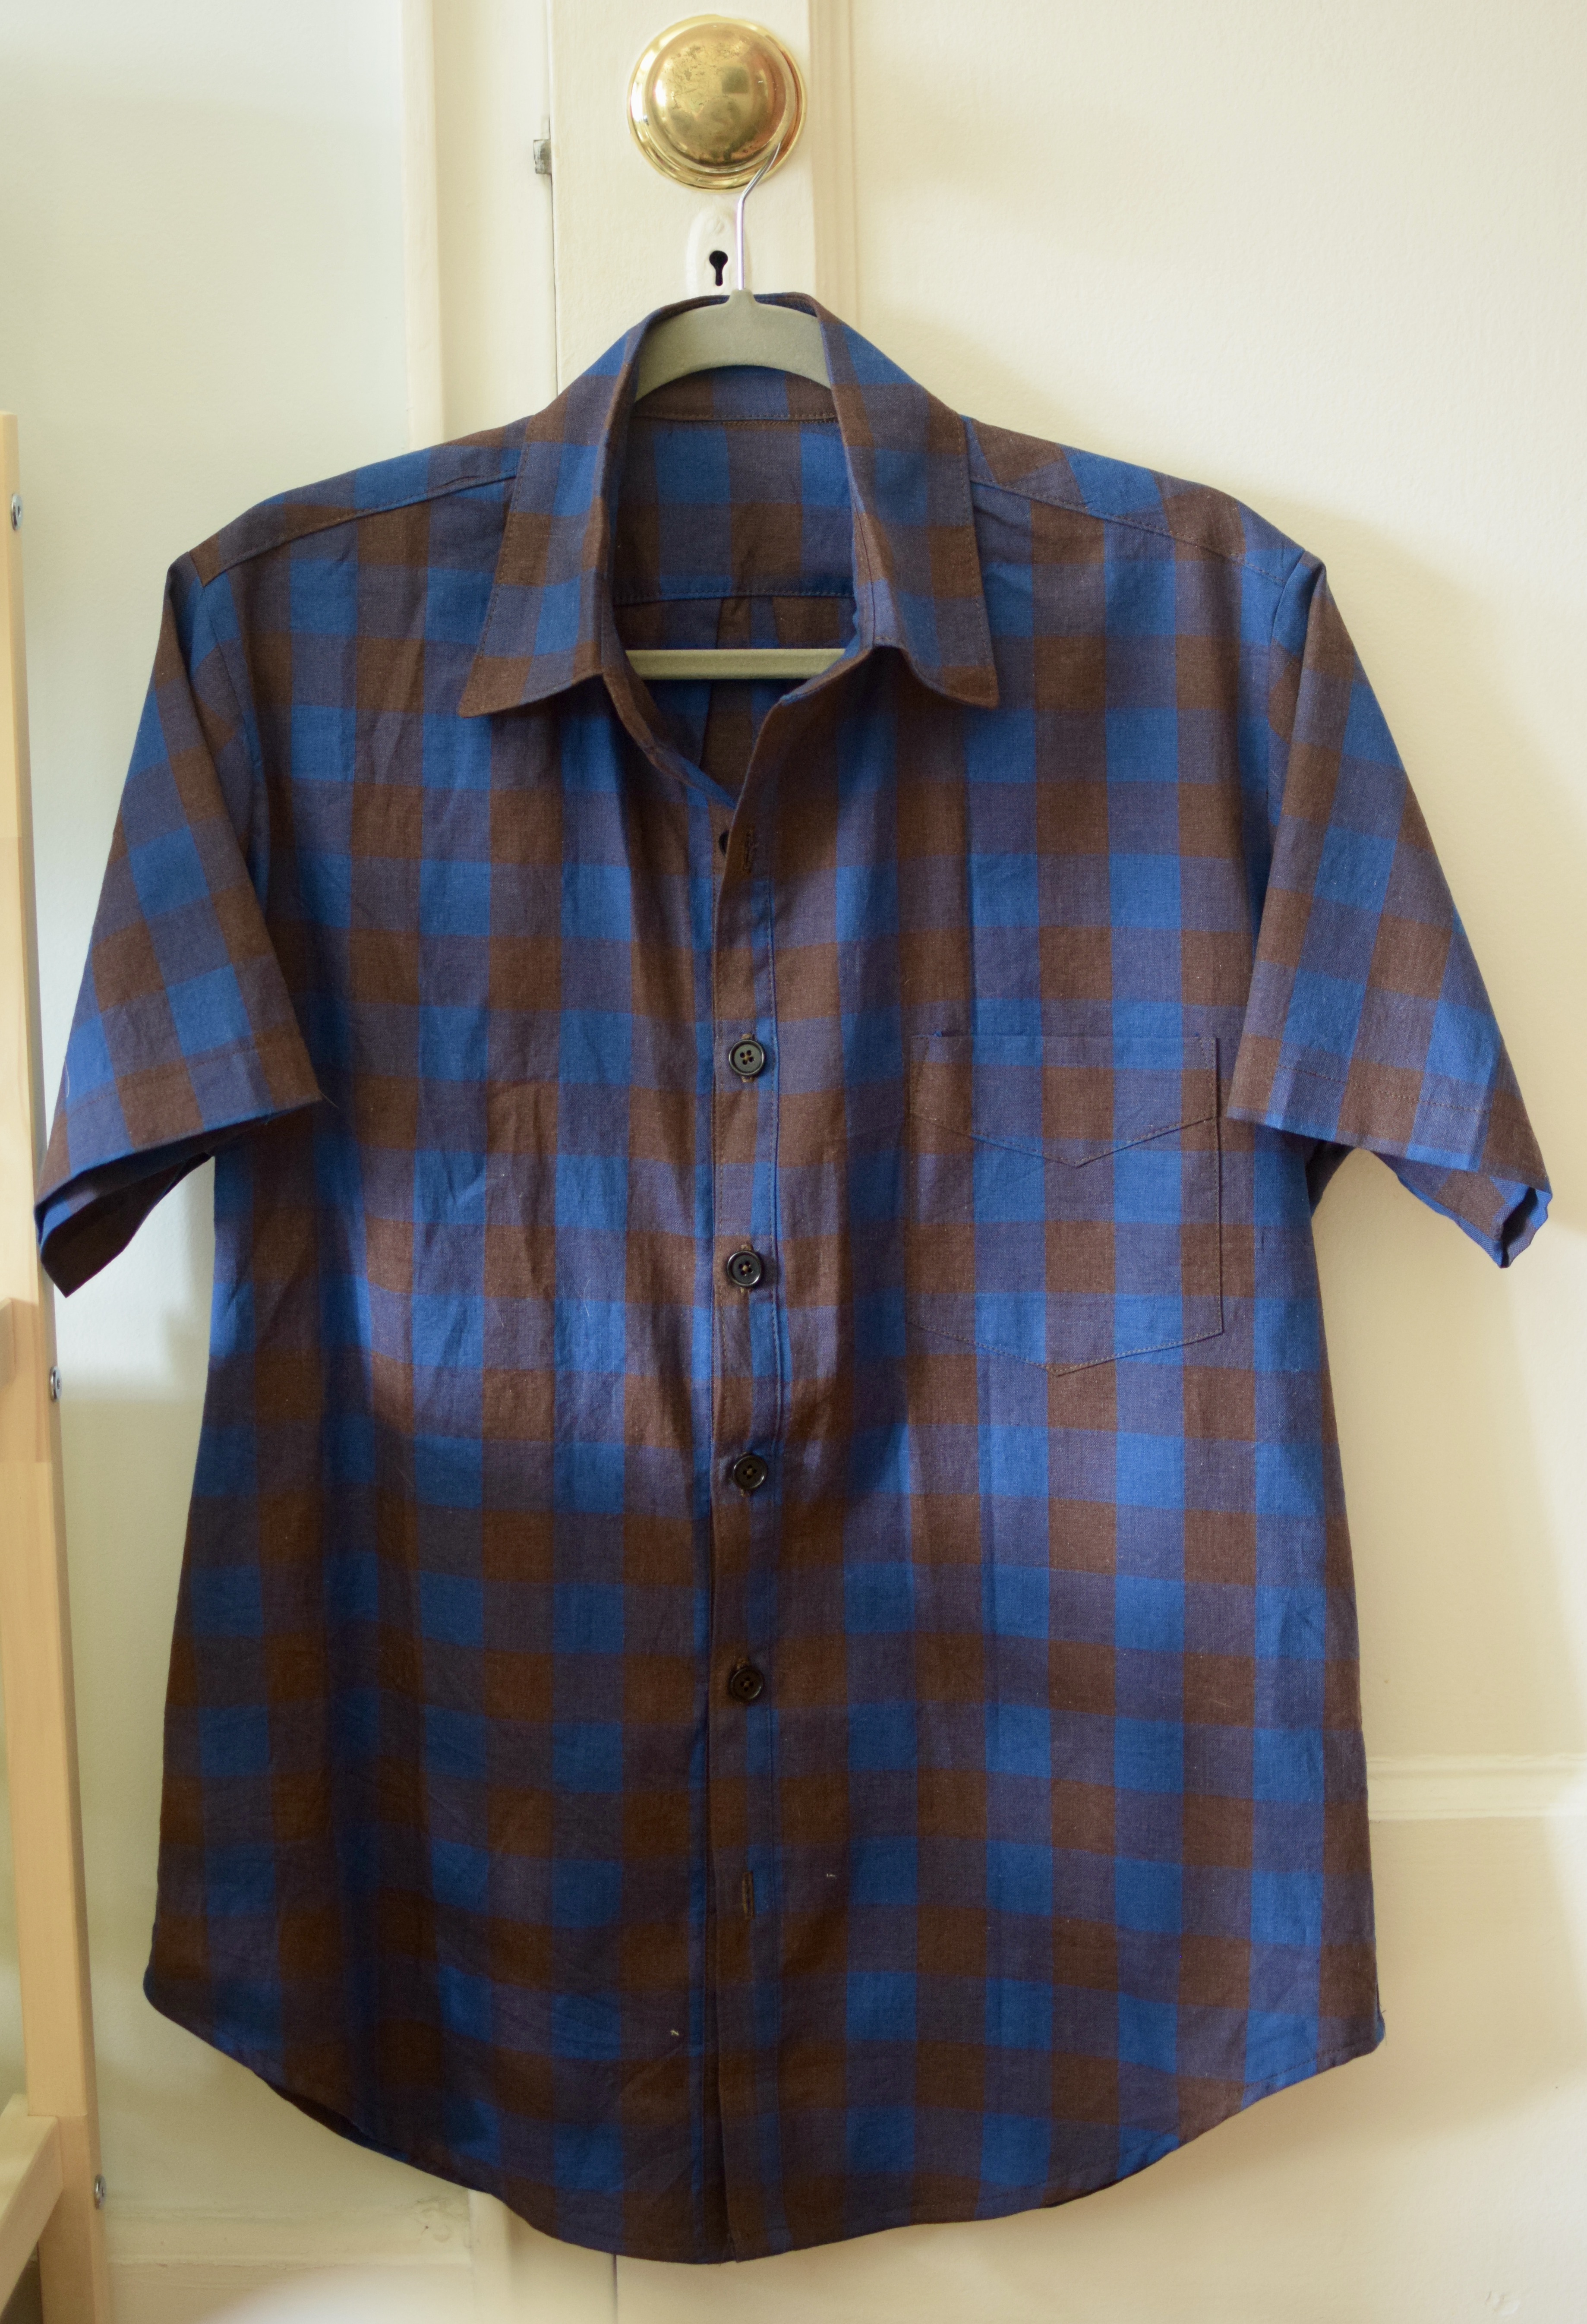
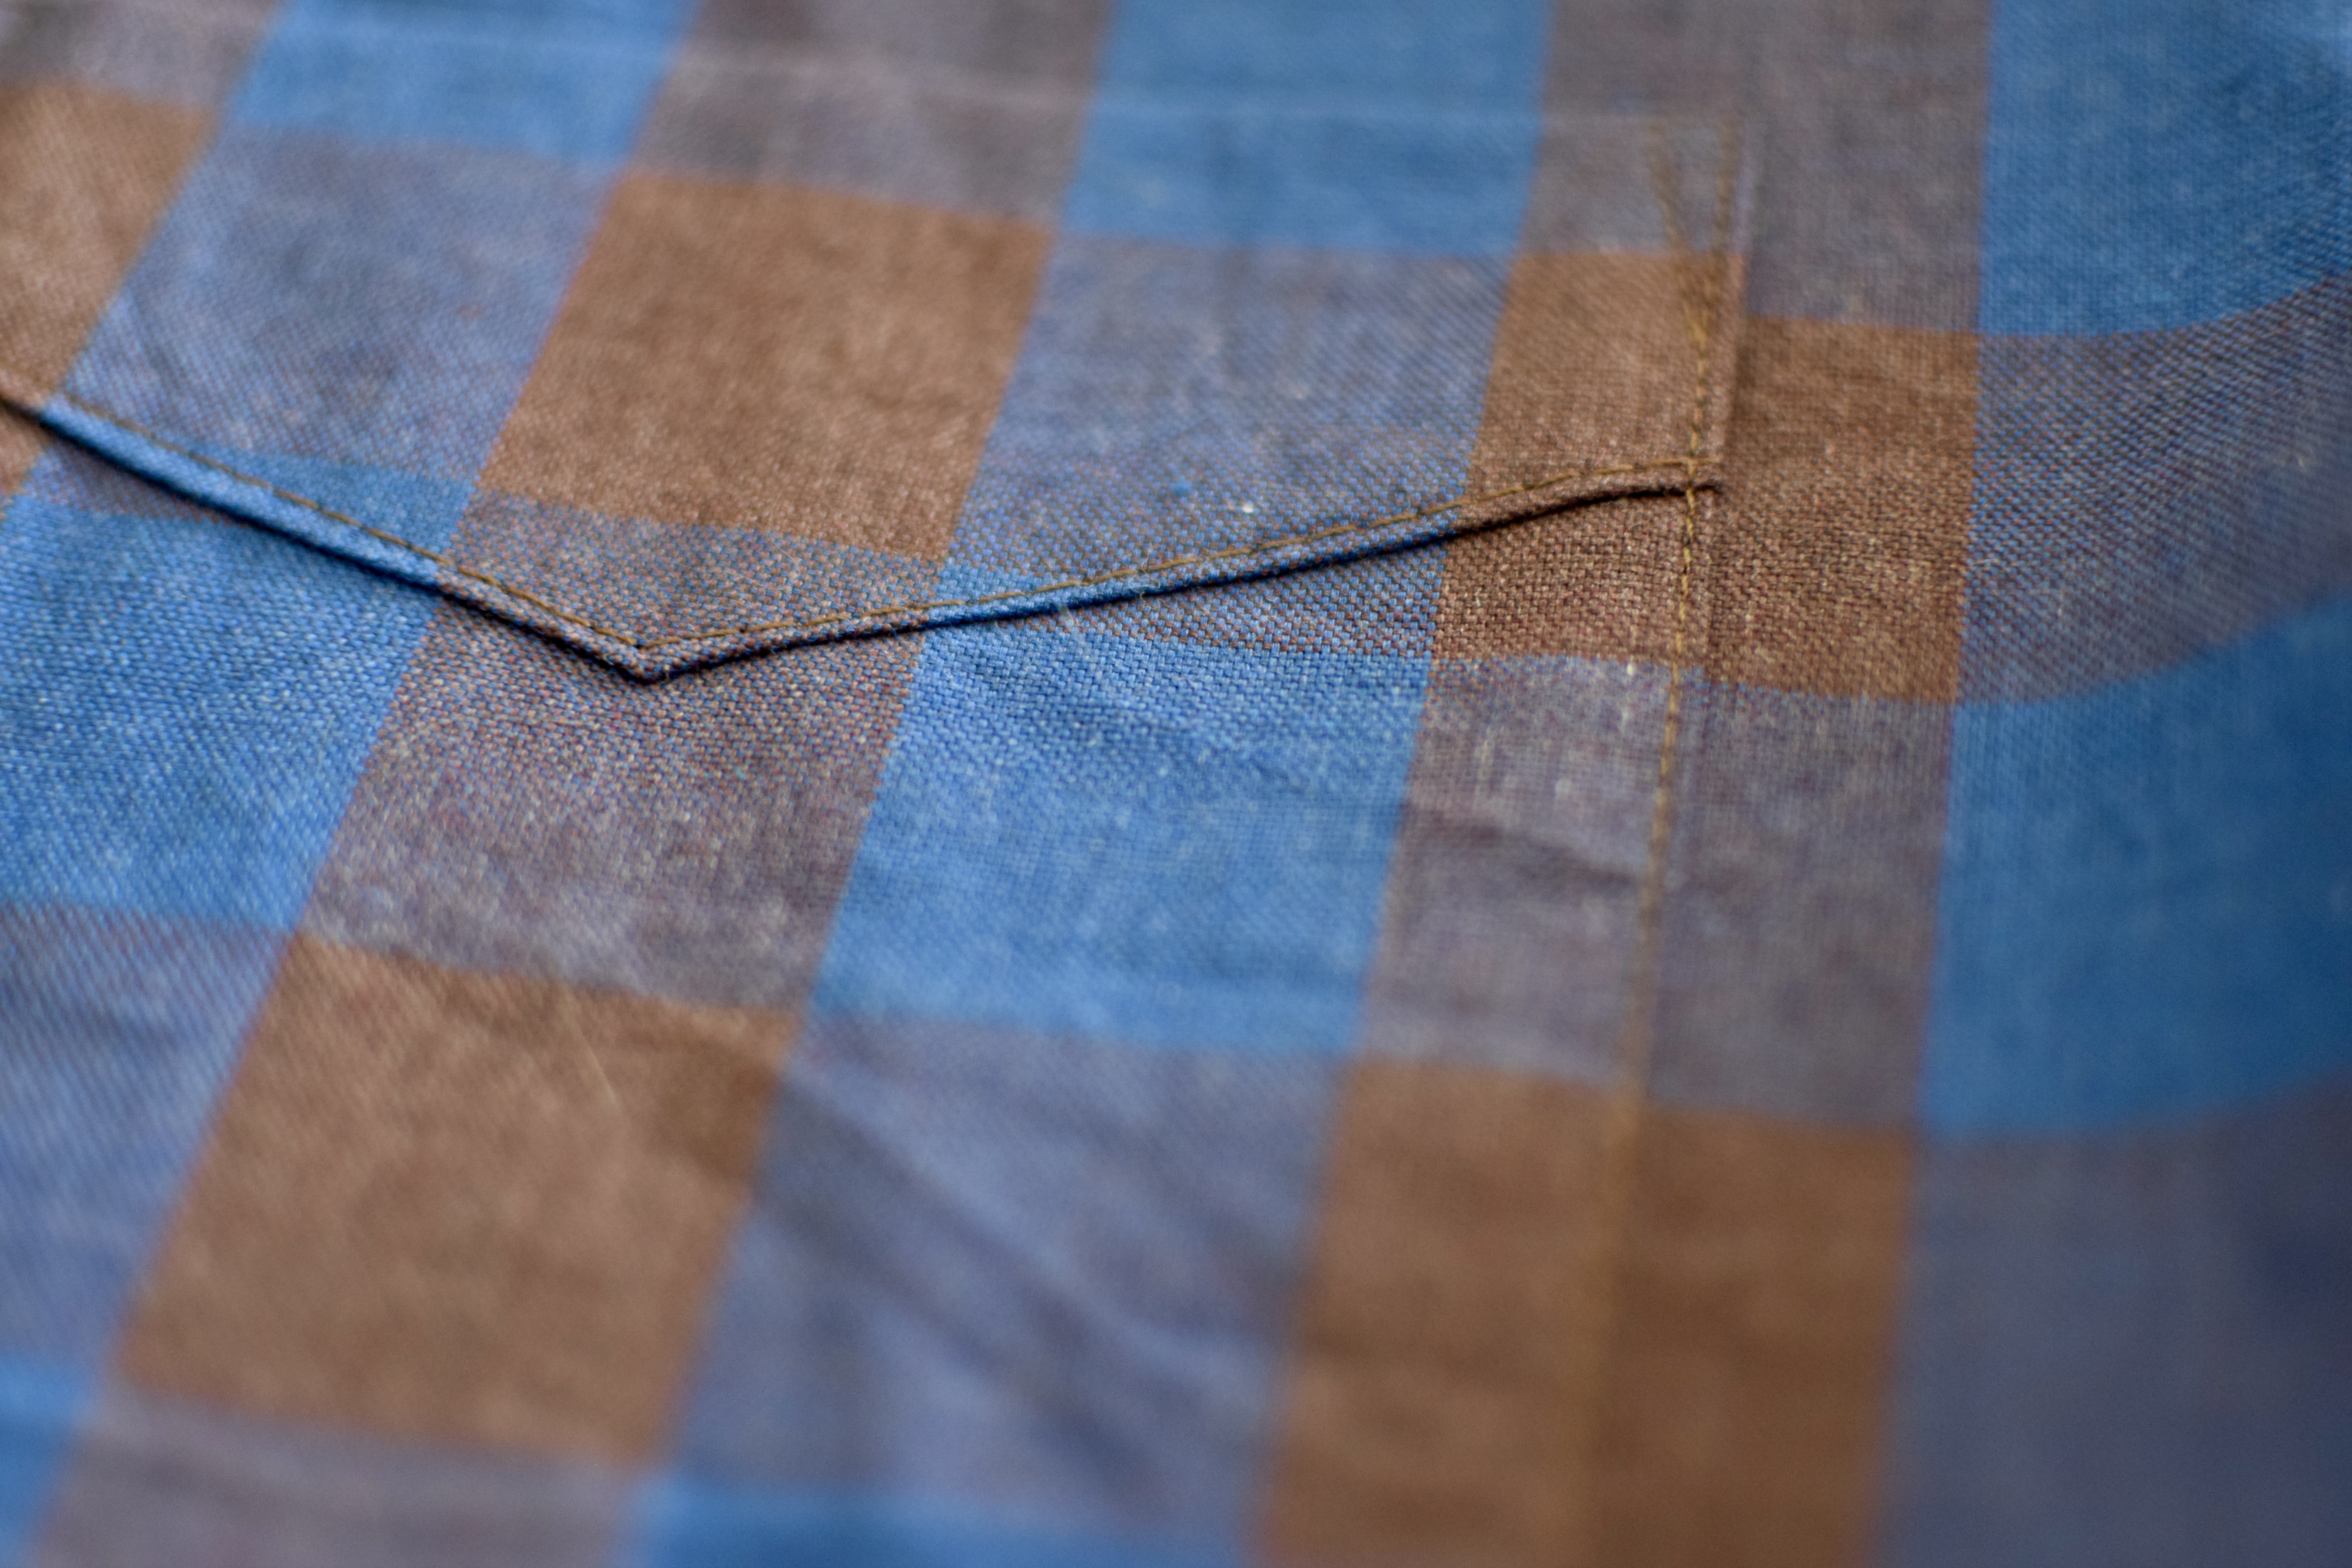
Short sleeved shirt for Jacob!
Do not fear, Jacob has not been forgotten. I made him a short sleeved shirt from fabric we bought on a trip to Span in….. 2018 🫢. I followed the same “pattern” from a deconstructed Jcrew short sleeve button down. Its fits him perfectly and its really easy to sew.
Madden skirt
I notice that I am always reaching for midi skirts in my closet, so I decided to make another. I went for the Madden skirt by who else than Tessuti. I don’t love the fit of the waist, its a little too big. But I’m going to give it a few wear before I make a final judgement on it.
There’s more makes to share but I don’t have any pics yet so they will have to wait!
here’s a bunch of stuff I made over the past couple of months.
Ret nem
What a project. I was in the bay area in Sept last year and made a detour to a verb for keeping warm. I knew I wanted a SQ of something special, so I poured over their wall of samples to choose one for verb to naturally dye for me. I never think I like purples but I am SO drawn to them. I ordered the yarn and impatiently waited, hunting down the perfect pattern for it.
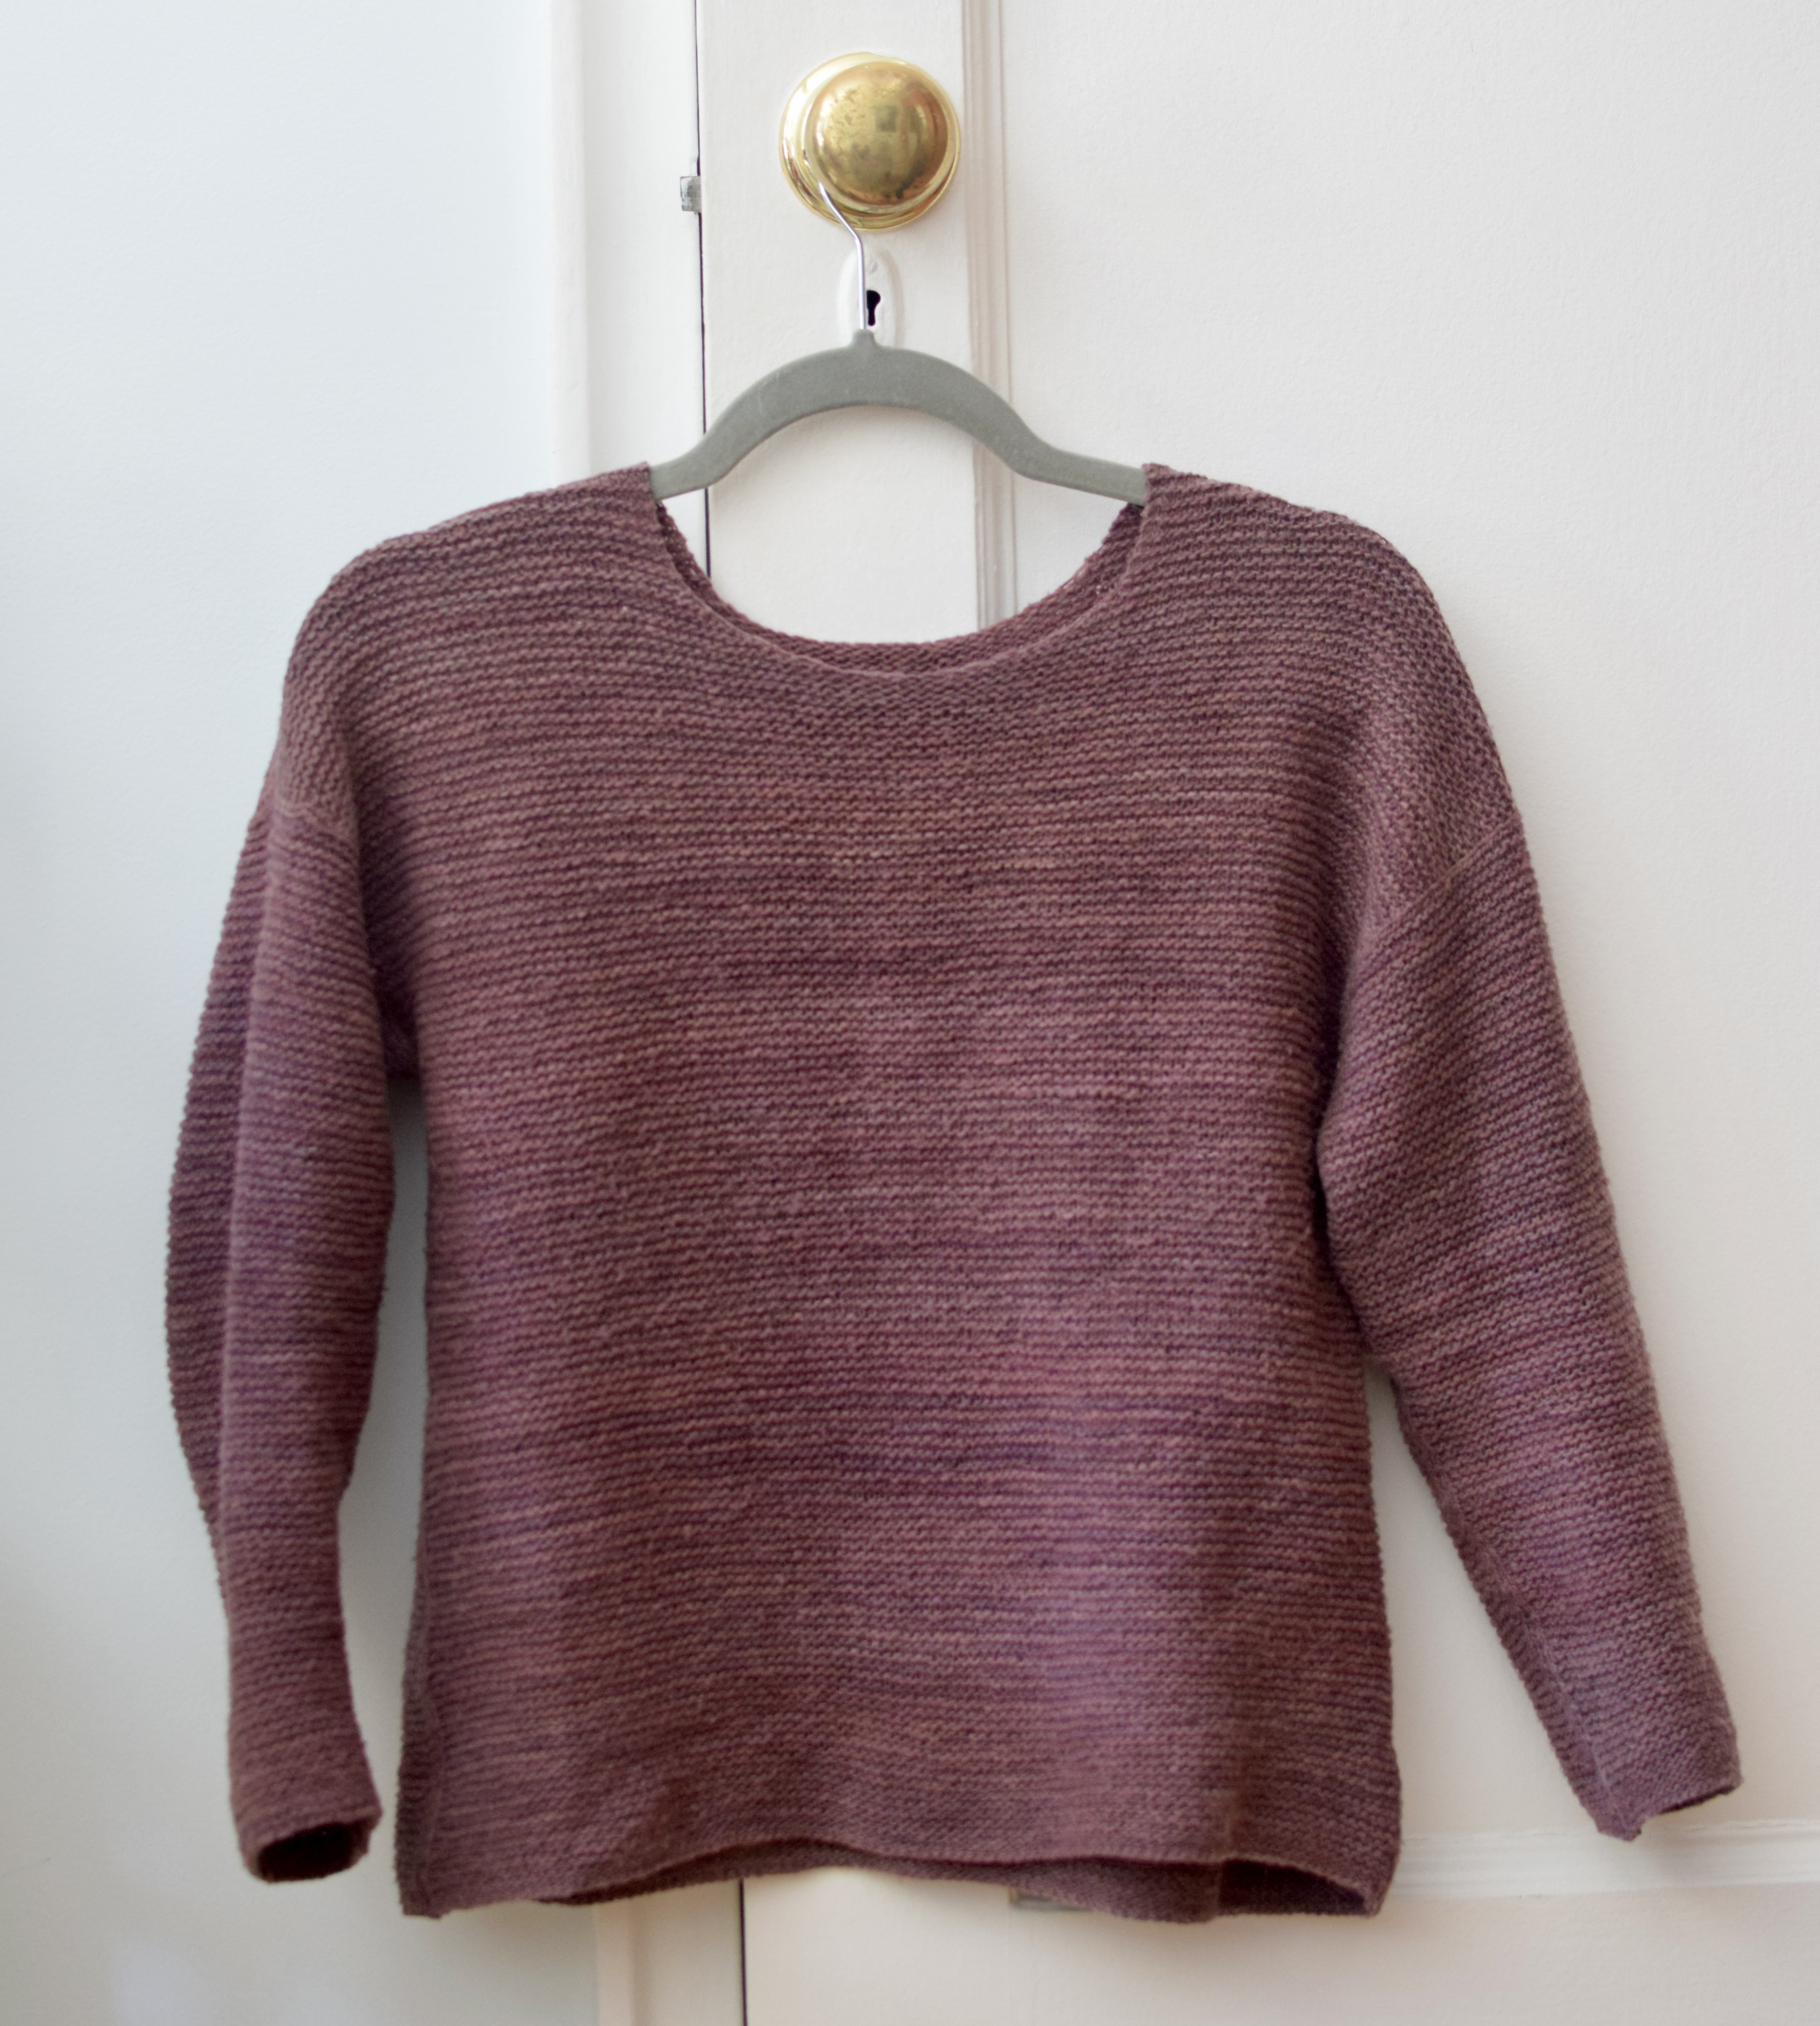
here’s how it looks after a few wears.
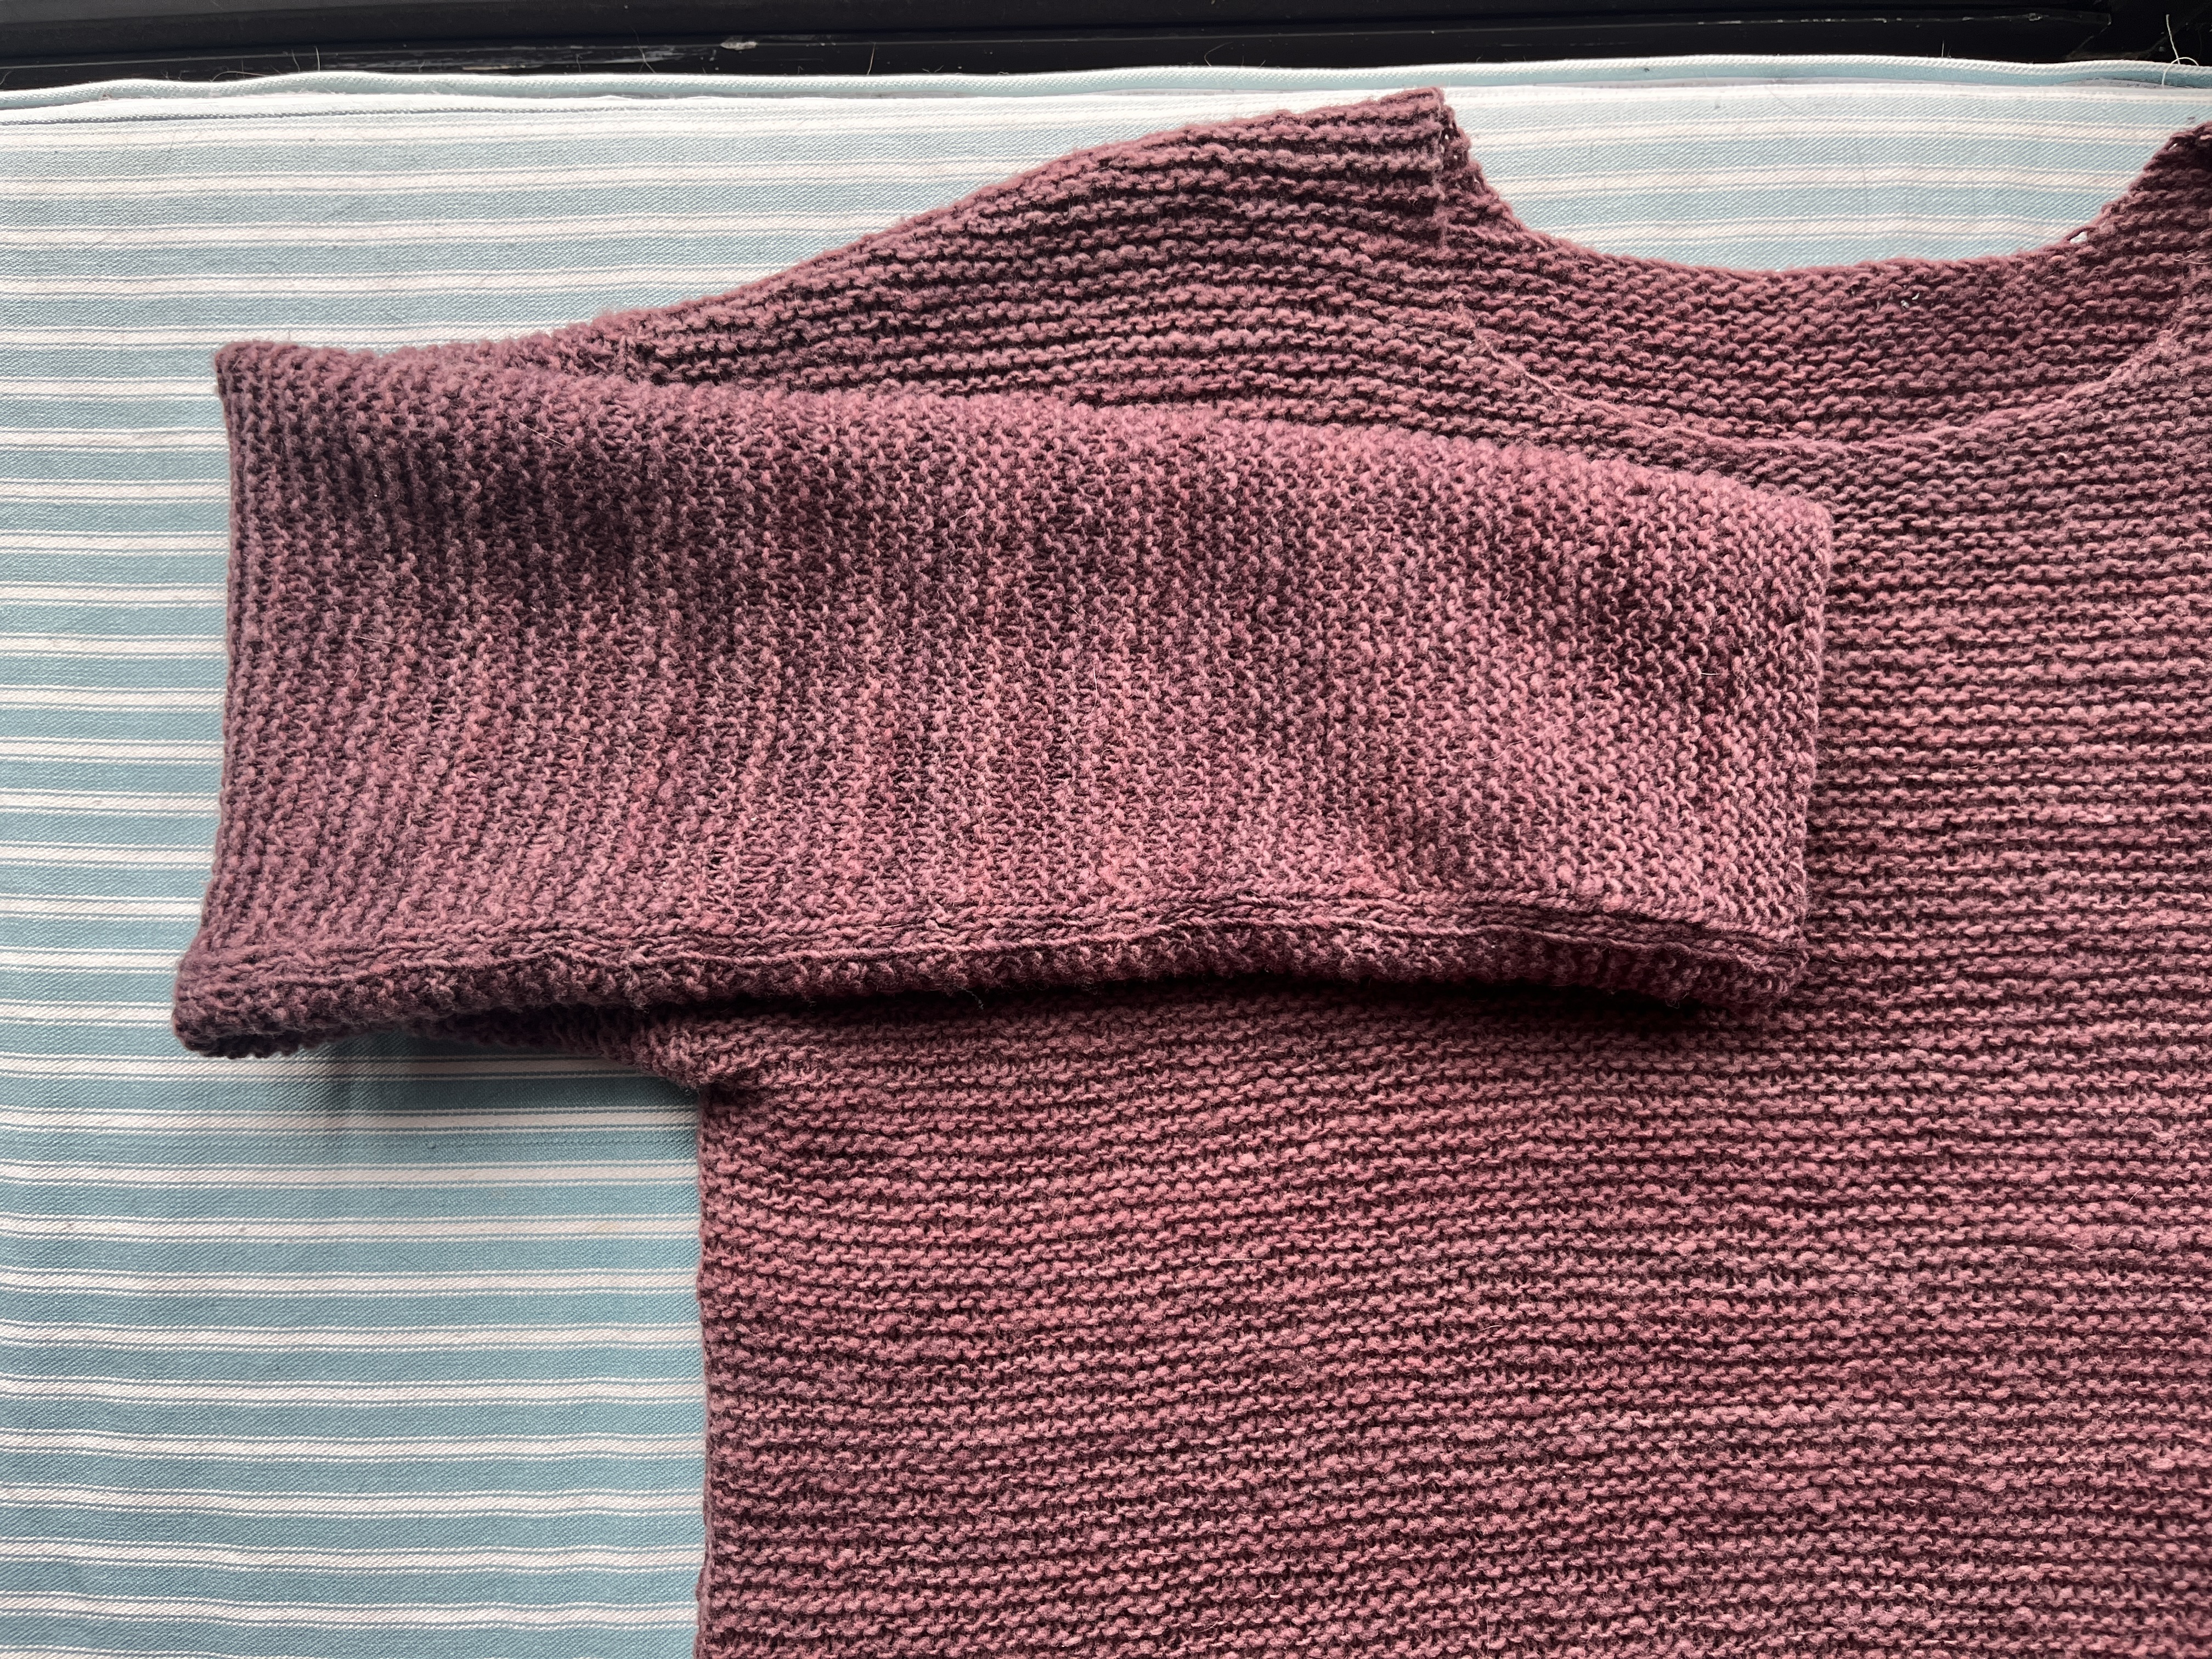
I normally pick a pattern before selecting yarn (because THAT is how you acquire a stash), but this was a worthy exception. I have been enamored with garter stitch so I searched for an allover-garter fingering weight sweater and LET ME TELL YOU there is not a lot out there. Patterns that appeared promising did not have many projects to review. After much deliberation, I settled on Ret Nem. I love the quiet details of the seams. It took an INCREDIBLY long time to knit. After a couple of wears, I’m observing felting at the armpits, but maybe thats ok? Despite this, it fits like a dream: extremely lightweight and soft. I am really pleased with it!
see the seams?? aren’t they pretty!?
Radish socks
Lets call these dual purpose: an amuse bouche between sweaters, as well as motivation to finish Ret Nem. These radish socks were love at first sight–it went to the top of my queue (but only to be started AFTER I completed the sweater). The hardest part of this project was finding a good brown tweed yarn. I almost settled for knit picks but in a fit of desperation I googled “brown tweedy sock yarn” and found hue loco. With few comments on Ravelry, it was a risky purchase. After a few more wears I will be certain to leave a review!
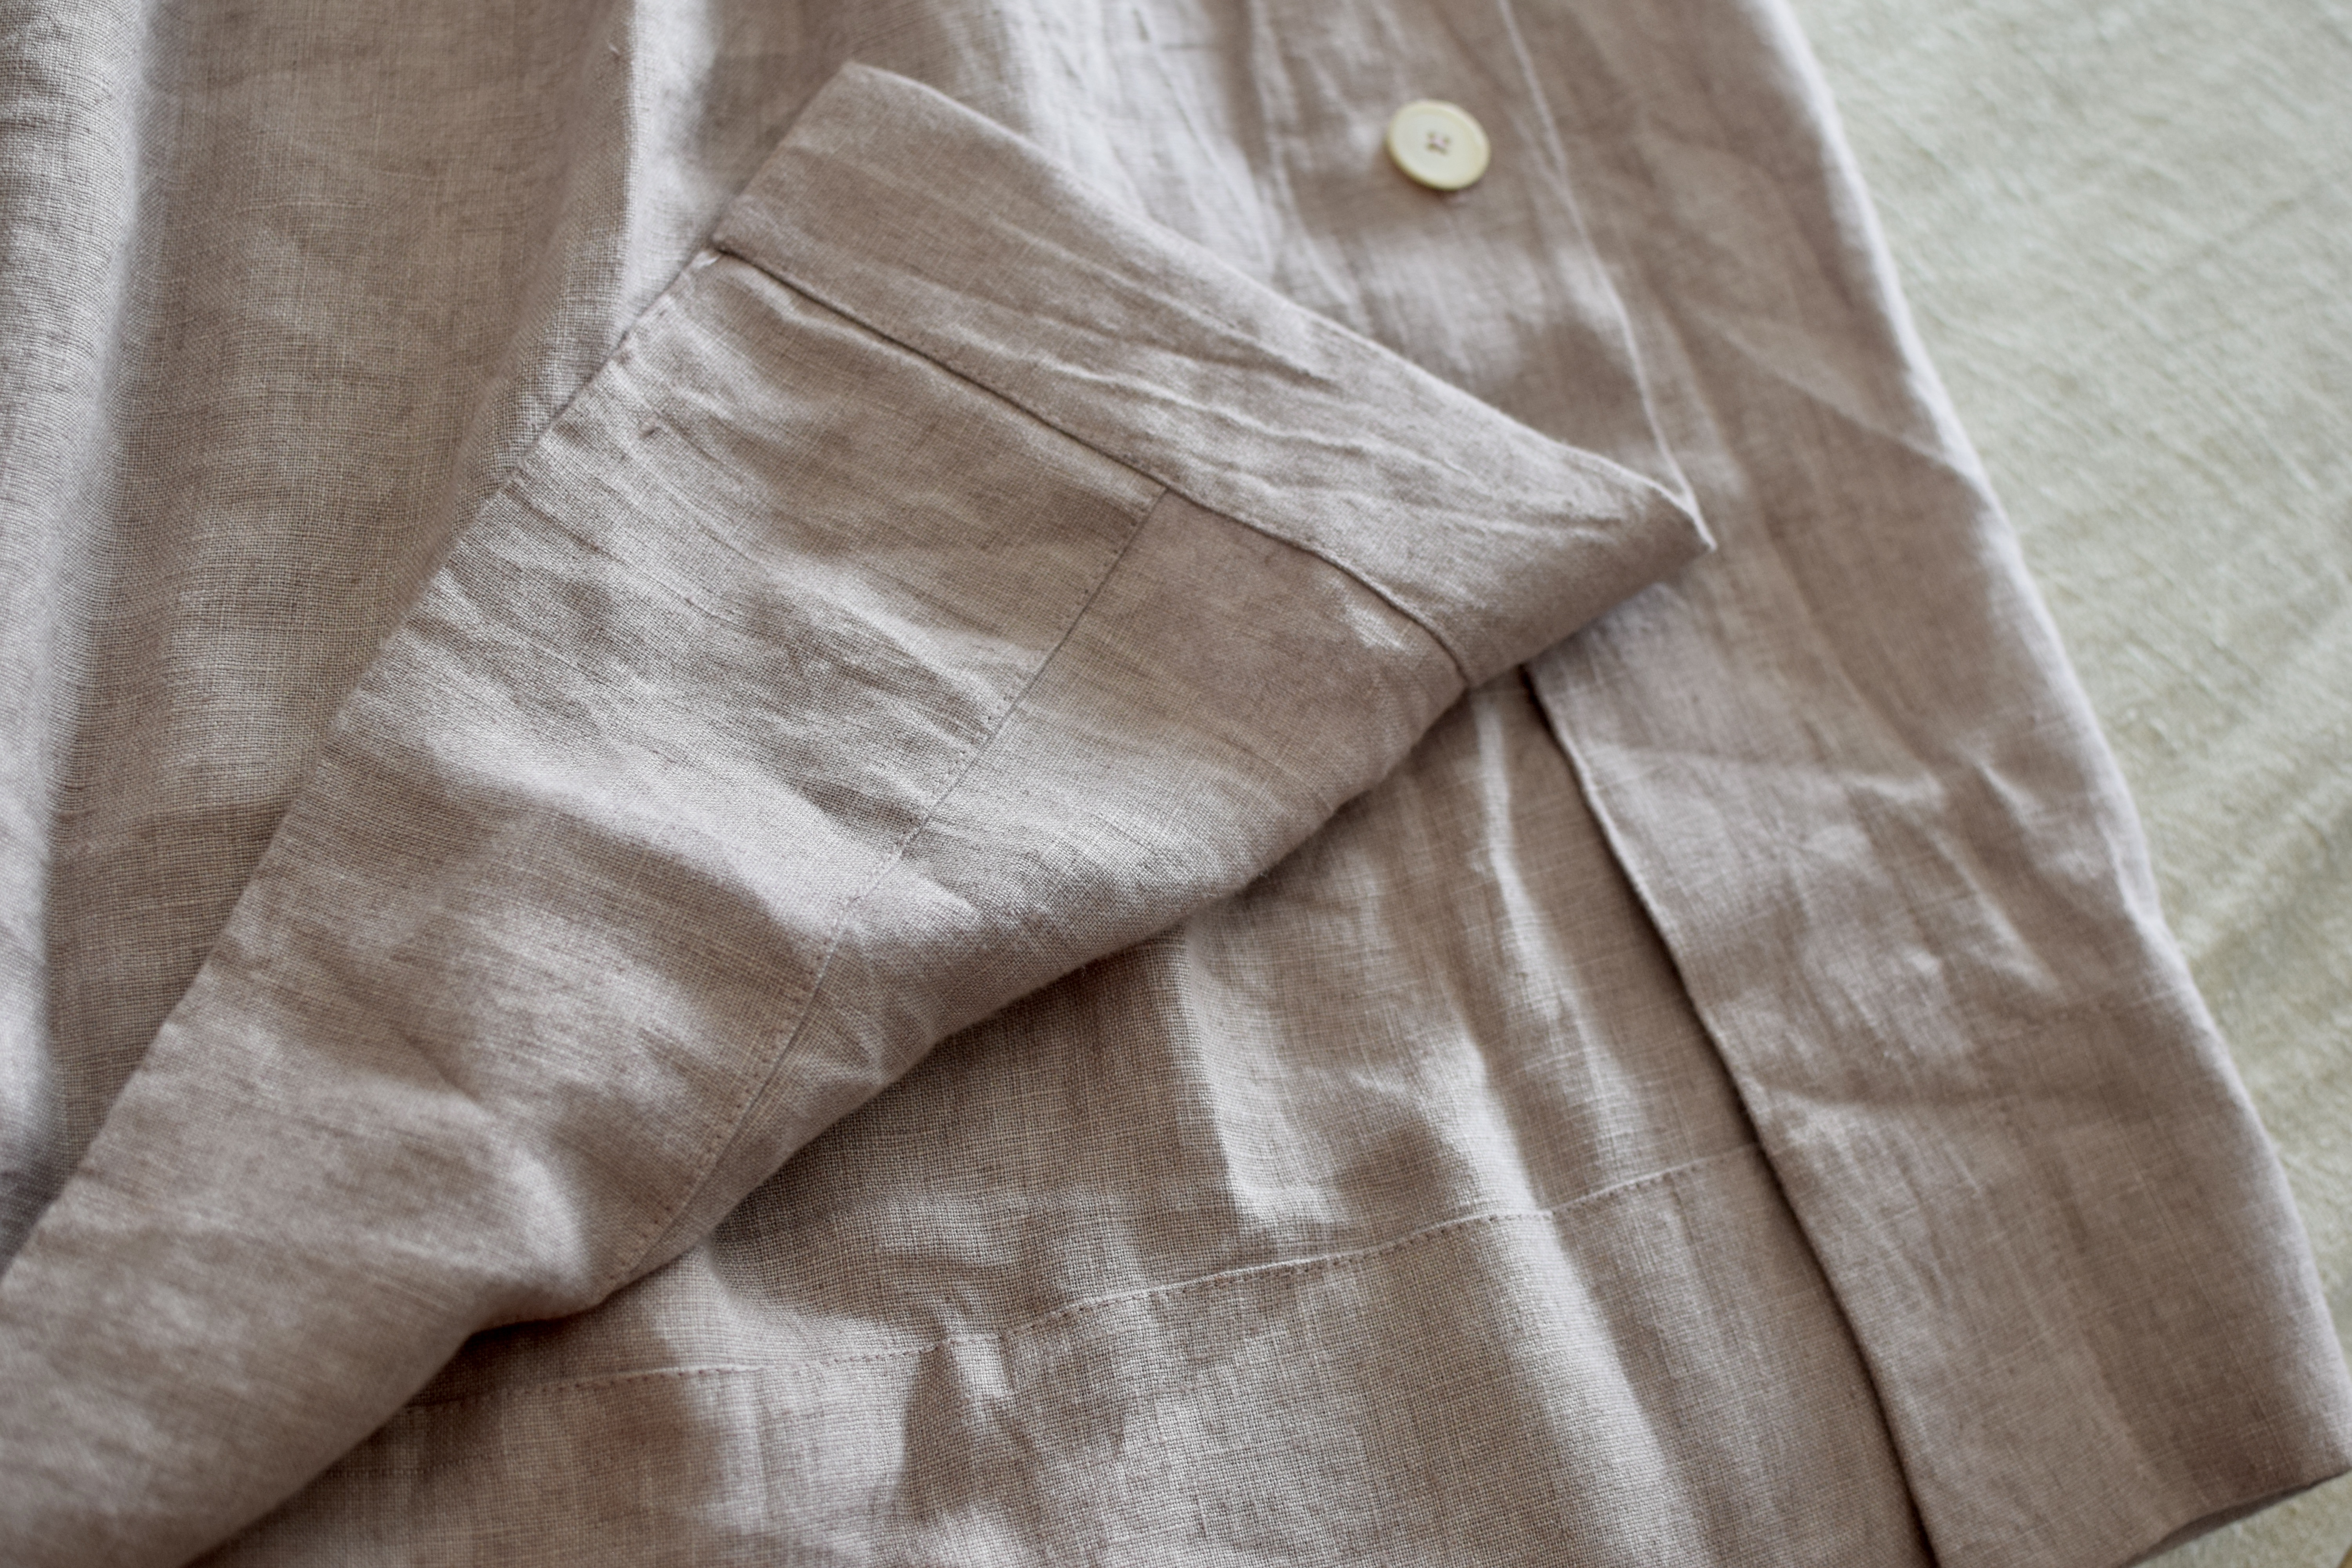
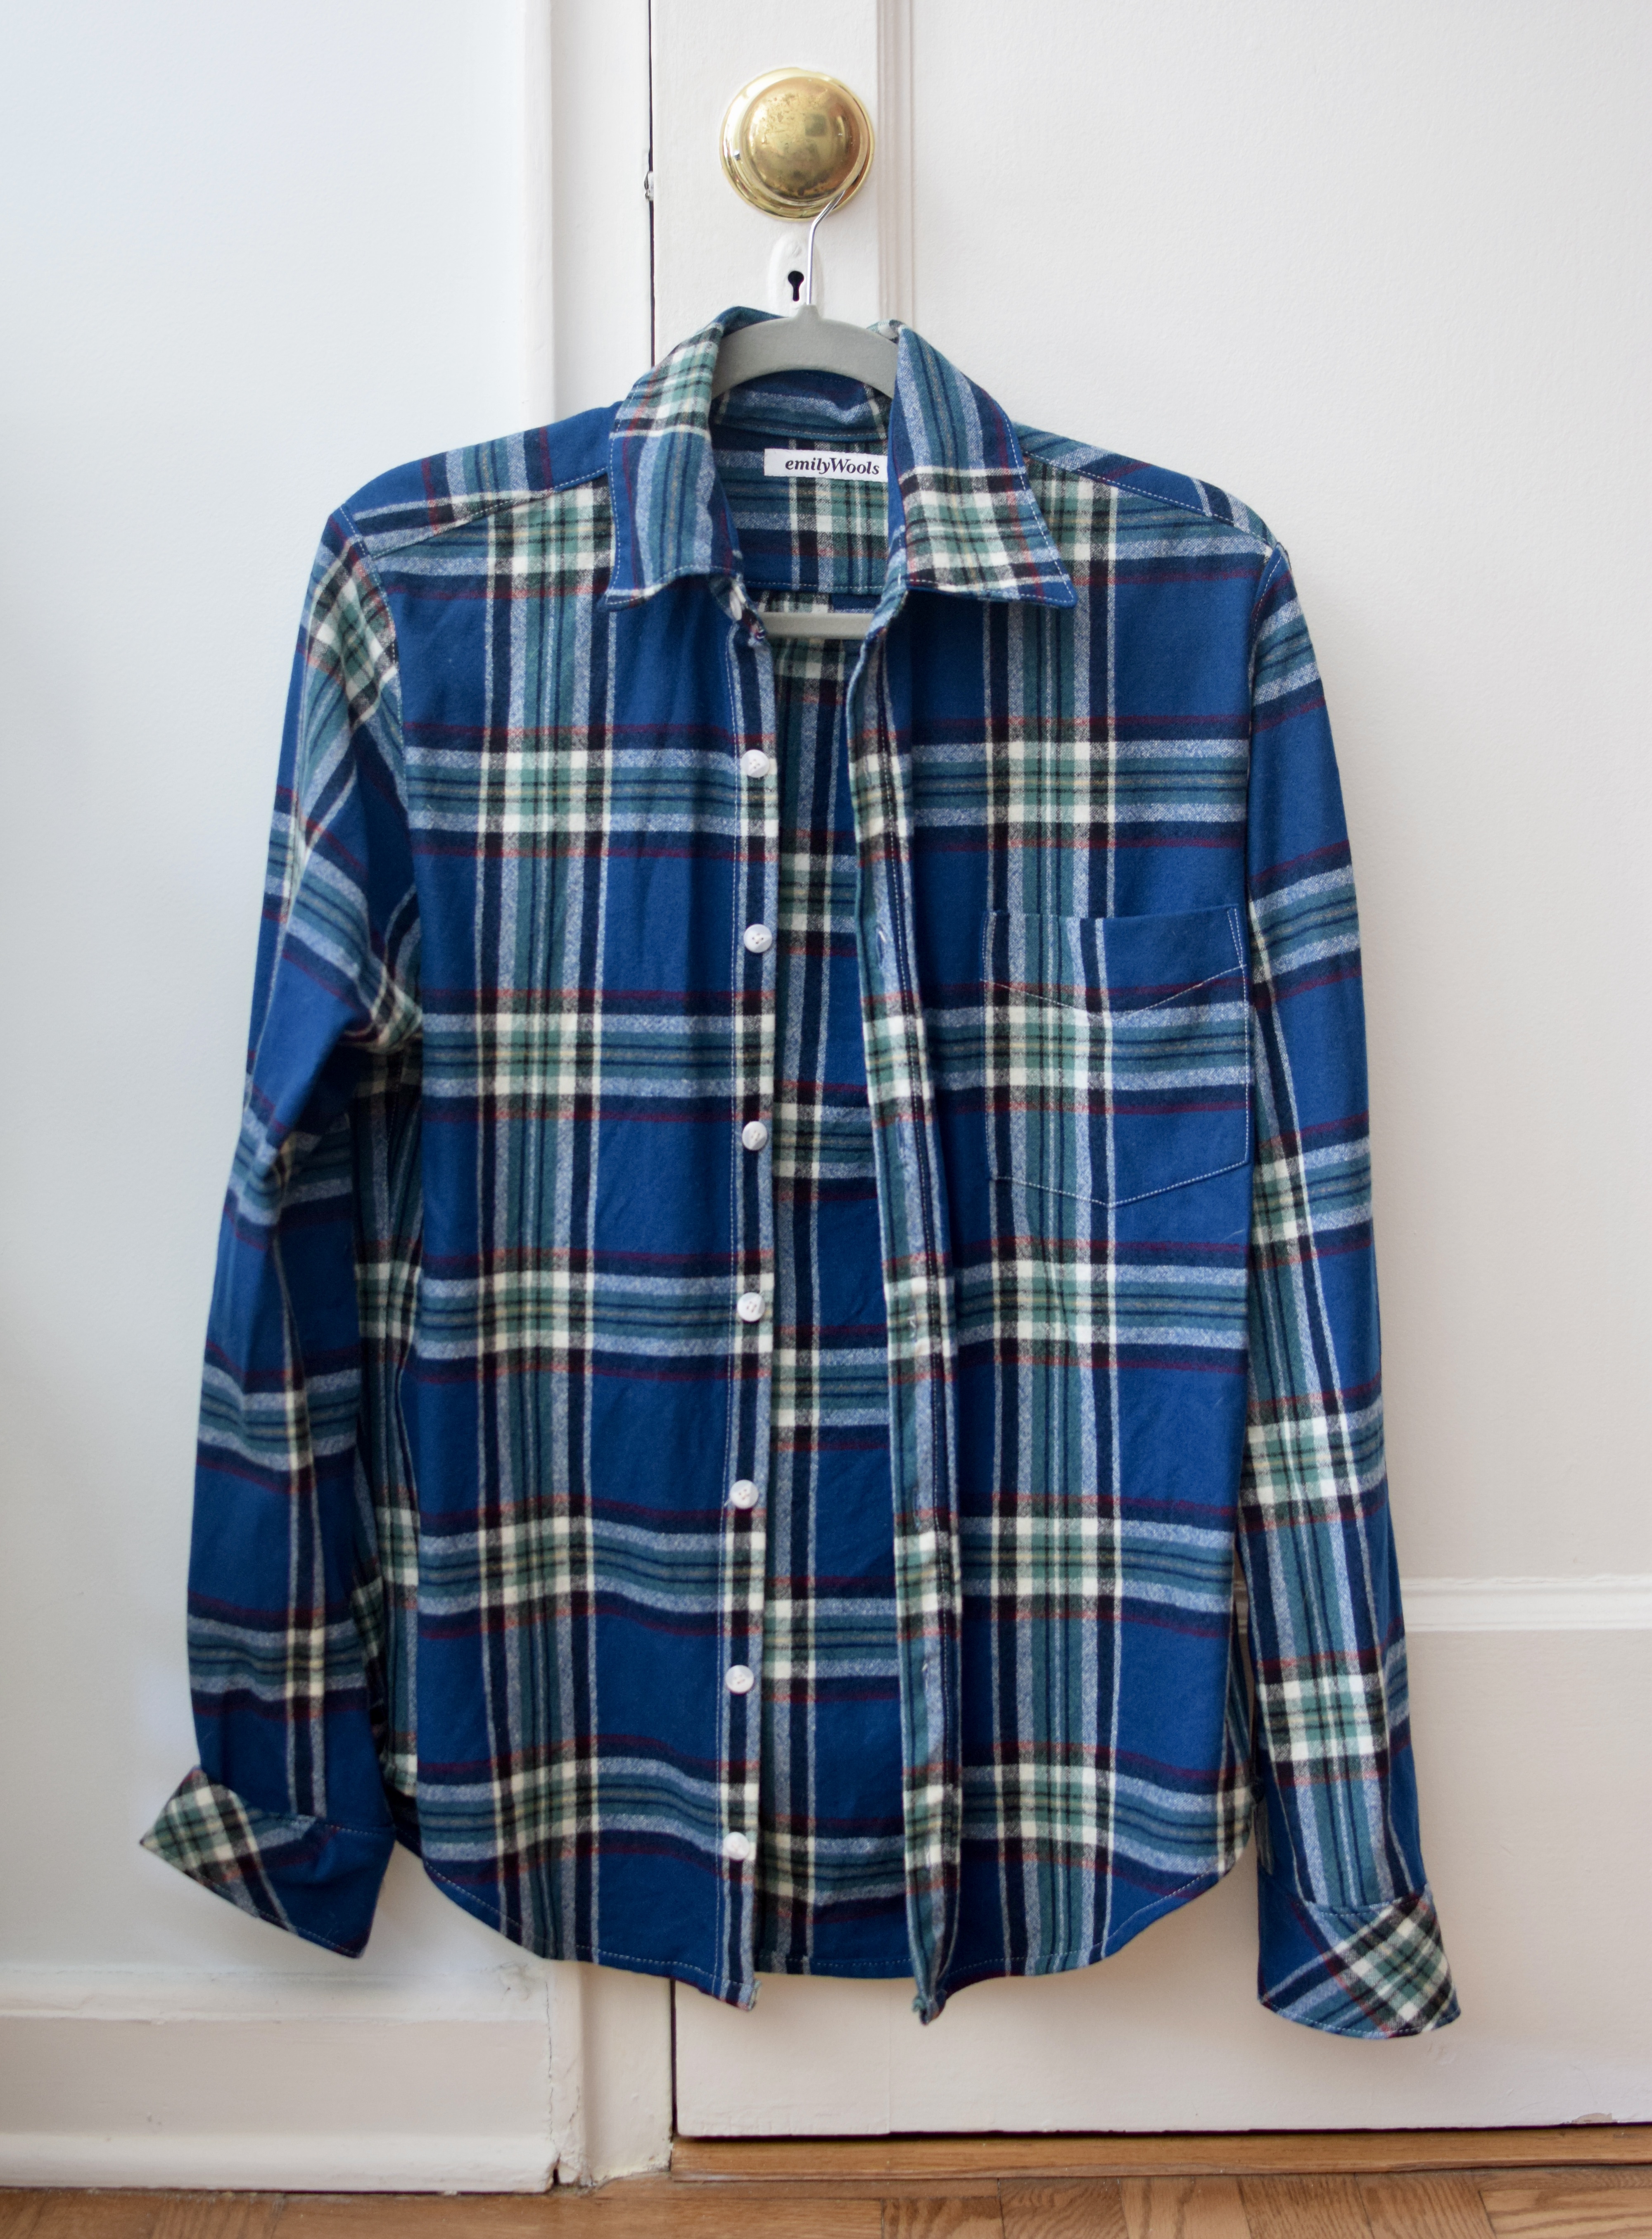
Collared shirt for Jacob
I got some shirting weight Pendleton pre-pando that’s been earmarked for Jacob. I decided it was time, and sewed him up a shirt based on the Jcrew shirt I deconstructed and made a pattern from. The Jcrew shirt is short-sleeved, so I blended it with Grainline’s Archer button up sleeve and cuff, and added a couple of inches because Jacob has such long arms. It turned out really well, I am pretty proud of it. French seams throughout, and it fits him perfectly!
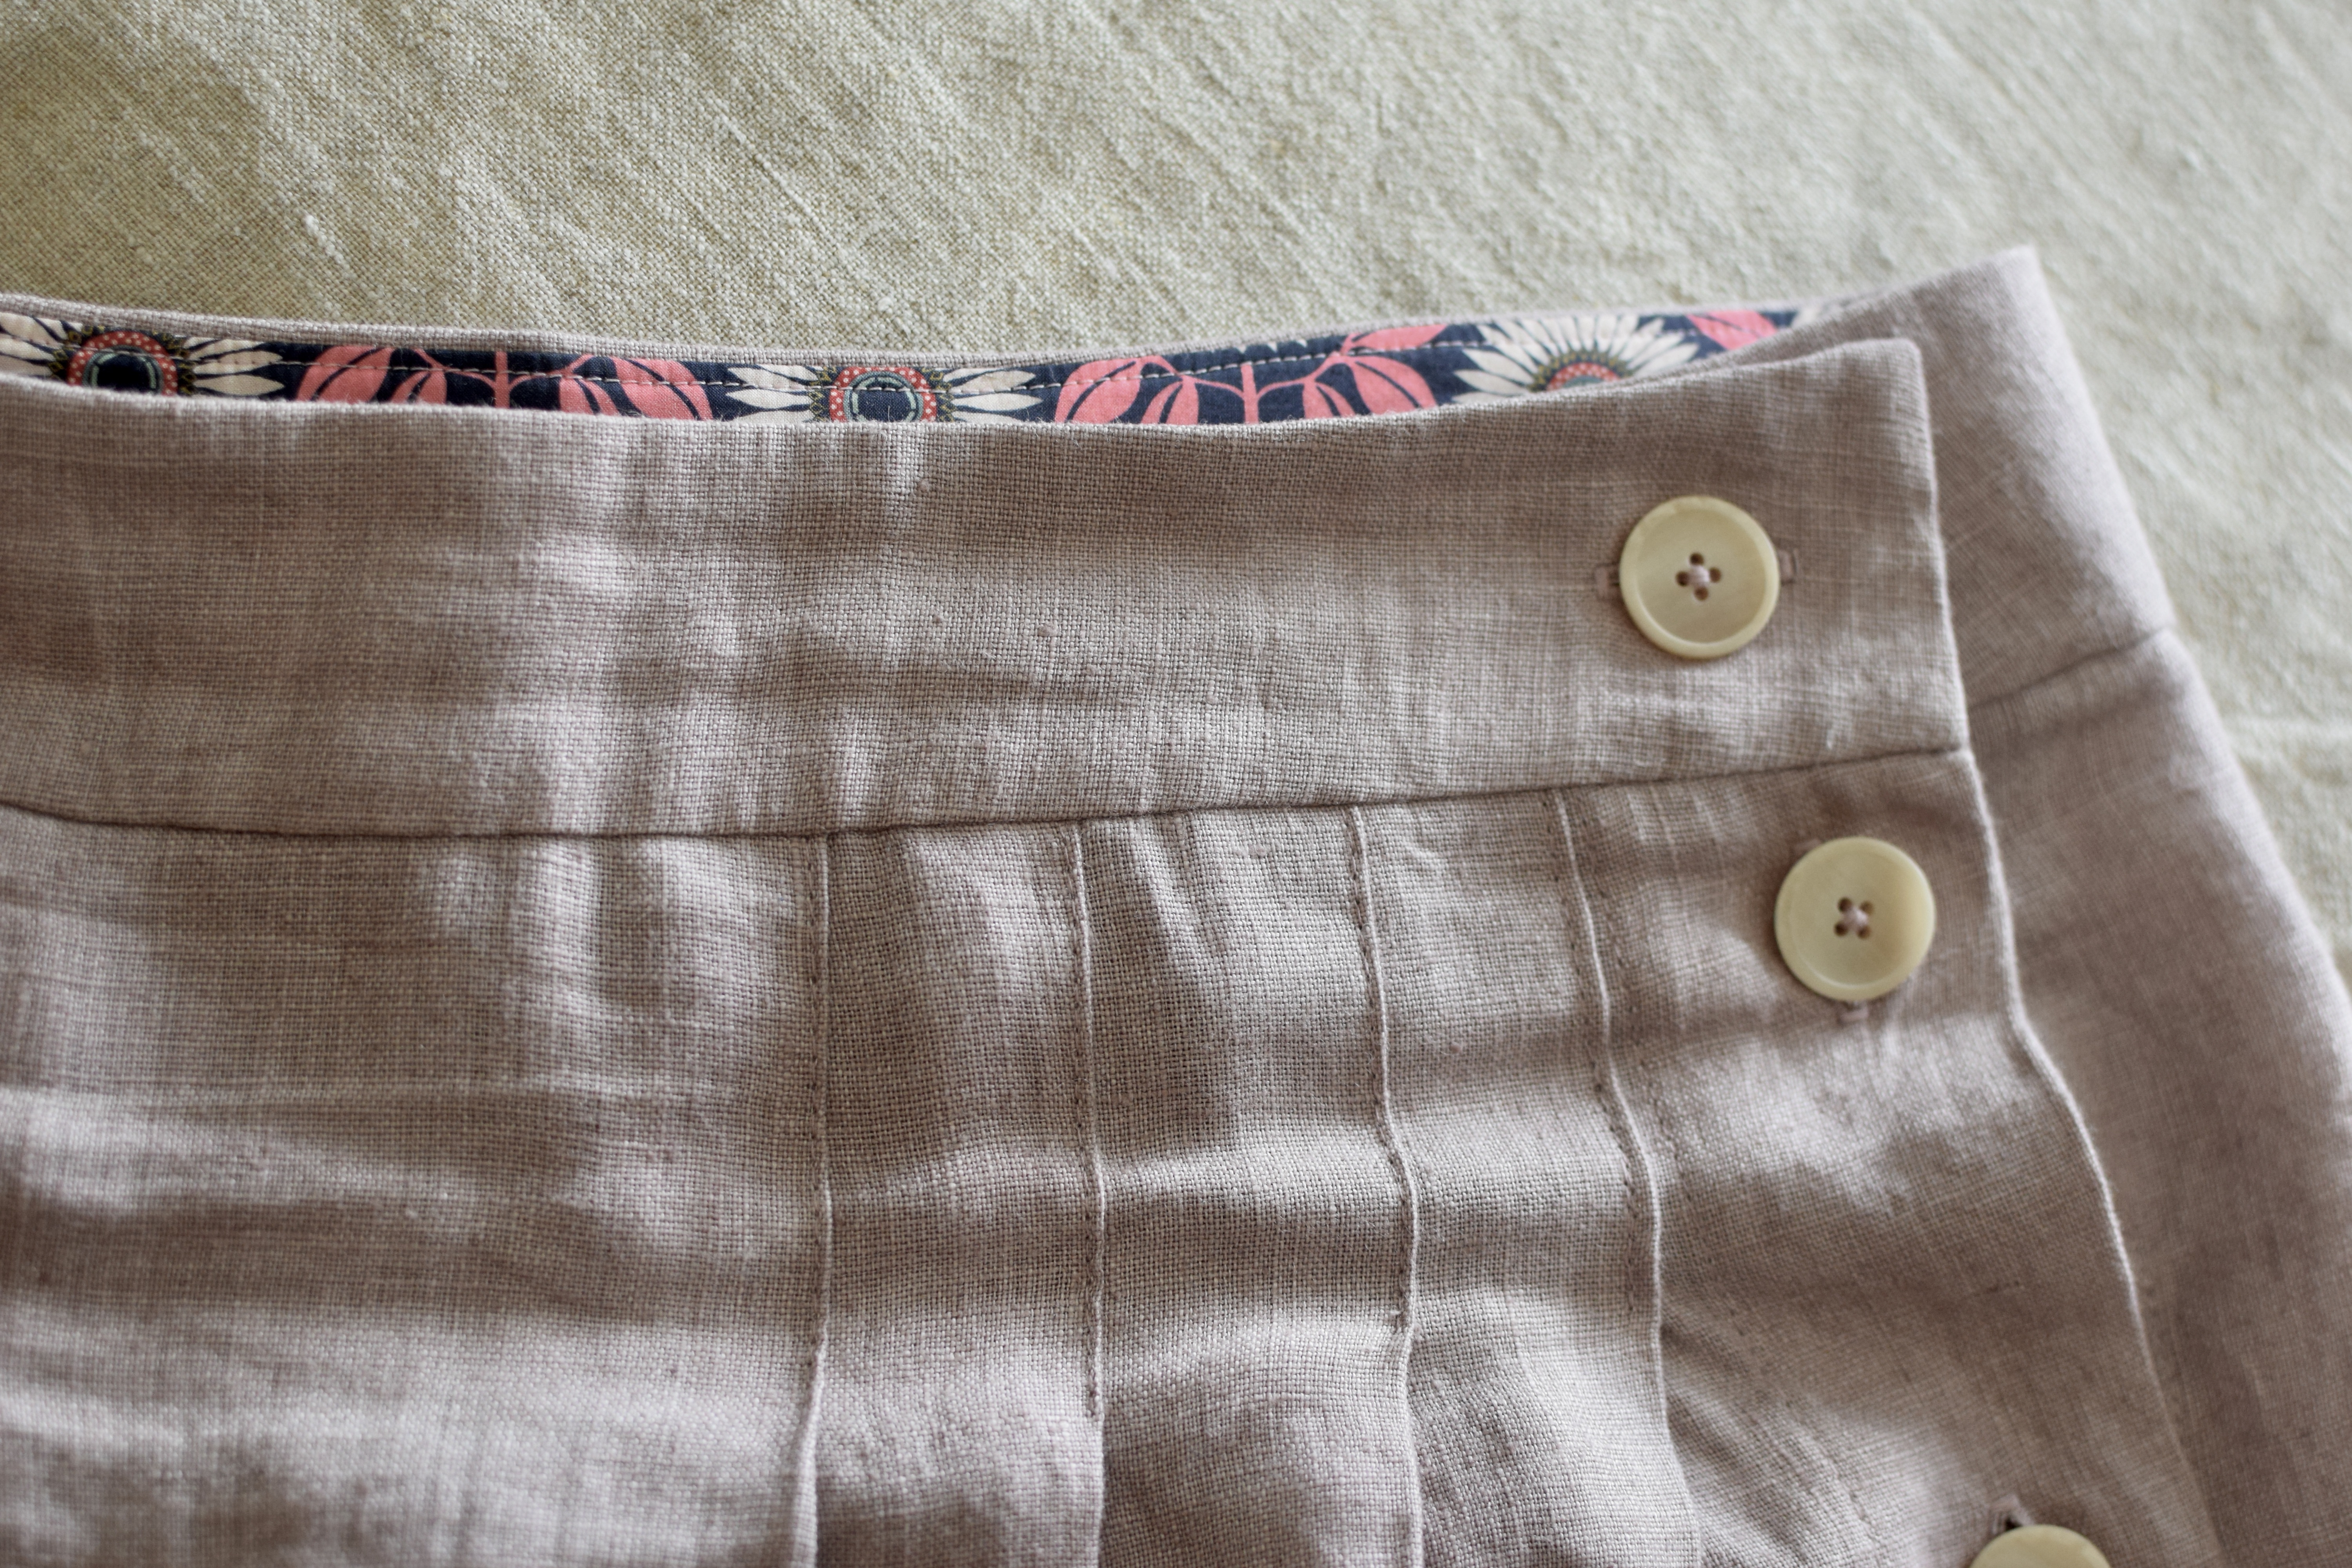
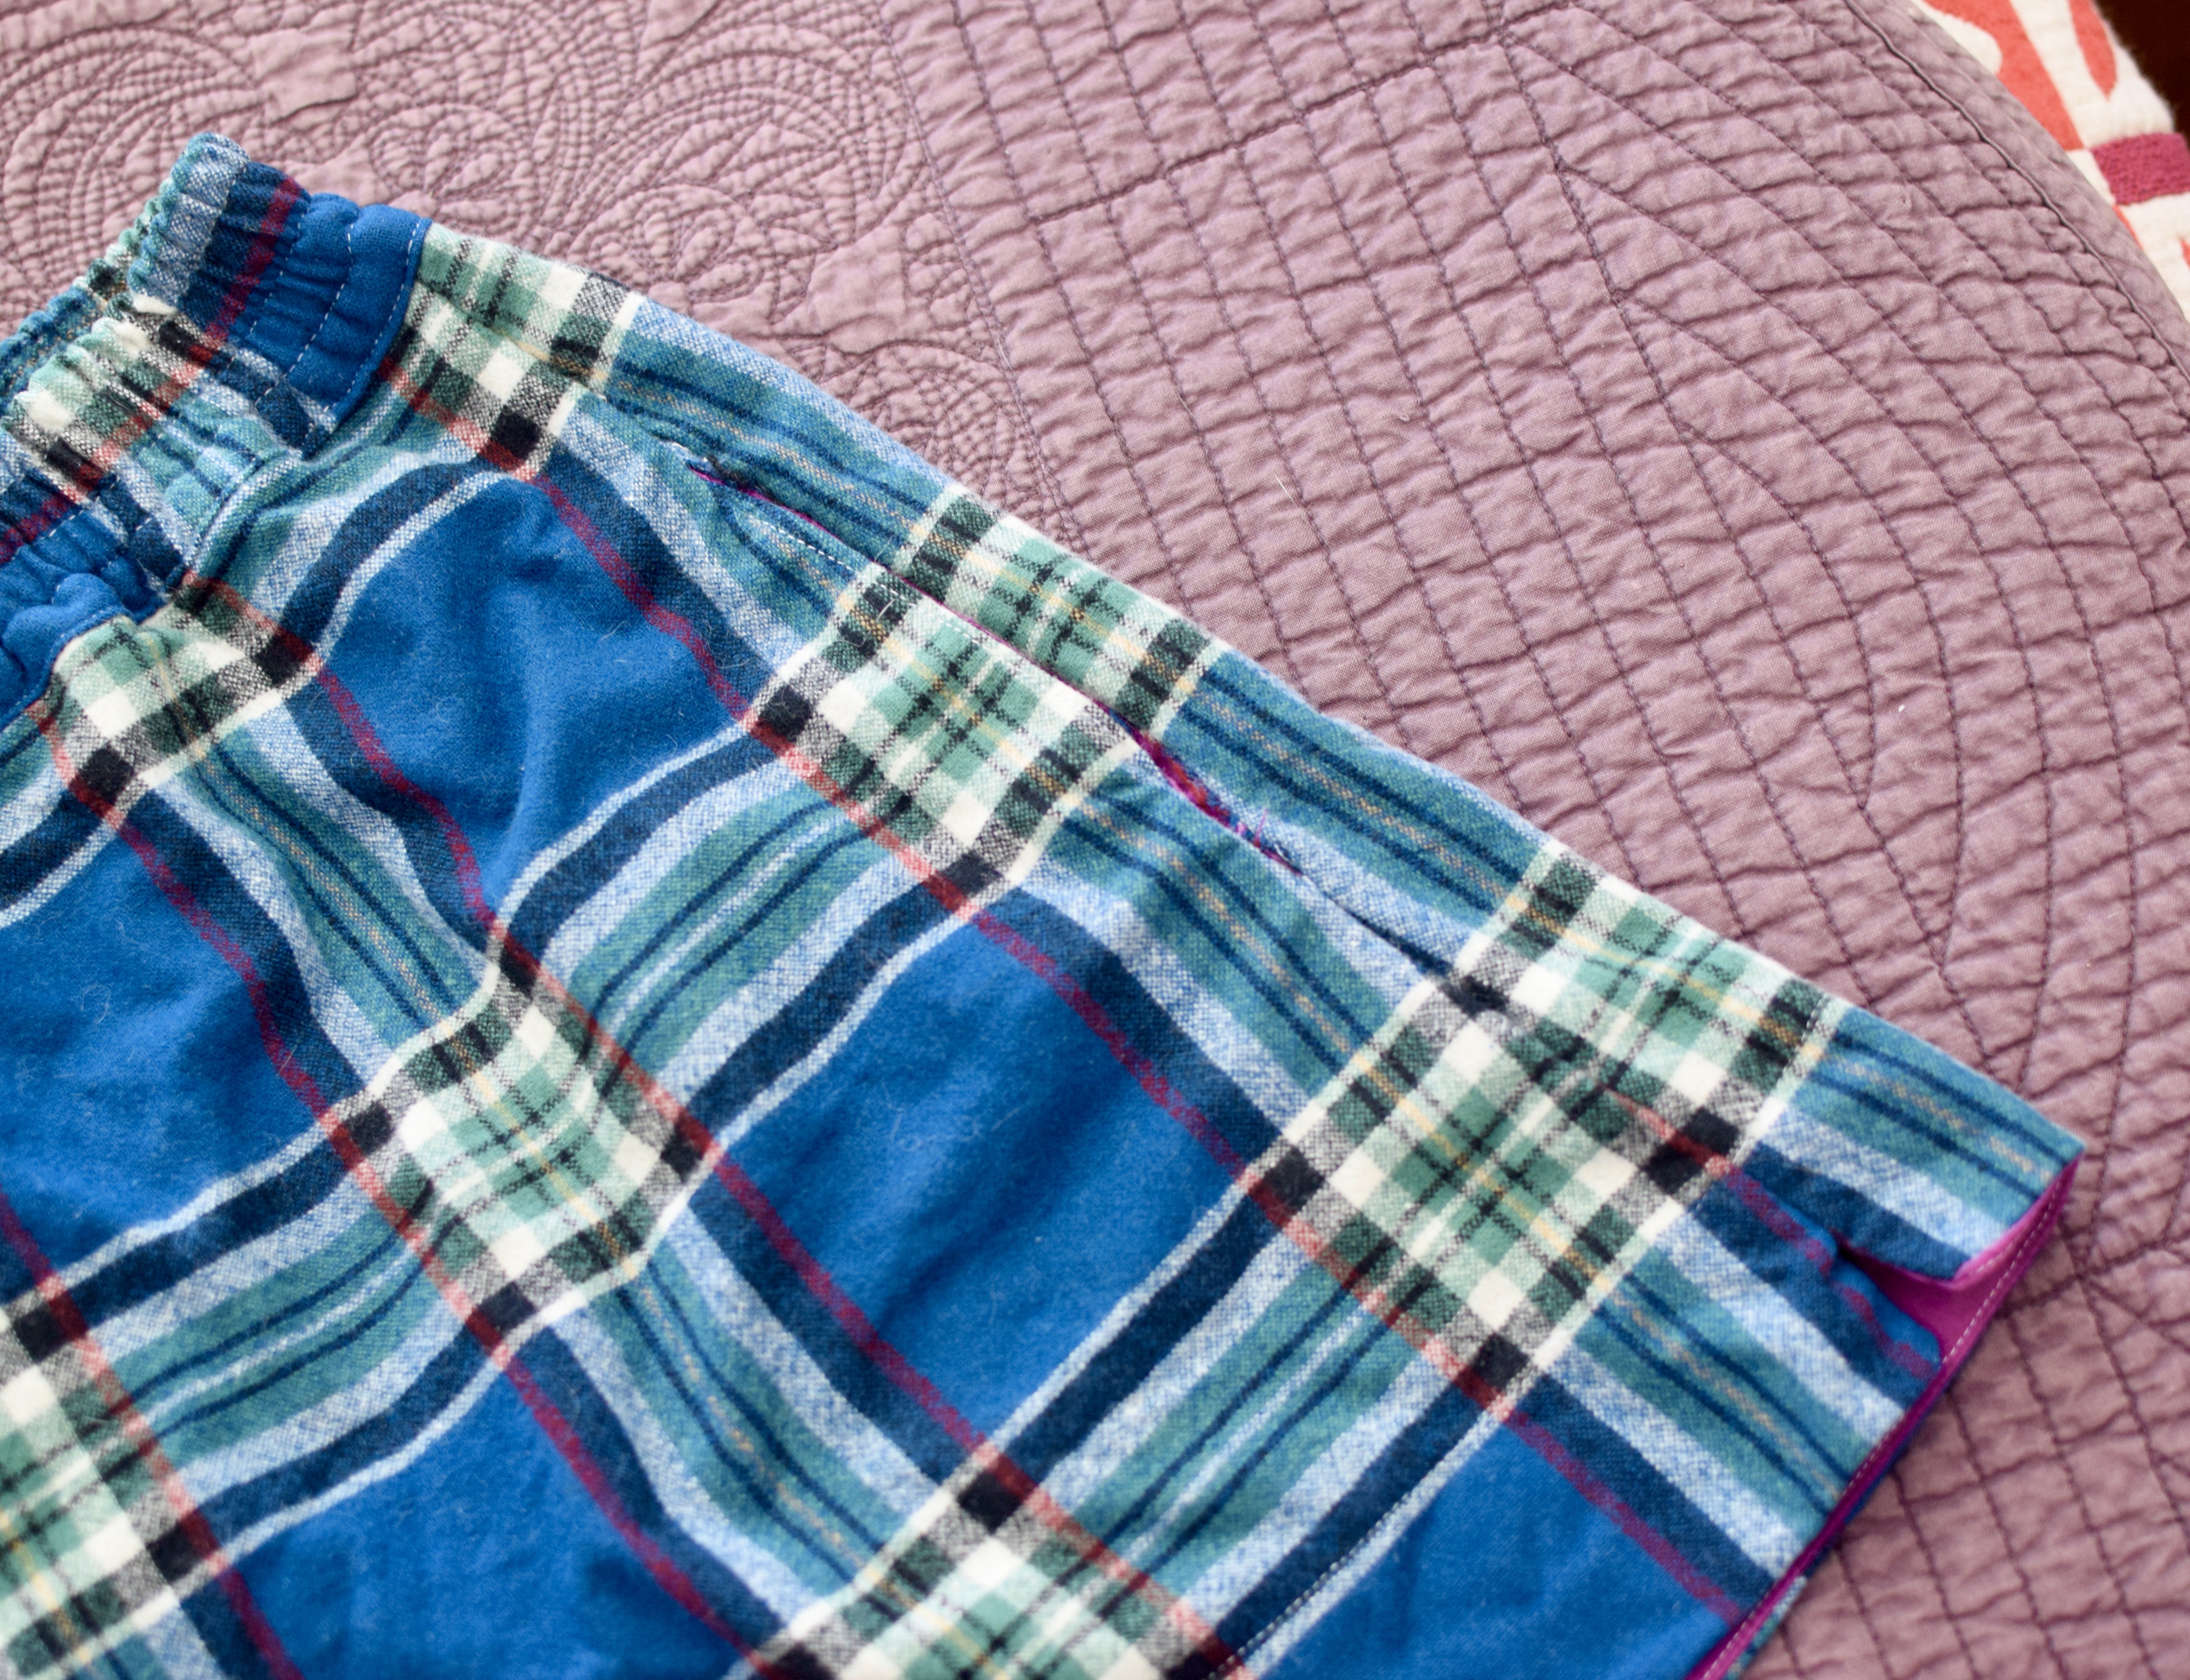
More Bailee shorts
I made another pair of bailee shorts using leftover Pendleton from Jacob’s collared shirt. they are SO comfortable ive been wearing them as PJs all winter.
I may have gone a little wild. In the past month I have made 3 Arkies, including 1 for Jacob, and 2 pairs of Bailee shorts. Tessuti advertises these as a matching set, so I wanted to give it a go to make this work as a set of not-pajamas.
I fell for the idea of making this out of Merchant and Mills’ Louisiana linen for our trip to the west coast. While I was at it, I thought I would adapt Arkie for Jacob so he could be part of the fun, his is made out of Sweeps Scrim with coordinating cotton buttons.
The matching plaid top/shorts set turned out fantastic. I used the same construction mods as my first version. The fabric is dreamy, and I have been wearing them a set and as separates nonstop during this late-summer heat wave.
Here’s how I adapted the top for Jacob: I went up two sizes and took in about 4″ width at the hips. I also lengthened the body 2″ and the sleeves an inch. If I make this again, I want to make the shoulder area a bit more roomy, perhaps by dividing the back piece into a yoke and a lower back body with a pleat? Overall, though, Jacob’s version turned out great.
I had just enough linen leftover from Jacob’s shirt to squeeze in a second pair of Bailee shorts. At first glance, this shorts pattern doesn’t seem that unique, but they have nice details and I really like how they fit me.
Last week I had a camp collar shirt curiosity that morphed into a frequency illusion. This type of shirt has been around for ages, but it has become quite trendy. While I was making this my husband commented that he saw an “article” about the sudden popularity of the Kramer shirt.
After this shirt style was on my mind for a couple of days, I started looking for a pattern to use to make my own. I found out this type of collar goes by many names: revere collar, cuban collar, camp collar among others. My go-to of “camp collar” is not the most universal, so I had trouble finding patterns. I finally thought to check Tessuti. Not sure if it was my subconsious or what but they released the Arkie Shirt this year, and it fit my vision perfectly!
Fabric and buttons
I wanted to use stashed fabric only for this first version. I had just less than enough of some white Merchant and Mills linen, so I had to get creative with how to use it most efficiently. I couldn’t figure out a cutting layout to accommodate the front facing pieces, so I mulled over my other options. I finally decided on some pink cotton for the facing and a brick red cotton for the collar. I thought that the patchwork of colors plus a Liberty fabric pocket would look quirky and cute, but I quickly became concerned that this was giving bowling shirt vibes. I ripped out the red collar piece, and pieced together a new under collar in the white linen instead.
“you’re a disaster my guy” (before I ripped out the red collar)
The buttons are a gift from my friend Alexis, she found them at a flea market. I thought the stripes were pink because I was sewing in very low light 😭, but after I fell in love with them I realized they are orange! I think they look perfect.
Sizing and construction
I went down a size from what the pattern recommended; I cut a straight size 8. The ease is quite generous, and because this is a new silhouette for me, I wanted it to be a bit more close-fitting.
Instead of the recommended seam finishes, I used french seams throughout. I admit that french seams look a bit bulky at the shoulders, but this linen is an unravel-y mess and needs the frenchies. I used this fab tutorial for finishing the side seam splits and they look great.
This was the first time I used the crimp stitch. I did some googling to make sure I was doing it correctly, and I found this great tutorial from a delightful sewer. I think I’ll be using the crimp stitch instead of doing a gathering stitch to prep my set-in sleeve heads from now on.
I sewed down the facing because I hate the feeling of a flapping, floppy facing. This becomes especially annoying when the garment comes out of the wash. I topstitched the shoulder and arm seams. Lastly, I hand-sewed the facing at the shoulder as well as the collar to make sure it looked perfect.
Conclusion
I loved trying out a new type of collar construction (no collar stand!) on this garment. Sewing this collar was pretty easy.
I saw some complaints that the directions in this pattern was hard to follow. I found a few bits tricky, but I read carefully and was able to figure out each step without problems. I love it!
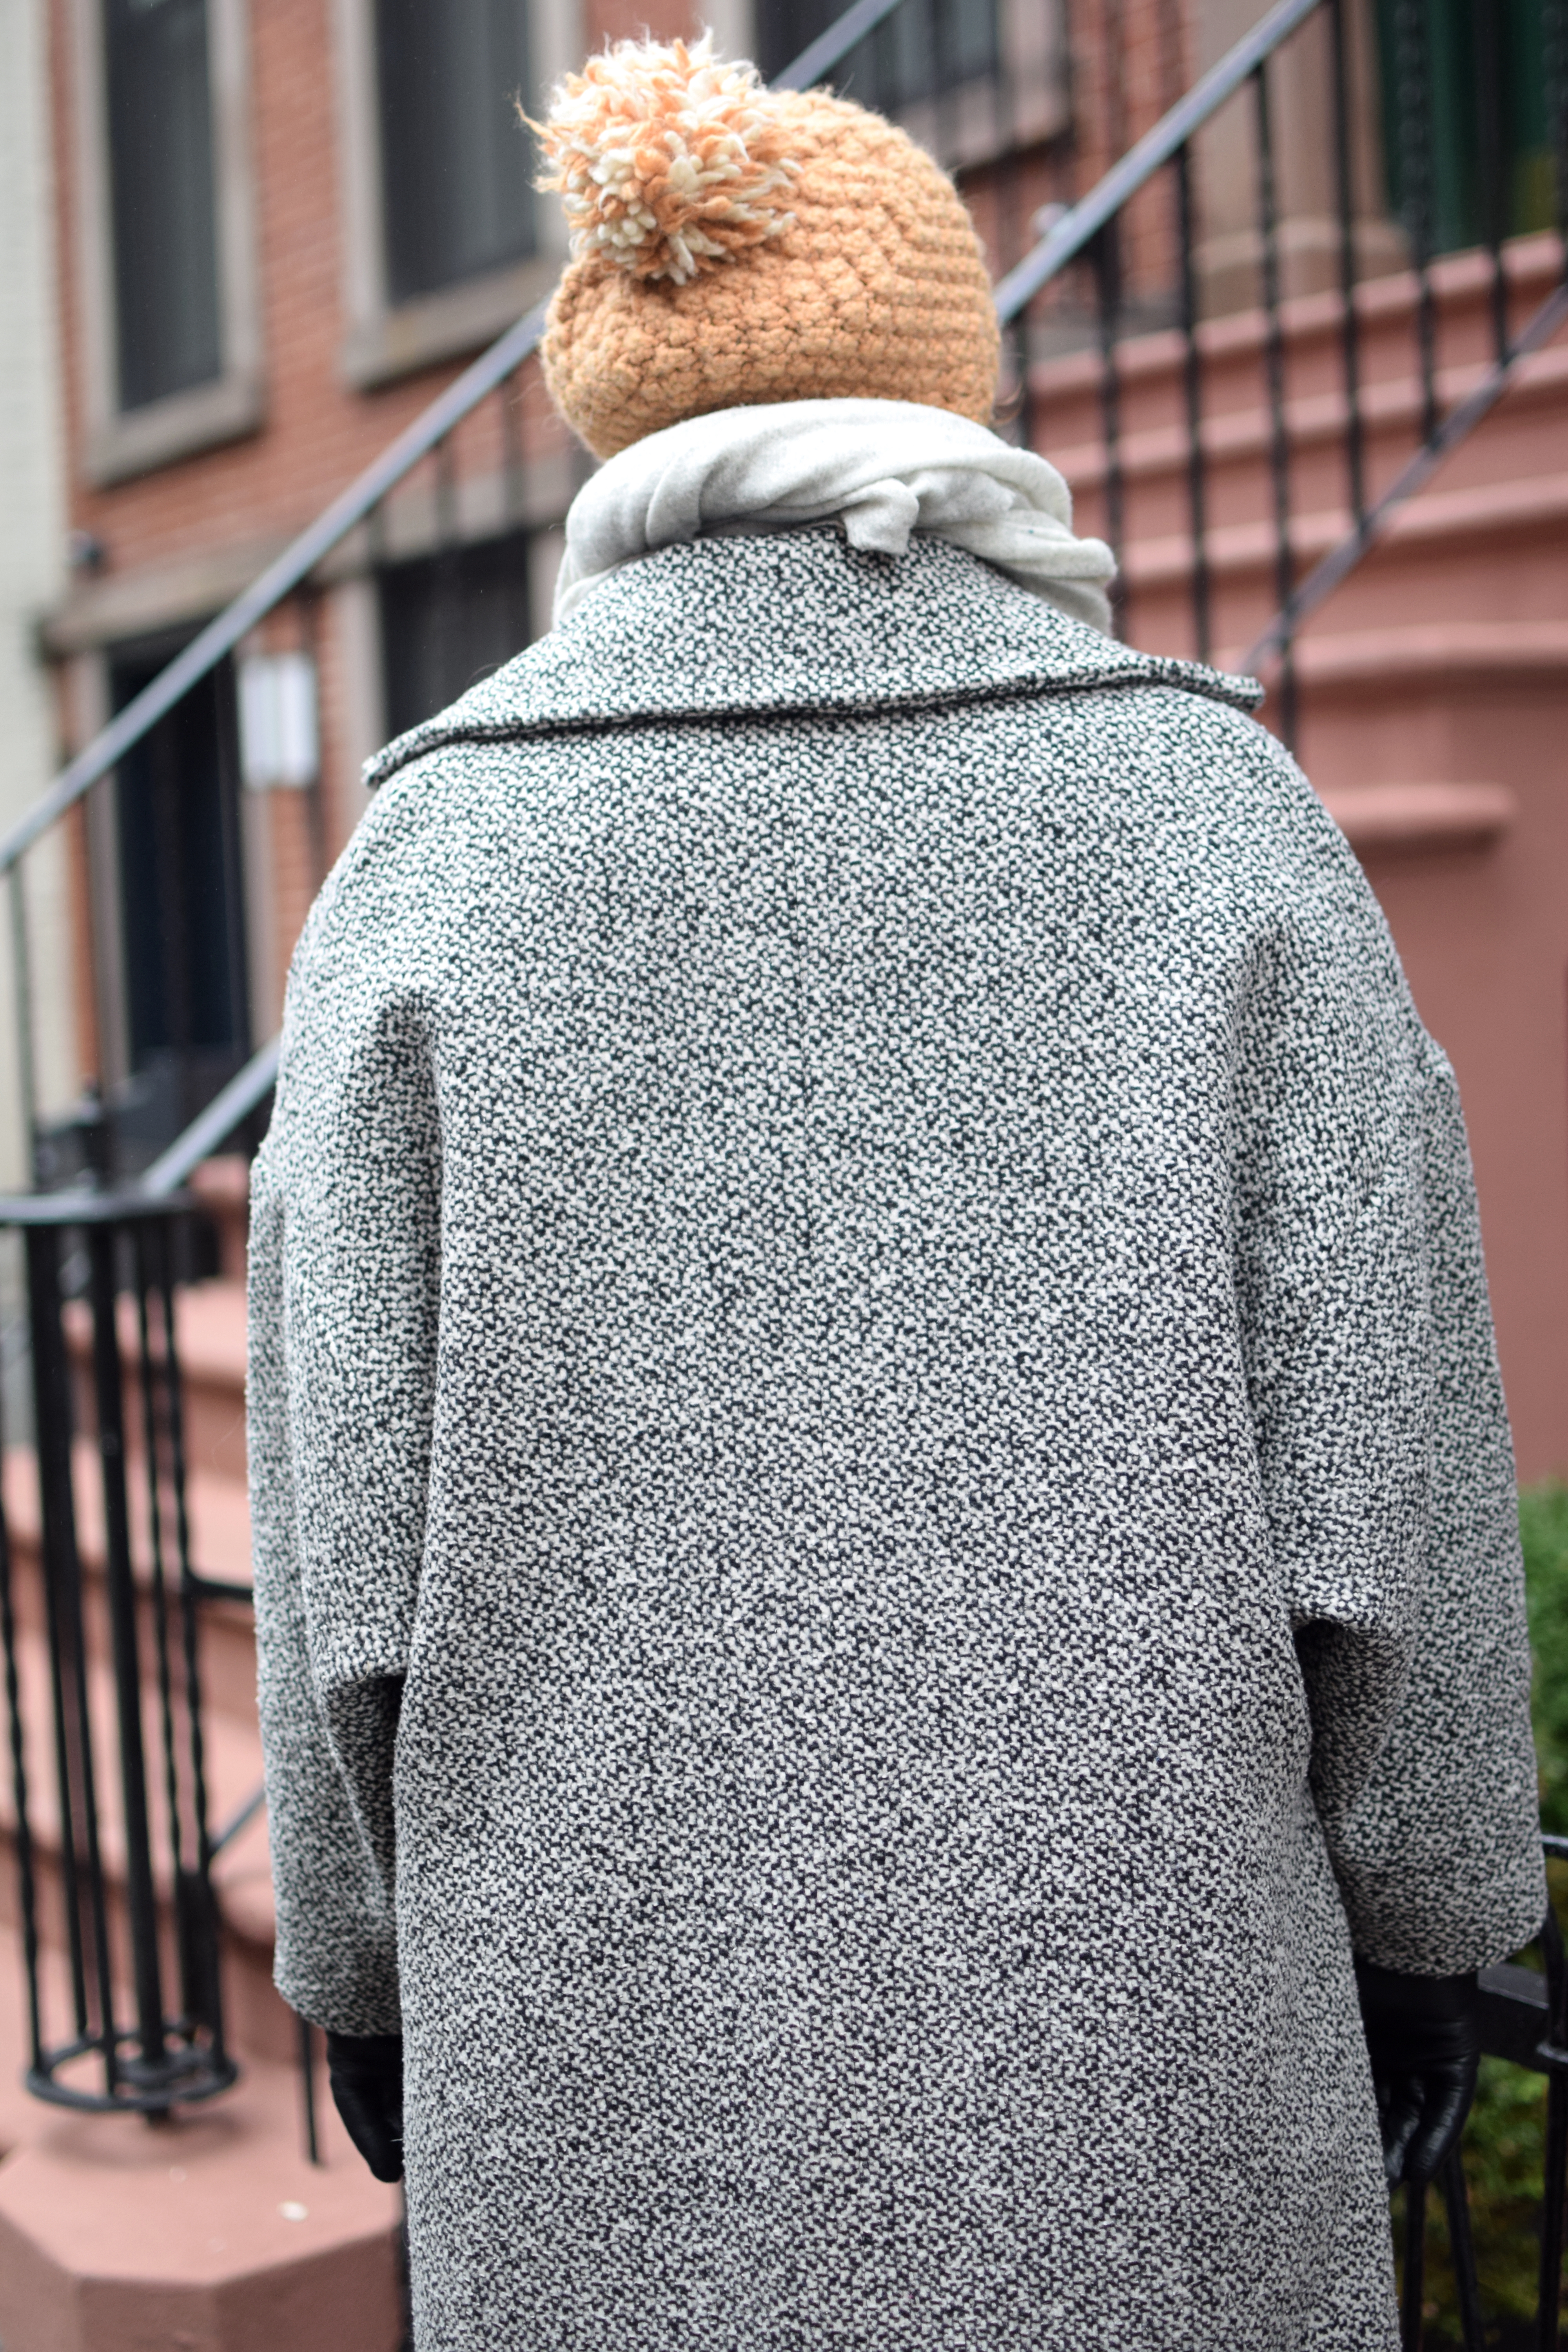
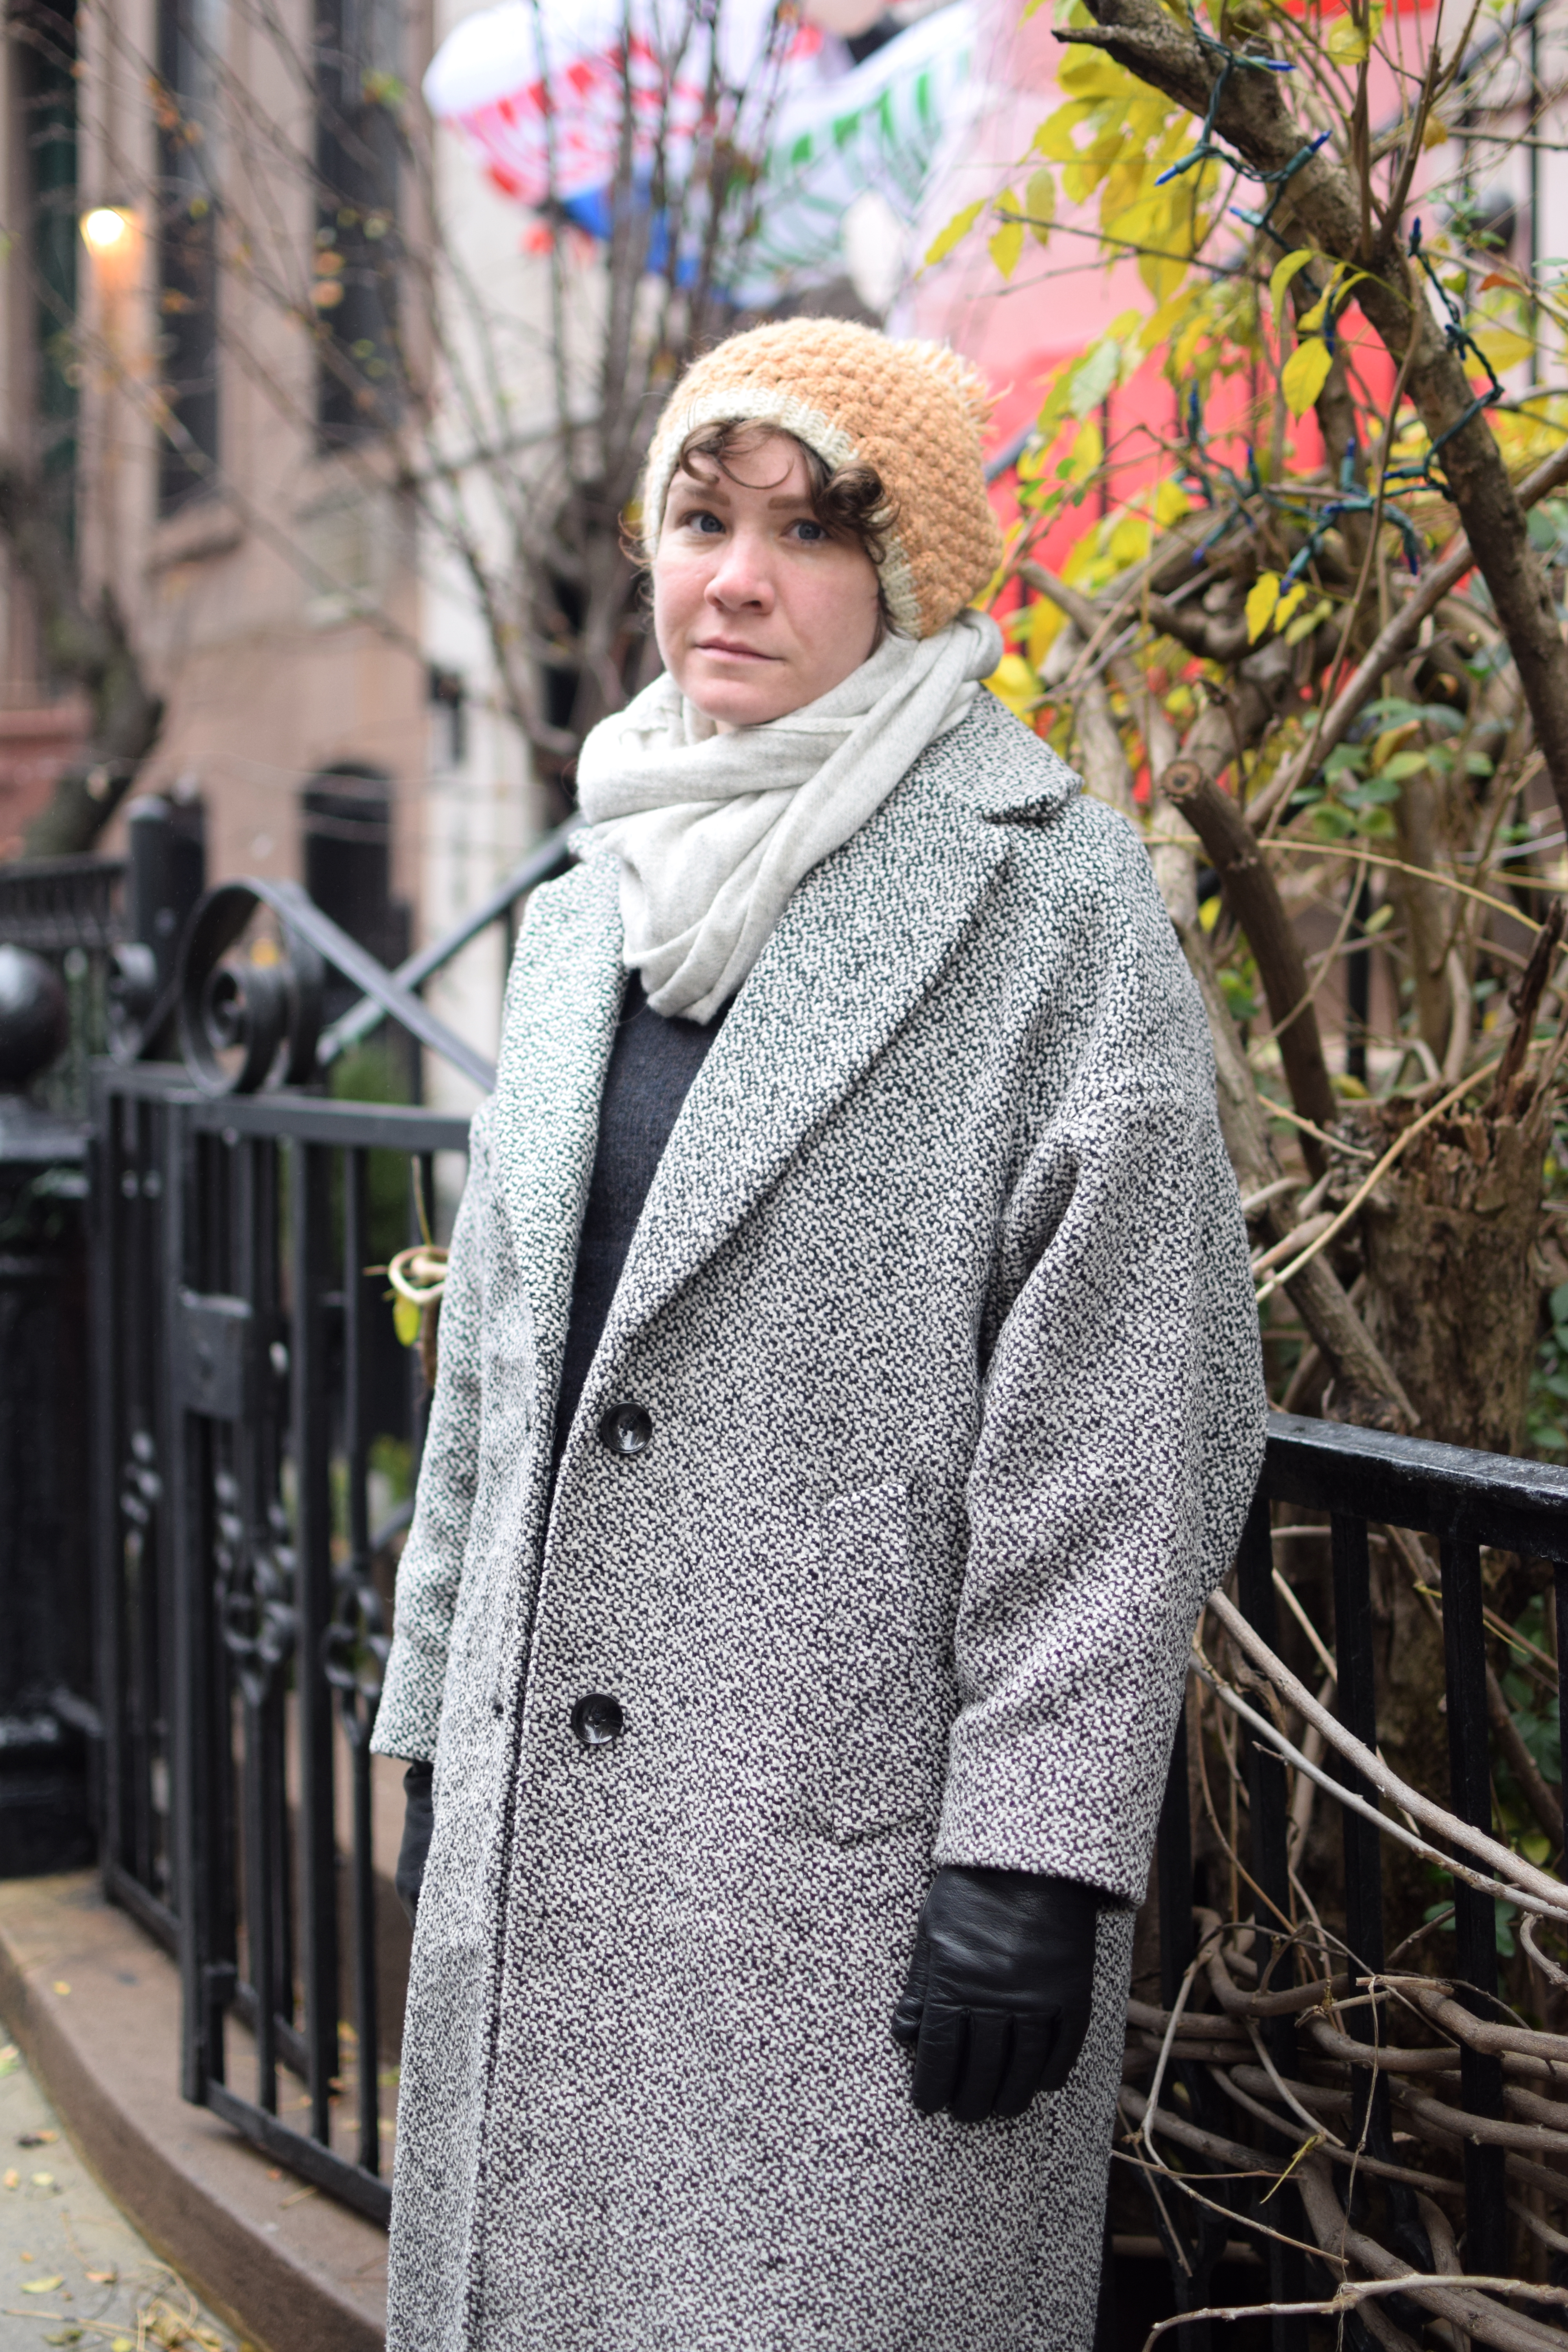
Here’s a Big Project for ya. This thing started because I didn’t have a winter coat that easily fit over bulky sweaters. I considered purchasing a coat, but I couldn’t find what I wanted. I was boppin’ through the Tessuti pattern catalog and found the Richmond Coat and thought, wow this is perfect. Many, many hours later, here it is.
Materials
I bought some salt and pepper wool coating from Blackbird Fabrics over a year ago, intending to make Jacob a coat (sorry, Jacob… you’ll get a coat soon). It has a super-cool 80s-looking vibe, and as soon as I saw the Richmond coat pattern I knew it was a perfect match. I envisioned a vermillion lining, but this rust color is the closest thing I could find at Mood. I used too-heavy interfacing and the collar is a bit crunchy. I hope it breaks in.
awkward pose so you can see the lining
Construction
Johnathan Embroidery did a stellar and super-quick job on the buttonholes, and the kind staff at Pacific Trimmings helped me pick out buttons. I sewed the buttons with “backer buttons” on the facing side, I don’t know what they are actually called. They look pretty professional!
After deliberating, I made the second size. My hip measurements suggested I should make the third size, but I didn’t want this oversized coat to be TOO big. It fits perfectly.
finally starting to look a bit like a coat
The most overwhelming part of making this coat was cutting out the pattern pieces and then manipulating such an unwieldy garment as it came together. The welt pockets were a beast– the first one took me more than 2 hours. I admit they look pretty good, though.
before I bagged the lining
Modifications
Instead of cutting the back pattern piece on the fold, I added seam allowance and cut it as a pair. As drafted, the back was such a huge piece of fabric, so I thought it could use a little extra structure.
I also added a hanging loop, but I would much prefer to use a hanger as the coat looks particularly upset when it hangs by the loop.
I planned on adding an interior breast pocket, but I couldn’t bear to do another welt pocket, and a patch pocket would have ruined the nice lines of the jacket interior. So this jacket only has 2 handwarmer pockets *shrug*.
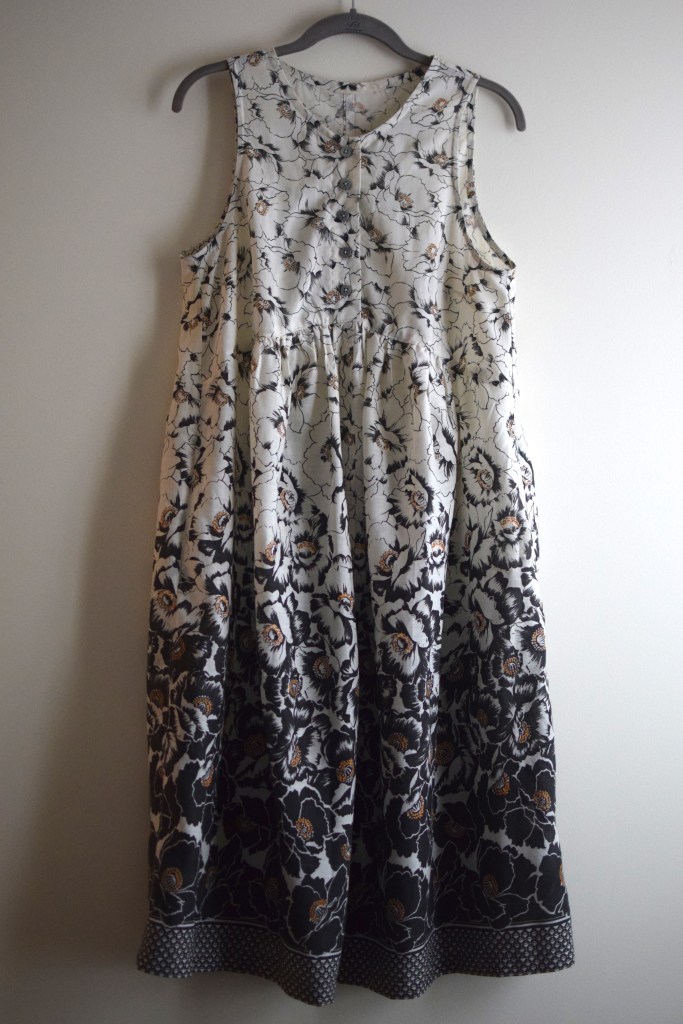
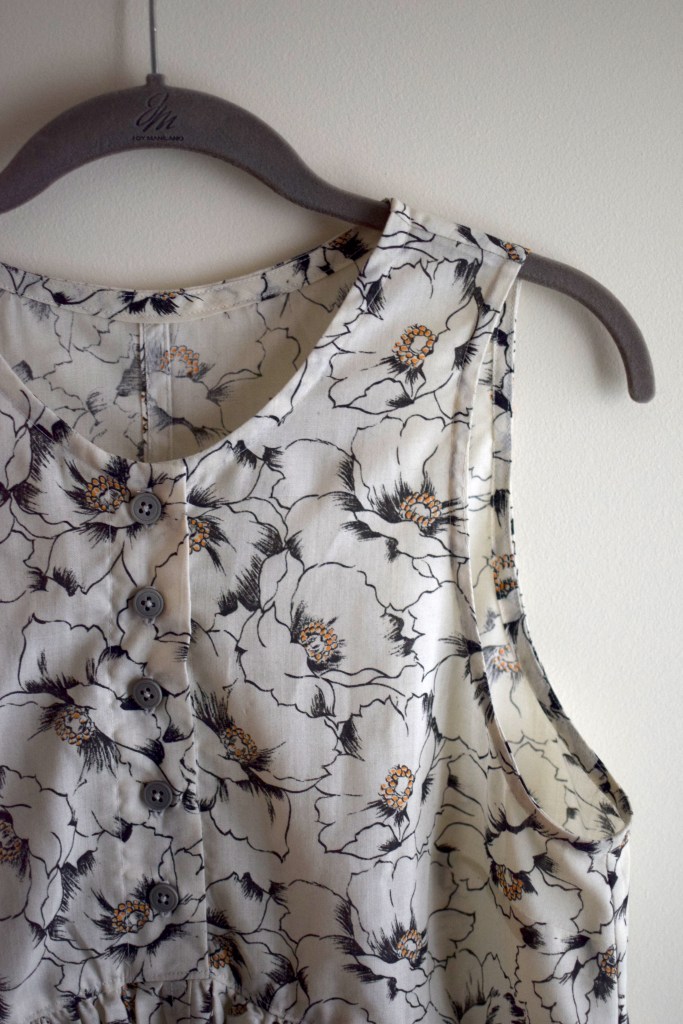
Struck by inspiration over the holidays, I sewed a summer sundress! I bought the fabric at a yard sale a few years ago for less than $5. It has that lovely handfeel of an aged poly-cotton blend that I love so much. They don’t make ’em like they used to! The odd thing about this panel print is that the gradient goes weft to weft. Most other panel prints I’ve seen that follow the grainline. So, I did the unthinkable and cut the skirt pieces the wrong way. I did cut the bodice pieces on the grainline though, and this inconsistency is not noticeable at all. This made the hem very easy to sew because the selvedge edge eliminated the need to double-turn!
I went into my stash for buttons, and found some grey ones that look pretty perfect. I didn’t buy anything new to make this dress. Sewing from the stash feels good! This was my first time sewing my own buttons since I got my machine fixed, it was nice to be back in action on that front. Instead of using vilene shields, I staystitched the neckline pieces. The self bias tape helps a lightweight fabric look professional.
I have worn this once in the cold, paired with a turtleneck and a sweater, but it will become a staple in the spring. Happy 2020!!
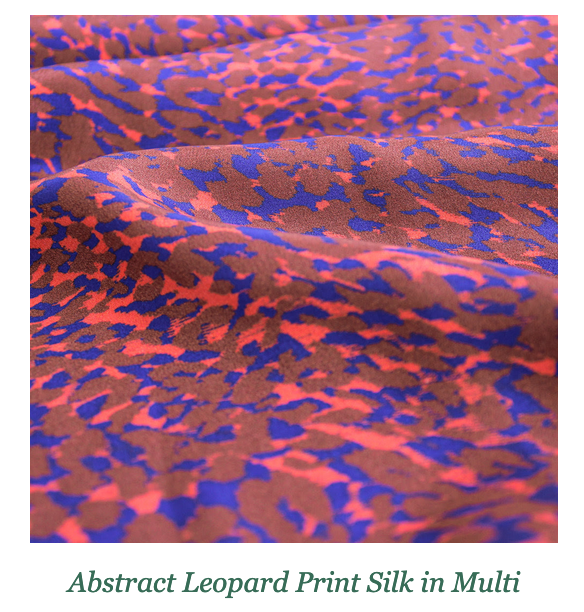
I was not in the market for more fabric (…groan), but curiosity gets me every time and I always check Blackbird Fabrics’ emails to see whats new. Recently they had some “leopard print” deadstock silk, and I pounced on it.
I’ve had the Sadie Slip Dress on my “to make” list for quite awhile, and this fabric seemed perfect for it. As soon as the fabric arrived I got to work on cutting and sewing up this bad boy. I cut a straight S, but ended up taking in the waist a bit after I sewed the first seam of the french seams. It was a little tricky to cut the pieces on the 45″ wide fabric, I ended up having to shave off an inch or two of the total length.
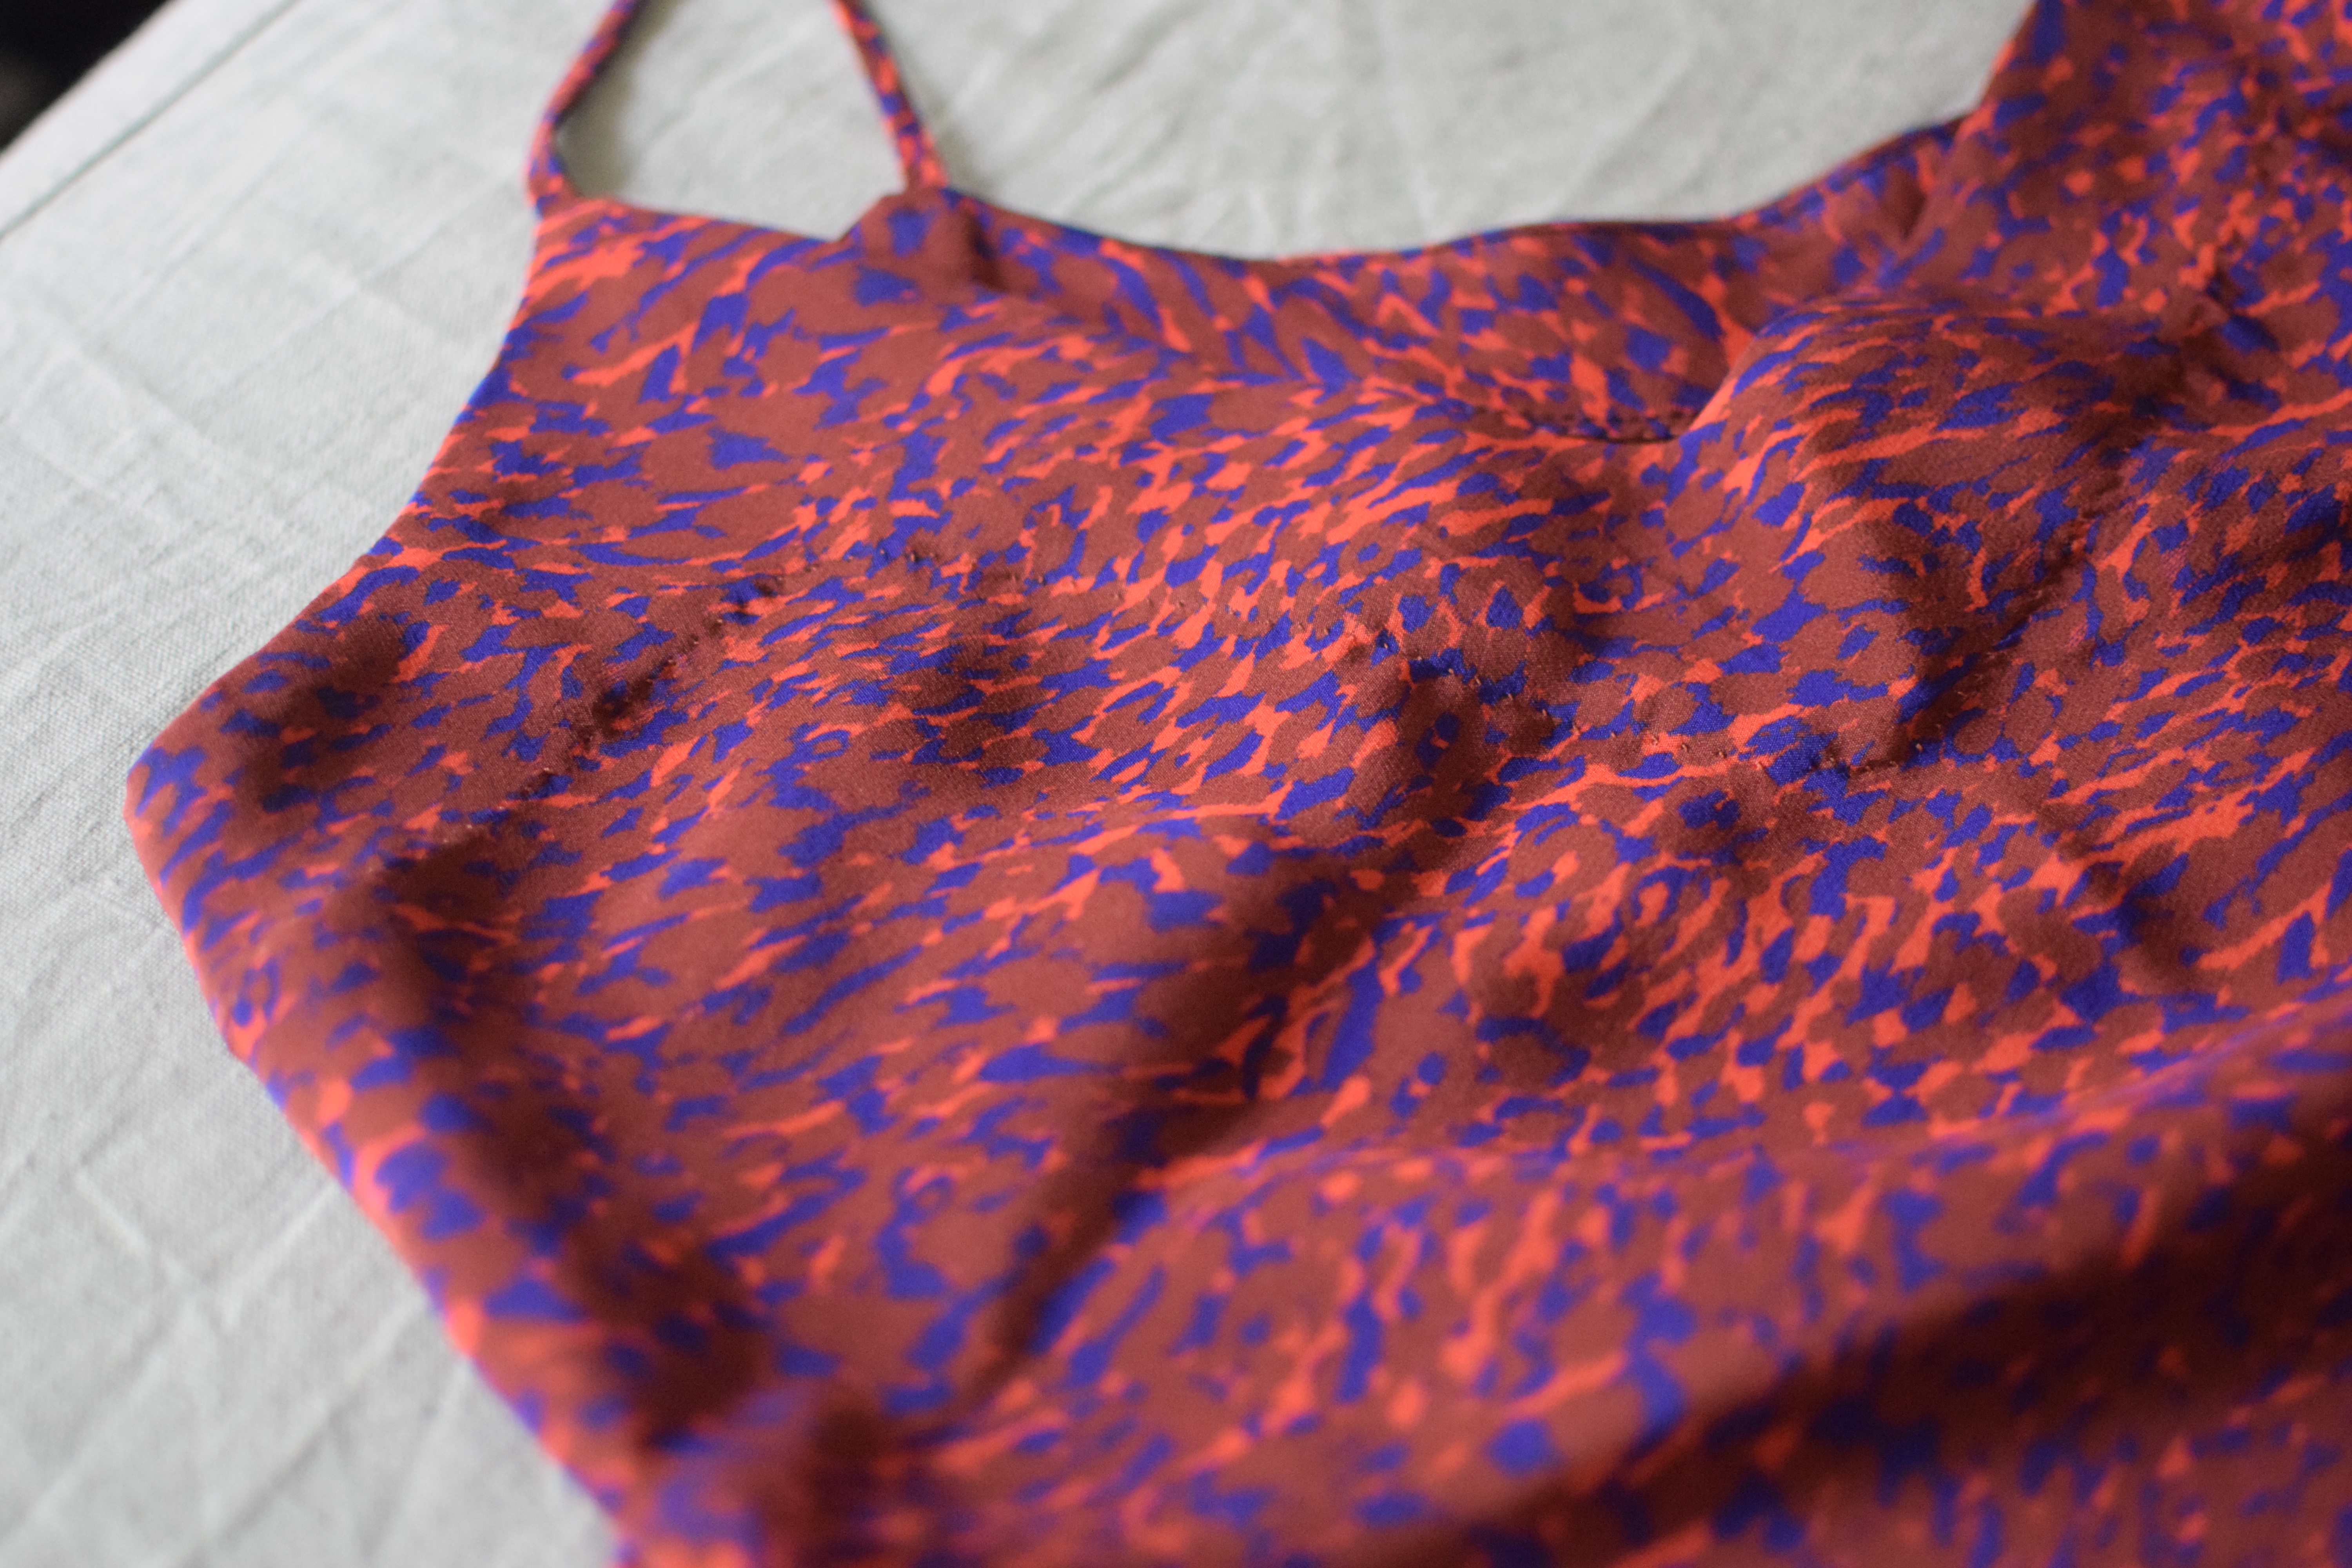
Closeup of the neckline.
The bias cut is SO swoony, but the neckline facing was very tricky to get right. I completely ripped out and re-understitched twice, thinking I wasn’t careful enough, but every time I tried it on, it wanted to flip out to the front of the neckline. I was unable to get past this flaw, and I decided to blind stitch the facing to the dress. That solved the flipping-out problem beautifully, but now it messes with the bias drape. I might undo some of the hand-stitching and do it yet again… we’ll see how annoyed I get with it. I suppose I could edgestitch the neckline, but I love the look of it without it.
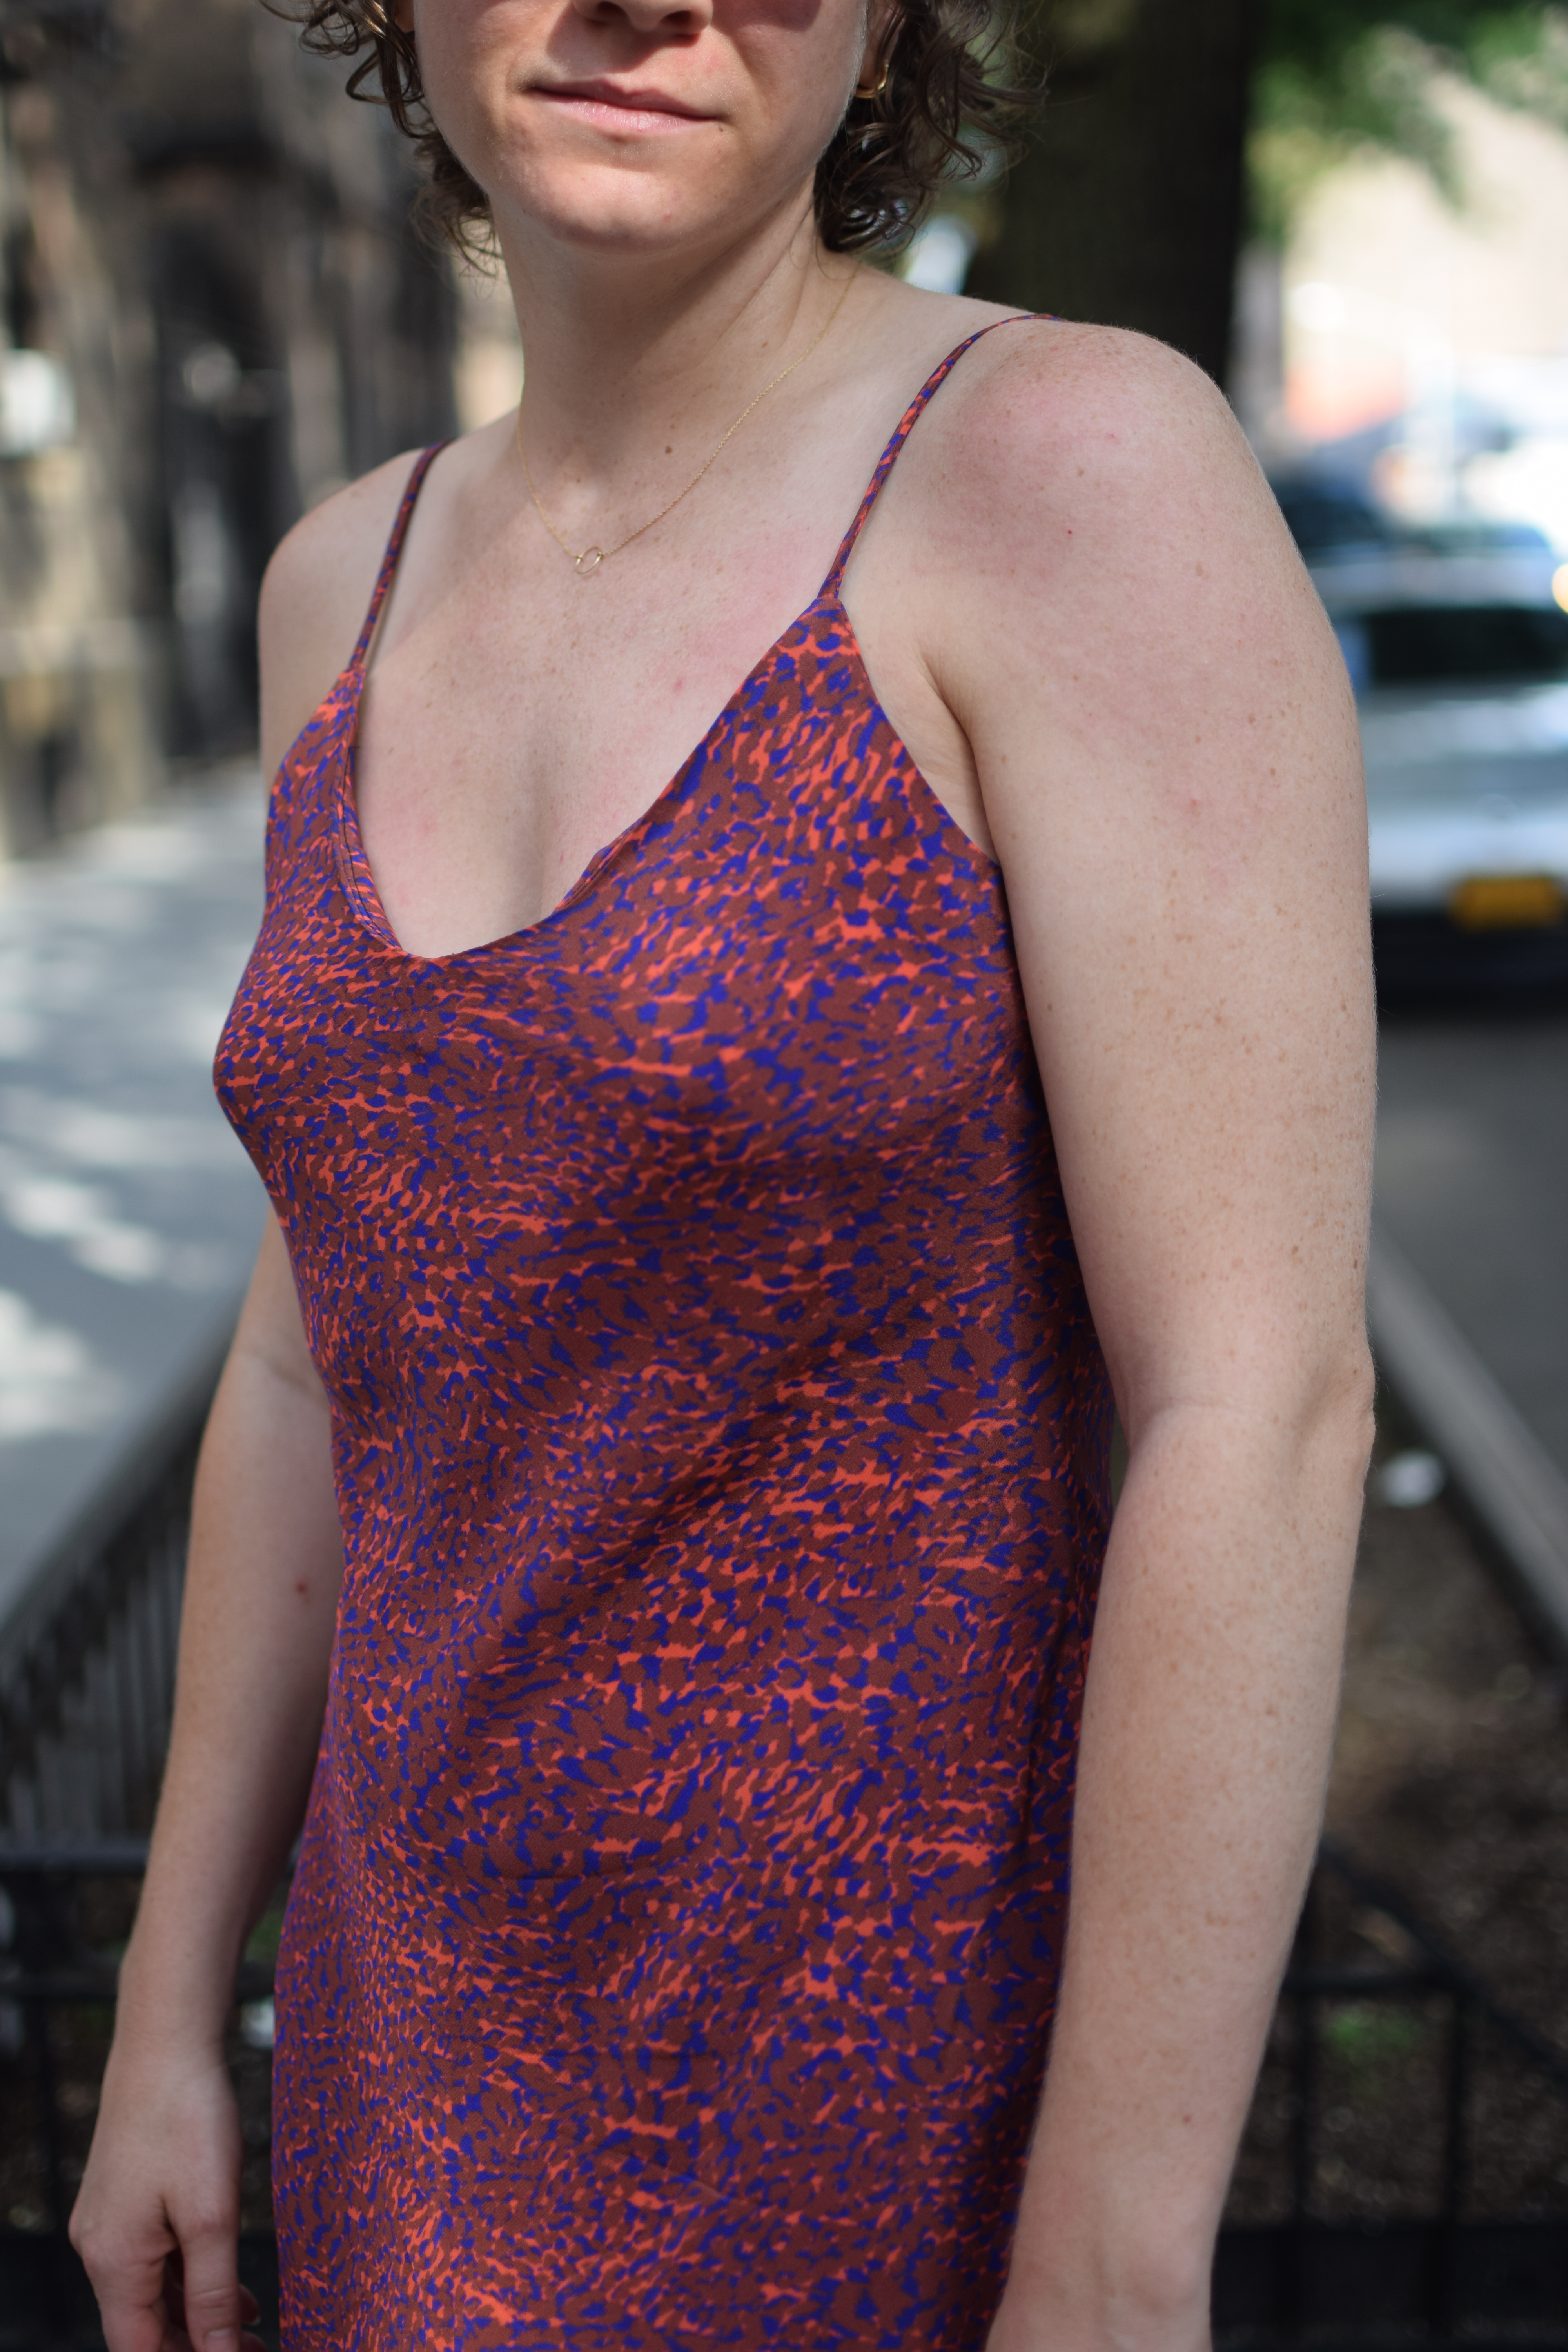
Understitched-only facing:
versus stitched-down facing:
Definitely some trade offs with both options.
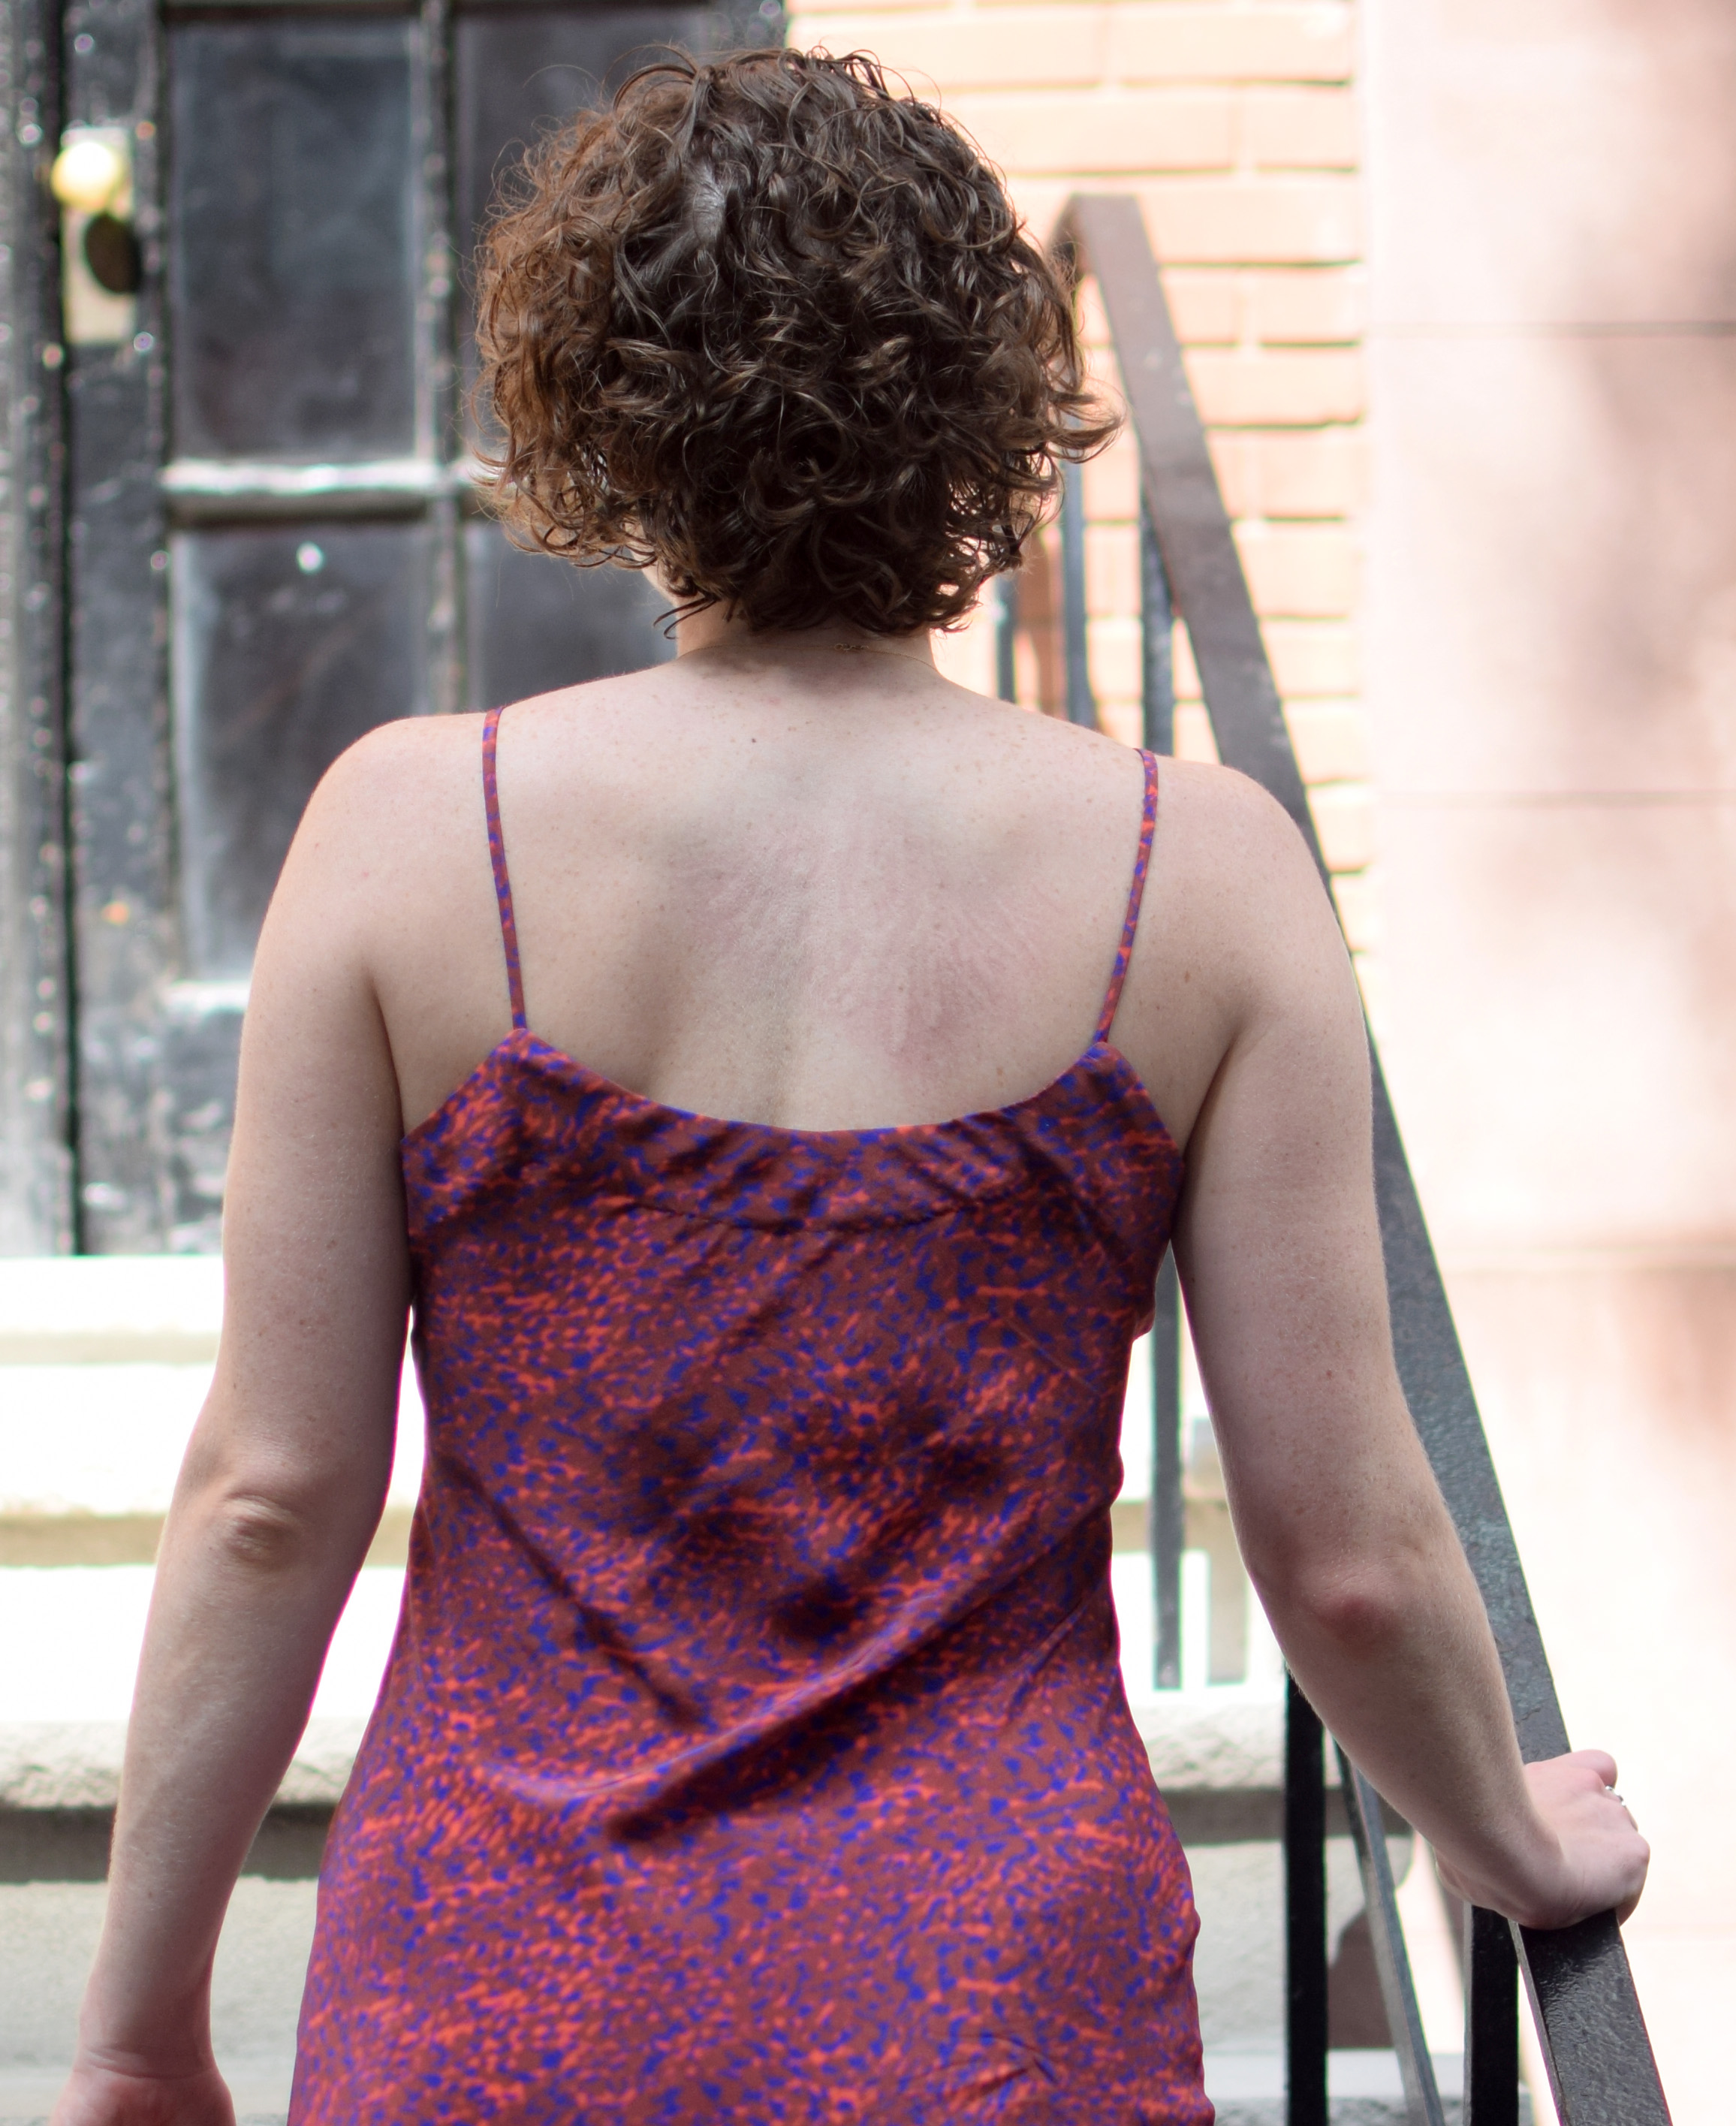
Still assessing how to best handle this scenario, but in the meantime, I am wearing it and loving the swish of bias silk on the recent hot summer days.
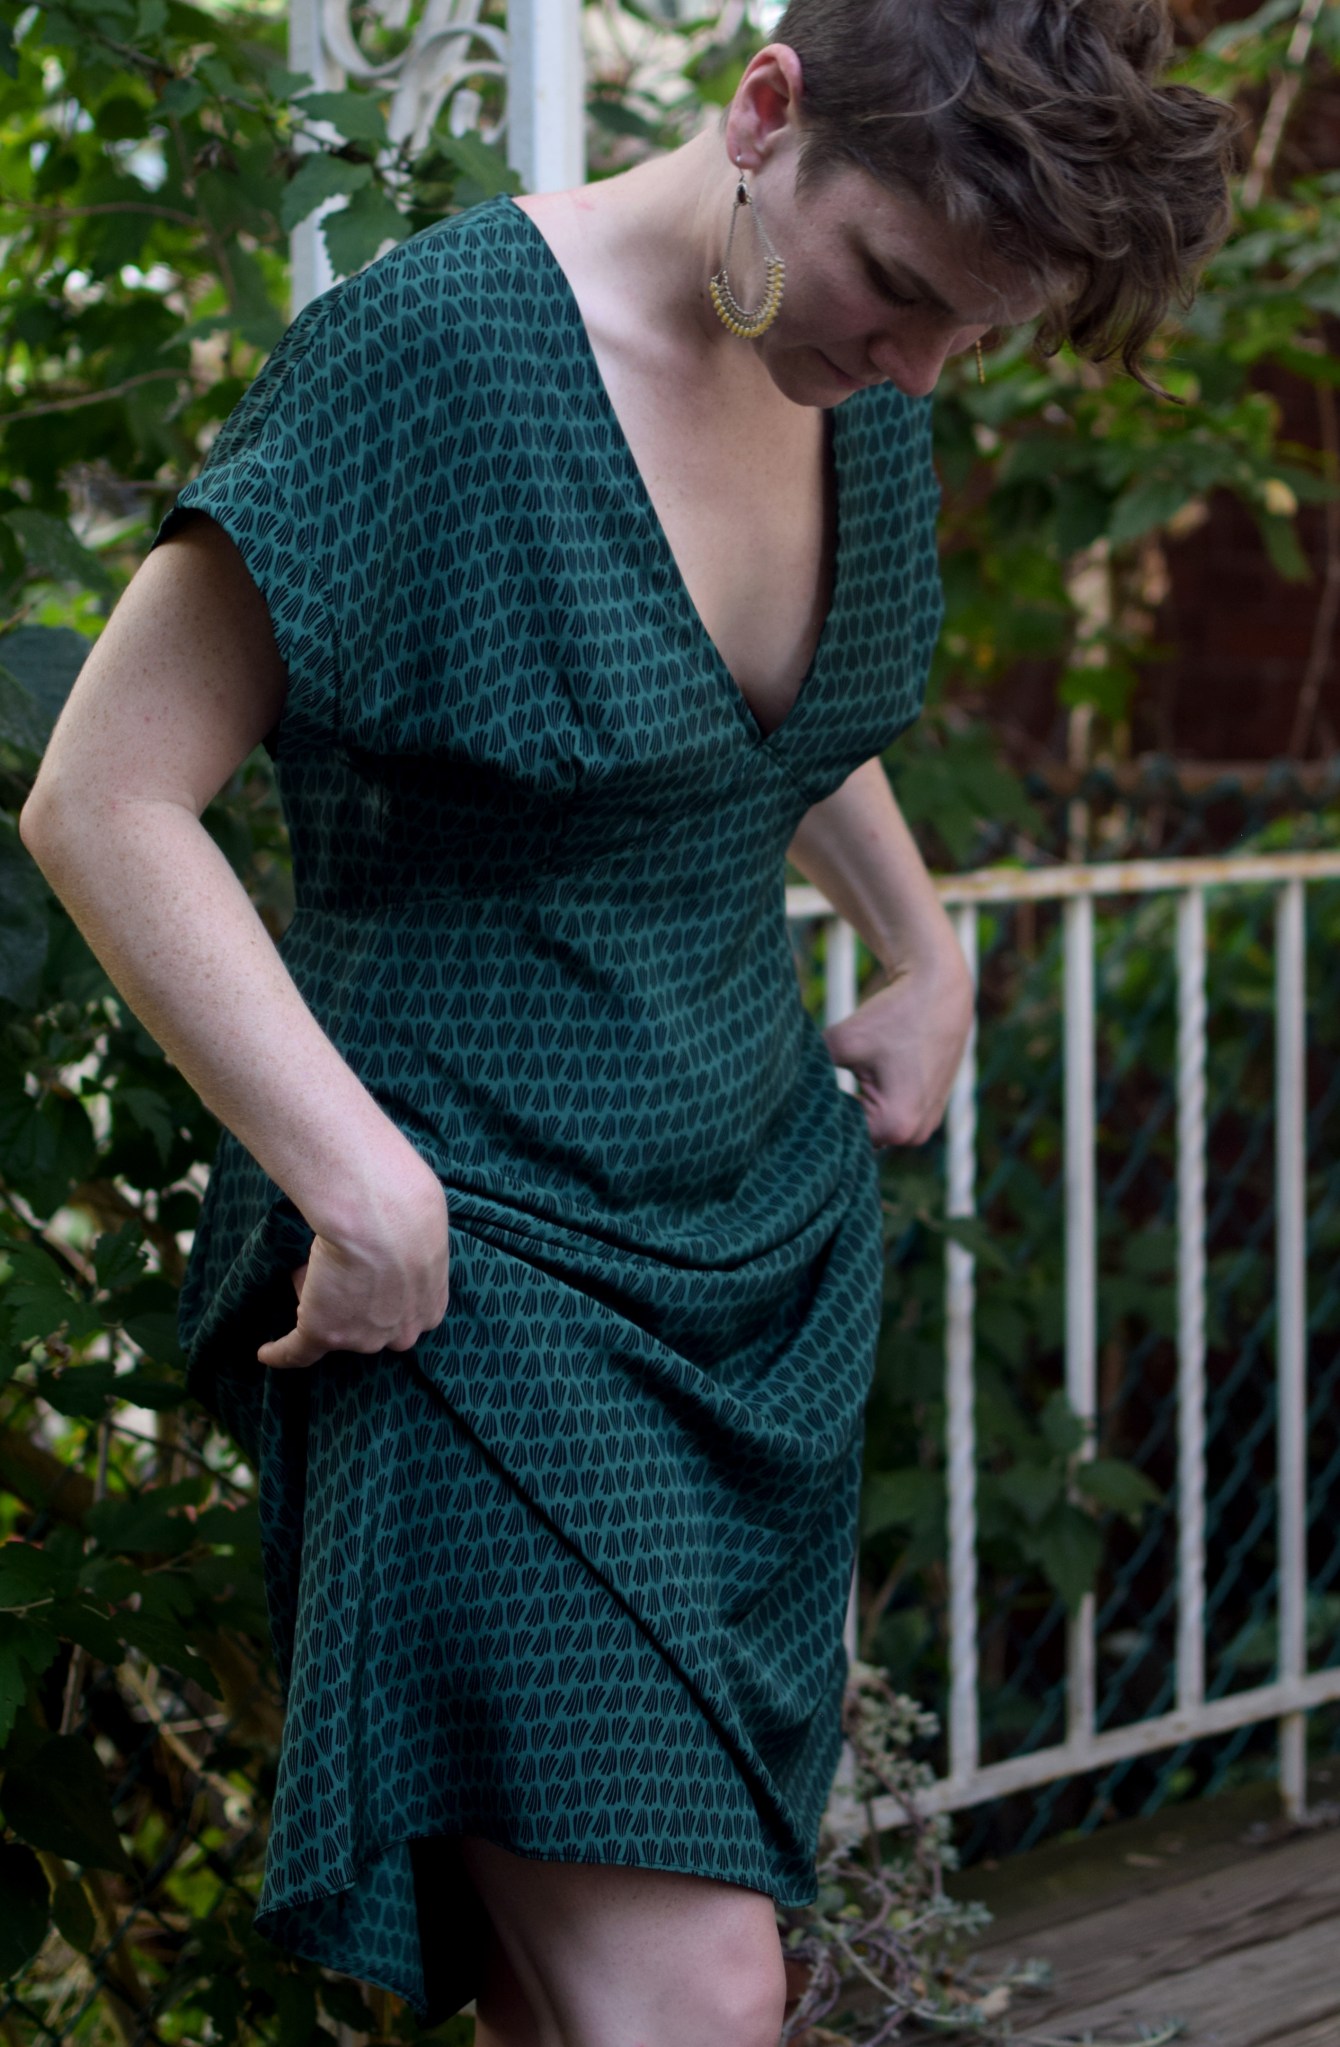
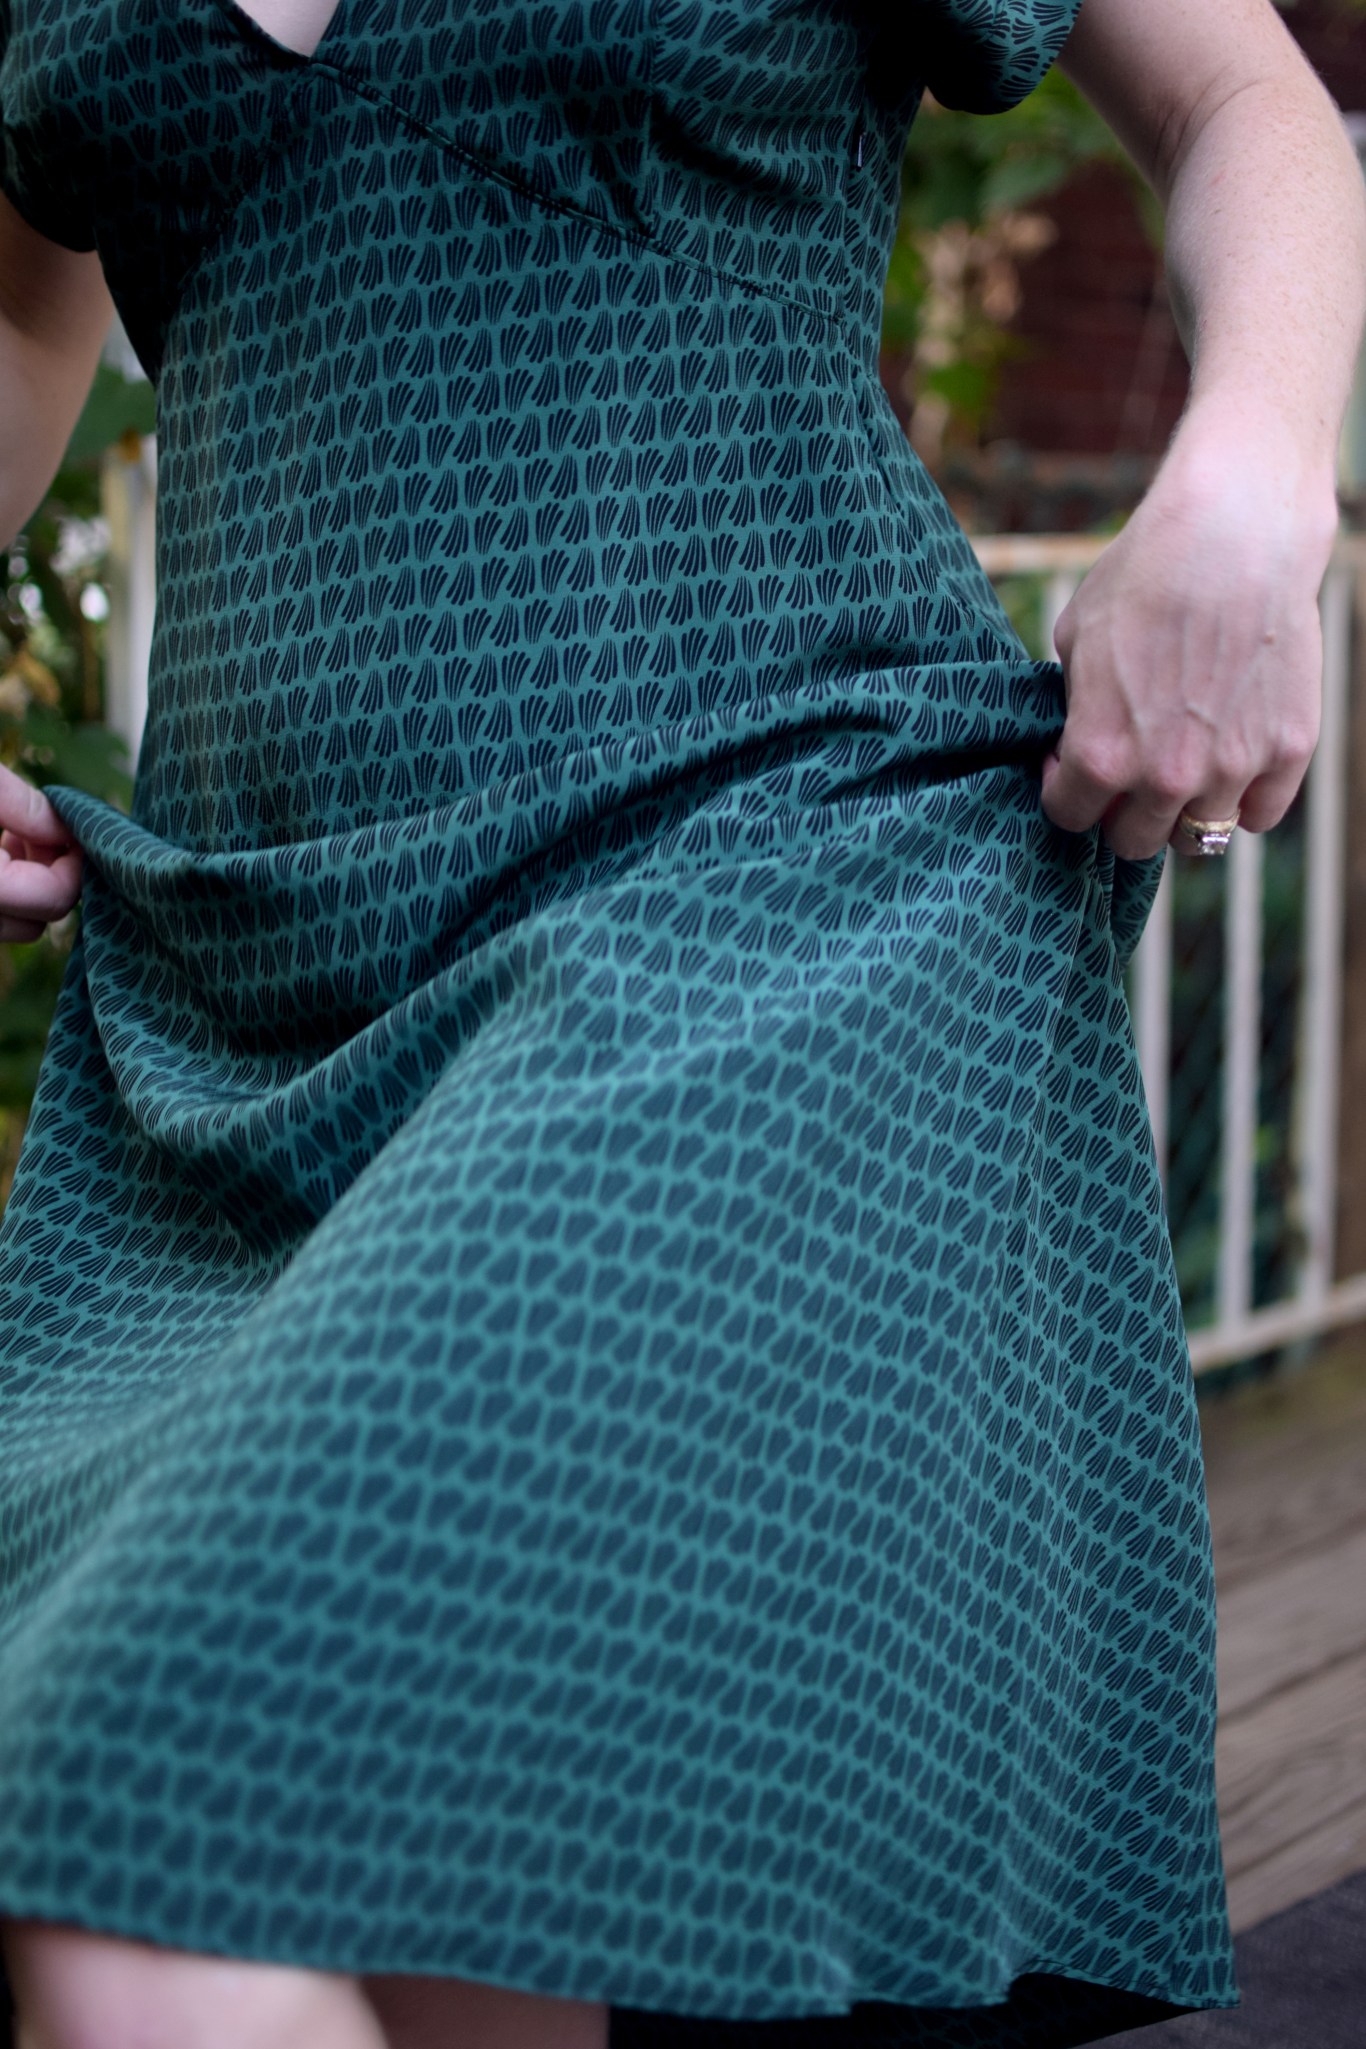
I whipped up the new Lois Dress from Tessuti. We have a couple of weddings coming up, and I wanted to make a new dress to wear to one of them. Overall, it was fun to sew, especially the neckline seam! I french seamed everything, except for the waistband. I zigged that seam as well as the dart seam allowance, as specified. I cut a 8-6-10, and was very nervous that the seams wouldn’t line up right with all that grading between sizes, but overall I am very happy with it. I had to extend the side darts A LOT, they stuck out exactly where my hips are widest and it looked really bad. So bad that I didn’t think I would ever wear it. But I stopped over to consult with my sewing teacher and she quickly pinned out the darts to extend several more inches down the side, and now its MUCH better. I also had to redo a little bit of the side zip to take in a little bit more of the dart.
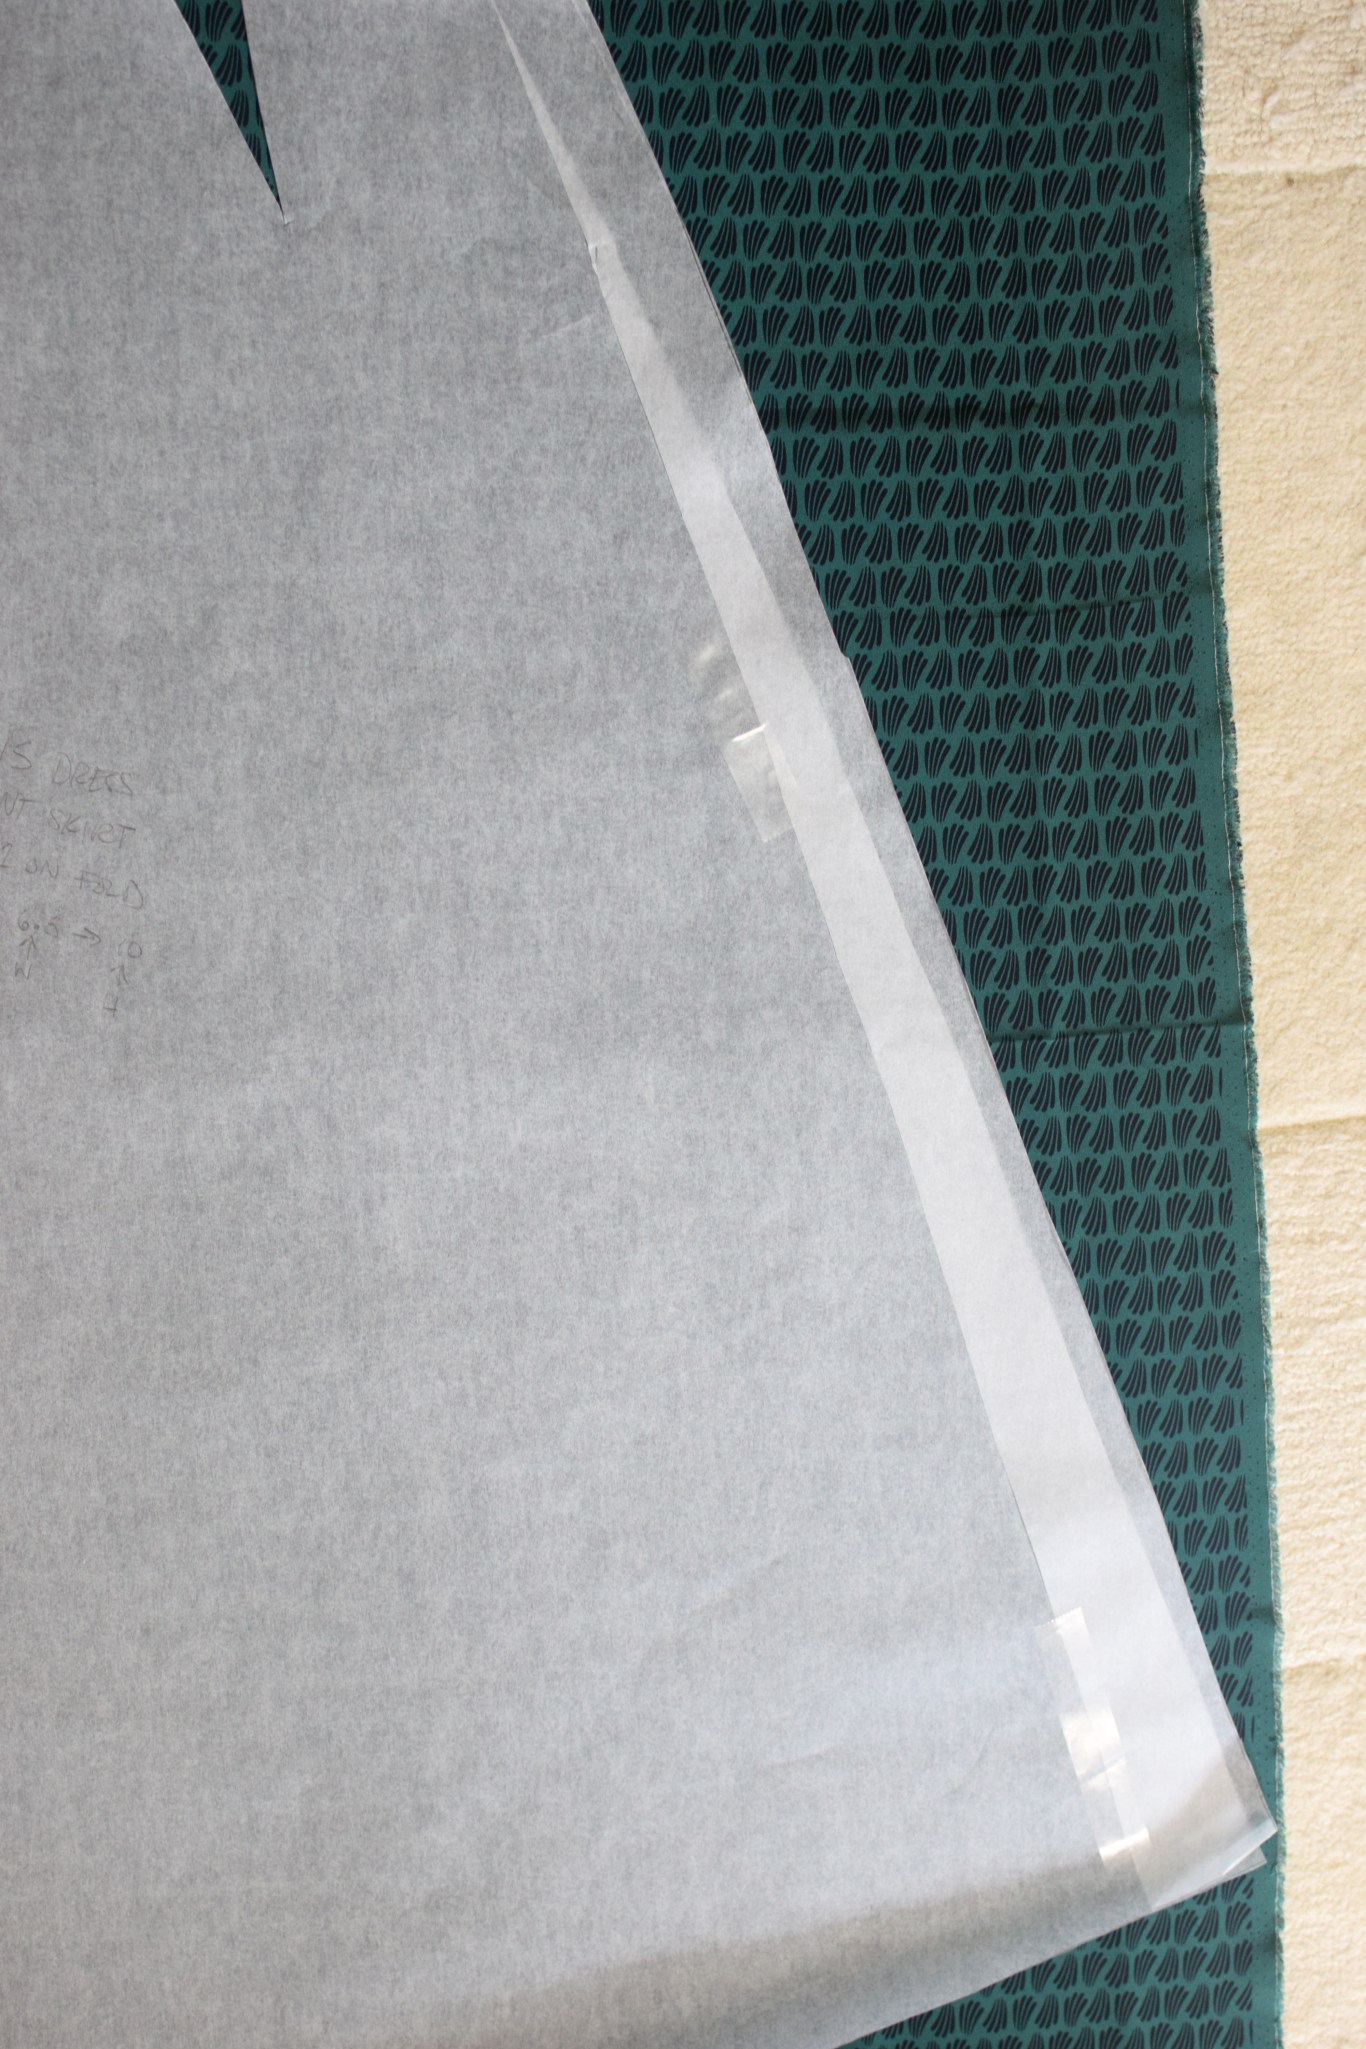
One important note: the skirt pieces require 55″ wide fabric. I neglected to realize this until I had cut out the pattern and laid out all the pieces to cut out, and saw the front skirt was extending past the fabric. I slashed the pattern and brought in the a-line to accommodate my 43″ fabric. By the way, this is silk CDC from Mood that I got awhile back. I bought 2 yards, and it was JUST enough. I had barely any scraps left after I cut everything out.
The neckline is very risqué, but I like it! I tried on several bras with it, but none of them are low enough to not show when wearing the dress. If I make this again, I will underline the front bodice to provide a little bit more… coverage?
Overall, I love it, especially the midi length. I wore it to dinner for our anniversary last night, and am planning to wear it to a wedding this weekend!!! Update: Here is a shot from the wedding:
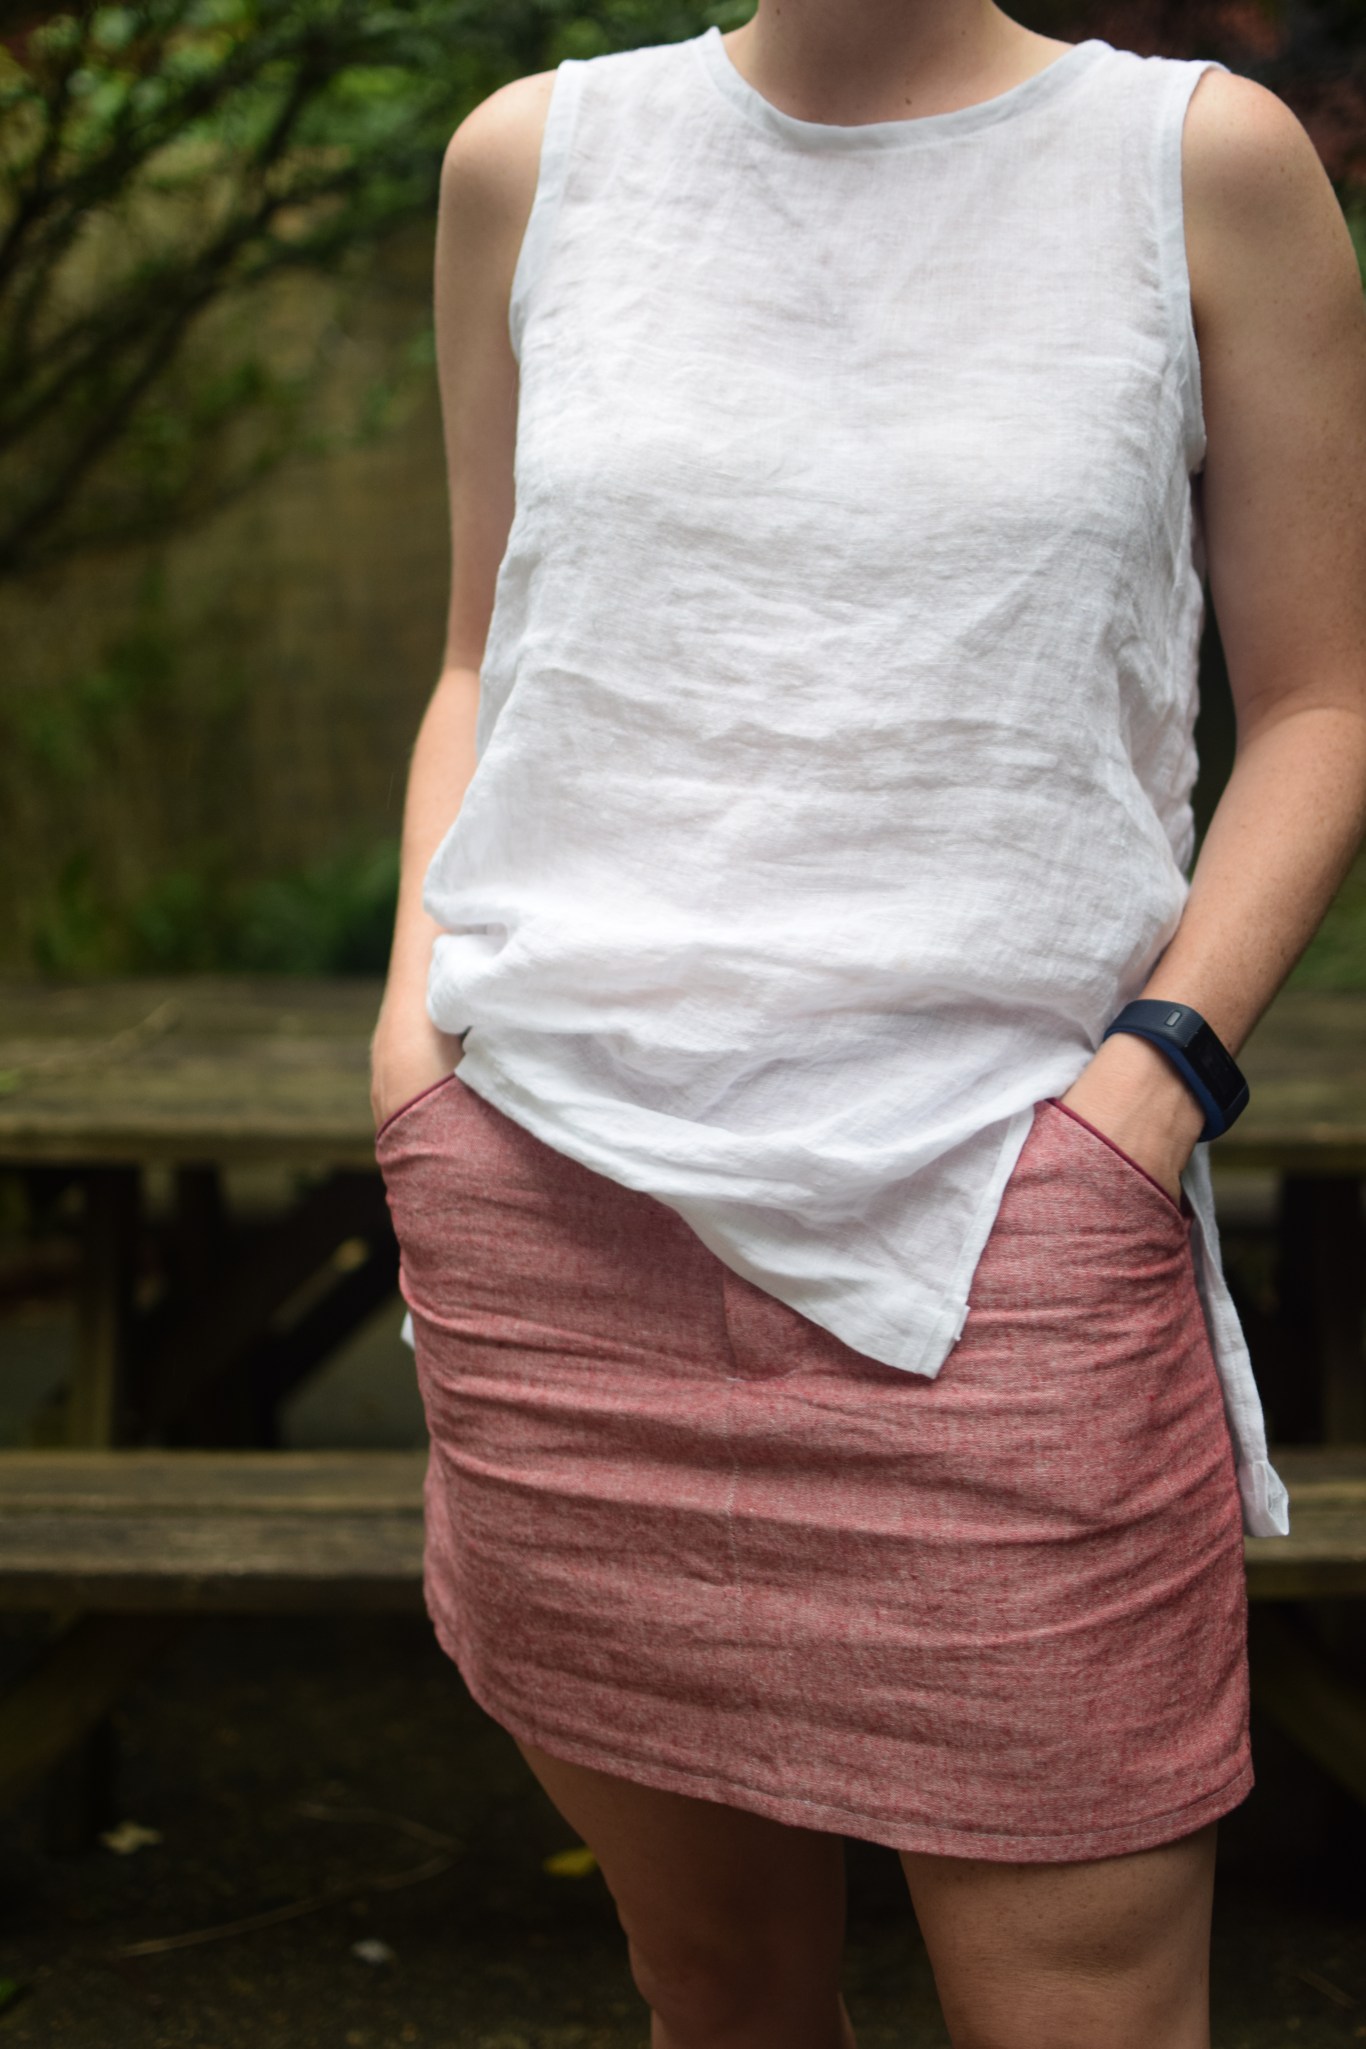
Continuing on with my second item for #SummerofBasics, I made a self-drafted linen gauze tank, heavily inspired by Karen Templer’s version. I made a patch pocket pattern piece and fully intended to use it, but I forgot to sew them on before joining the front + back, and decided to wait until the top came together to see if it felt right to add them. I think the side slits are too “extreme” to logically accommodate pockets, so I left them off.
I traced a woven tank top I liked to create this pattern. I made a quick muslin to make sure I traced accurately, and then I cut into the little bit of linen gauze I had left from my Tessuti visit last year. This material is pretty sheer, but when its 90 degrees outside with almost 100% humidity, such concerns retreat away through the heavy haze of summer.
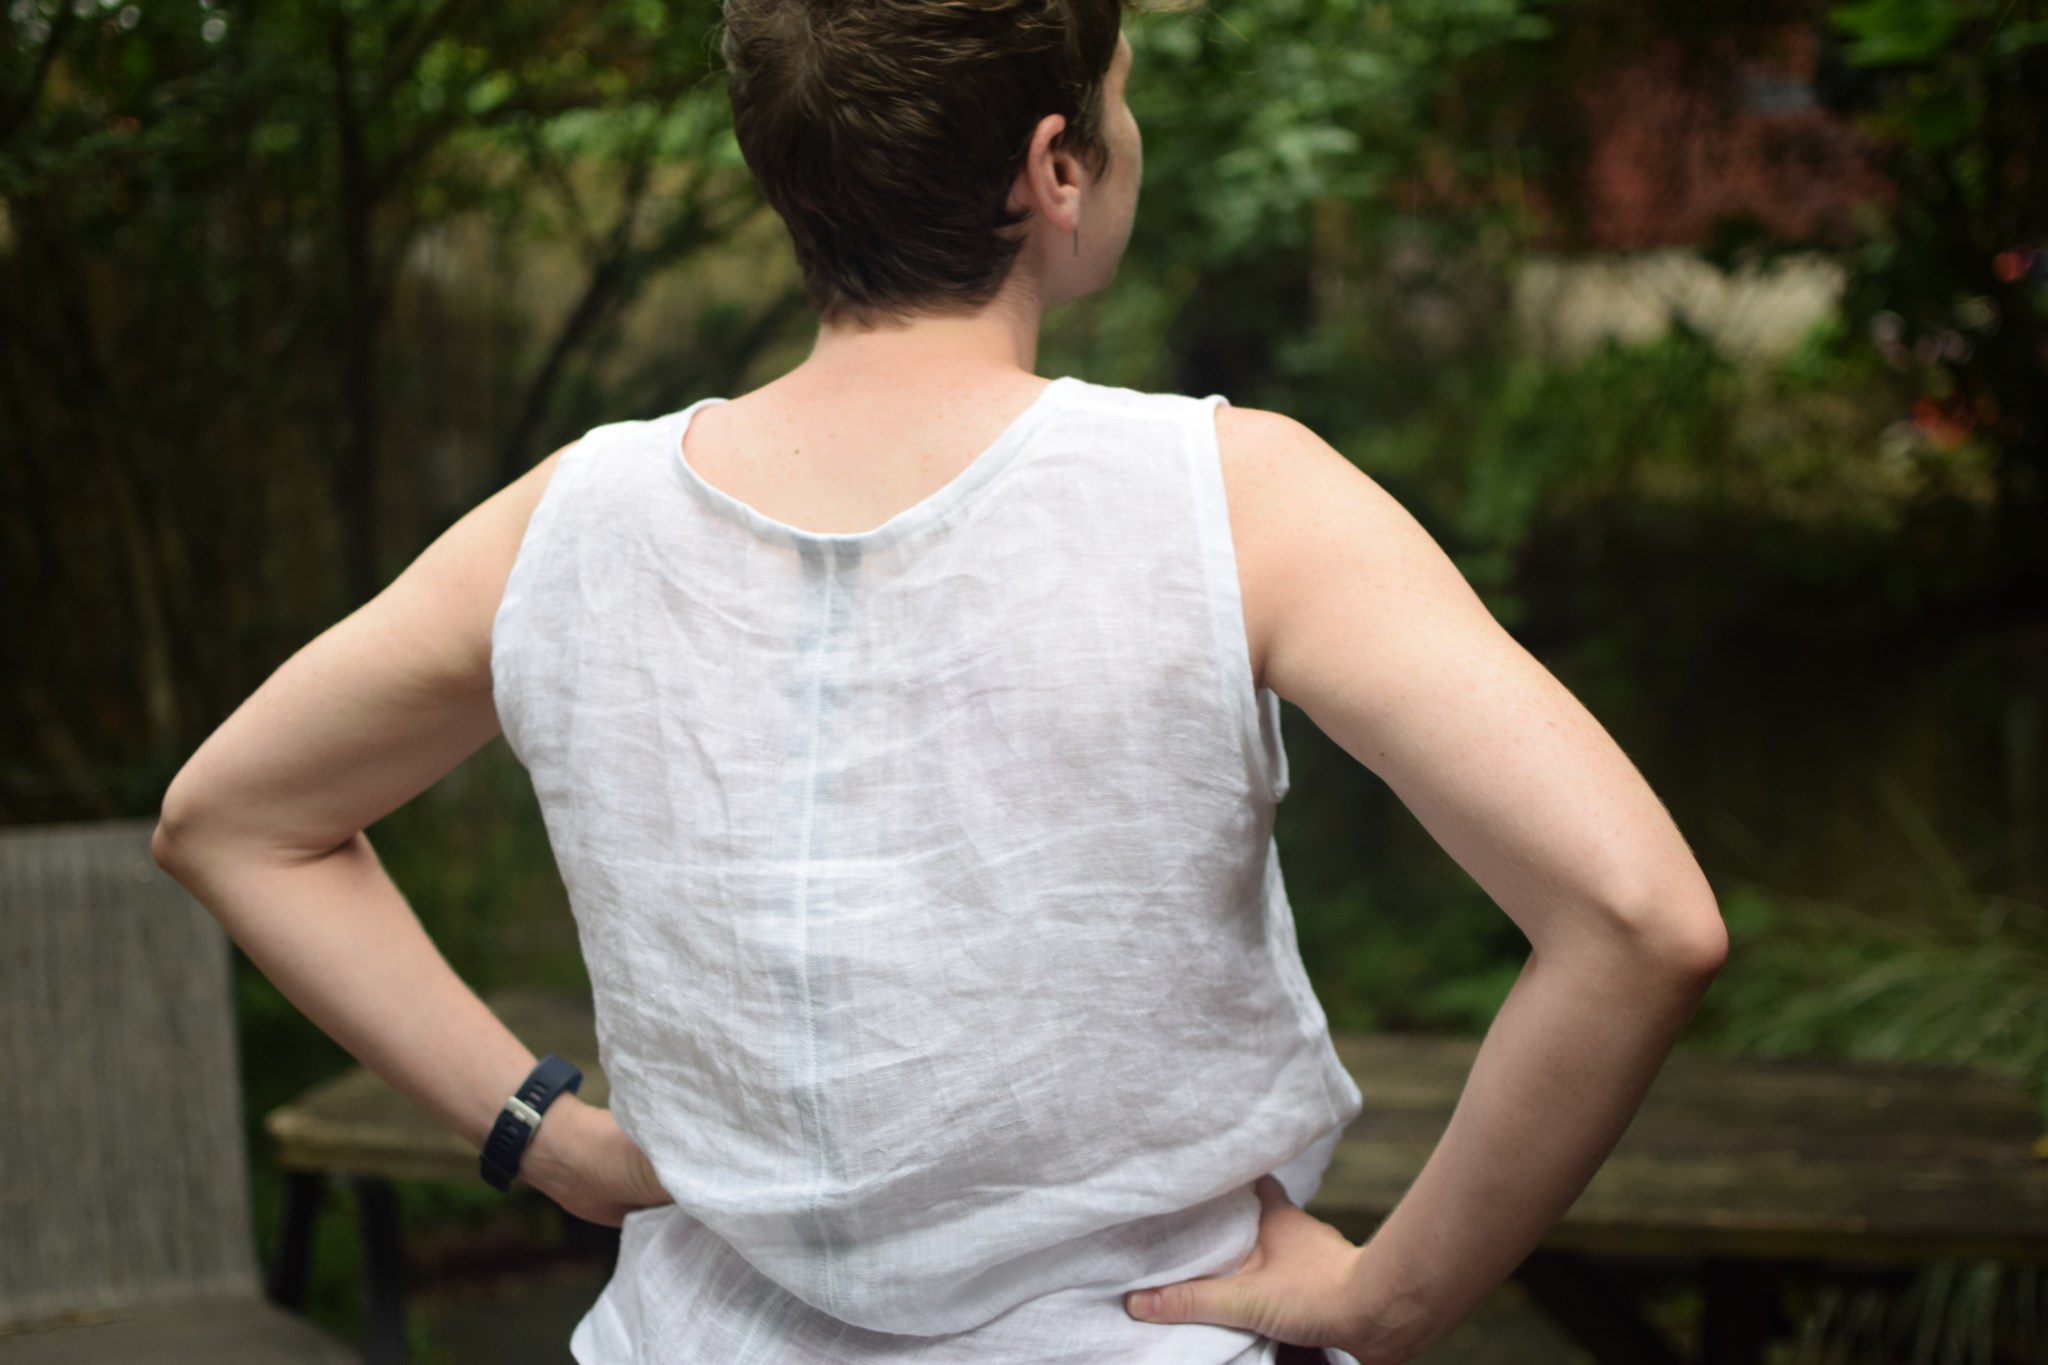
I cut the back along the selvedge in two pieces so I could remember how pretty it is, with its chambray-esque blue and a stripe of green. I used white single-fold bias tape for the neckline and armholes, and french seamed the shoulder and side seams. I made a mistake and double-folded the side slits to the right side (instead of the wrong side) of the garment, but I actually like it as a design feature, so I left it as-is.
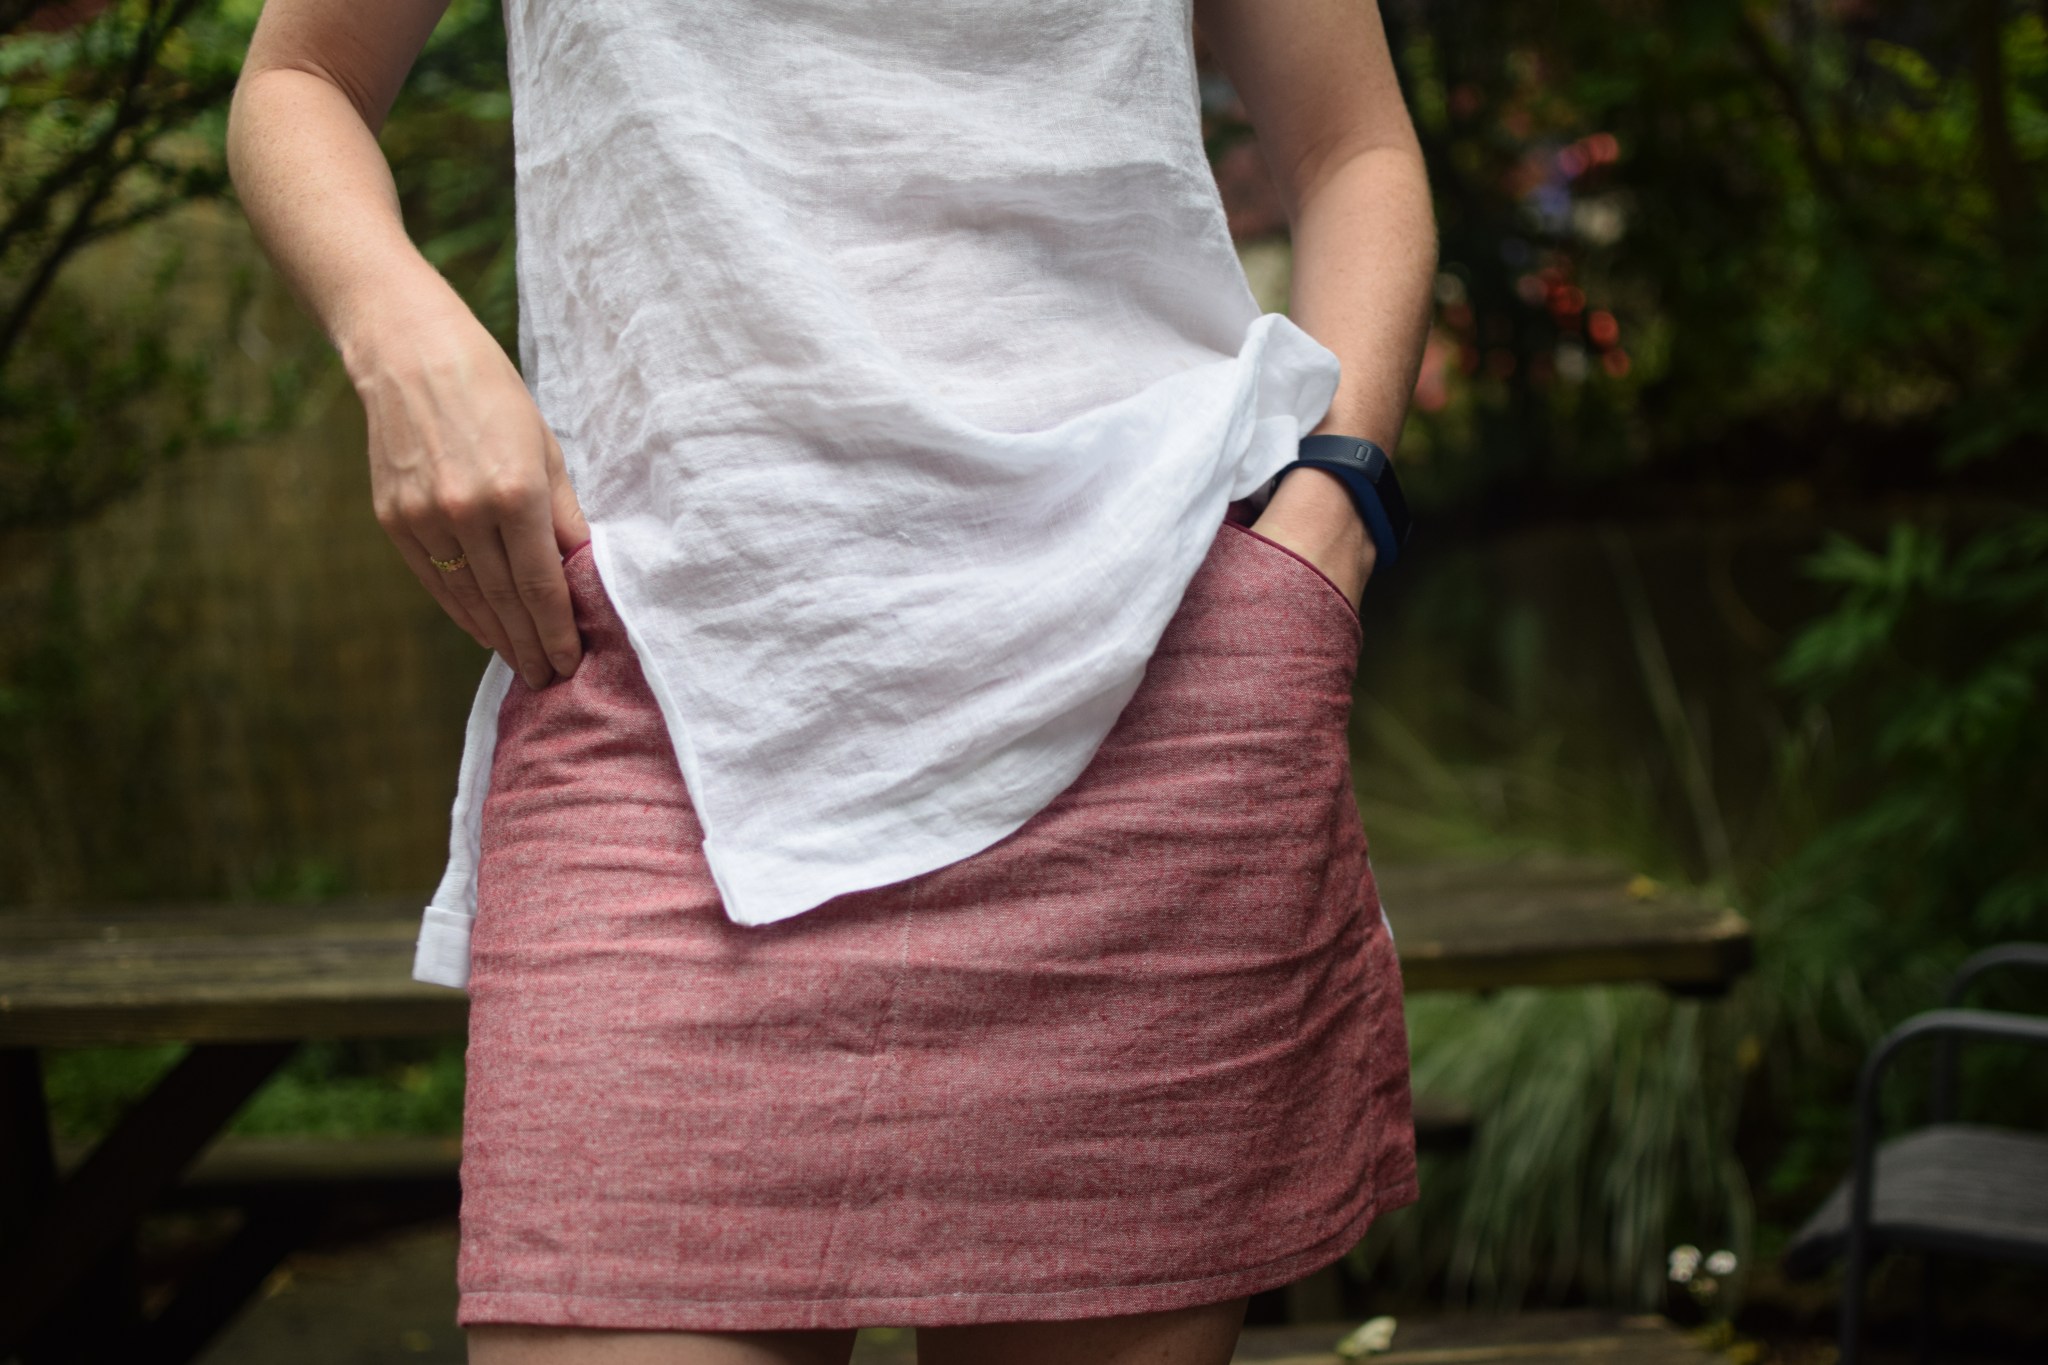
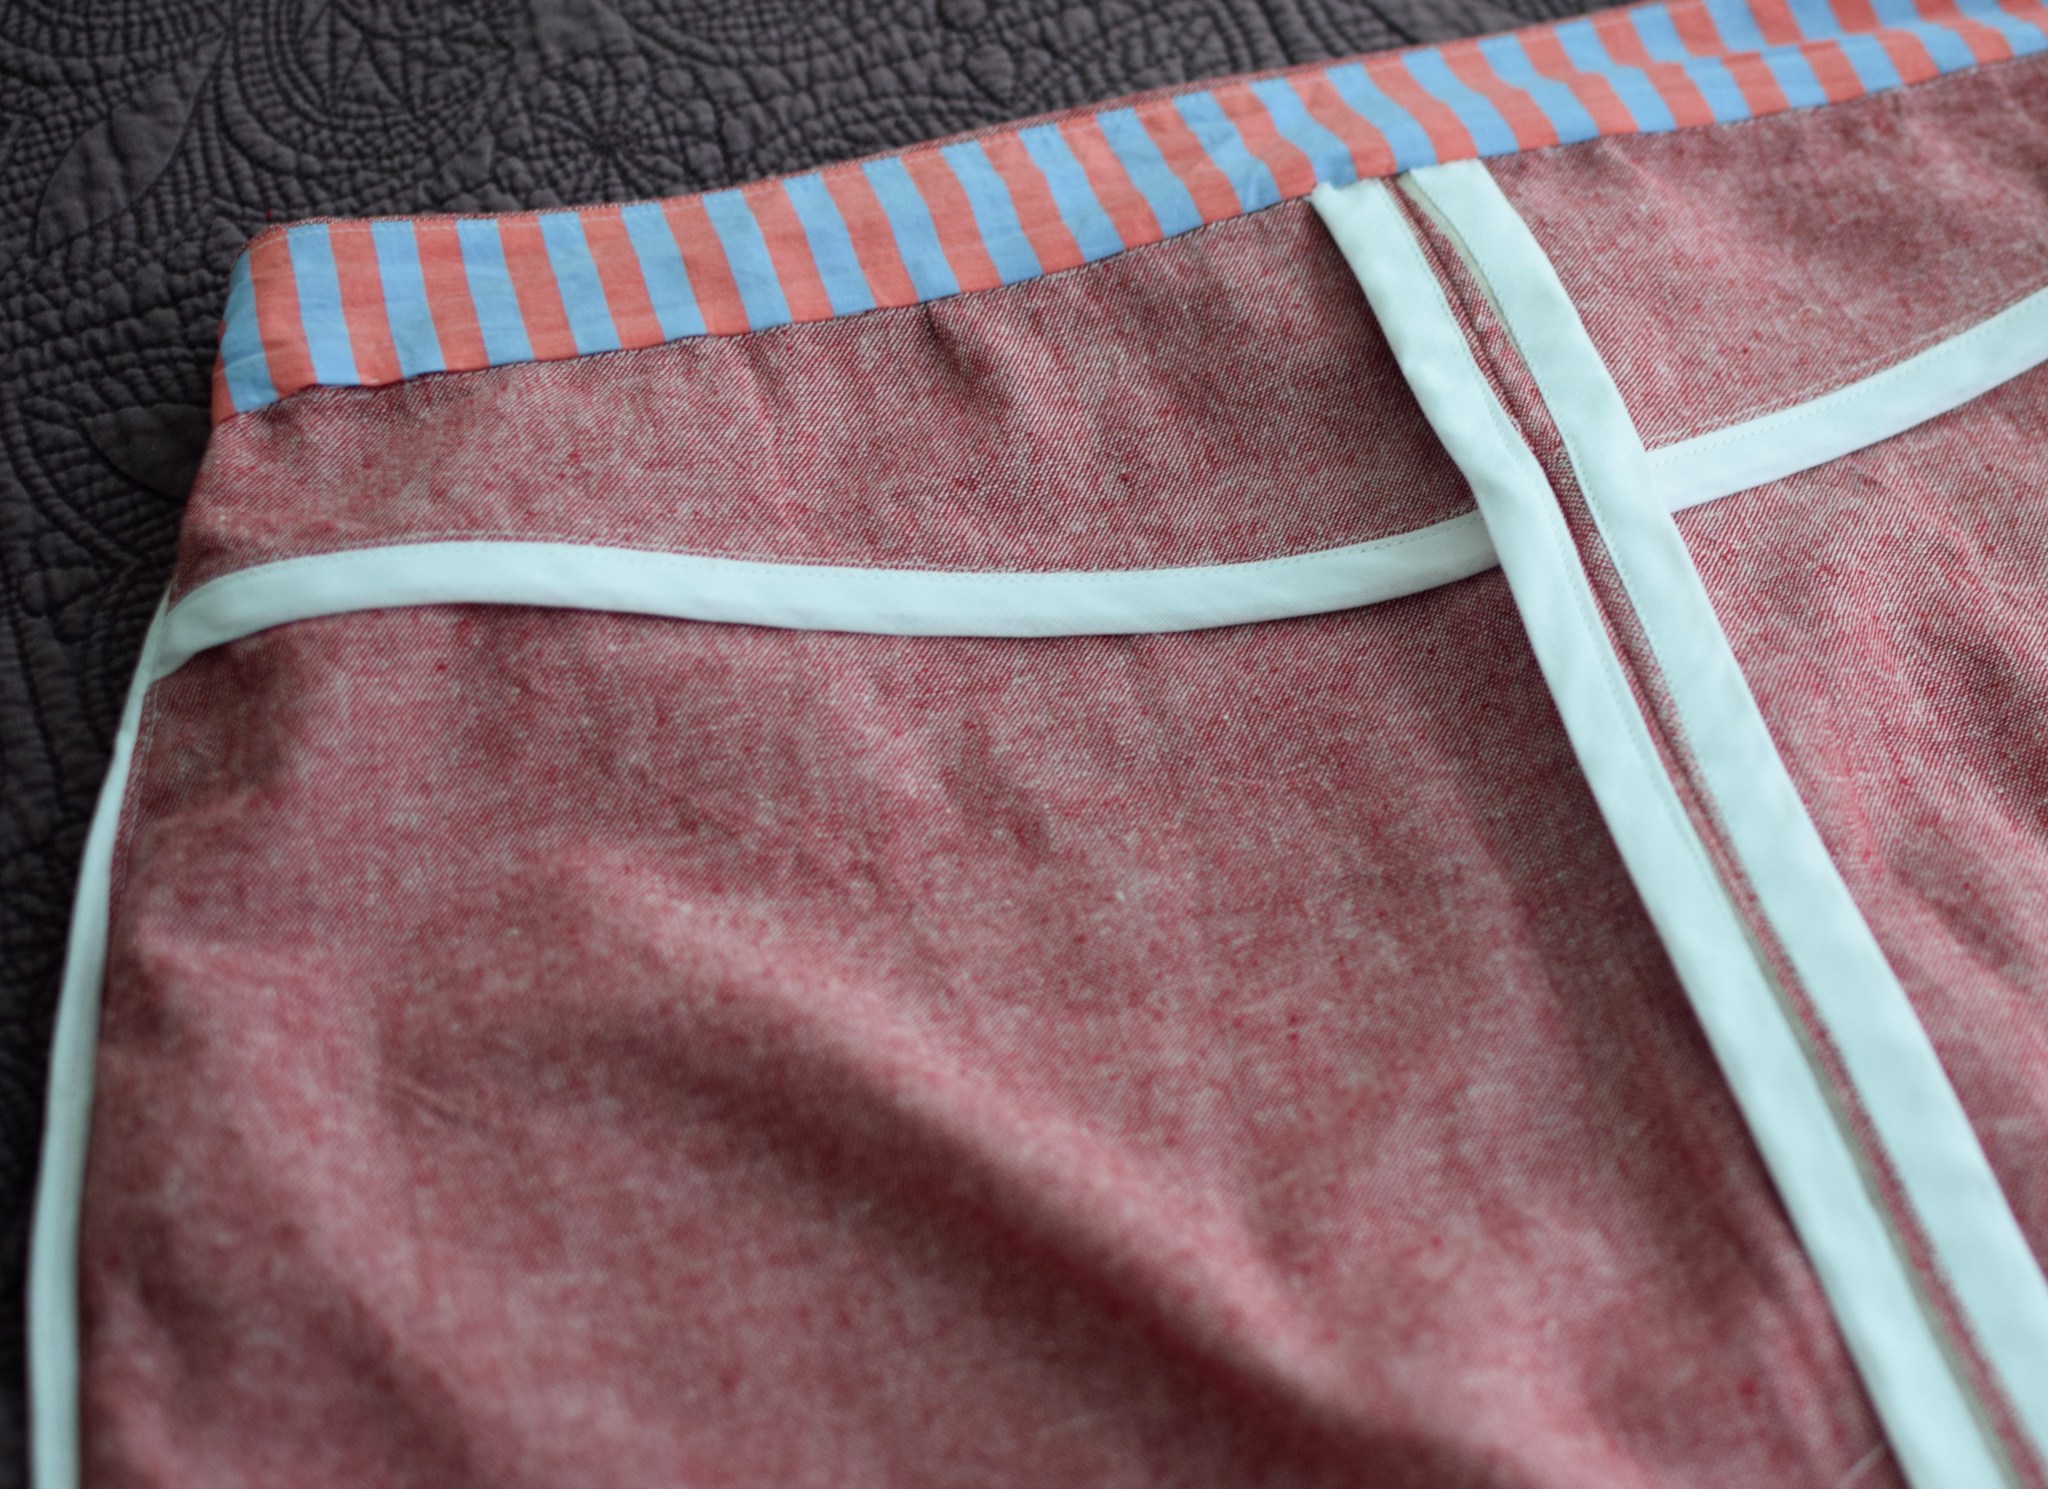
For my #SummerofBasics Number Three, I made a Moss skirt from more of that leftover Essex linen I had in my stash. I thought red would be an unusual color for a skirt, but it turns out that I love it and it doesn’t look unusual at all! I am not sure the essex linen is the best fabric for garments, as it unravels very quickly, but I bound all the seams with bias tape, so hopefully that helps with the skirt’s longevity. I had some berry colored piping and added it to the pockets and I think it adds SO much to the look of the skirt. I used the teeny bit of striped Italian shirting I had left for the waistband and pockets, and I LOVE it so much. Overall, really happy with how this turned out. I do notice that when I wear it, I have to constantly pull at it to make it sit correctly on my hips. I think I made the right size, but I am not sure why this is happening. I might get some true bottom-weight fabric and give it another shot.