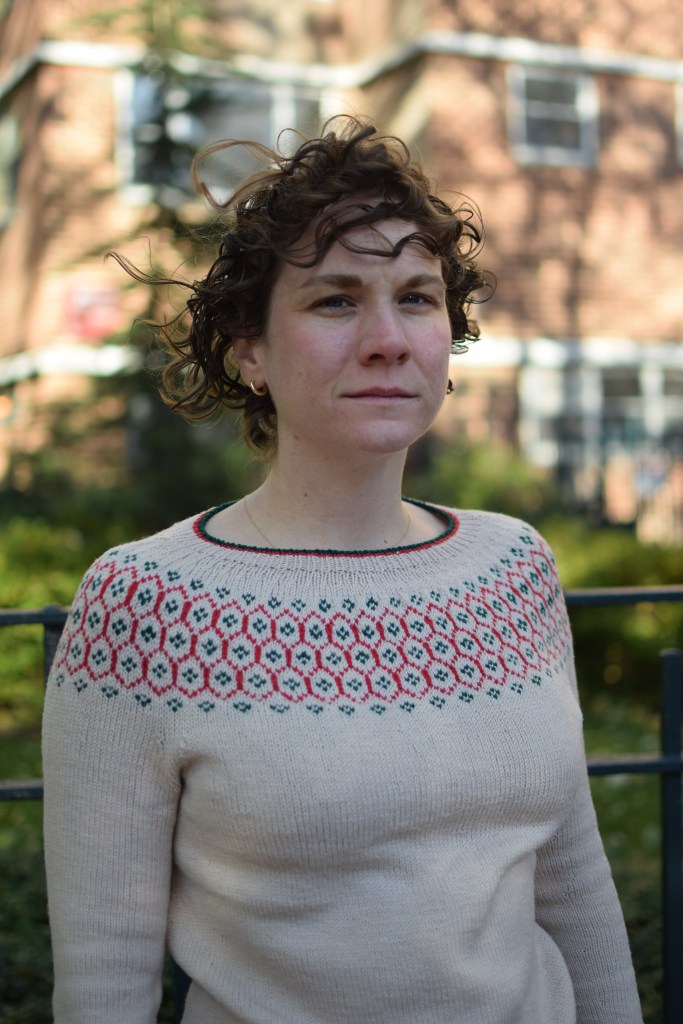
I just finished my Christmas sweater with some serious time to spare! I haven’t knit a fingering-weight sweater since the Twigs, which was the biggest beast of a sweater to finish ever. This is Stasis from Leila Raven. I’ve wanted to make it for oh-so-long, and I love how it turned out. I did the same mods as many others by adjusting the post-colorwork rounds for a less-high neck.
I decided to finish the neckline with red and green stripes since I omitted the waist colorwork. I knit the entire first round of each color change to avoid the “icky dots” that normally happen with color striping.
The pattern has you knit the sleeves first, which I really liked because 1. you make progress much more quickly than if you start with the body, and 2. the first sleeve can count as your swatch! I noticed that the colorwork looked sorta bad at the sleeve BOR, so when I got to the yoke, I started the “next” row’s colorwork a stitch or two (if the color change was very close to BOR) before the end of the previous row, rather than the end of the upcoming row so there was less of a noticeable shift. IMO the yoke BOR looks much better than the sleeves. I’m pretty happy with it.
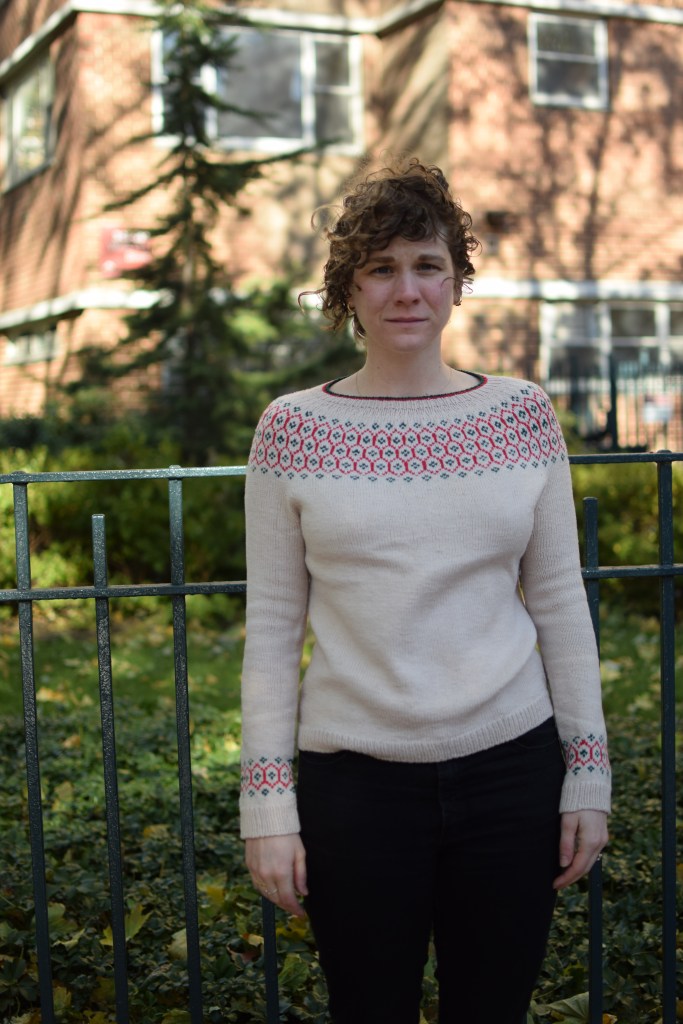
I could not have timed knitting this sweater better for travel, I had juuust joined the sleeves to the body before a work trip to Indonesia. On the trip, I finished the colorwork and yoke so I only had the neck ribbing left to do when I got home. I already am dreaming of another more neutral version of this sweater to wear all year round. It fits perfectly, I love it so much!
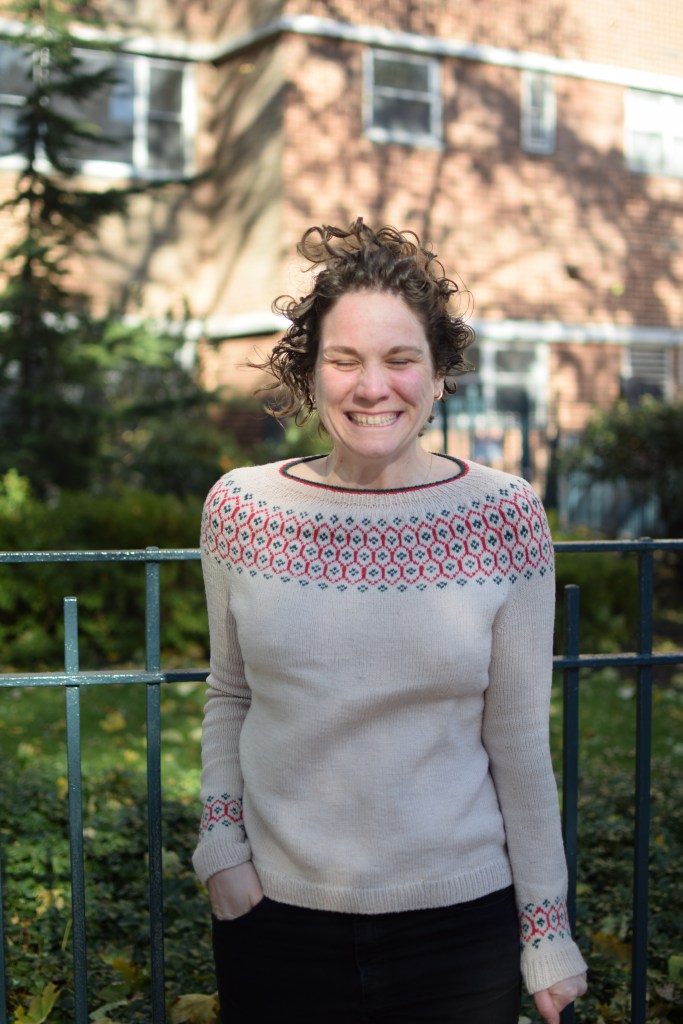
It was pretty chilly and windy when we took these pics, so I was pretty ready to put my coat back on by the end of things:
Special thanks to Tillamook State Forest for being so pretty!
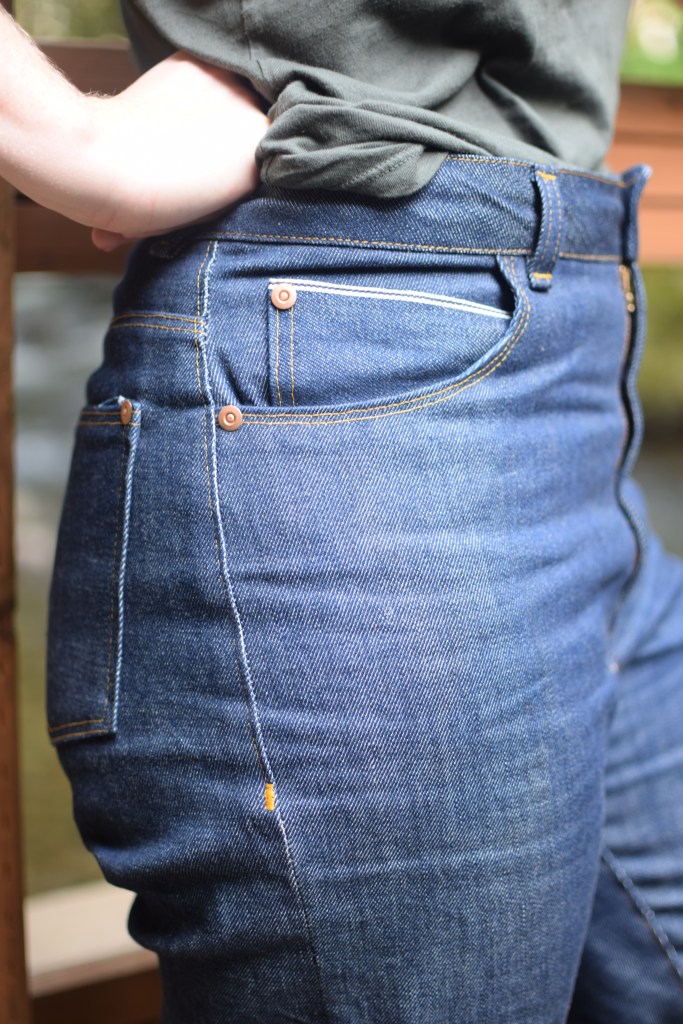
Up until last week, I had only dreamed of having high-waisted rigid denim jeans. So, after dreaming long enough, I decided to get to work. Some very special vintage Japanese selvedge and a hardware kit from Blackbird Fabrics was patiently waiting in my stash, begging to be made into said dream jeans. So really, no excuses besides my fear of failure.
When I decided I was going to make these, I almost went for the Ginger jeans again, but 1. I wanted a higher rise, and 2. Ginger is designed for stretch denim. Much like Jasika’s commentary on the Dawn Jeans, I was very skeptical when that pattern came out. But after seeing how amazing Jaskia’s and Lauren’s versions turned out, I decided to go for it.
I measured the straight leg pattern pieces against my favorite pair of RTW jeans I own (that are too tight in the thighs but are perfect everywhere else). As I cut out a muslin, I sharpied the original inner thigh cut line and added ample ease so I could easily add room after I sewed the inseam and side seams if needed (and I did need it). I also tapered the straight leg in a bit to match the RTWs, and I like where I ended up.
I only muslined the front and back legs and back yoke. In order to get pants that were try-onable I extended the front pockets to the side seams.
Selvedge coin pocket!! (Thanks for the idea, Jasika!)
I wanted to extend the pockets to become stays, as I hate re-stuffing my pocket bags every time I put on jeans. I copied the Ginger Jeans stay by extending the pocket of the Dawns to sew in the center front seam, but because the directions have you start with the zip fly and I forgot to baste them in prior to constructing said fly, I had to redo it. I also wasn’t paying enough attention when I cut out the pocket bags and cut both on the same side, so I have one pocket that’s right-side in, and one right-side out. I ended up taking out most of the extra room I added to the crotch seam, but I am glad I had extra and was able to take it in (rather than not having enough). Lastly, I had to re cut the waistband with a much more pronounced curve (using THIS very awesome tutorial). The fit is MUCH better now, but they still could come in a little tiny bit more. When I ripped out the first waistband, I also took a small wedge out of the back yoke, since I already was in there ripping out stitches.
I used regular thread throughout this project, as my machine HATES topstitching thread. I found the bar tacks were super easy to just do a very small length zig zag and go back and forth a few times. I am quite happy with how they turned out.
The rivets, man, the rivets. I don’t have a tailor’s awl, so I used a nail to poke holes in the jeans, but the rivet posts were a little bit wider than the nail, so it took some serious wiggling around to get them to poke through. Super worth it, though, I think it makes them look so much more legit.
I am SO HAPPY with how these turned out, I cannot wait for them to develop their unique wear lines. I am gonna try to maximize wear and minimize washing…. we’ll see how I do. They stretched out a bit from wearing them on my trip to Portland, but I think once I give them their first wash, they’ll tighten up a bit. They do fit very snugly when I sit down, so I can’t imagine them being much more fitted when I am standing. The toils of rigid denim I guess!
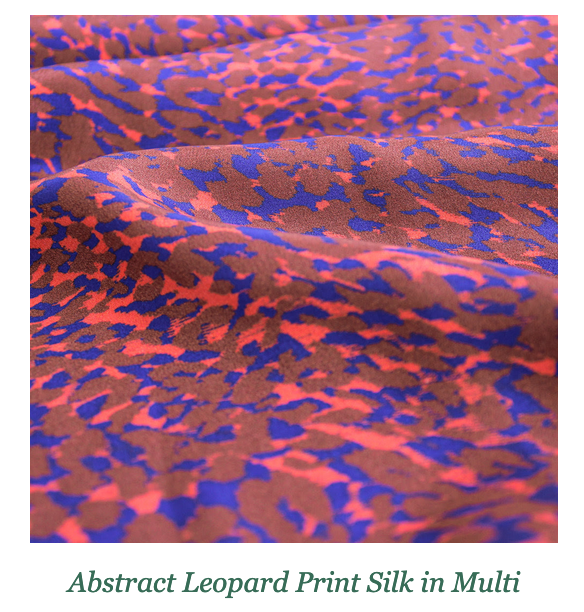
I was not in the market for more fabric (…groan), but curiosity gets me every time and I always check Blackbird Fabrics’ emails to see whats new. Recently they had some “leopard print” deadstock silk, and I pounced on it.
I’ve had the Sadie Slip Dress on my “to make” list for quite awhile, and this fabric seemed perfect for it. As soon as the fabric arrived I got to work on cutting and sewing up this bad boy. I cut a straight S, but ended up taking in the waist a bit after I sewed the first seam of the french seams. It was a little tricky to cut the pieces on the 45″ wide fabric, I ended up having to shave off an inch or two of the total length.
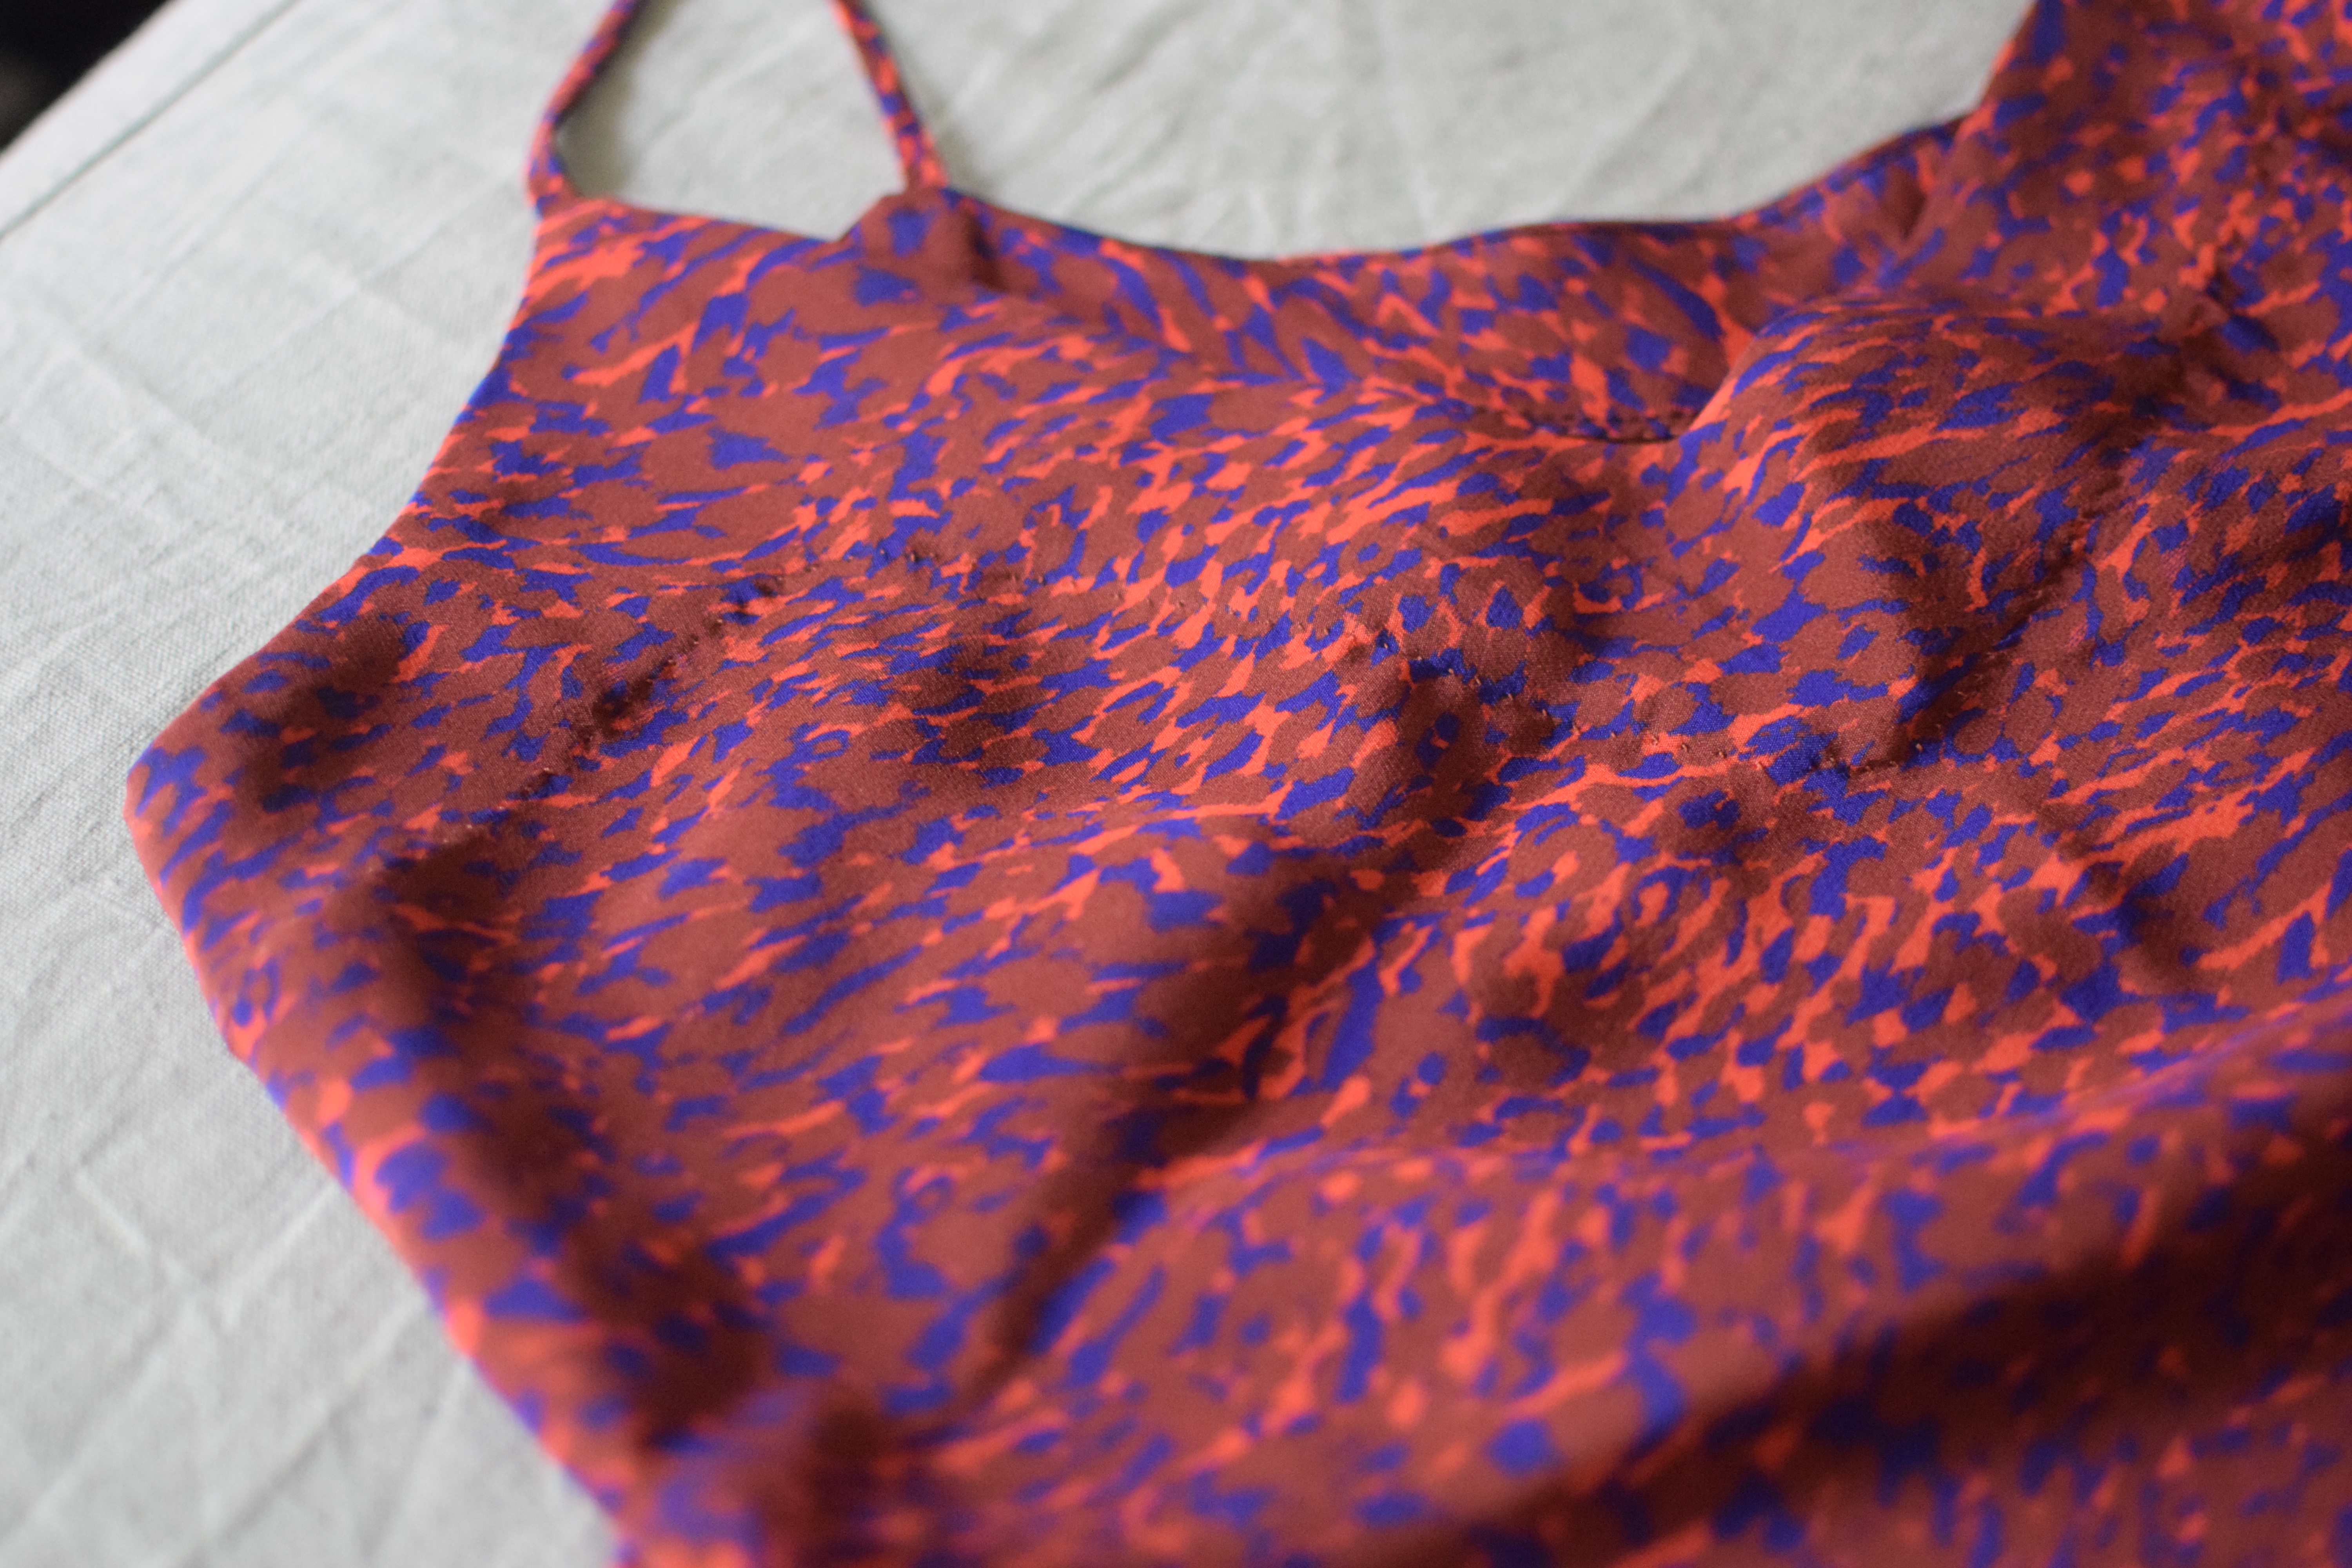
Closeup of the neckline.
The bias cut is SO swoony, but the neckline facing was very tricky to get right. I completely ripped out and re-understitched twice, thinking I wasn’t careful enough, but every time I tried it on, it wanted to flip out to the front of the neckline. I was unable to get past this flaw, and I decided to blind stitch the facing to the dress. That solved the flipping-out problem beautifully, but now it messes with the bias drape. I might undo some of the hand-stitching and do it yet again… we’ll see how annoyed I get with it. I suppose I could edgestitch the neckline, but I love the look of it without it.
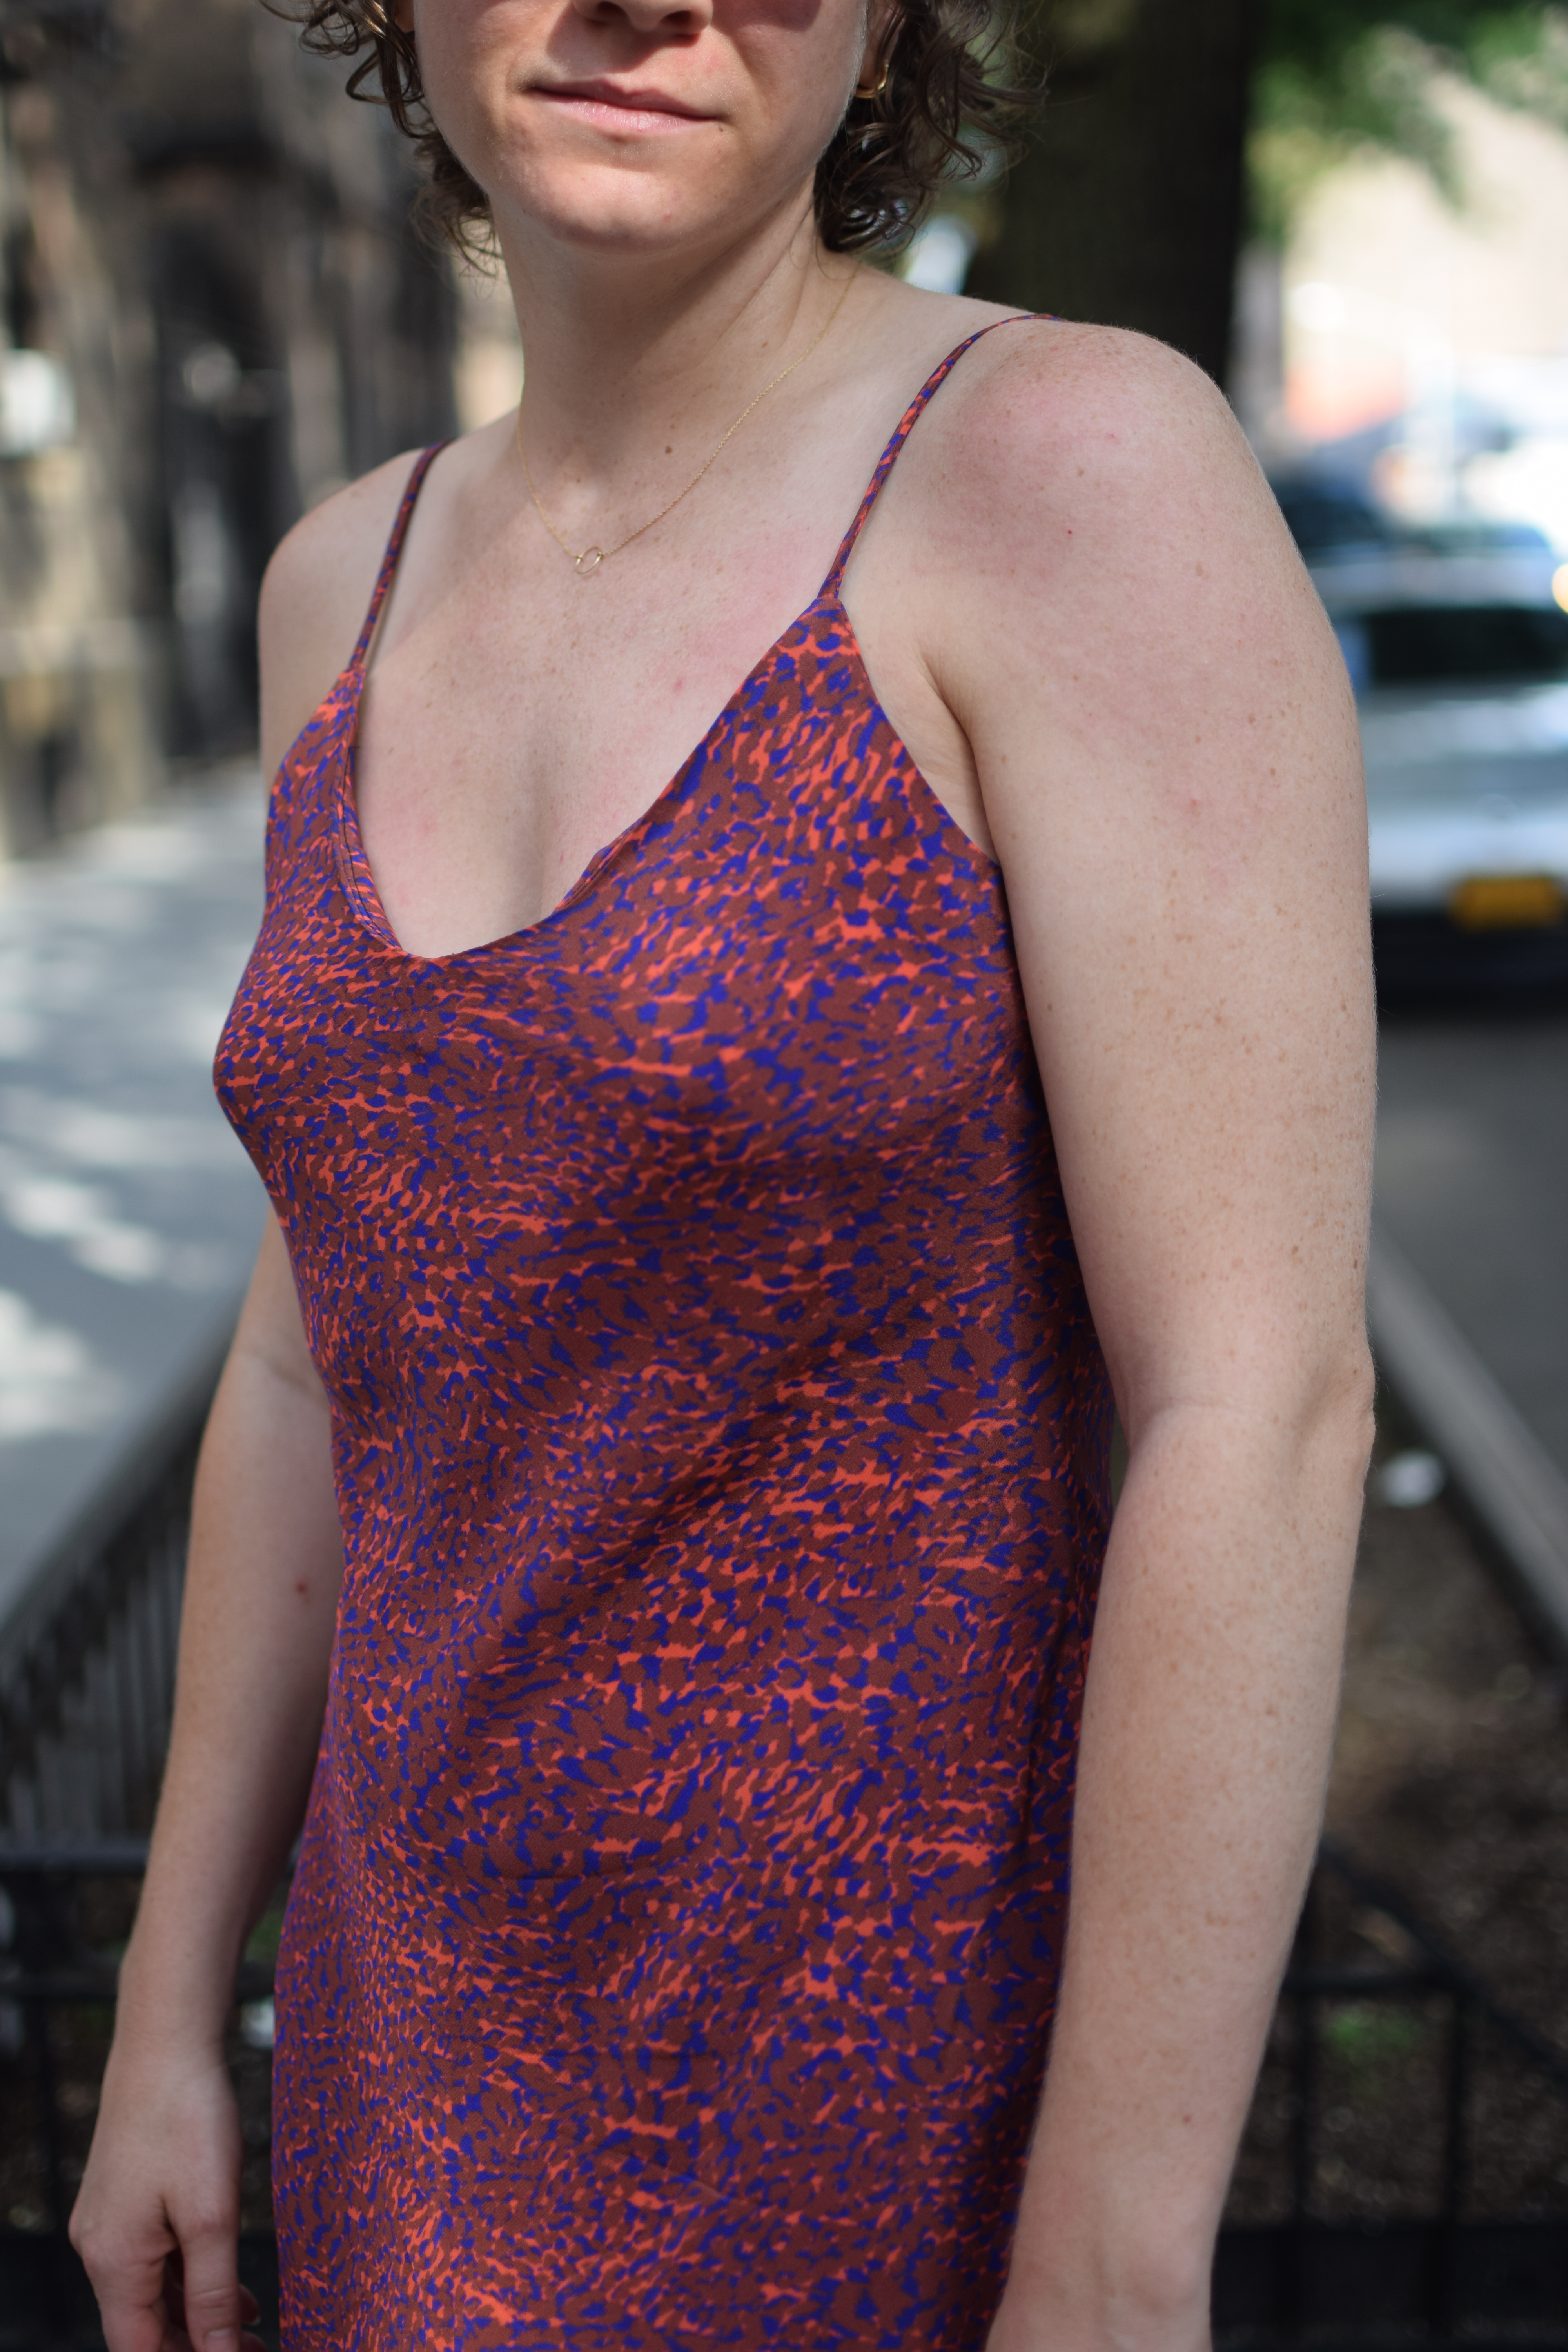
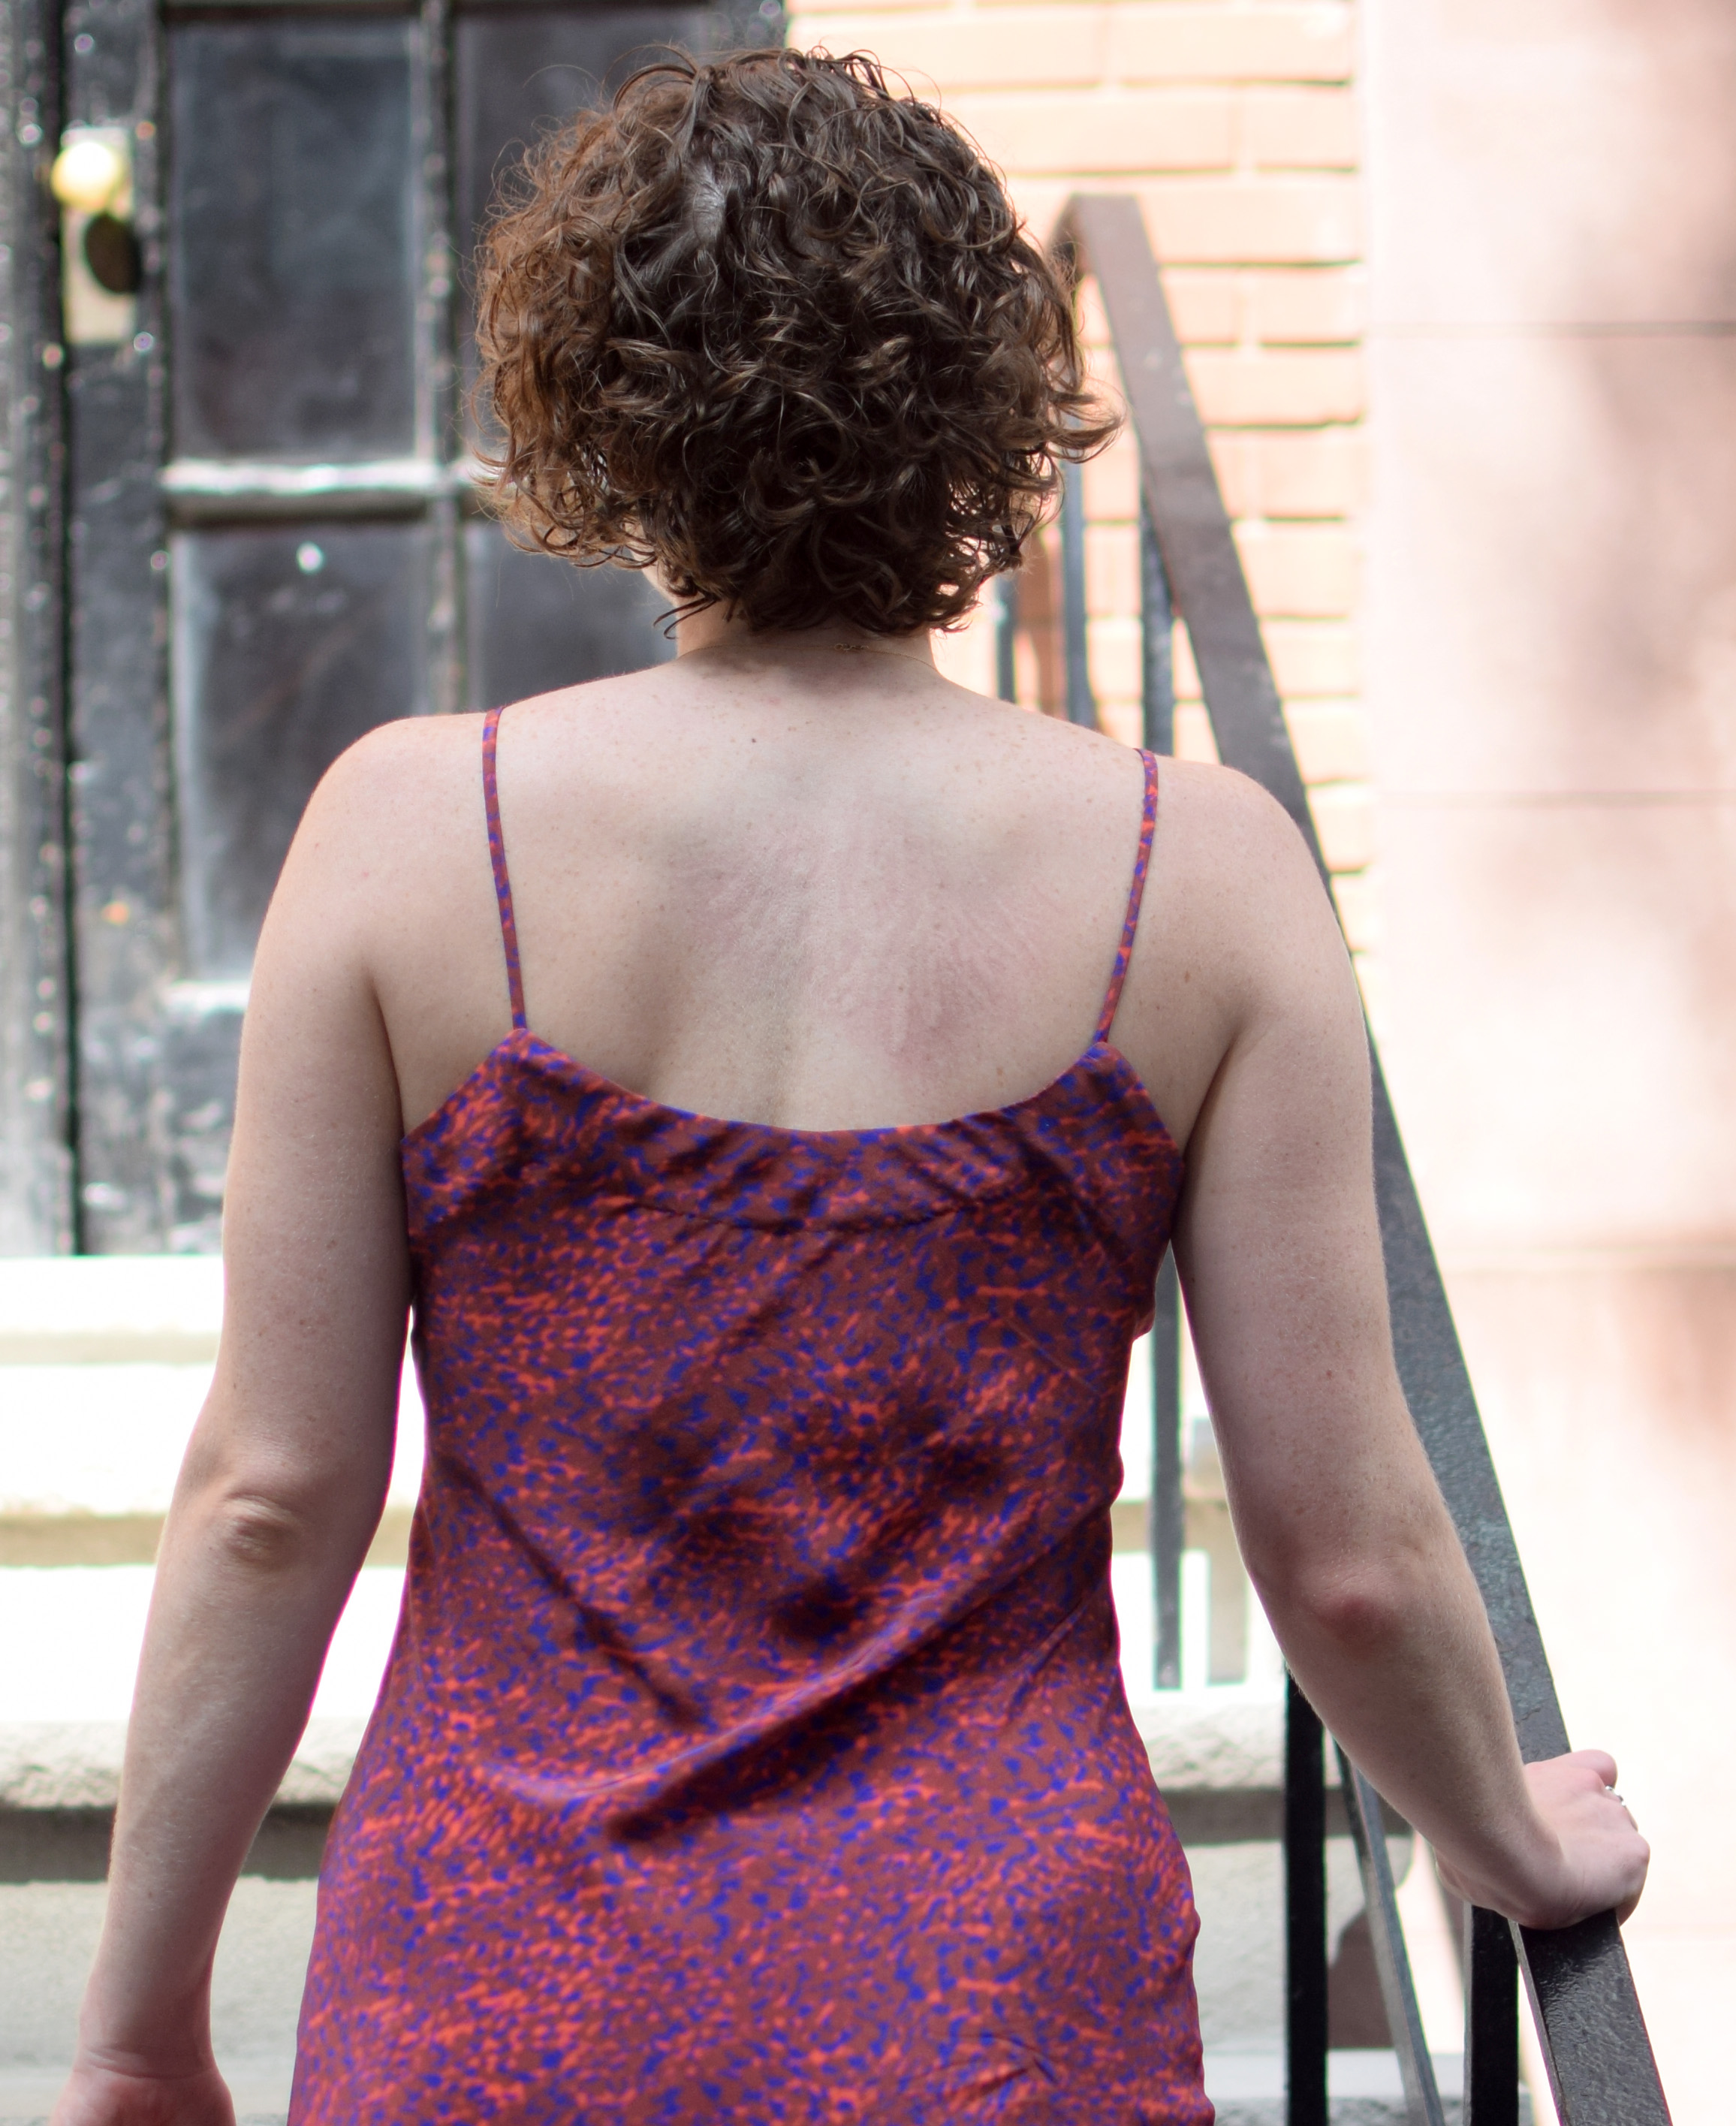
Understitched-only facing:
versus stitched-down facing:
Definitely some trade offs with both options.
Still assessing how to best handle this scenario, but in the meantime, I am wearing it and loving the swish of bias silk on the recent hot summer days.
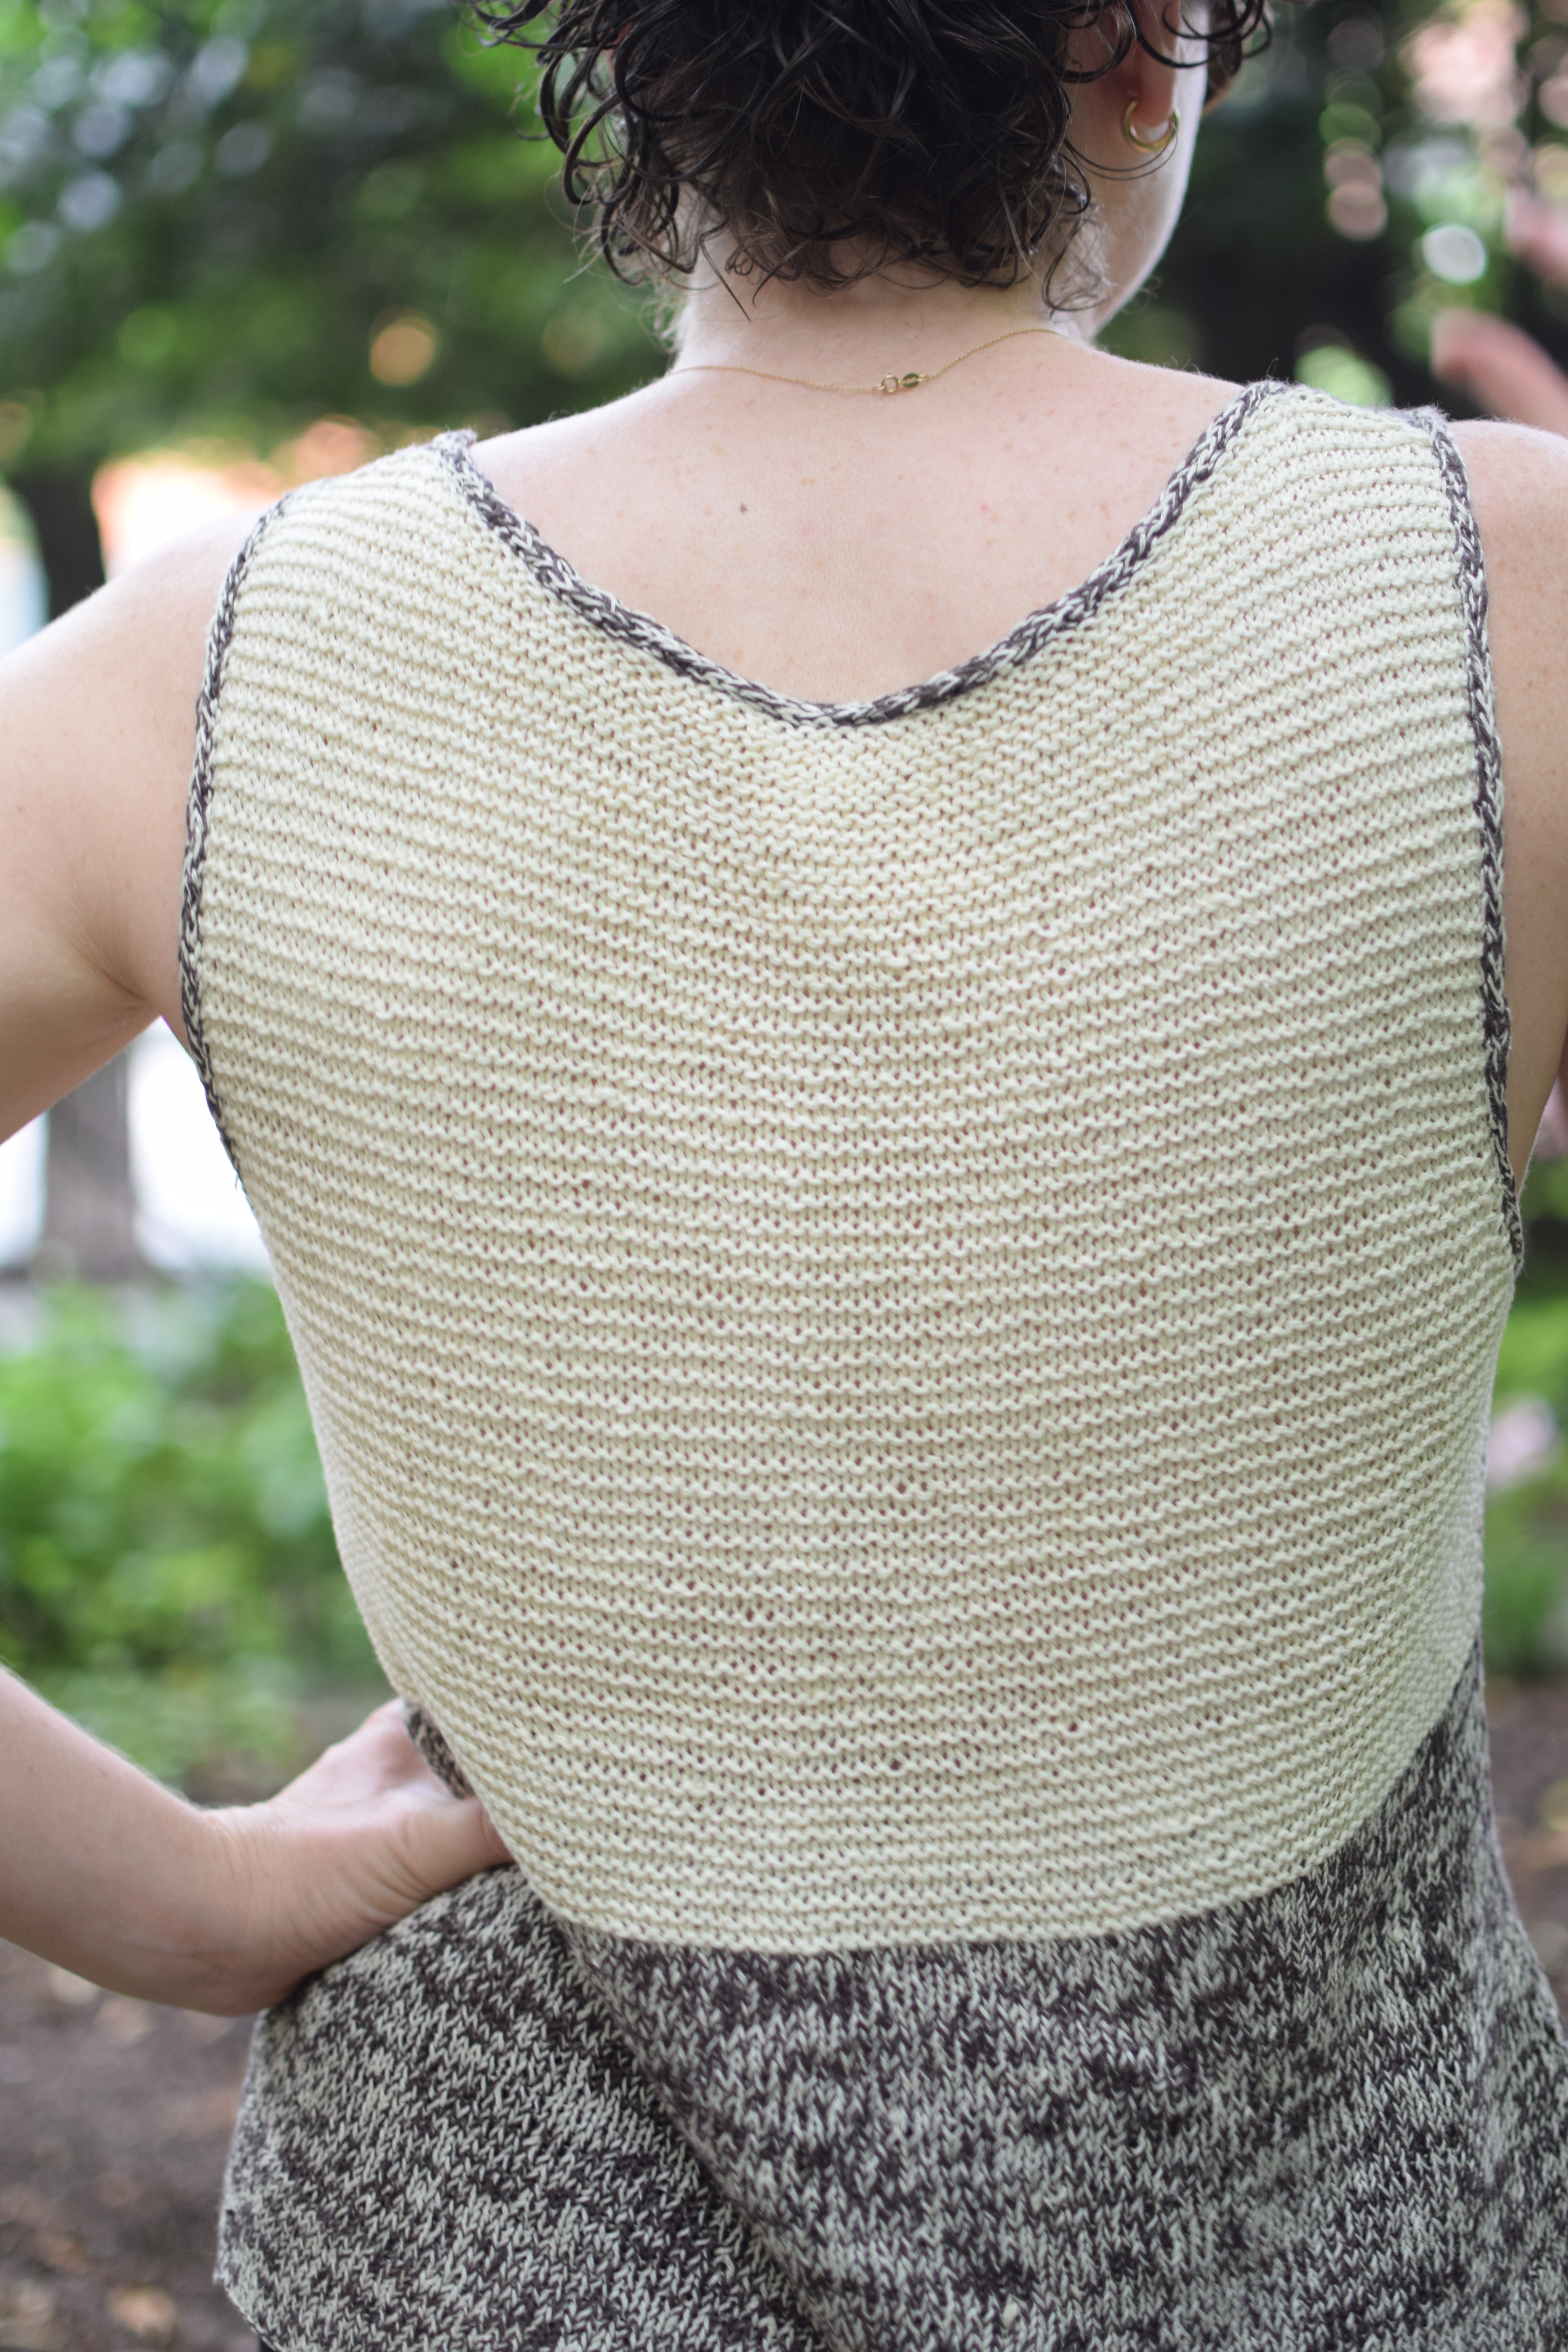
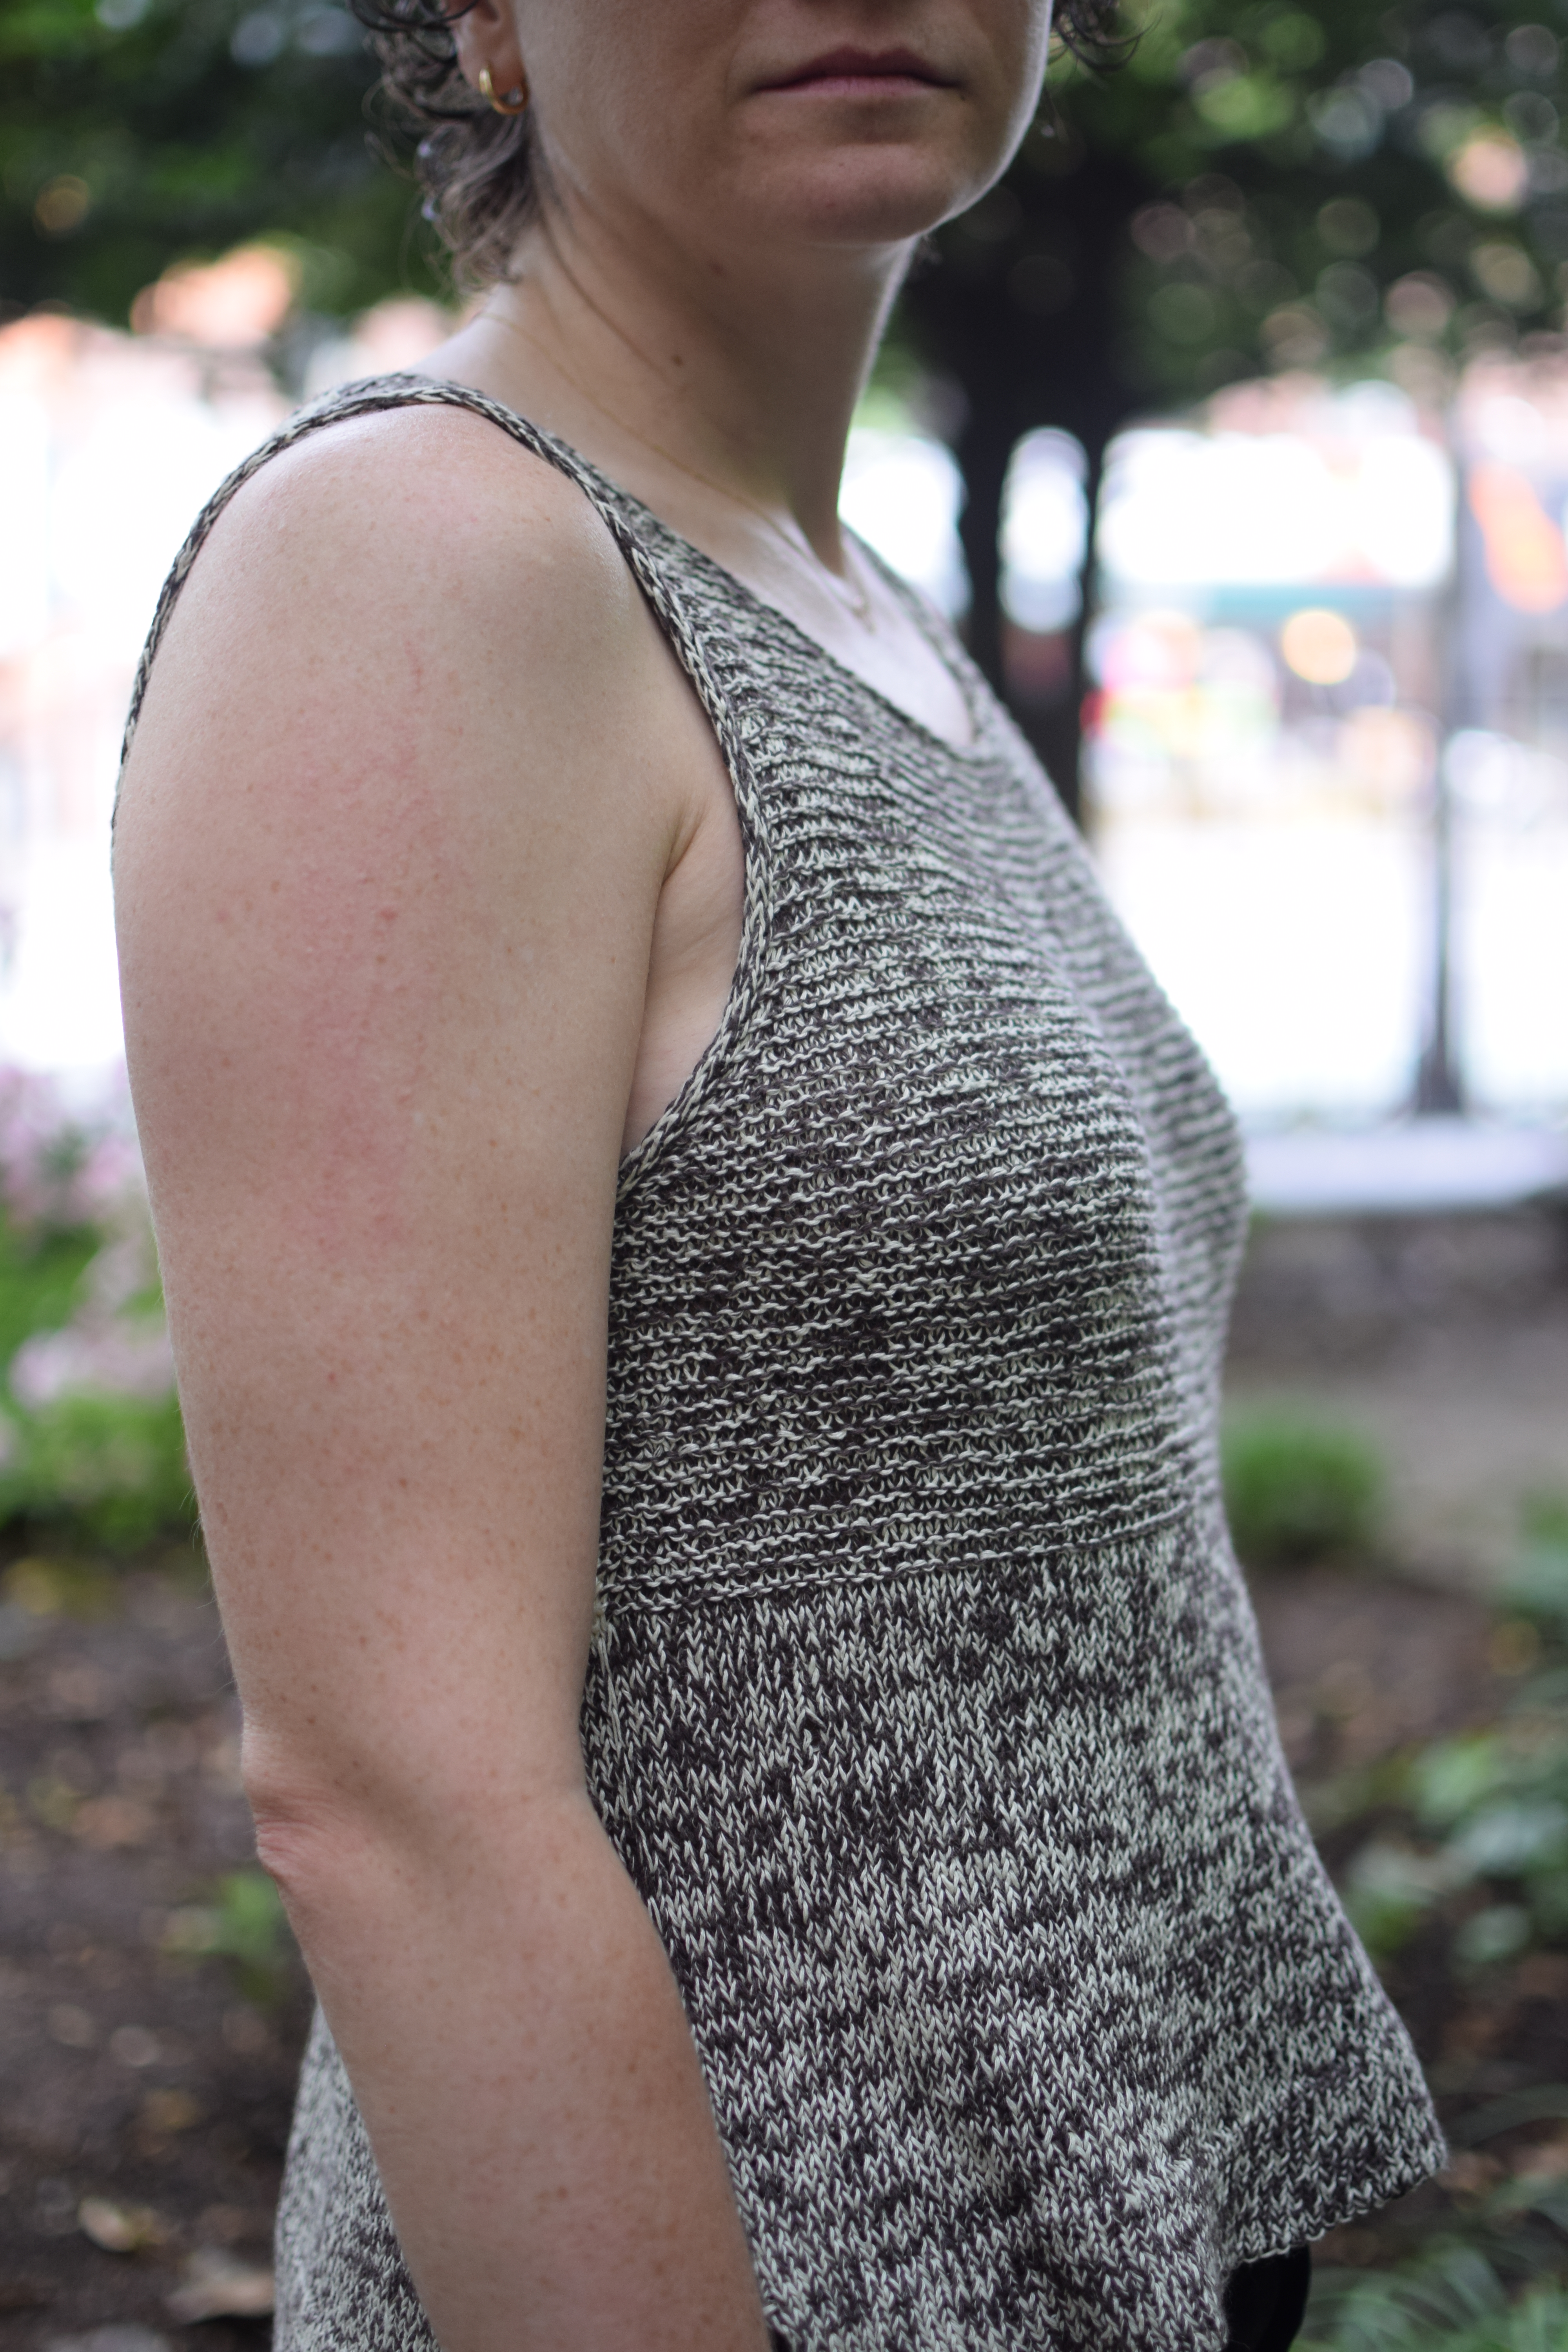
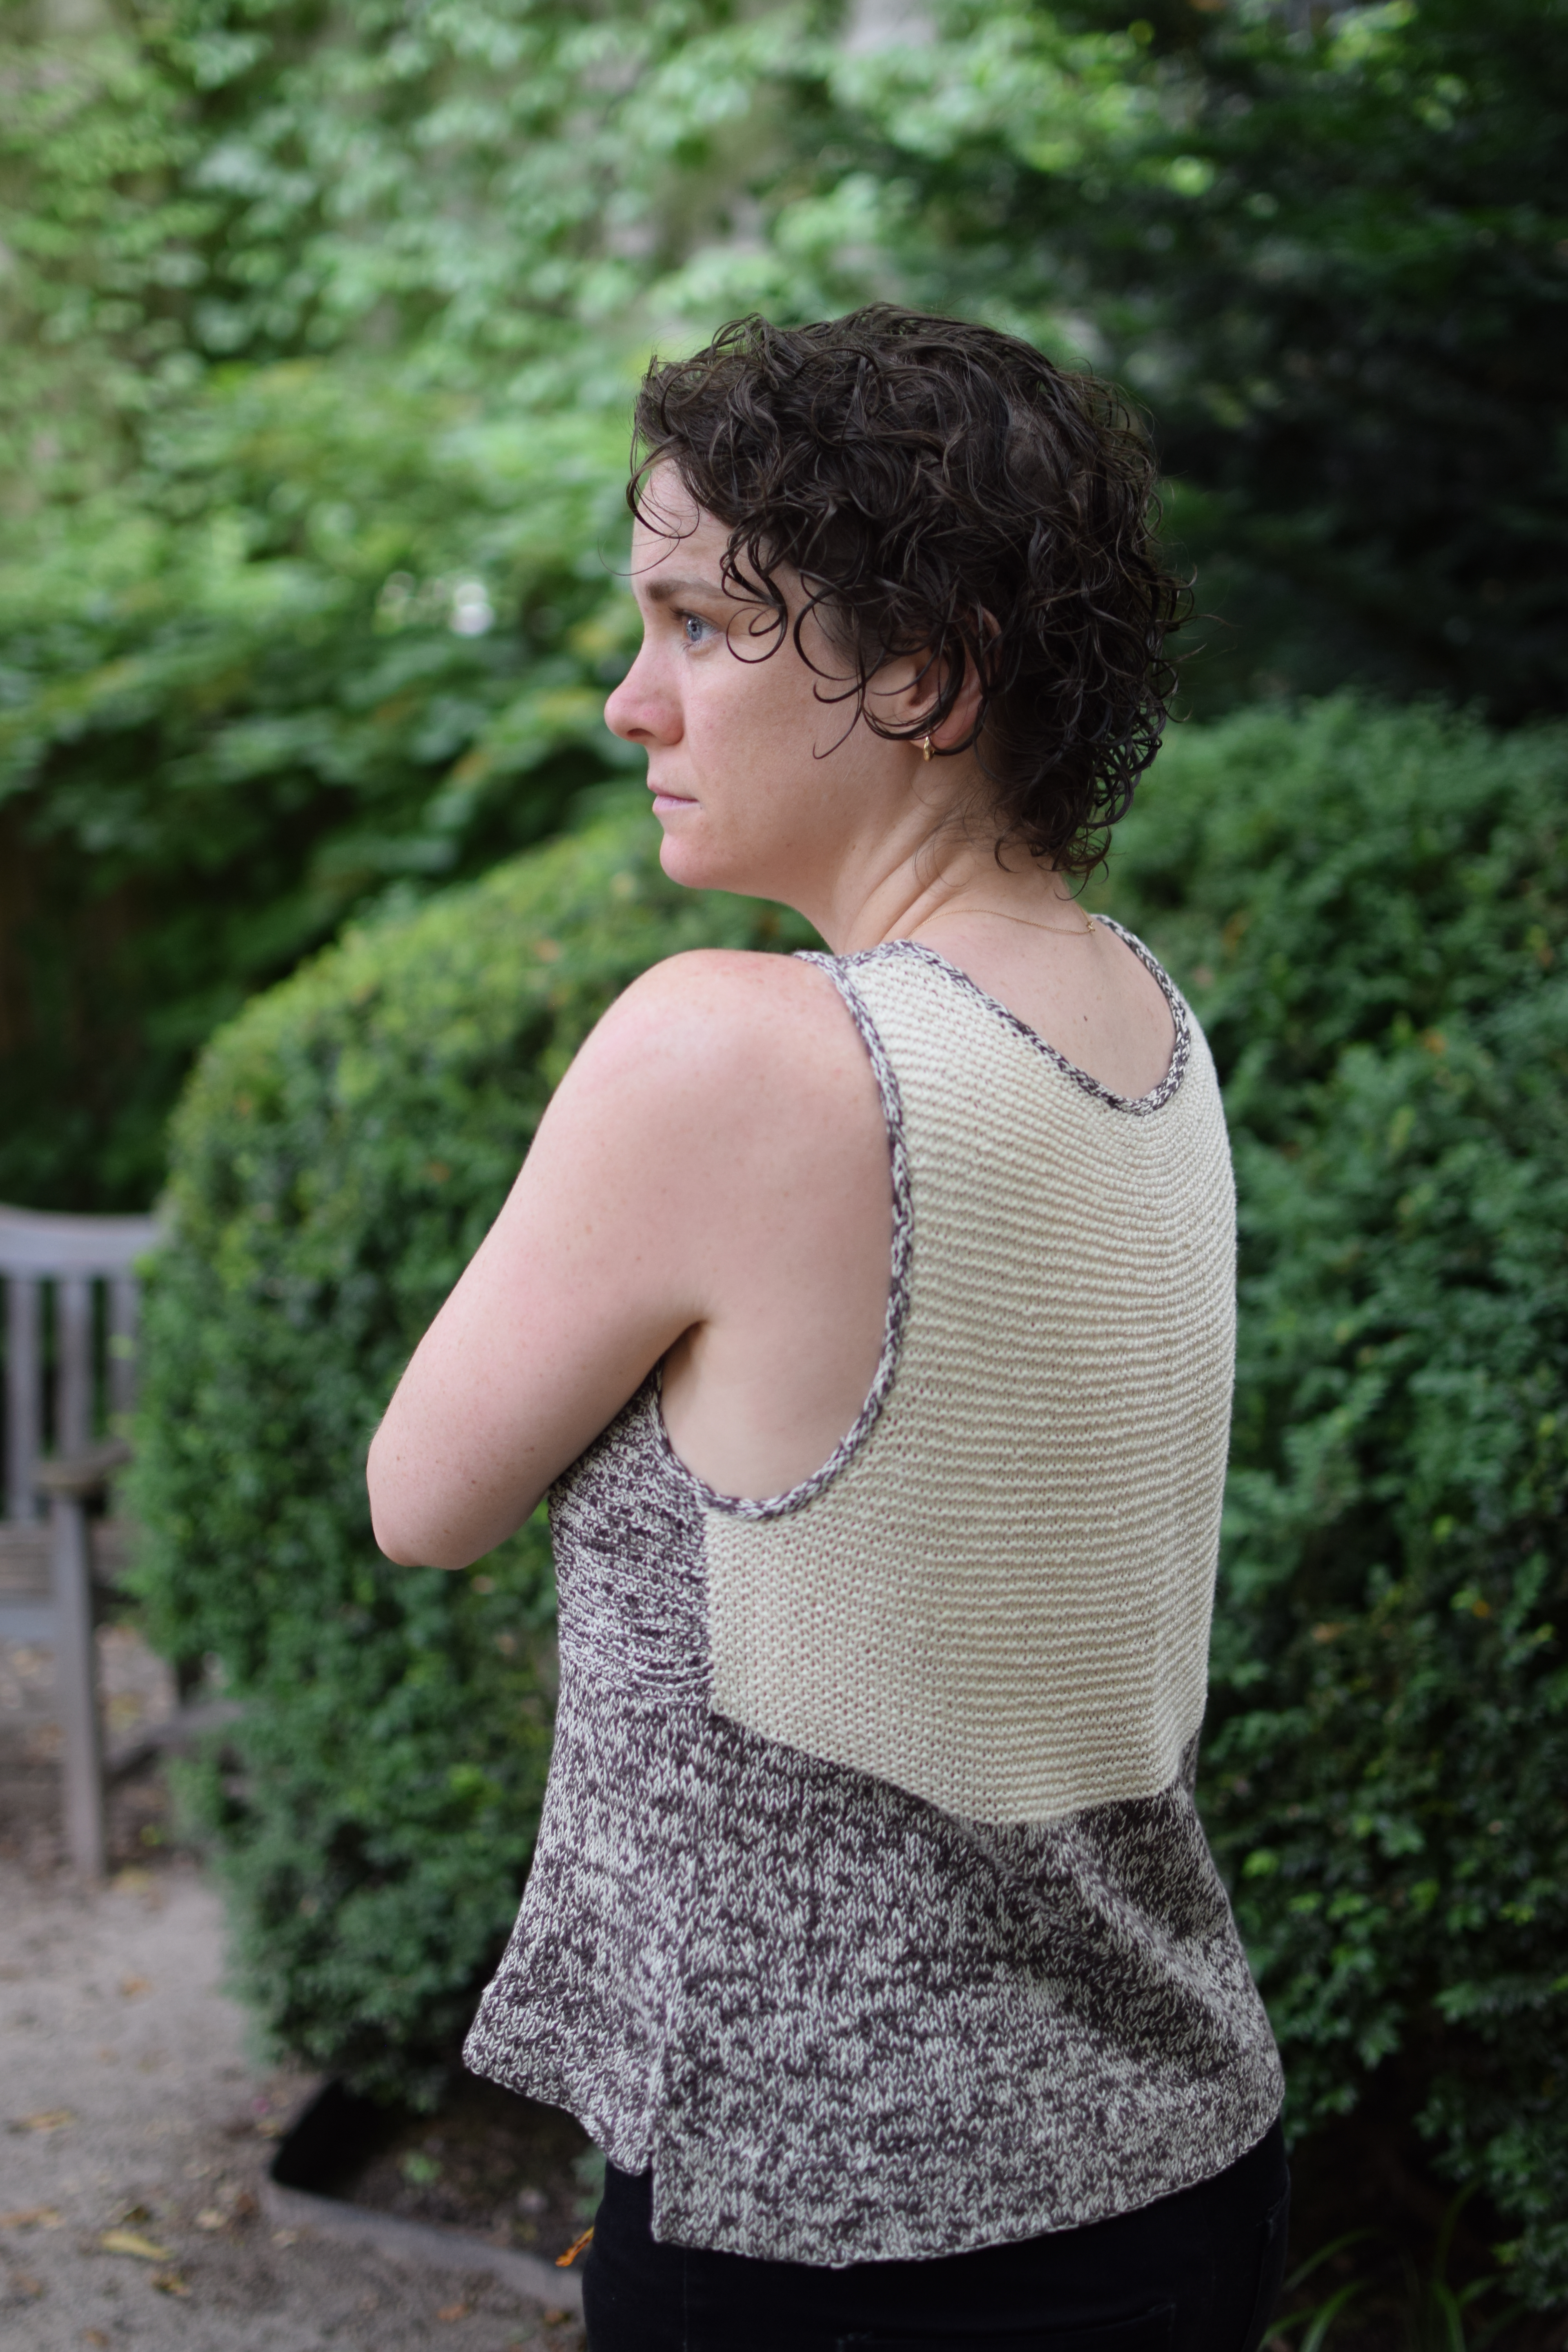
My first foray into knitting with linen! I used the Lina tank pattern, and some white and brown linen I bought during our trip to Spain last year. The pattern is very well-written, and has lovely shaping and finishing details.
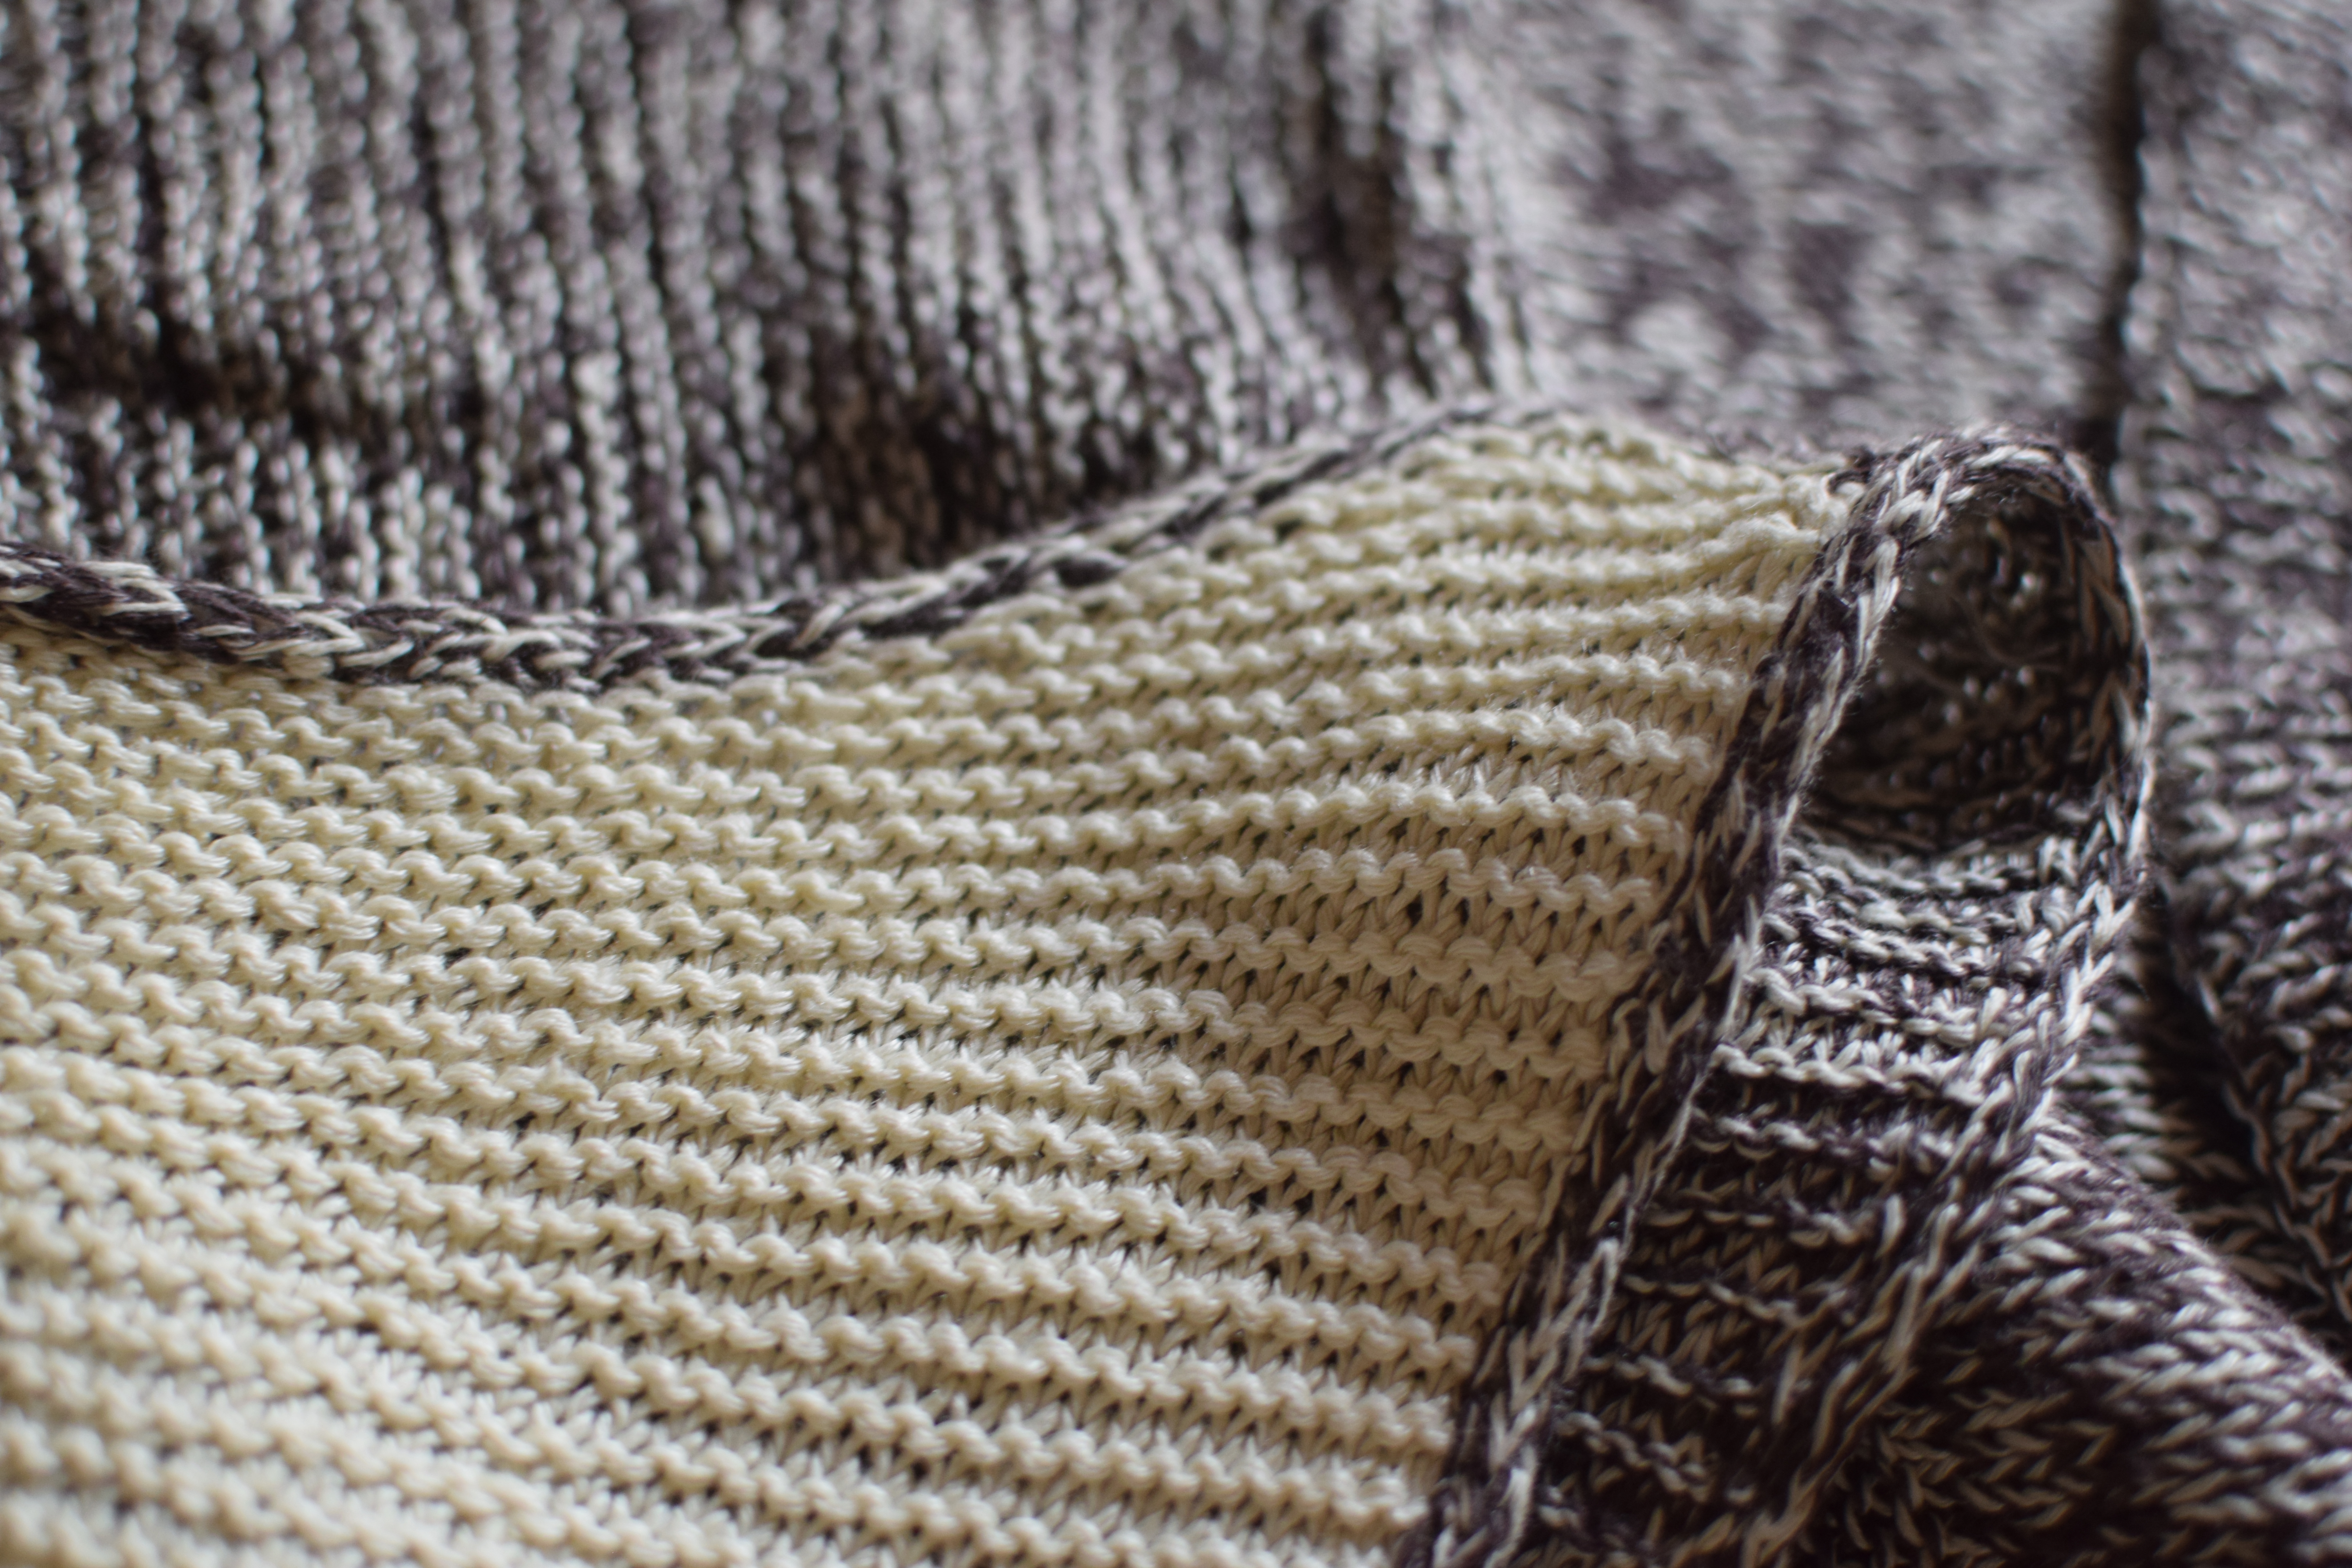
I started with the back bodice, and thought I would have enough yarn to make the entire thing in white. Whoops, I was definitely wrong, and decided to do a marl/colorblock look. I’m not sure exactly how I feel about it yet, but it definitely looks unique.
I followed the pattern exactly as written, except I made it much more cropped than specified and I finished the hem with a self-facing instead of garter stitch. I did some digging on TECHKnitting to find out how I should go about this mod. TECHknitting has several posts about hems and the best approaches. What a fab resource.
Super happy about this one, but I am excited to go back to knitting with wool–much easier on the hands.
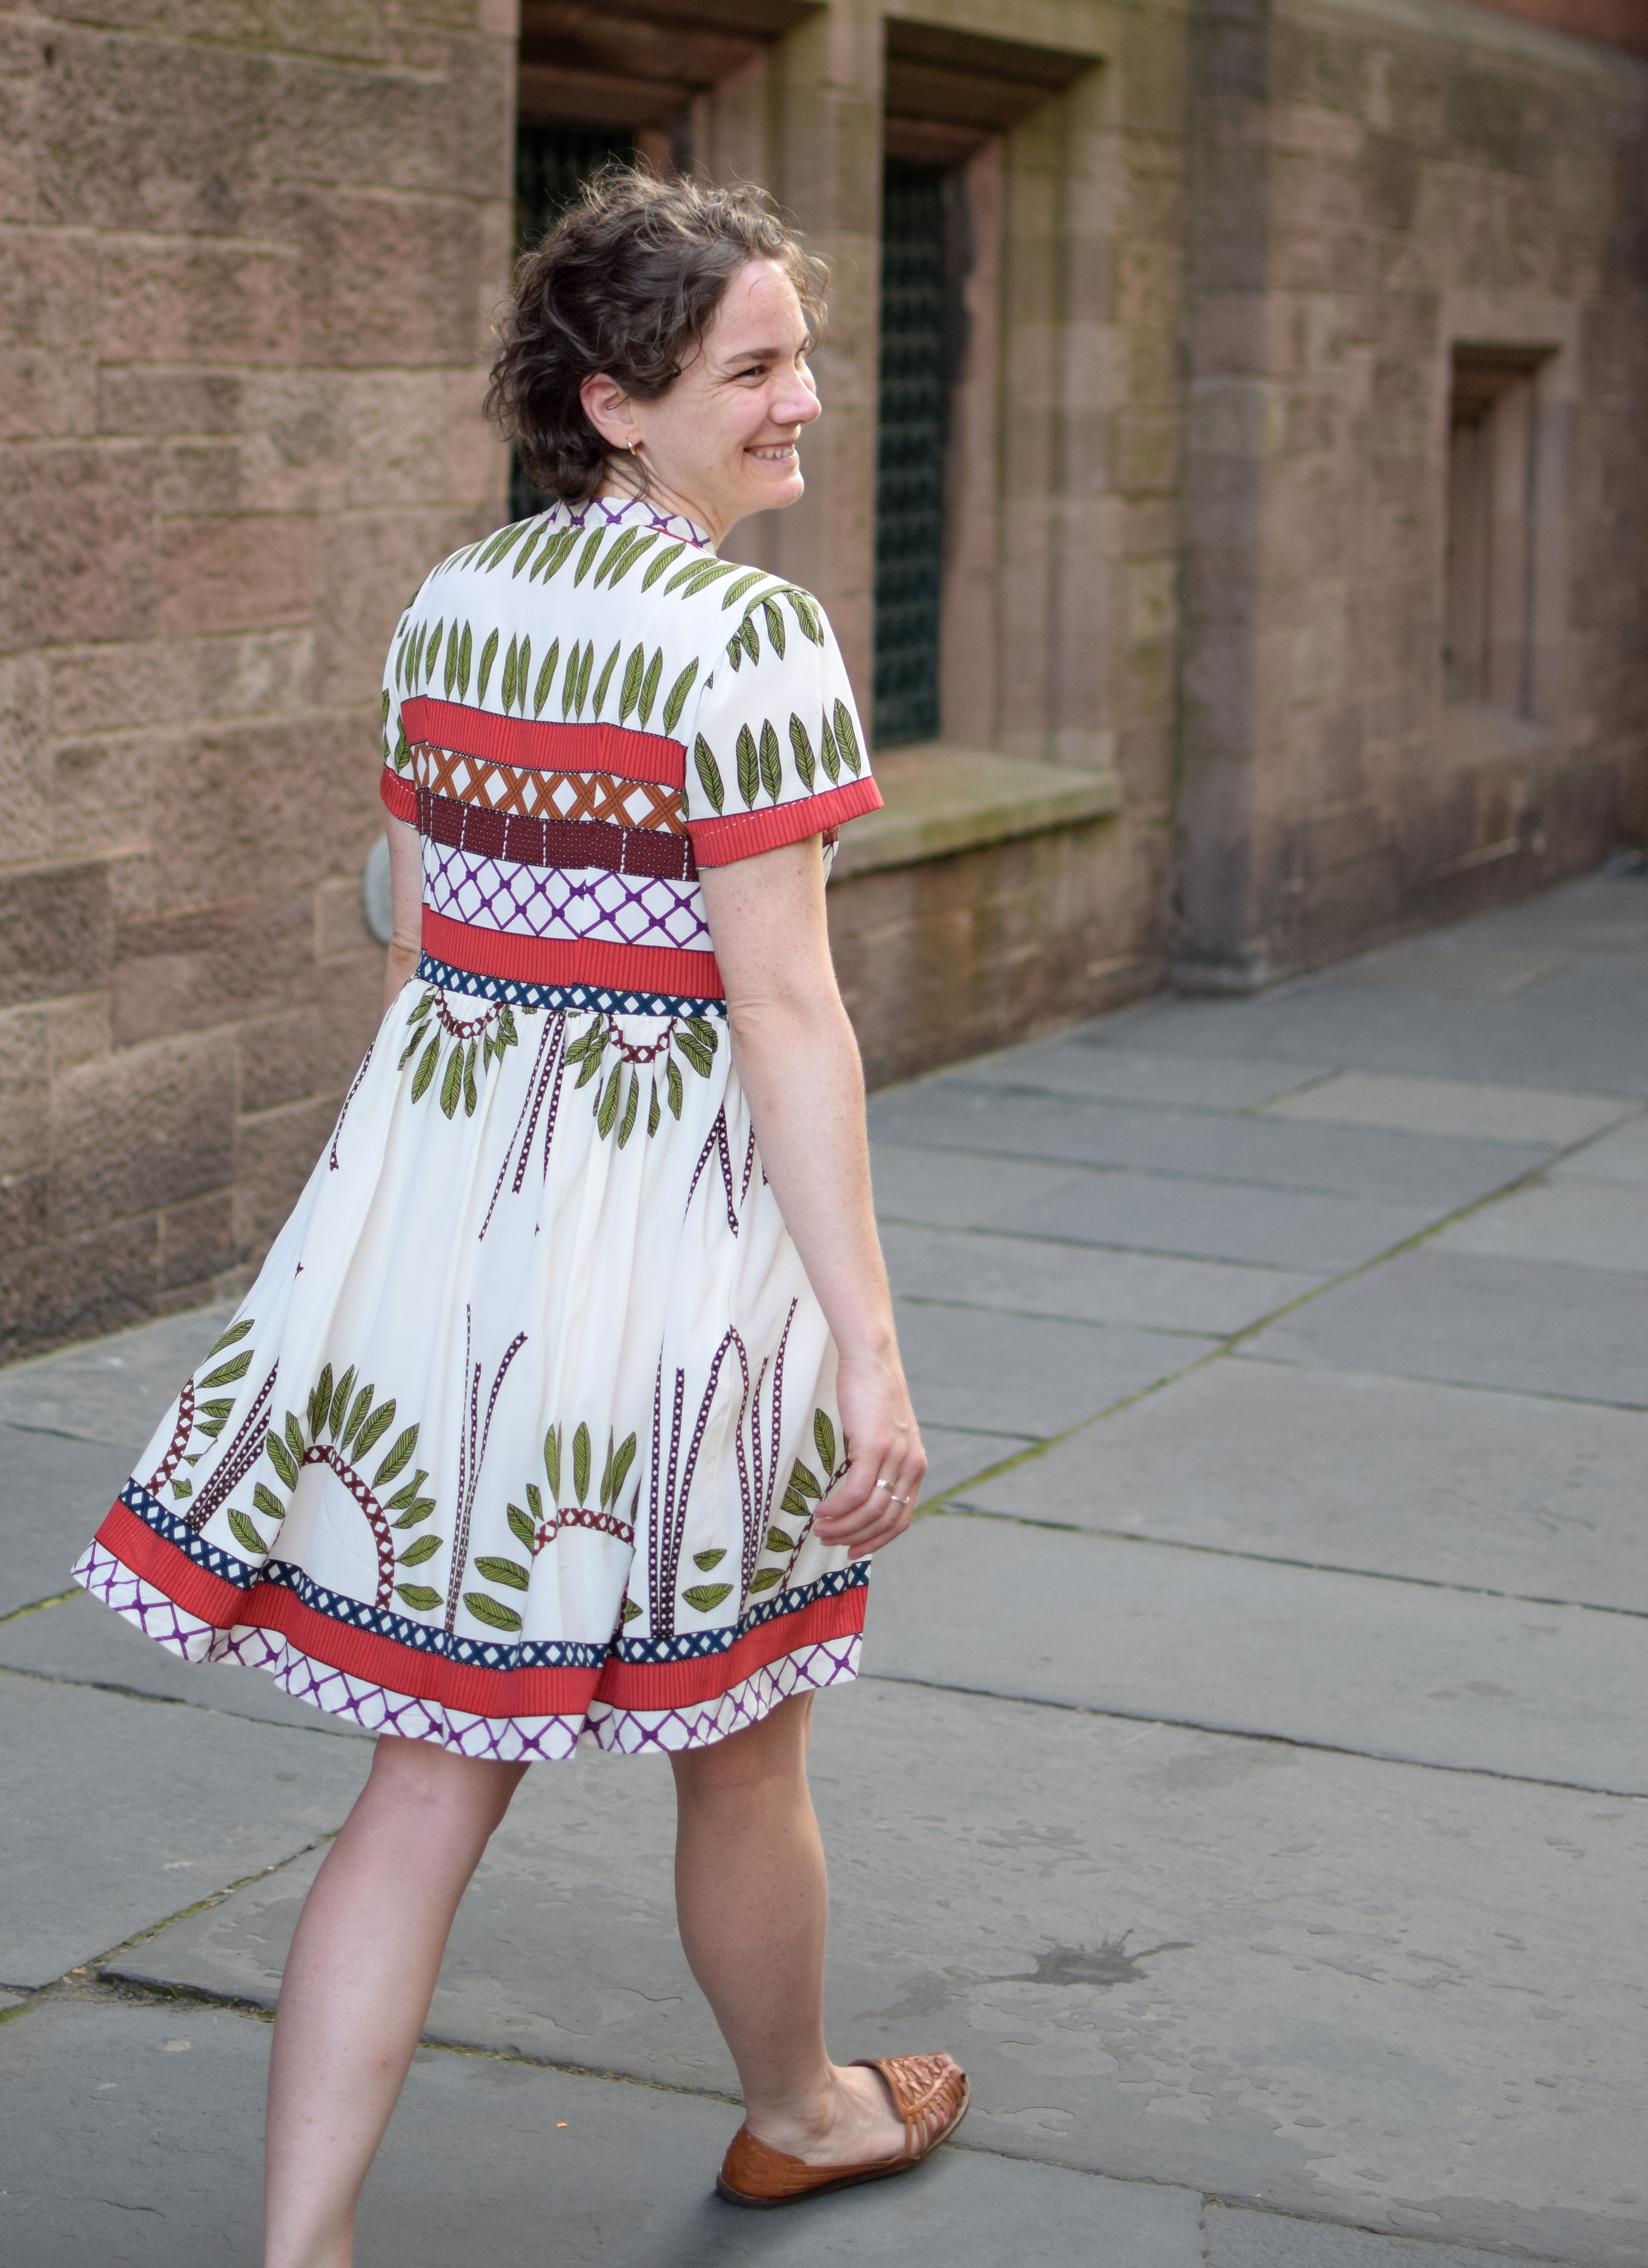
I made this Myosotis dress back in May using this beautiful silk panel print that has lingered in my stash. My original plan was to make the ruffle-y version, but sadly, I did not have enough fabric. I purchased 2 panels worth of material, but the fabric was barely 40″ wide.
Experimenting with how to make this work. Not the final layout.
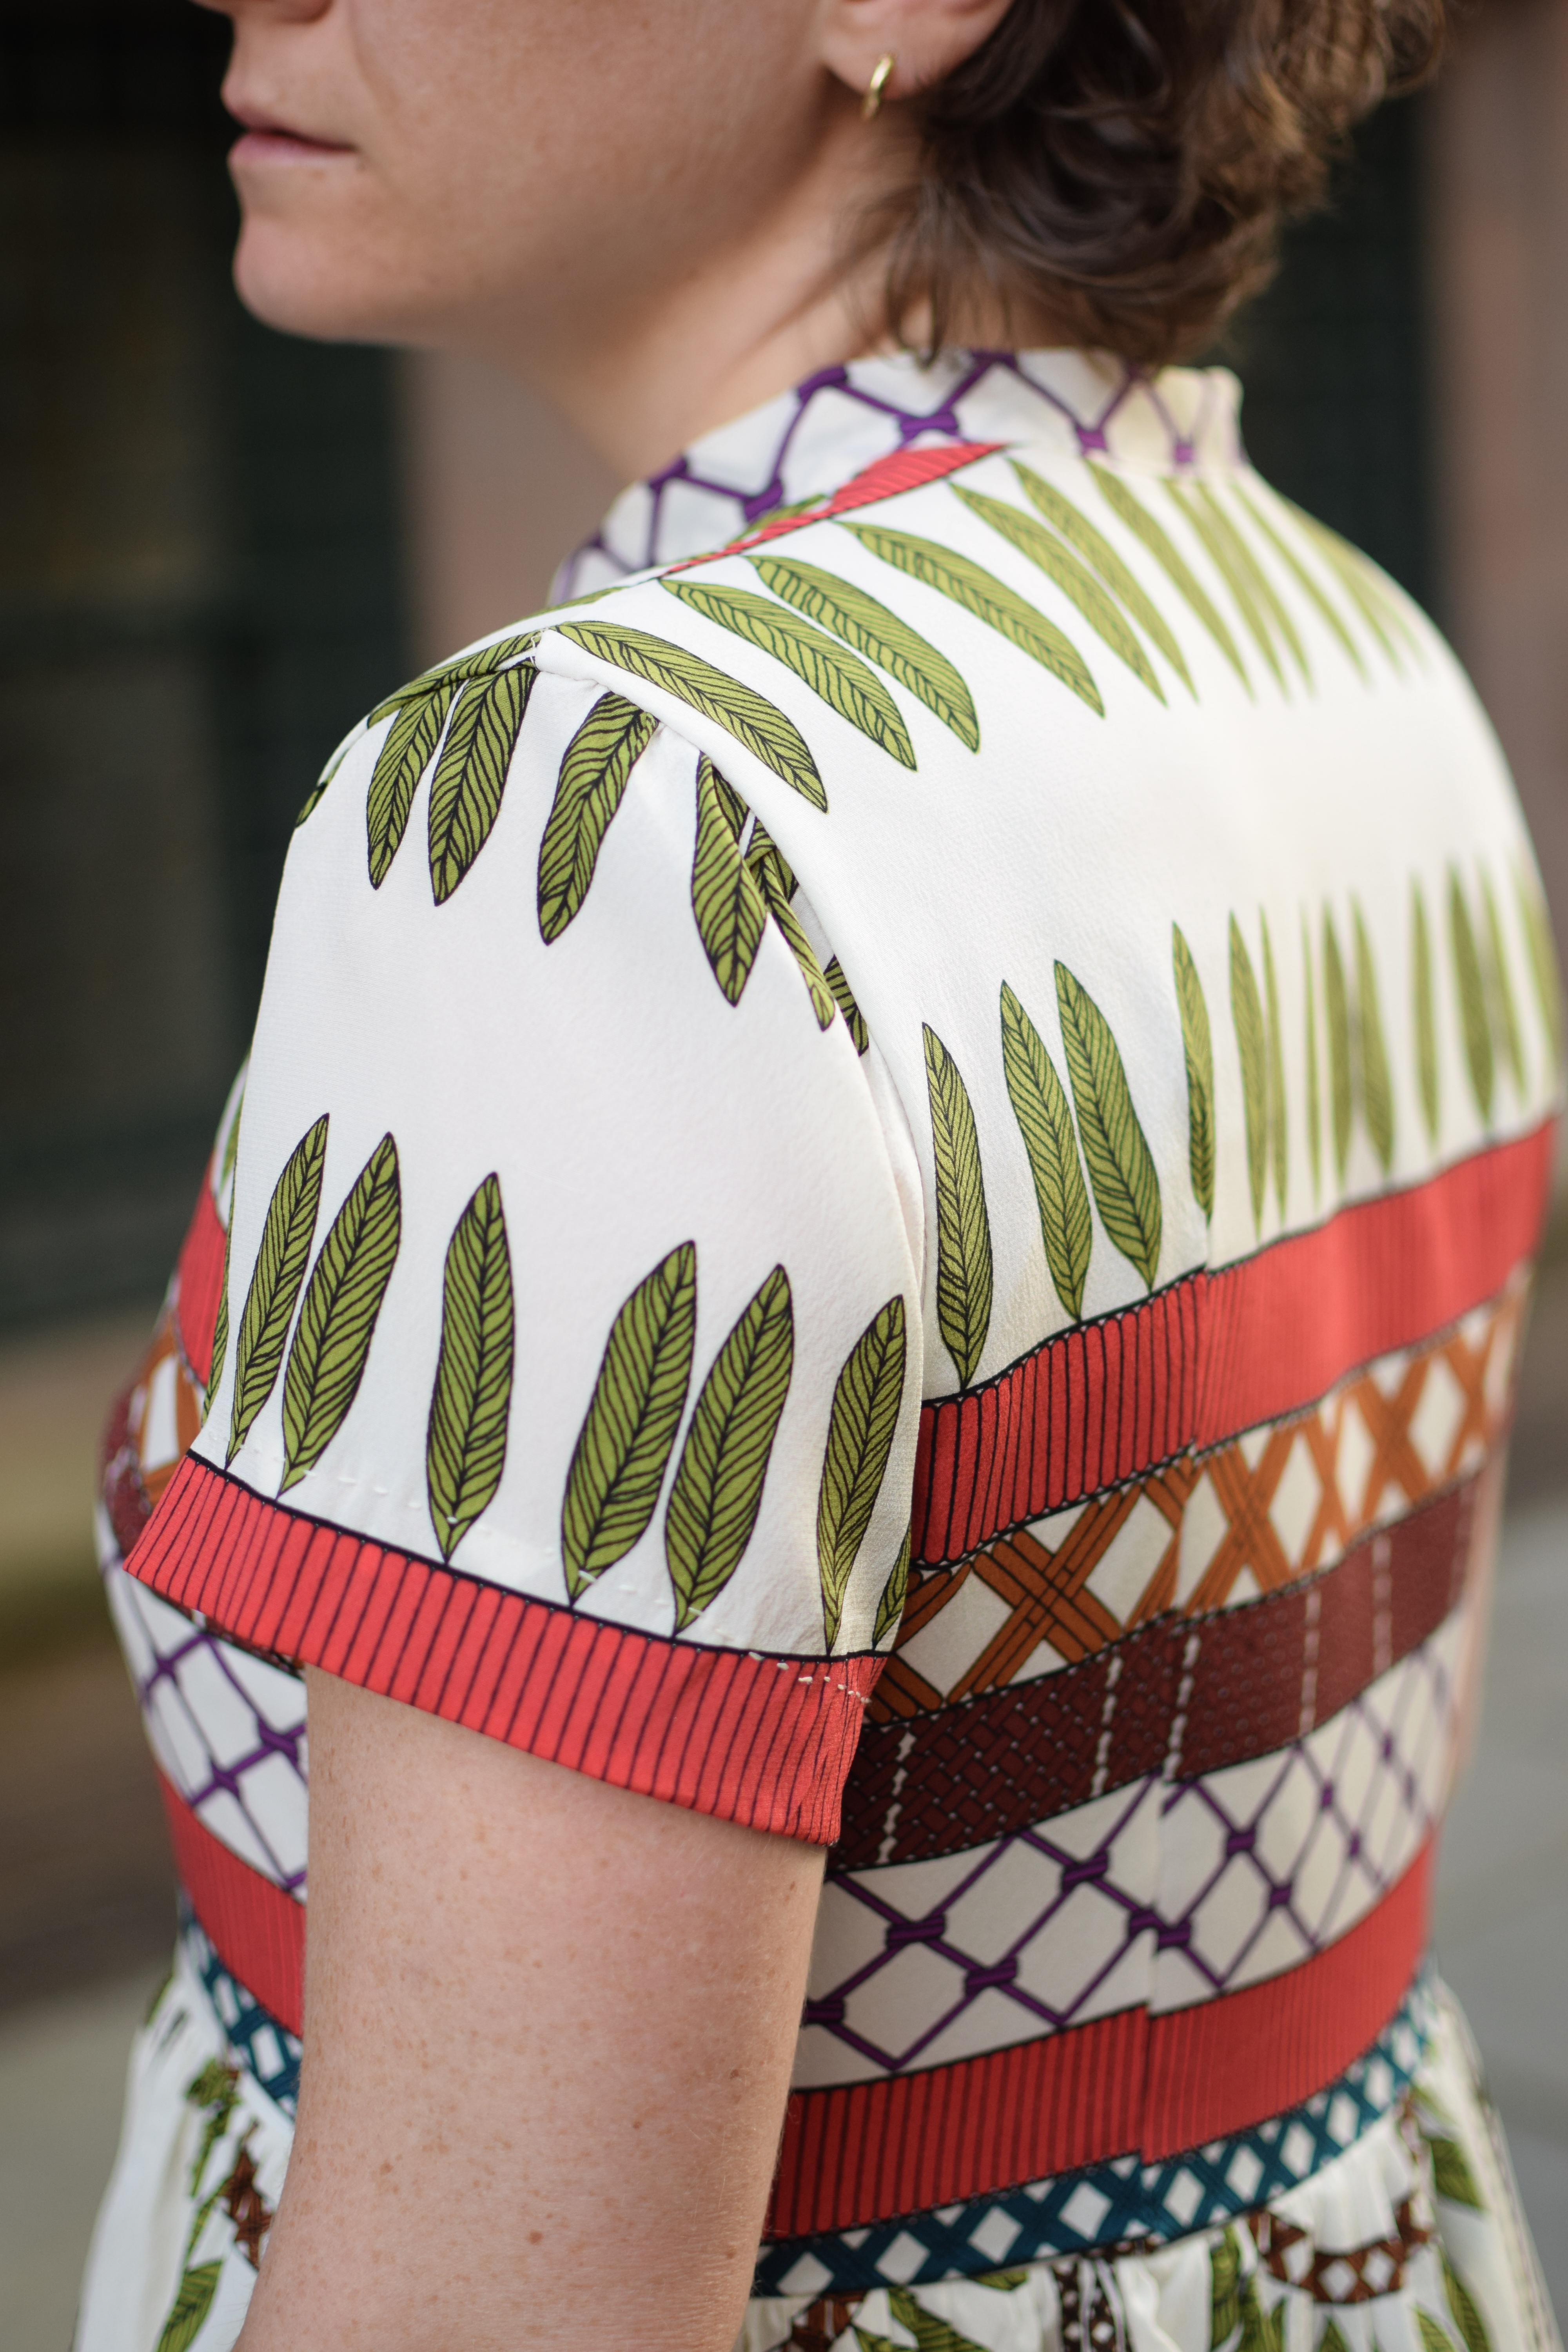
Somehow it worked out that I was able to match the prints fairly well between the sleeves, bodice and skirt. I added more fullness to the skirt piece to take advantage of the left and right selvedge edges: no need to finish the side seams! I also thought it would be a way to add more fullness without the ruffle. Spoiler alert: I think the added fullness at the waist isn’t the most flattering thing.
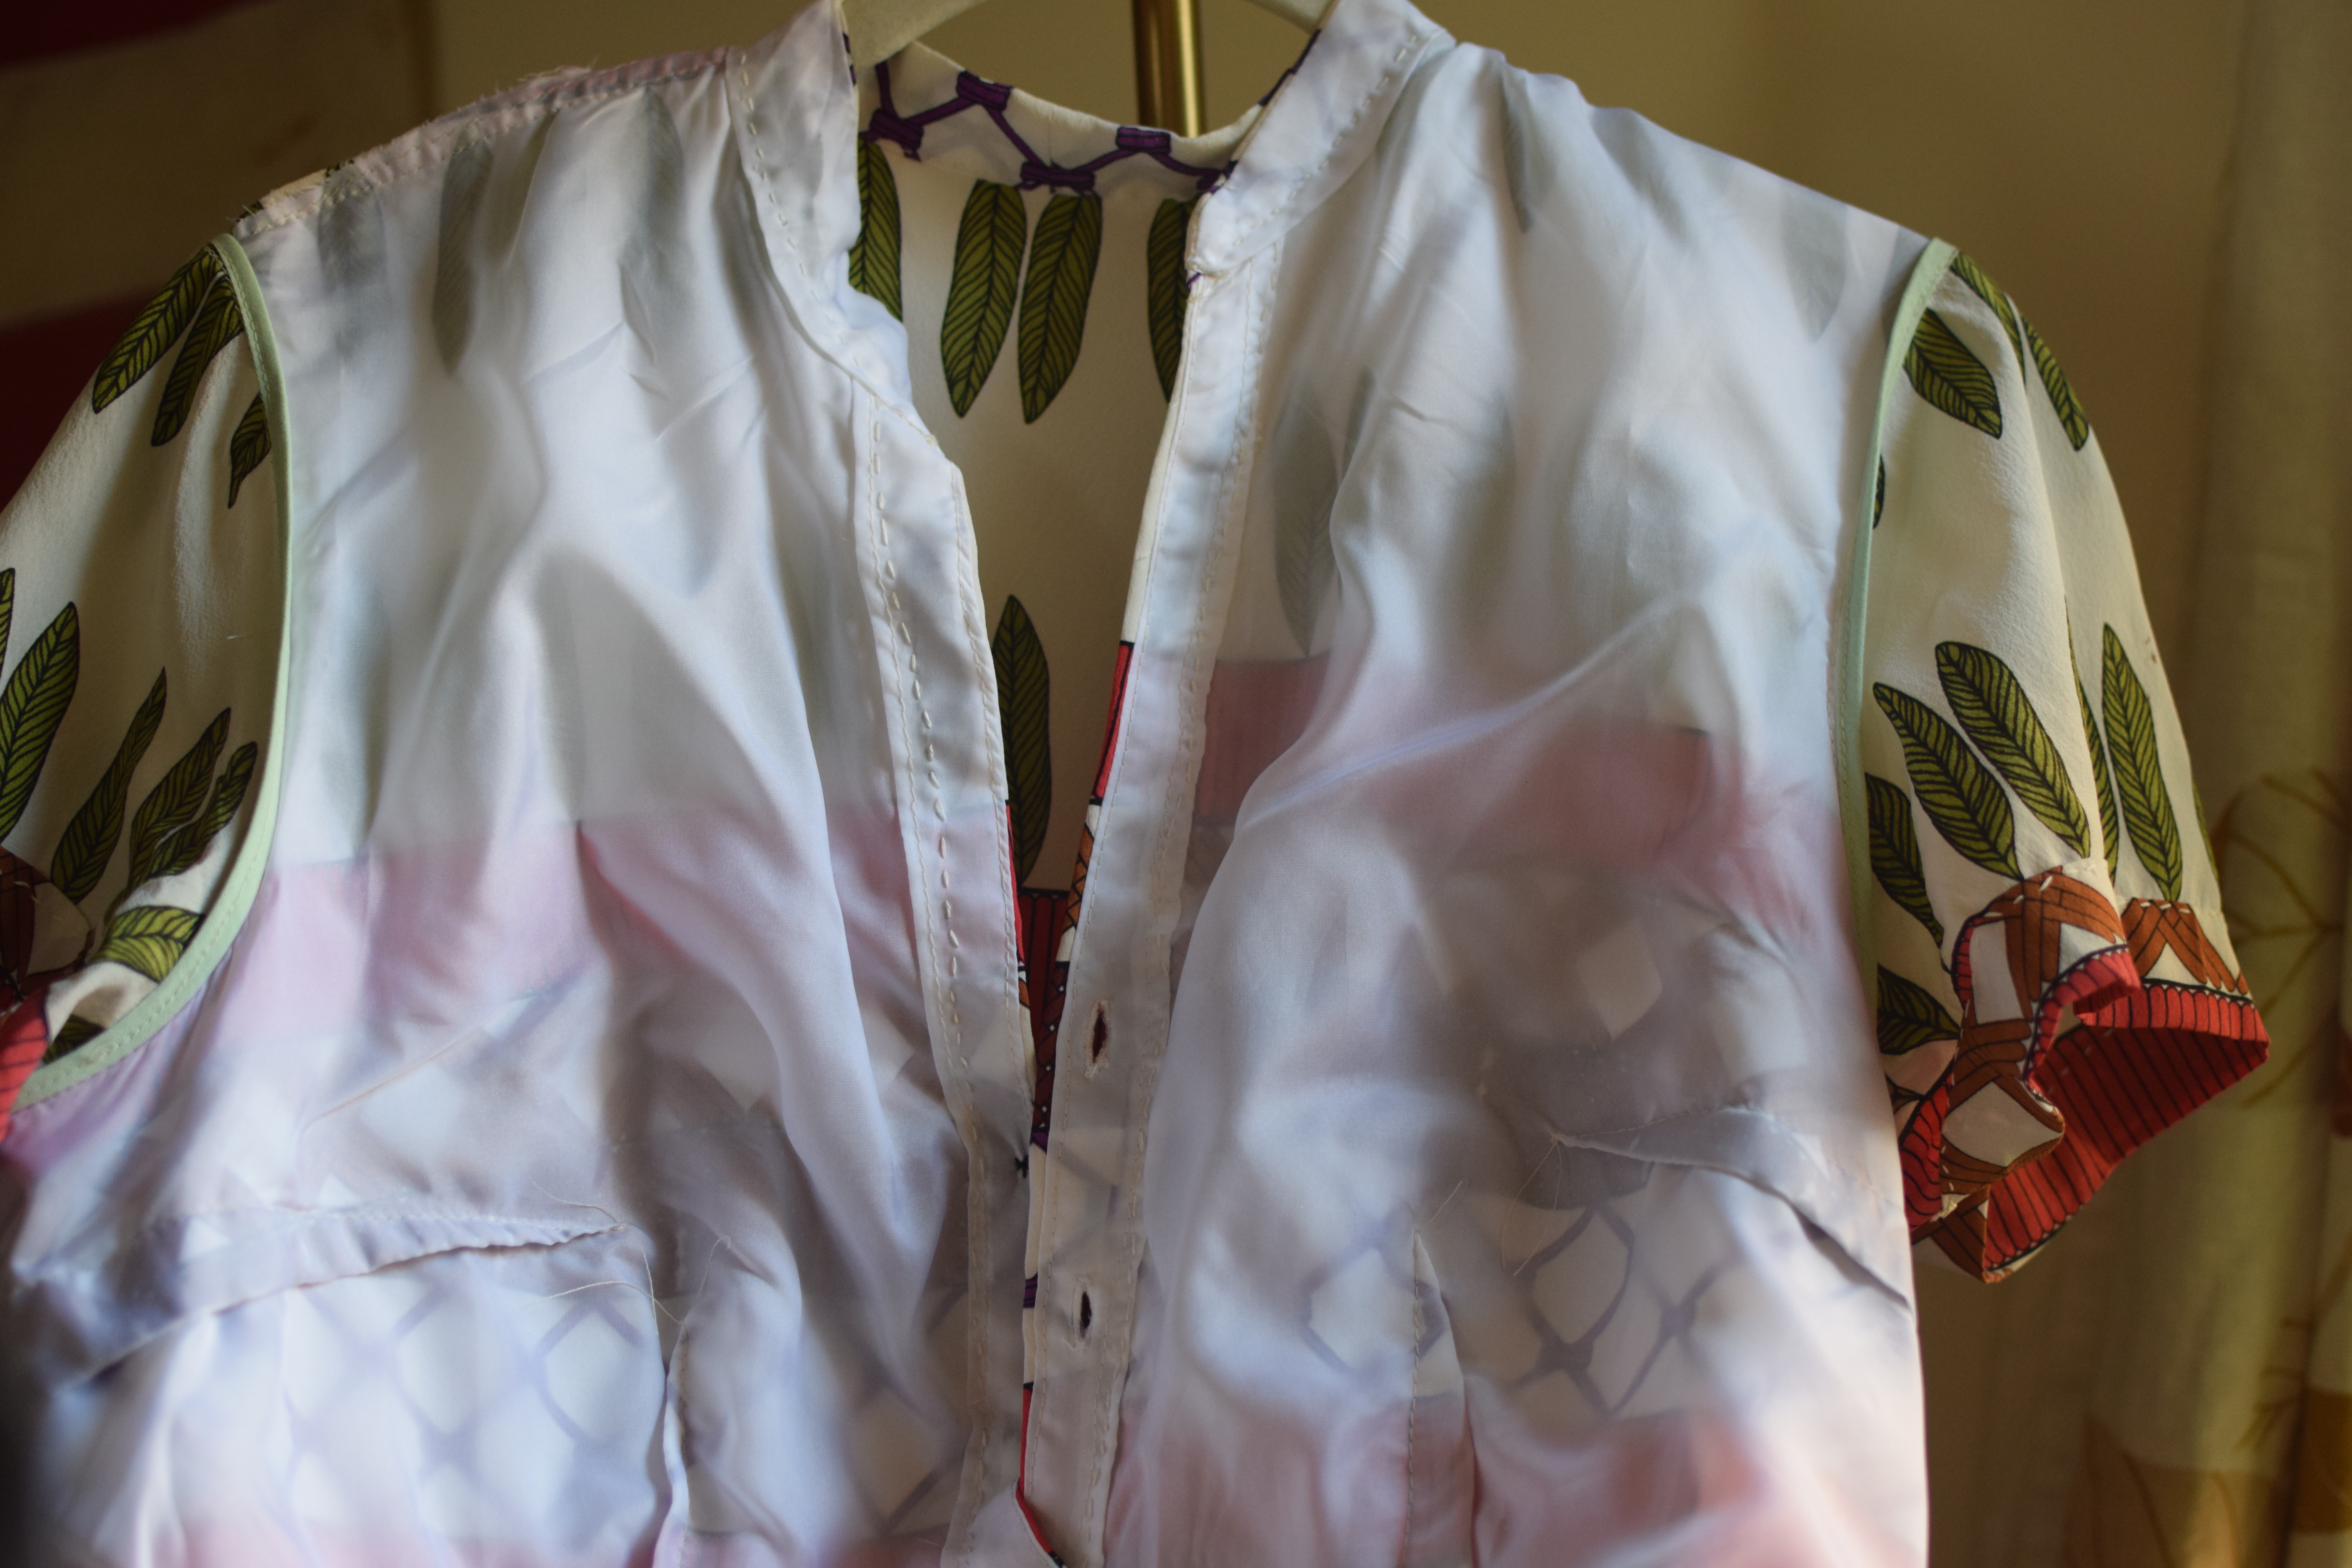
Because the silk is very sheer, and I am a sweaty person, I fully lined the dress with Bemberg rayon (THE BEST!). If I am going to be super-technical, I actually underlined the bodice and finished the seams with bias tape. 🙌for sewing 6 darts once, not twice!!
dress guts
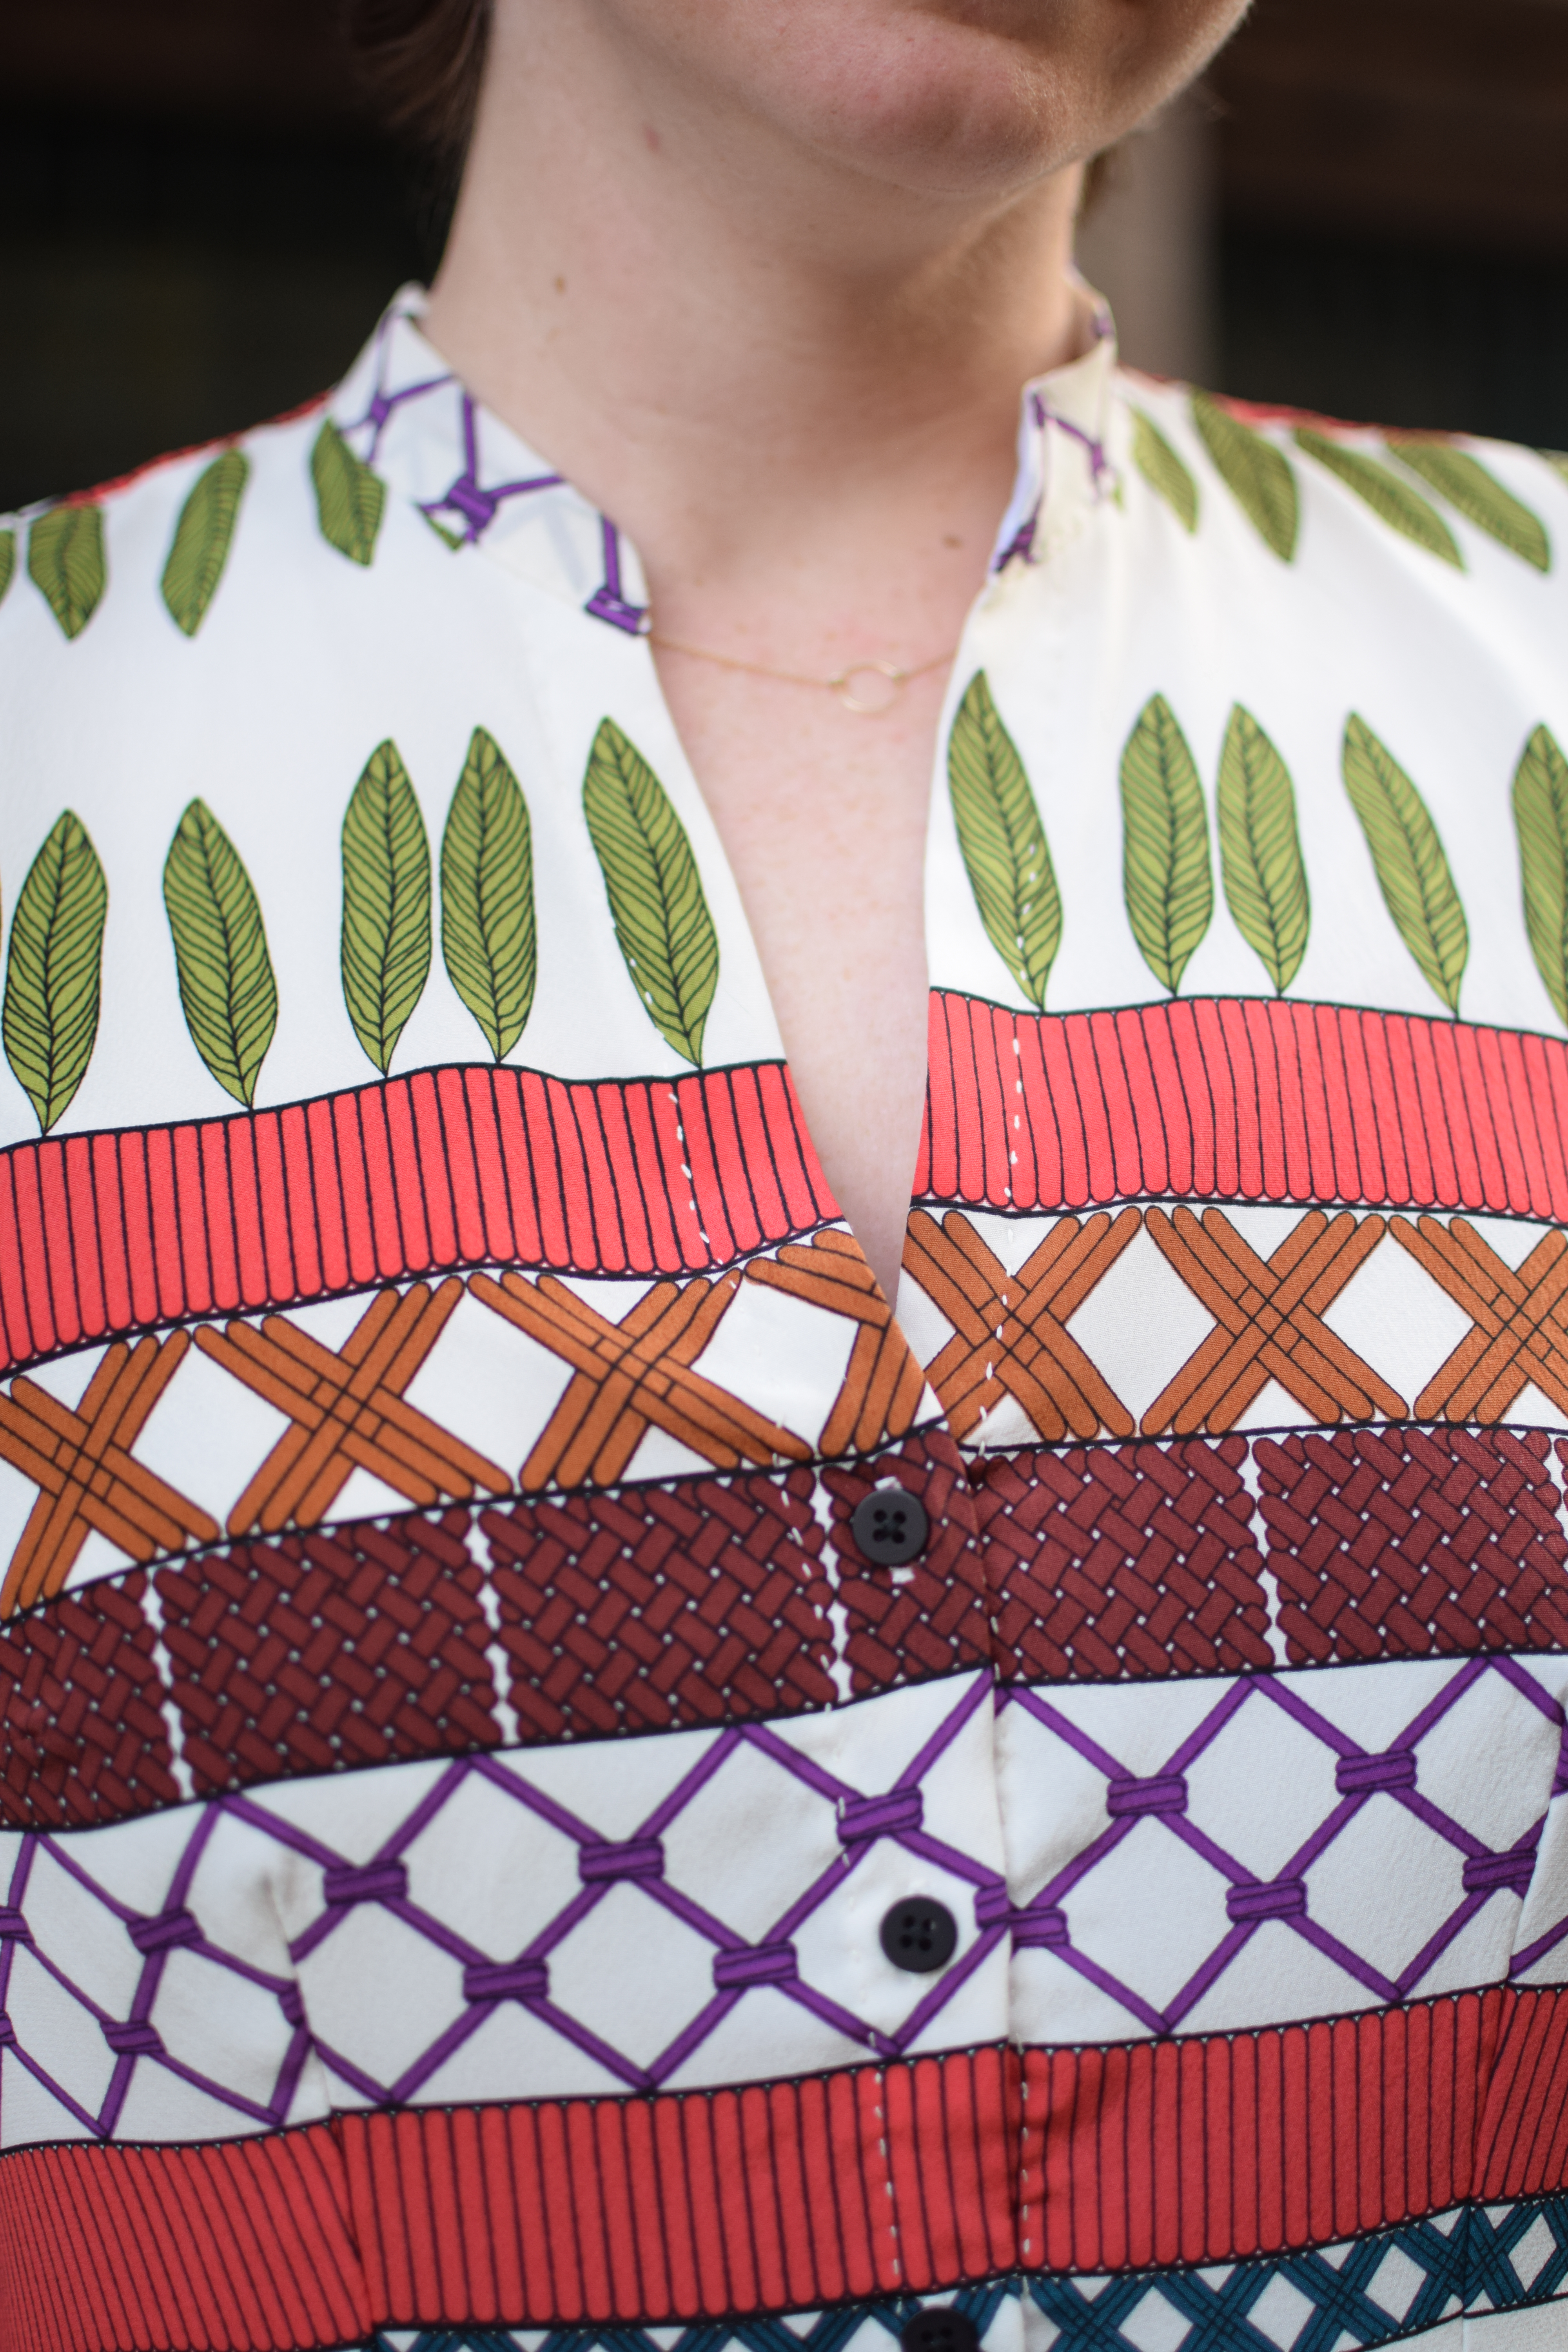
I hand-sewed the collar, sleeves and front facings with silk thread to make it feel special. I love how this detail looks! This print is so unique, and I love how I was able to use the different parts given how little fabric I had. I am especially happy that I found a spare sliver of the purple section to use for the collar.
I LOVE this dress. I am definitely going to make another with the ruffles soon. Based on other people’s reviews, I went down a size and I am happy with that decision. There’s still a lot of positive ease in the bodice and waist so its quite comfortable.
You can’t even see the pocket! Pattern matching FTW!
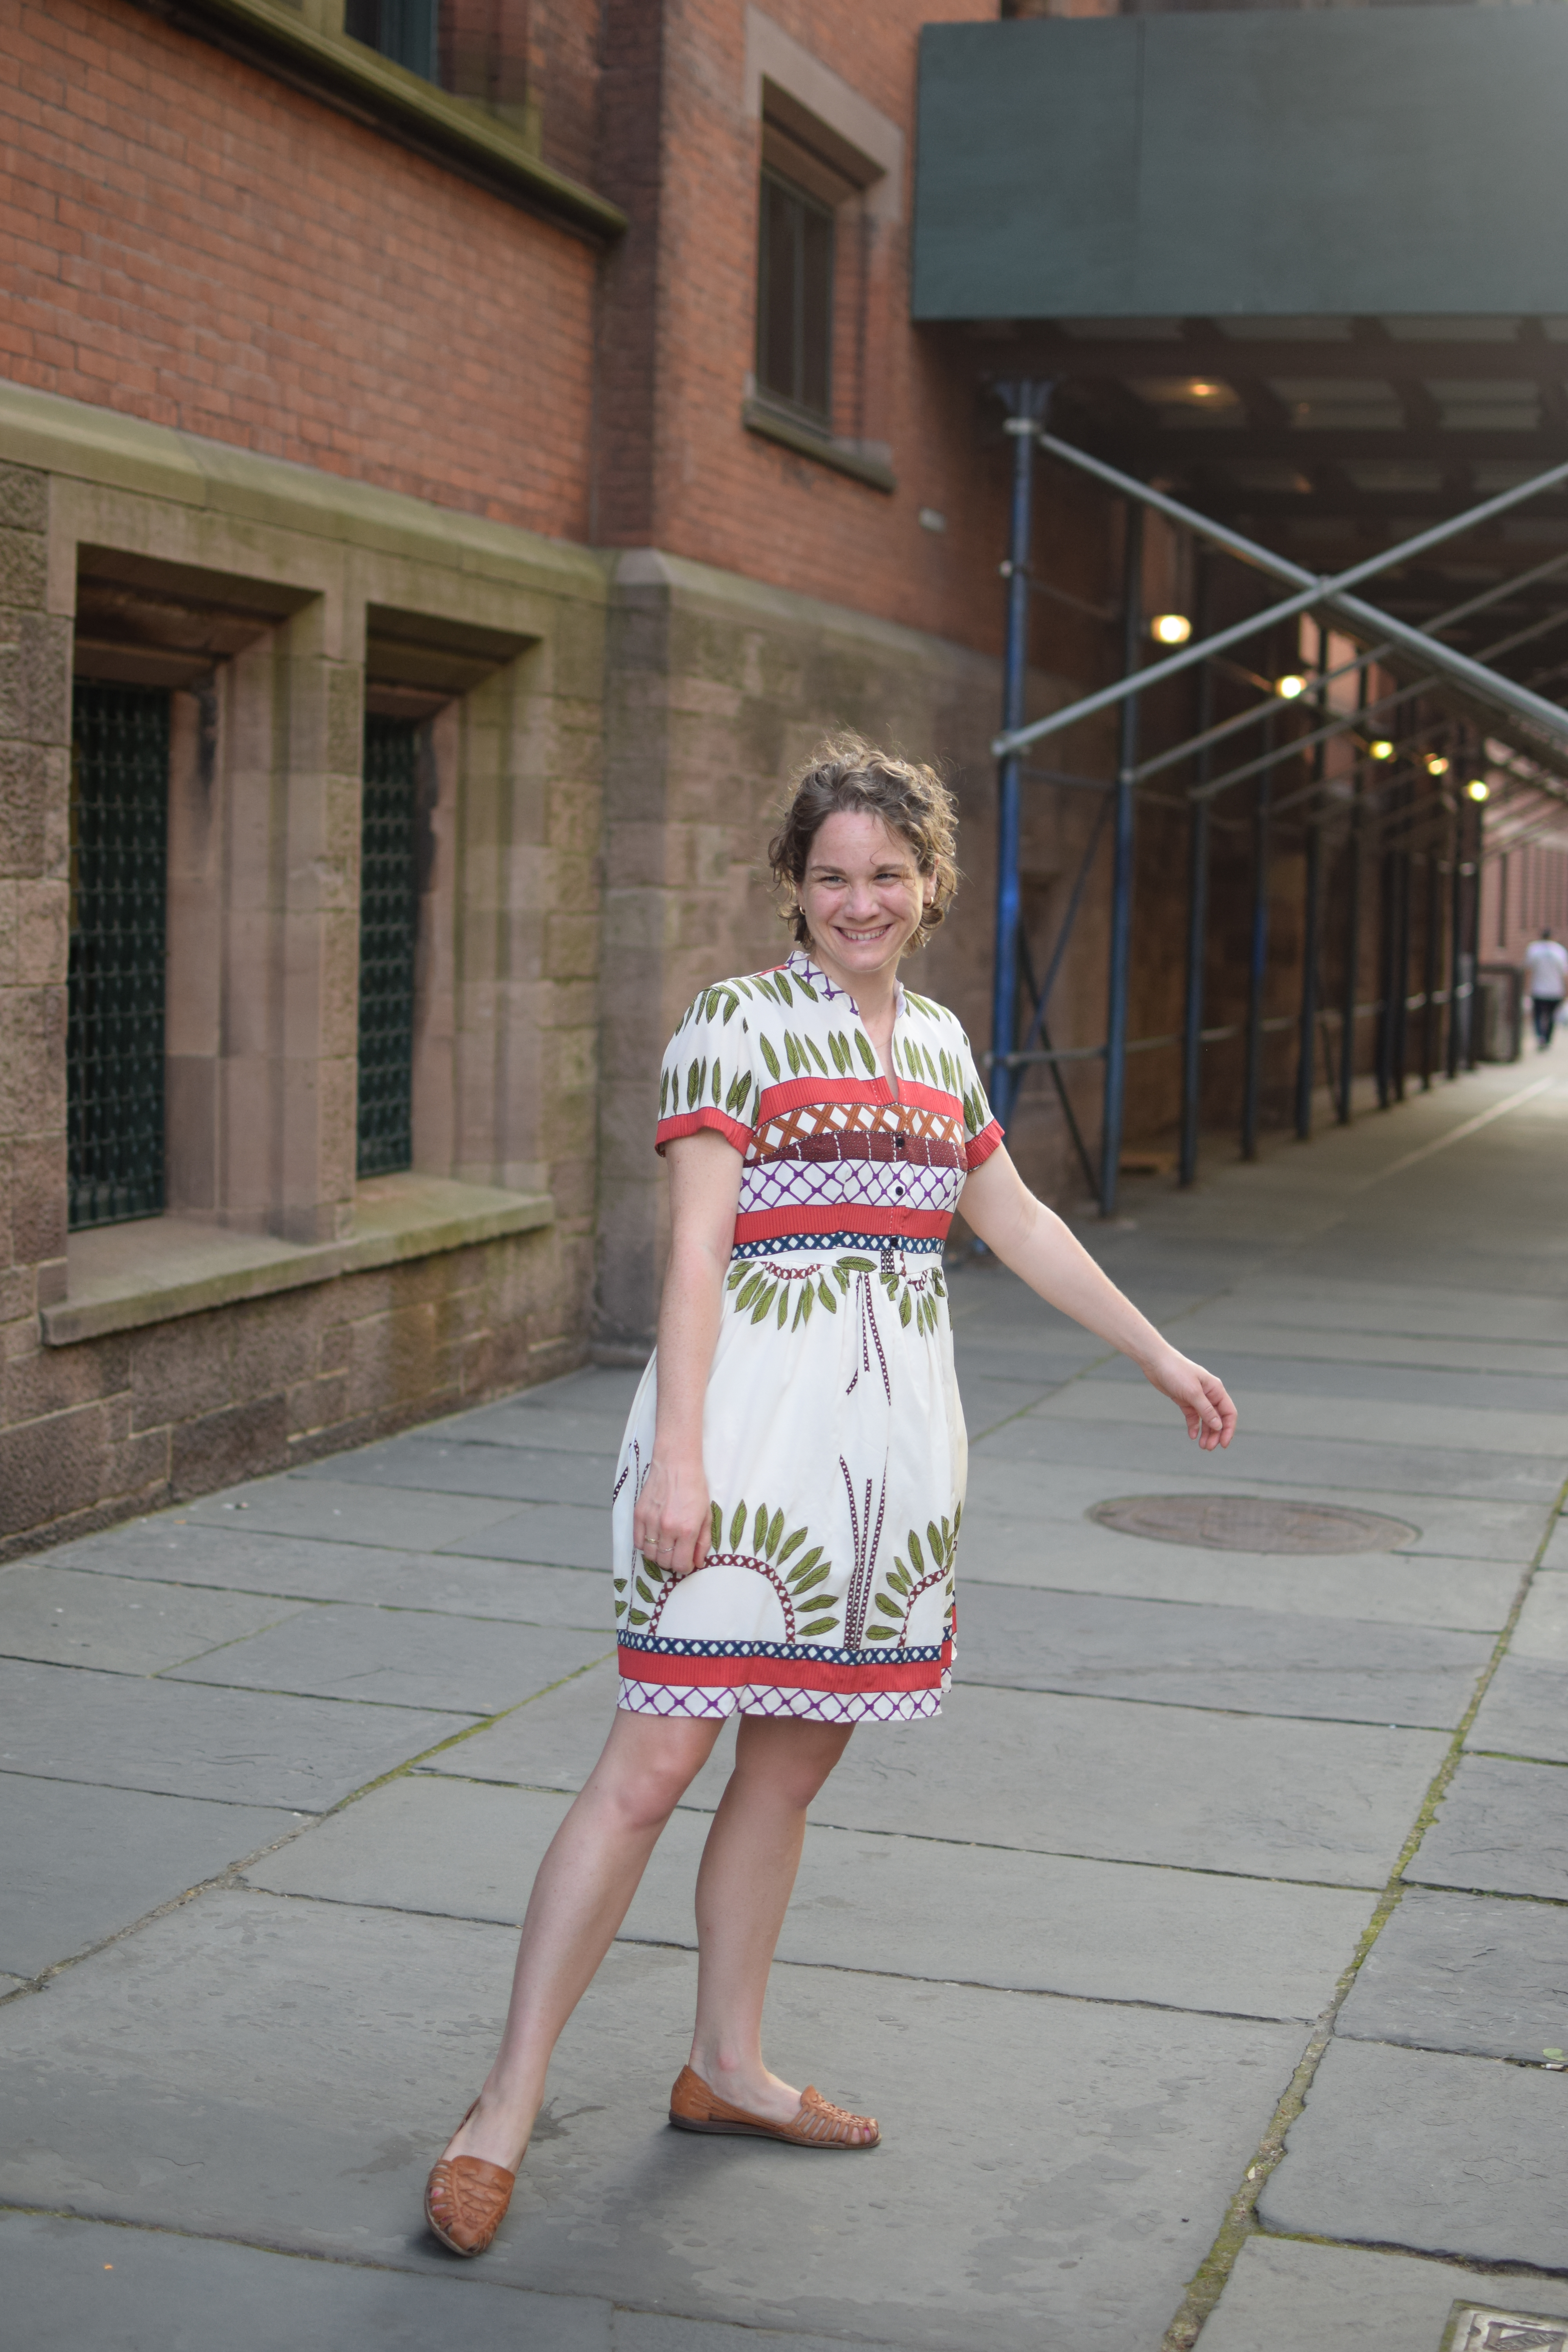
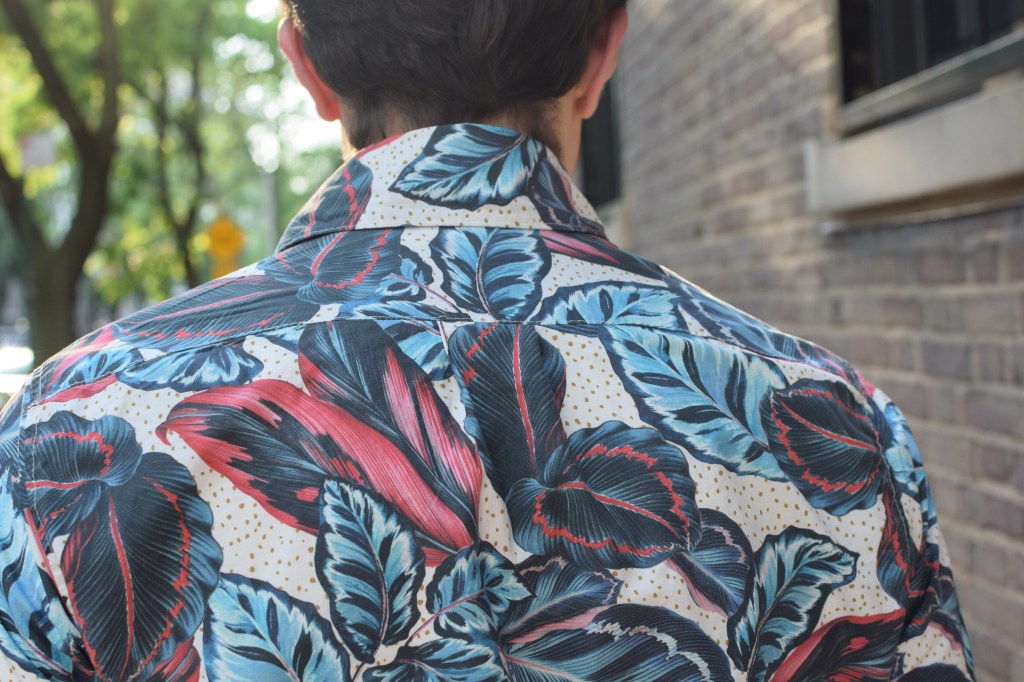
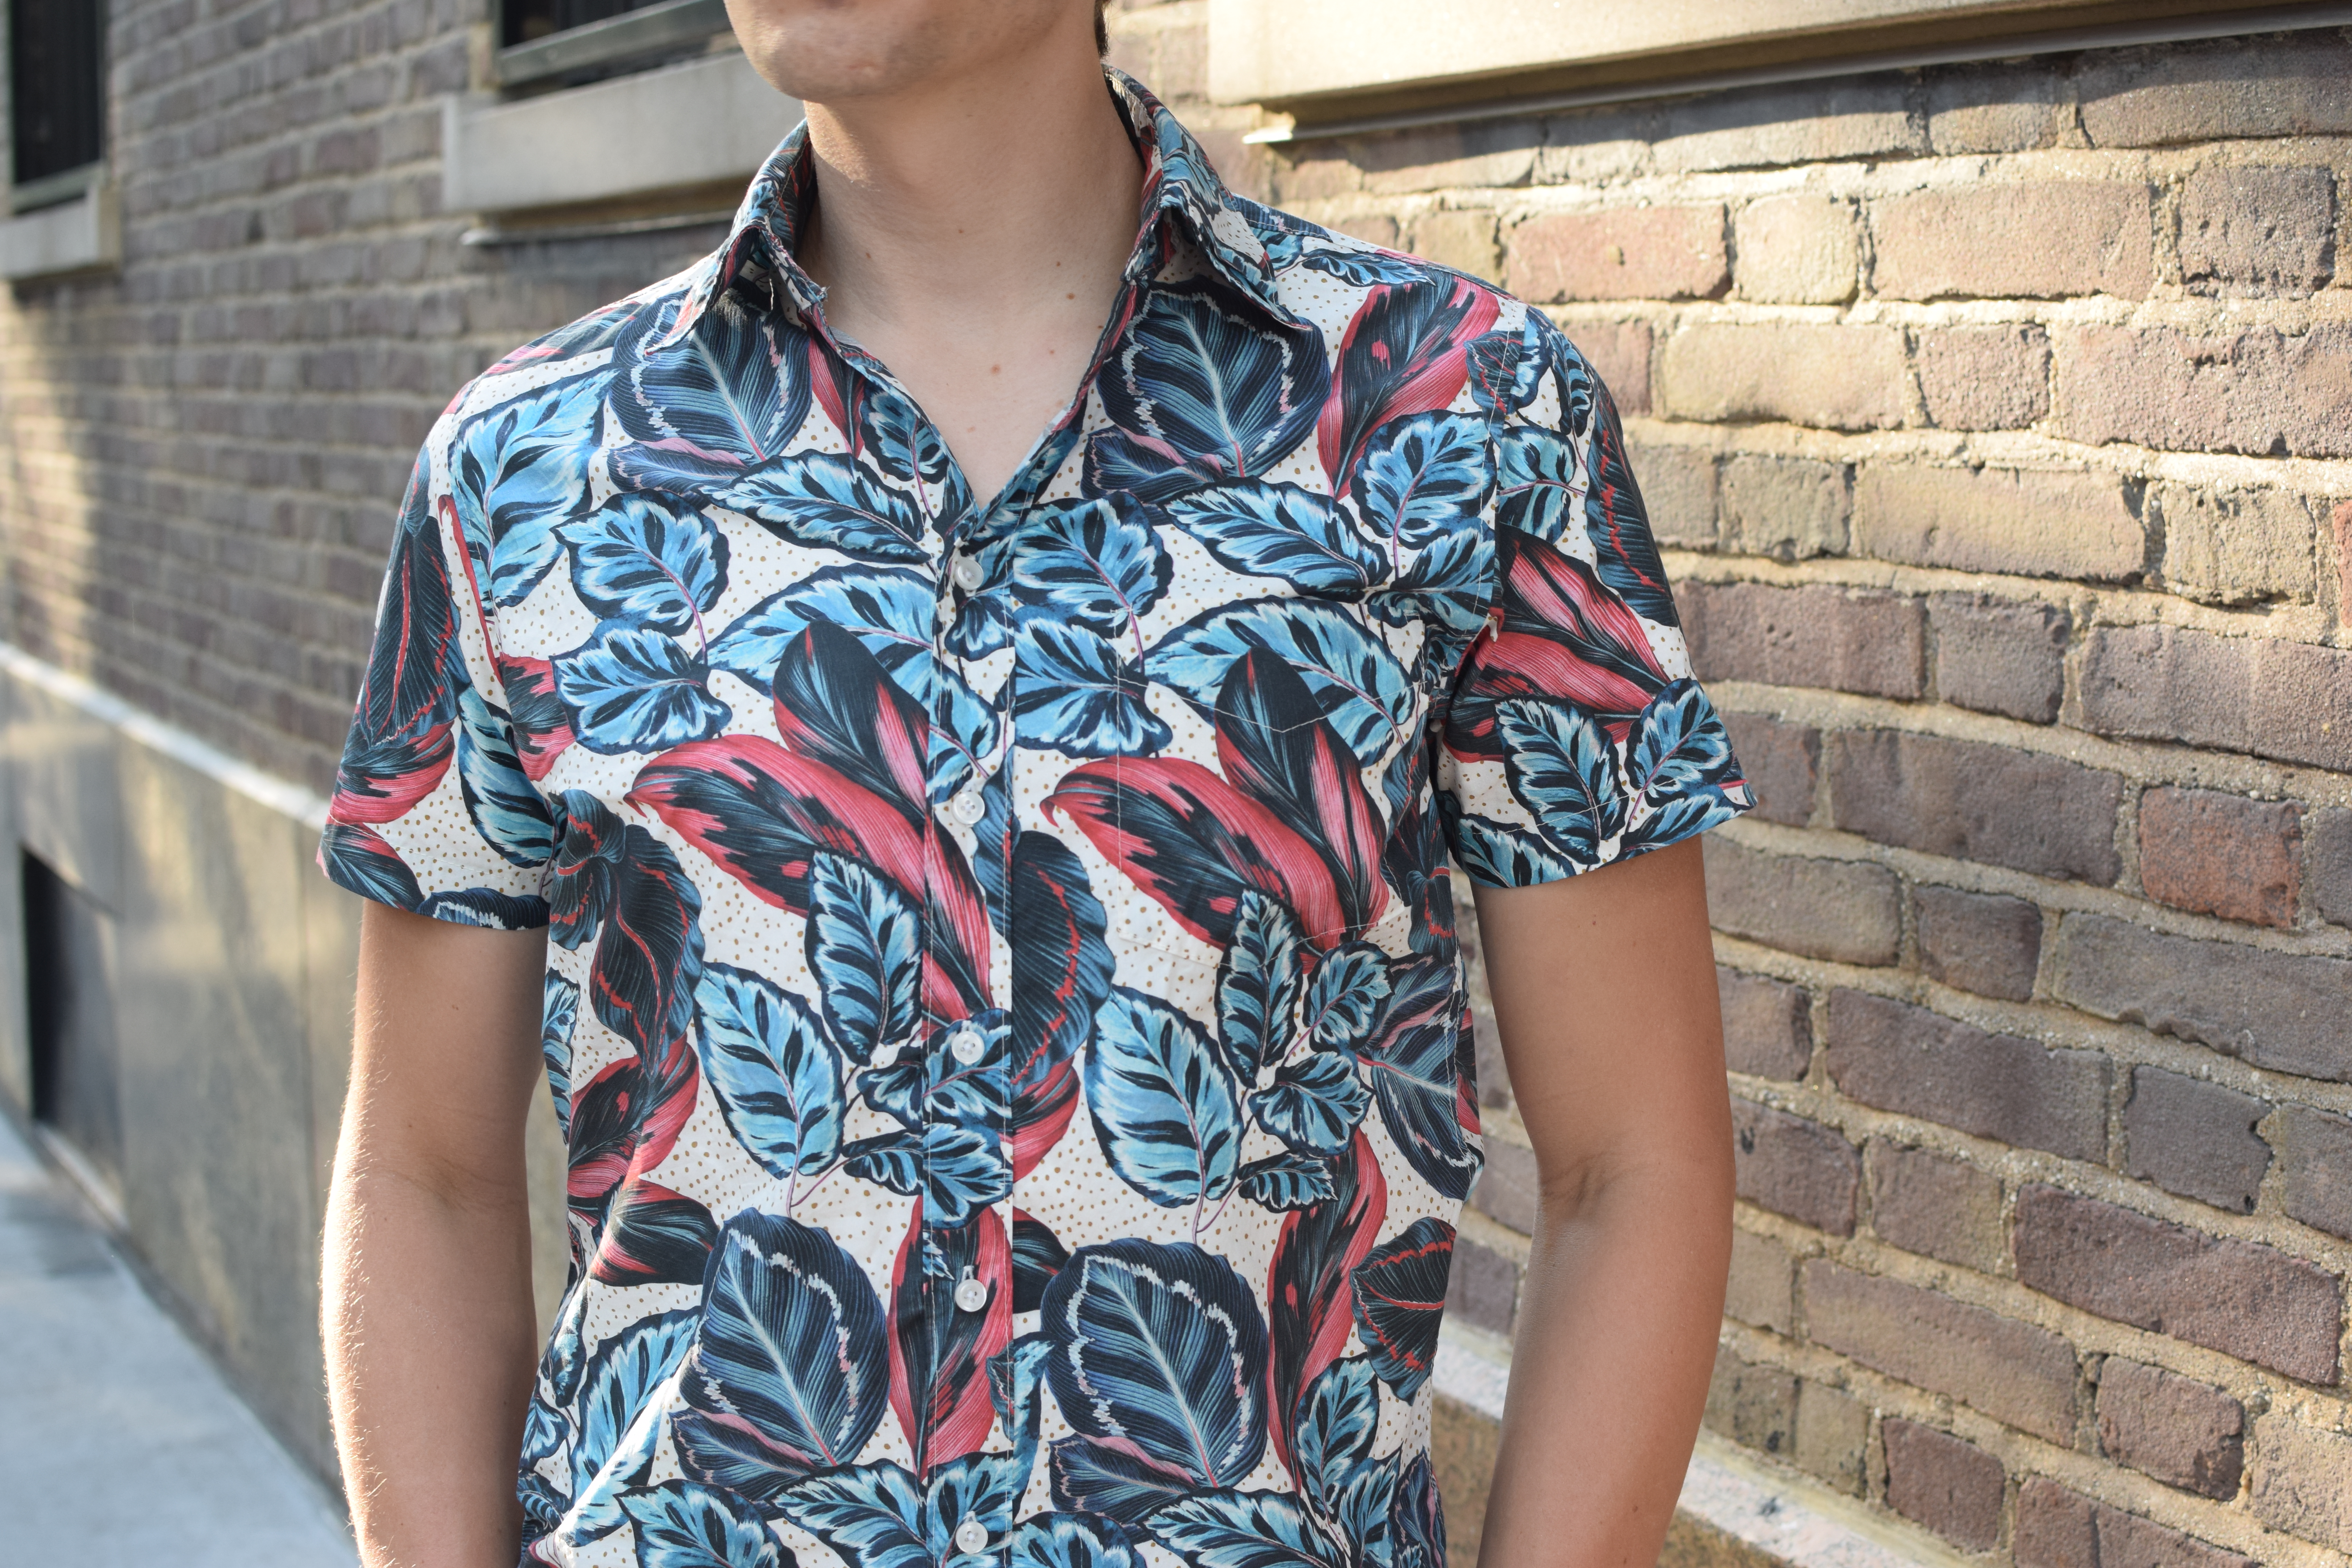
I’ve made quite a few collared shirts for Jacob over the years from different patterns but none of them fit him perfectly, so I ripped apart a RTW shirt that fits him well to make a pattern from it. I was pretty intimidated by the idea of this, but it wasn’t too hard.
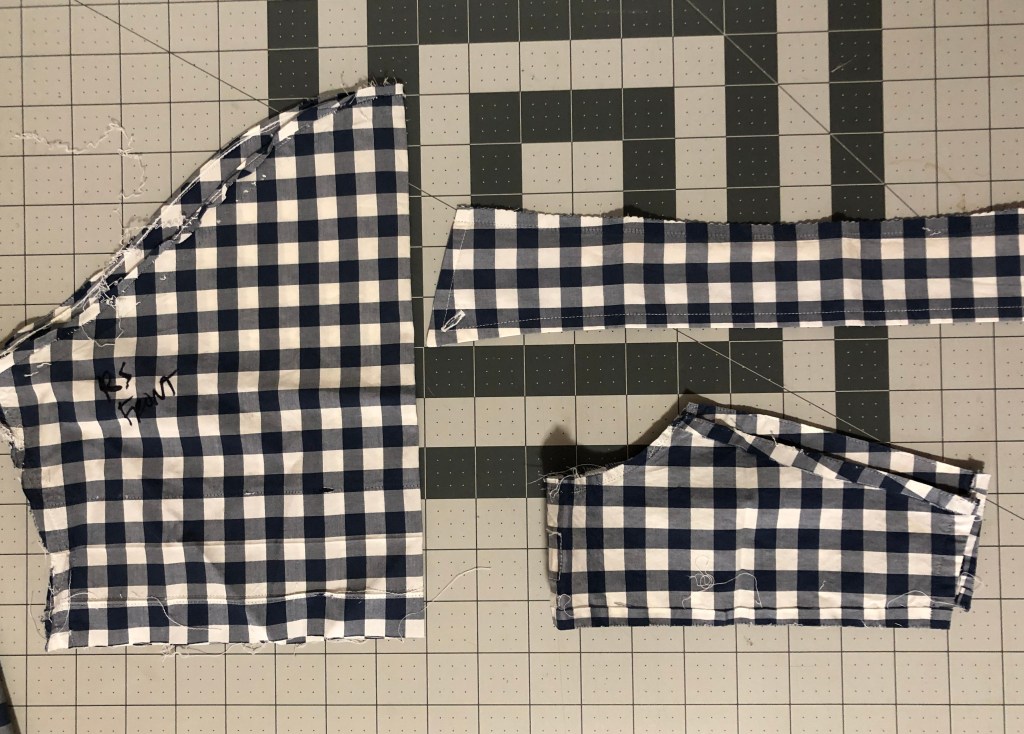
To start, we went to the thrift store to find a short-sleeved shirt that fit well. Next I spent an hour or so seam ripping it while watching TV. I found this strangely meditative, and it went very quickly. I dissected almost everything completely, except one side seam and the center front folded stuff, I ripped those just enough to figure out what was going on there.
Some of the shirt pieces.
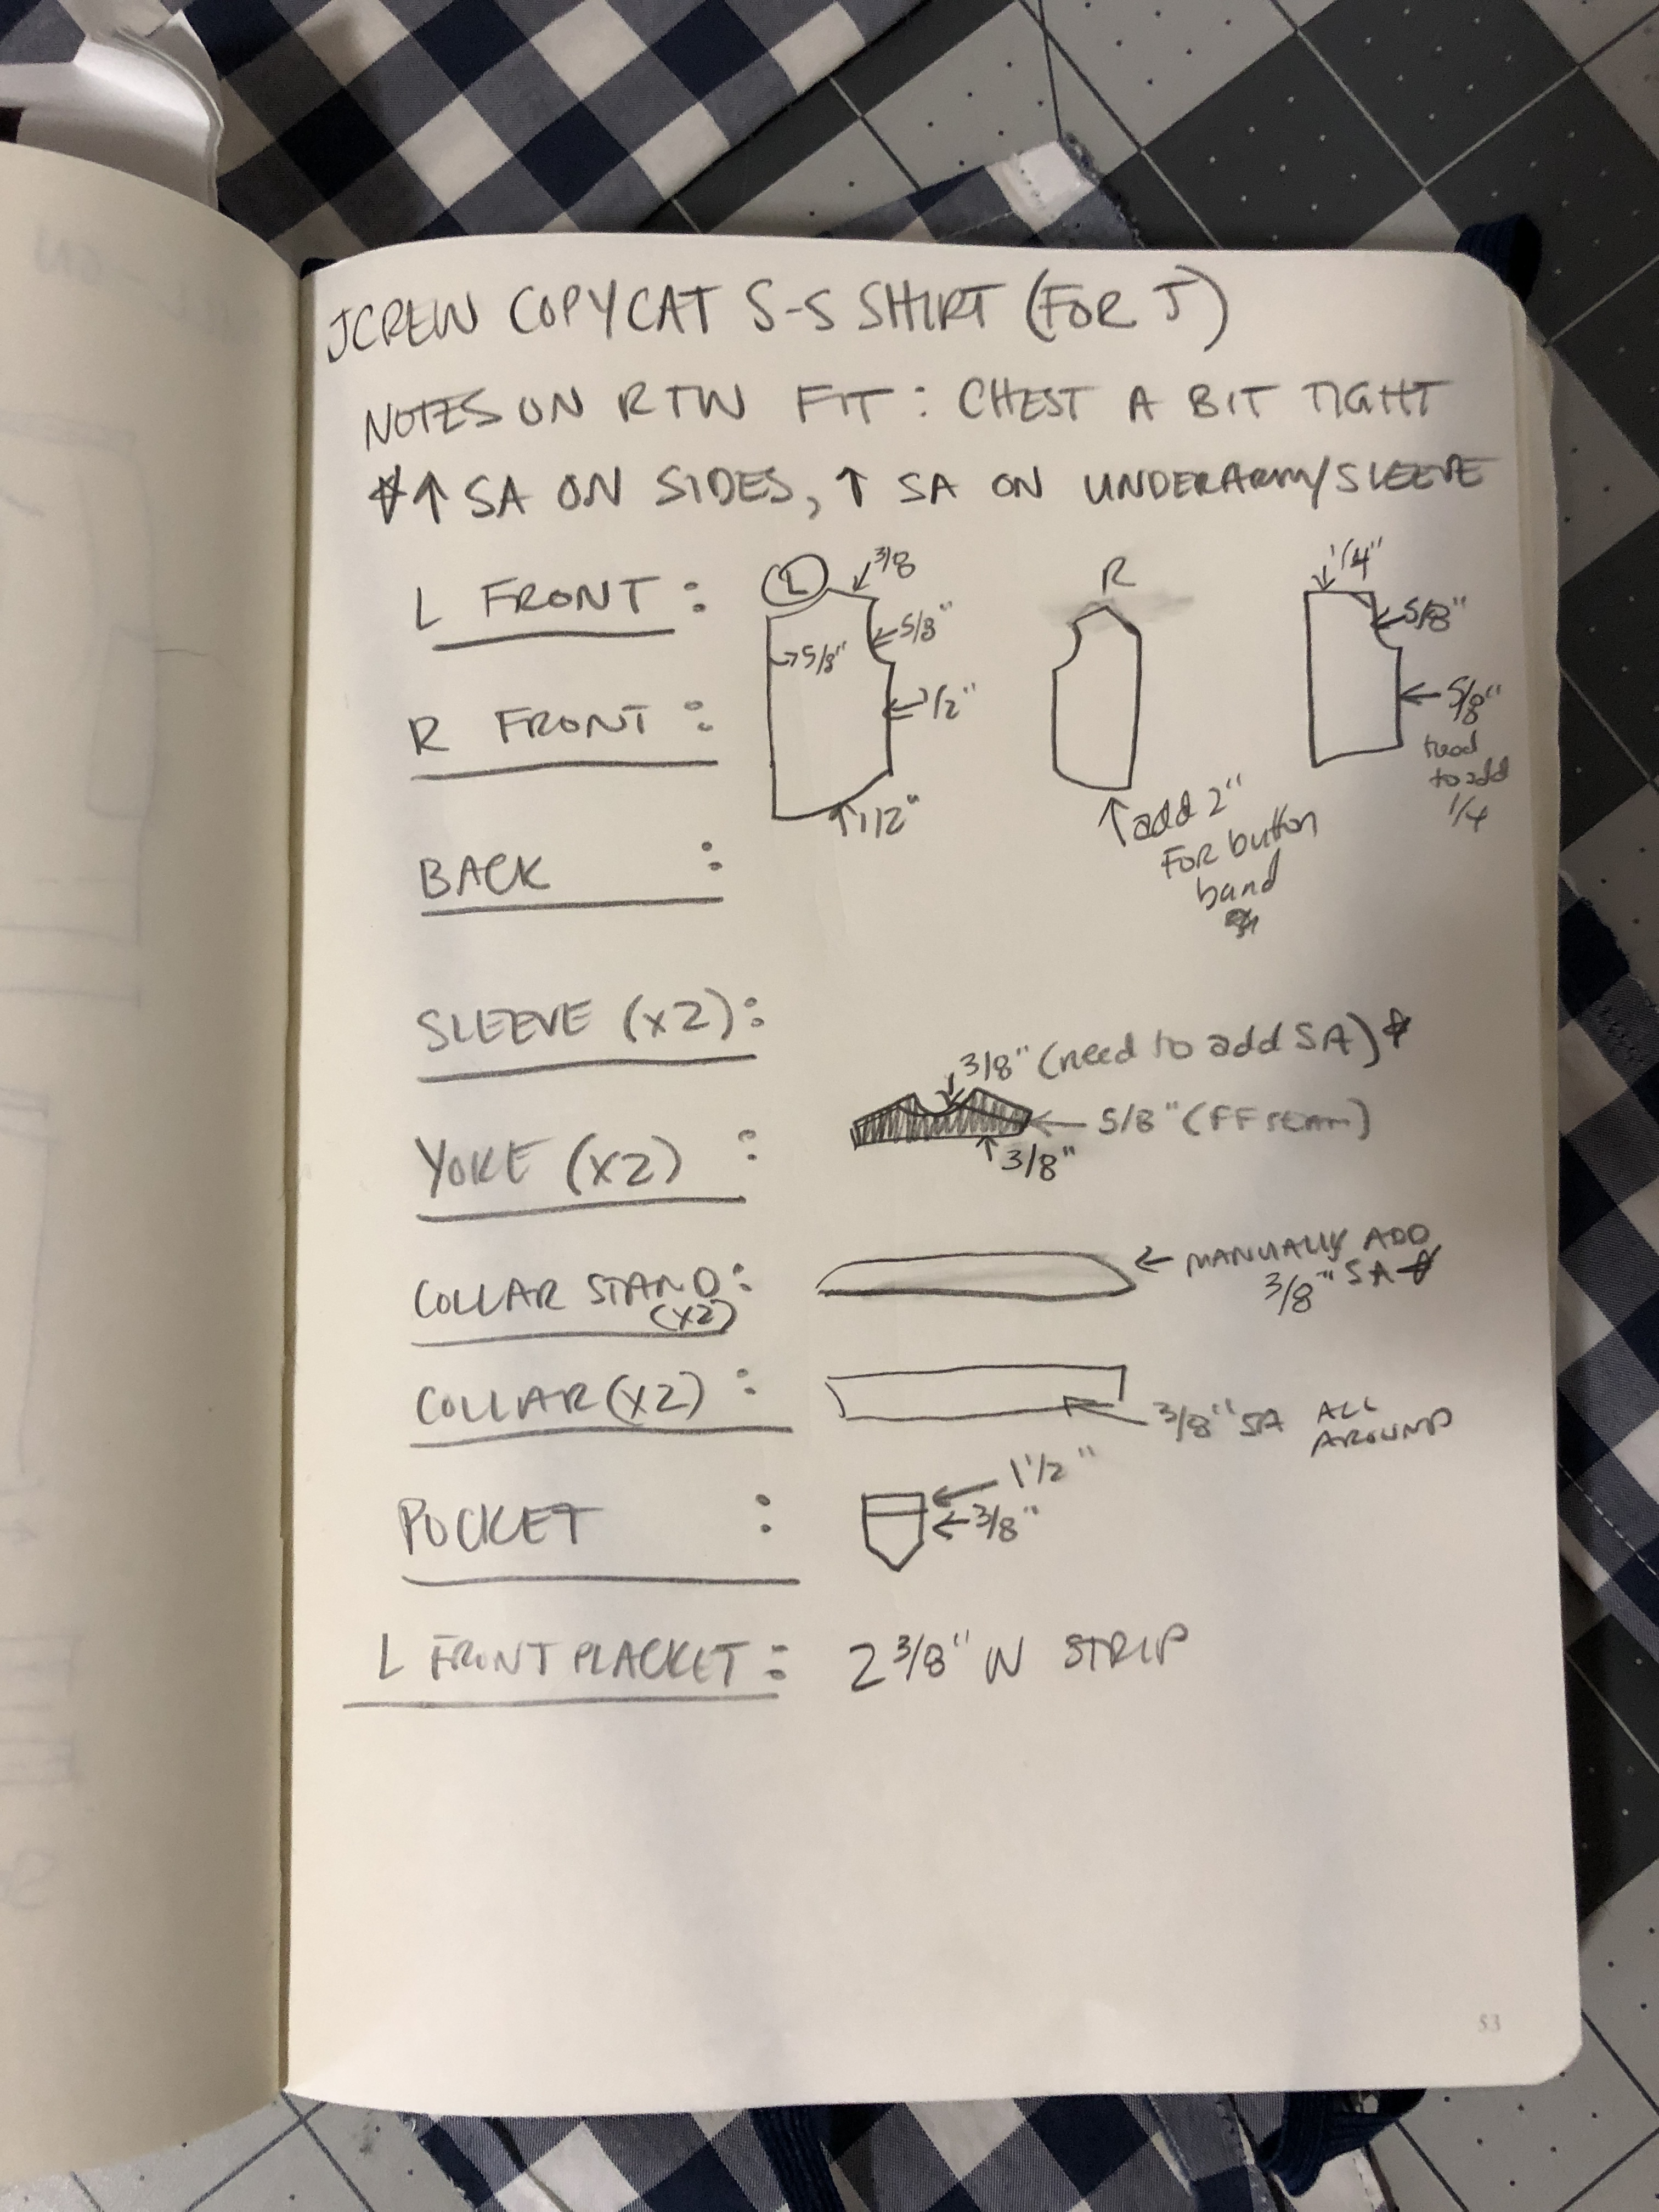
I noted the seam allowances and where they were trimmed down. I then traced the pieces and added SA where necessary. I harvested the buttons from the shirt to use on my version.
Scribbles for notes.
At this point in my sewing life, I have sewed several collared shirts so I didn’t need instructions. It was helpful to have the seam-ripped pieces handy to check things, like where to put the pocket. It was SO EASY to lay the RTW left front over my cut one, and figure out the perfect pocket placement. My buttonholer hasn’t worked since the Jean Jacket Saga of 2018, so I took this shirt to Jonathan Embroidery and they sewed the buttonholes perfectly and quickly.
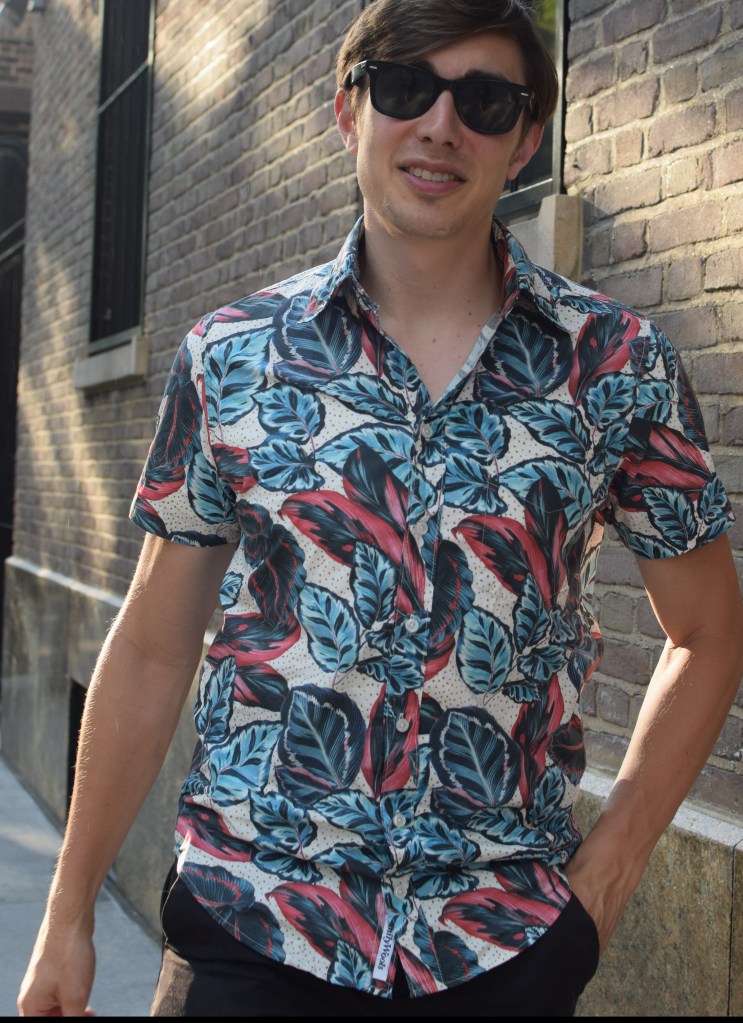
The verdict? Jacob is really happy with the fit of this shirt, so its going to become his go-to short sleeved shirt pattern! He requested a fun fabric so he could participate in “tiki shirt Fridays” at work this summer, and I am in the process of sewing a second one in a more subdued check.
My friends have welcomed lots of little ones into our world over the past year! I’ve made a few gifts and have accumulated a stockpile of photos, so I think its time to post about these cute projects.
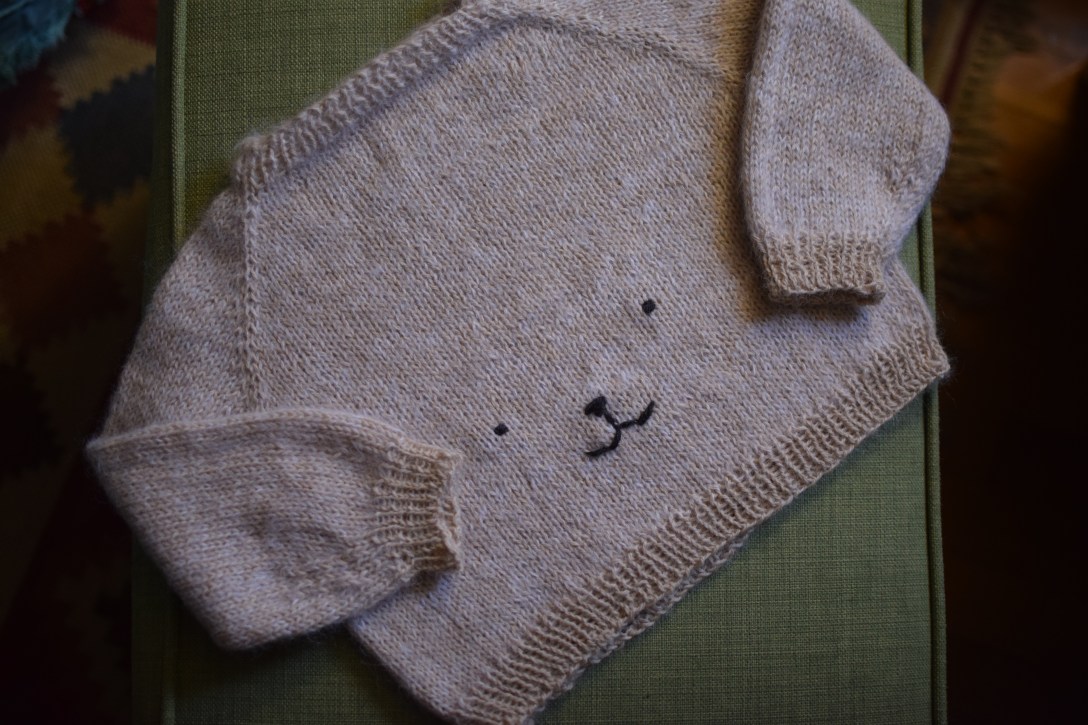
First, the Teddy Bear Sweater. I saw Lizzie knit this awhile ago and I just thought it was so cute that I had to make one, too. The pattern was pretty bare bones, but that little face really makes this feel so special. I sized it up to what I hope is a 3-6 month size, but its really hard to know how big to make things, its sort of just a wild guess.
Teddy Bear Sweater
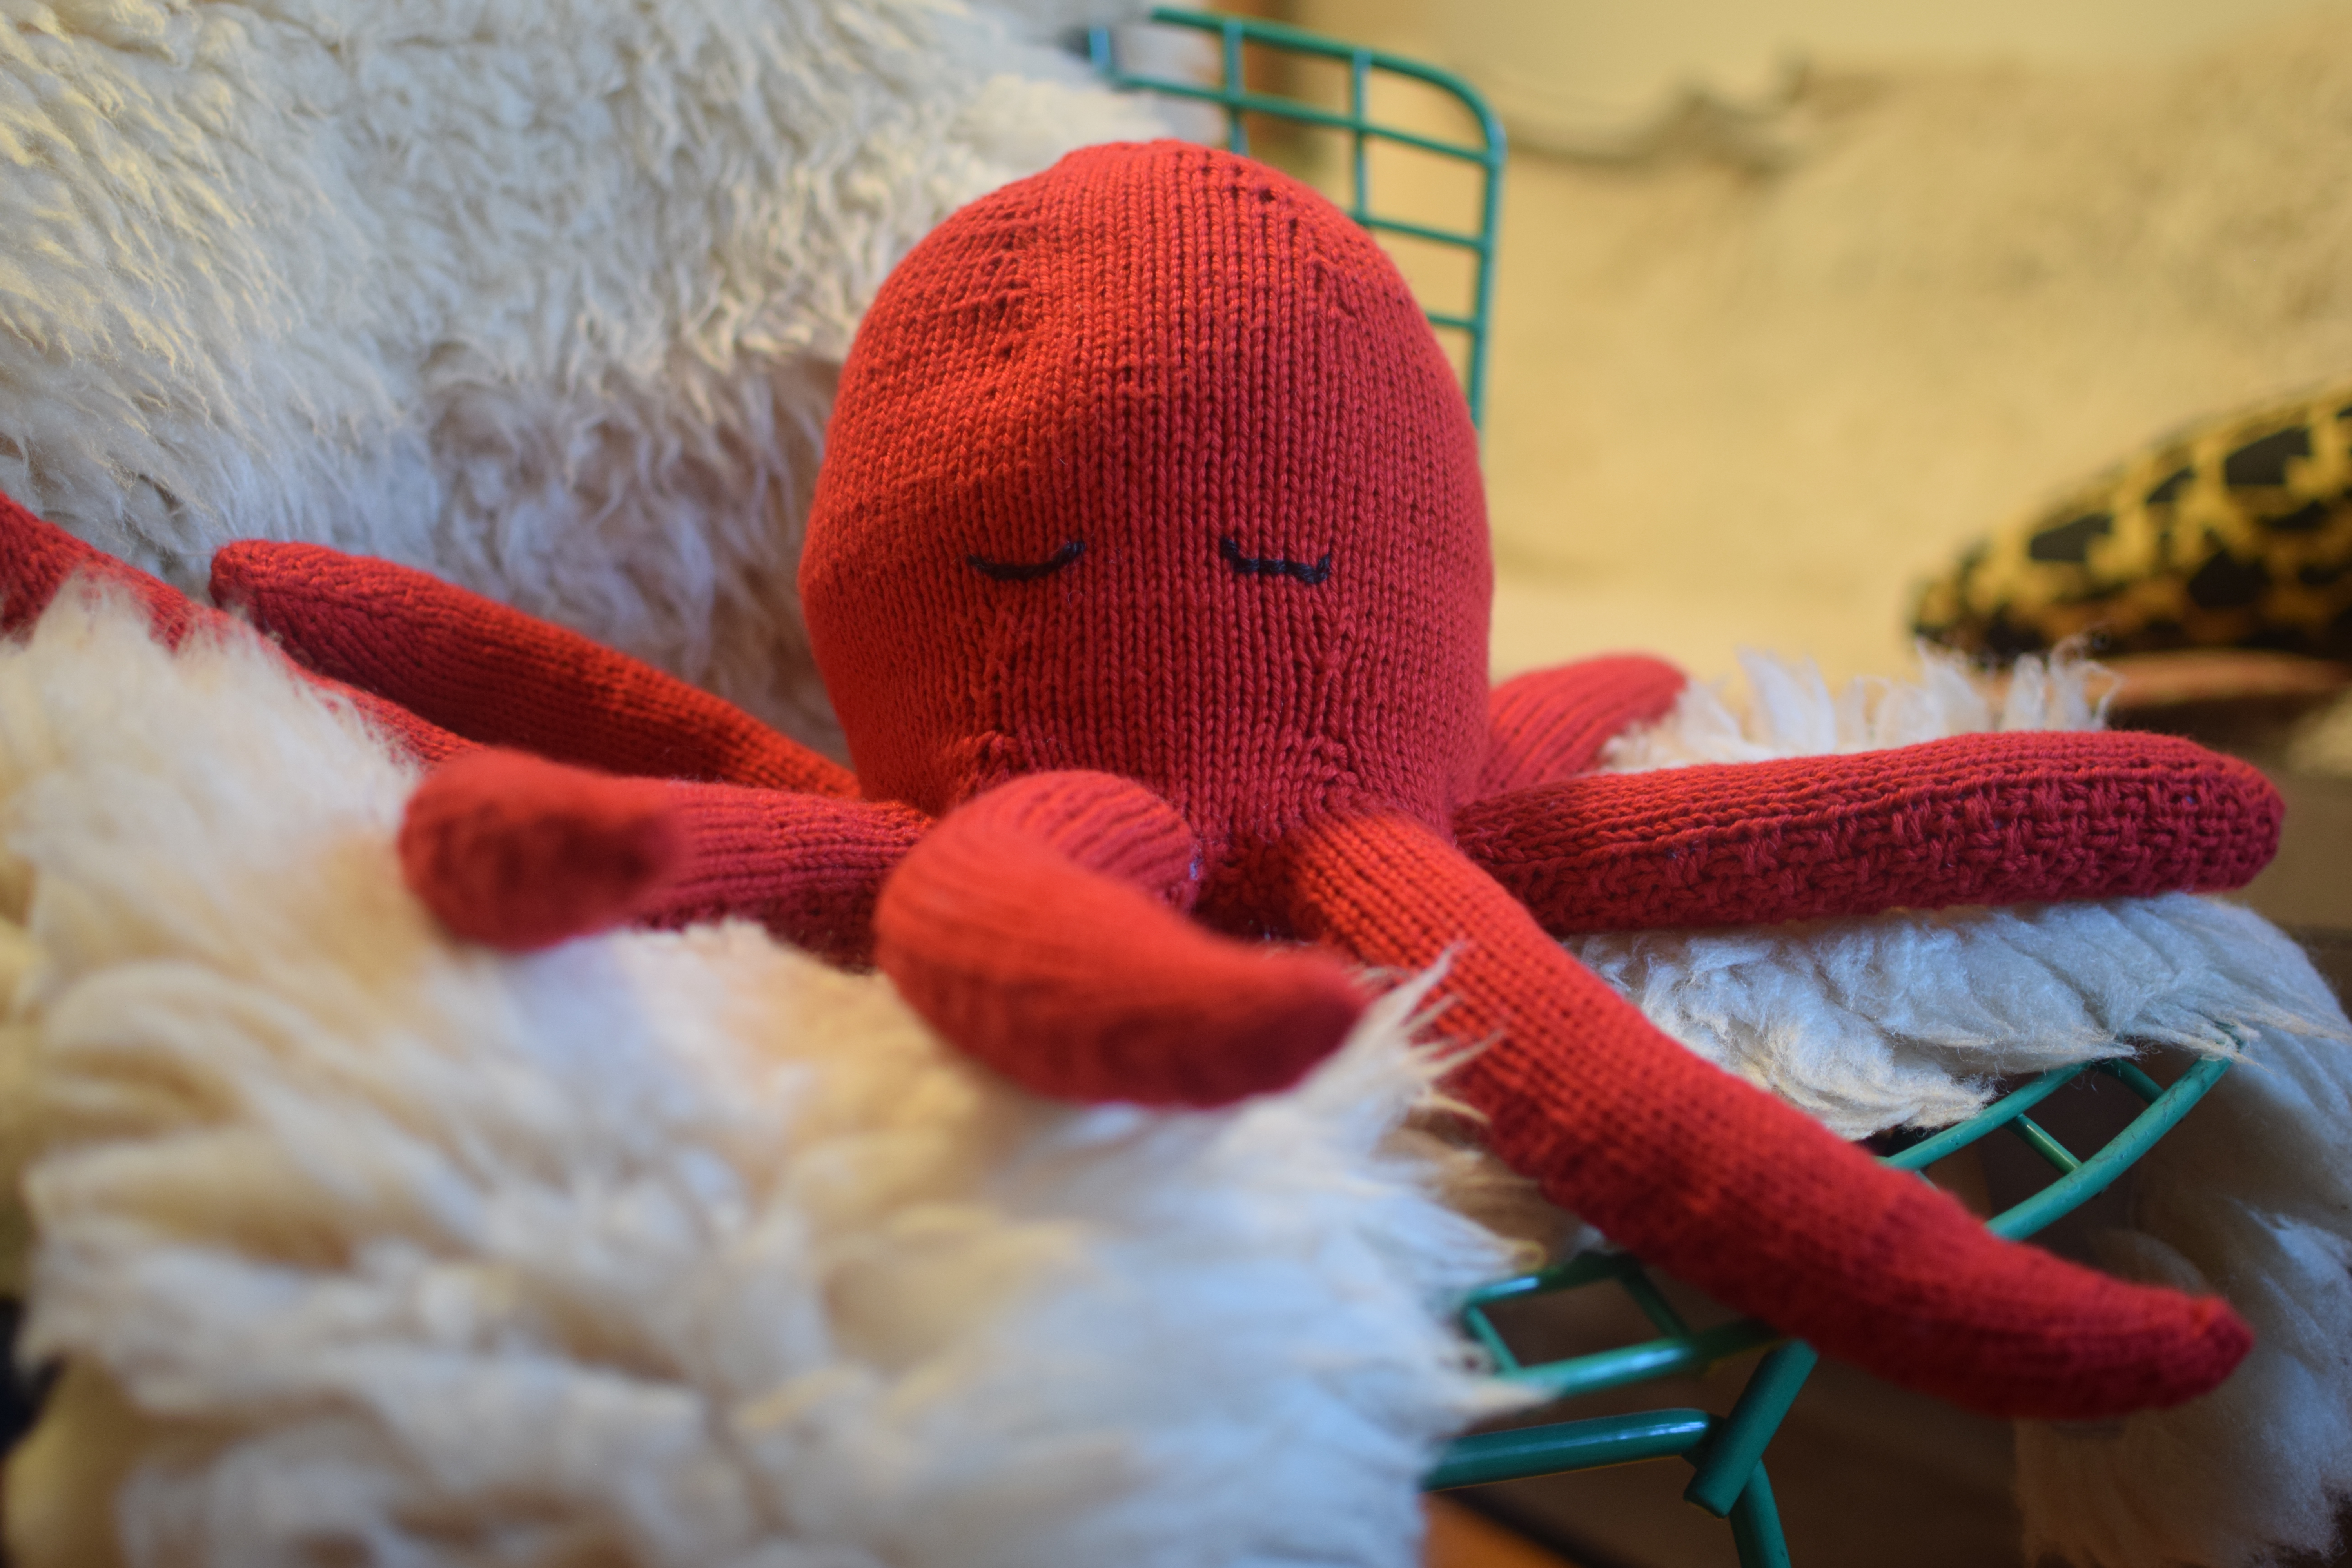
I also made this pretty big (and pretty cool!) octopus. I remember knitting the tentacles on the train and got some pretty weird looks from strangers. If you ever had “second sock syndrome,” try knitting 8 of these bad boys. Luckily the yarn weight makes them go quickly. I love him, though!!!
Octopus
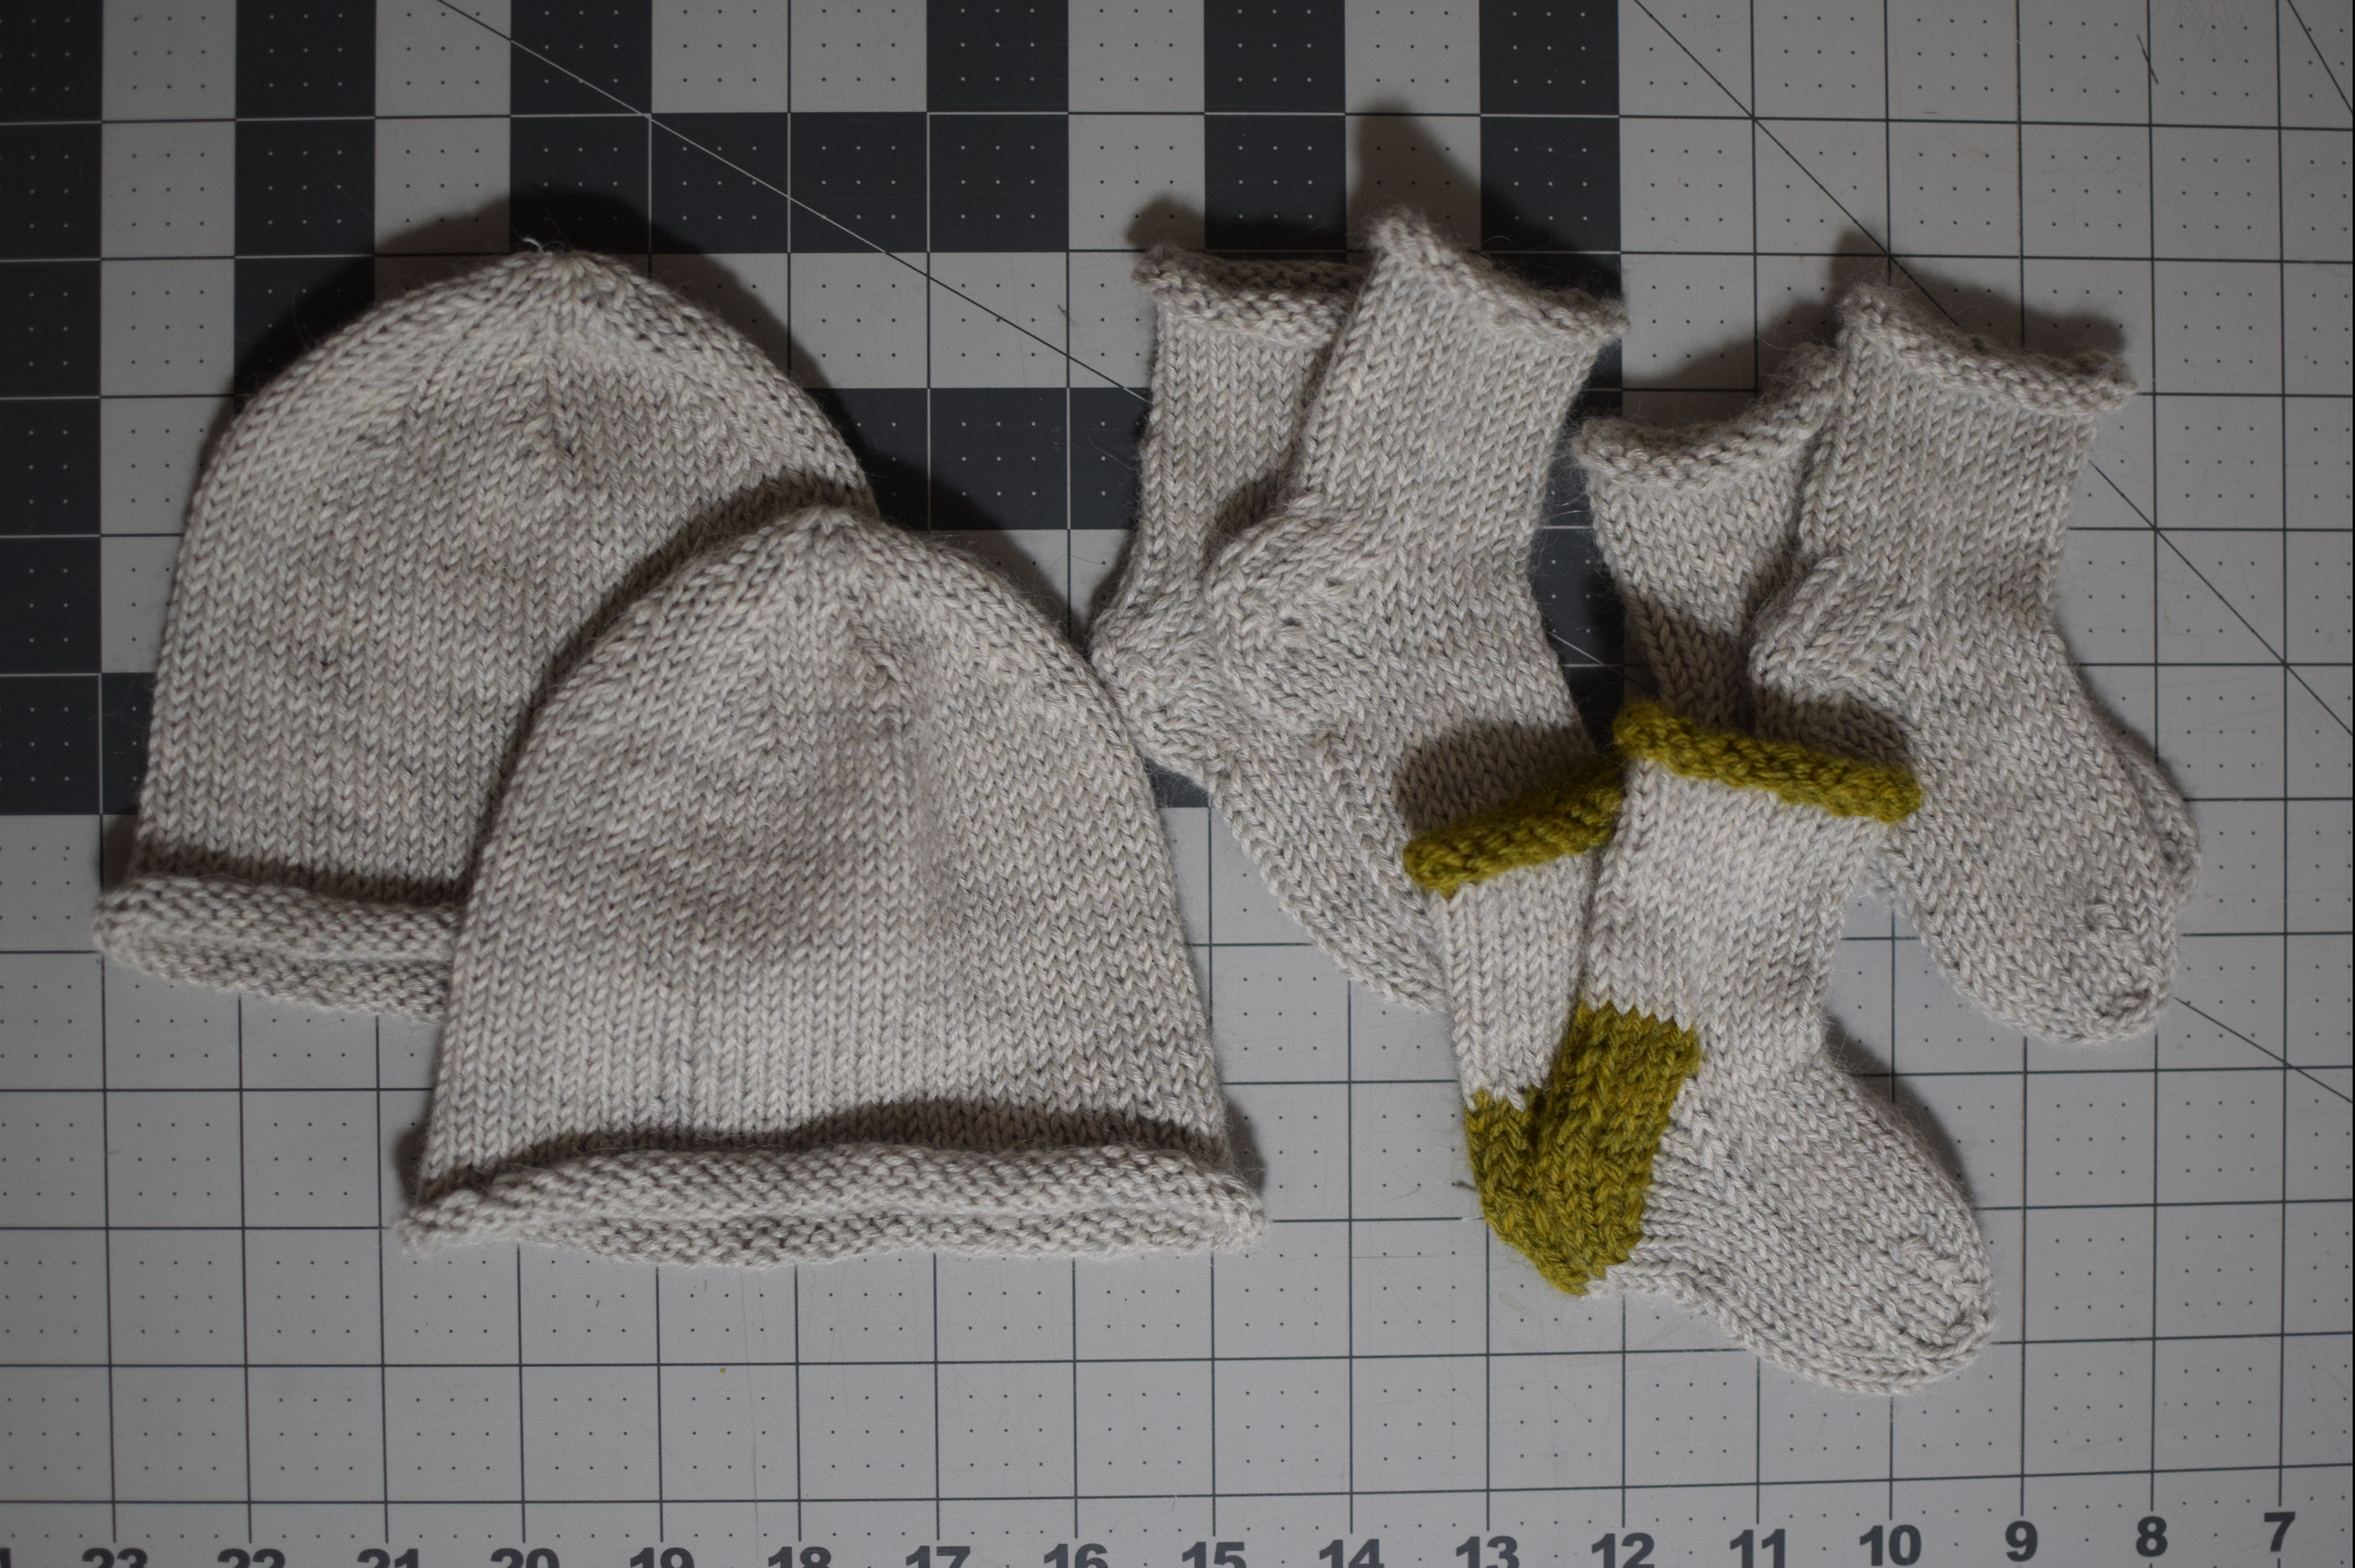
Here are some baby socks from Purl Soho, and hats with a pattern I made up. These ended up being sized perfectly for a newborn head!!! What are the odds!?
Rhys: born to be a knitwear model.Baby hats and booties
And last, but not least, I just sent this set away to California for a baby who hasn’t been born yet! I hope he likes them.
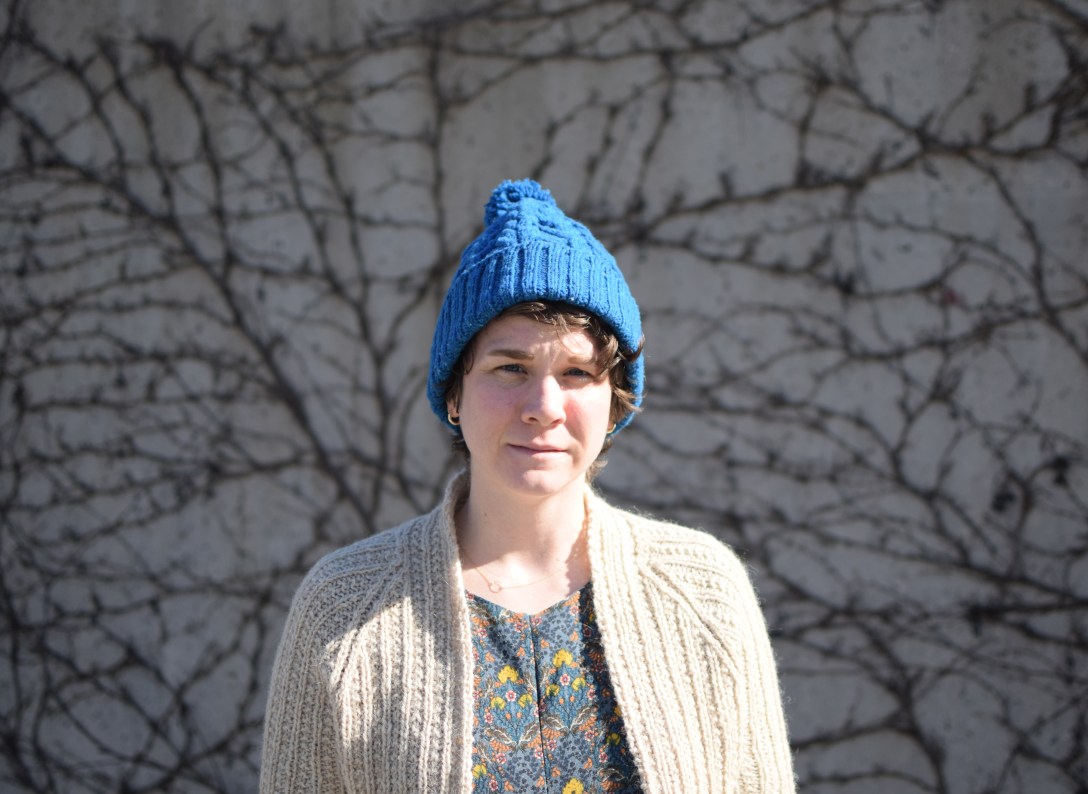
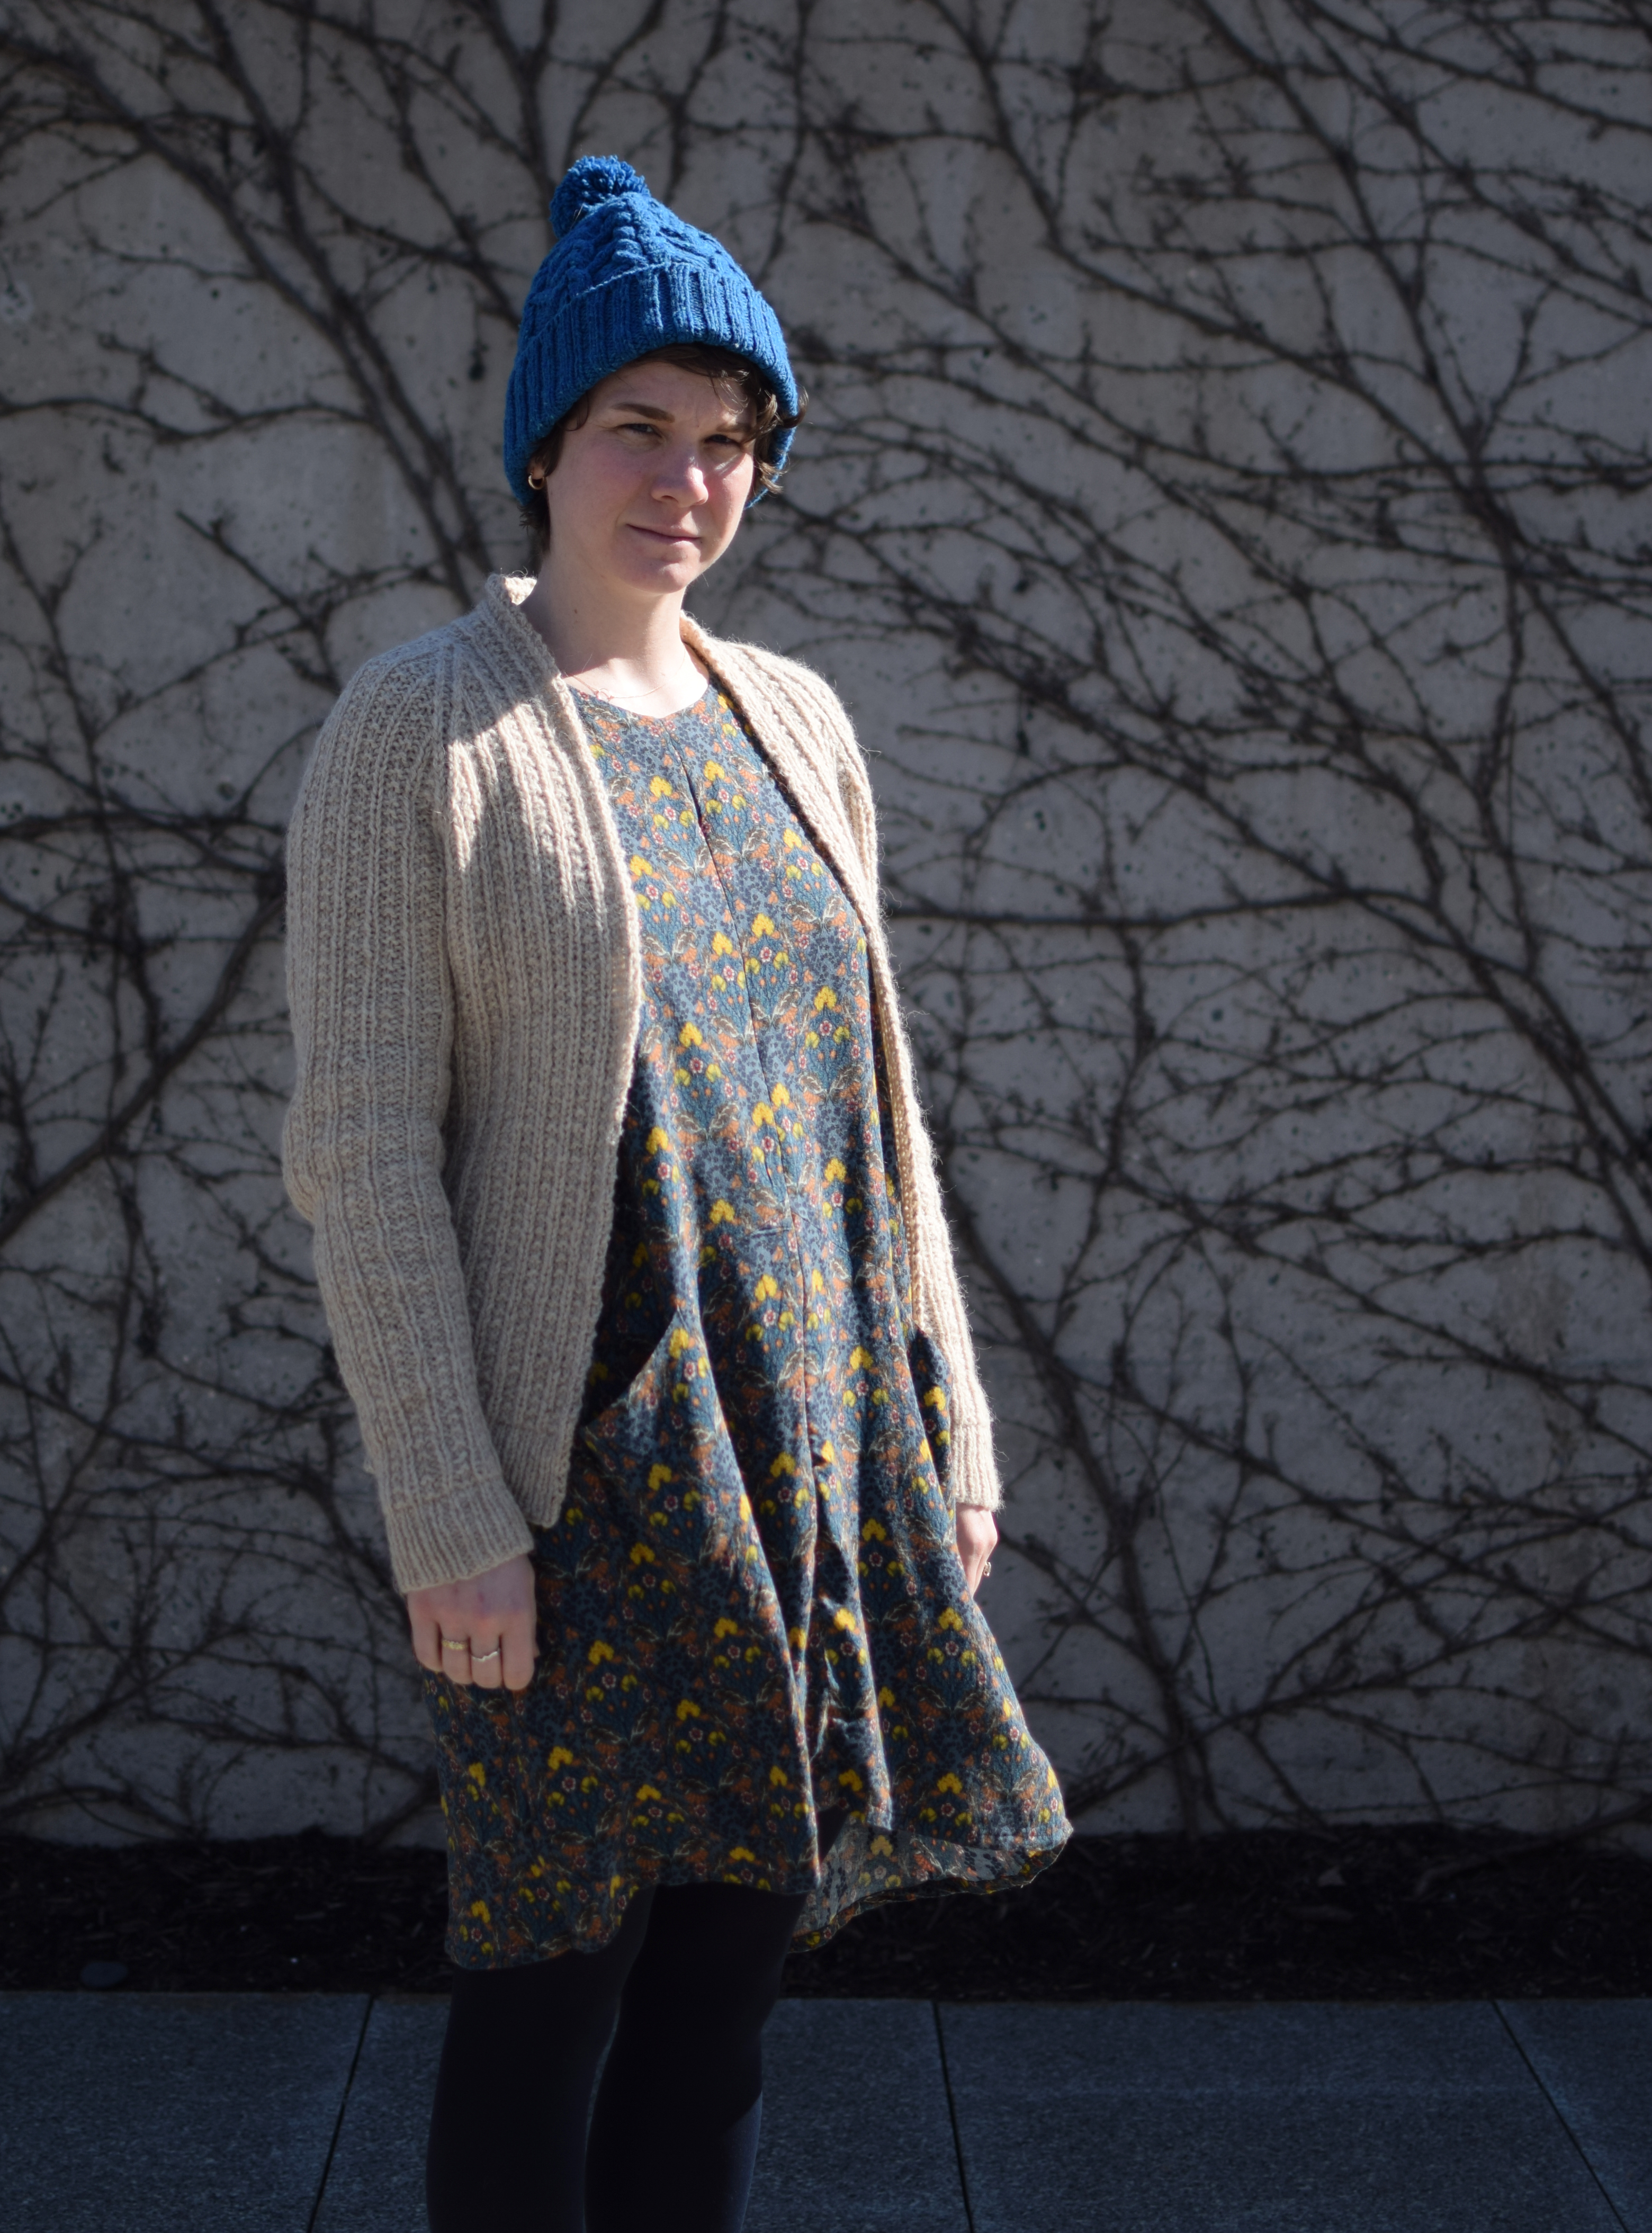
I breezed through most of this Kahlua cardigan but have stalled pretty badly right before crossing the finish line. The ribbing on this sweater is giving me so much grief. I’ve tried it two times and it did not look right, so I frogged. I brought it with me on a weekend trip to visit my sister and planned to give it another try en route. It didn’t work out, but I decided to put it on and start wearing it anyway. I am curious if fellow knitters have a “THAT GARTER EDGE IS GIVING ME ANXIETY” sort of a reaction, but it looks fine to me.
PS I am wearing my Link hat and my Farrow dress in these photos.
We watched The Art of the Steal forever ago, and had been telling my sister to watch it for awhile. After finally seeing it, we “celebrated” by visiting the Barnes Foundation to see Dr. Albert Barnes’ amazing collection of art arranged “just the way he would have wanted.” For anyone not familiar with the situation, his art was posthumously “stolen” and is now controlled by the group of people he detested most. ANYWAY, this is all setup to tell you that we were leaving the museum and saw the most beautiful wintry ivy wall, and we had a mini photoshoot. The light was so great, I barely edited these photos.
The pretty cable side seam.
Some musings about the cardigan now. The instructions have you do both sleeves before the body, and I may have found a permanent new order of events when knitting a seamless sweater. The sleeves went so quickly, and gave me motivation to get through the body, so thank you for the idea, Thea!! I highly recommend the pattern, its very clever in its construction and has details that make it feel so special. While knitting, my k1 columns were very wiggly and uneven, but it all came out with blocking. I kirchner stitched the back neck seam and the underarms to make for a less obvious join. Its not seamless, though, because its purl ribbing joined with knit stitches, but it looks nicer than a 3-needle bind off or mattress stitch. More details of my saga on ravelry. Also wanted to give Call Your Girlfriend a shout-out! I just found out about this show and knitted to several back-episodes over the past few weeks. I am now a loyal listener and when a new episode comes out, it shoots to the top of my “Play Next” queue.
back details.
I used Quince and Co’s Owl in Tyto, and its very very warm and cozy. I love it! Now, on to the ribbing!! Third time’s a charm.
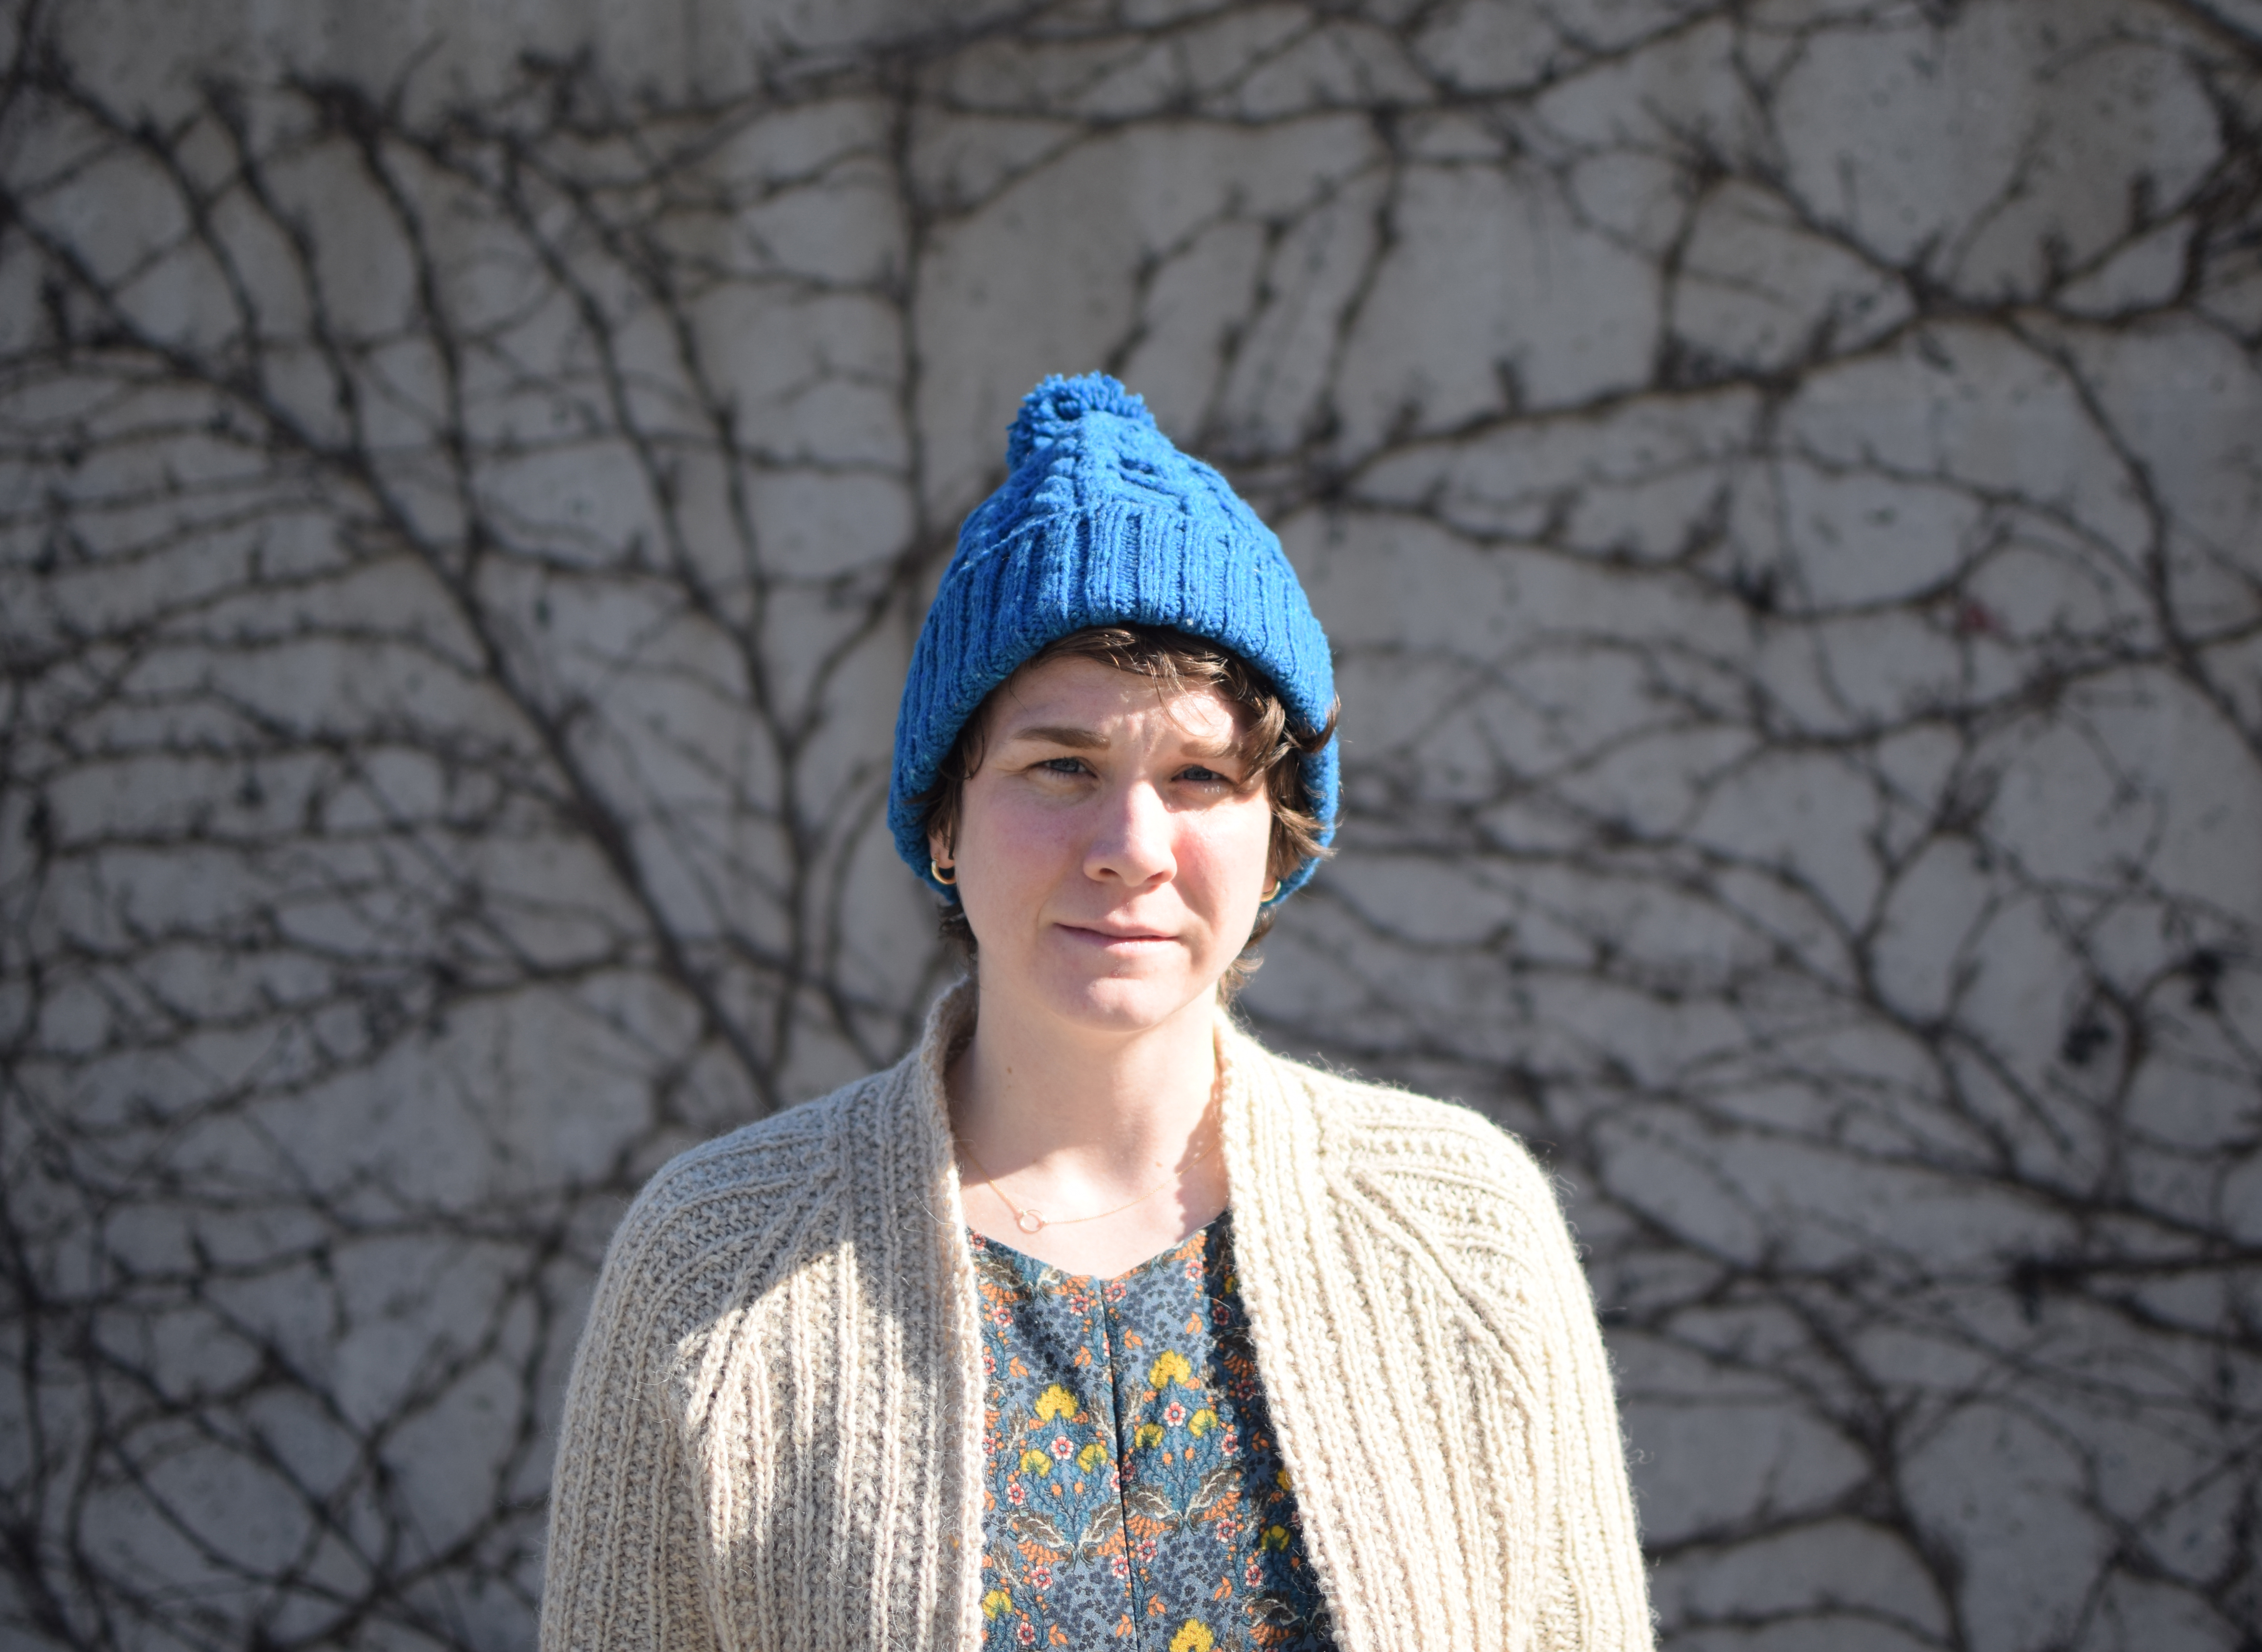
I went to my first Rhinebeck this past fall. I was so overwhelmed by the enormous selection of yarn that I did not buy very much. I focused on absorbing the good vibes, learning about the different breeds of sheep and ogling all of the beautiful knitwear. I did end up purchasing 2 skeins of Weekend Wool from Green Mountain Spinnery. The bright Blue Lake color sang to me in the booth, and I decided to buy 2 skeins. I am trying to purchase yarn and fabric more mindfully, but at the same time I wanted some wool to commemorate my first Rhinebeck.
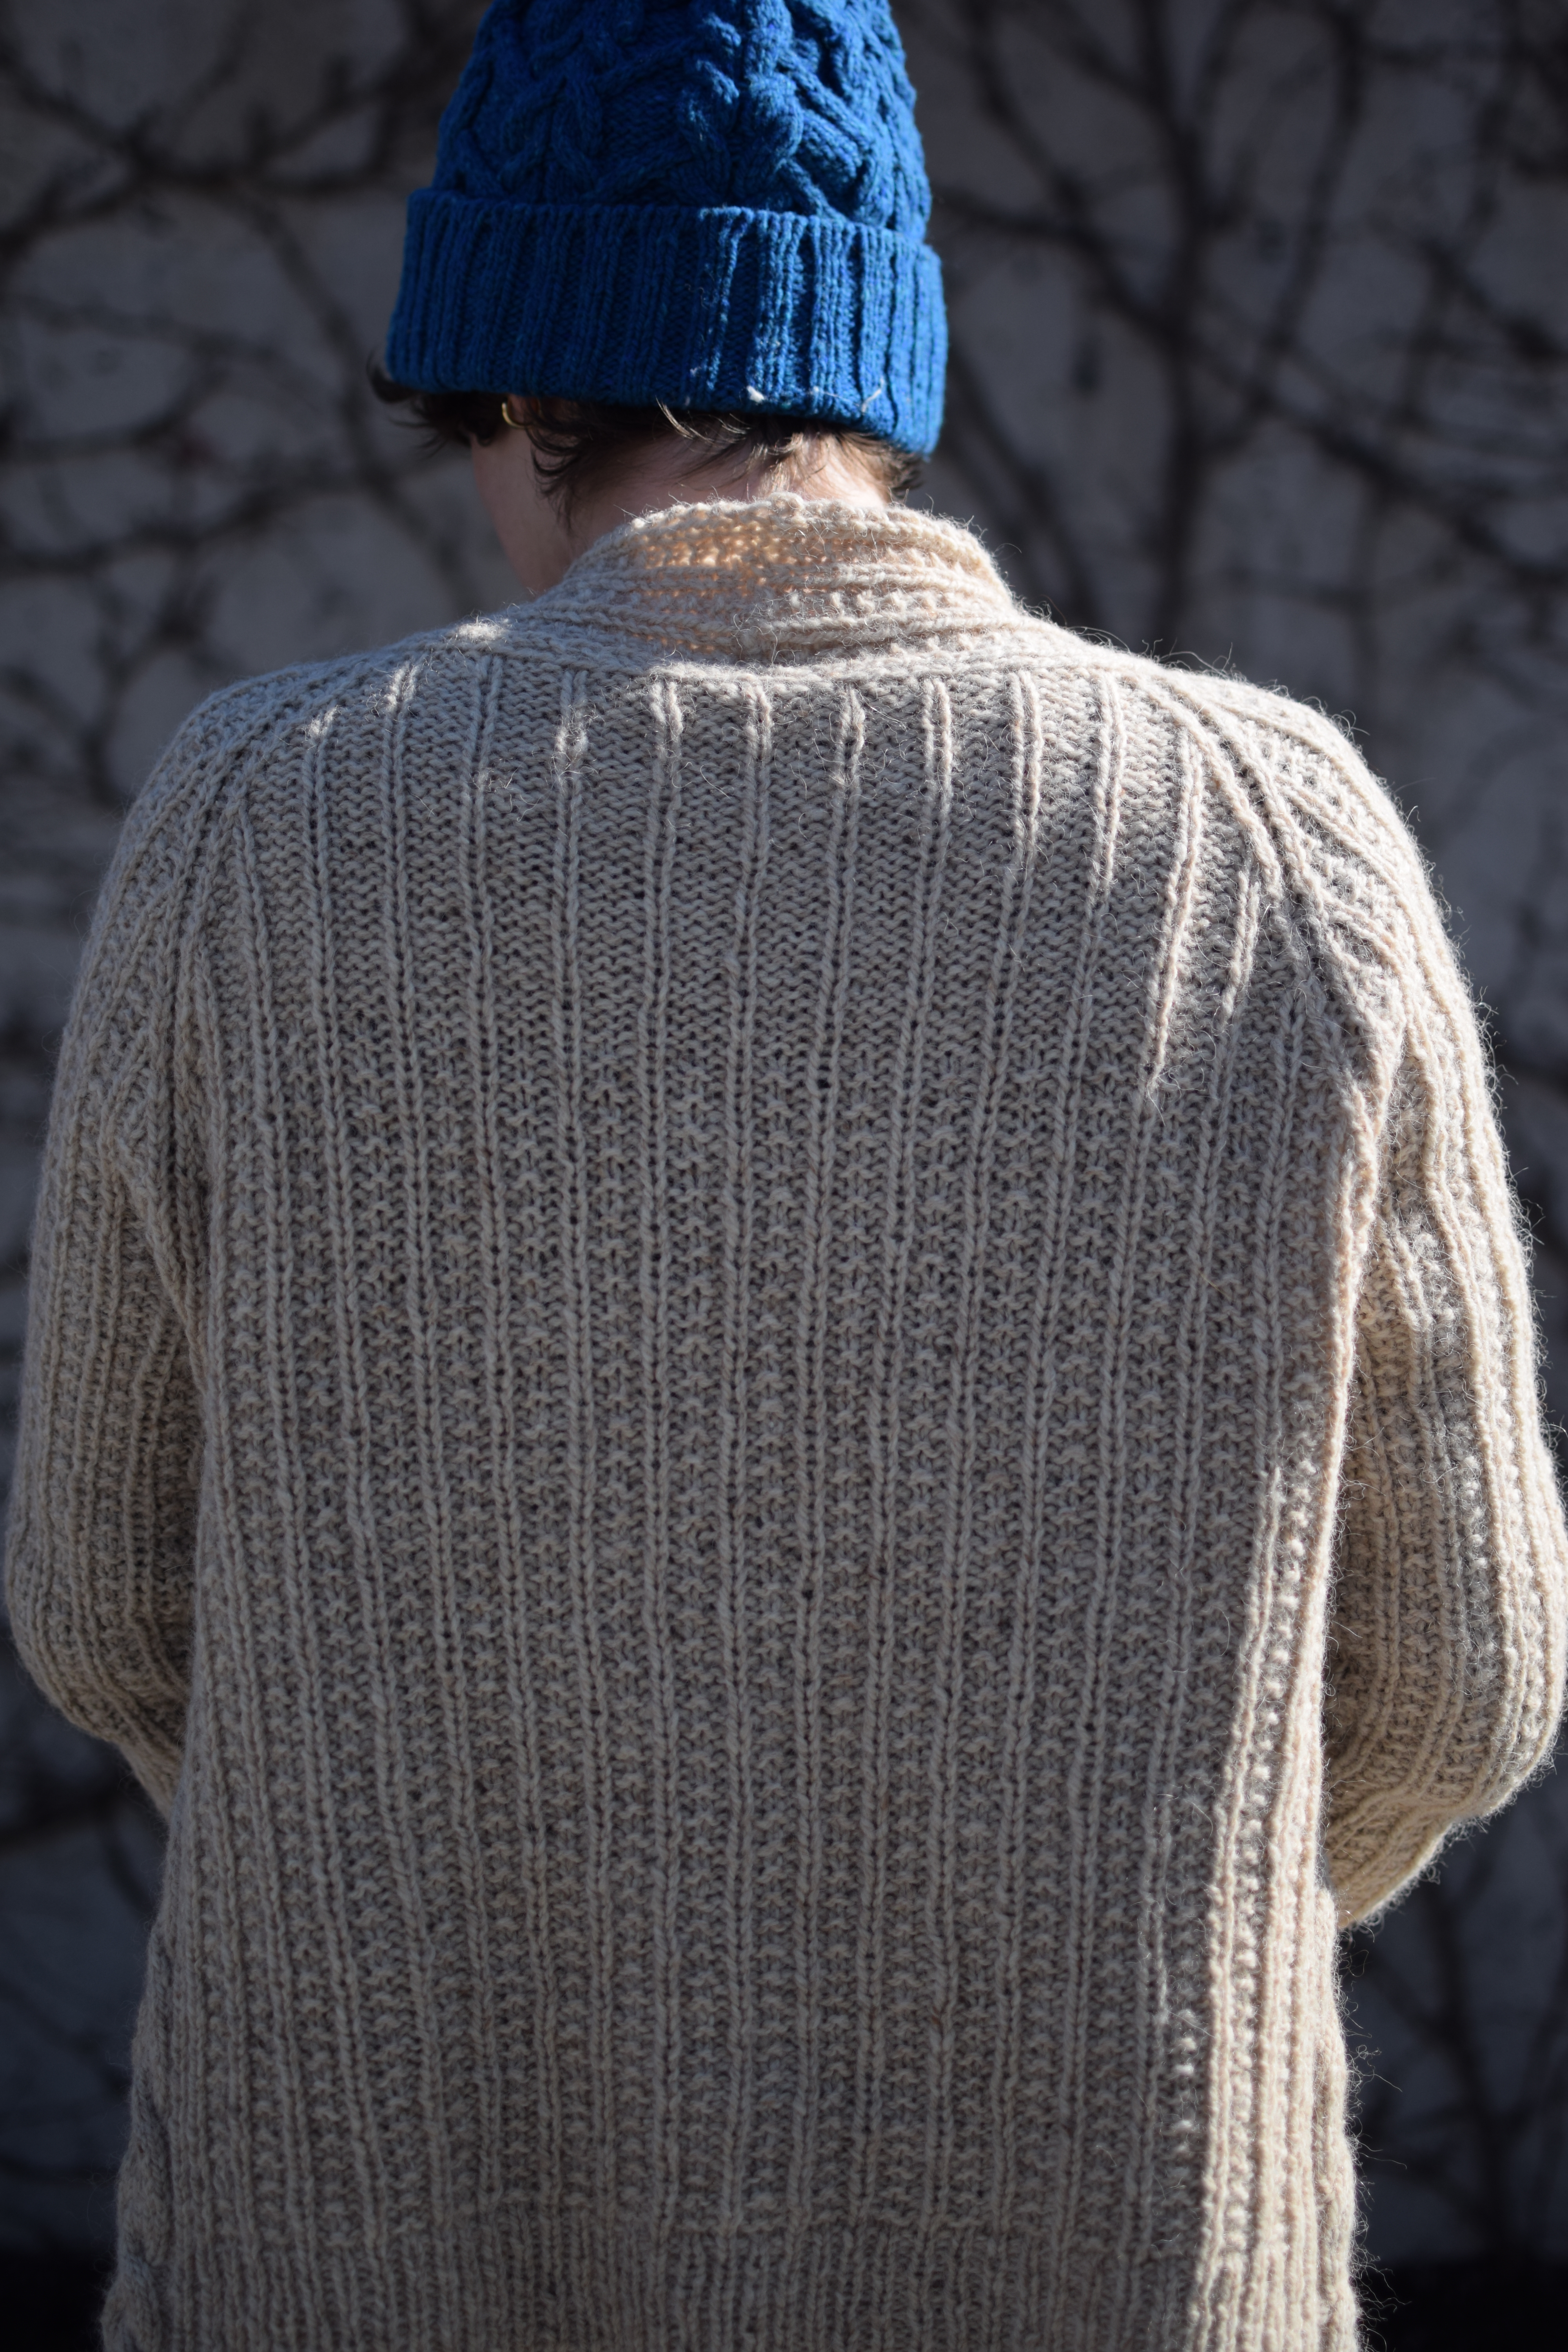
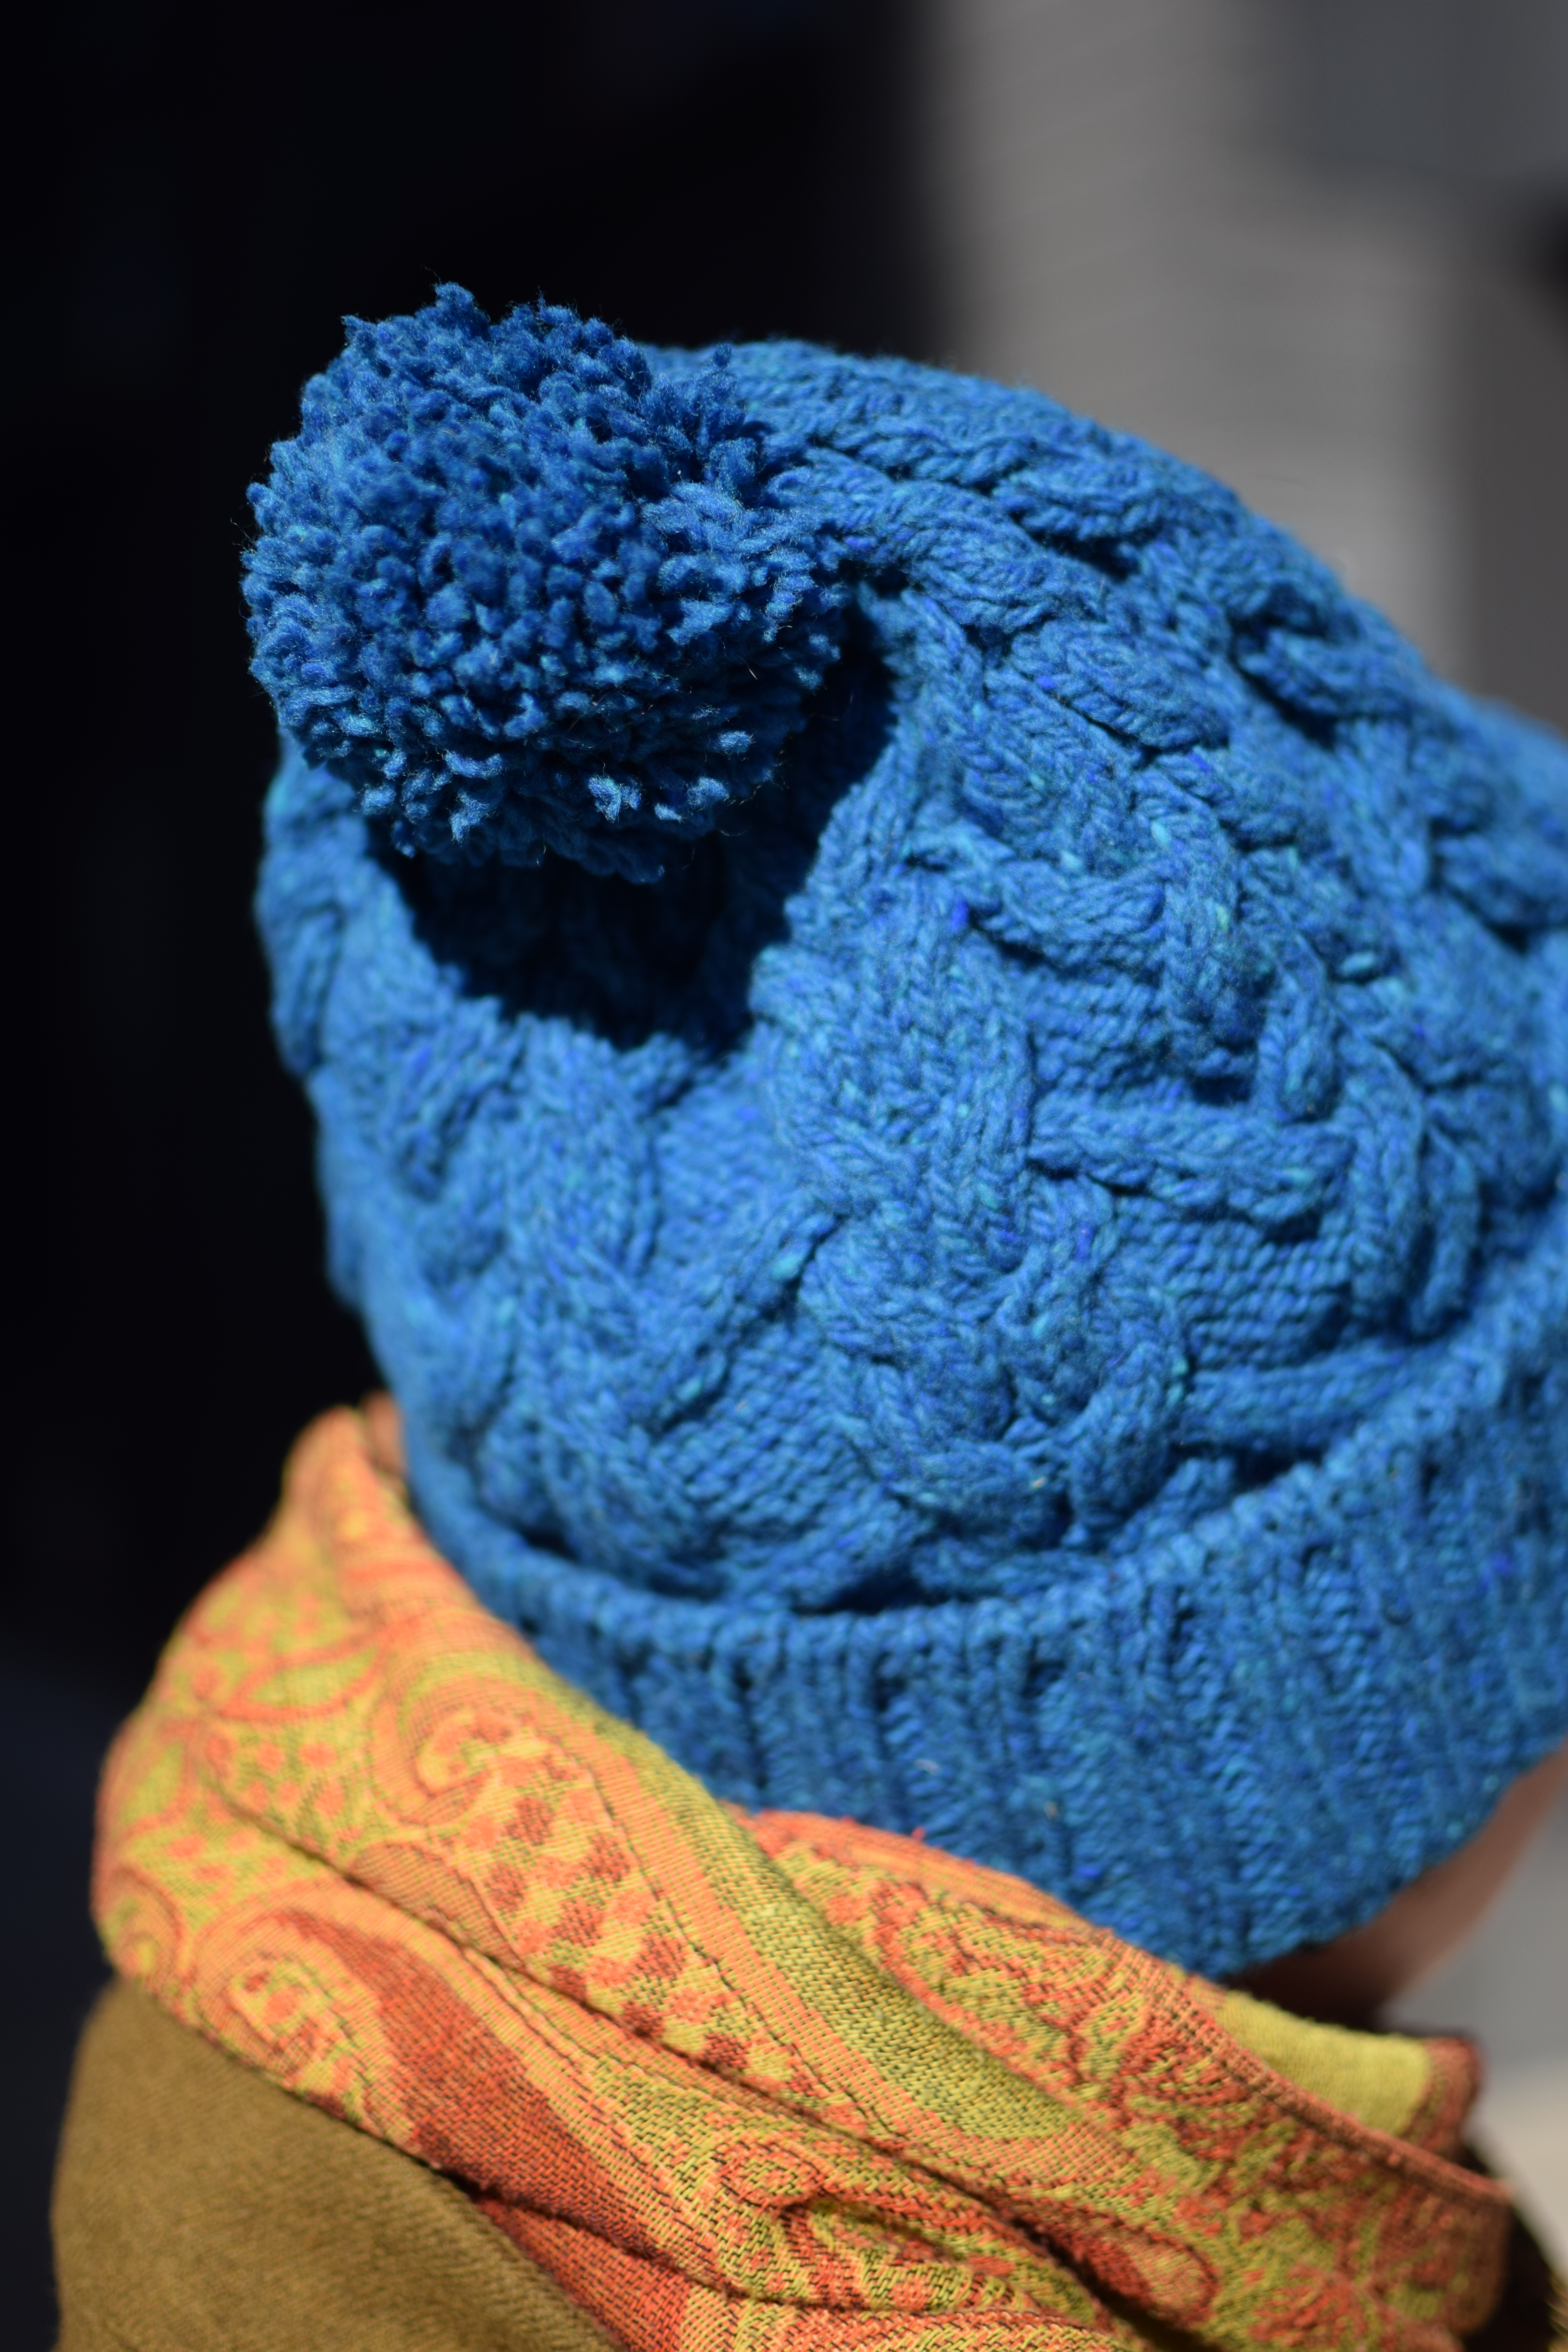
This wool has become a hat! I used Emily Greene’s Link pattern from Brooklyn Tweed, and I love it. I am not usually the fastest knitter, but once I got past the ribbing I couldn’t stop knitting– I think I finished the cabling in 3 days. I topped it off with a pom! I do not have a pom-pom maker, instead I used the 2 cardboard C’s technique. Easy, free and fast!
Sexxy cables!
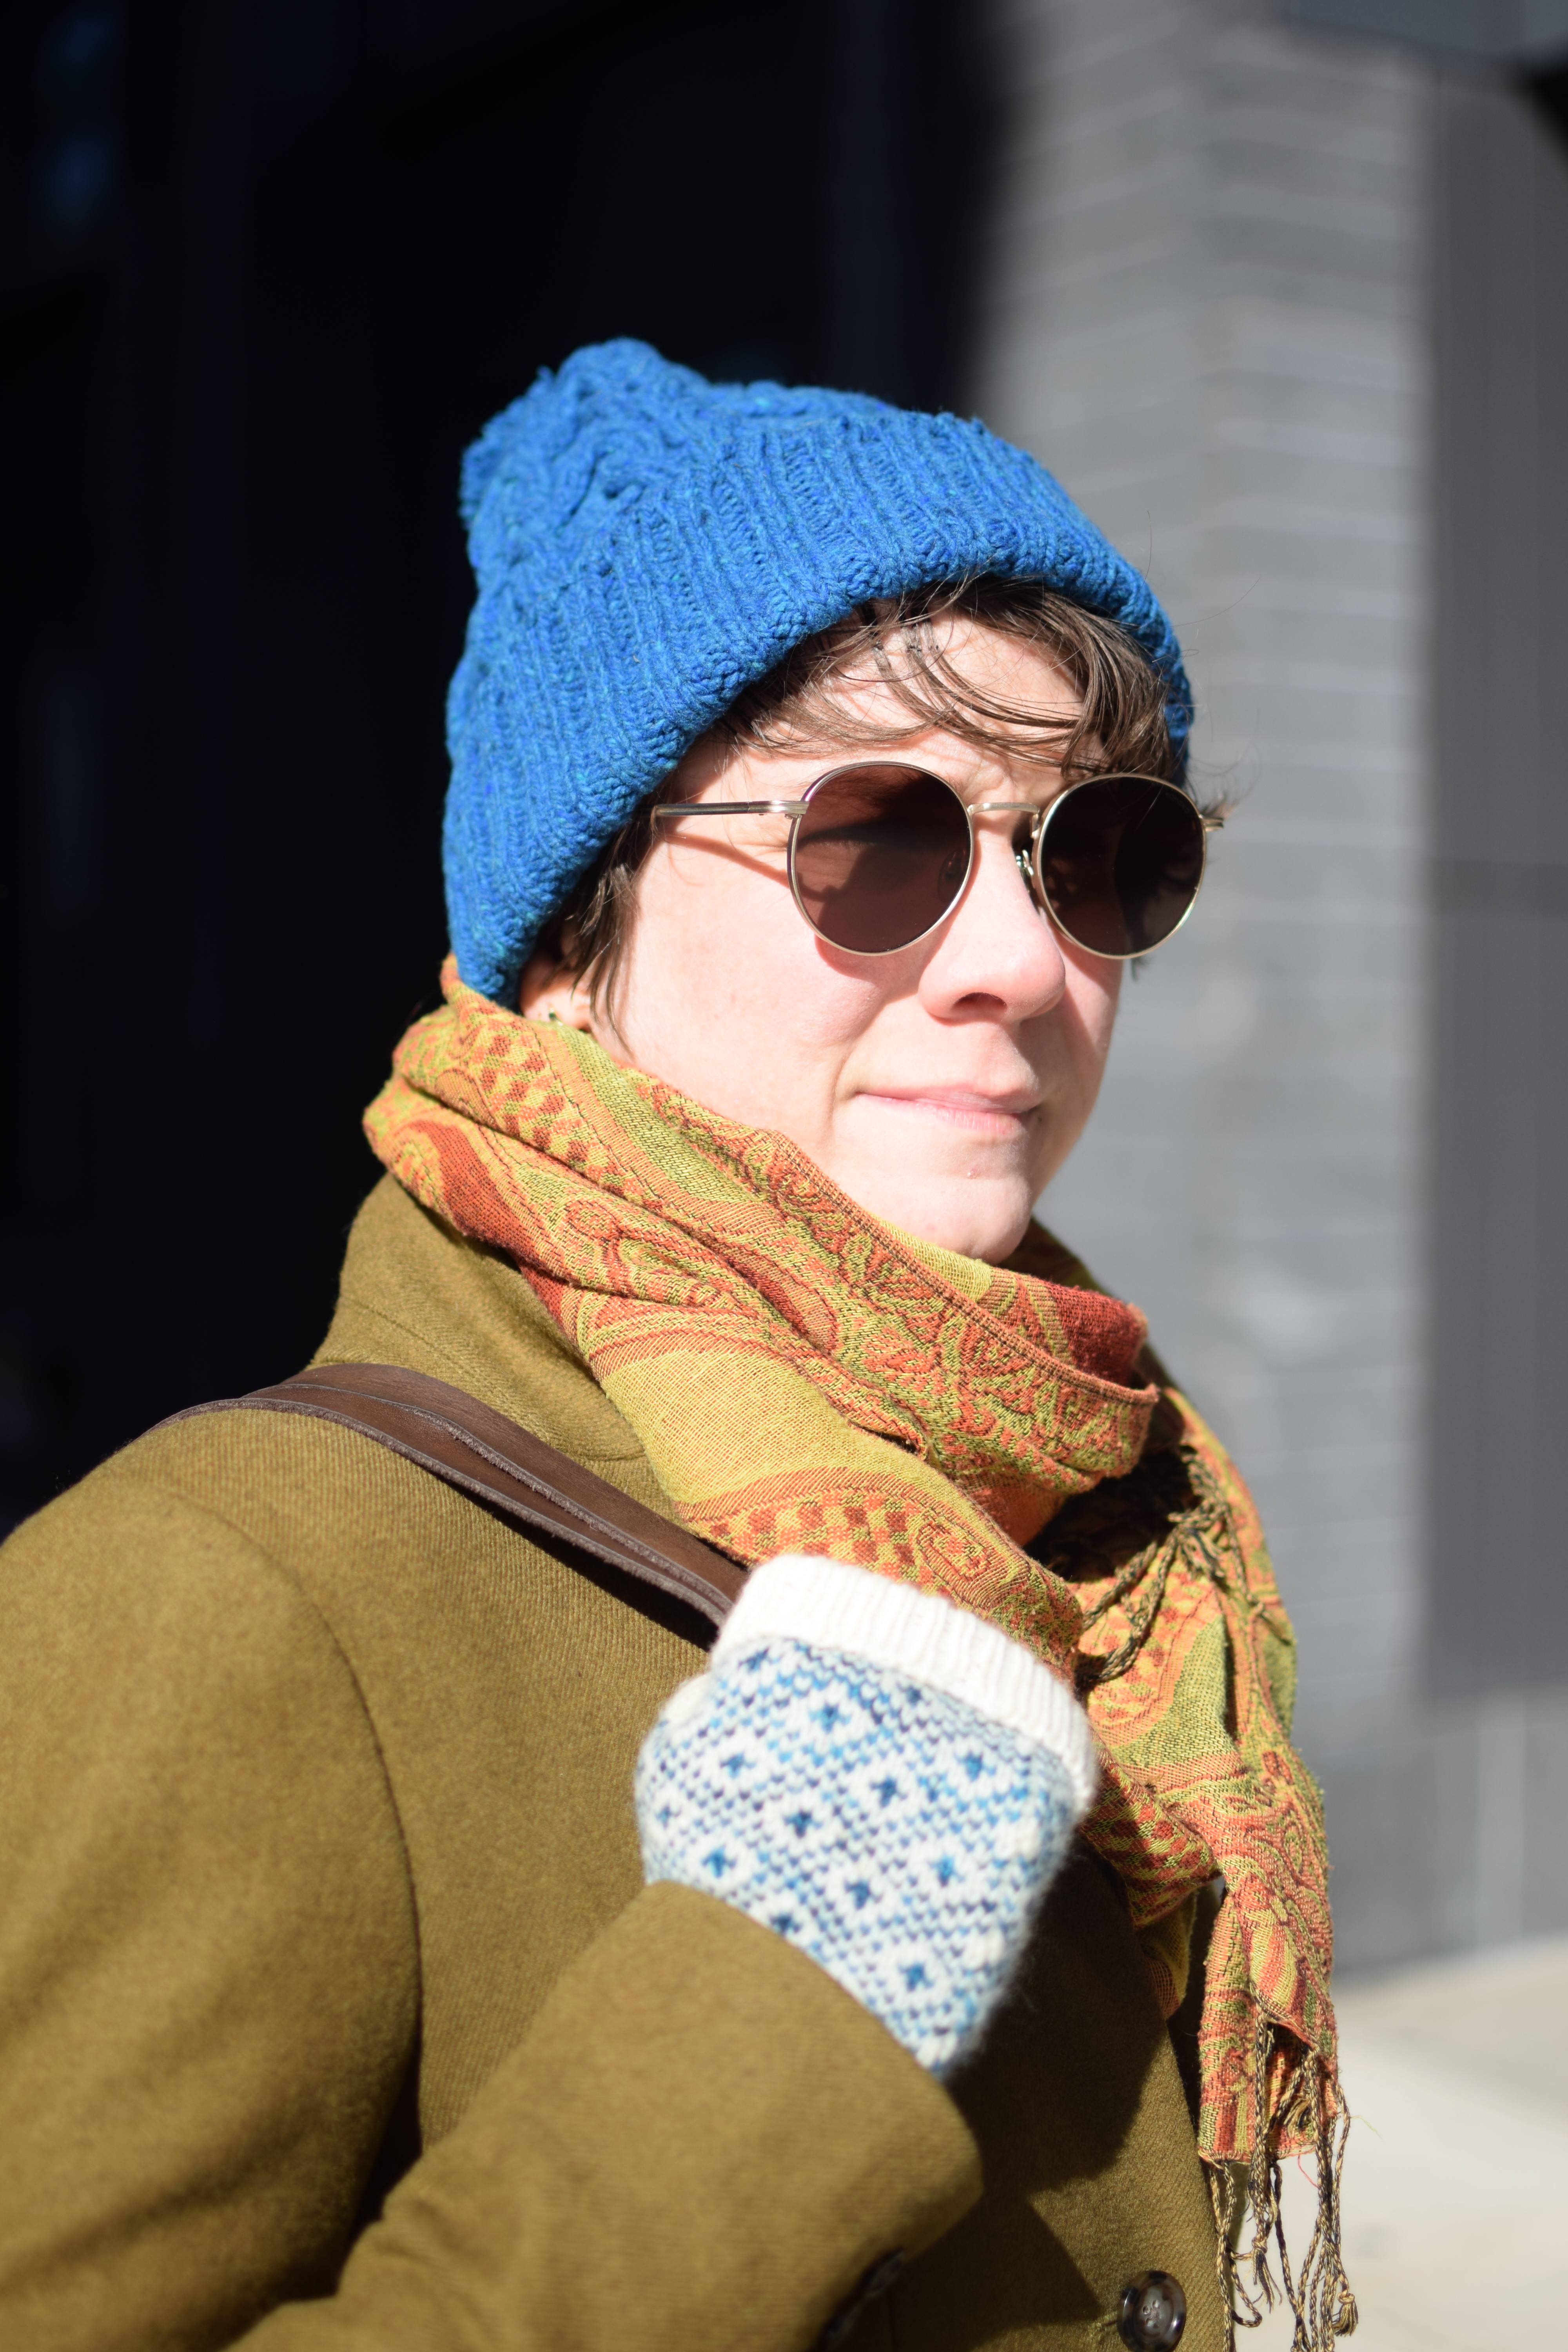
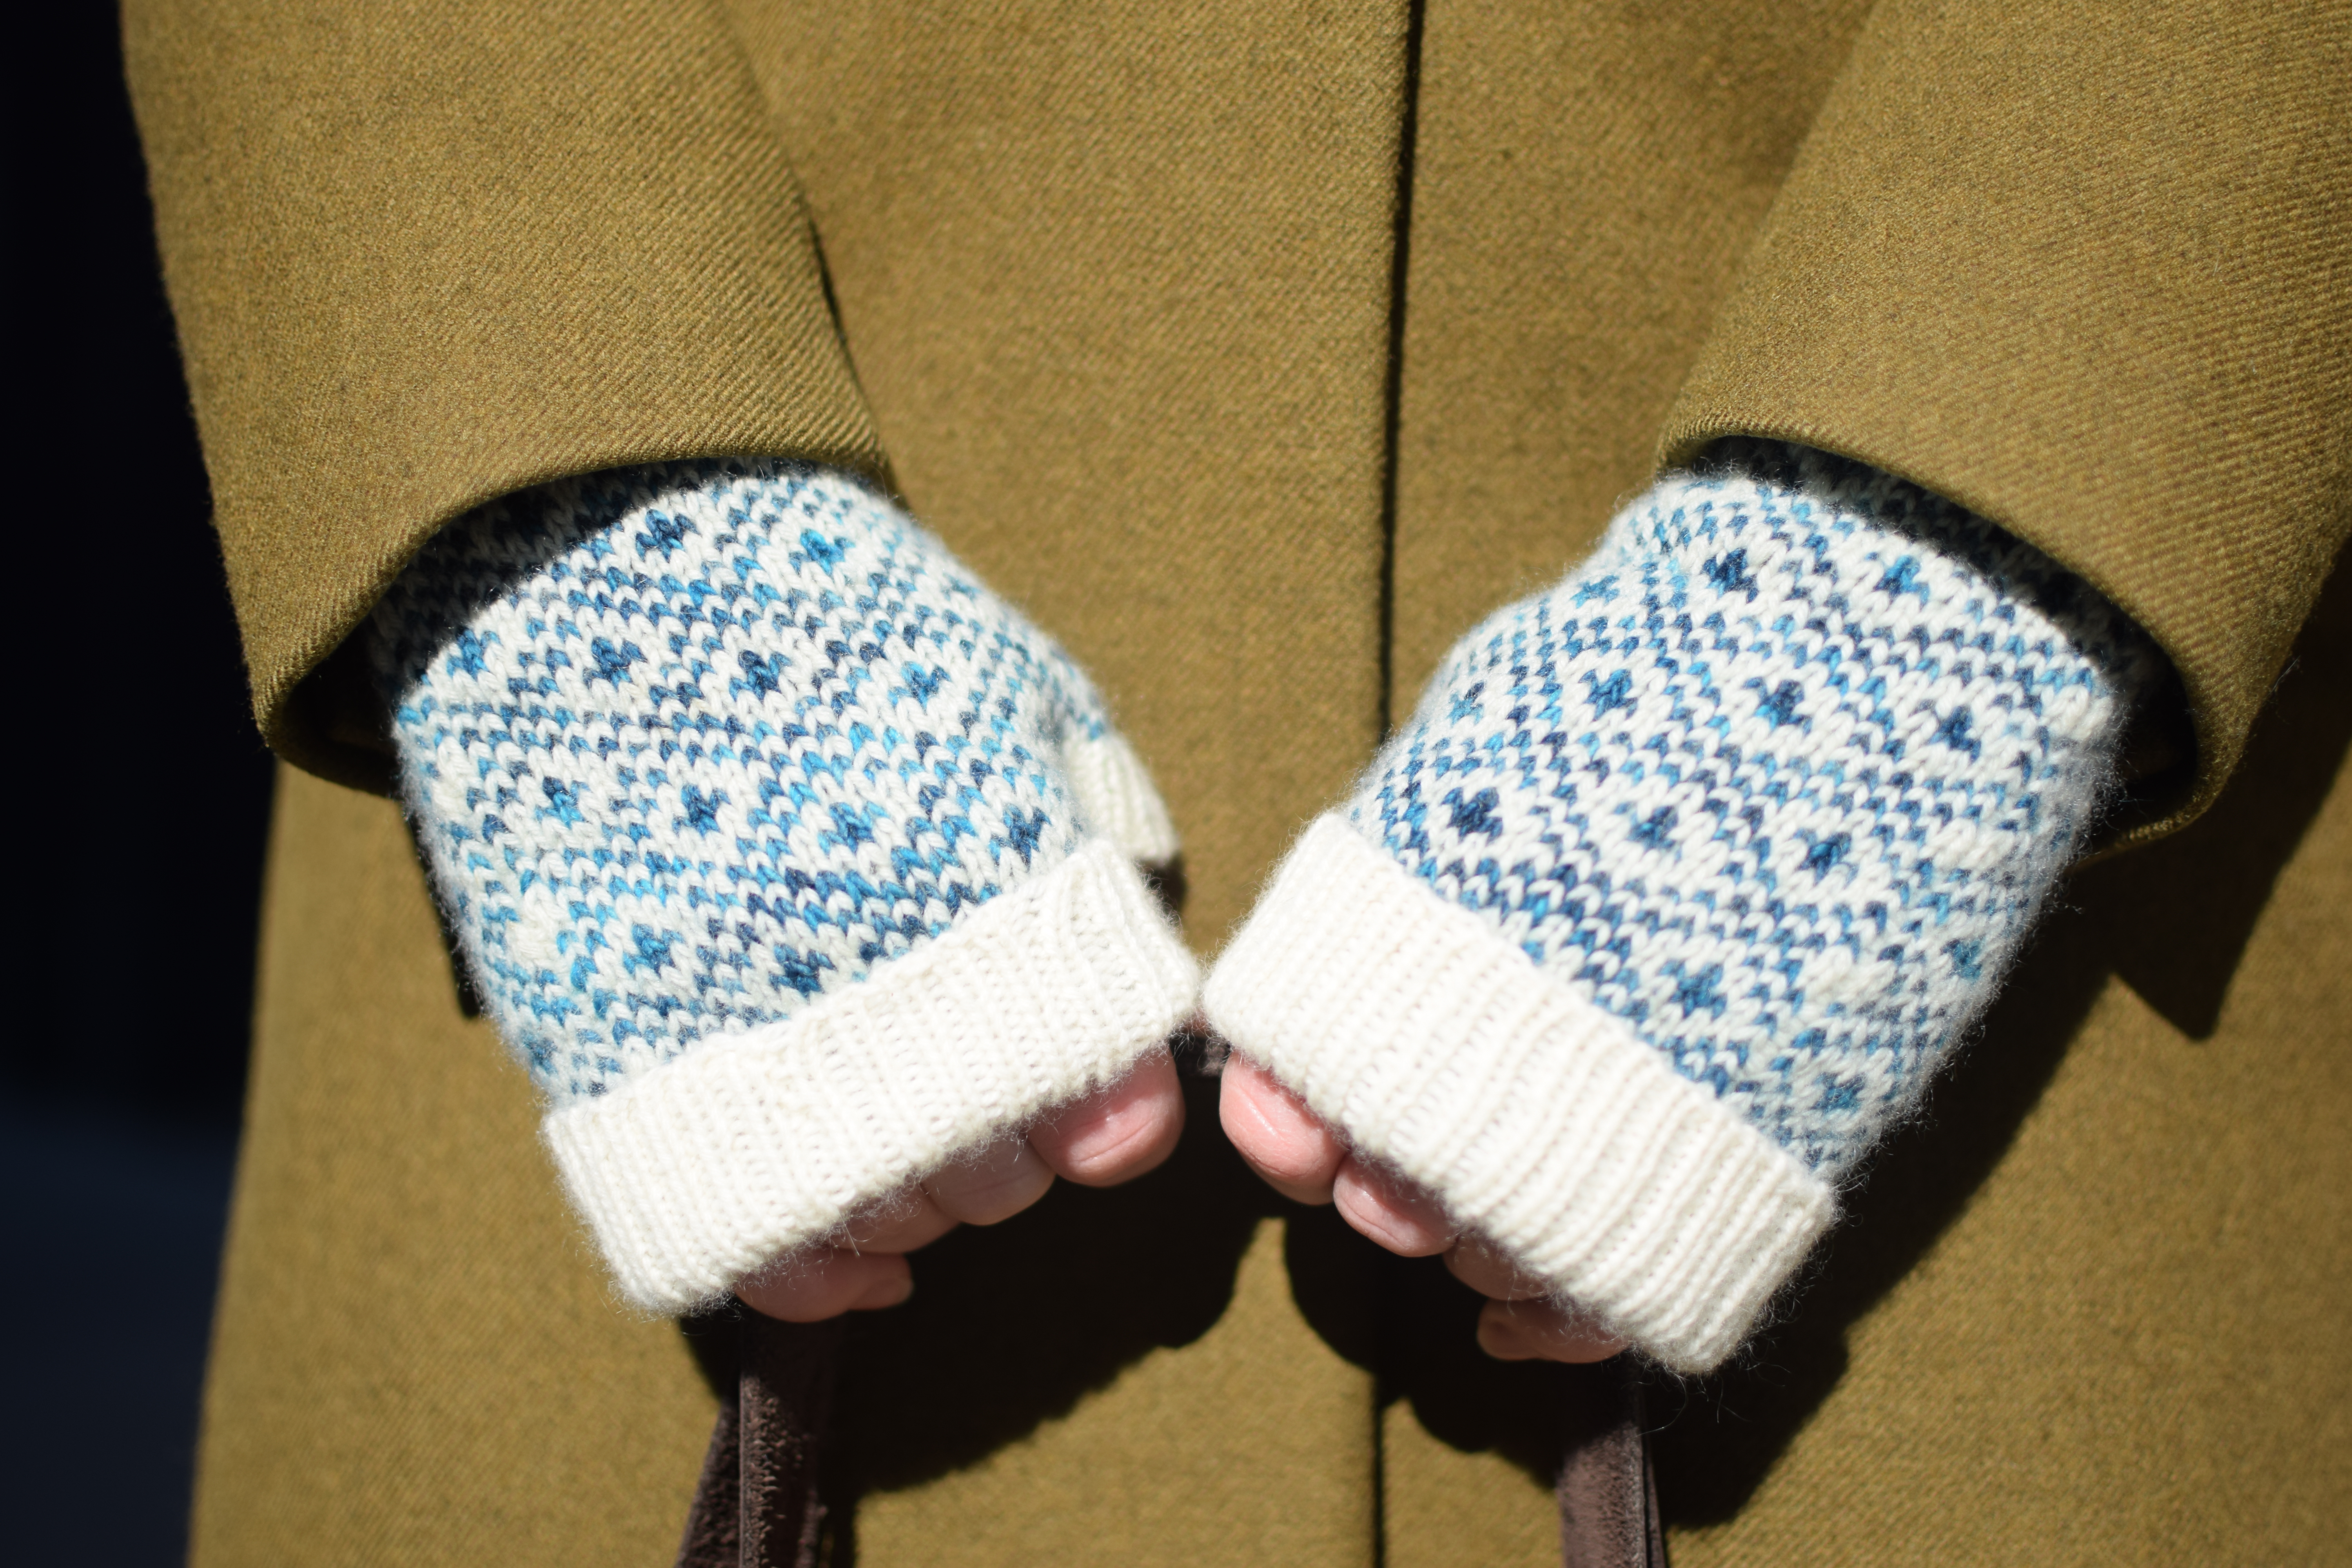
As I was making it, I wondered how I would incorporate this bright color into my existing cold weather gear rotation. At this point, I remembered my long-neglected Endpaper mitts, languishing in the back of my closet, unworn for years. The bright blue I used for the colorwork would match-but-not-match exactly the way I like. The one problem was I did not like how the gloves had stretched out at the finger ribbing. I wore them to my knitting meetup to try to get over it, and complained about this issue. The group wisely suggested I rip out the ribbing and redo it. Duh! I made the ribbing longer so I could double it over for extra warmth, and to hopefully cause less stretching out.
Endpaper-y goodness.
I am very happy that in making my new hat, I have resurrected my gloves. What a great February pick me up!