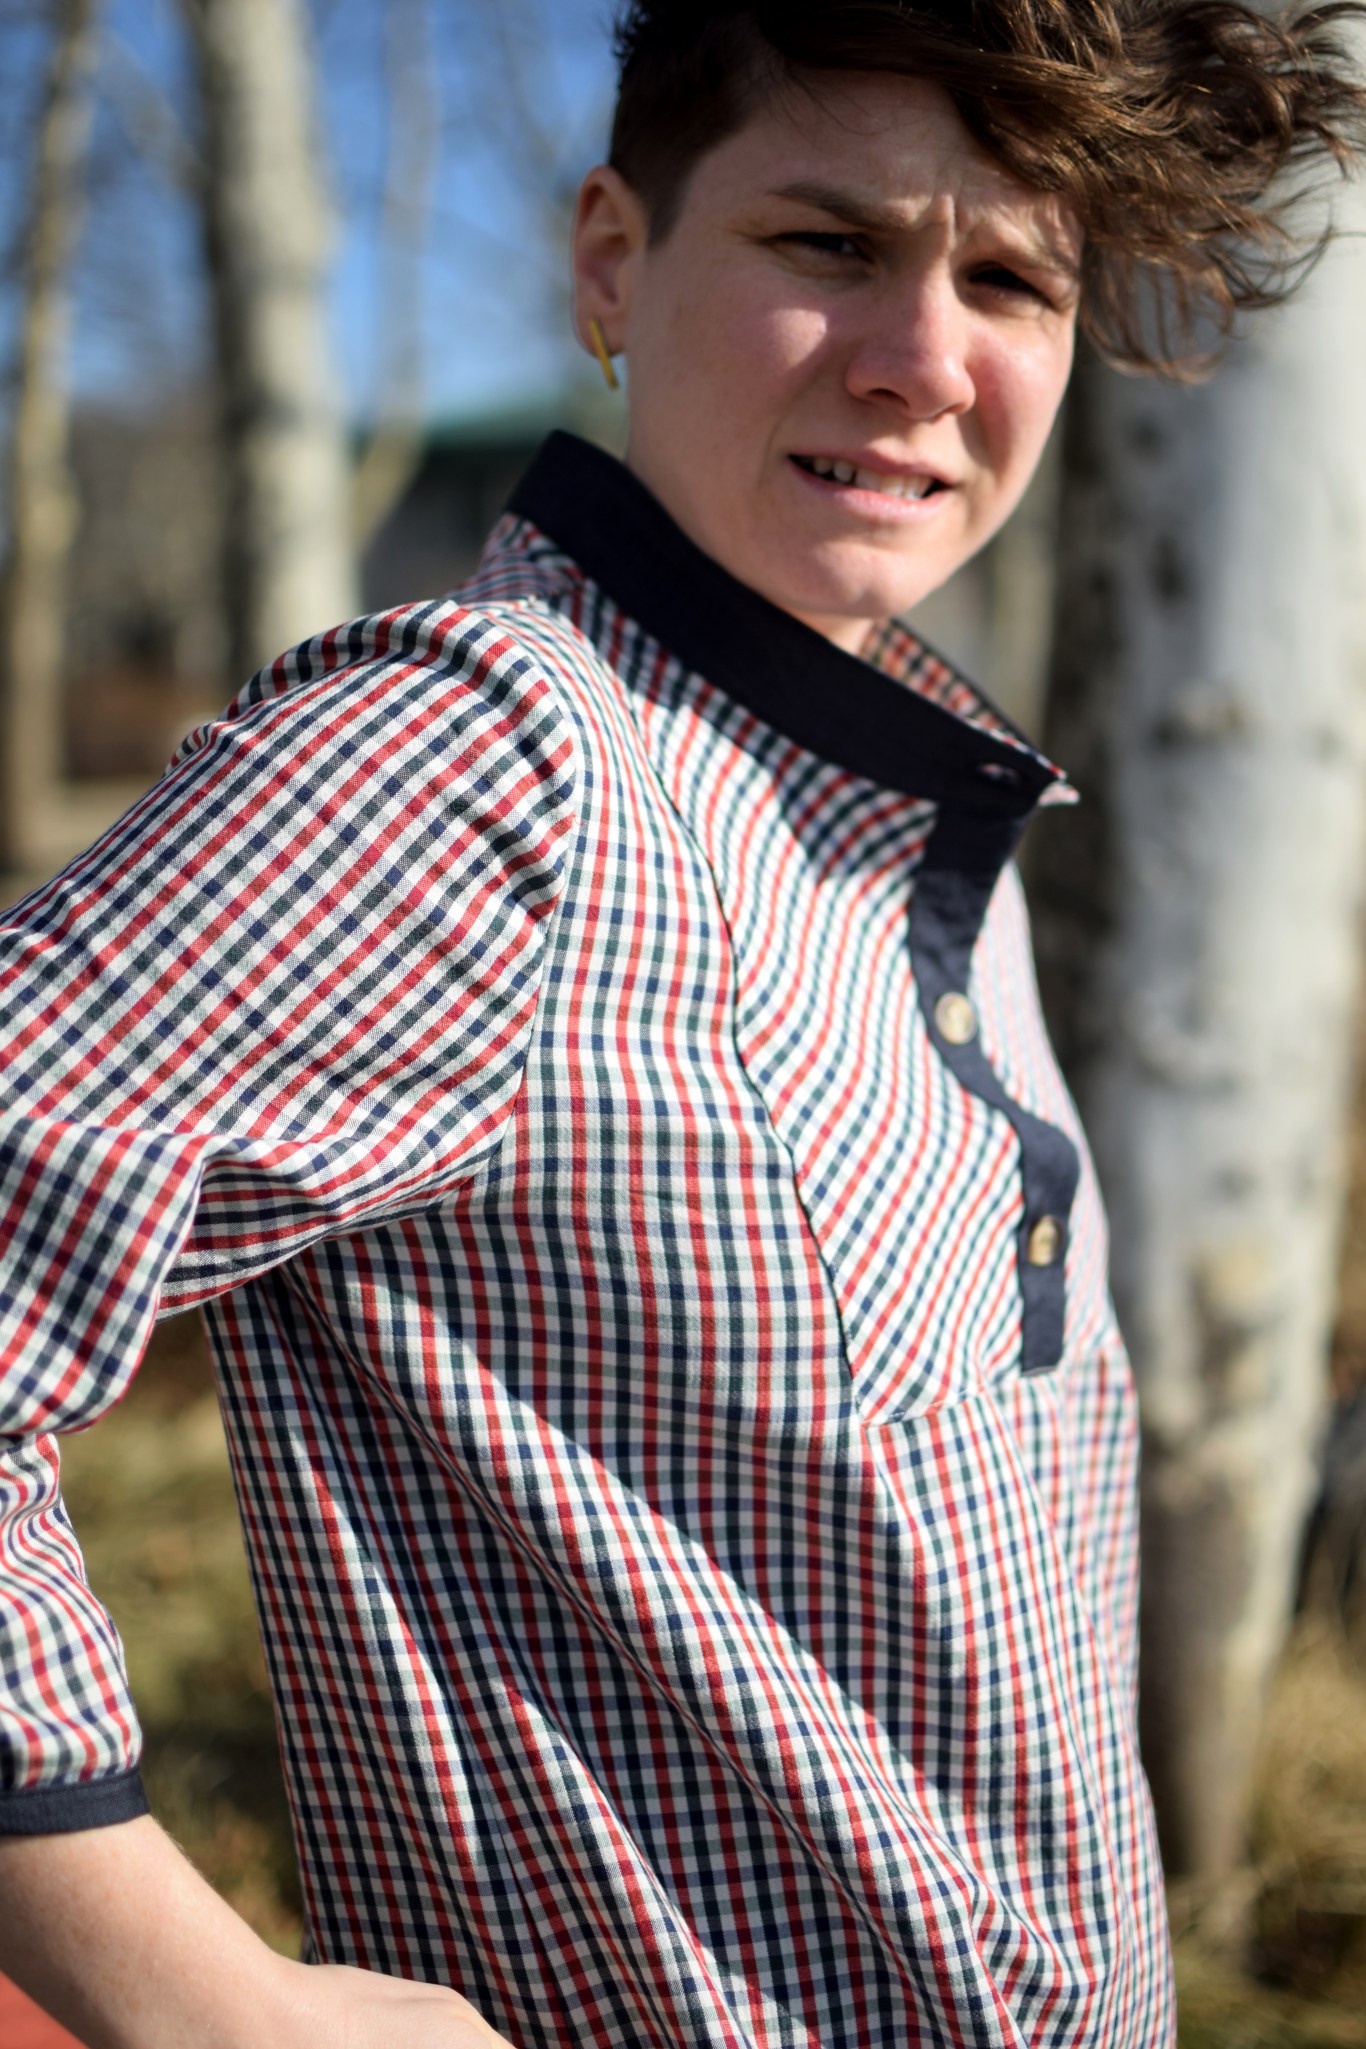
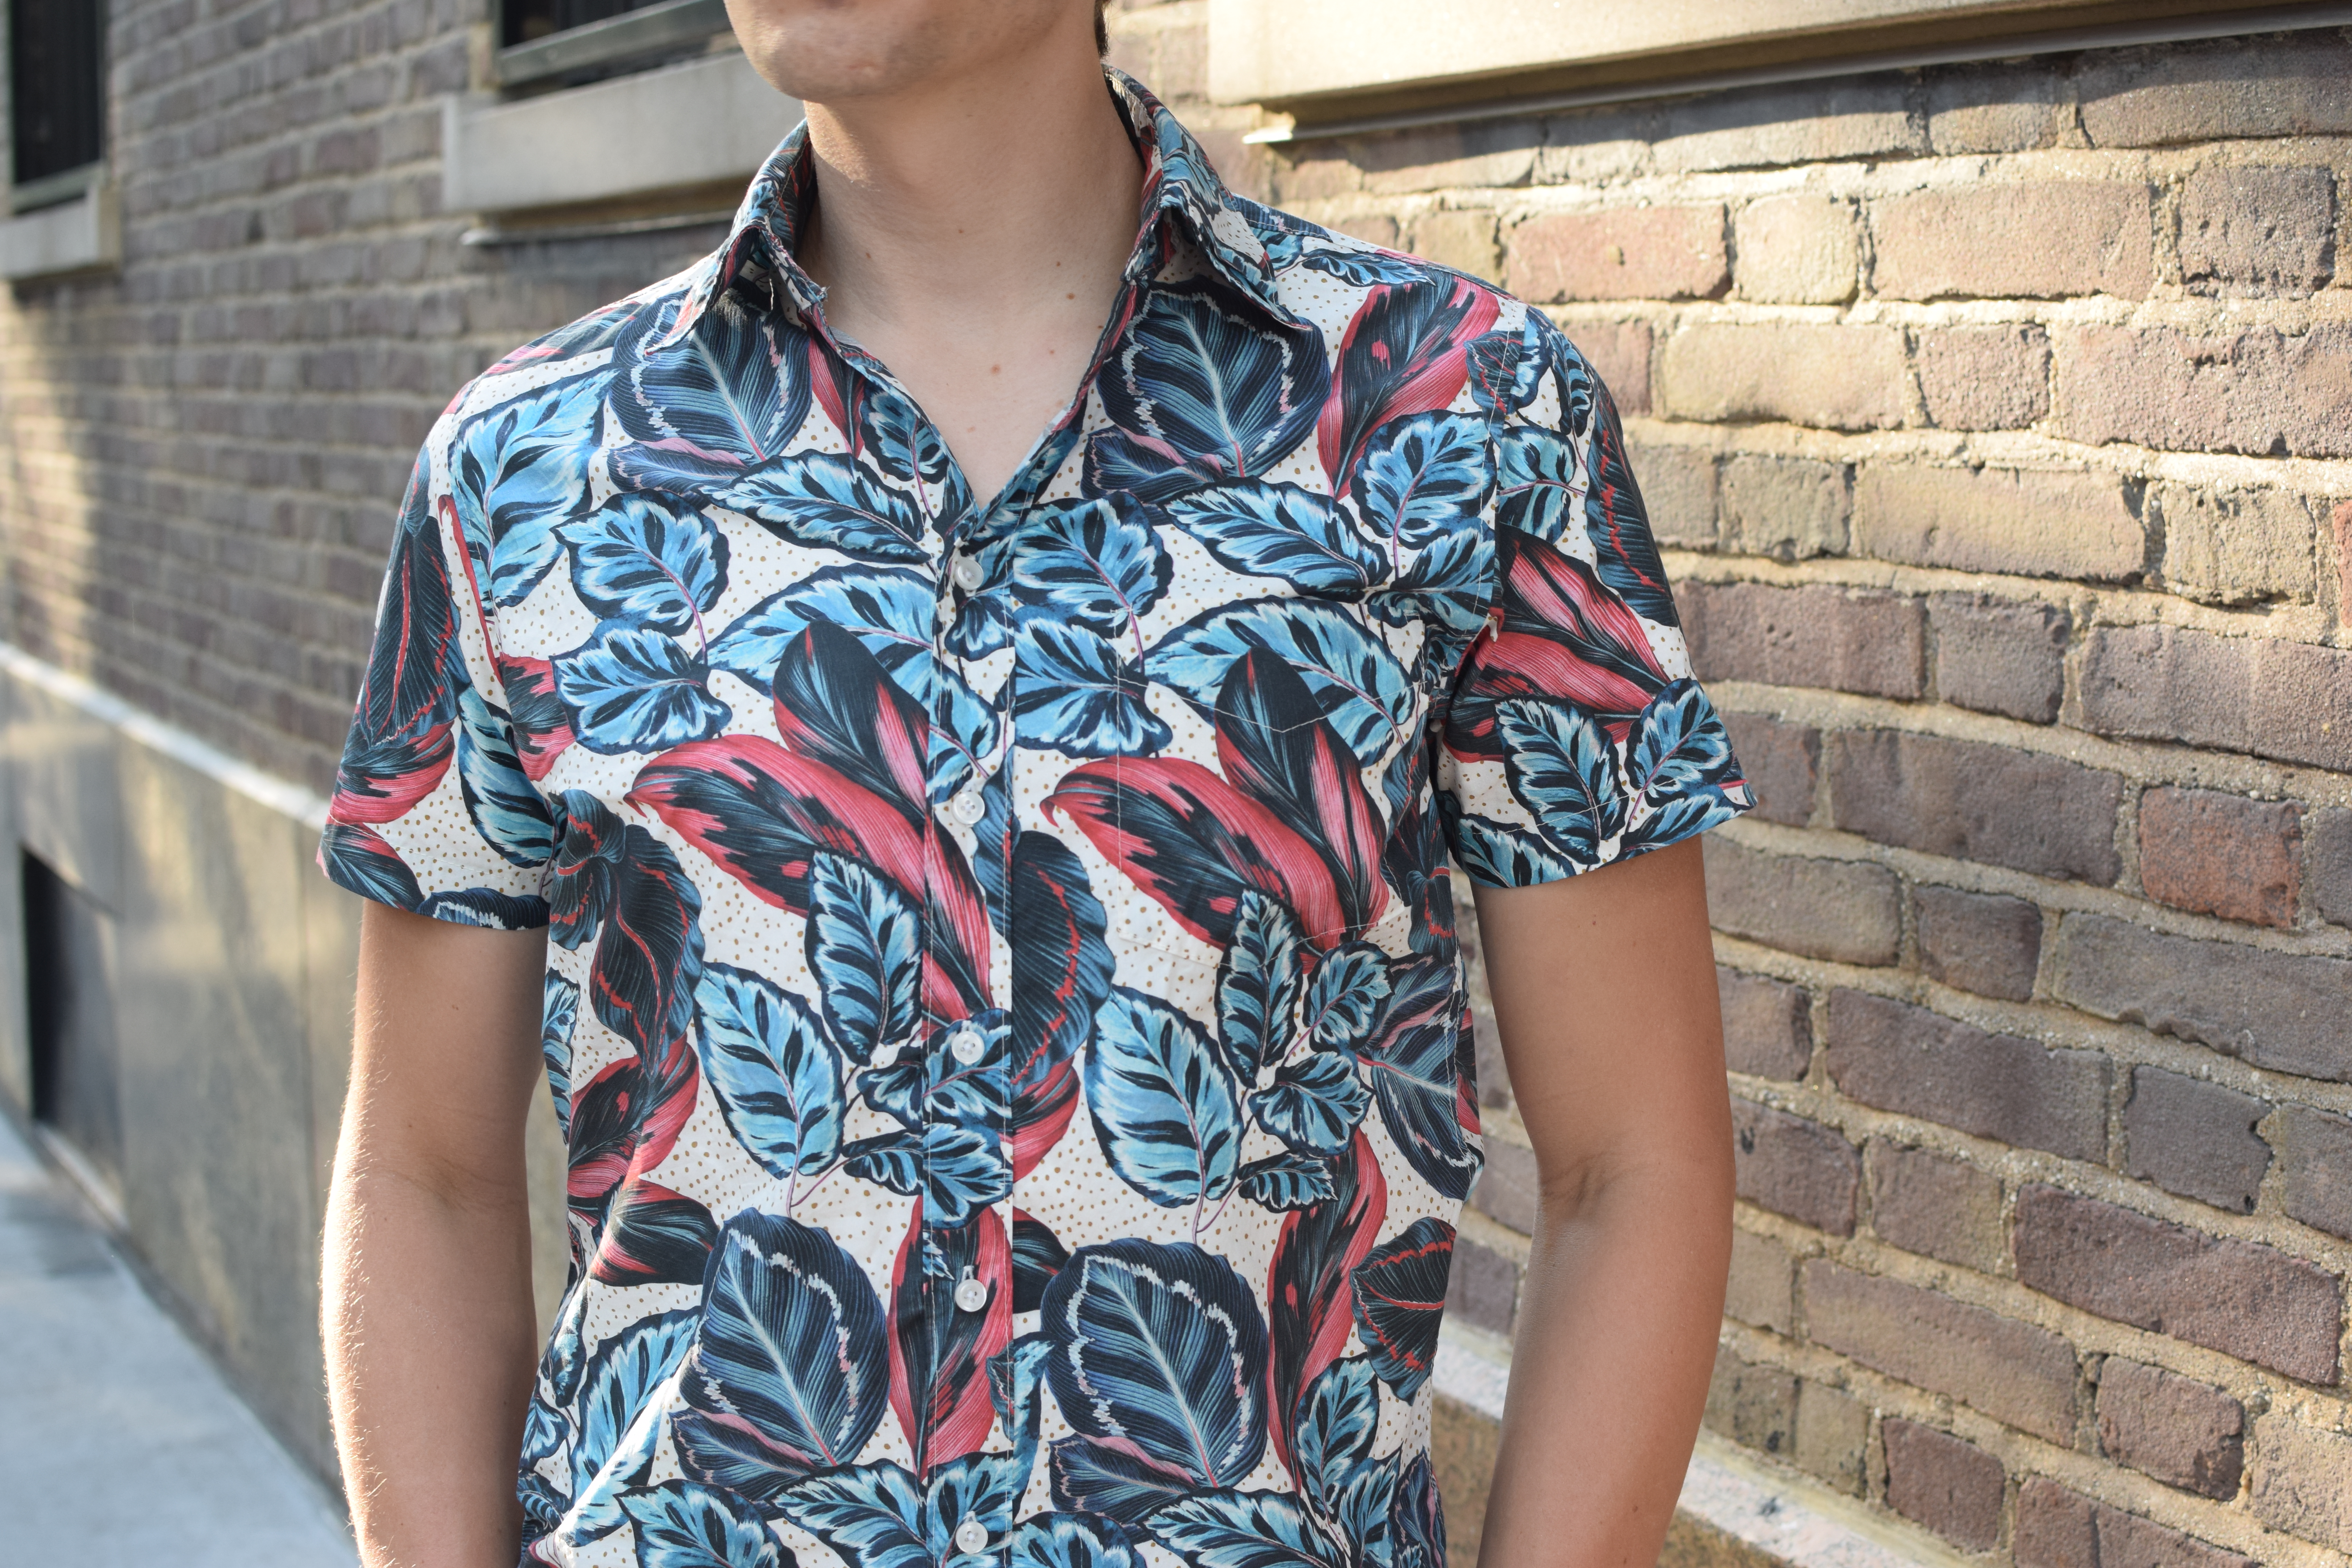
I’ve made quite a few collared shirts for Jacob over the years from different patterns but none of them fit him perfectly, so I ripped apart a RTW shirt that fits him well to make a pattern from it. I was pretty intimidated by the idea of this, but it wasn’t too hard.
To start, we went to the thrift store to find a short-sleeved shirt that fit well. Next I spent an hour or so seam ripping it while watching TV. I found this strangely meditative, and it went very quickly. I dissected almost everything completely, except one side seam and the center front folded stuff, I ripped those just enough to figure out what was going on there.
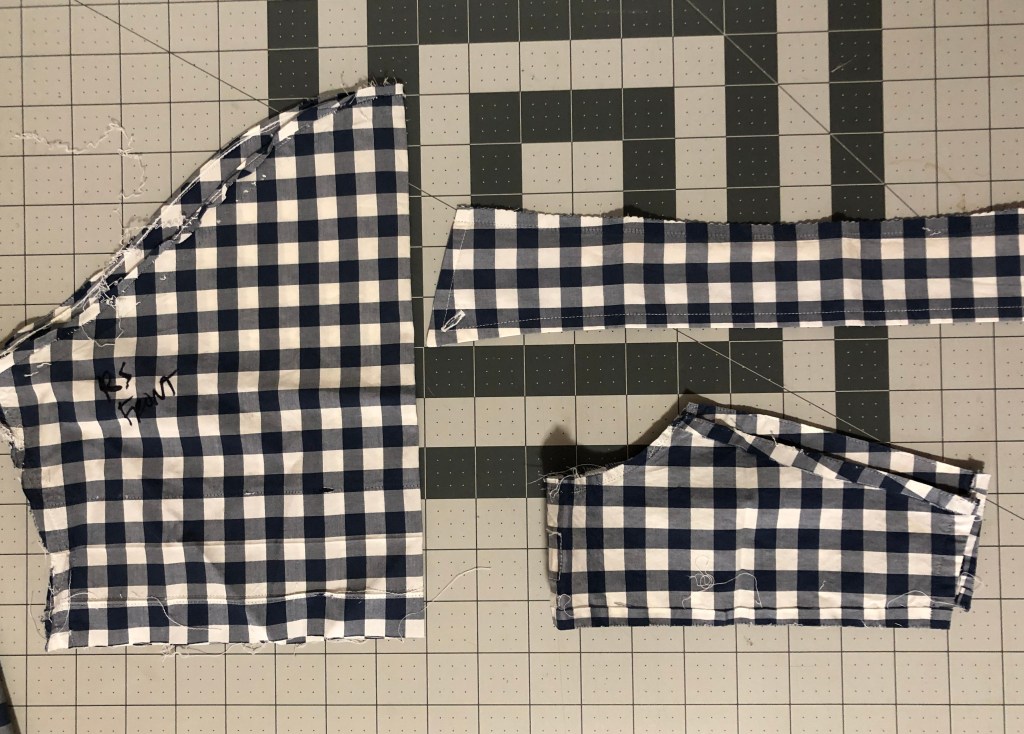
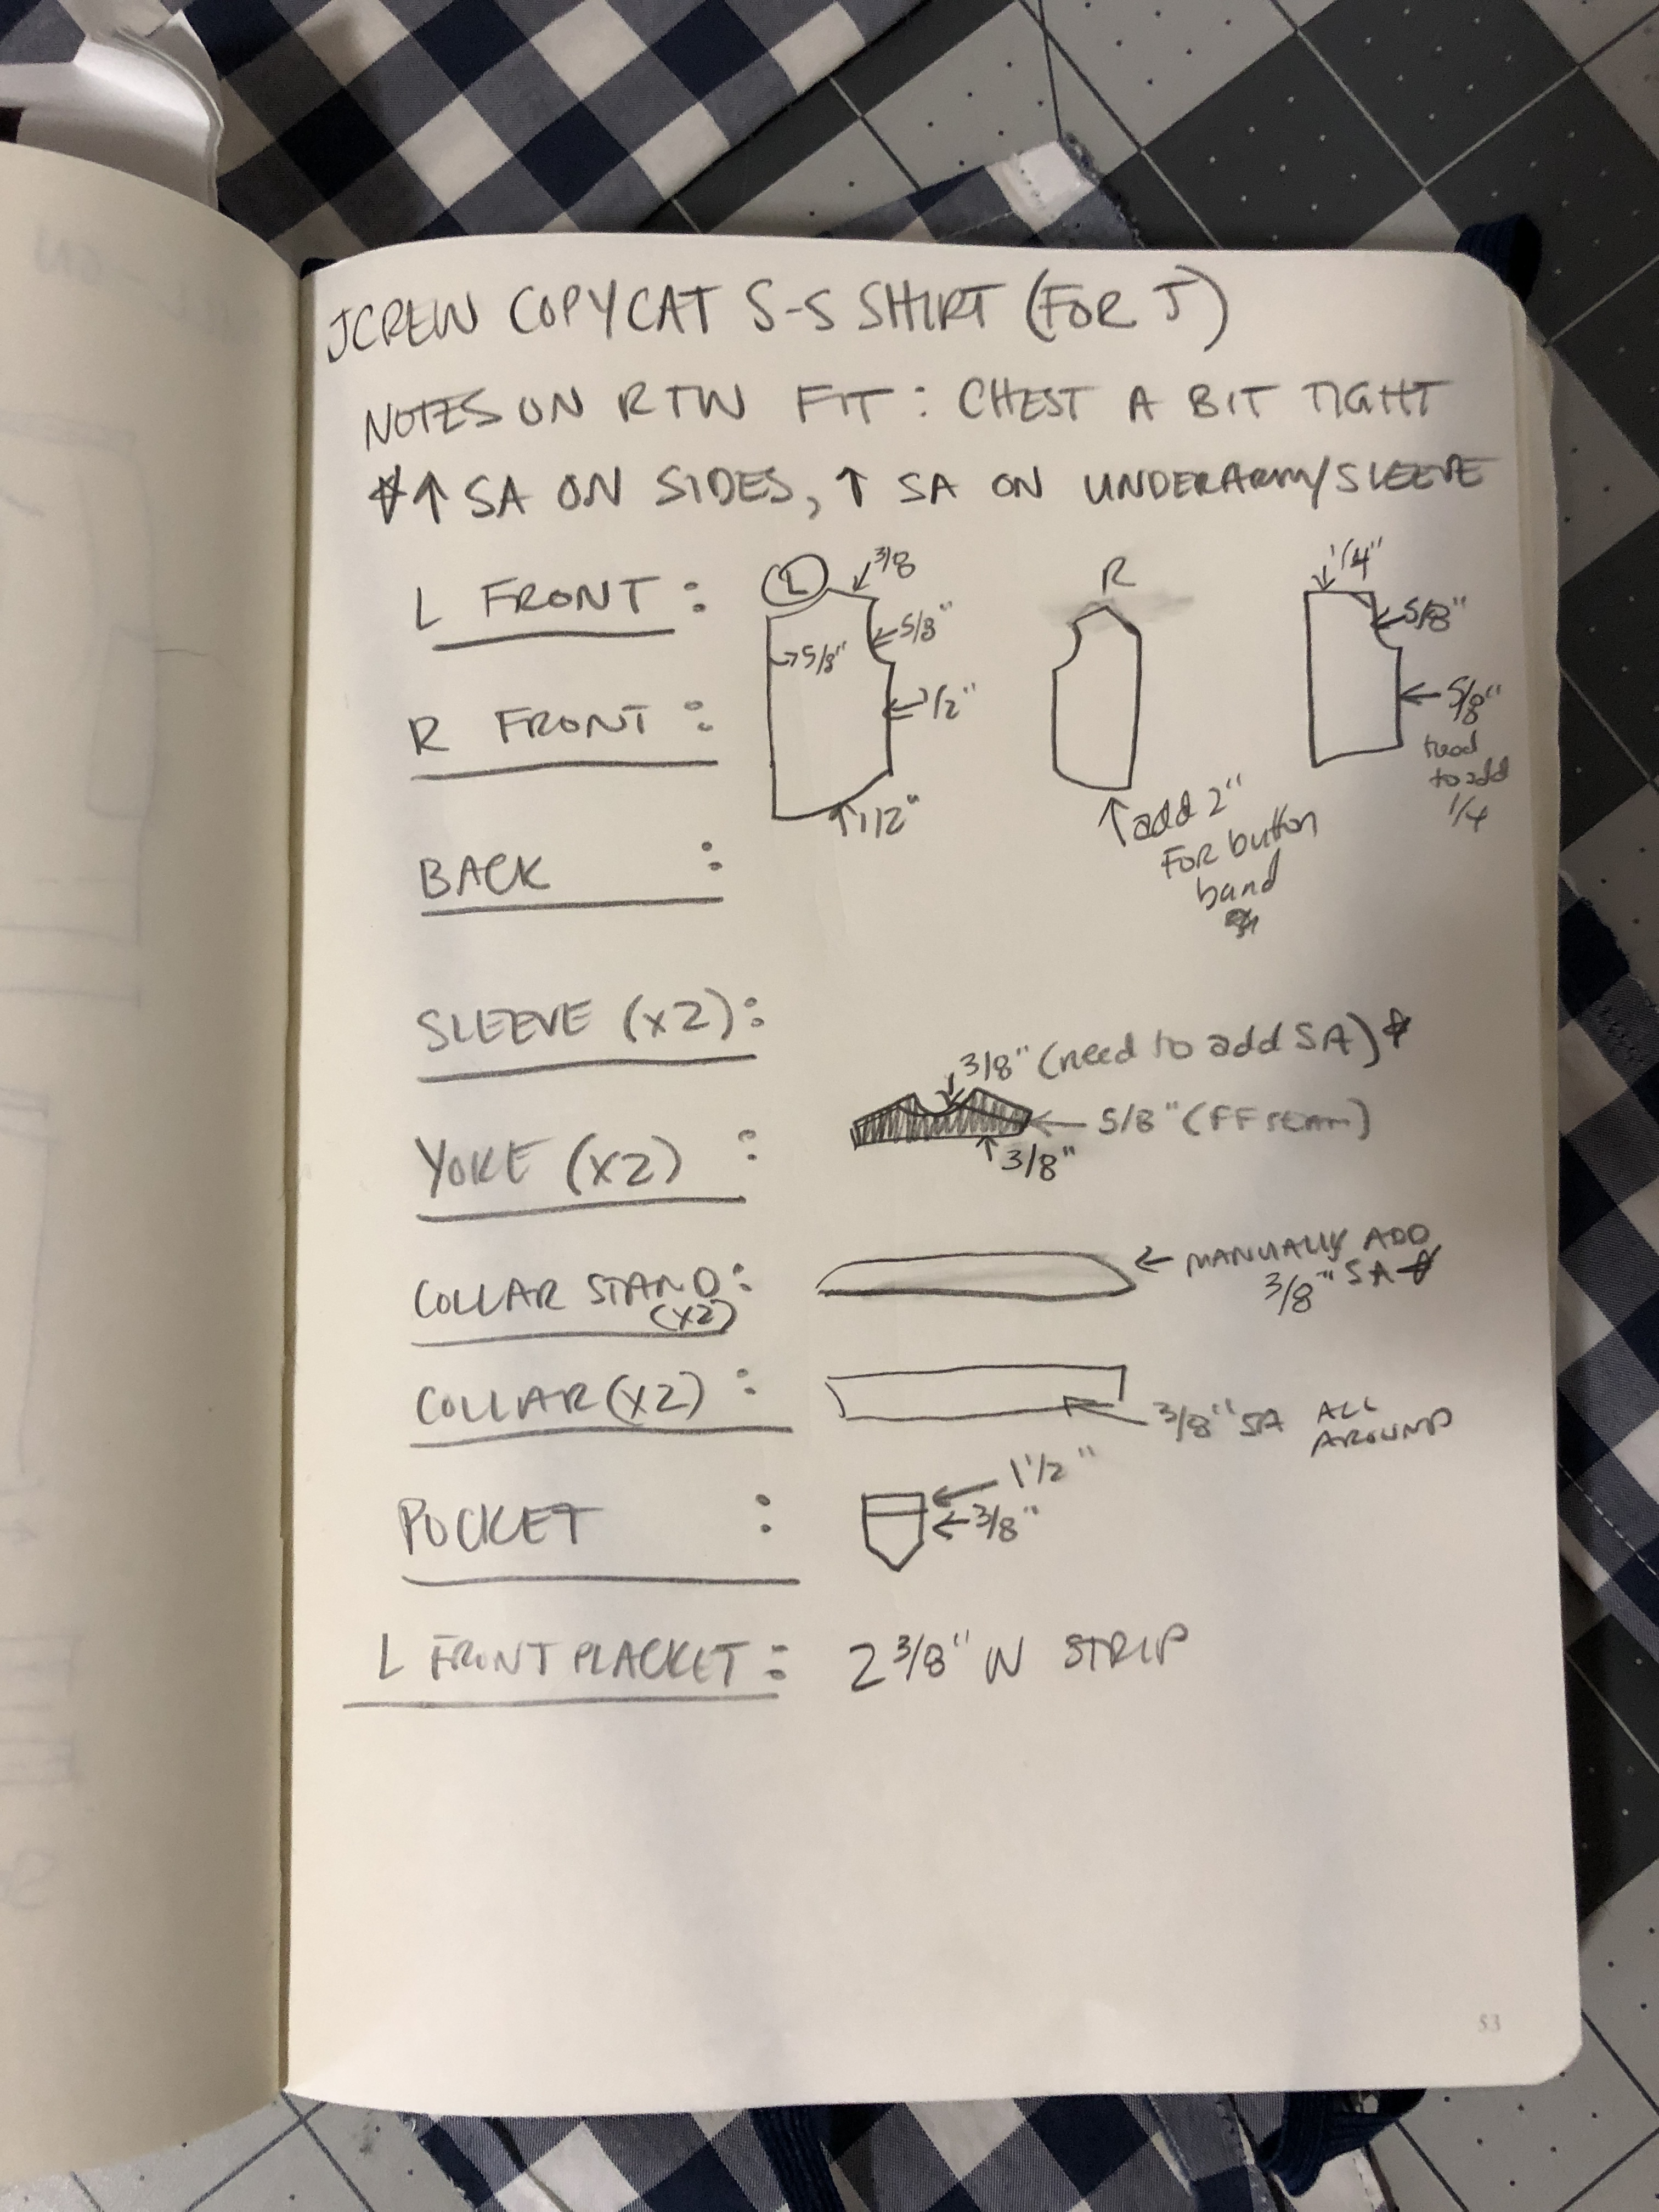
I noted the seam allowances and where they were trimmed down. I then traced the pieces and added SA where necessary. I harvested the buttons from the shirt to use on my version.
At this point in my sewing life, I have sewed several collared shirts so I didn’t need instructions. It was helpful to have the seam-ripped pieces handy to check things, like where to put the pocket. It was SO EASY to lay the RTW left front over my cut one, and figure out the perfect pocket placement. My buttonholer hasn’t worked since the Jean Jacket Saga of 2018, so I took this shirt to Jonathan Embroidery and they sewed the buttonholes perfectly and quickly.
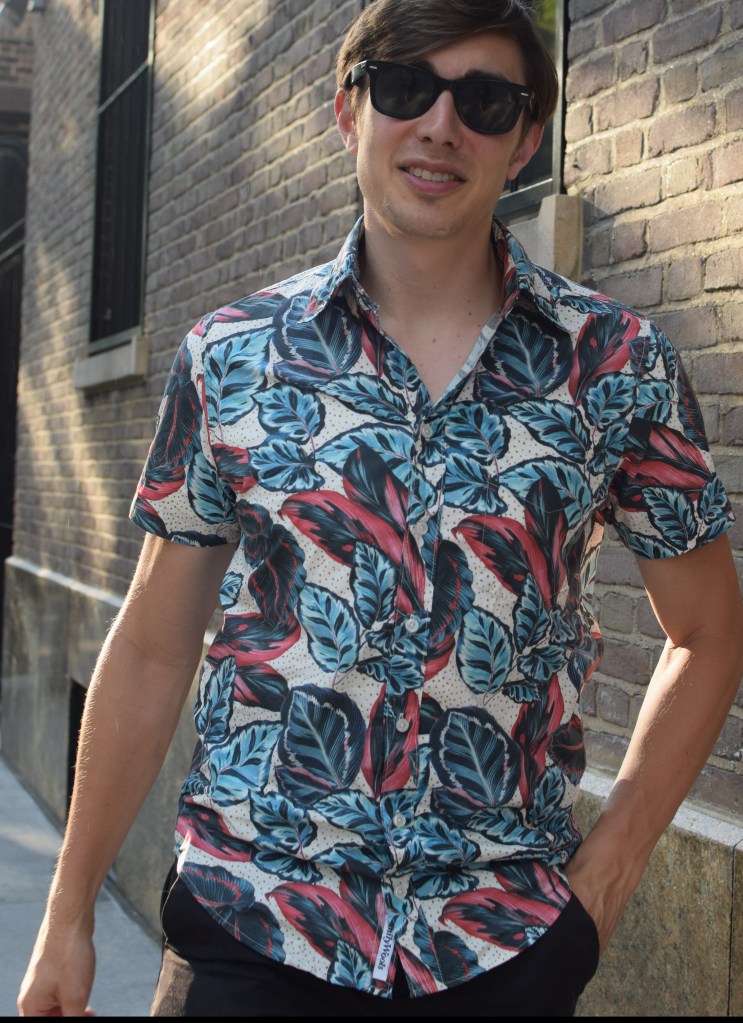
The verdict? Jacob is really happy with the fit of this shirt, so its going to become his go-to short sleeved shirt pattern! He requested a fun fabric so he could participate in “tiki shirt Fridays” at work this summer, and I am in the process of sewing a second one in a more subdued check.


 I made another
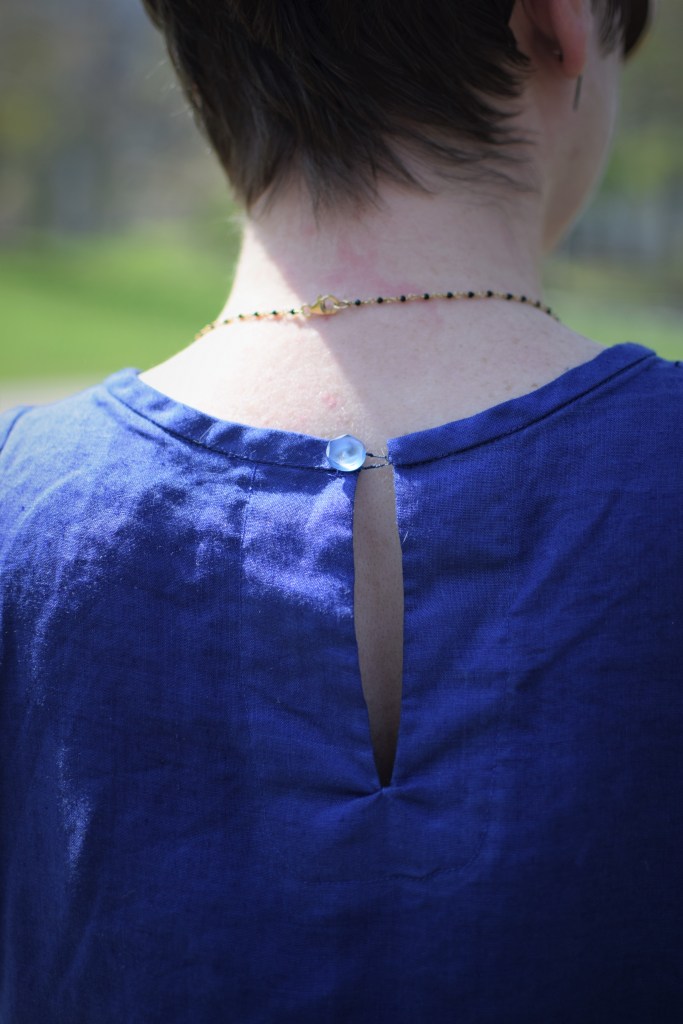
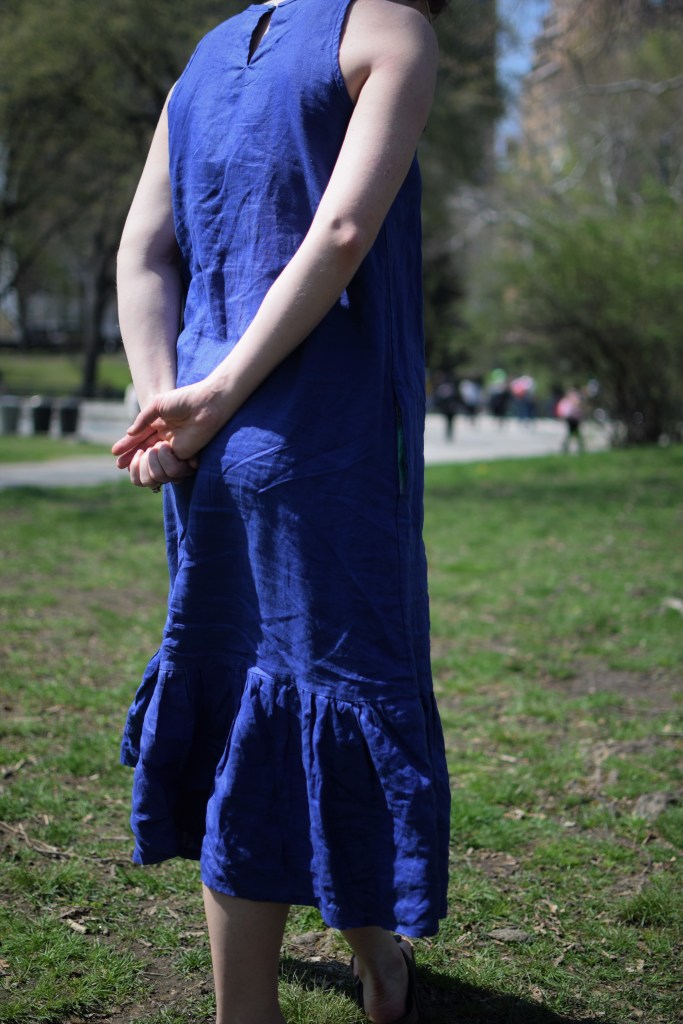
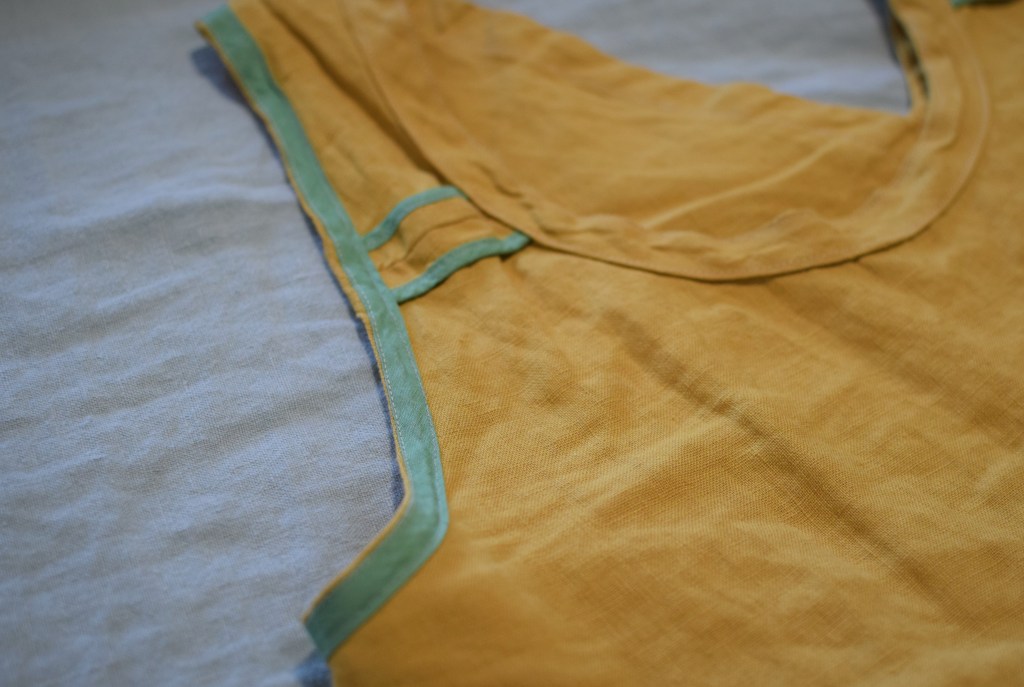
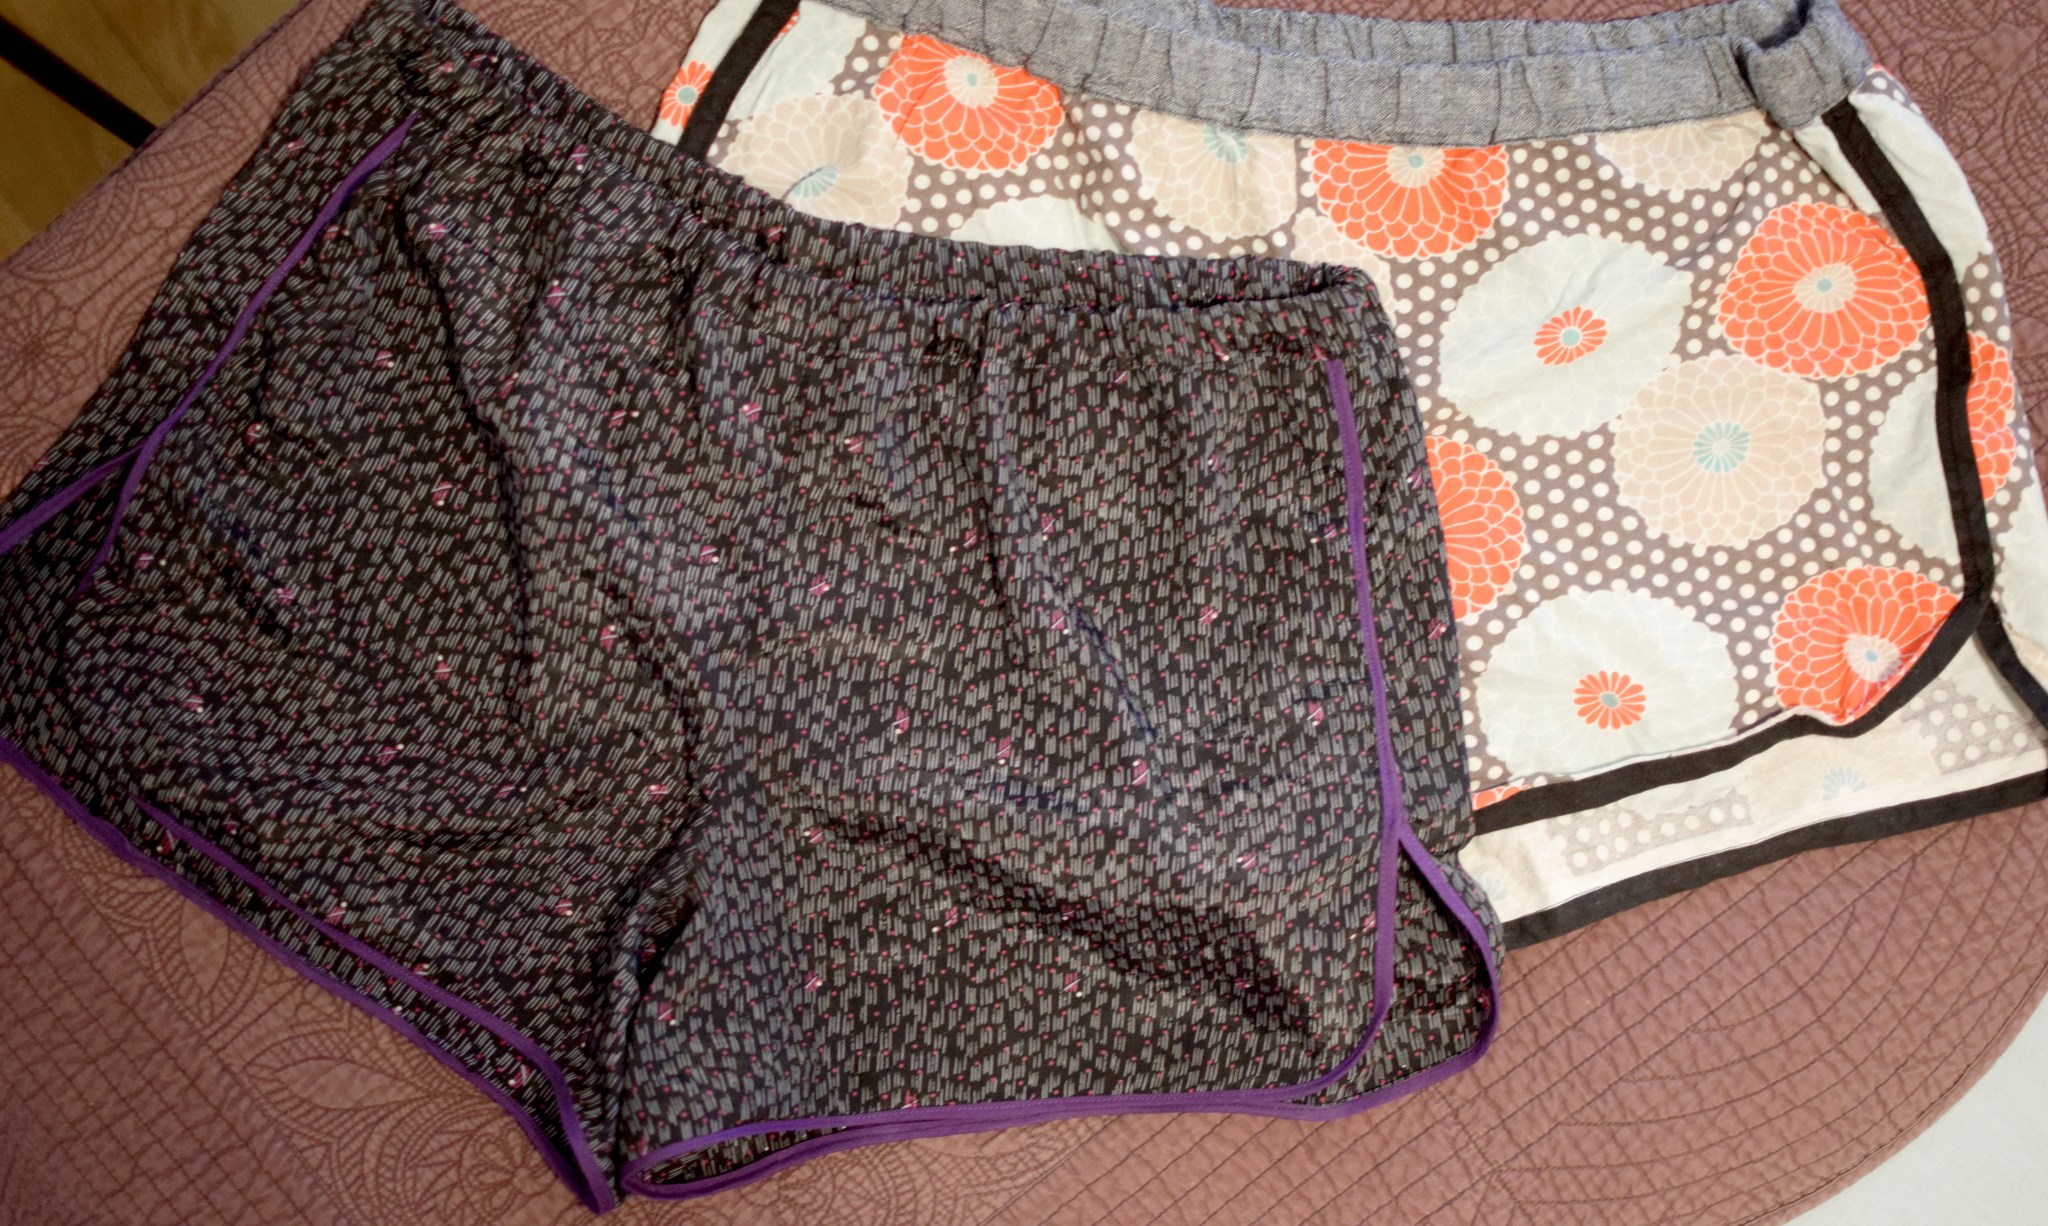
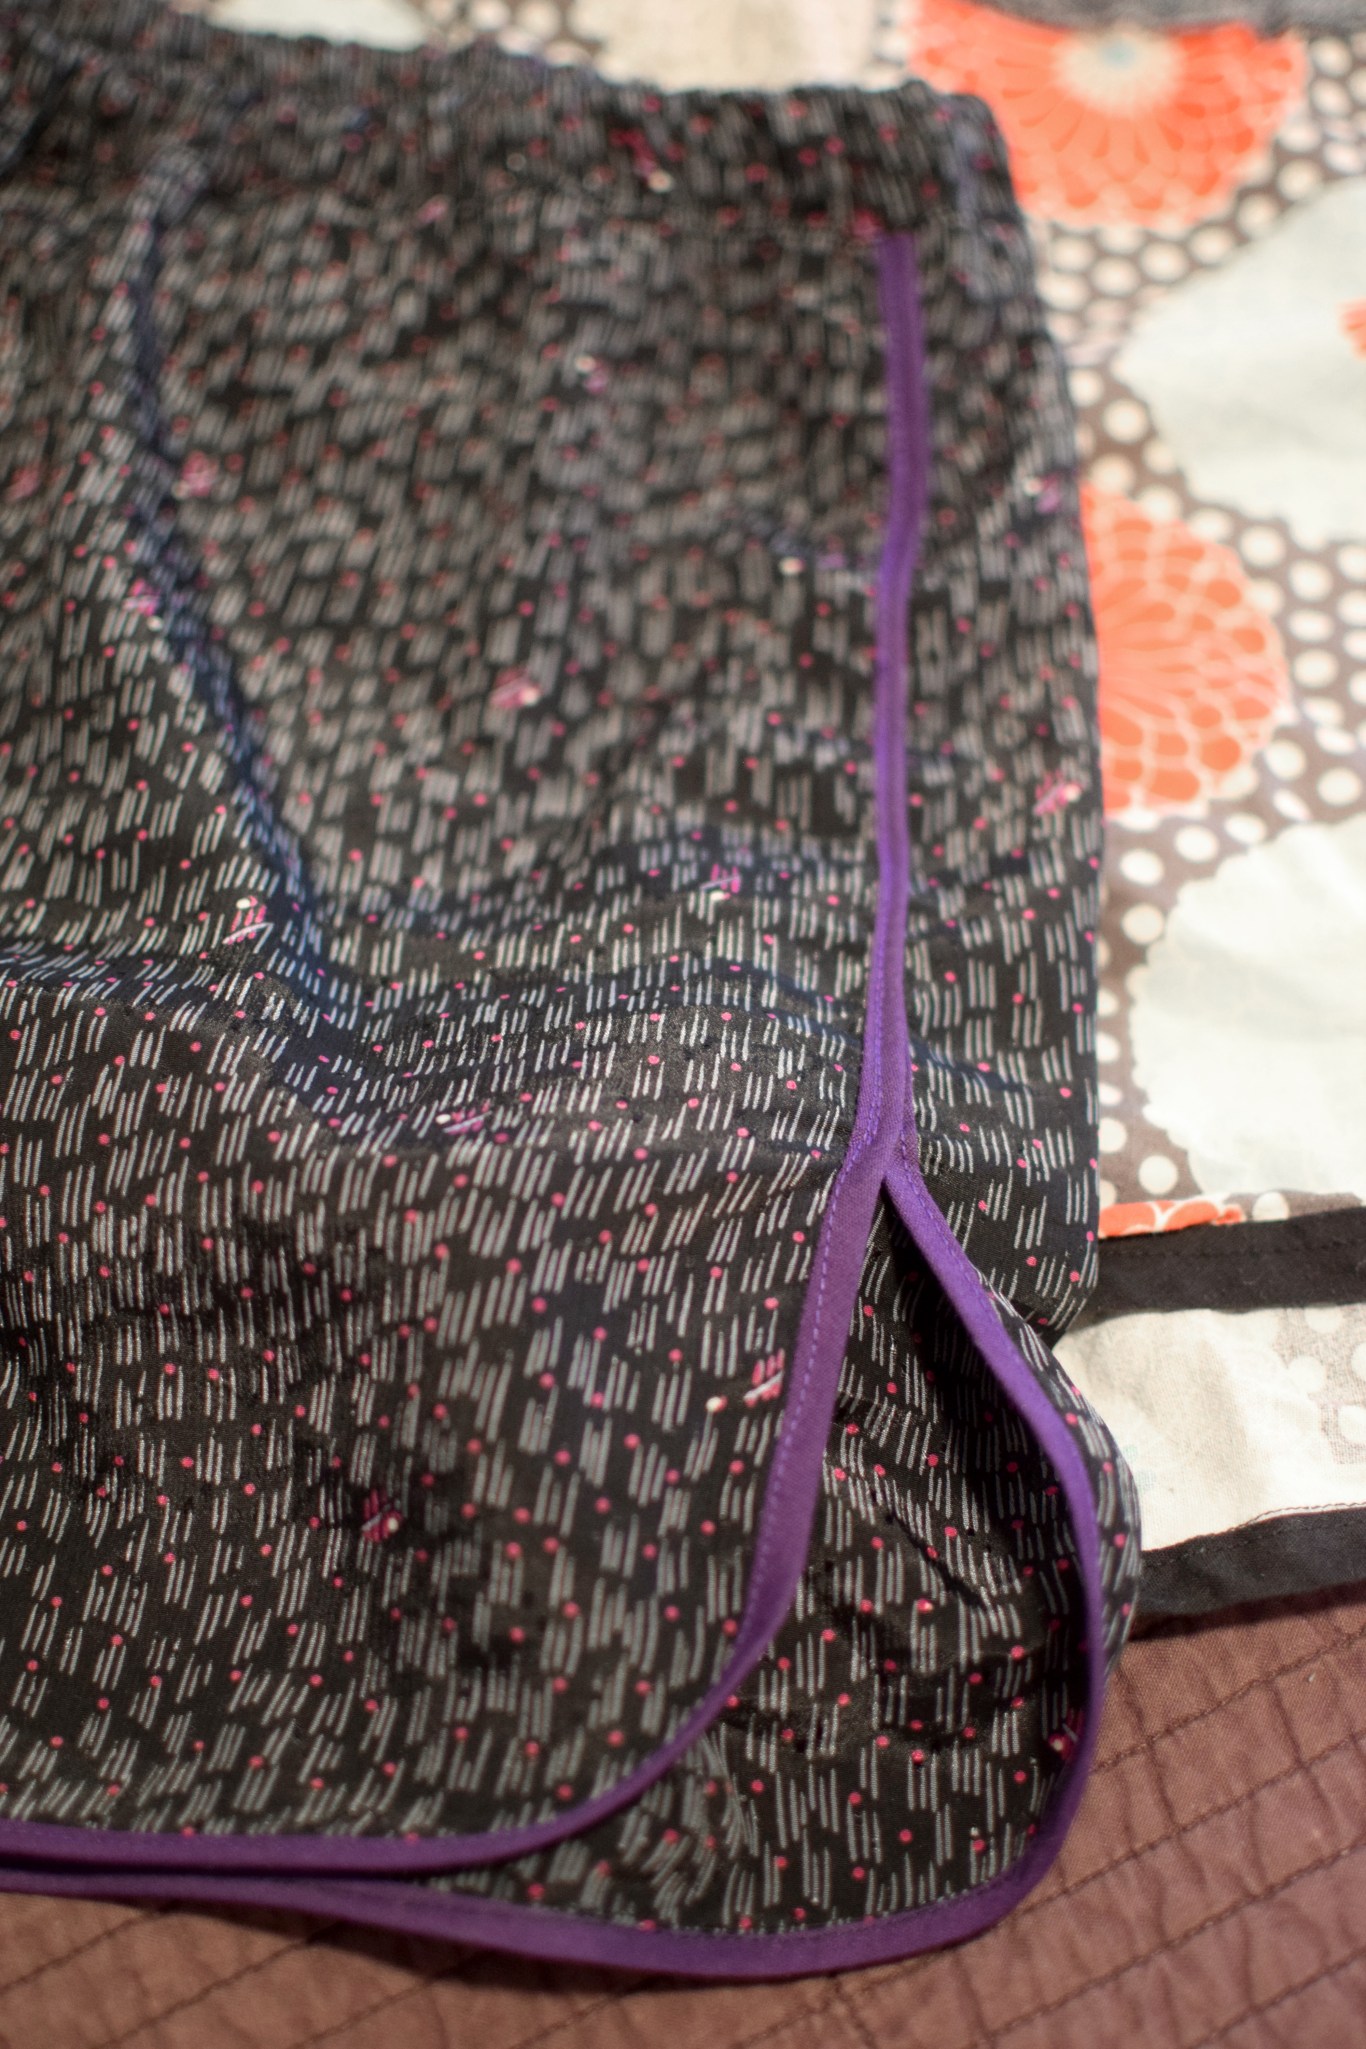
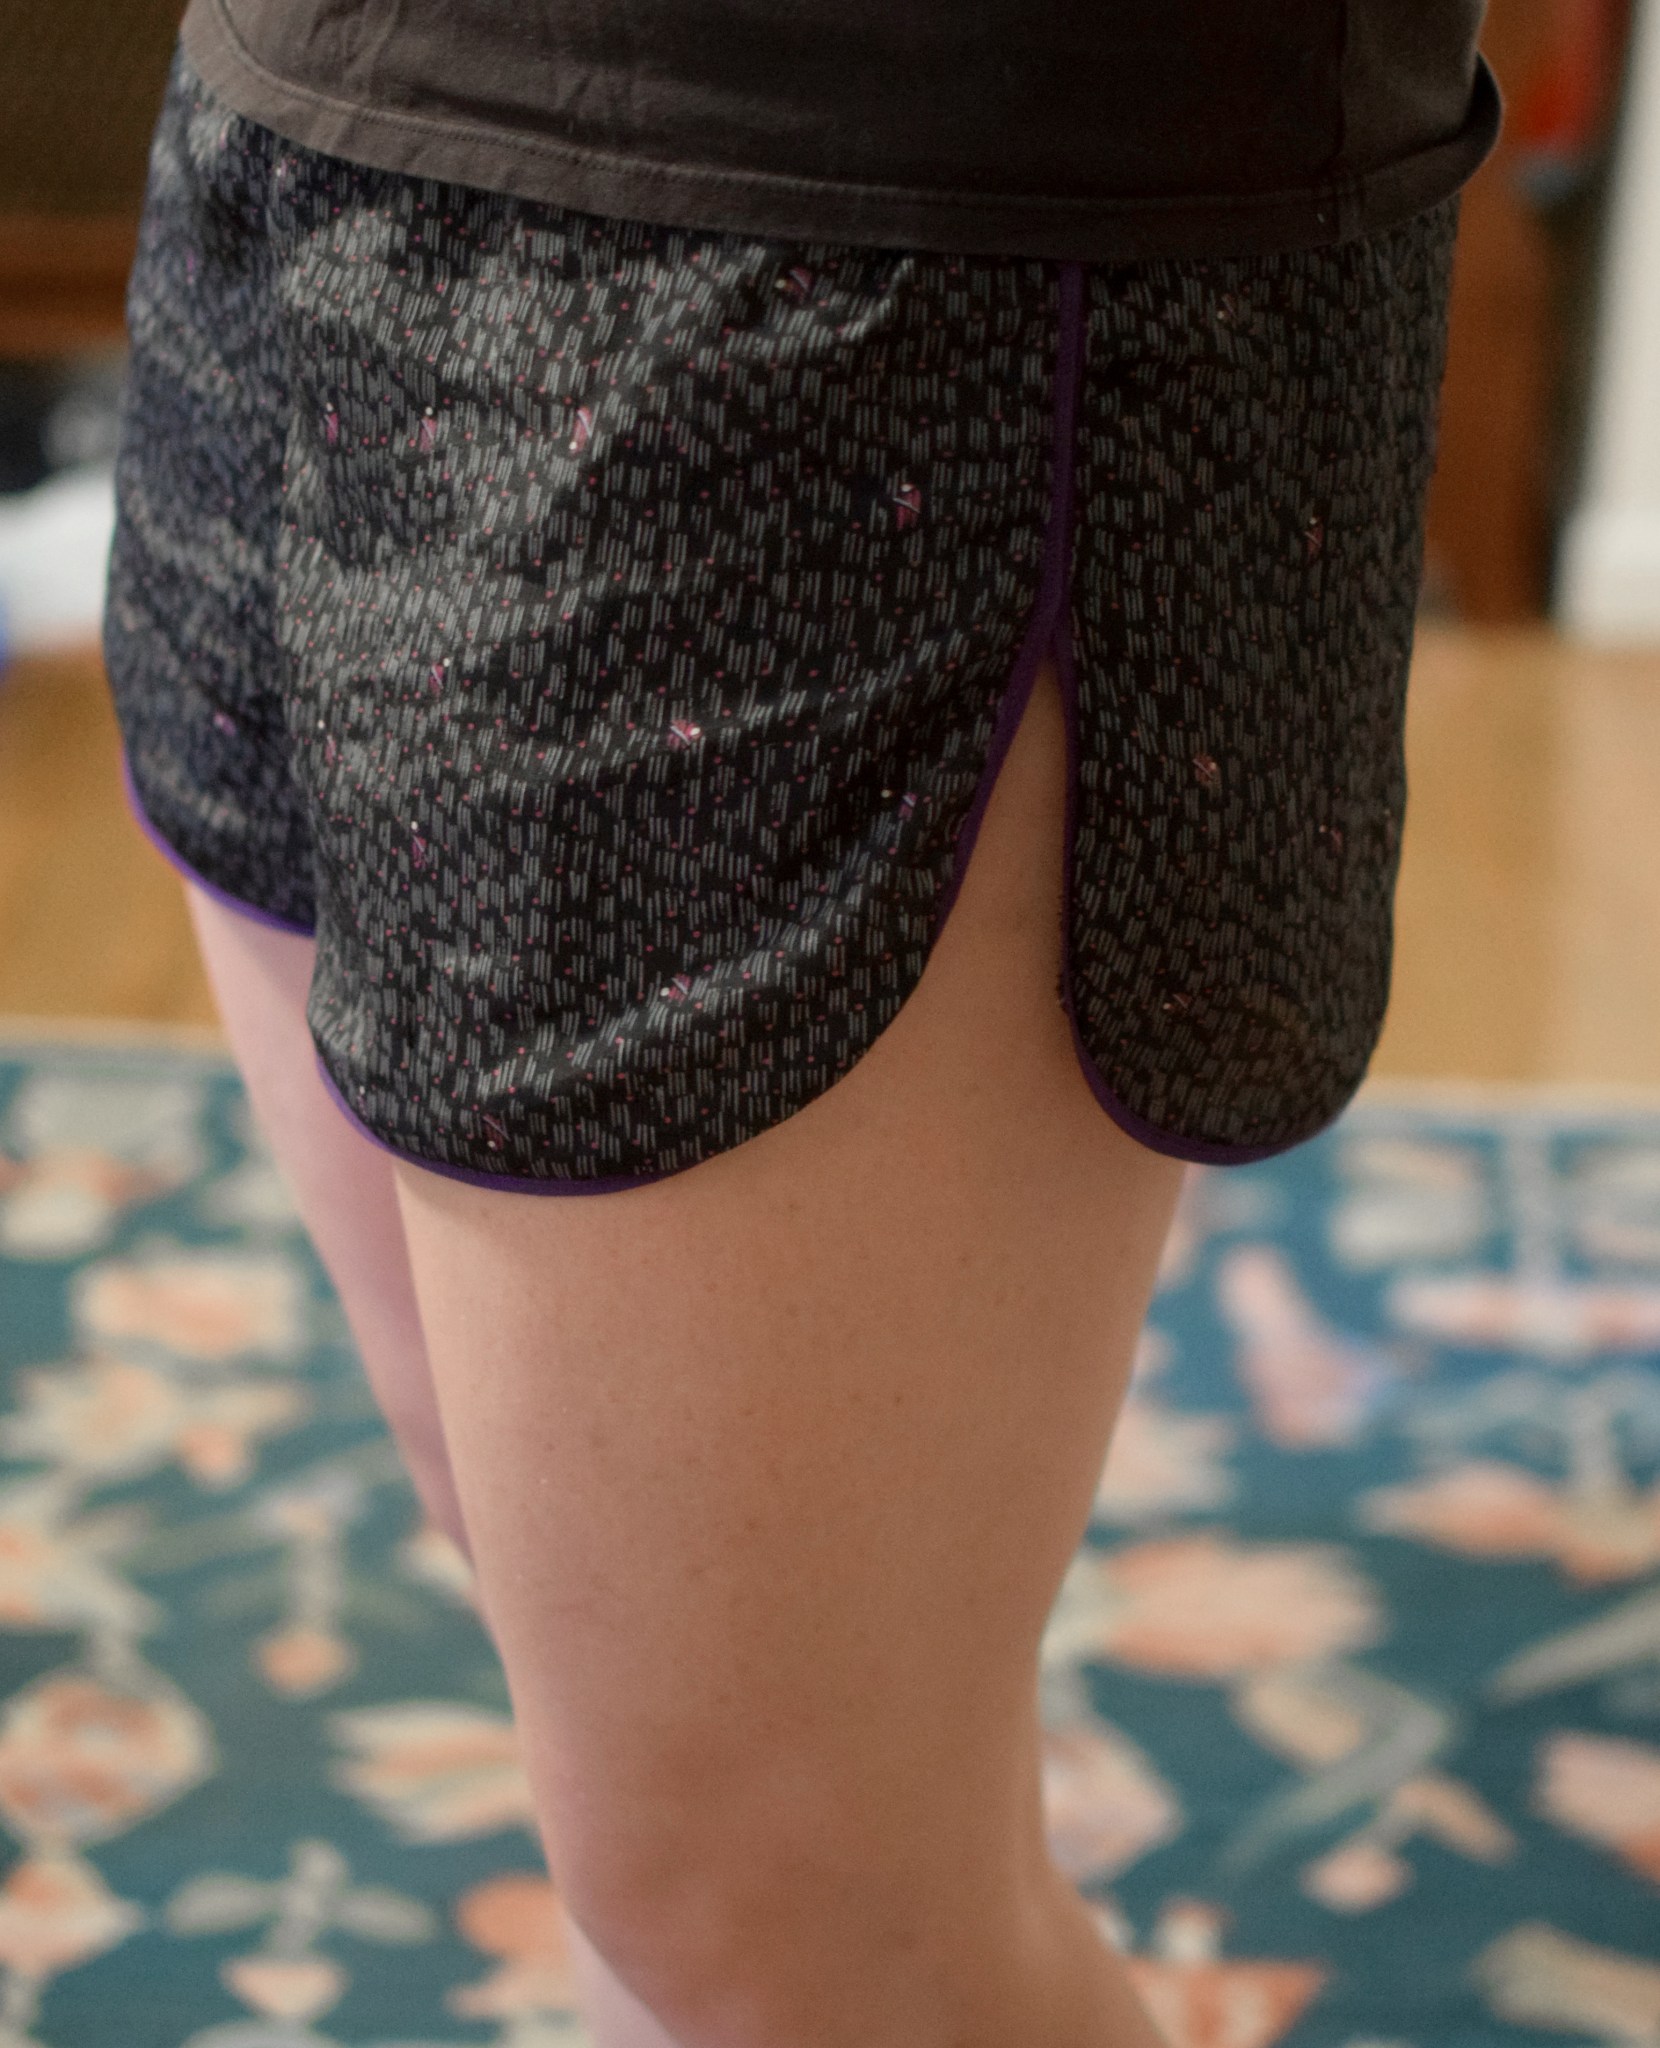
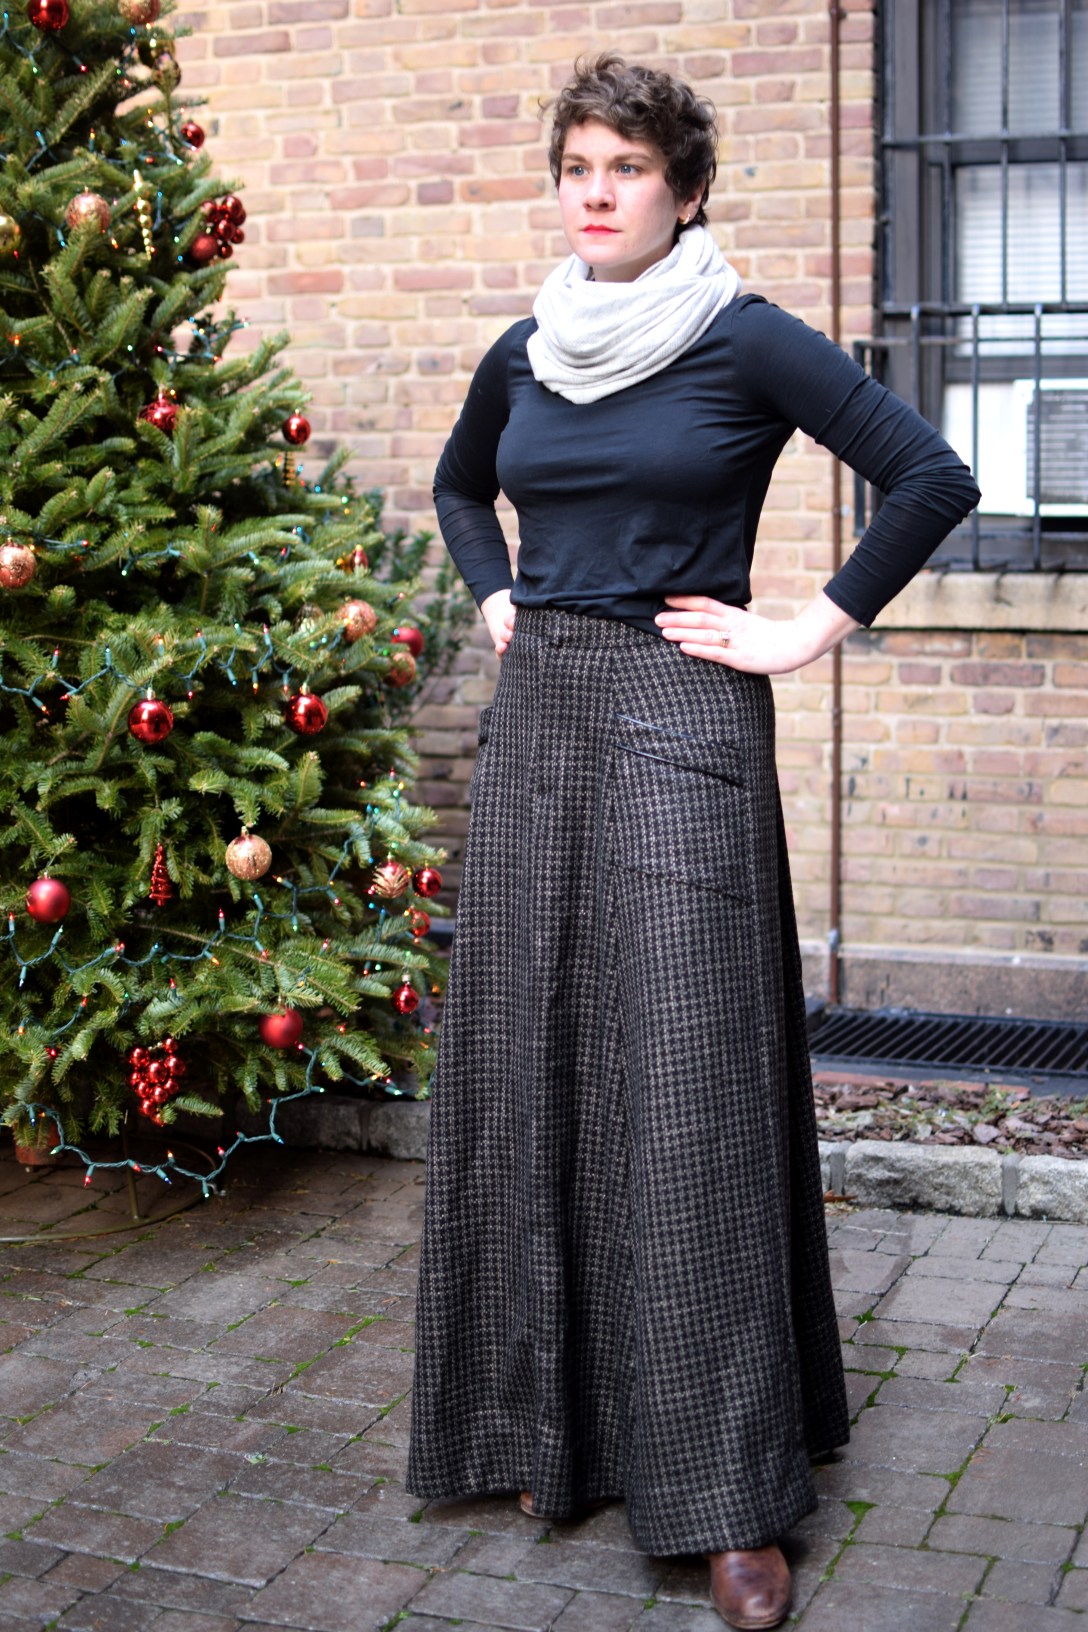
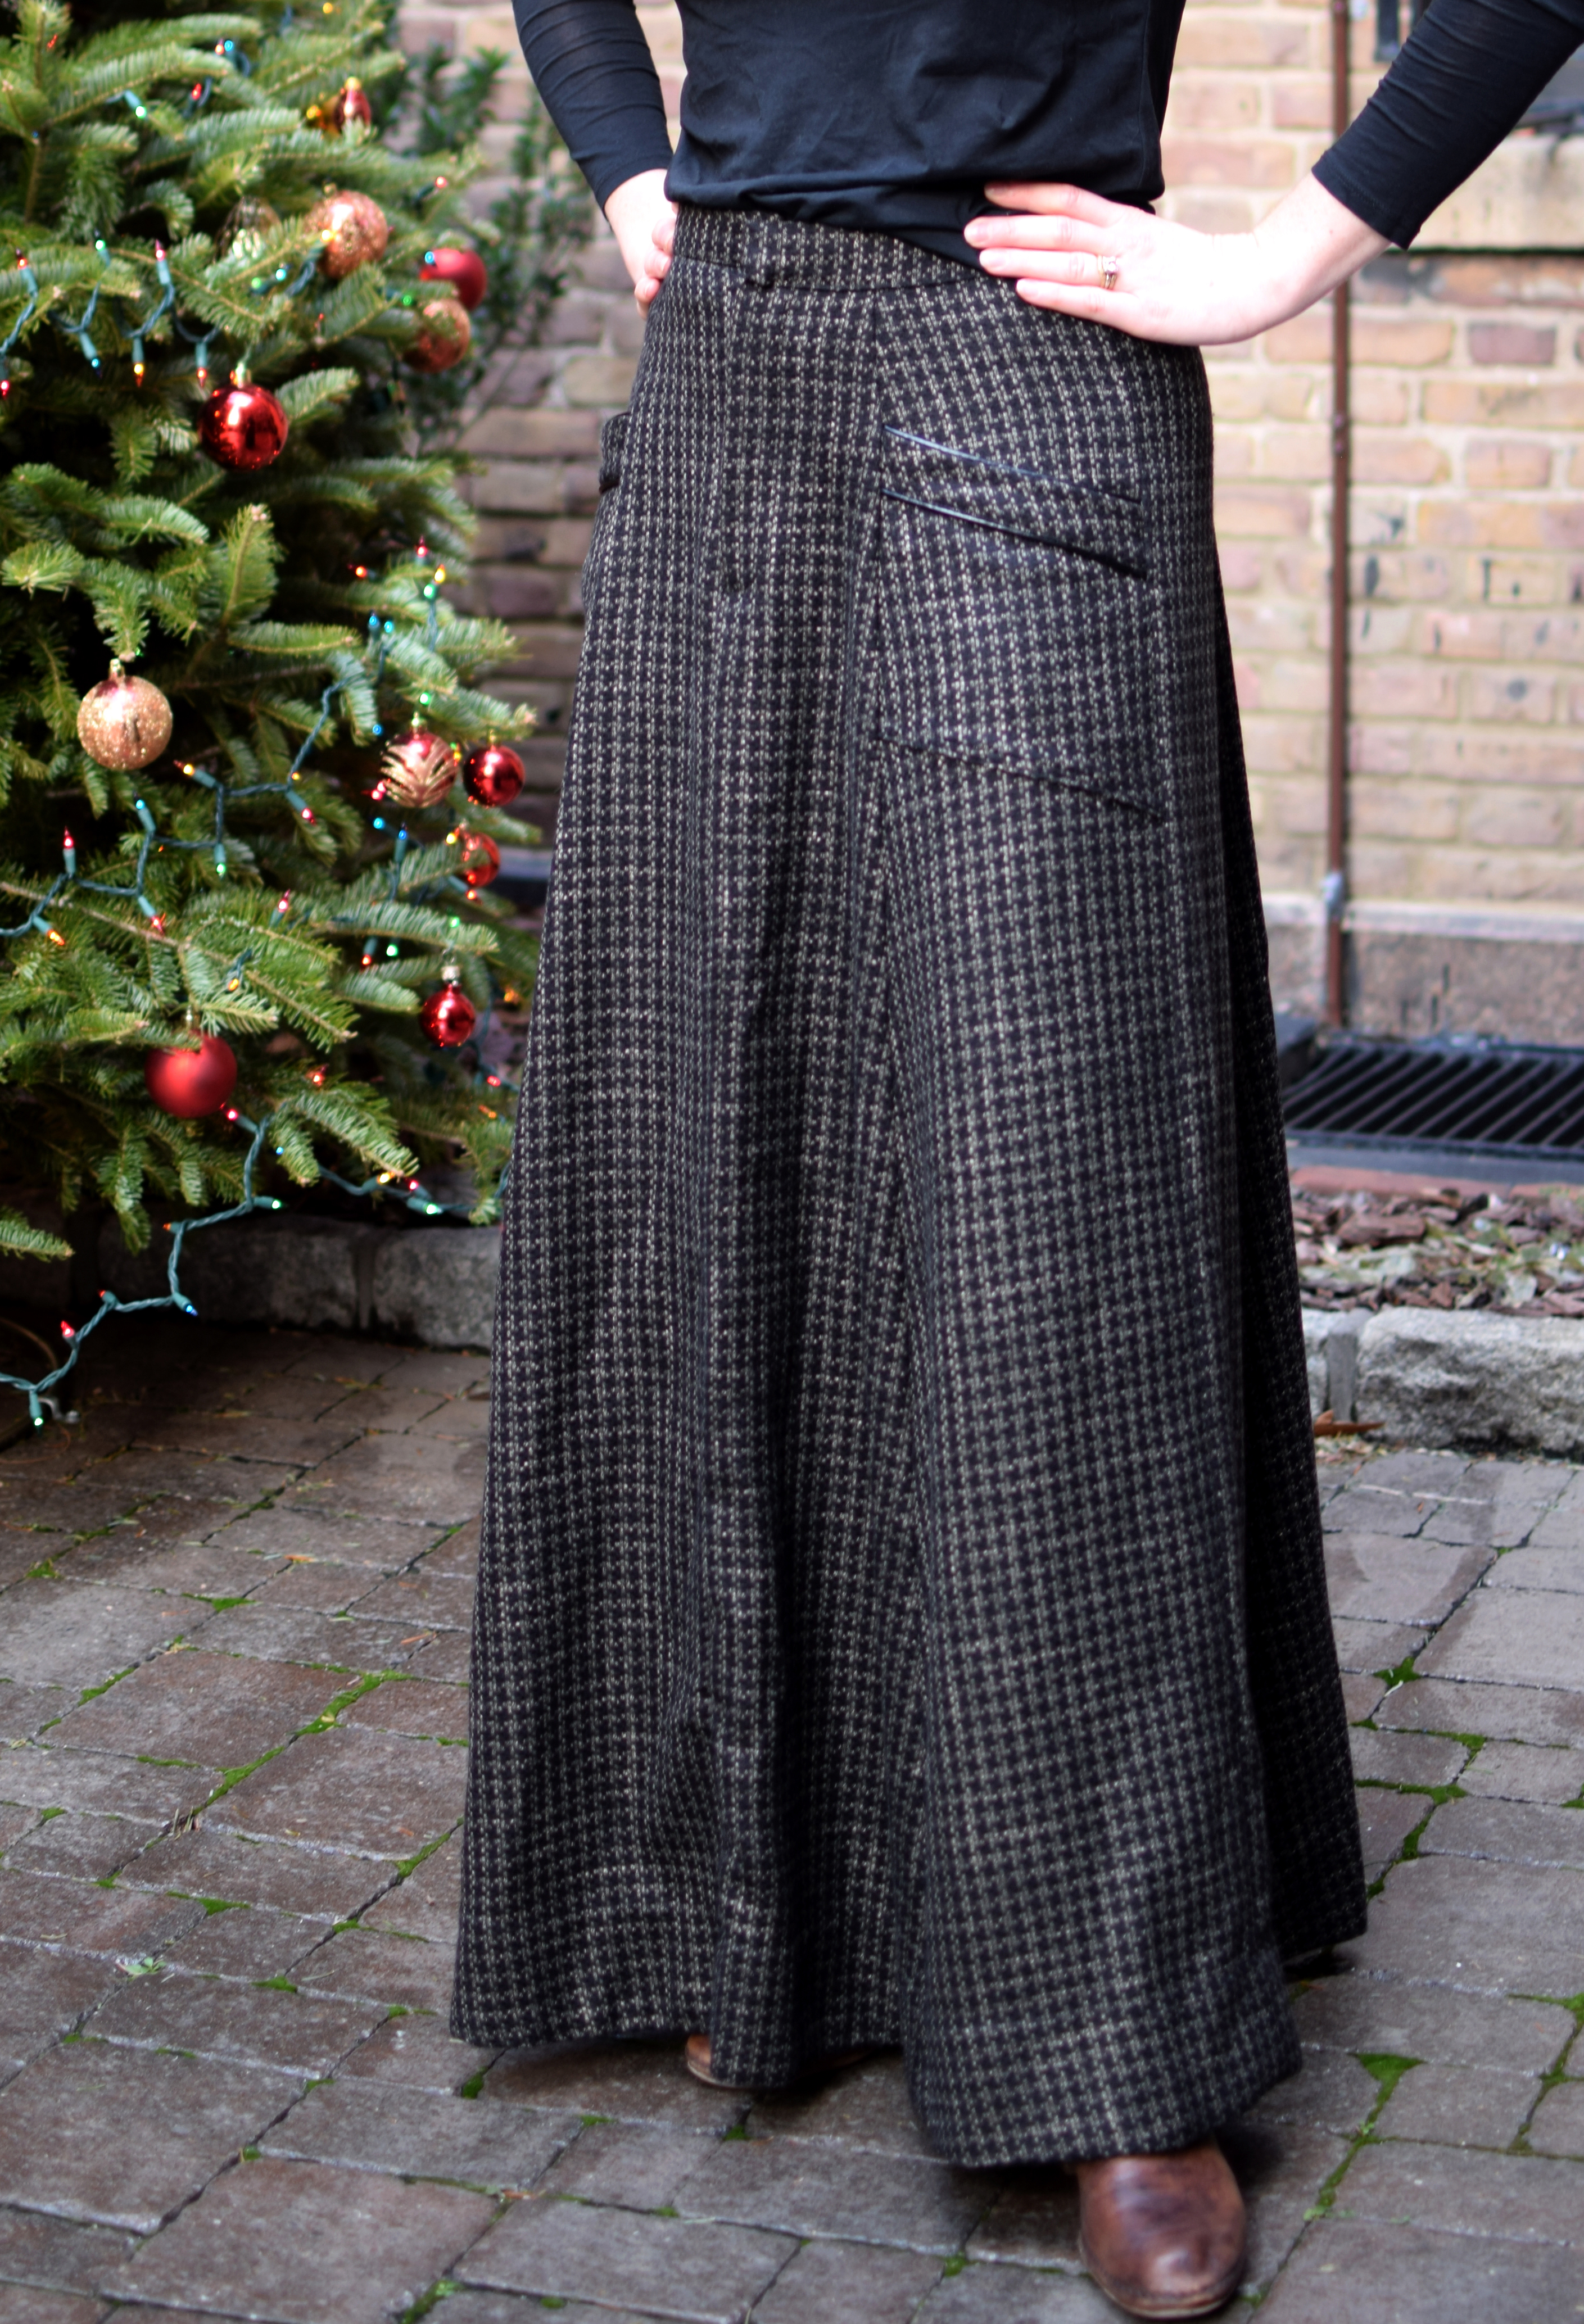
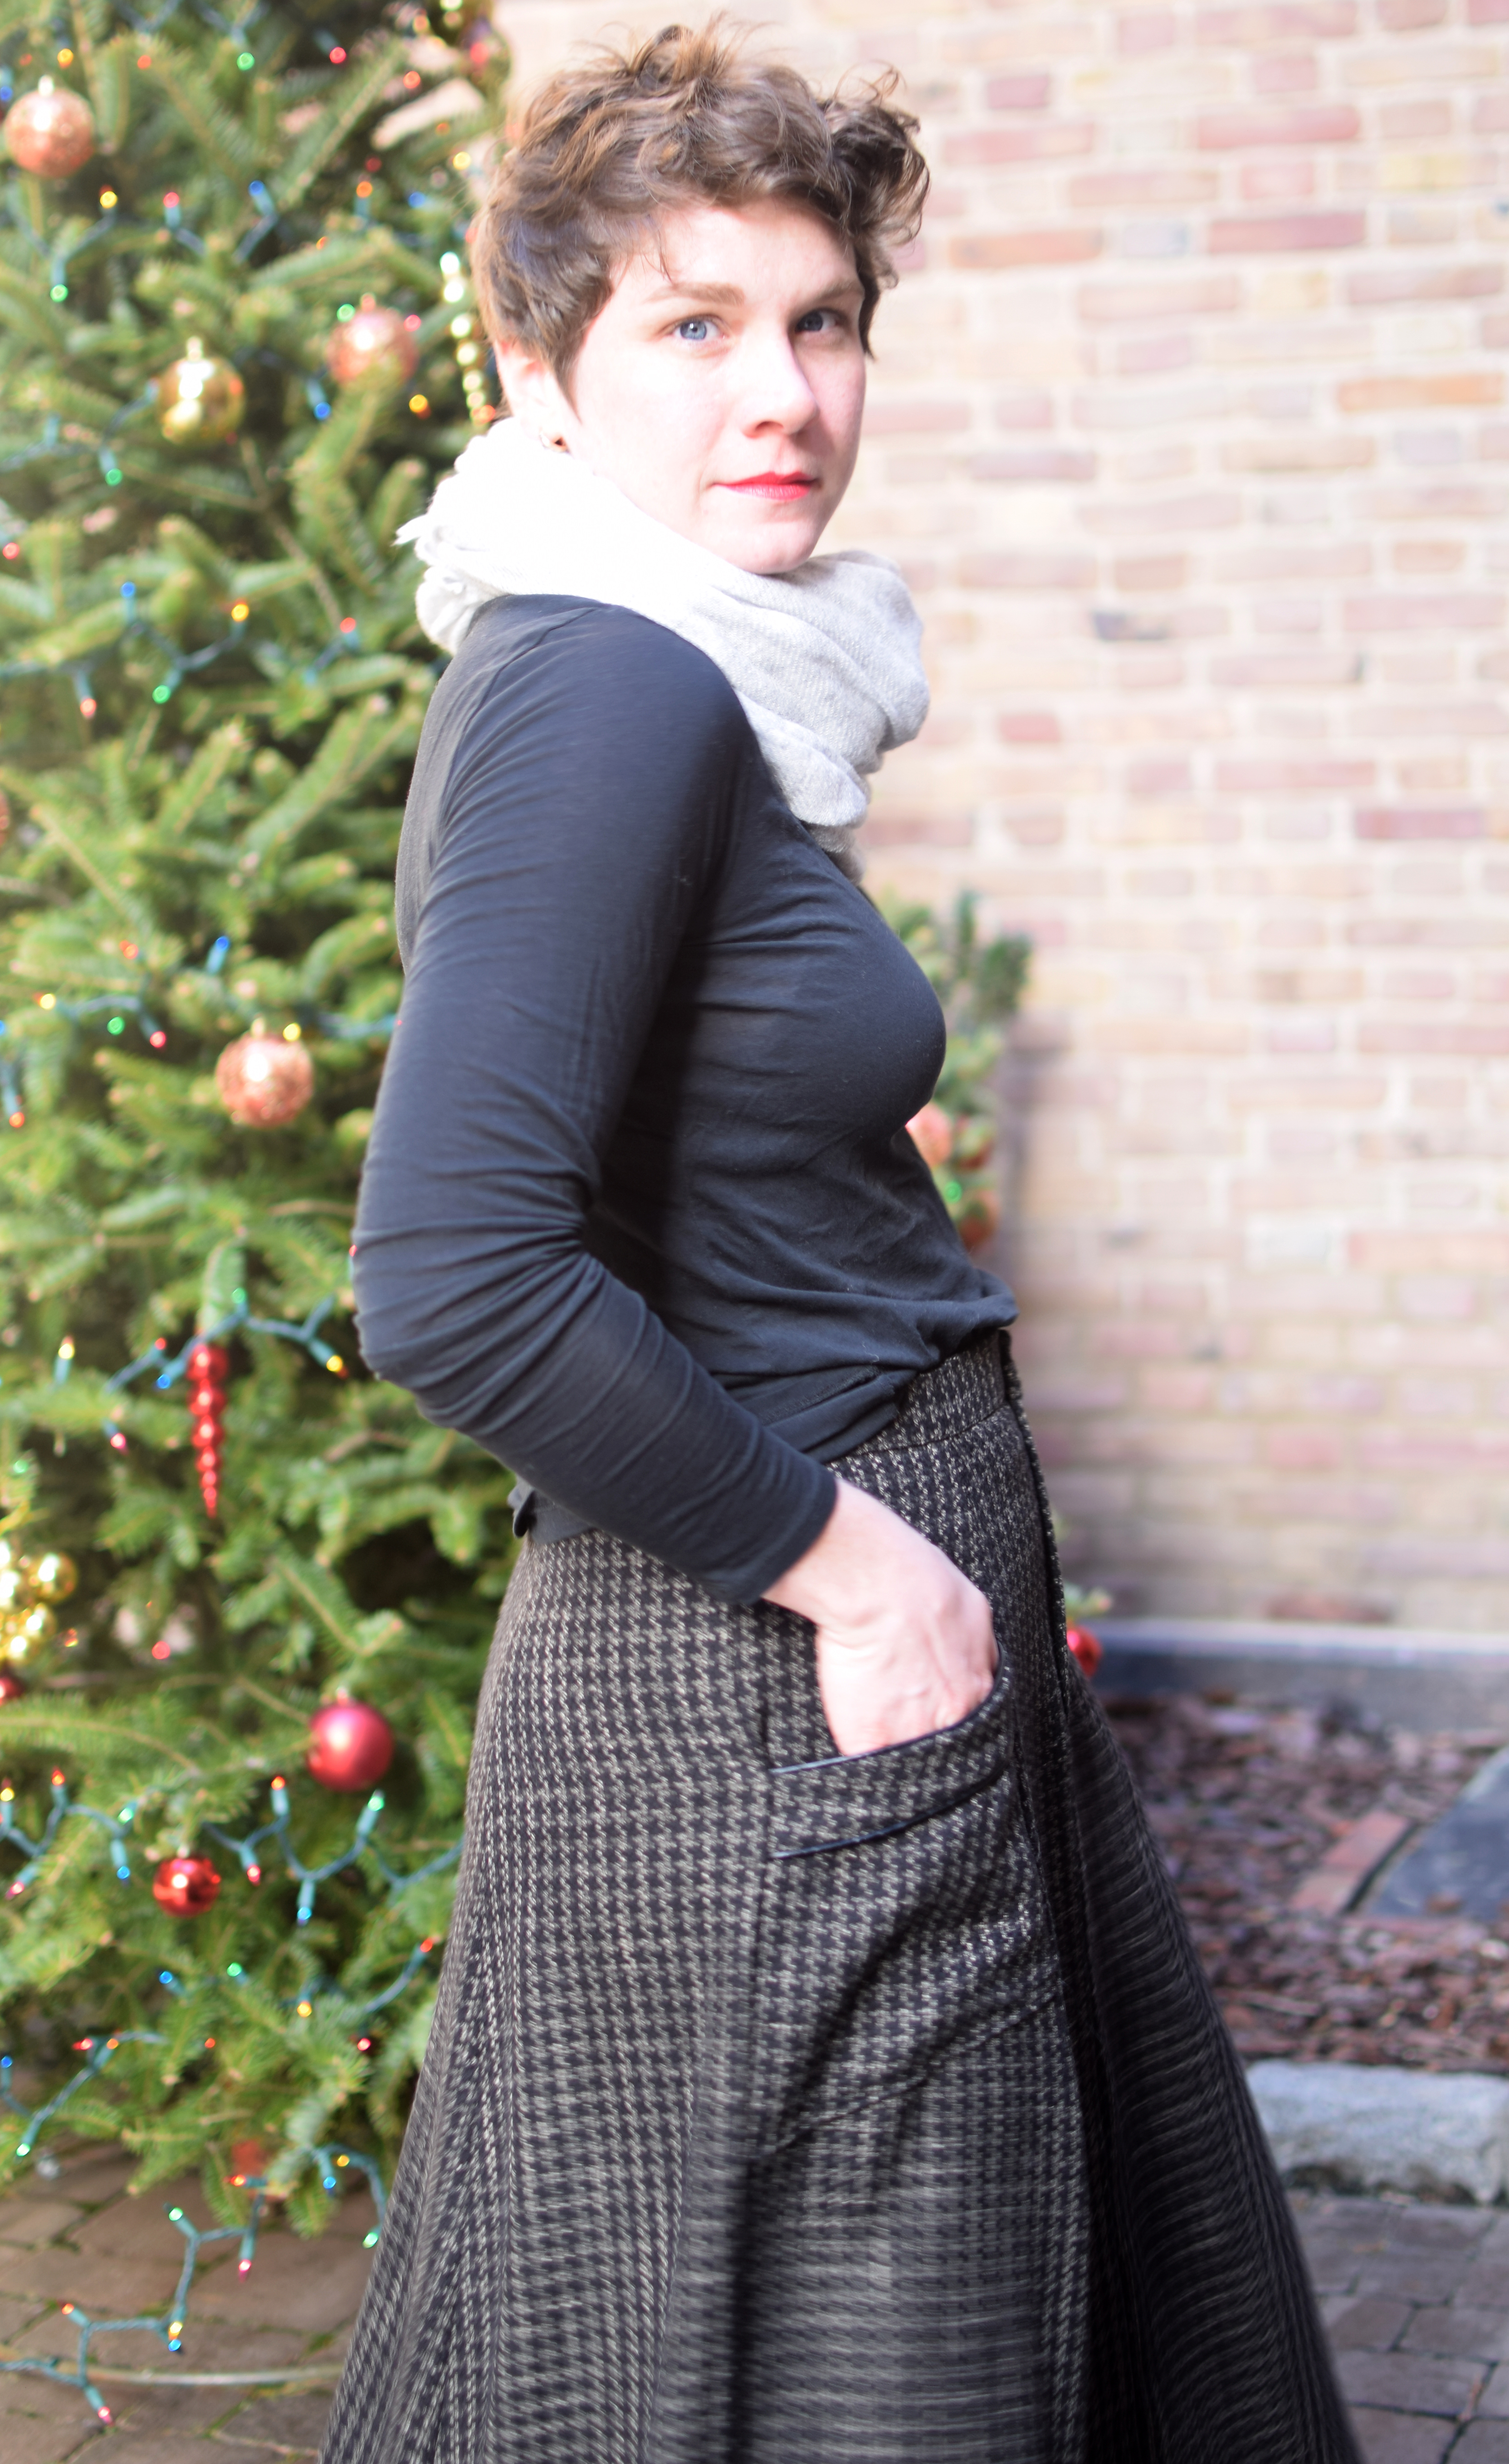
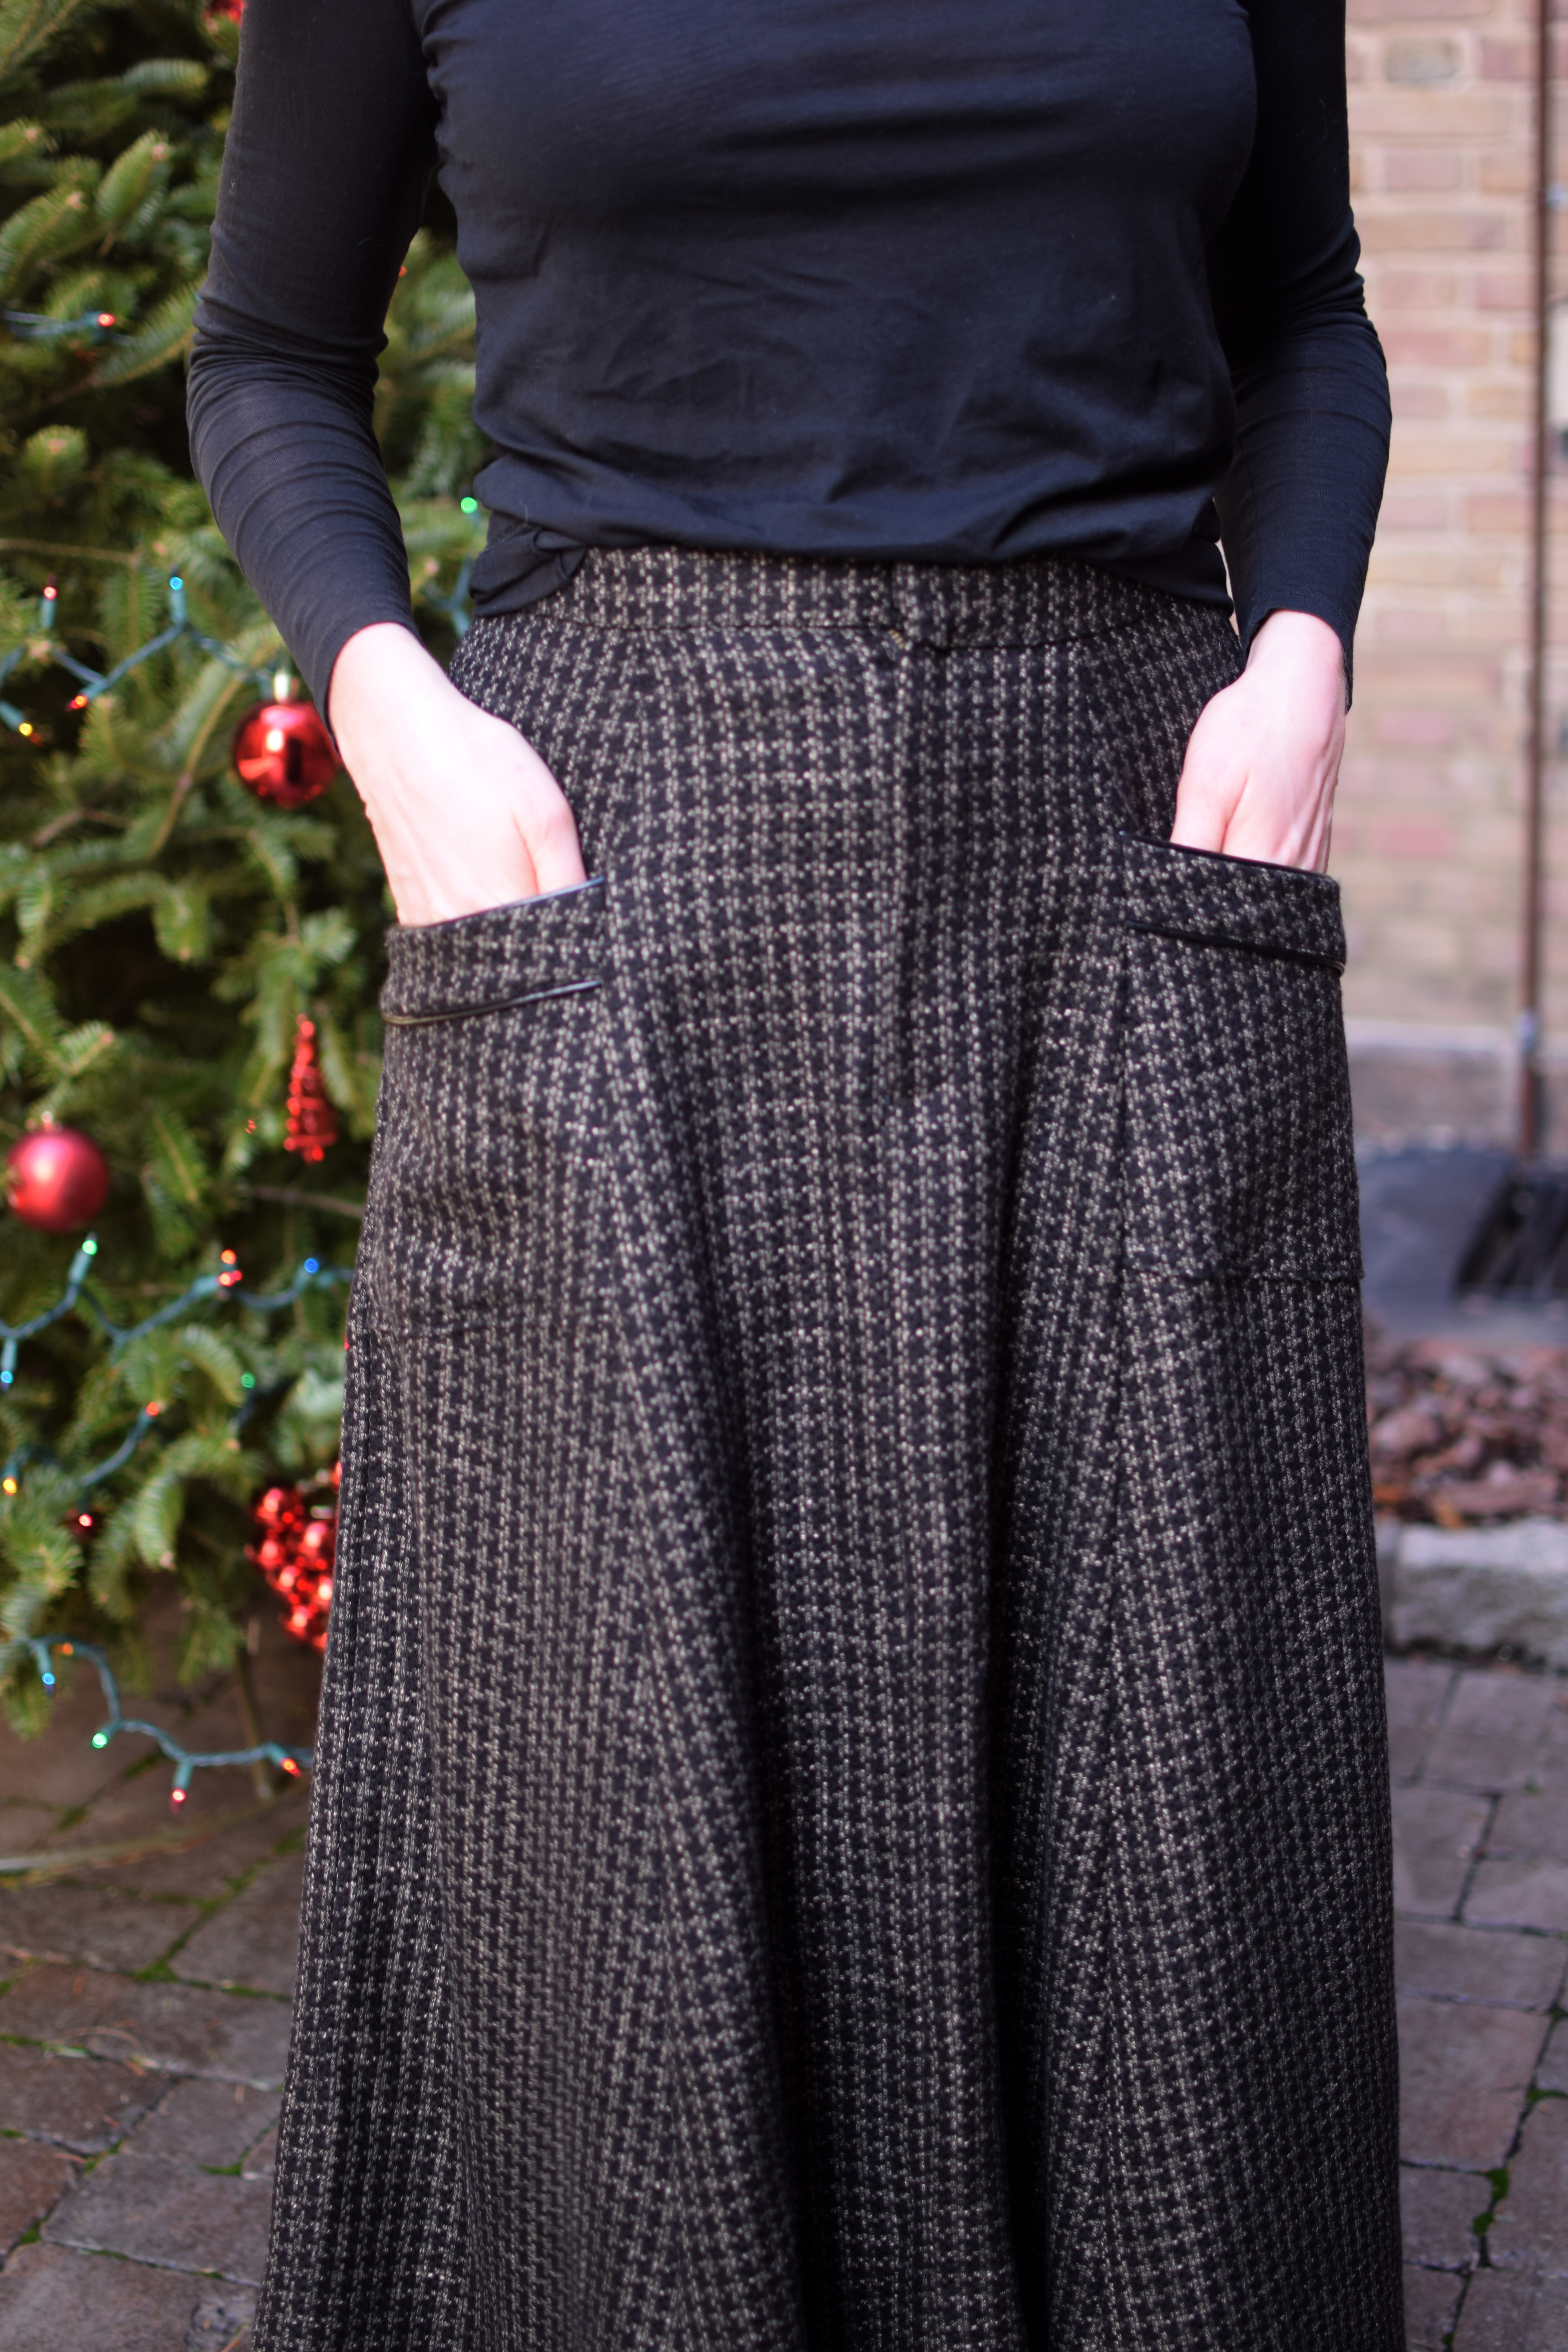
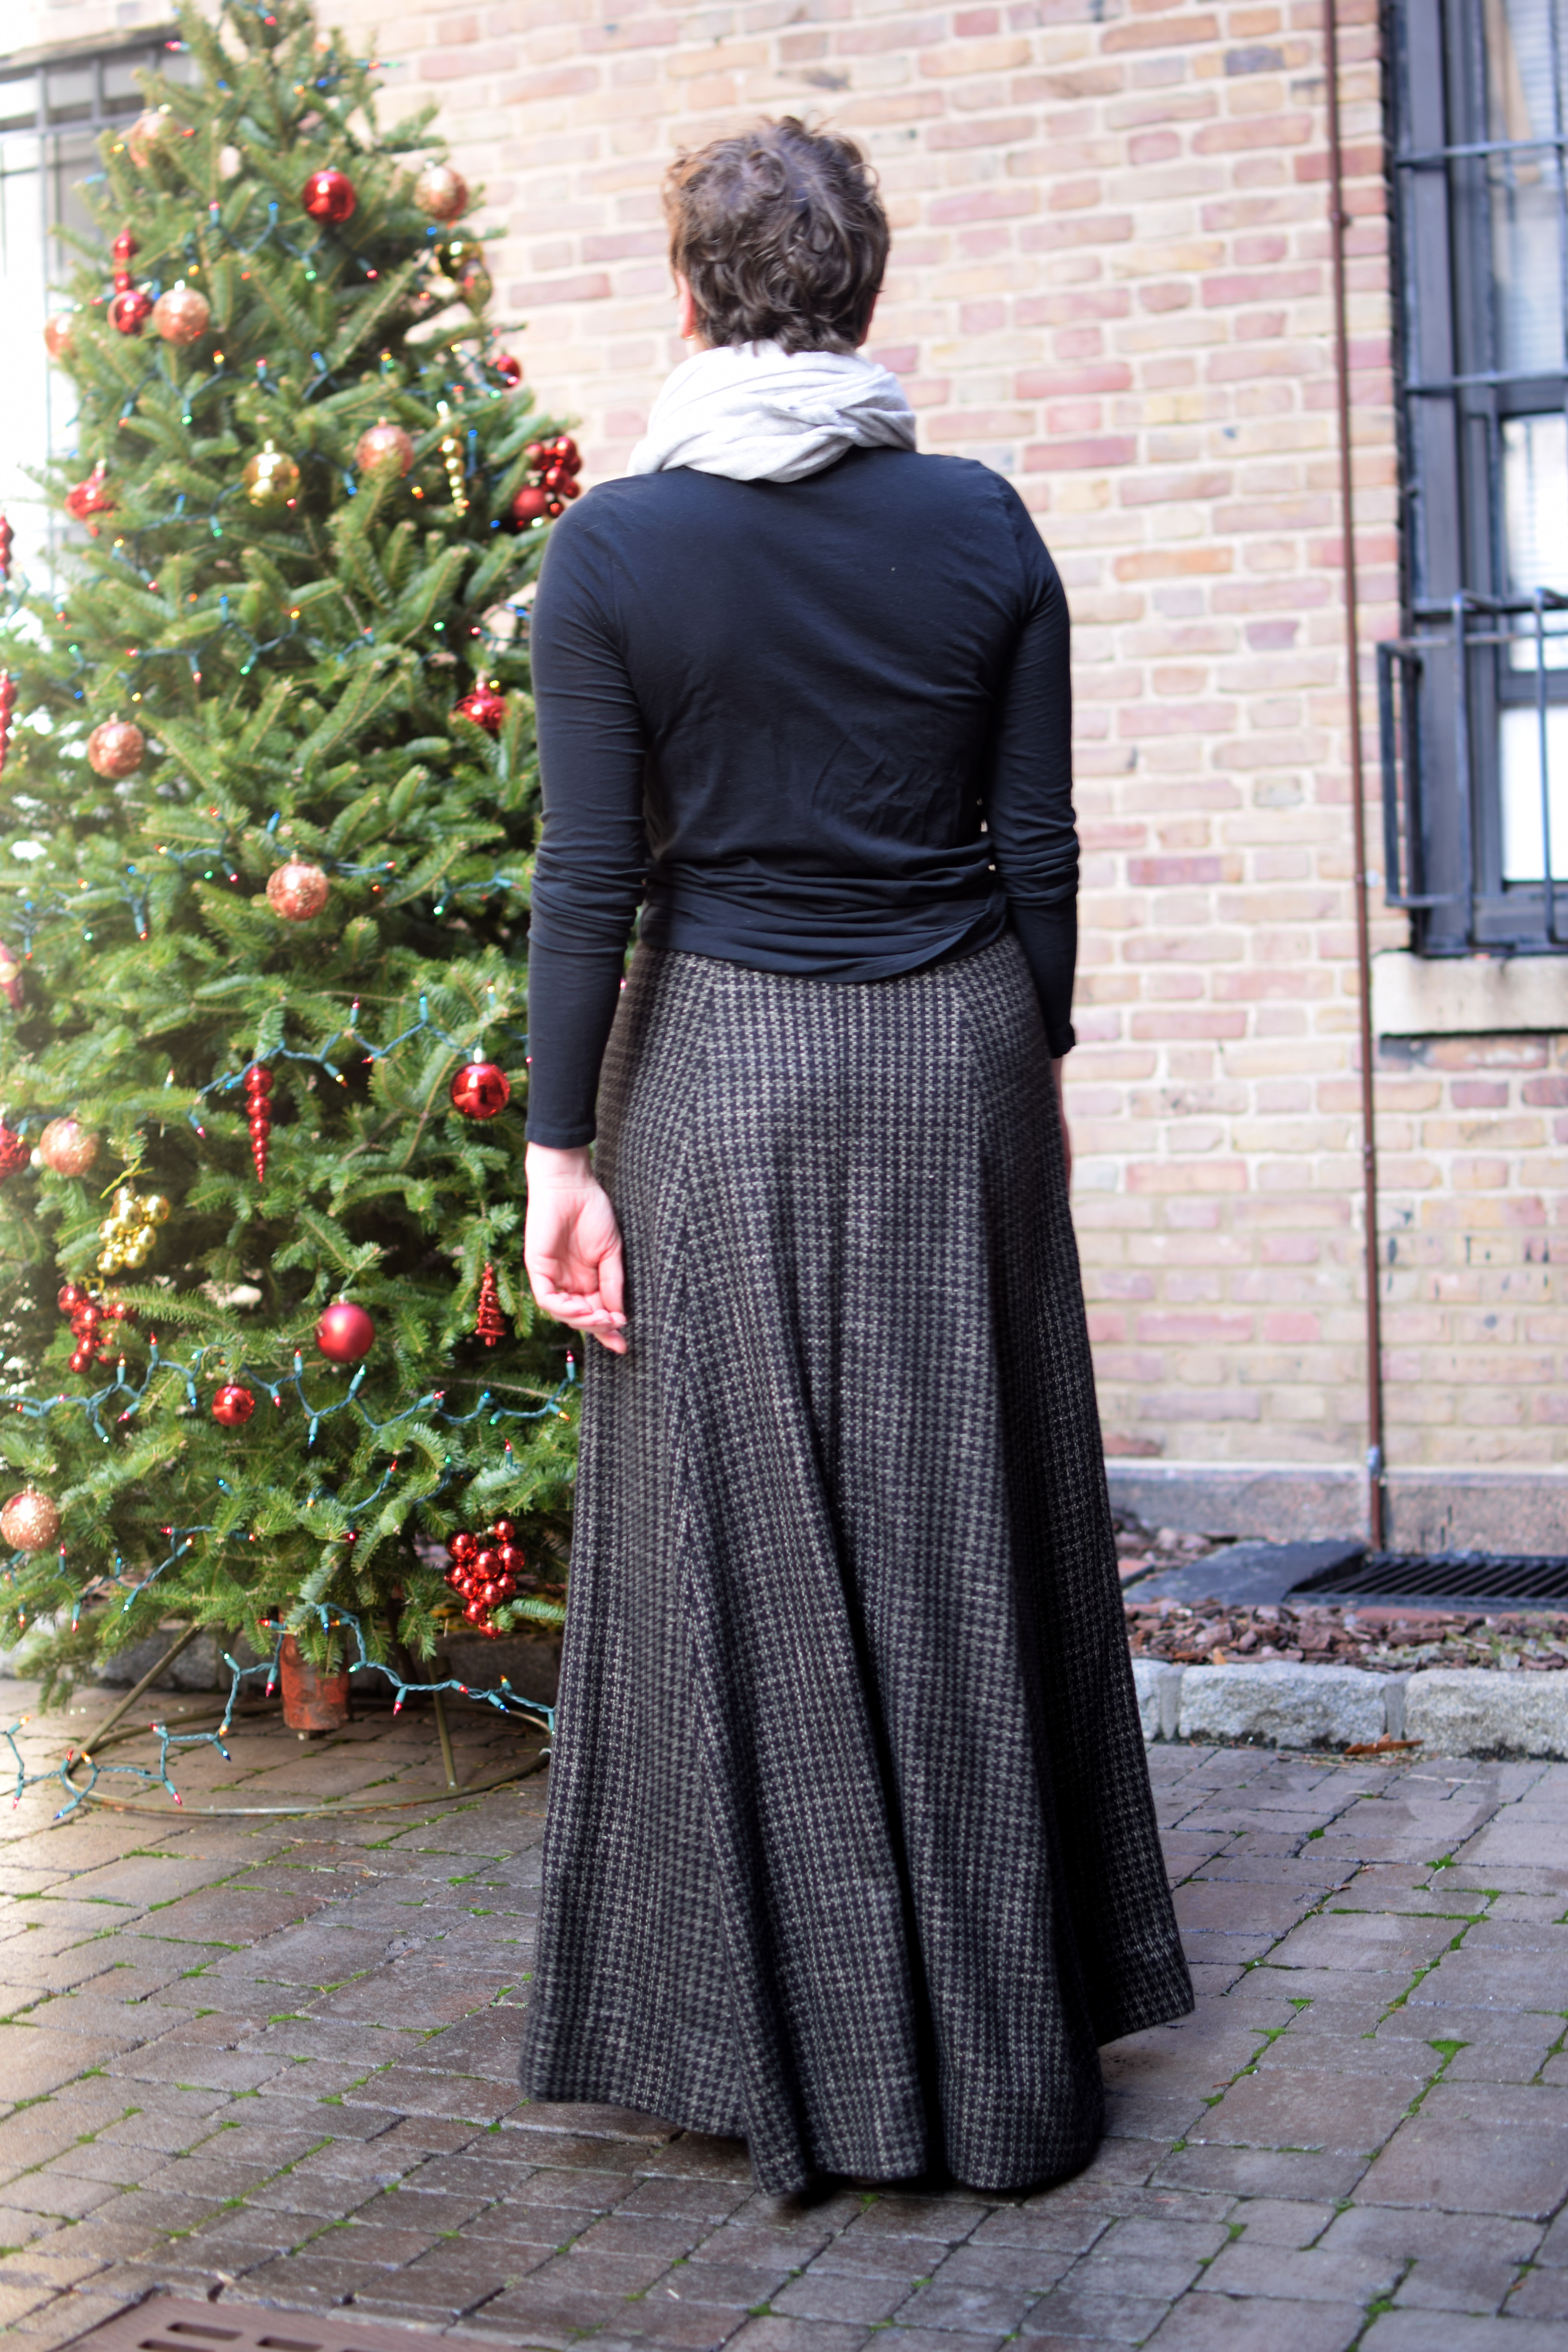
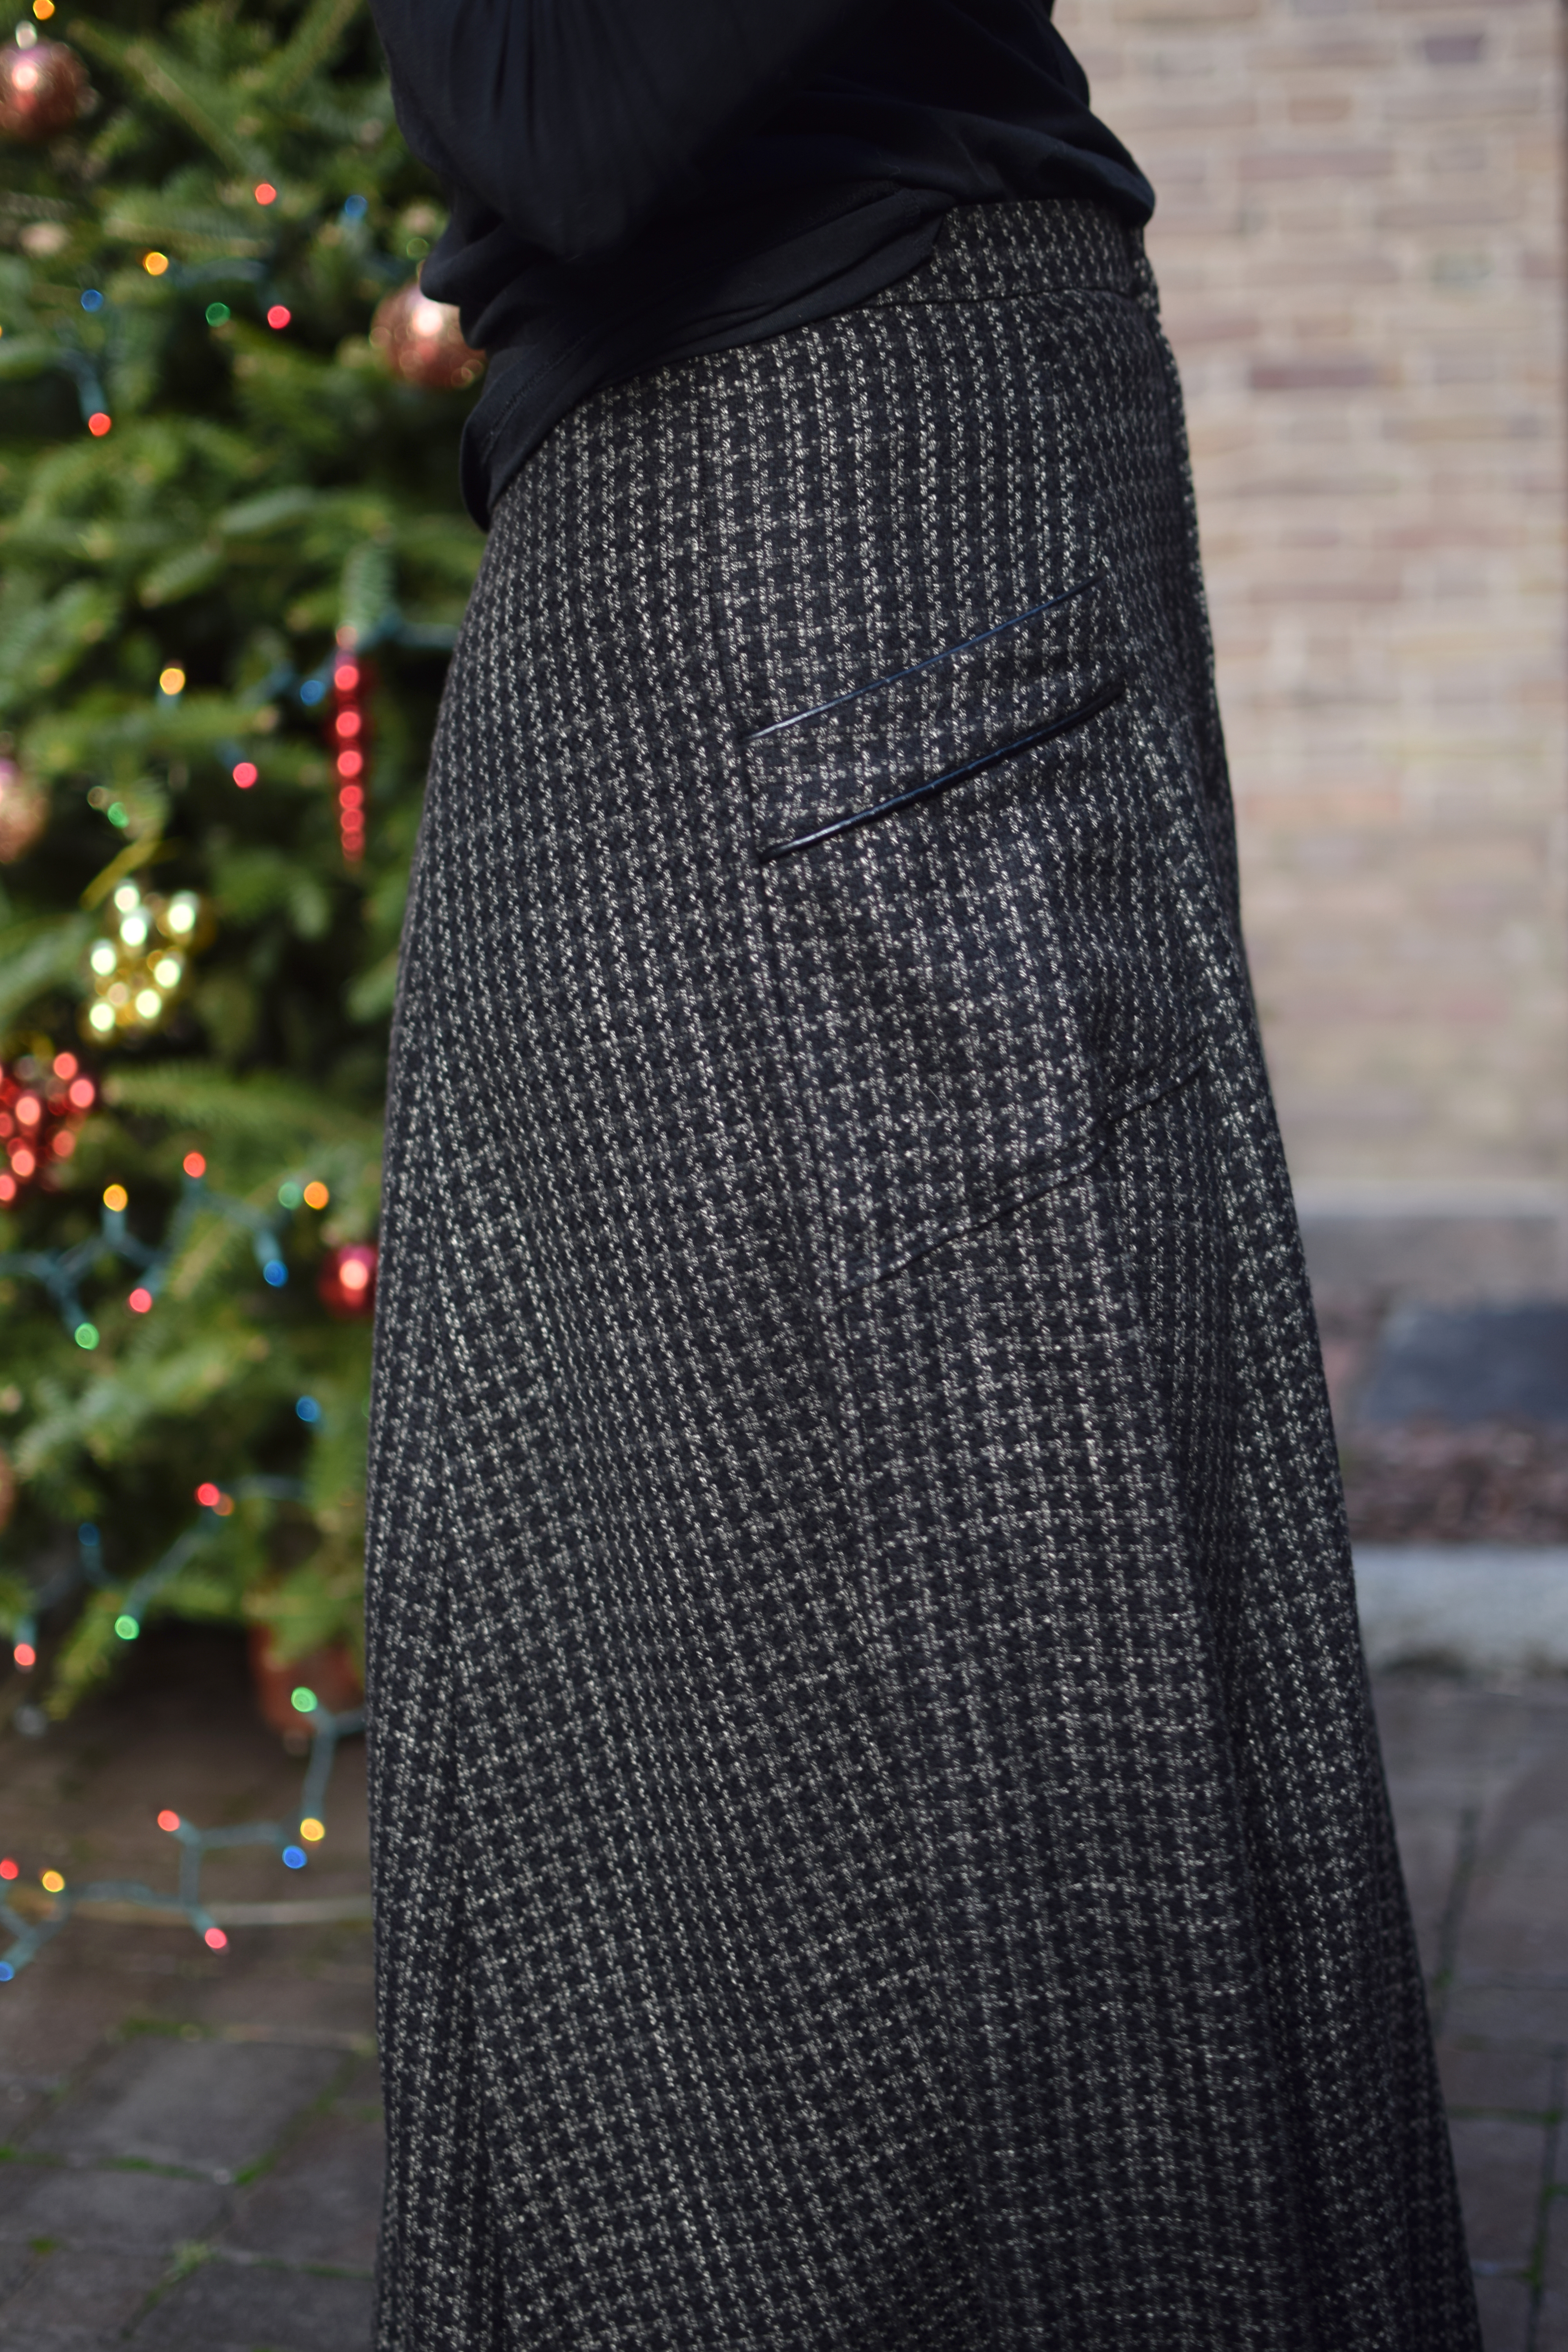
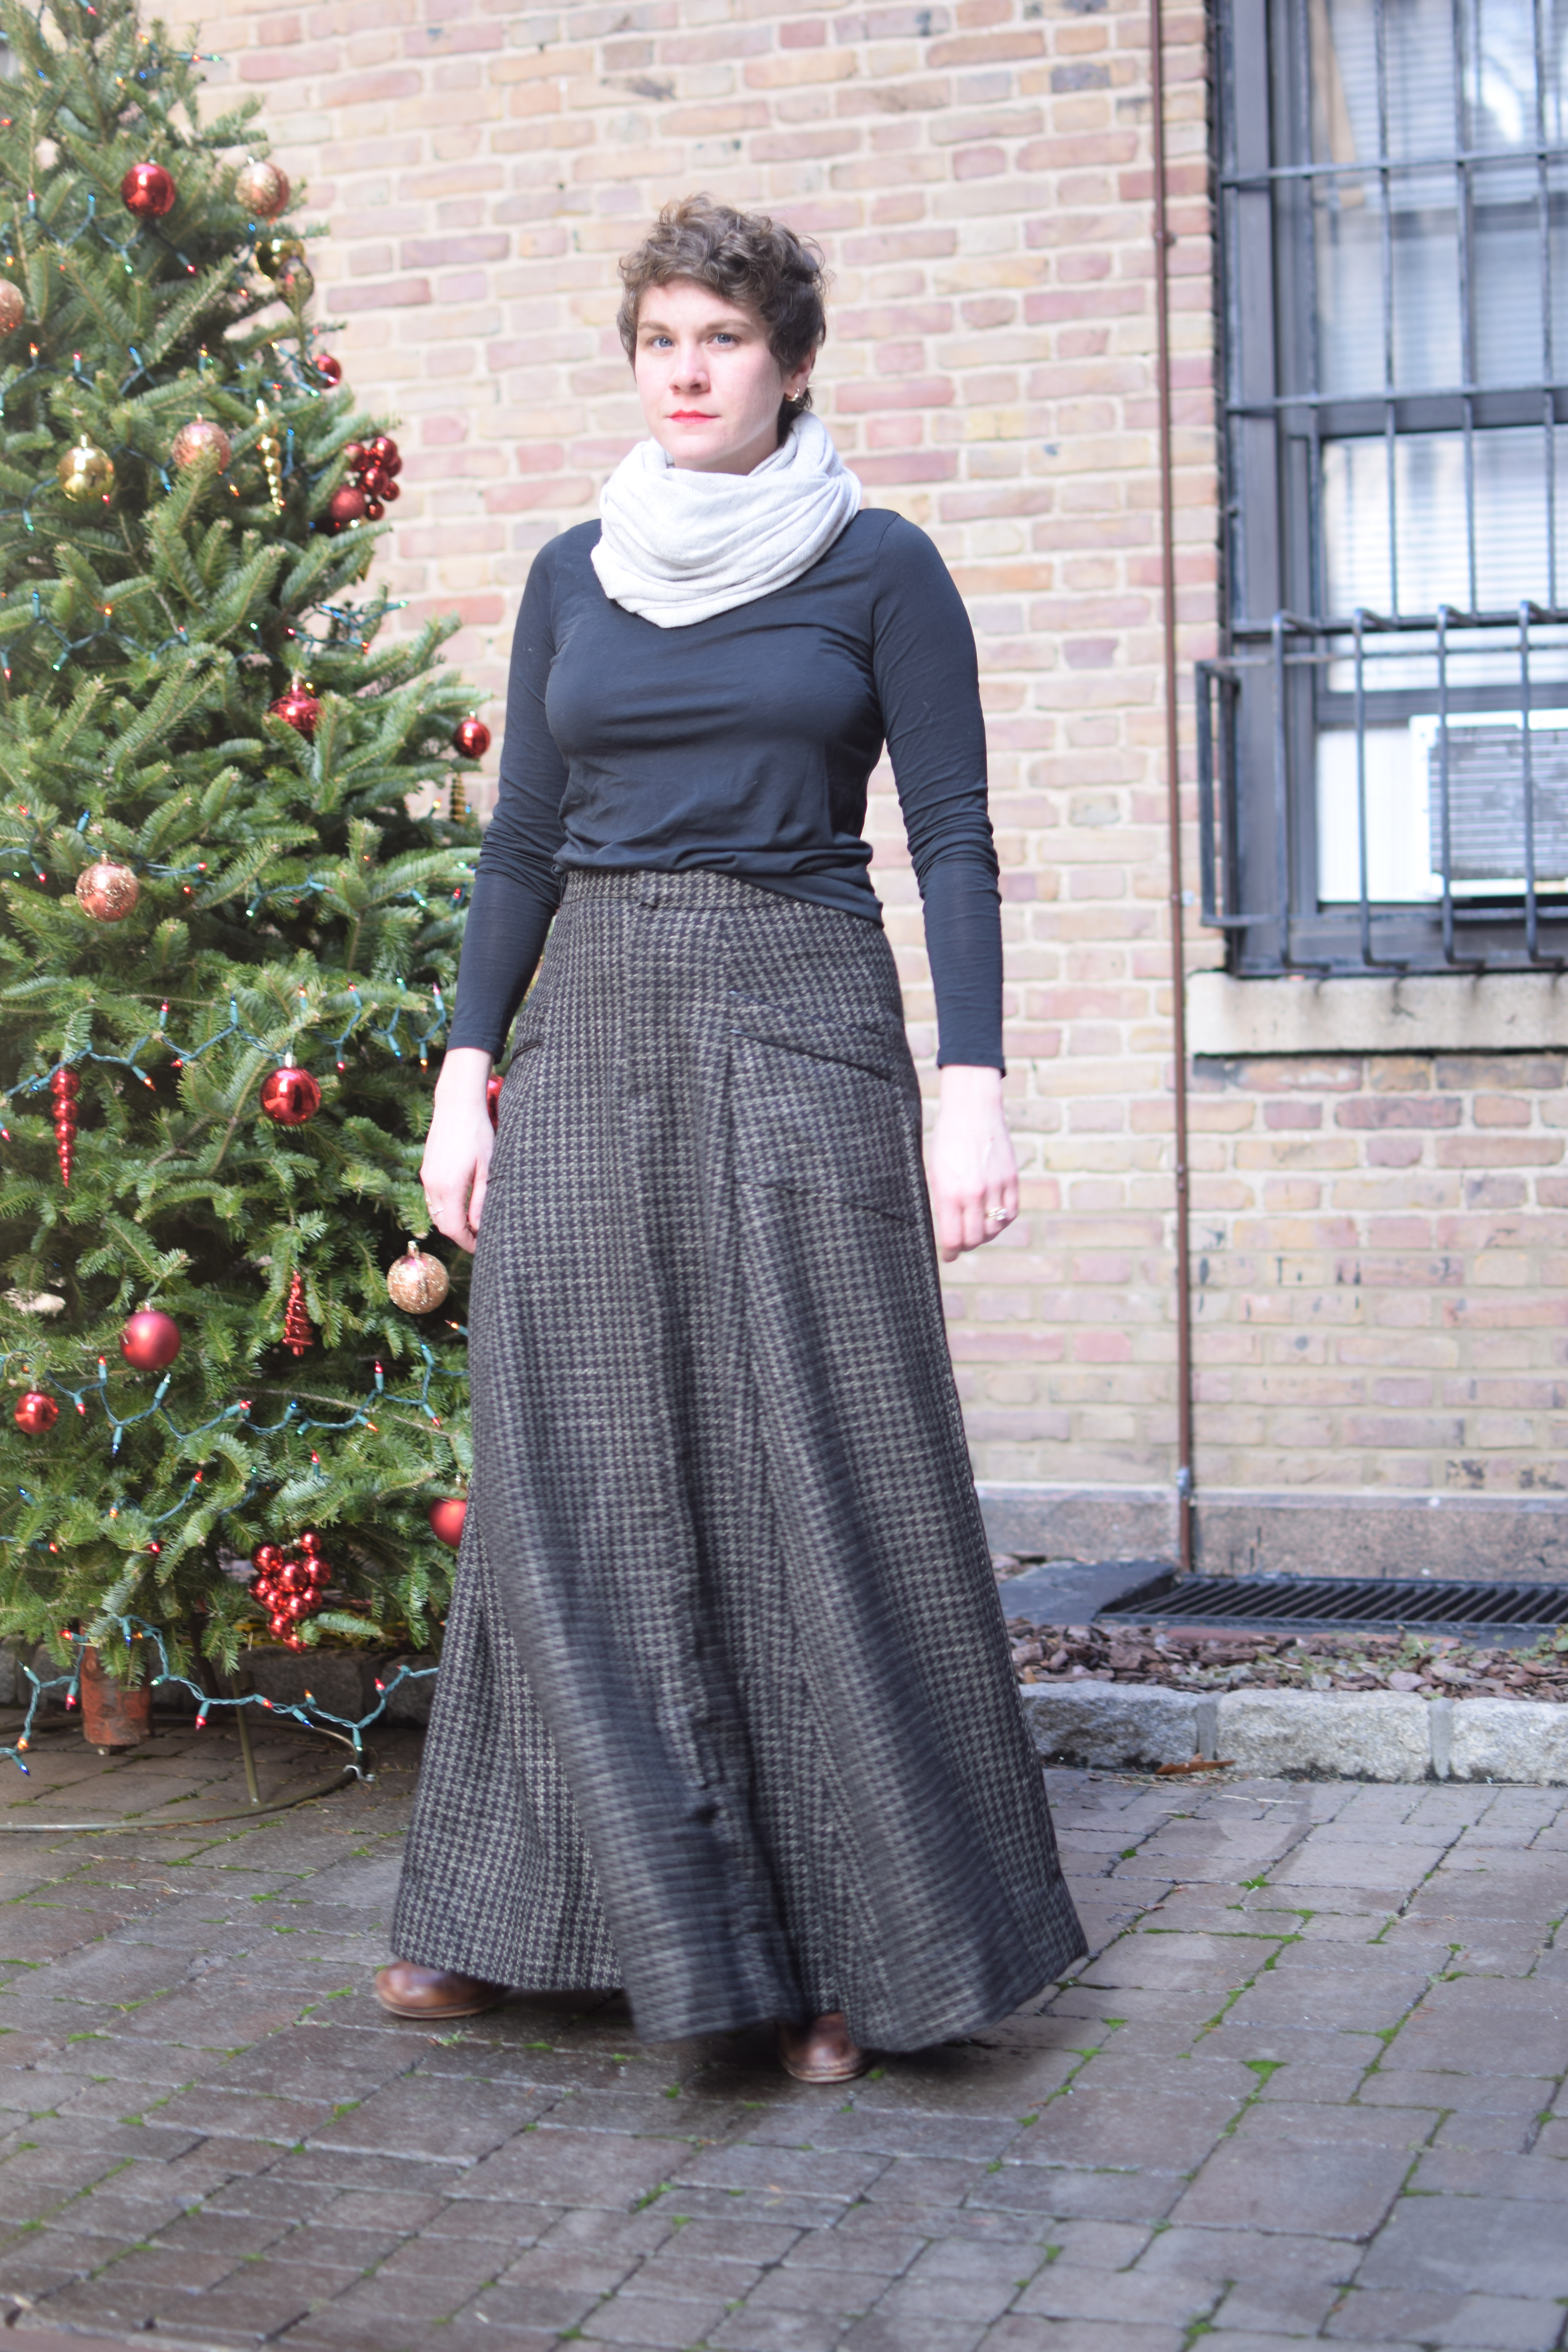
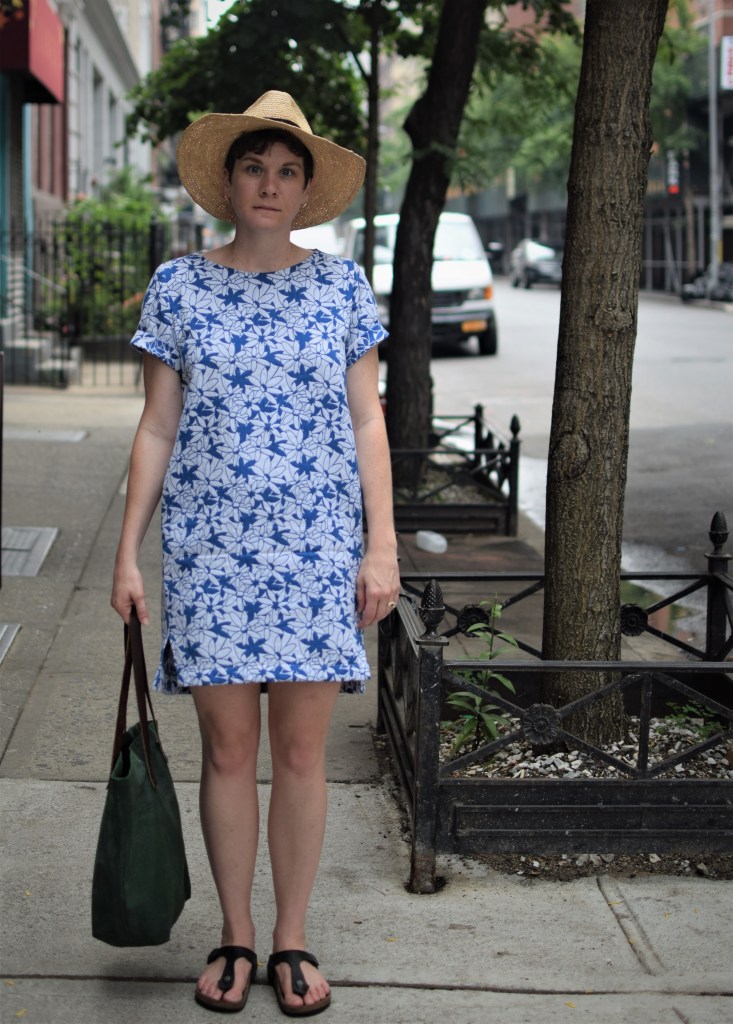
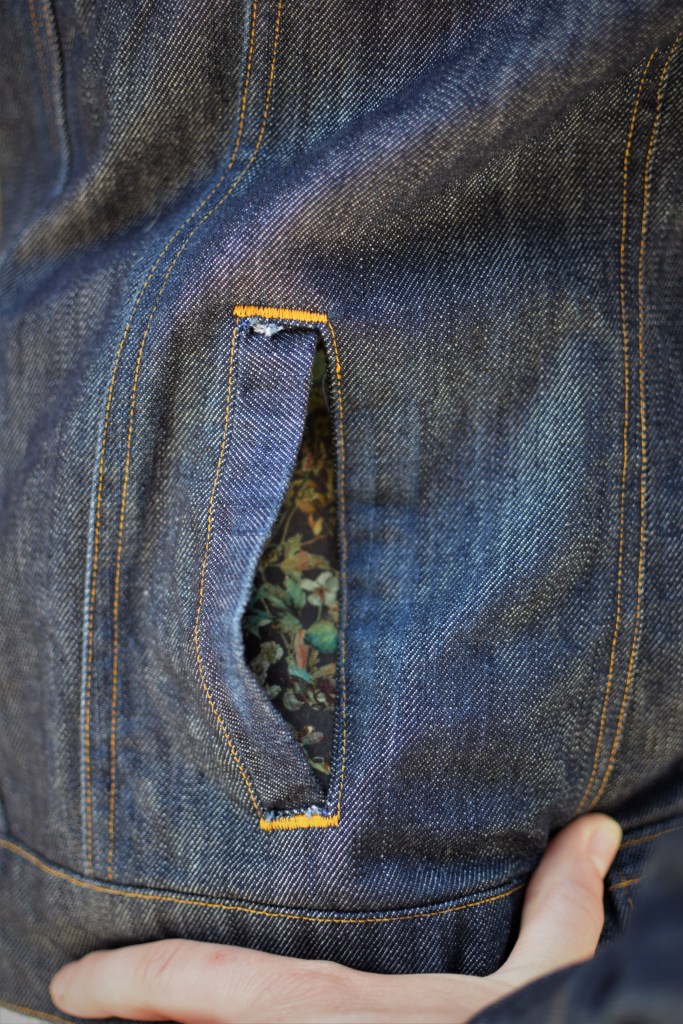
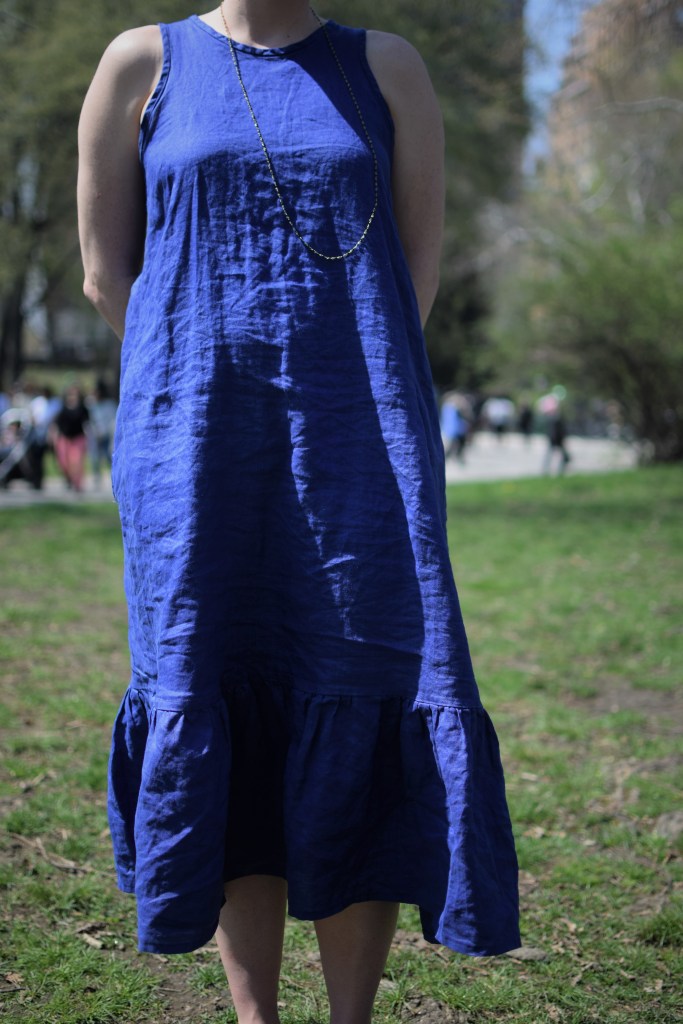
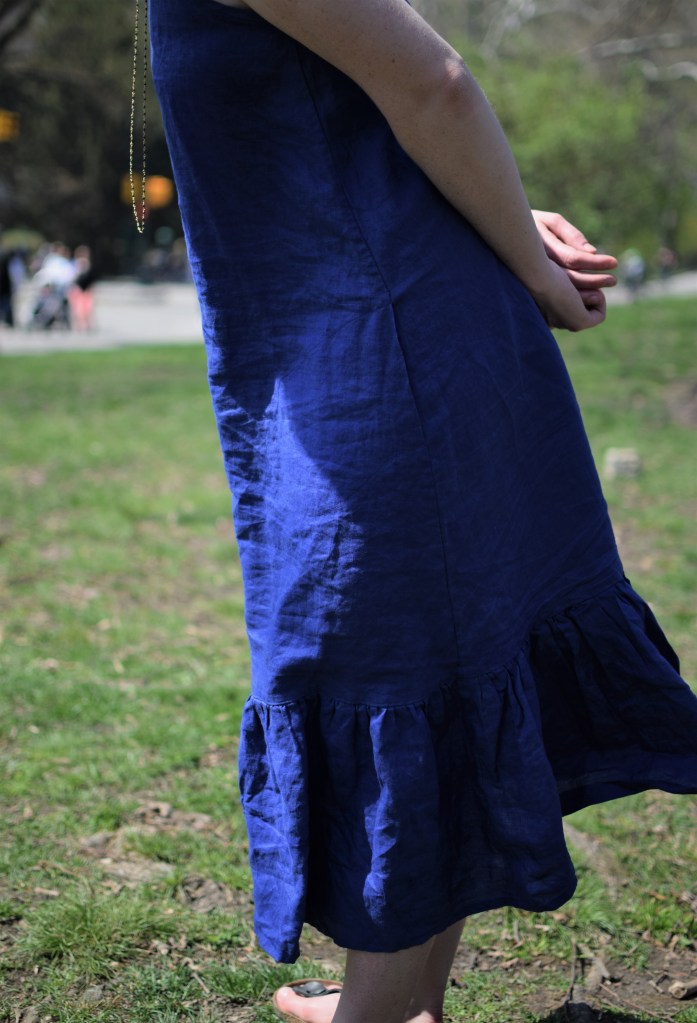 I added side seam pockets, and topstitched them down on the dress front so they don’t flop around inside and make the side seams drag. I have found this also makes it easier to stick my hands in my pockets, so I like to sew them that way when possible. My other iterations of this dress have an issue with the back neck slit facing: it likes to peek out when I put it on, rather than stay put inside the dress. So for this version I topstitched it so it stays put. At this point in my sewing adventure, it almost goes without saying, but I used french seams throughout. For the ruffle, though, I used the entire width of the fabric so I took advantage of the selvage and left their side seams raw. I covered the ruffle raw edge with lace seam binding and it really does make things look better!